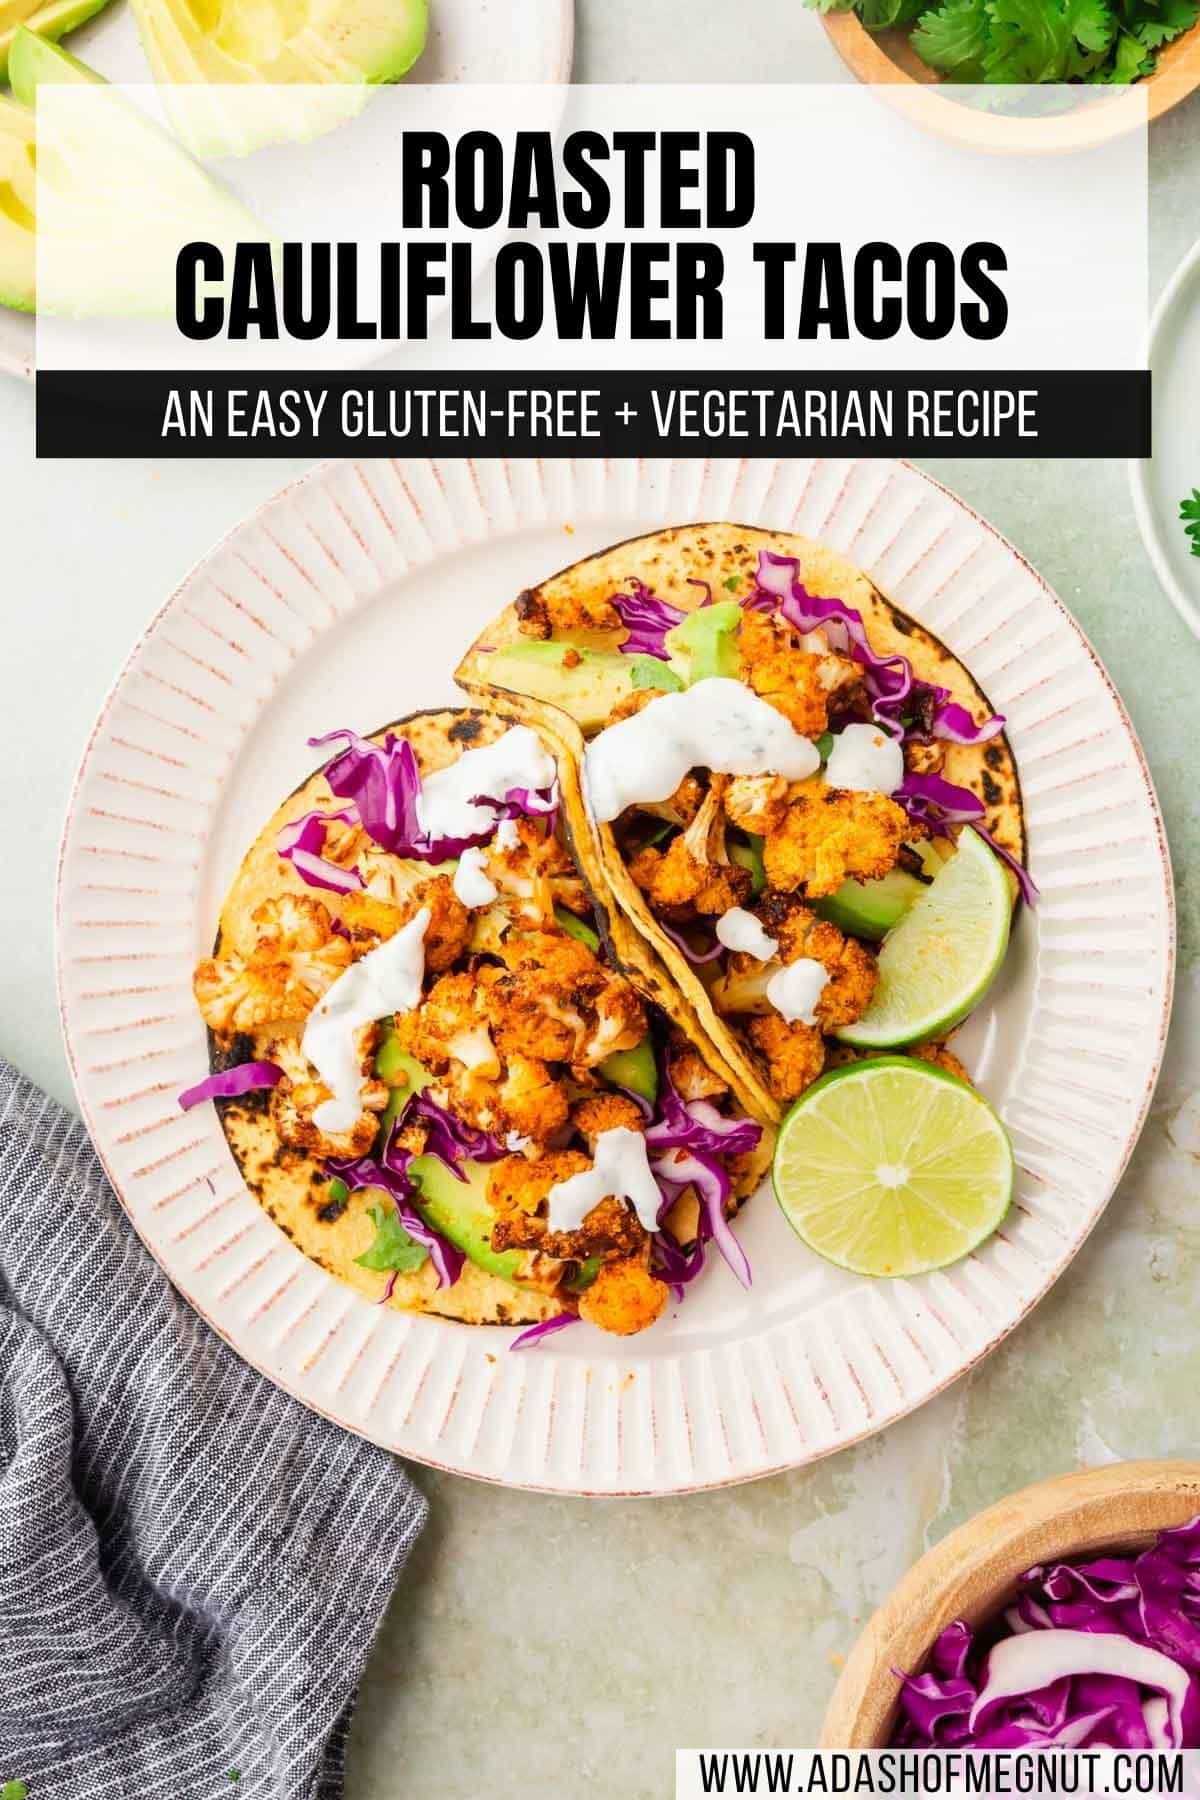
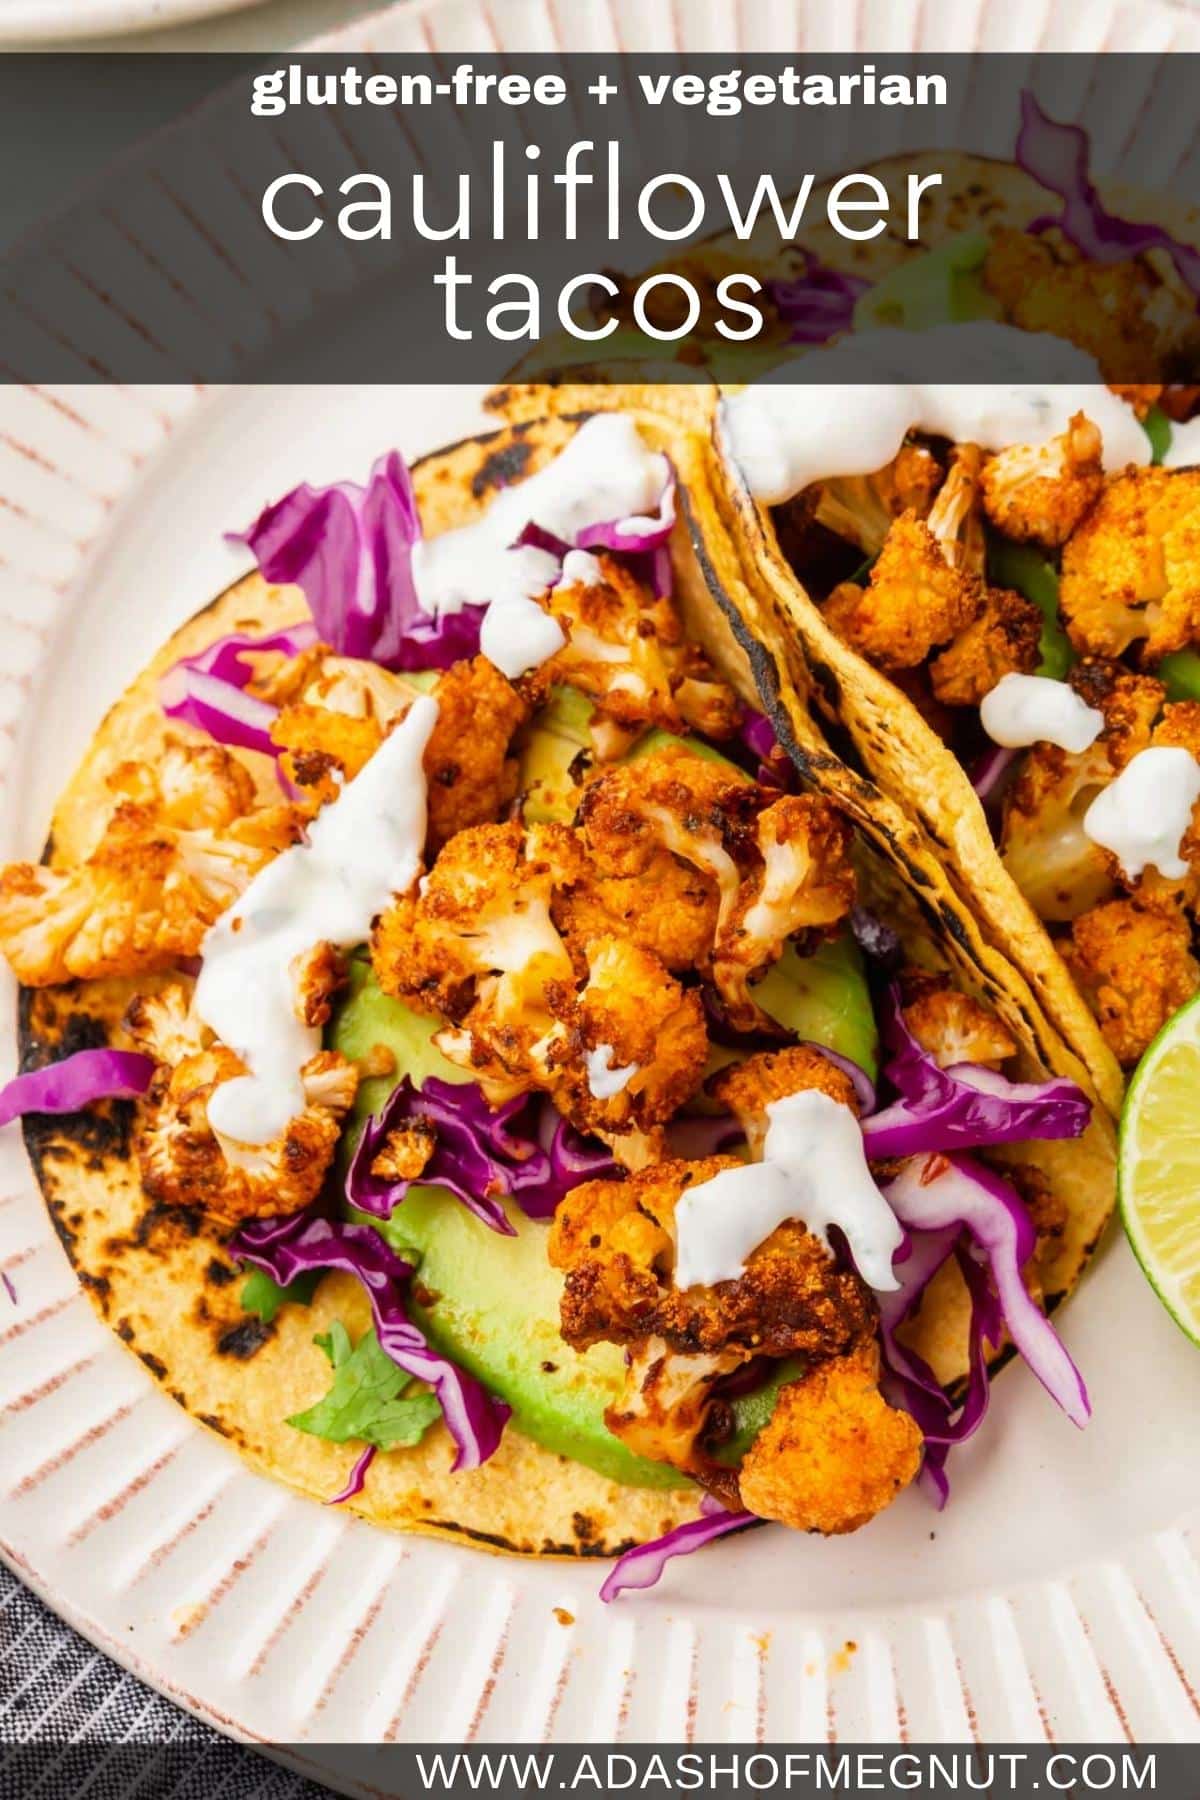
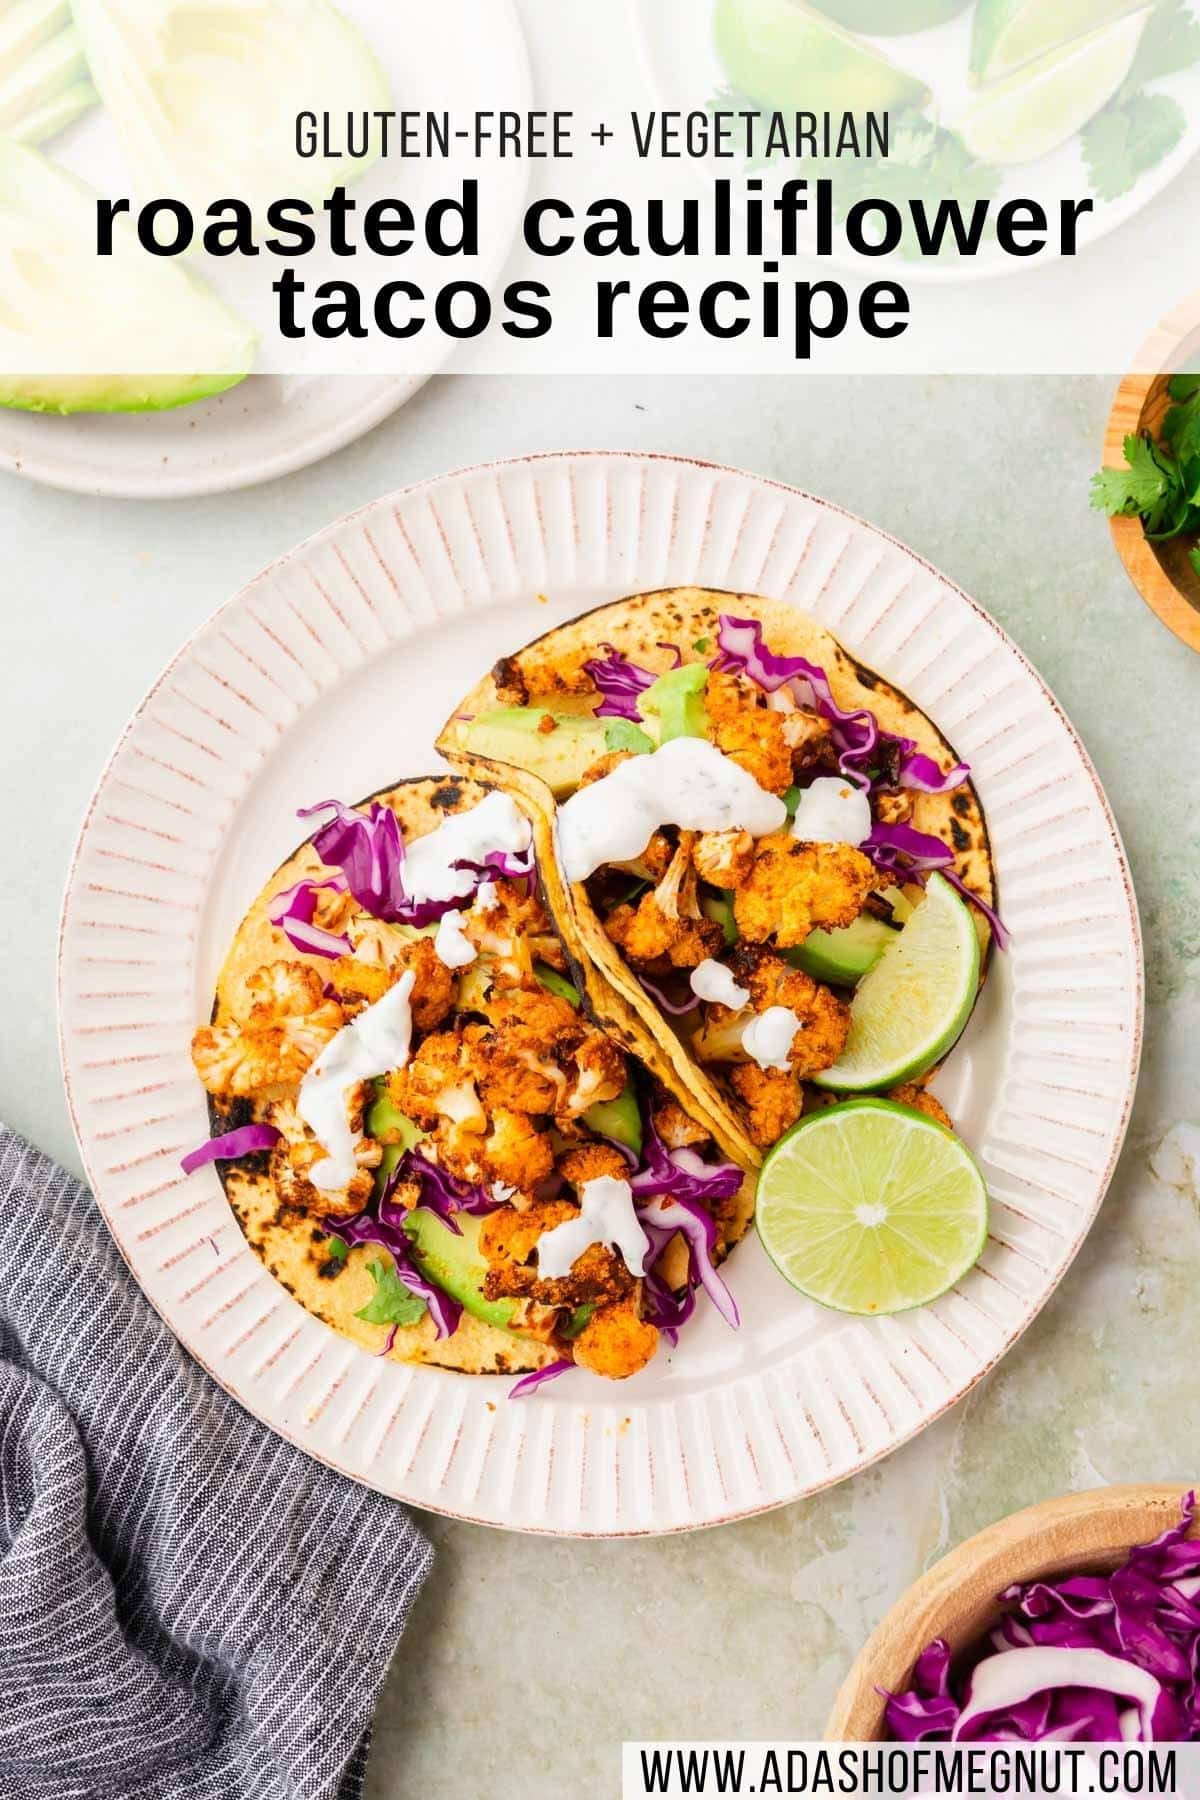
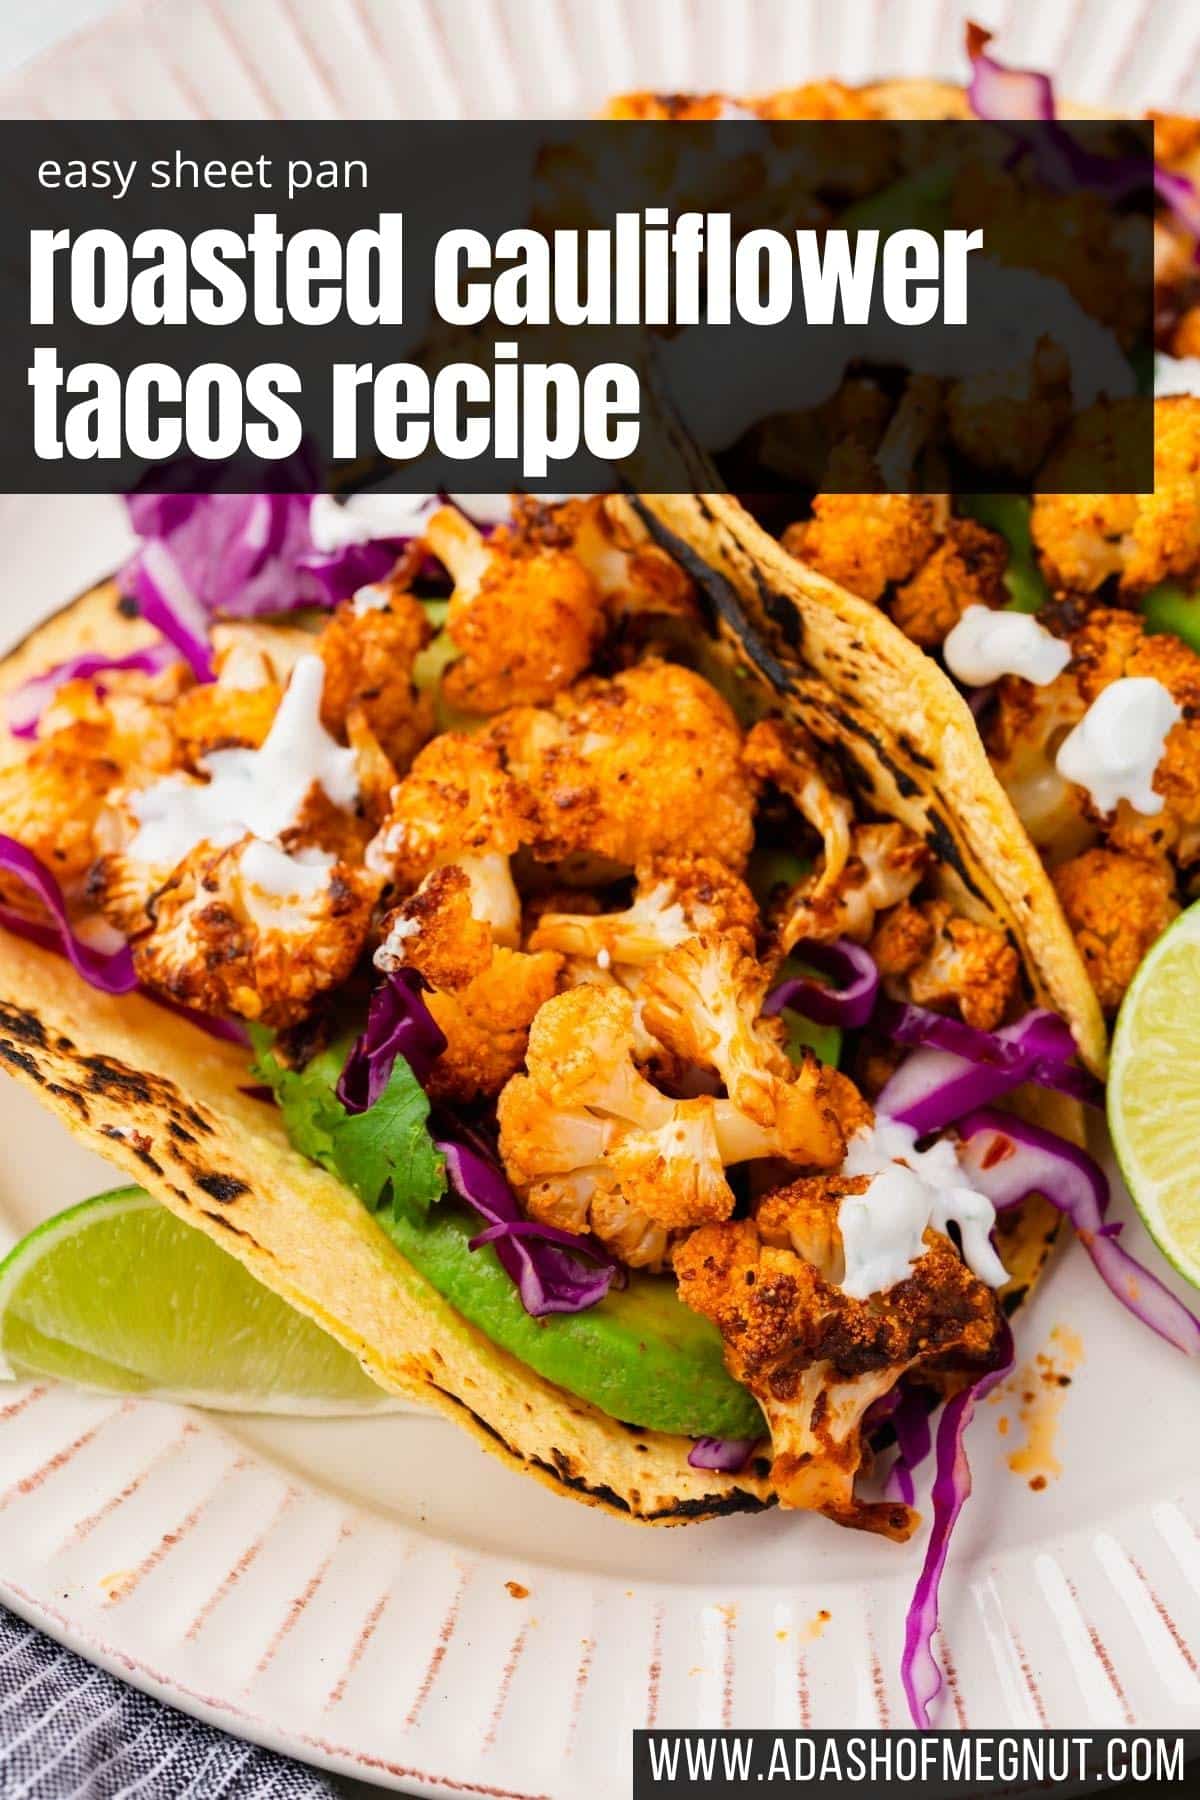
Roasted Cauliflower Tacos
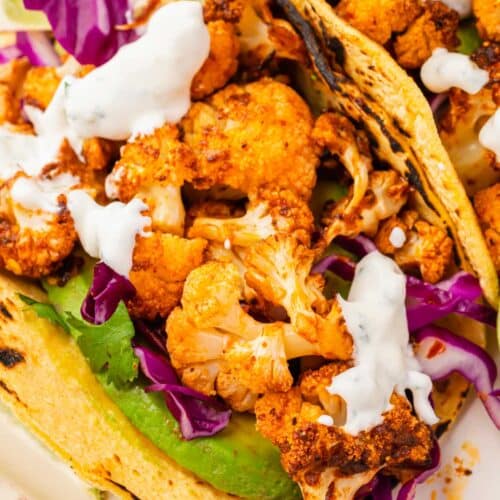
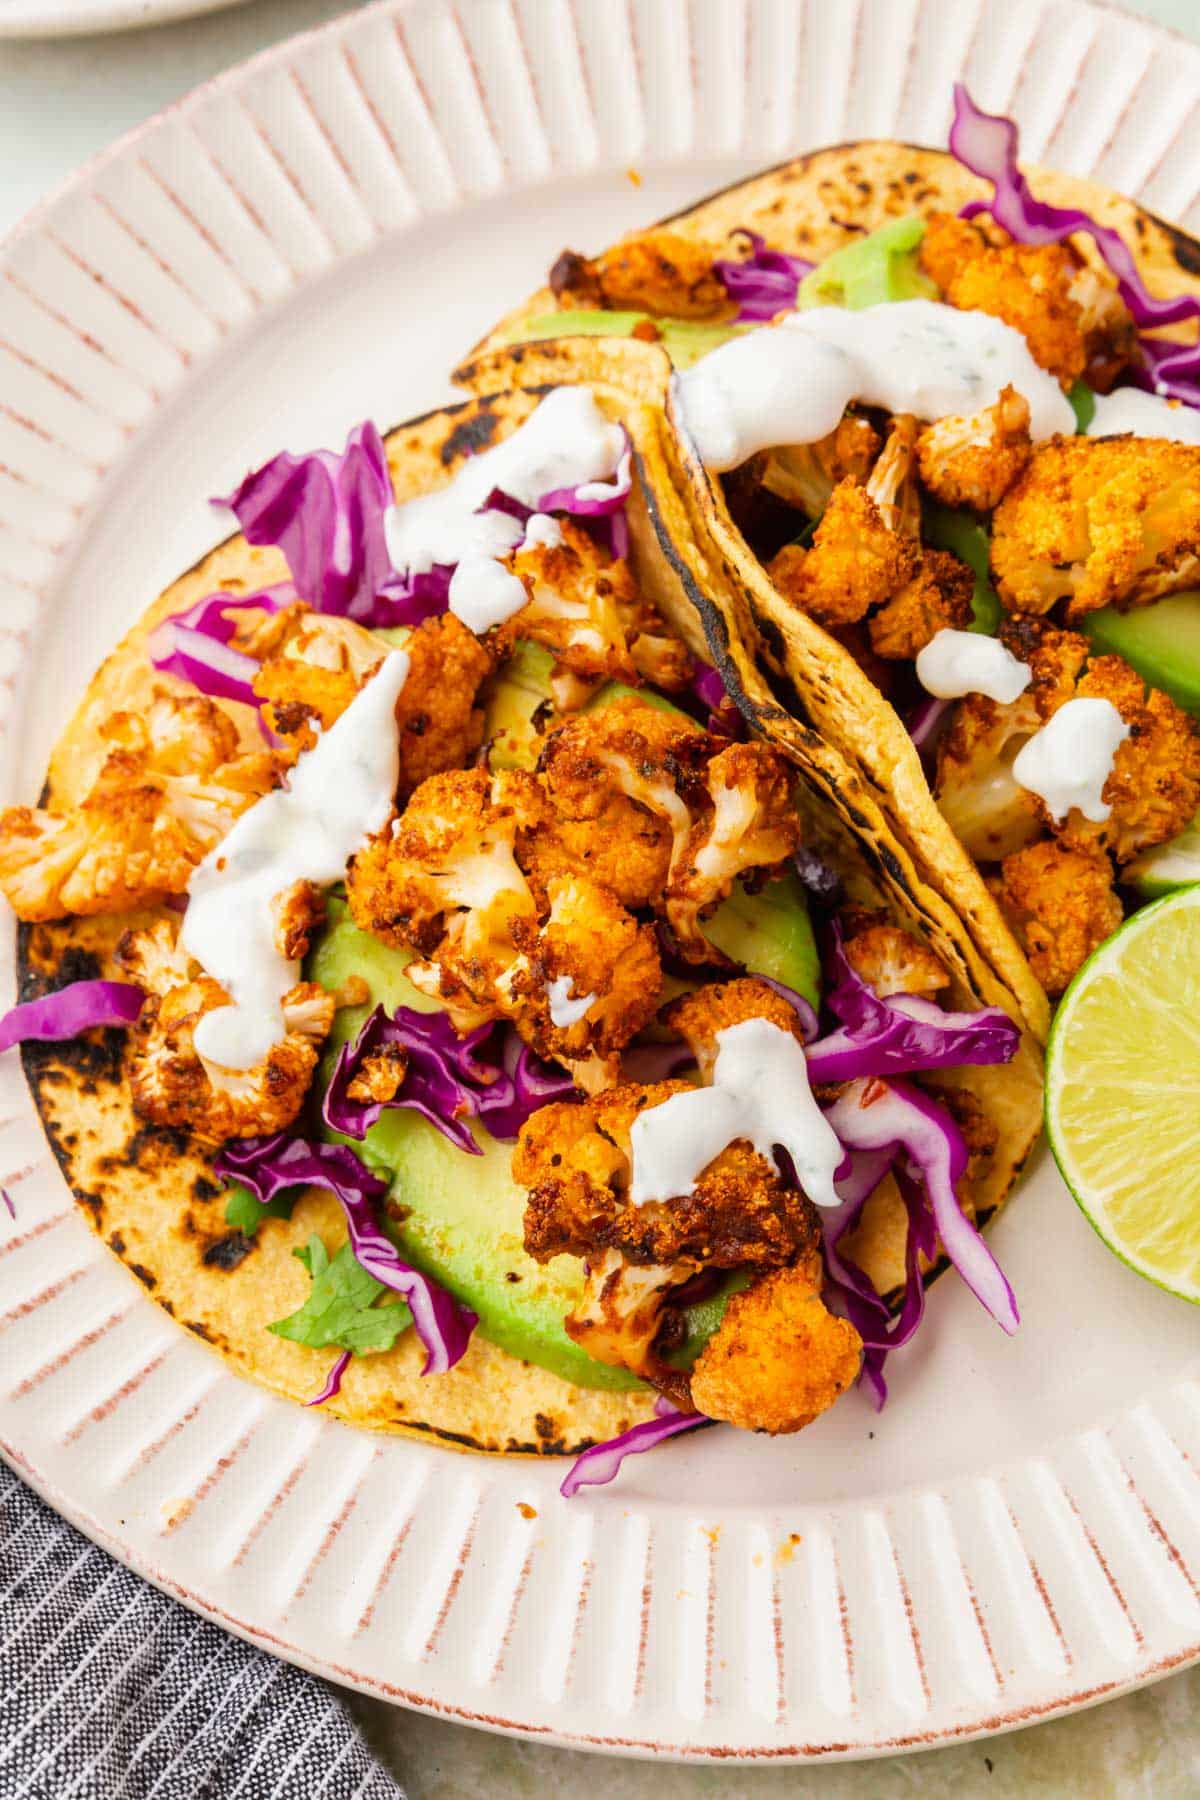
Table of Contents
Why this recipe works
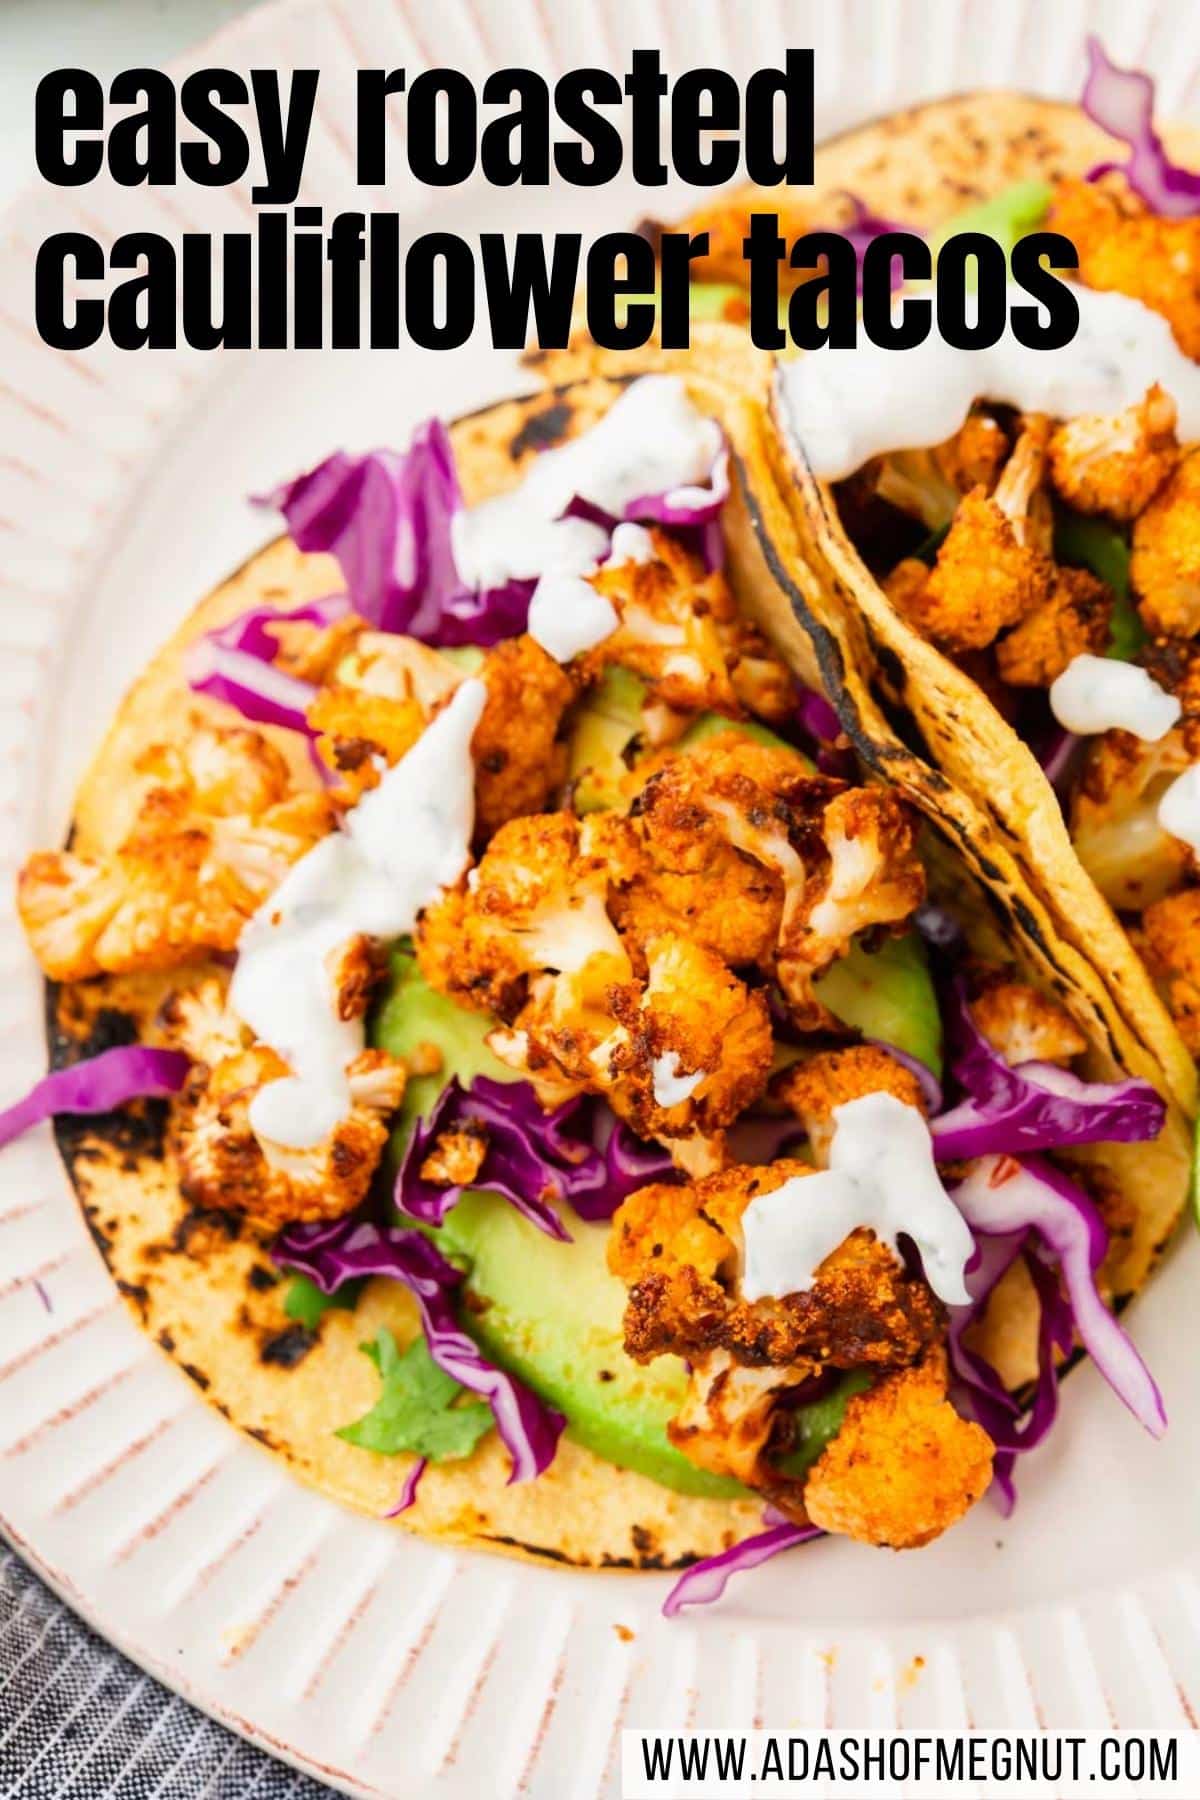
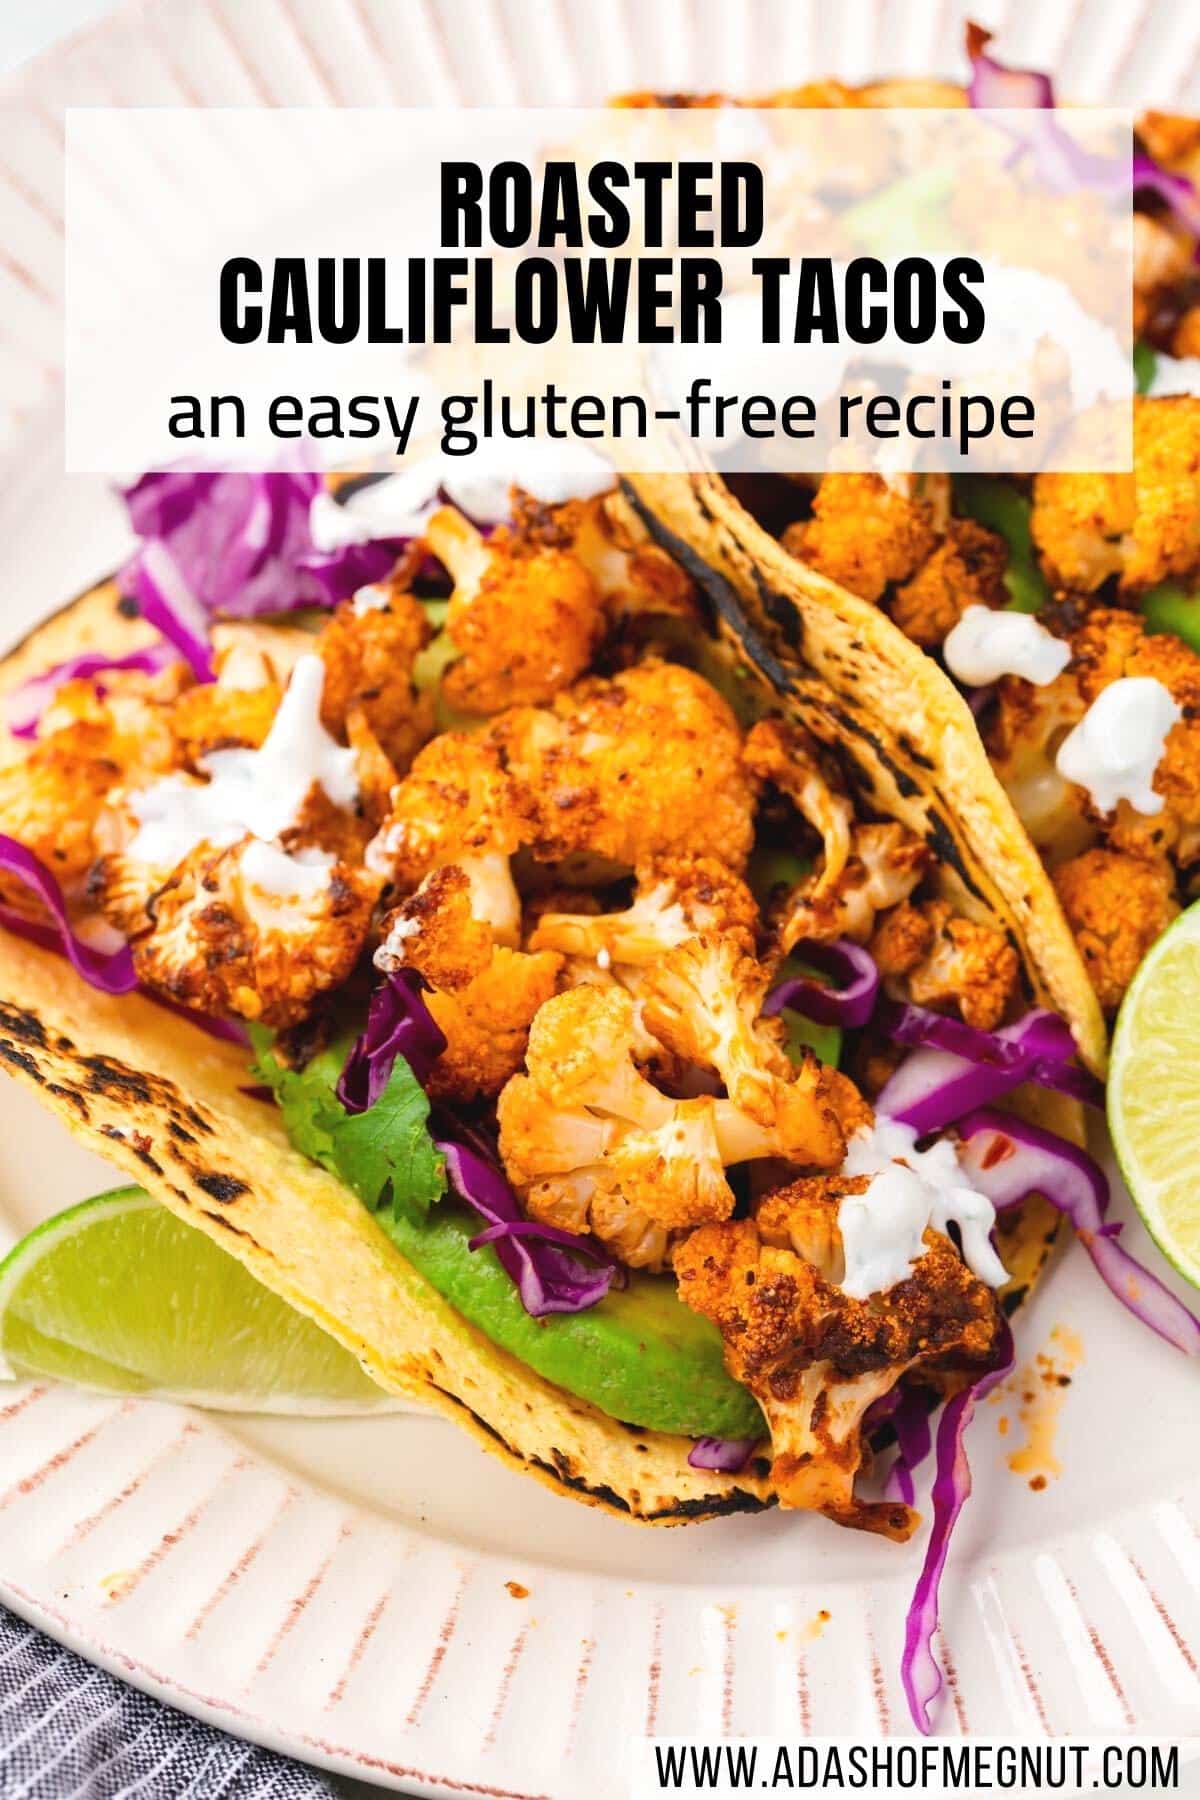
These roasted cauliflower tacos have definitely become one of my go-tos for easy vegetarian tacos. They’re also gluten-free, and can easily also be made dairy-free and vegan with an ingredient swap. They take just about 45 minutes to prepare from start to finish and are loaded with vegetables and tons of flavor.
If you like cauliflower, then you’ll love these tacos. Roasting cauliflower in the oven gives these tacos so much flavor and results in a delicious, crispy texture.
The cauliflower is tossed in taco spices, flavorful chipotle peppers in adobo sauce, and oil and oil and then gets roasted in the oven until it’s crispy.
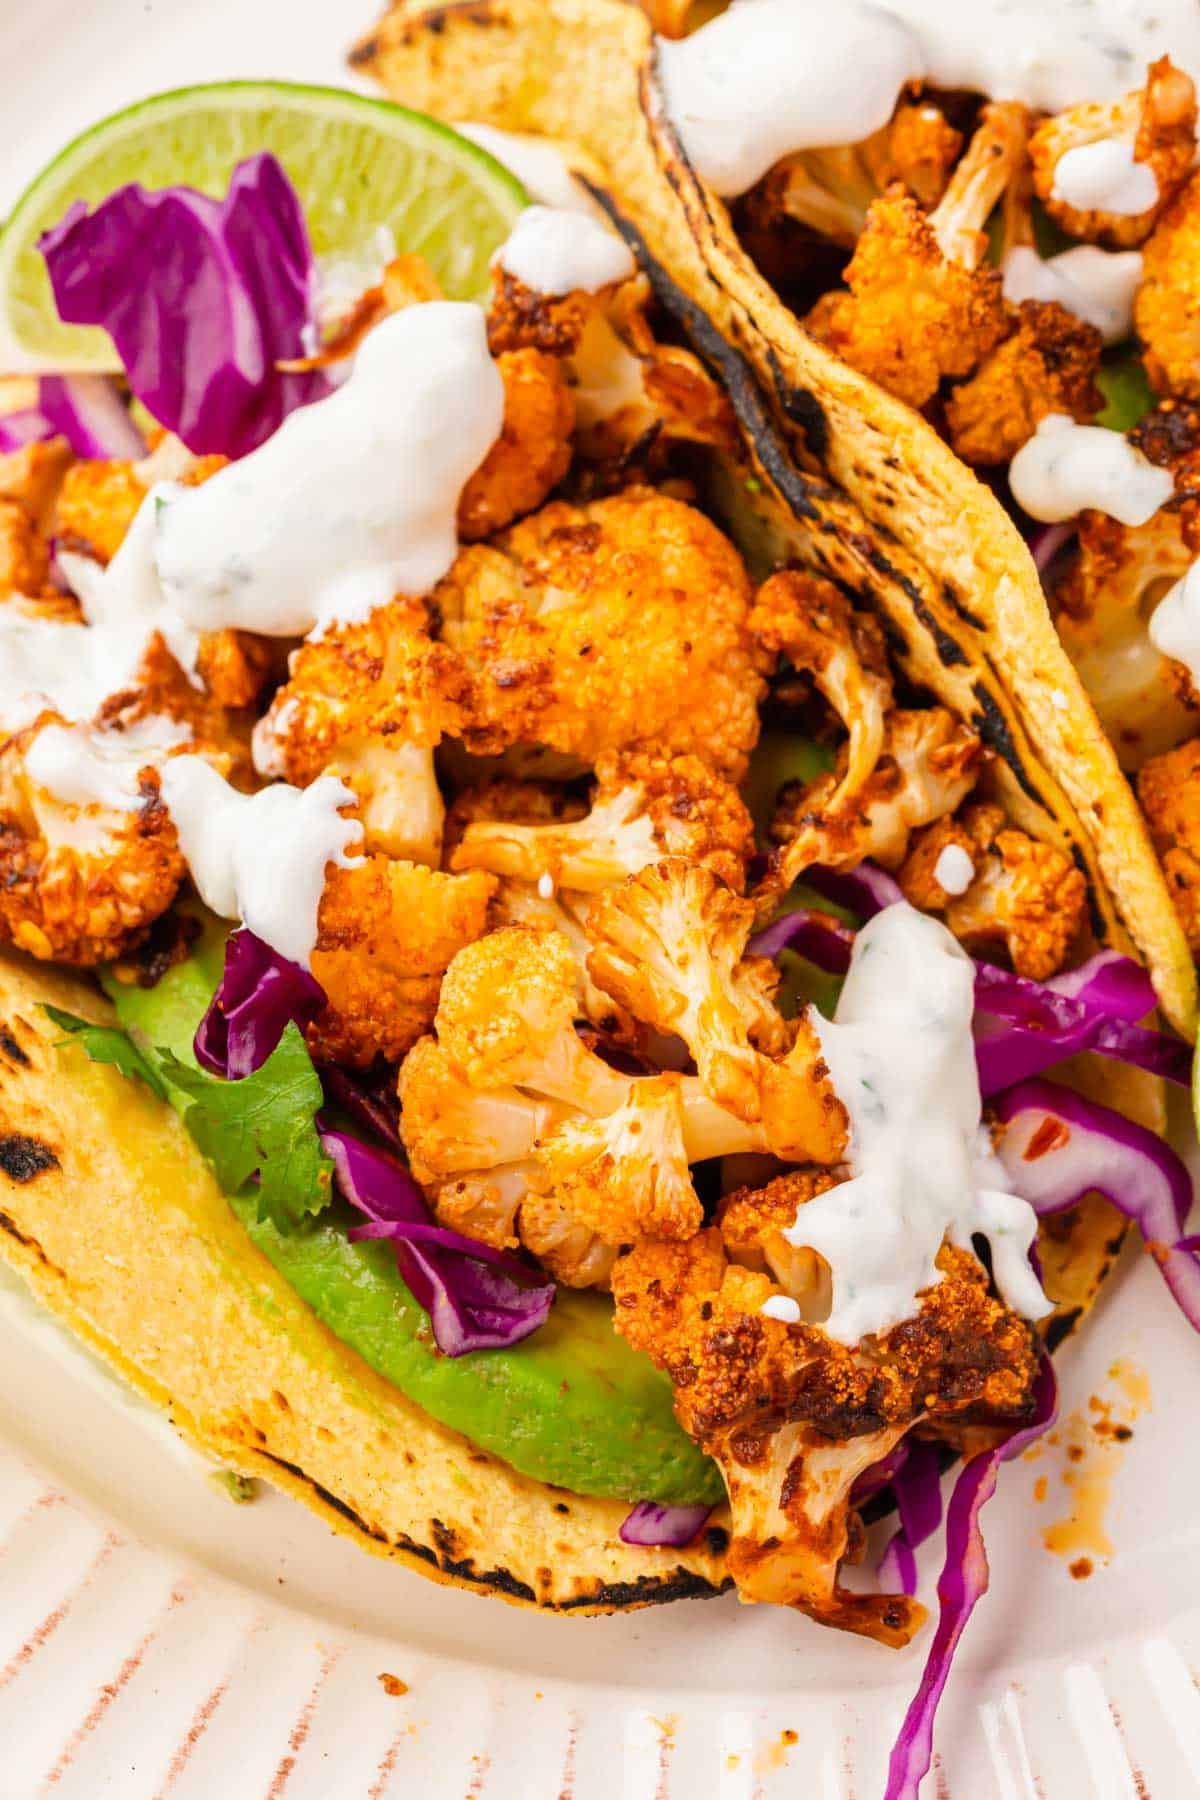
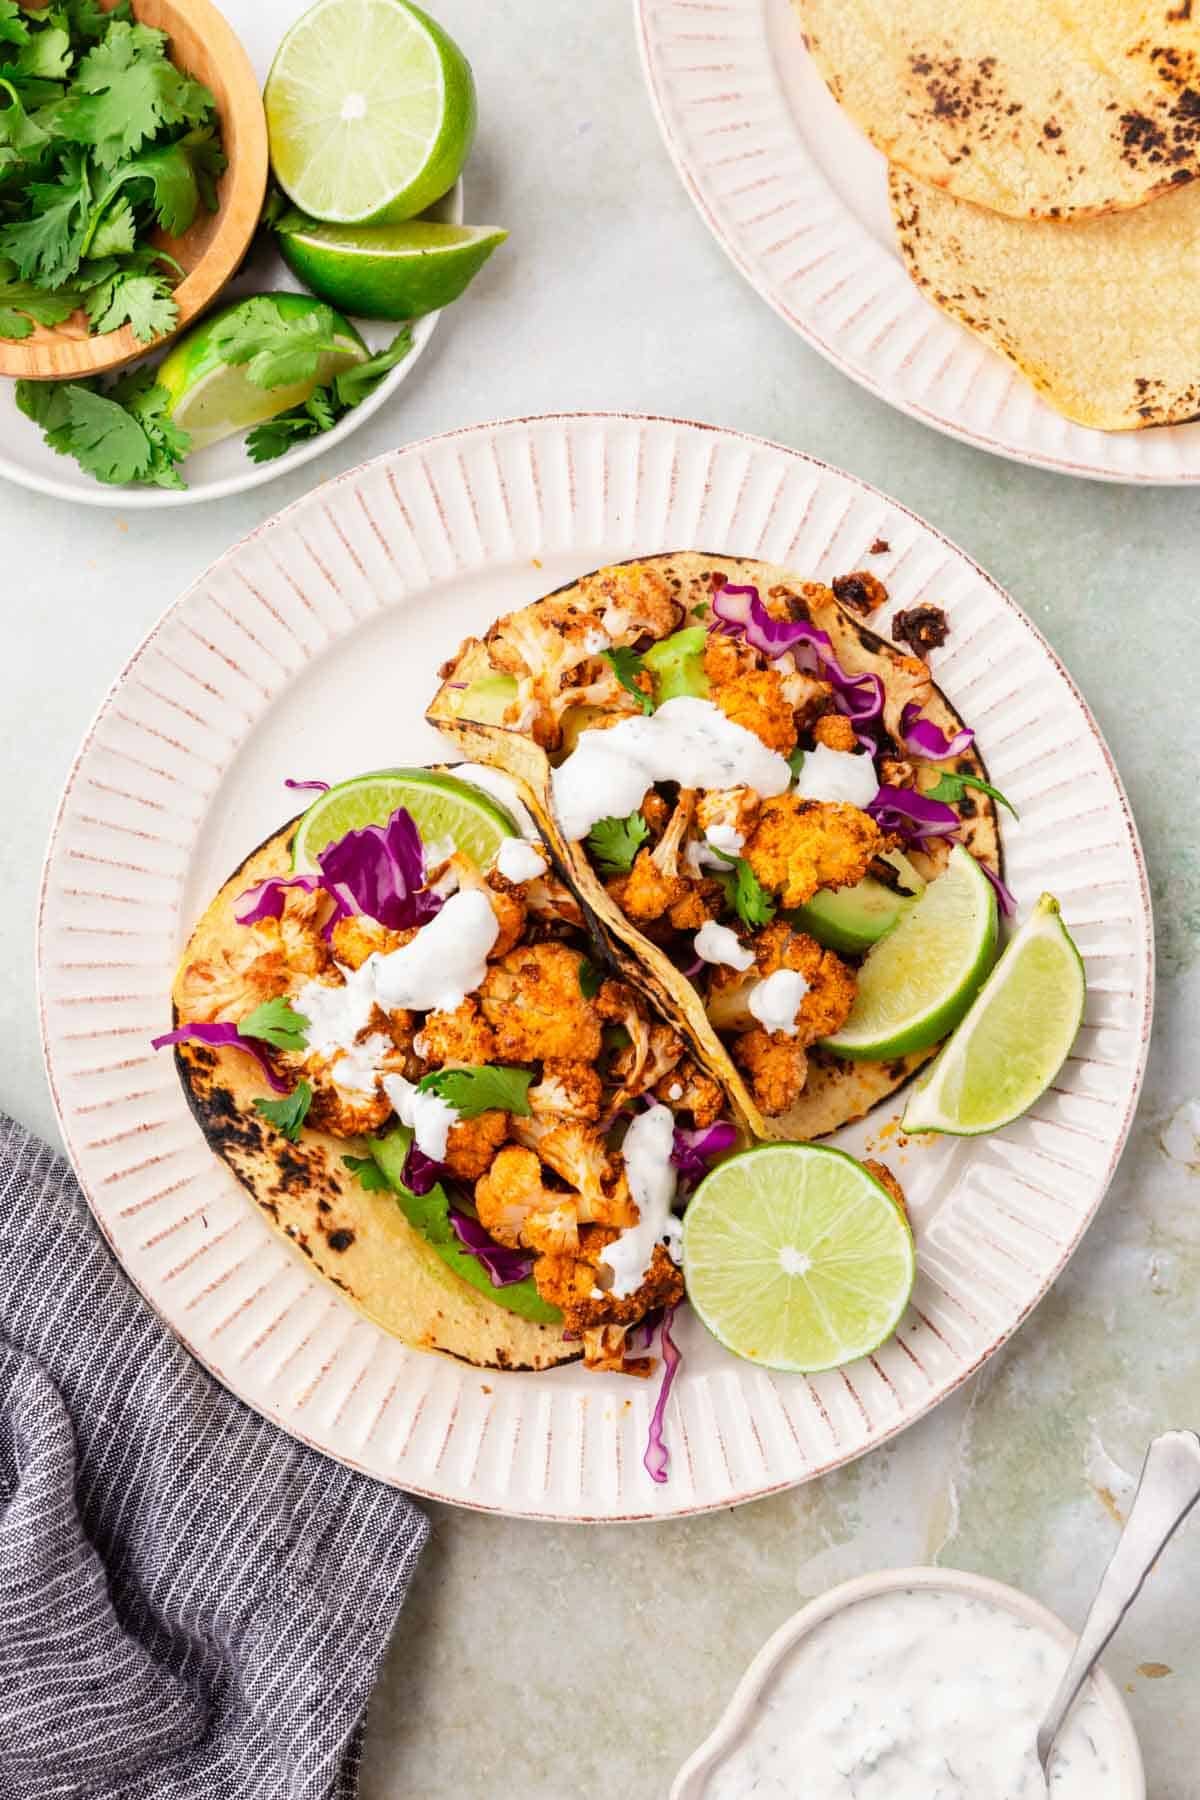
Then, we top it with our tangy cilantro lime crema, crunchy cabbage, and creamy avocado slices all on top of a charred corn tortilla. The combination of these flavors will have you wanting to make vegetarian tacos ALL the time — and I promise, you won’t miss the meat one bit!
Whether you’re looking for a great recipe for taco tuesday, family taco night or an easy weeknight meal, these crispy cauliflower tacos are the perfect recipe for you!
Ingredients
Ingredient Notes
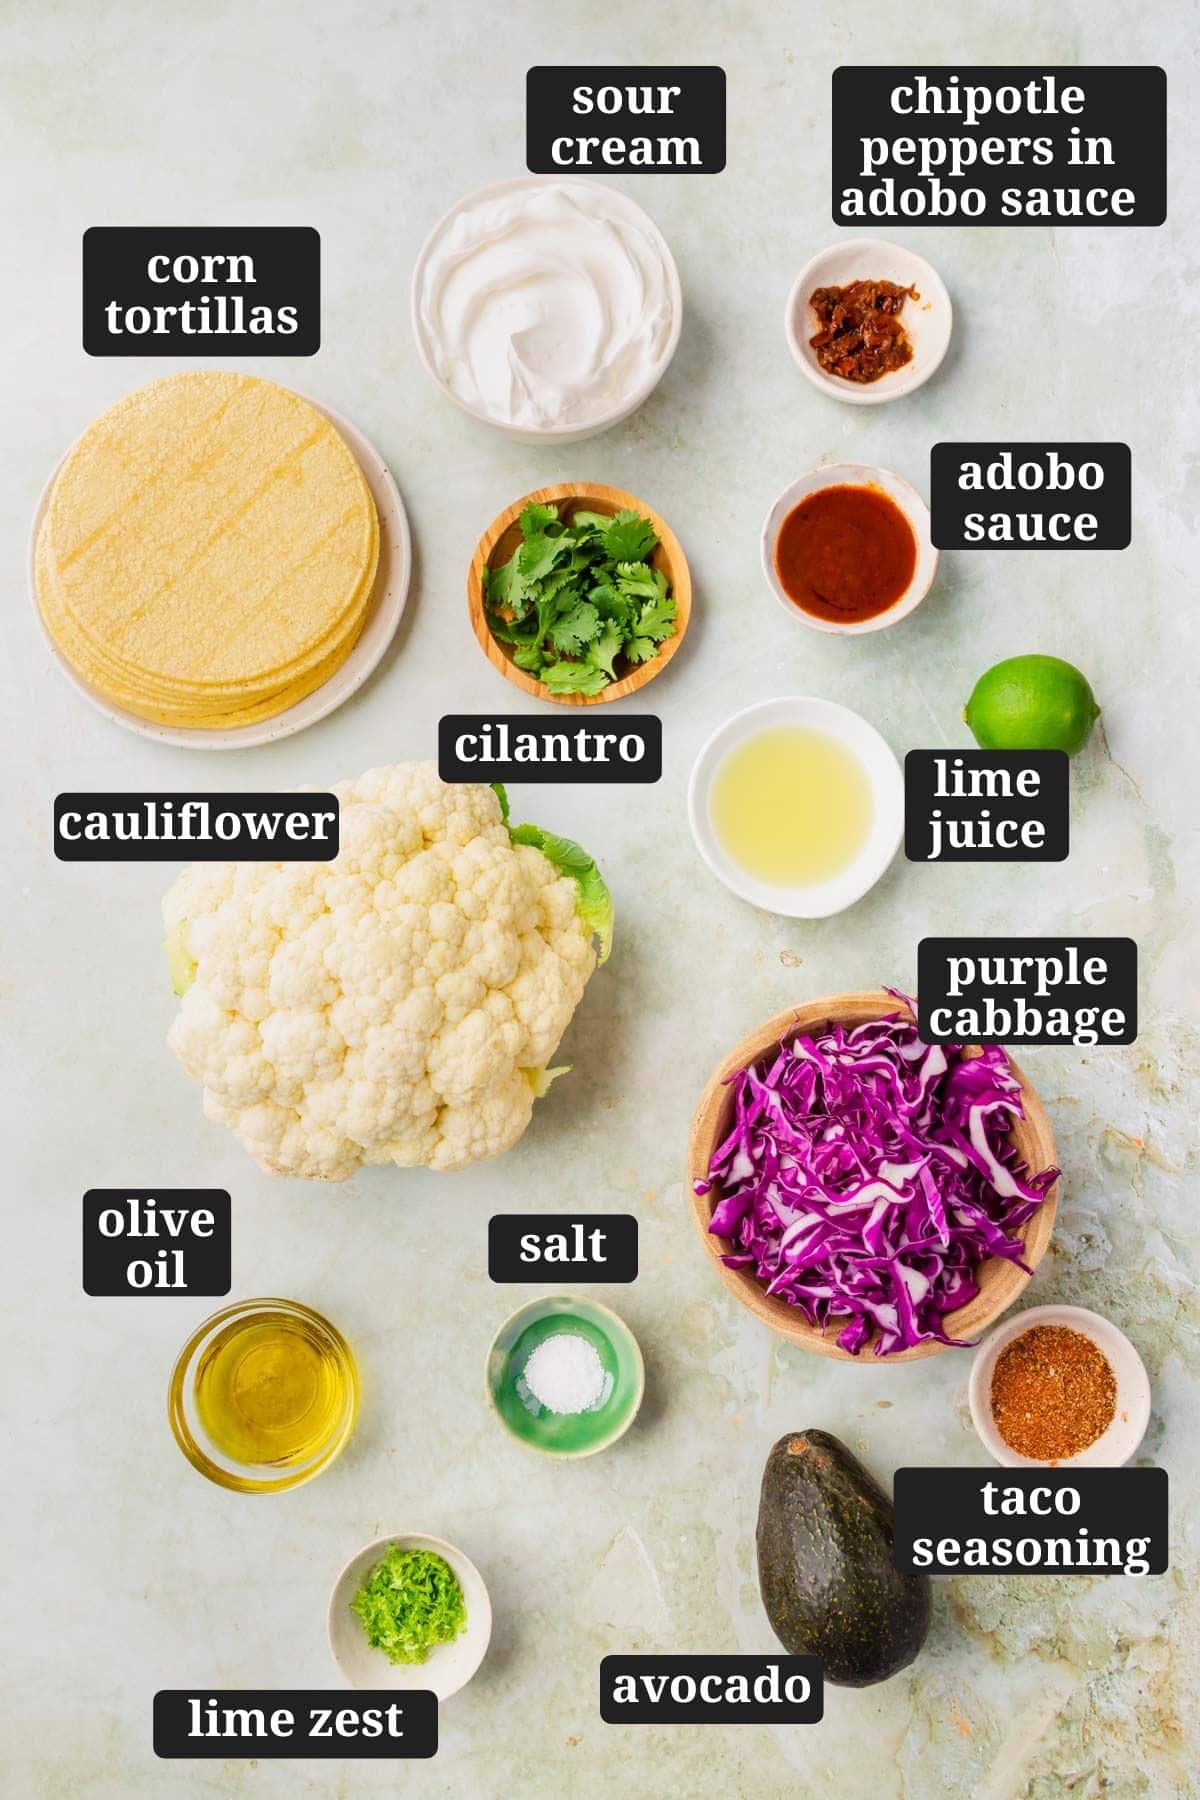
- Chipotle peppers in adobo sauce – Chipotle peppers in adobo sauce are smoked and dried jalapeño peppers that have been rehydrated in a rich, red adobo sauce. They give this cauliflower taco recipe some heat and tons of flavor. You can buy cans of chili peppers in adobo sauce from your local grocery store. In this recipe, we’re using both the adobo sauce and a few of the chipotle peppers to season our cauliflower. You’ll use the same can – just use 3 tablespoons of the sauce and 2 chipotle peppers chopped up. The leftovers in the can will keep for a few weeks in the refrigerator. Note: if you are gluten-free, make sure you buy a gluten-free brand as not all are gluten-free.
- Corn tortillas – Use homemade or store-bought corn tortillas for this recipe. If you are gluten-free or have celiac disease, you’ll want to make sure your corn tortillas are gluten-free as well.
- Cauliflower – I used a 2 lb head of cauliflower for this recipe which gave me about 5 ½ cups of cauliflower florets. You can use other varieties of cauliflower as well – Romanesco, purple, green cauliflower will all work here.
- Taco seasoning – I used my homemade gluten-free taco seasoning in this recipe, but you can use your favorite homemade or store-bought taco seasoning. If you are gluten-free, be sure to buy a gluten-free taco seasoning.
Step-by-Step instructions
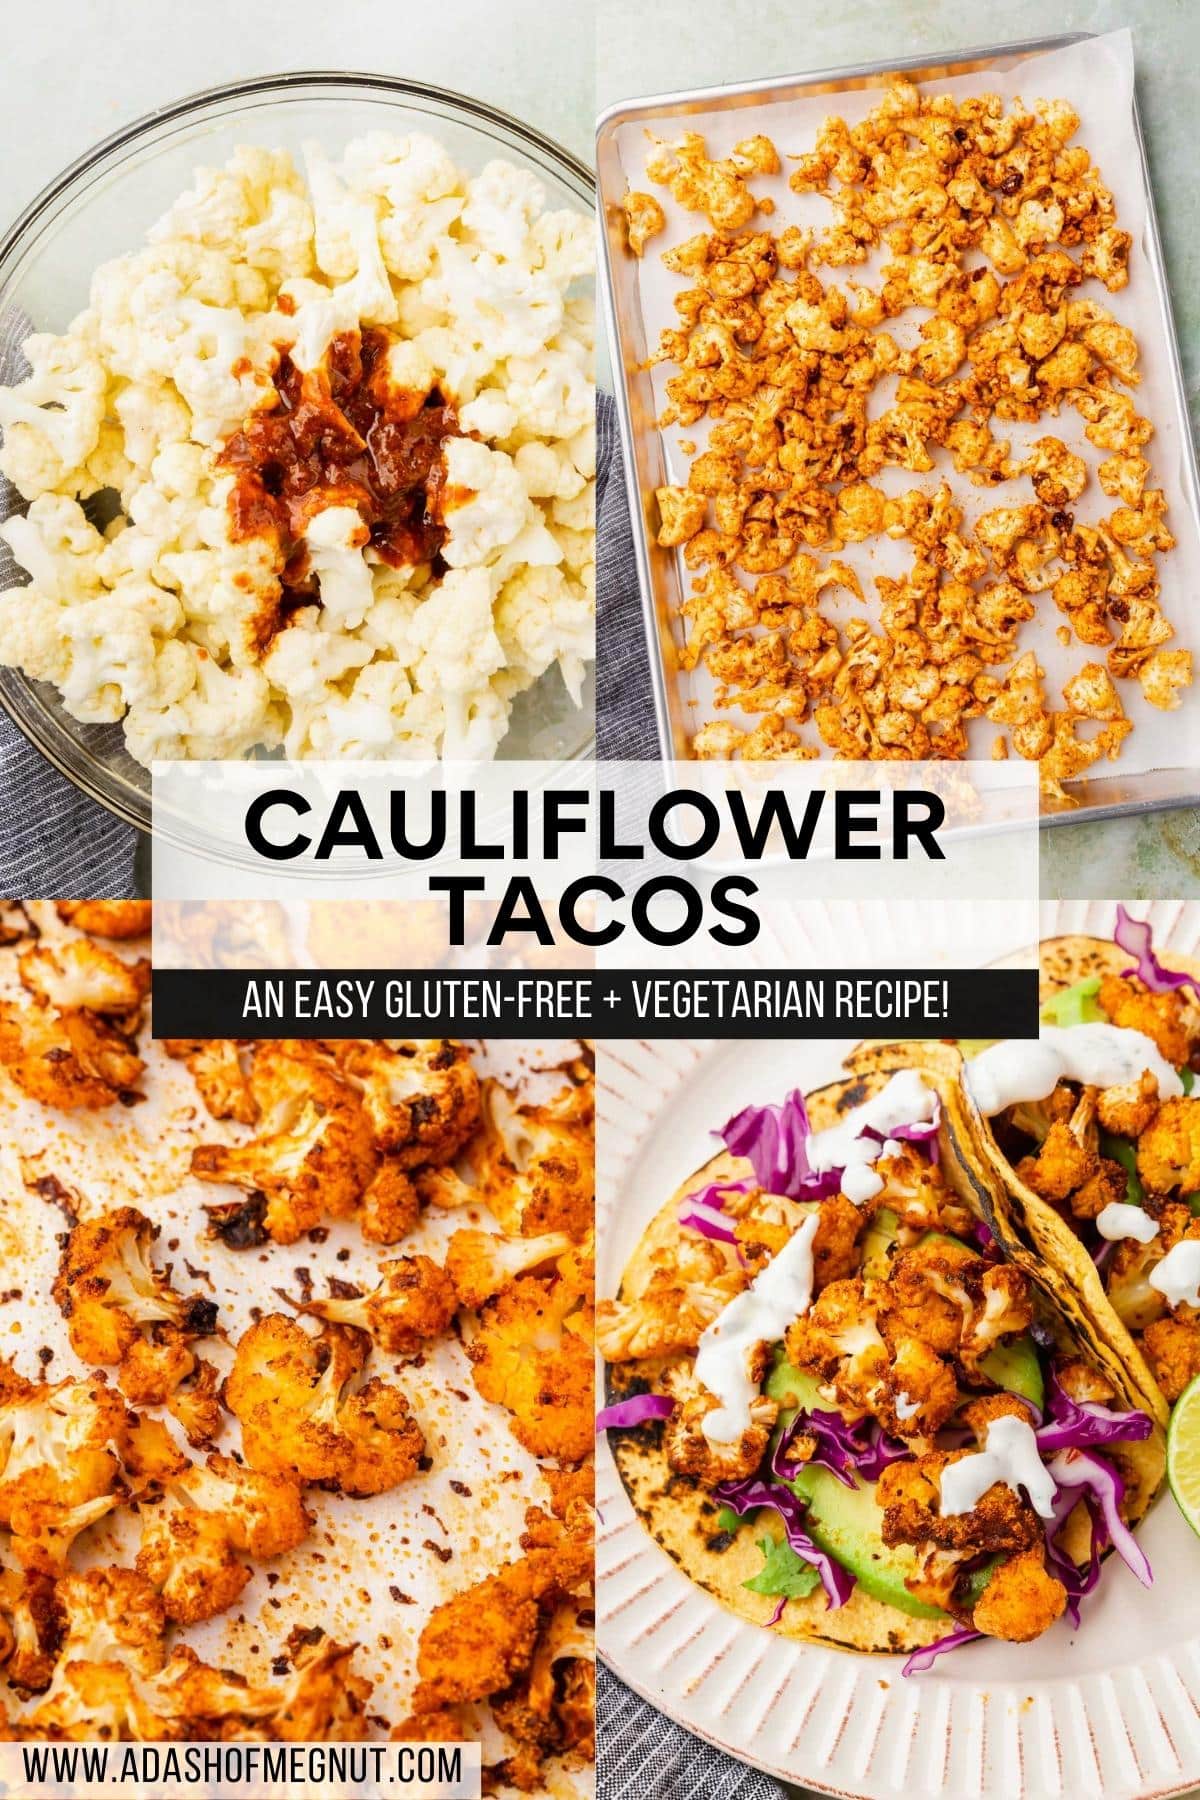
These roasted cauliflower tacos with cilantro lime crema are so easy to make with a few simple steps. Follow the step-by-step photos with matching instructions below to help you make these vegetarian tacos perfectly every time. For the ingredient amounts, more detailed instructions, tips, tricks, and the printable recipe please scroll down to the recipe card.
It’s very simple to make cauliflower tacos. All you need to do is roast the spiced cauliflower florets, make the cilantro lime crema, char your corn tortilas, and assemble your tacos! Use the steps below as visual cues to help you make this recipe.



Expert Tips
- Warm your corn tortillas to help them stay pliable and bring out their flavor. I love to char my corn tortillas over a gas stove but you can also warm them in the microwave or oven if you prefer. A warm tortilla will not fall apart as easily as a cold corn tortilla.
- Cut your cauliflower florets into small bite sized pieces that are all roughly the same size so that they cook evenly and crisp up.
- Cook the cauliflower in an even layer making sure to give enough space between each cauliflower floret so that they can get really crispy and lightly charred. If you pile them on top of each other, they will just steam and stay mushy.
Recipe FAQs
You would think that taco seasoning is just a combination of a few simple seasonings, like chili powder, onion powder, cumin, garlic powder, salt, etc.. However, not all brands of taco seasoning are gluten-free. Many brands add wheat or other gluten containing grains to their taco seasoning. Always double check labels to be sure if your taco seasoning is gluten-free OR make my homemade gluten-free taco seasoning instead!
These cauliflower tacos have been created to be gluten-free using gluten-free ingredients and products. There are a few ingredients you will need to make sure you buy the gluten-free version of to make sure they are gluten-free. The recipe card will note which products may not be gluten-free.
These cauliflower tacos are vegan except for the cilantro lime crema which contains sour cream or greek yogurt. To make these tacos vegan, use a vegan sour cream or greek yogurt alternative. You can also omit the cilantro lime crema and use your favorite vegan sauce instead.
Related Recipes
Did you make this recipe?
I’d love to know! Please rate it and leave a comment below. You can also share your pictures and tag @adashofmegnut on Instagram.

Roasted Cauliflower Tacos
Ingredients
For the cauliflower:
- 3 tablespoons olive oil or avocado oil
- 3 tbsp adobo sauce (from a can of chipotle peppers in adobo *choose a gluten-free brand)
- 2 chipotle peppers in adobo sauce (finely chopped *choose a gluten-free brand)
- 1 tbsp lime juice
- 1 1/2 tablespoons homemade taco seasoning *if using store-bought (choose a gluten-free brand)
- 1 head cauliflower (cut into small florets (about 5-6 cups total))
For the cilantro lime crema:
- 1 cup sour cream or greek yogurt (substitute vegan if needed)
- 2 tbsp fresh cilantro (finely chopped)
- 2 tbsp fresh lime juice
- 1 teaspoon lime zest
- 1/2 teaspoon salt
For serving:
- 1 cup red cabbage (shredded (from 1/4 cabbage head))
- 12 gluten-free corn tortillas (charred)
- 1 avocado (sliced)
- 1/4 cup fresh cilantro (chopped, for serving)
- 1 lime (sliced in wedges, for serving)
Instructions
- Preheat the oven to 450F. Line a baking sheet with parchment paper and set aside.
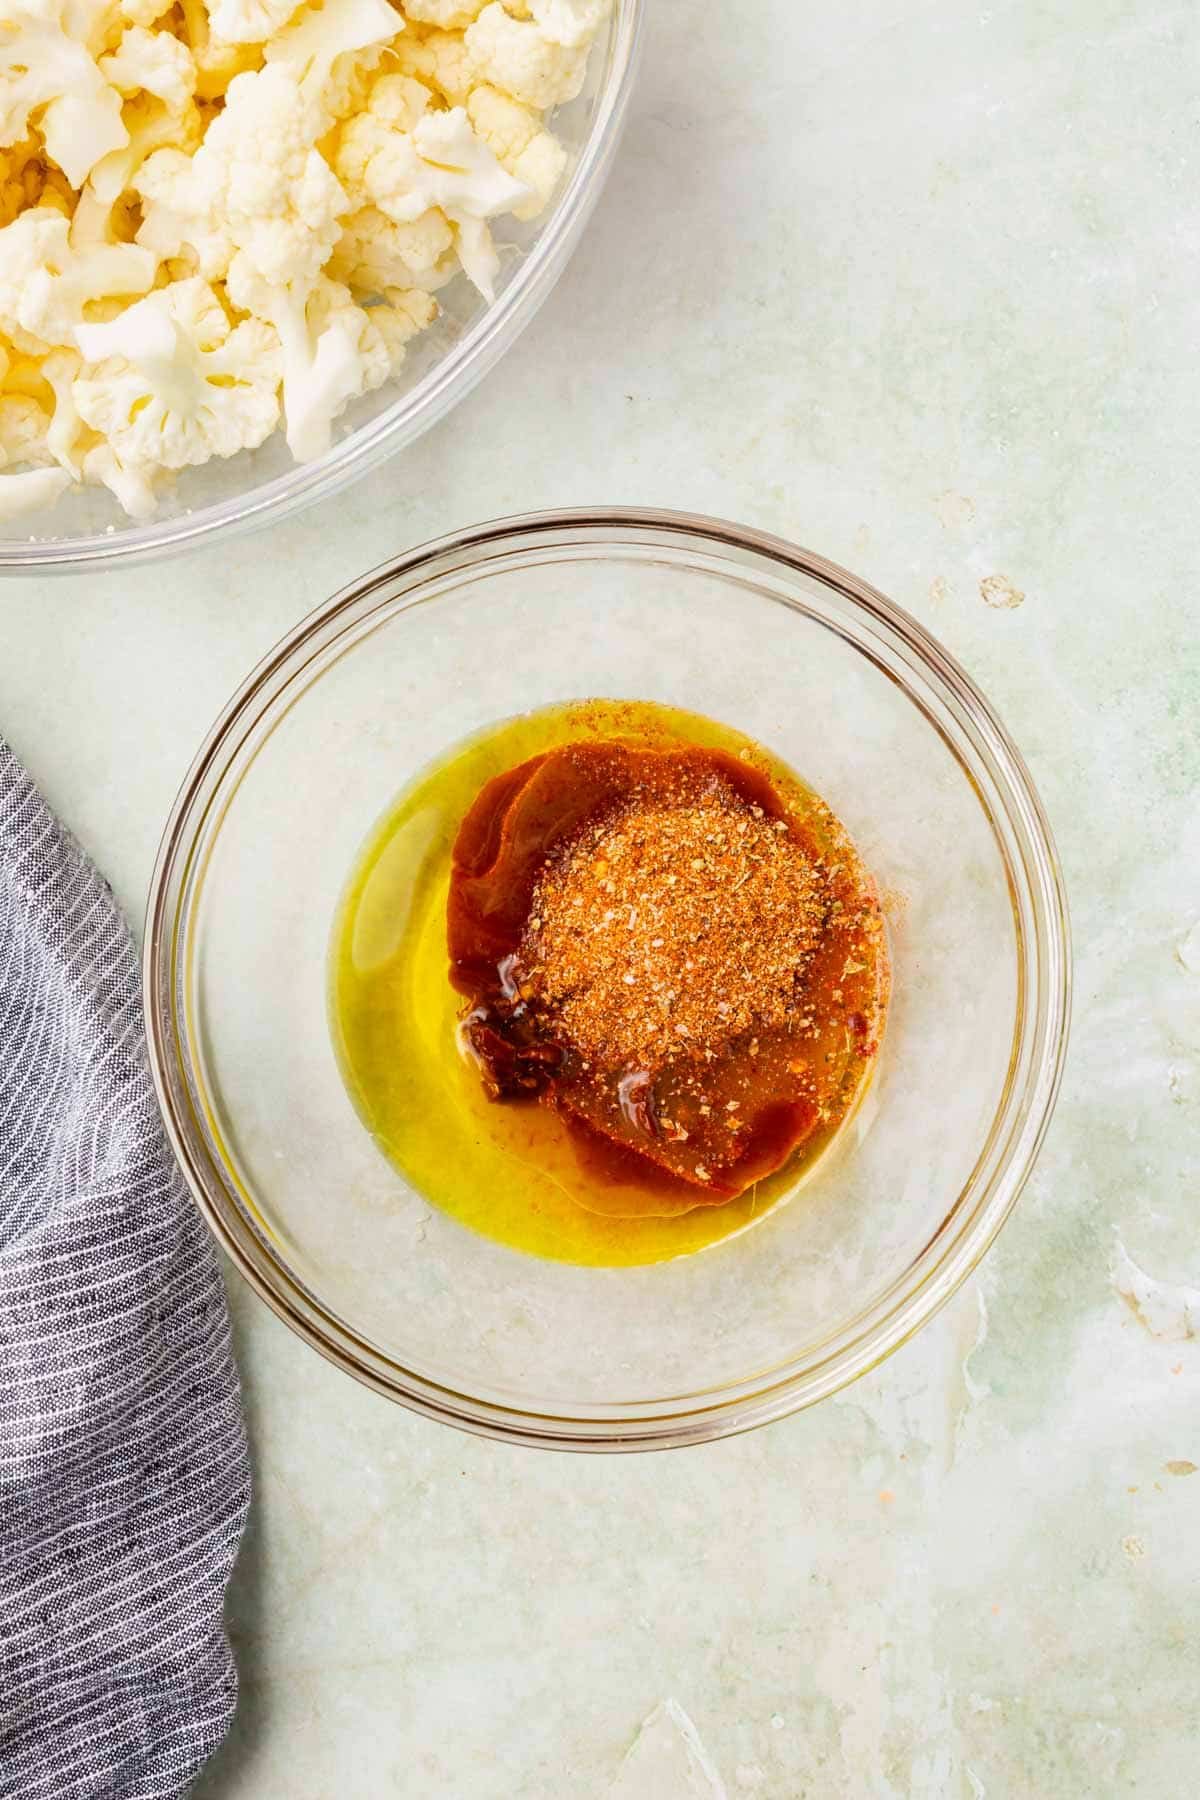
- In a bowl, mix together the olive oil, adobo sauce, chilis in adobo, lime juice and taco seasoning.
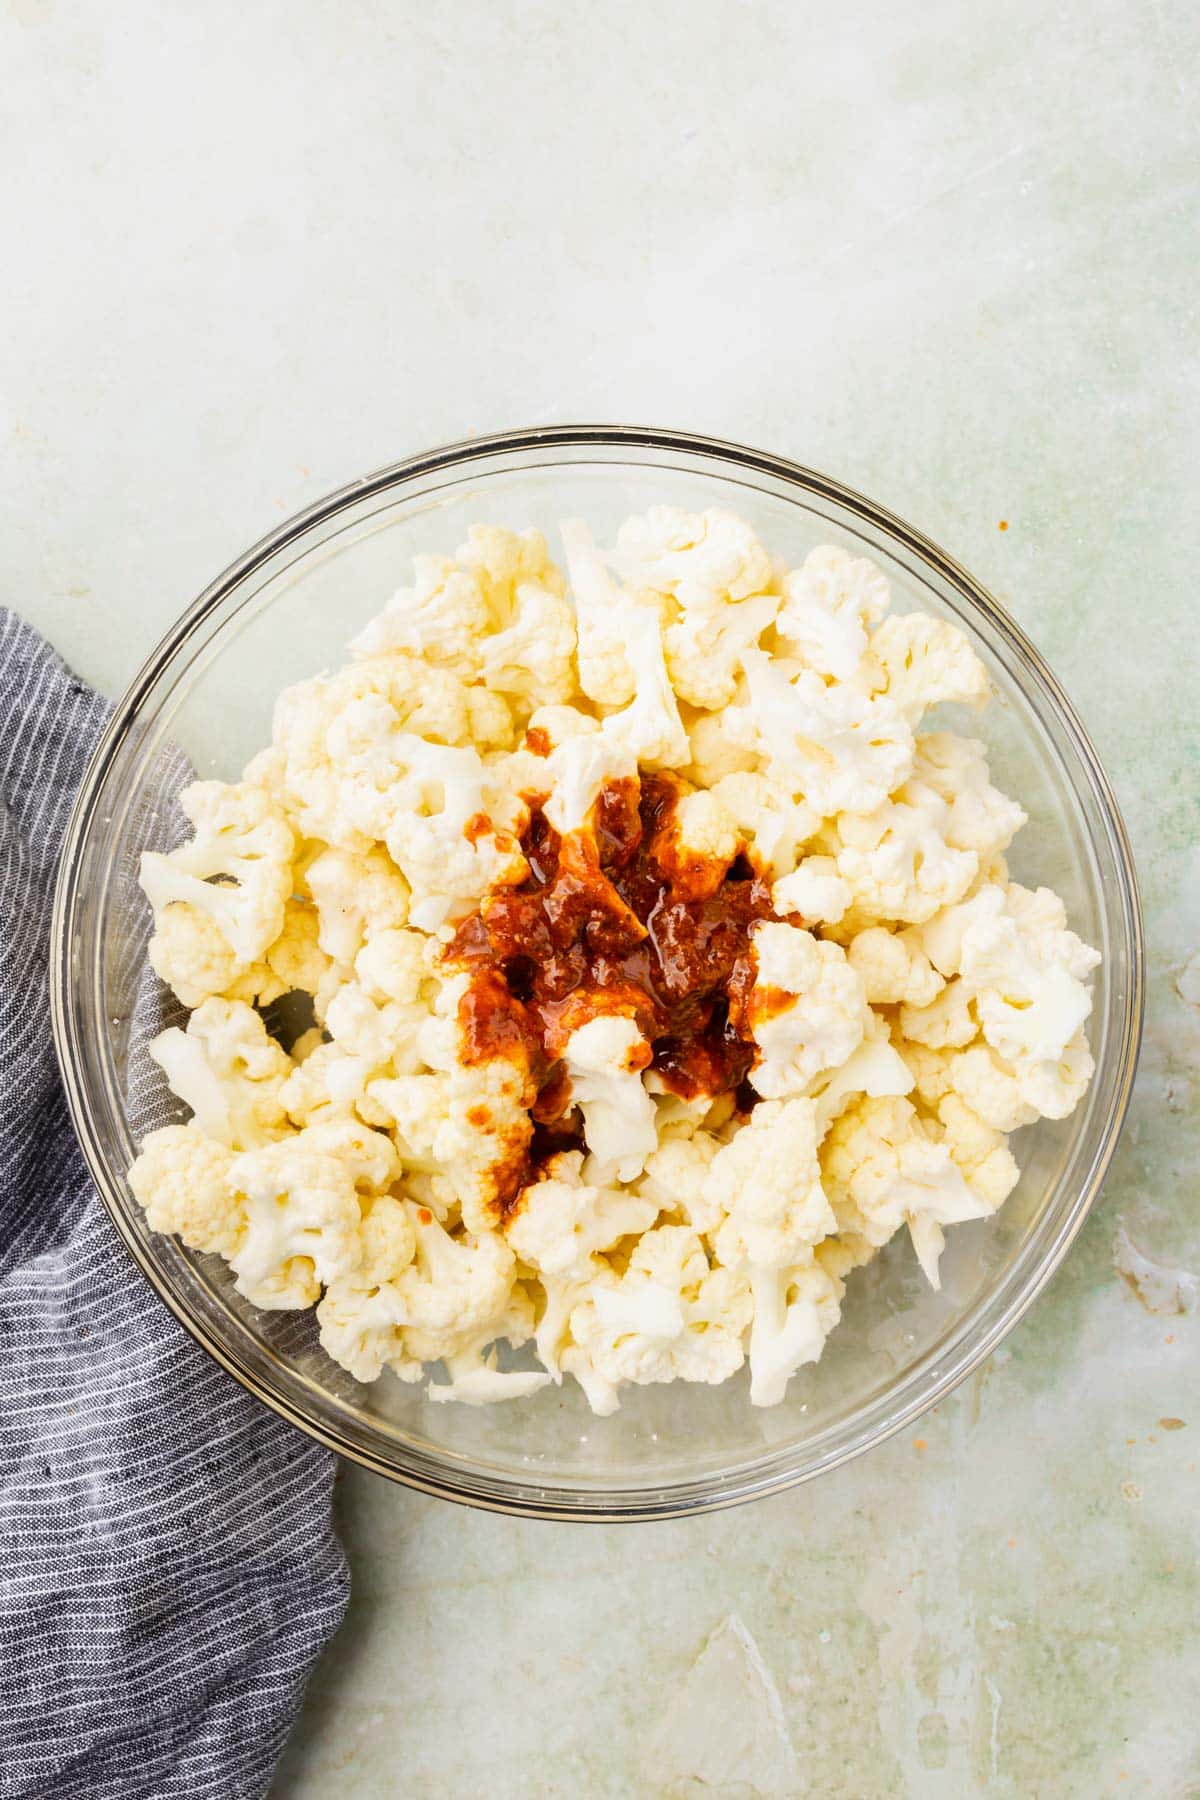
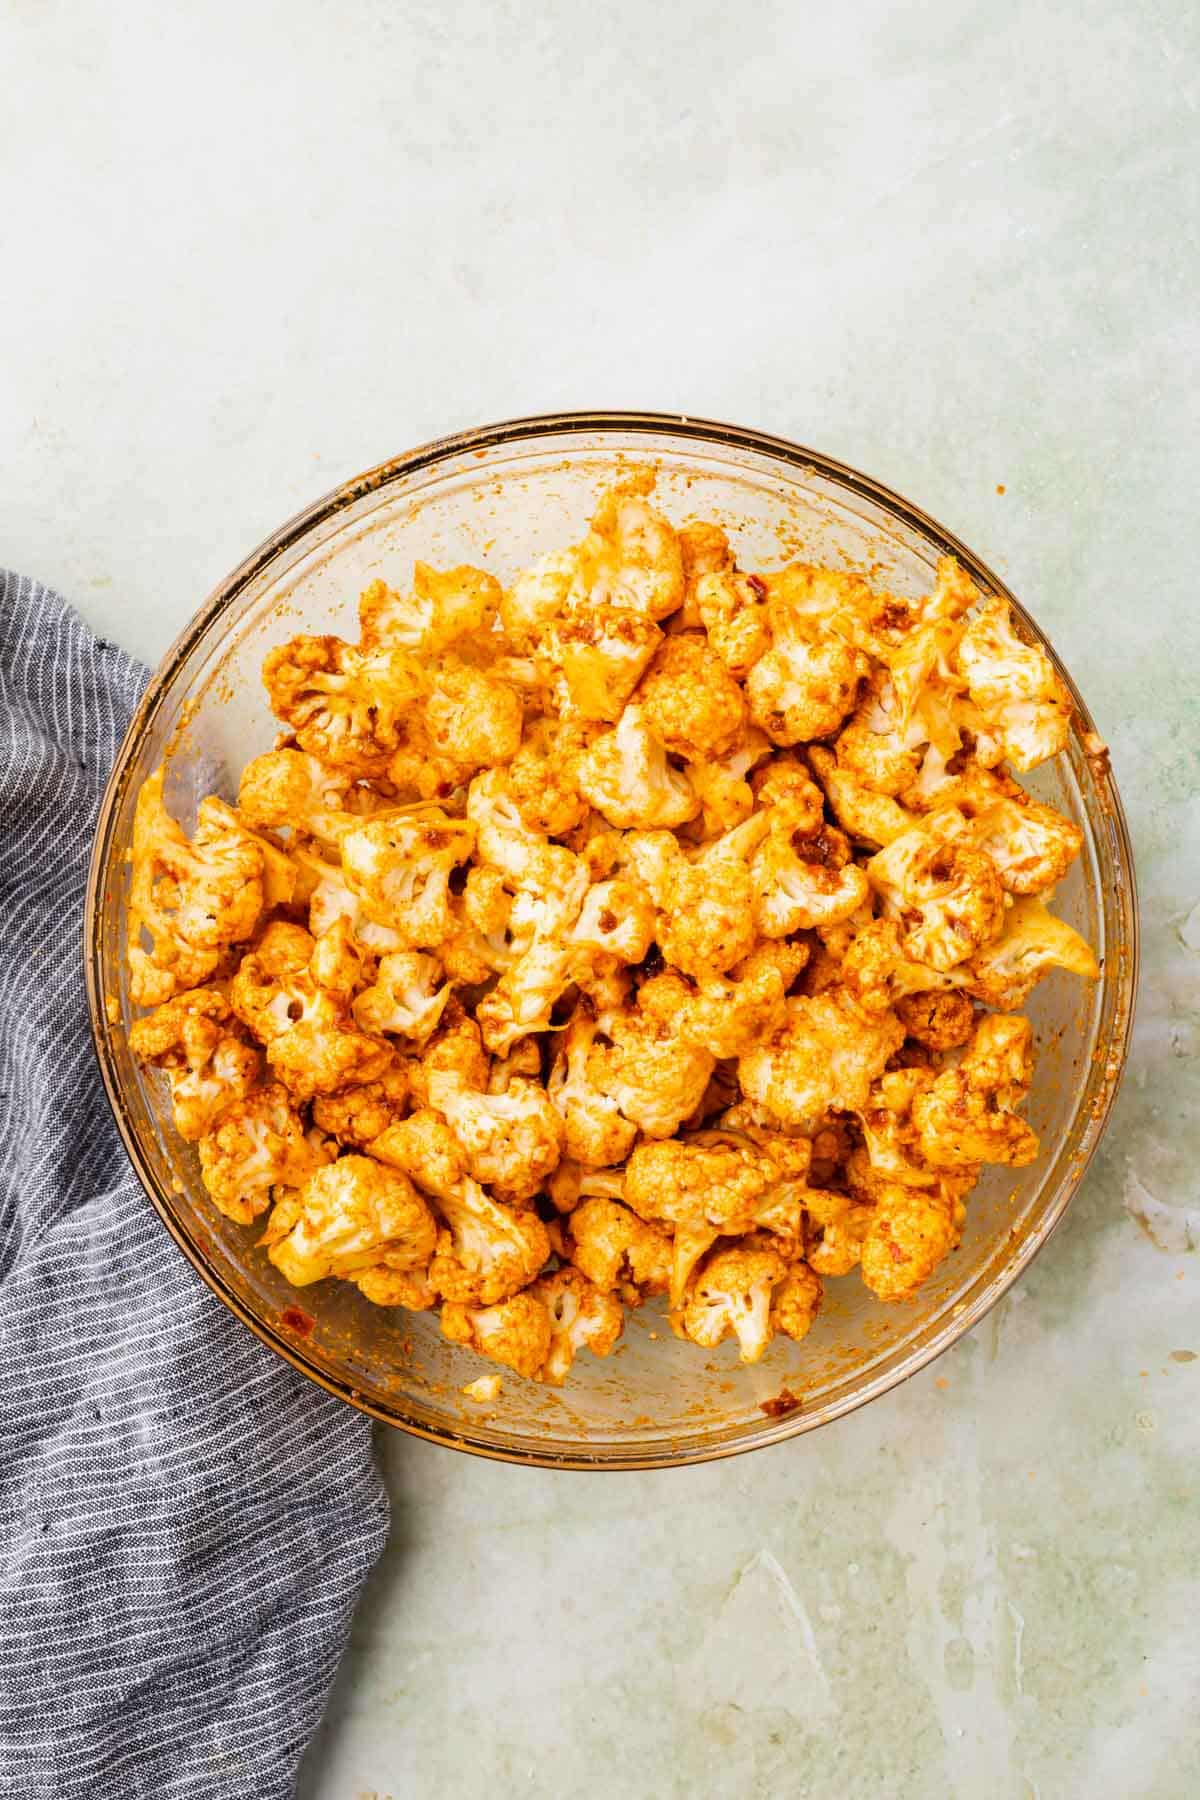
- Add the cauliflower florets to the sauce. Toss until combined.
- Place the seasoned cauliflower florets on the prepared baking sheet in a single layer. Bake at 450F for 30-35 minutes, stirring 2-3 times during the baking, until the cauliflower is tender, crispy, and charred.
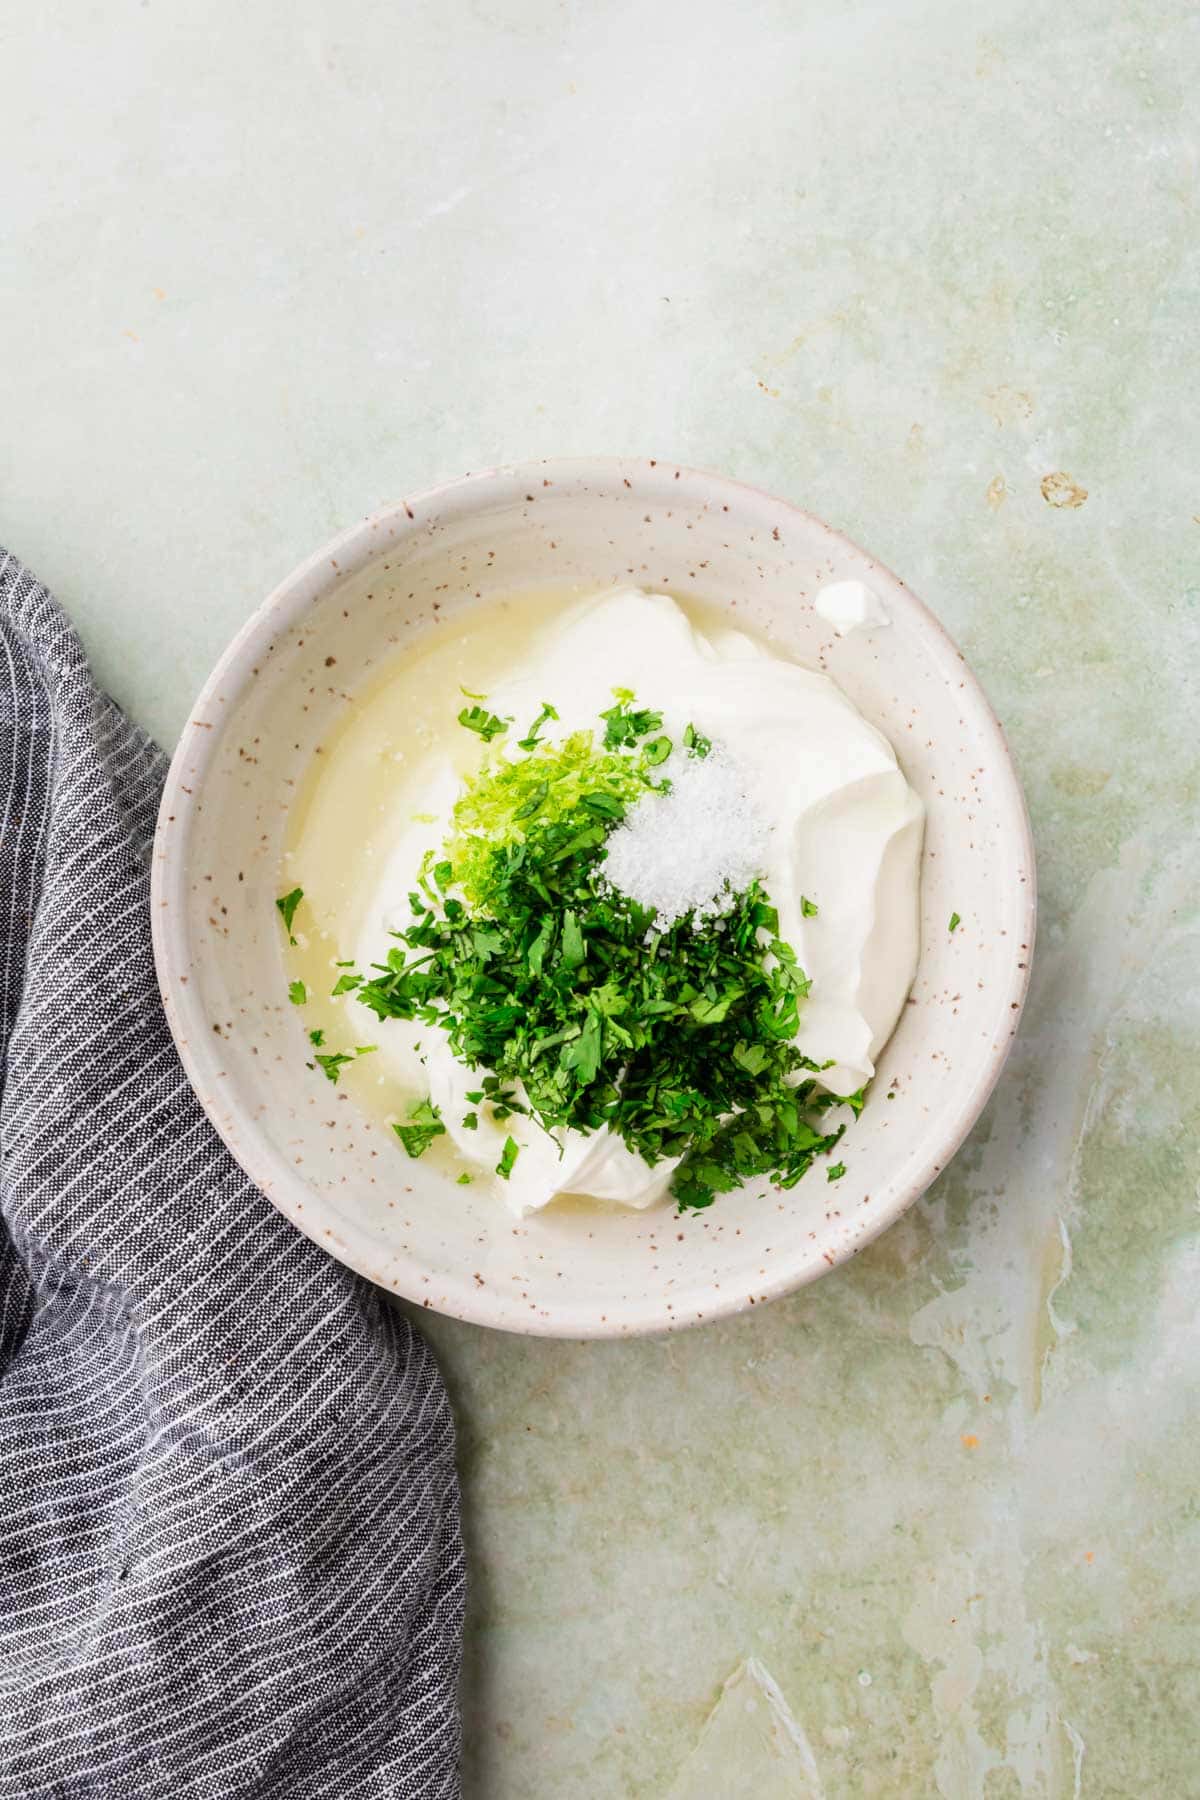
- While the cauliflower is baking, make the cilantro lime crema. Add the sour cream or greek yogurt to a bowl. Stir in the cilantro, fresh lime juice, lime zest, and salt until combined. Refrigerate until ready to use.
- To serve, layer the roasted cauliflower on charred corn tortillas with shredded red cabbage, sliced avocado, and chopped cilantro. Top with a lime wedge and a drizzle of cilantro lime crema.
Notes
- Nutritional information is calculated per taco and is an estimation.
- My cauliflower head was 2 lbs and I was able to get about 5 ½ cups of cauliflower florets from it.
- If you are gluten-free, be sure to use gluten-free corn tortillas. Some brands add flour to their corn tortillas or they are manufactured on the same line as regular flour tortillas.
- Not all brands of chipotle peppers in adobo sauce are gluten-free, so be sure to check labels.
- You can use my homemade taco seasoning for this recipe, which is made from just a few spices or you can use your own favorite homemade taco seasoning. If you use store-bought taco seasoning, keep in mind that not all brands are gluten-free and most add wheat to the seasoning so you will want to choose a gluten-free brand and double check ingredient labels.
- This recipe is vegan besides the cilantro lime crema. You can use a vegan sour cream or vegan greek-style yogurt instead to make this vegan. Alternatively, you can substitute the cilantro lime crema with your favorite vegan sauce instead.
- I love to char my corn tortillas for tacos and it’s really easy to do. Just place the corn tortillas one at a time over a gas burner on low and lightly char the tortillas on the edges. You can also warm the tortillas in other ways – like the microwave or oven – if you prefer. Warming the tortilla will ensure it doesn’t break apart when you assemble your tacos.
Nutrition
This recipe was originally published on June 8, 2017 and updated on August 17, 2022 with new photos, tips and tricks to help you make this recipe perfectly every time.


