Why you’ll love this recipe
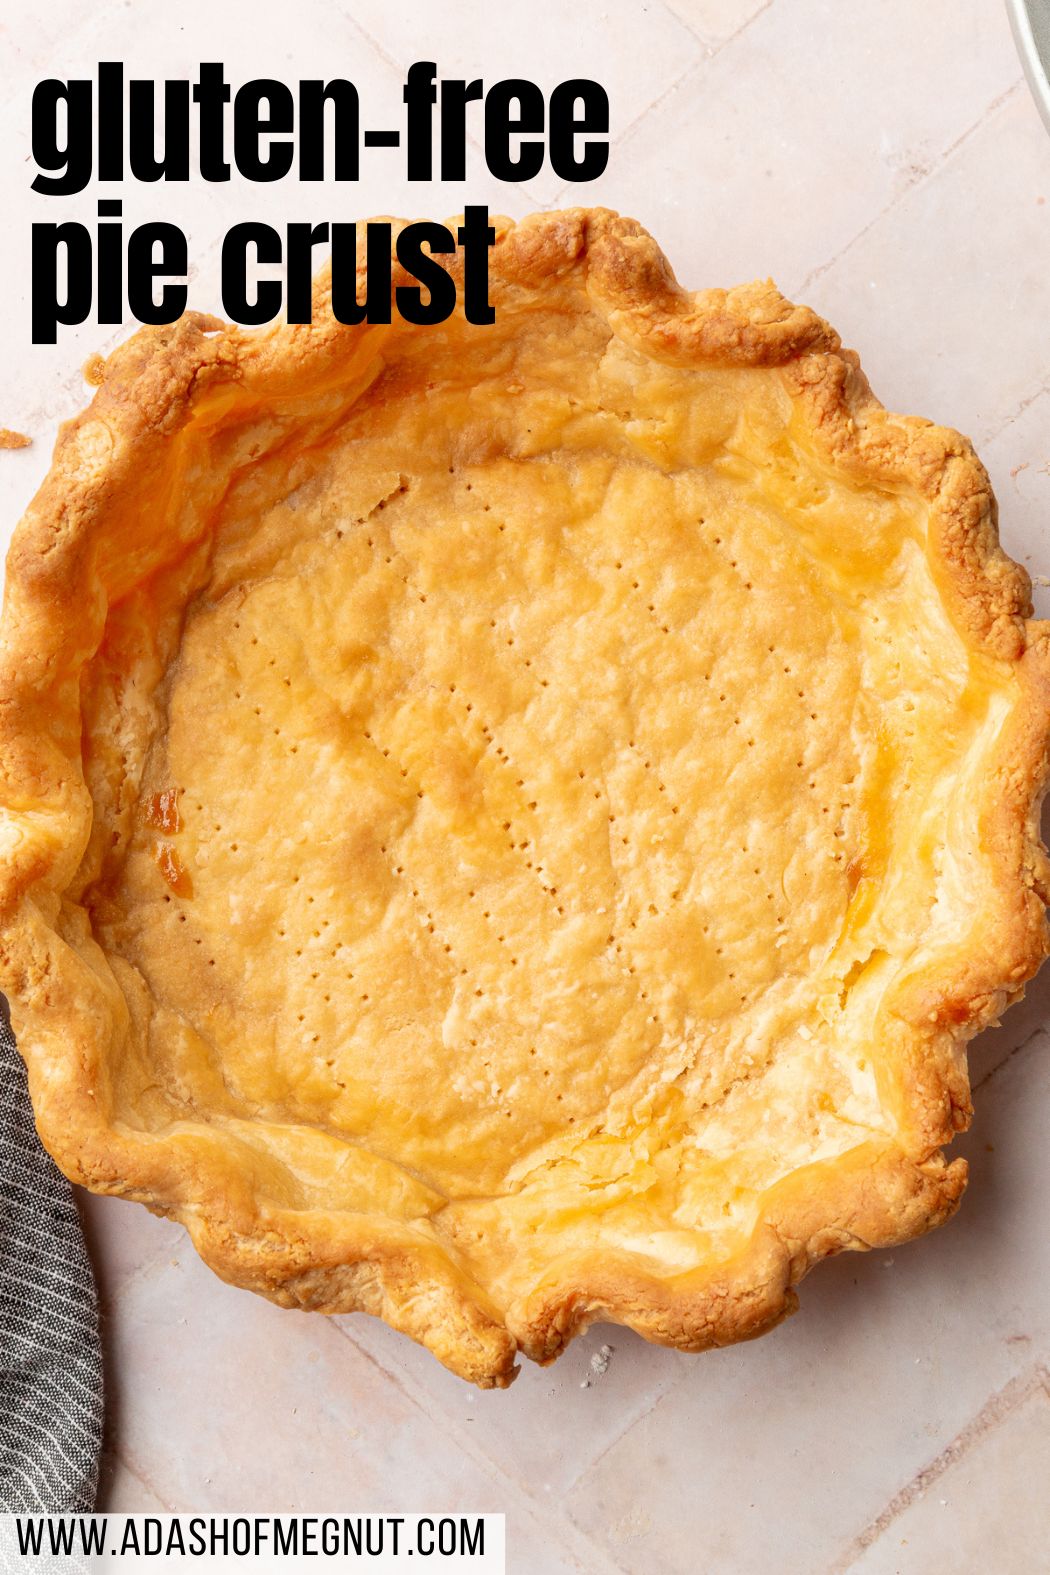
I spent months developing this gluten-free pie crust recipe and testing it over and over in both sweet and savory applications to make sure it is truly the best gluten-free pie crust recipe you’ll ever have. While it does require a few extra steps from a traditional pie crust recipe, they’re easy to complete with my notes and step-by-step photos and the end result is worth it!
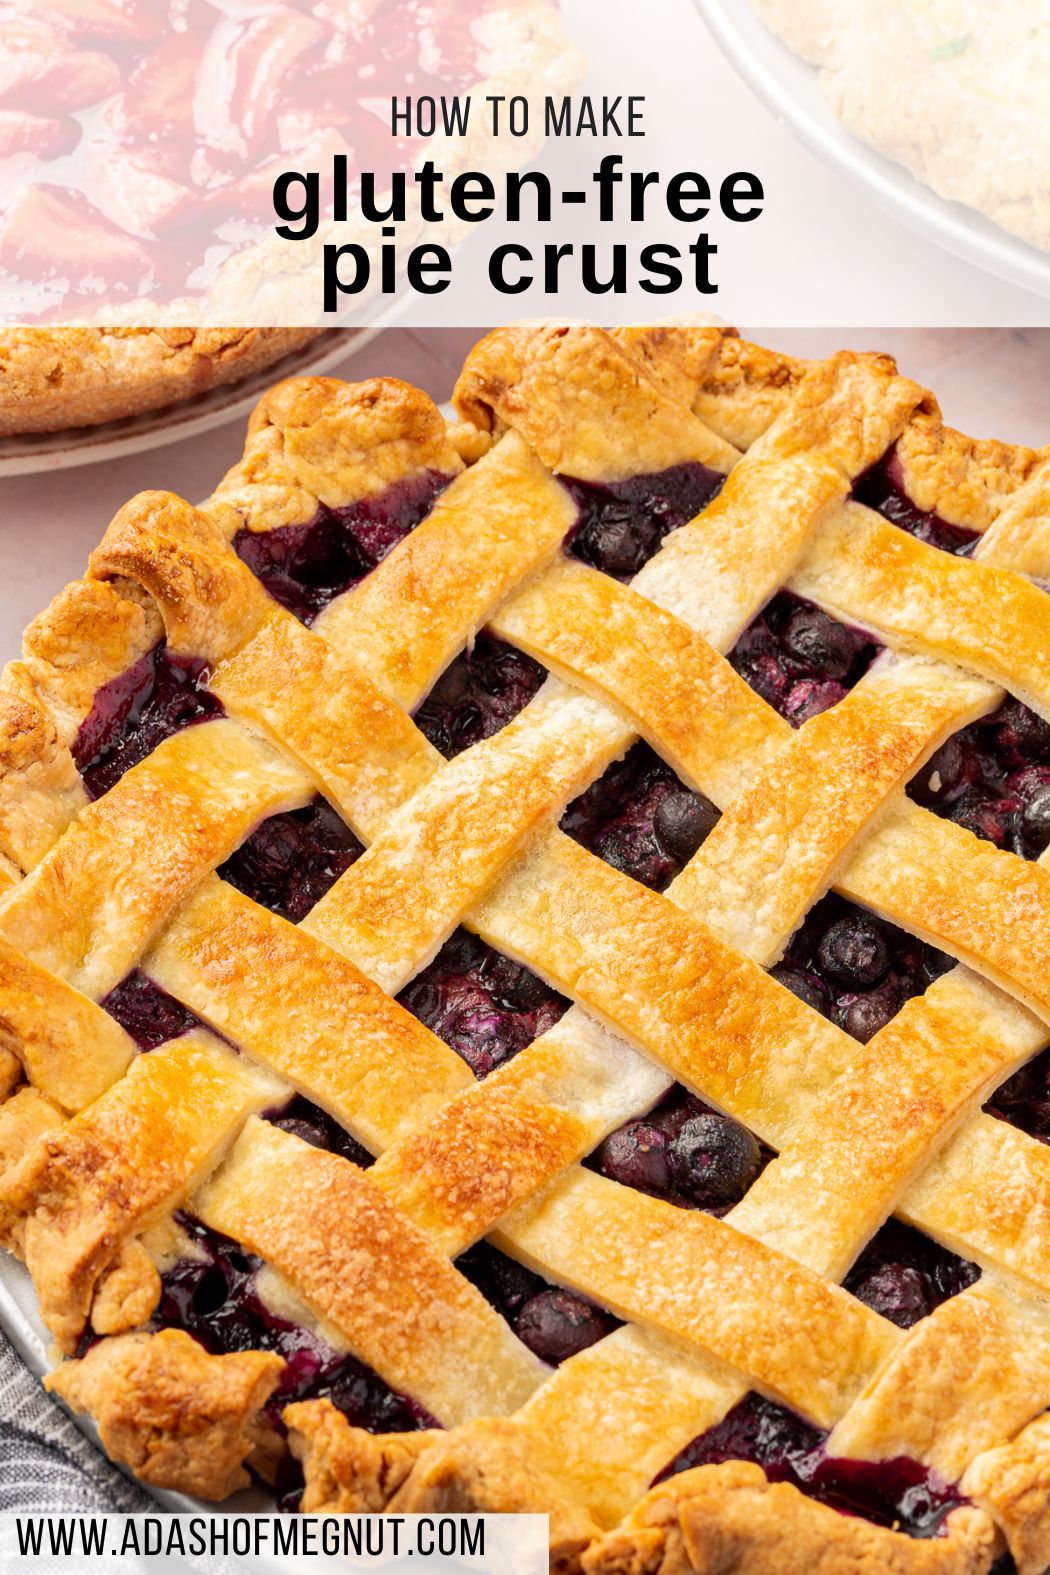
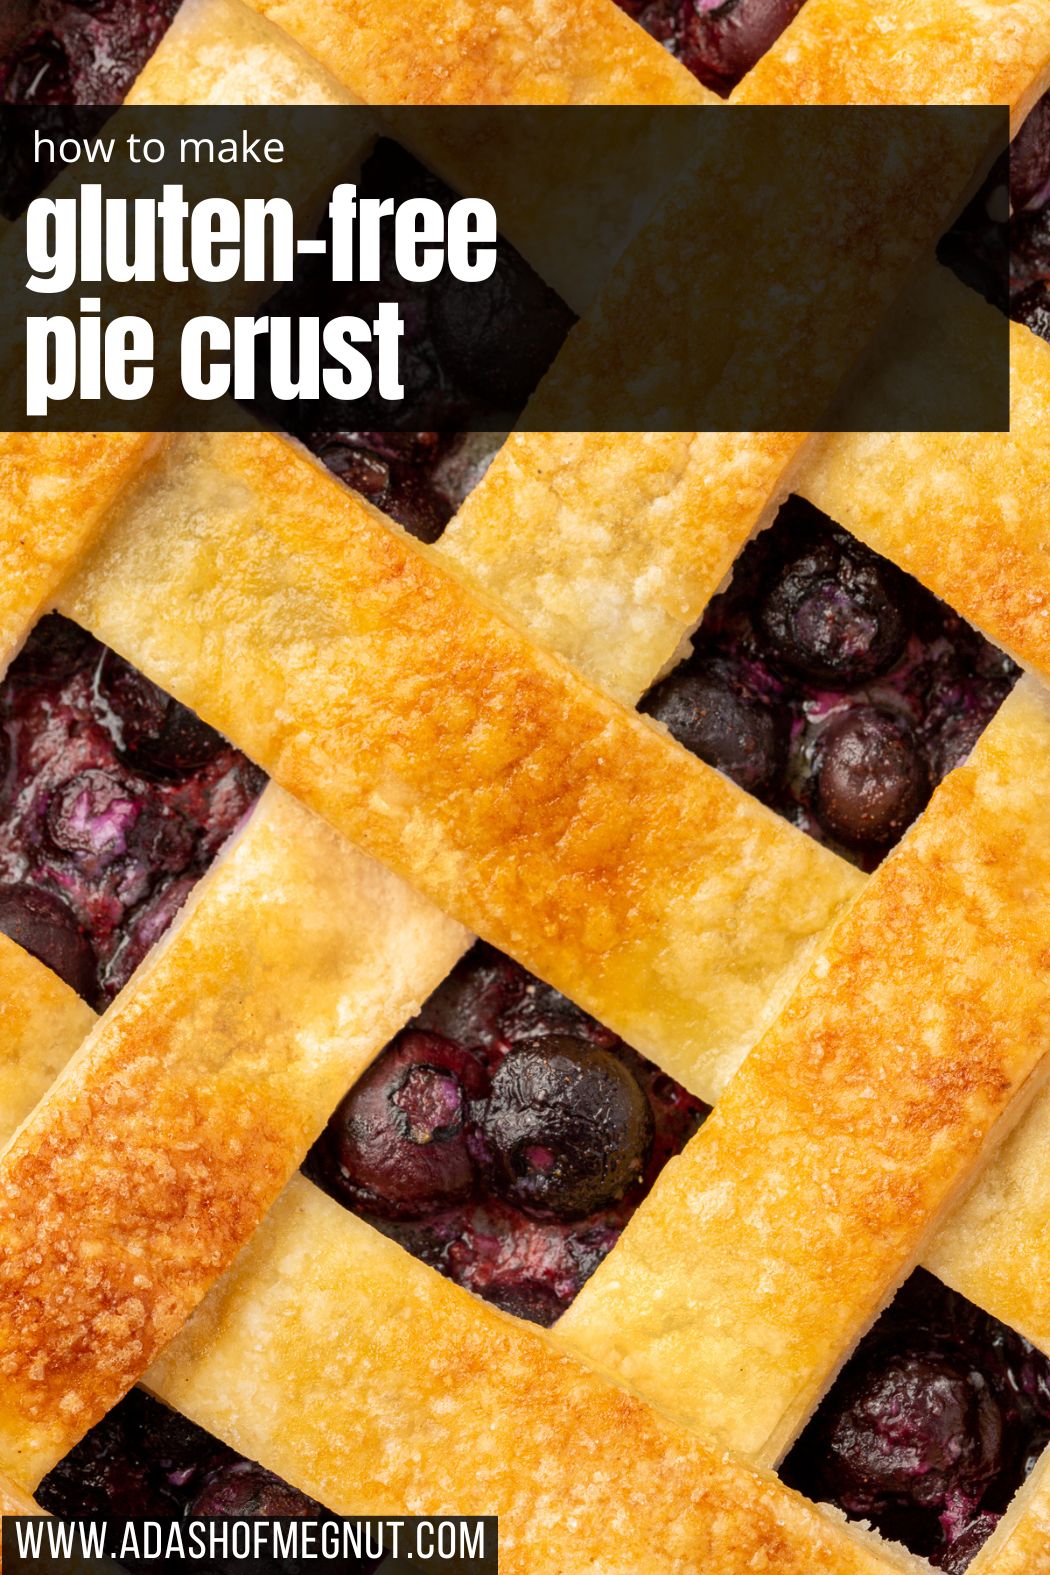
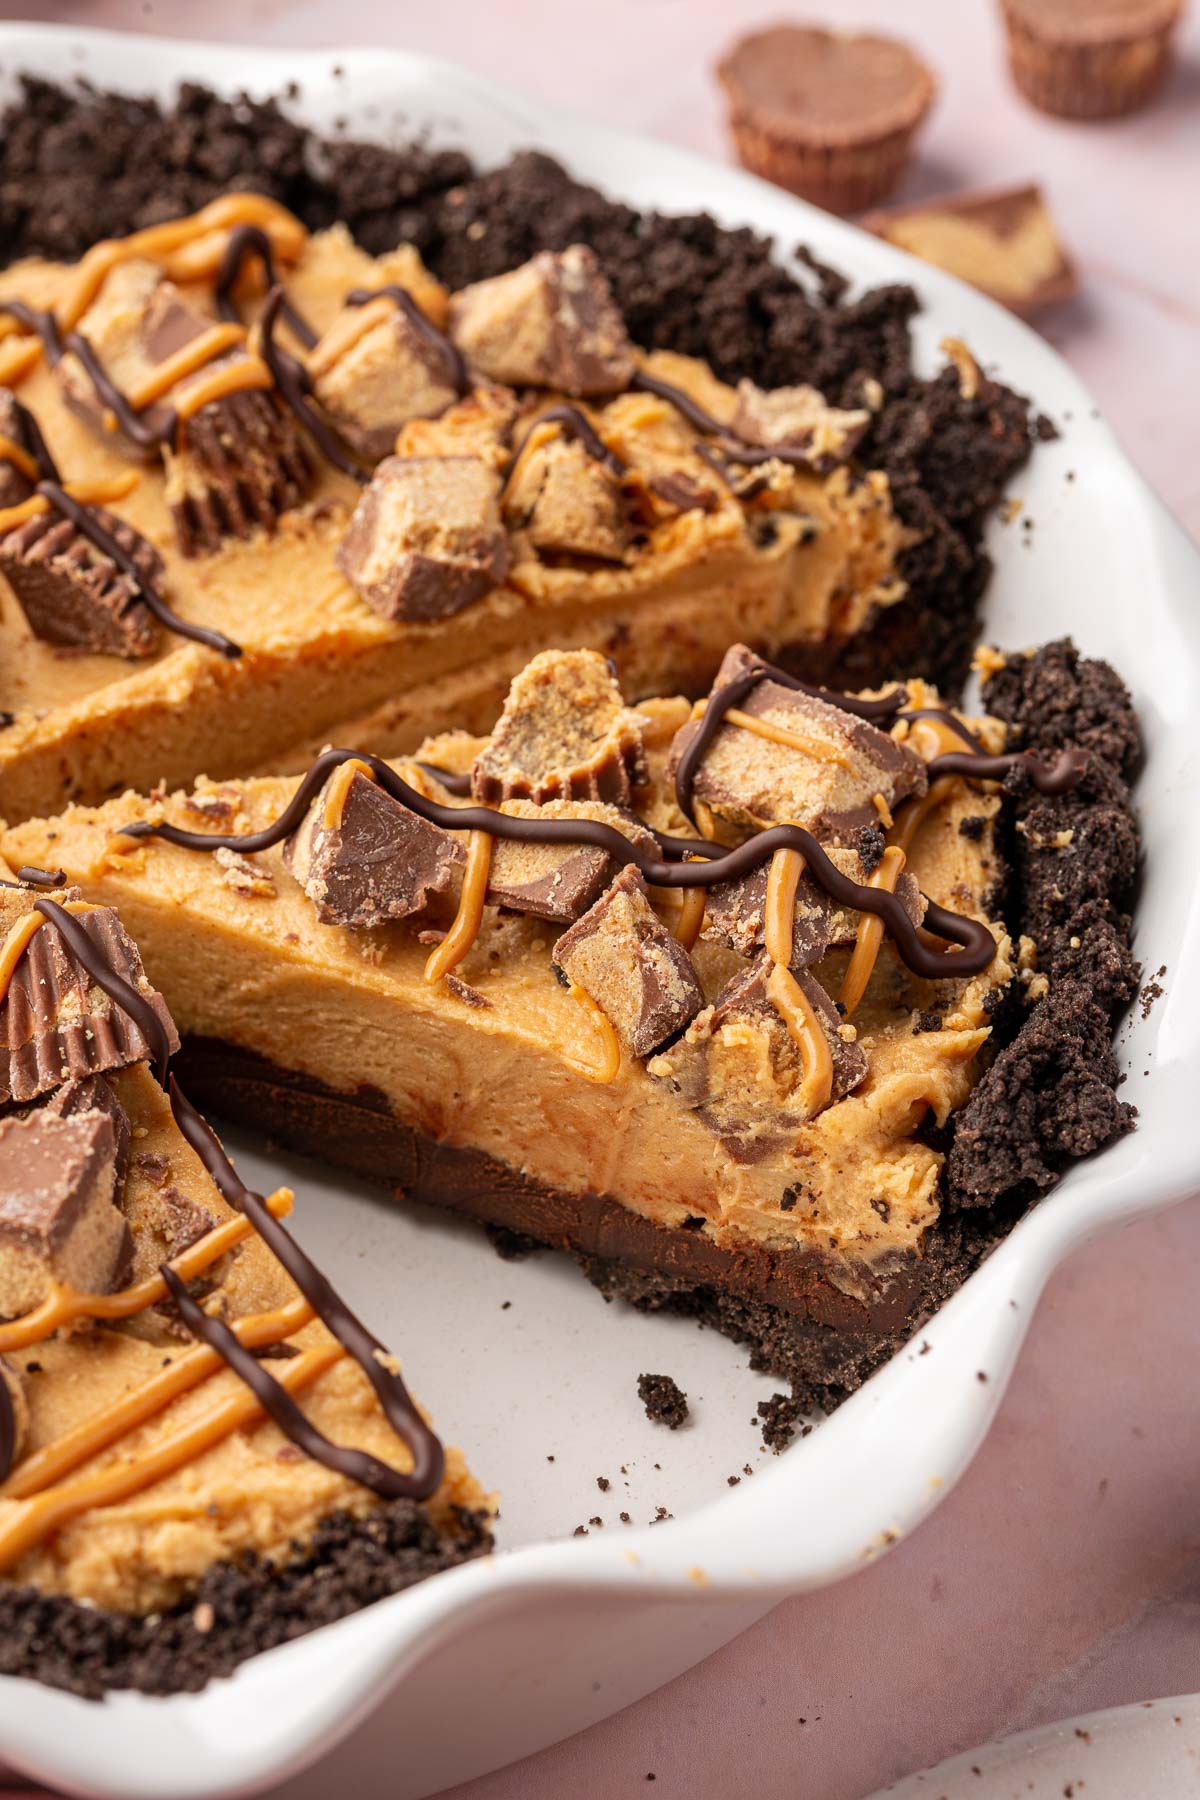
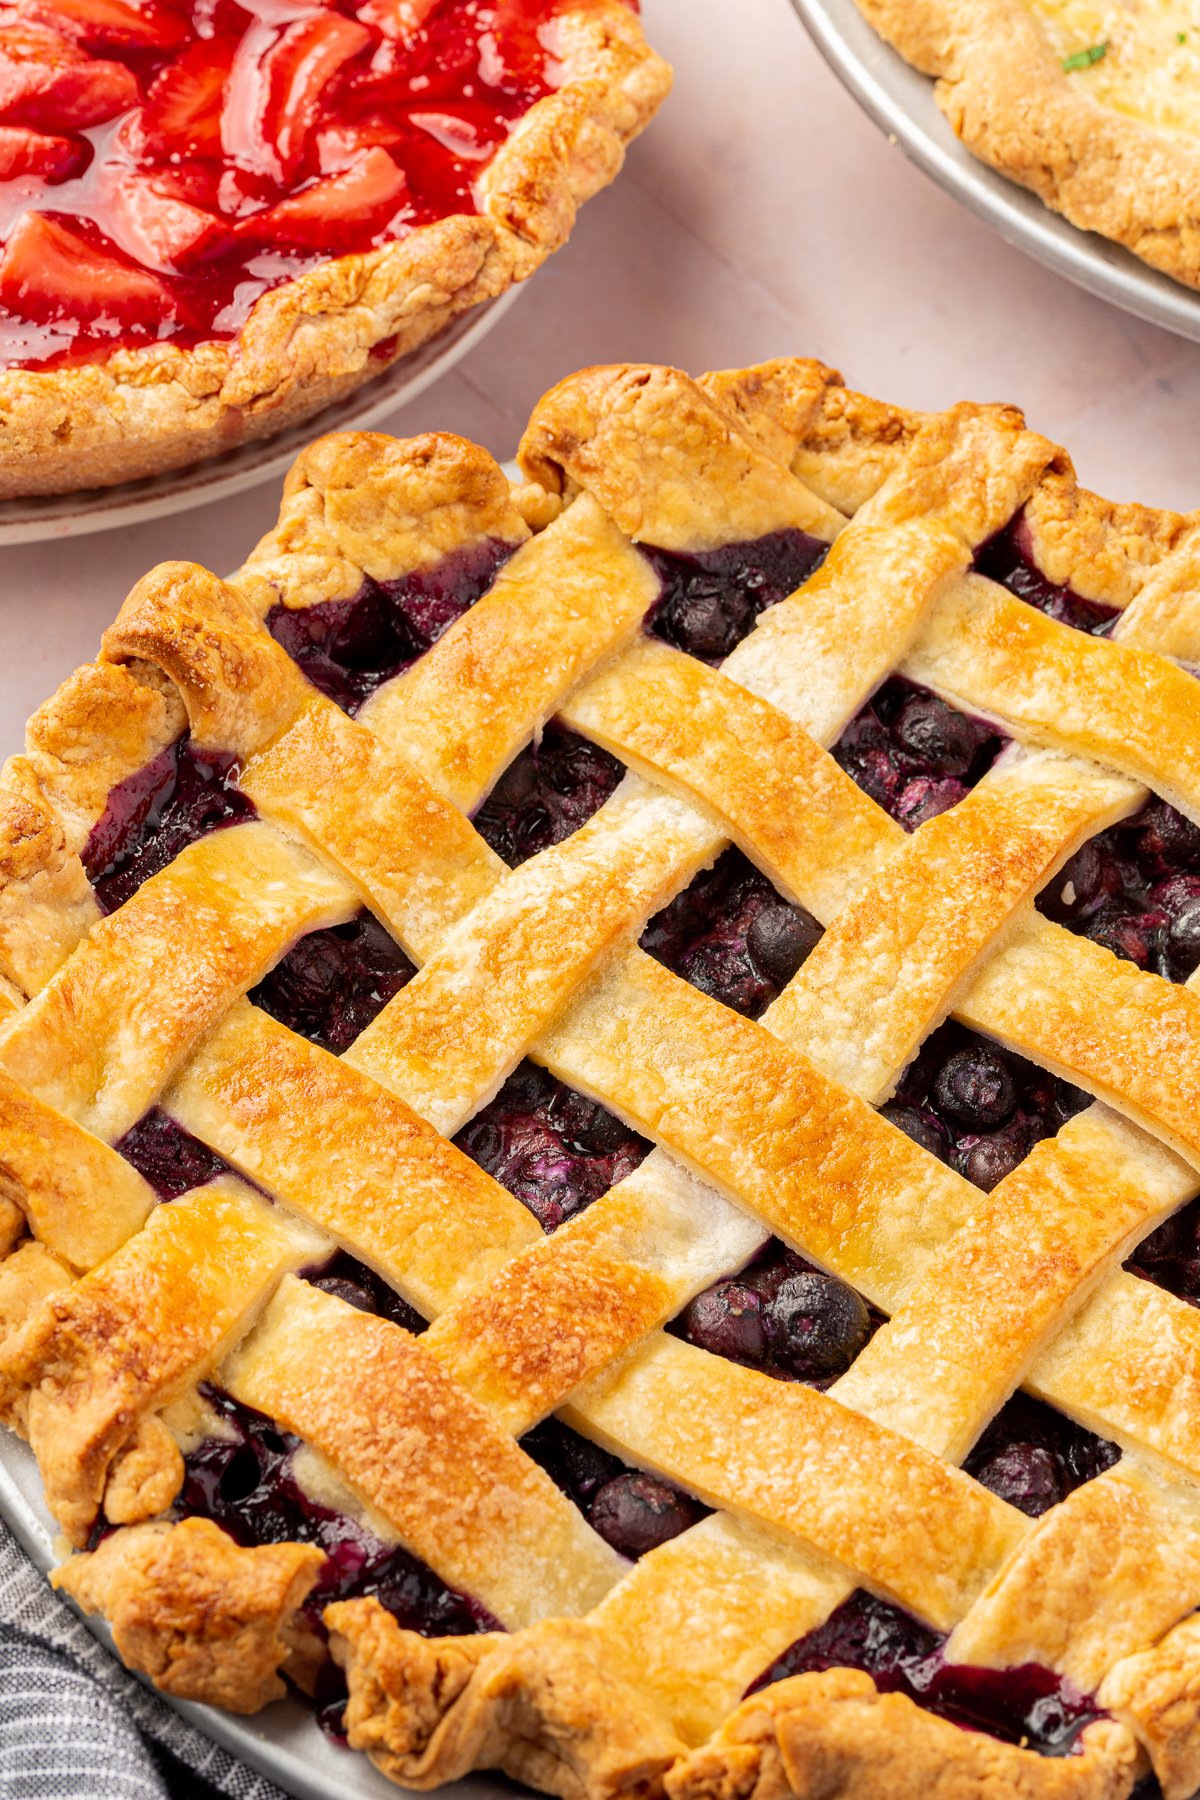
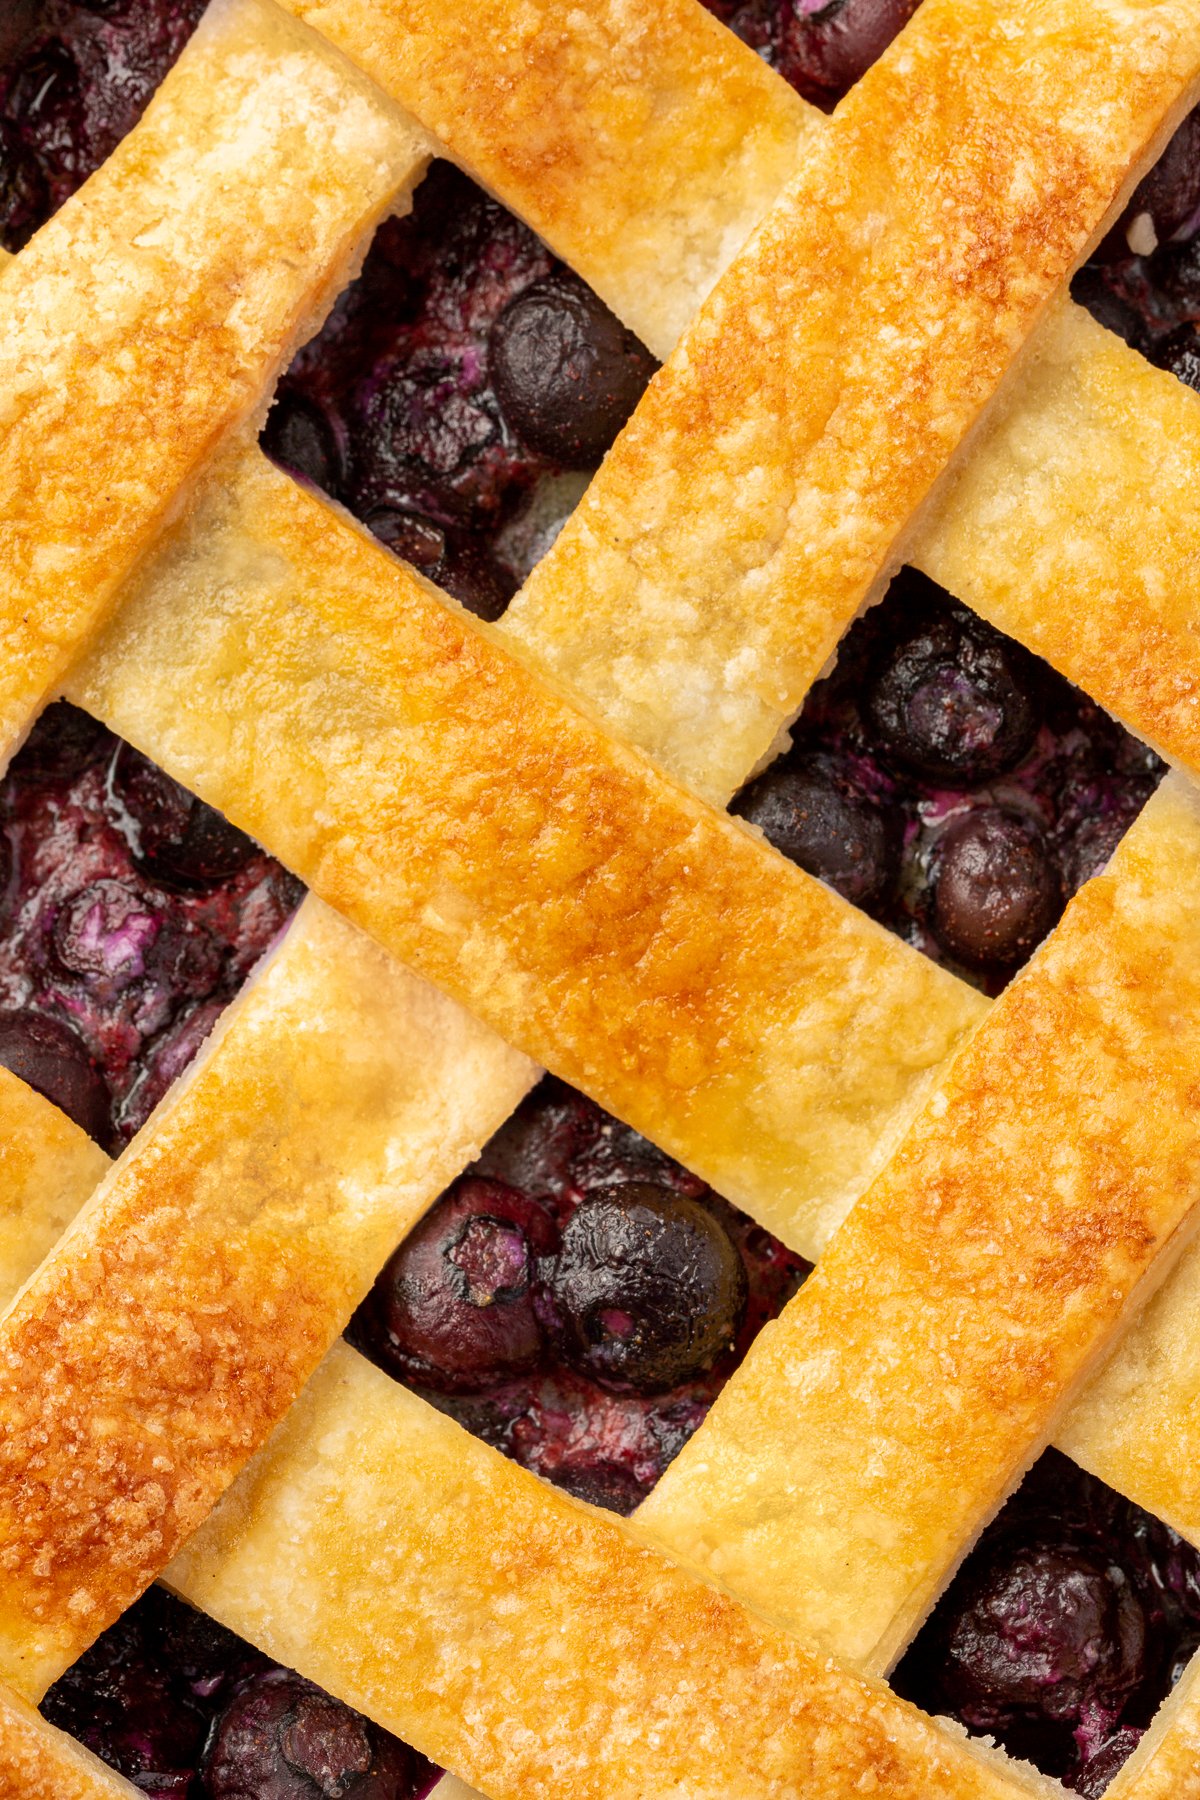
This gluten-free pie crust is incredibly versatile, making it the perfect choice for both sweet and savory pies. Whether you’re whipping up a sweet gluten-free mango peach pie or a savory gluten-free quiche, this crust will deliver on both flavor and texture. It’s also ideal for any pie style—use it for a single-crust pie like my gluten-free strawberry cream cheese pie, create a stunning lattice top for a pie like my gluten-free blueberry pie, or go all out with a double-crust pie like my gluten-free strawberry rhubarb pie. No matter the filling or style, this pie crust has you covered.
Here’s what makes this pie crust different:
- Lamination Process: Unlike many gluten-free pie crust recipes, this one includes a lamination step, where the dough is folded and turned multiple times. This technique creates layers of butter within the dough, resulting in a super flaky and tender crust. While this is an extra step in the process, be sure not to skip it so that you have a crust that is incredibly easy to roll out and shape and a crispy, buttery crust after baking.
- Use of Sour Cream: The addition of cold sour cream helps to create a more pliable dough that’s easier to roll out and shape. Sour cream also contributes to the tender crumb, making it so delicious in both sweet and savory pies!
- Cup4Cup Multipurpose Flour: This recipe specifically recommends using Cup4Cup Multipurpose Flour, which has a unique formulation using milk powder in its ingredients giving the pie dough a cohesive, elastic texture that’s often difficult to achieve in gluten-free baking. The result is a pie crust that holds together beautifully, is easy to work with, and delivers a flaky, buttery finish.
Ingredients

Ingredient Notes

For the best results when making gluten-free pie crust, make sure all your ingredients, especially the butter and sour cream, are as cold as possible. Cold ingredients prevent the butter from melting into the dough too quickly, which is essential for creating a flaky texture. If at any point during the laminating process you feel that the dough is getting too warm, place it in the refrigerator for 15-30 minutes to let the butter firm up before proceeding.
Step-by-Step instructions
For the ingredient list with measurements, full instructions, printable recipe, and additional notes, please scroll down to the recipe card.



Recipe FAQs
Yes, you can make the dough ahead of time and store it in the refrigerator for up to 3 days. If you want to store it longer, you can freeze the dough for up to 3 months. Just thaw it in the refrigerator overnight before using.
While you can use a different gluten-free flour blend, results may vary. Cup4Cup Multipurpose Flour is specifically recommended because it creates a very manageable, pliable pie dough and a tender, flaky crust. I cannot verify that other gluten-free flour blends will give you the same result.
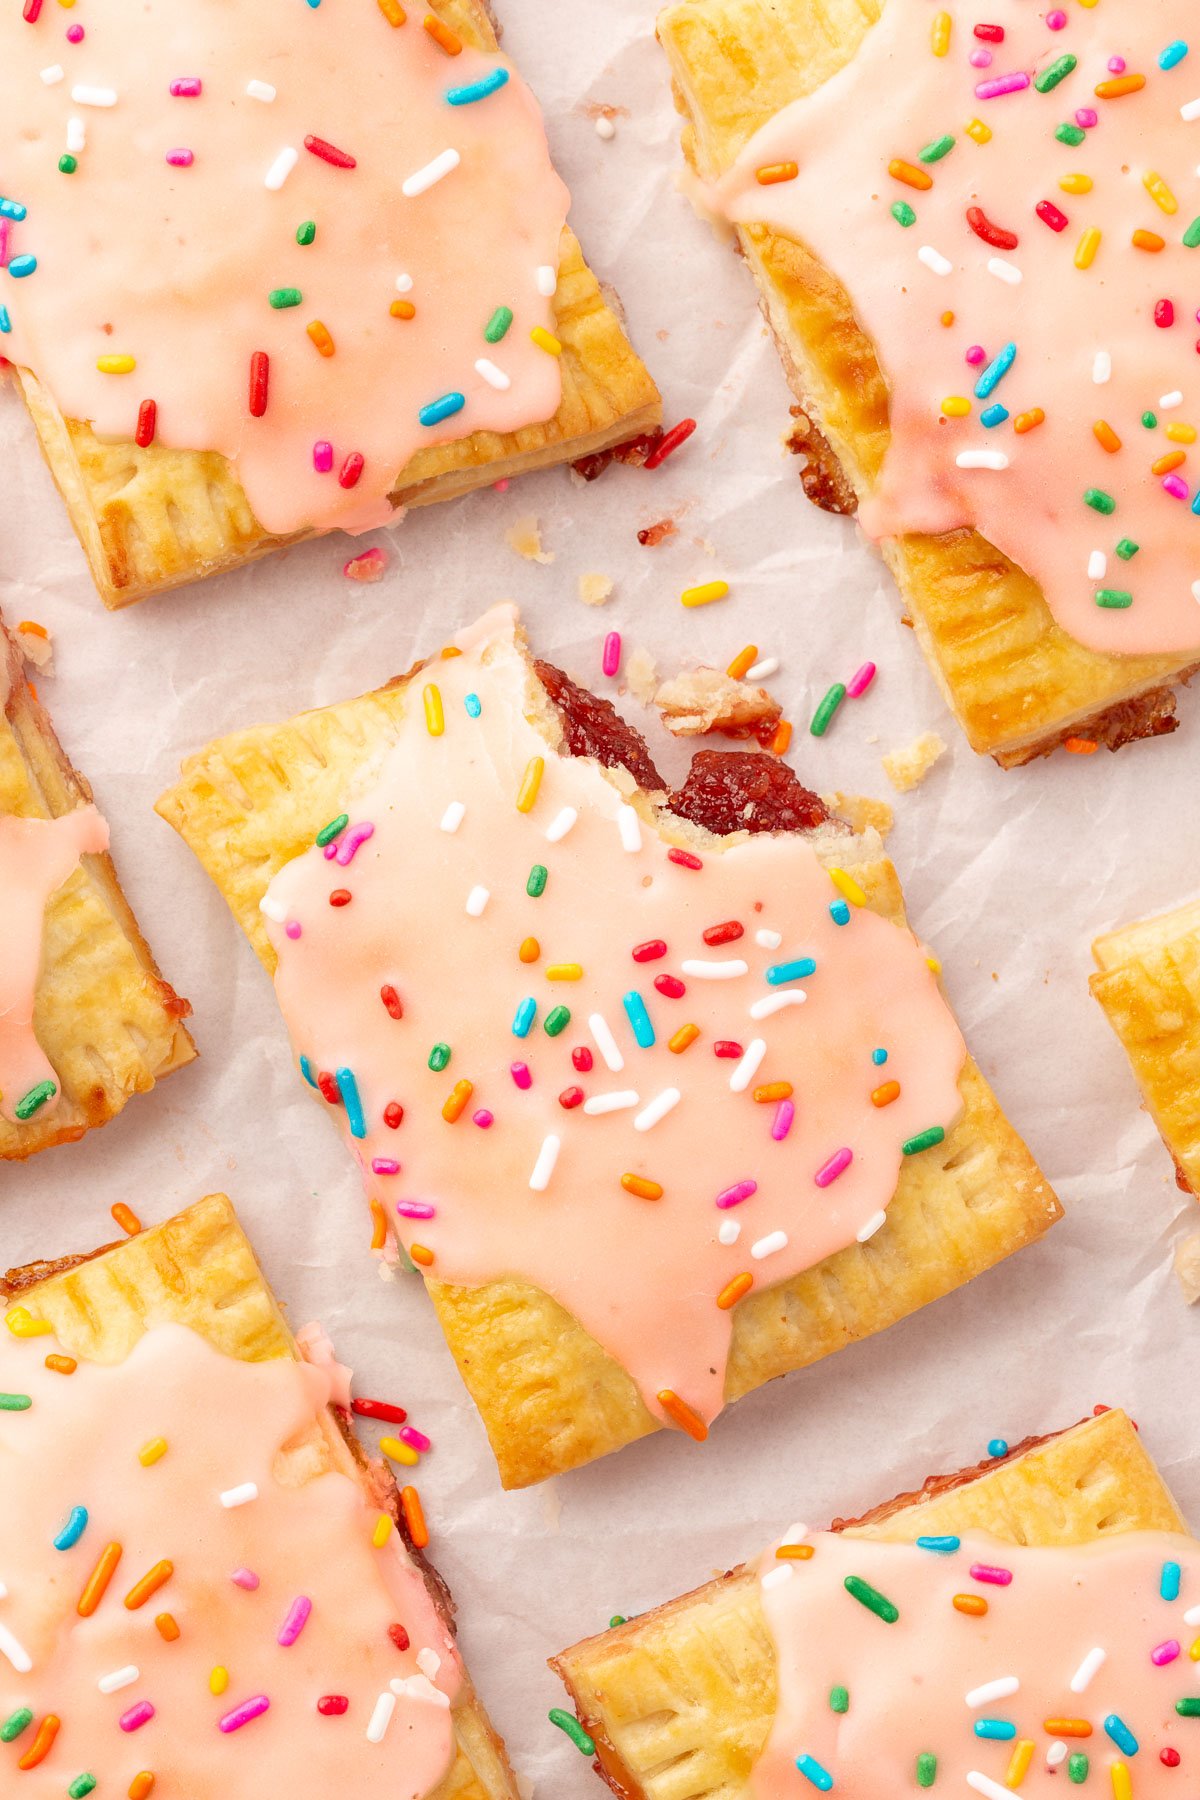
Absolutely! This versatile crust works well for both sweet and savory pies. You can adjust the sugar slightly for savory dishes or leave it as is for a perfectly balanced flavor.
expert tips
Troubleshooting Tips for Gluten-Free Pie Crust
Even with the best recipes, sometimes things don’t go as planned. Here are some common issues you might encounter when making gluten-free pie crust and how to fix them:
1. Dough is Too Crumbly:
- Cause: The dough may be too dry or not enough moisture was added.
- Fix: Sprinkle a little cold water or sour cream, one teaspoon at a time, into the dough and gently knead it until it comes together. Be careful not to add too much, as the dough should remain slightly shaggy until you start kneading it together for a few minutes.
2. Dough is Too Sticky:
- Cause: The butter may have softened too much, or too much moisture was added.
- Fix: If the dough is too sticky, refrigerate it for 15-30 minutes to firm up the butter. You can also lightly dust your work surface and rolling pin with gluten-free flour to prevent sticking while rolling out the dough.
3. Crust Cracks or Tears:
- Cause: The dough may be too cold or not pliable enough.
- Fix: If cracks appear, use the warmth of your hands to gently press and seal the cracks. You can also wet your hands and blend the cracks that way. If the dough is too cold, let it sit at room temperature for 10 to 15 minutes before attempting to roll it out again.
4. Crust Shrinks During Baking:
- Cause: The dough may not have been chilled enough before baking, or it wasn’t properly docked.
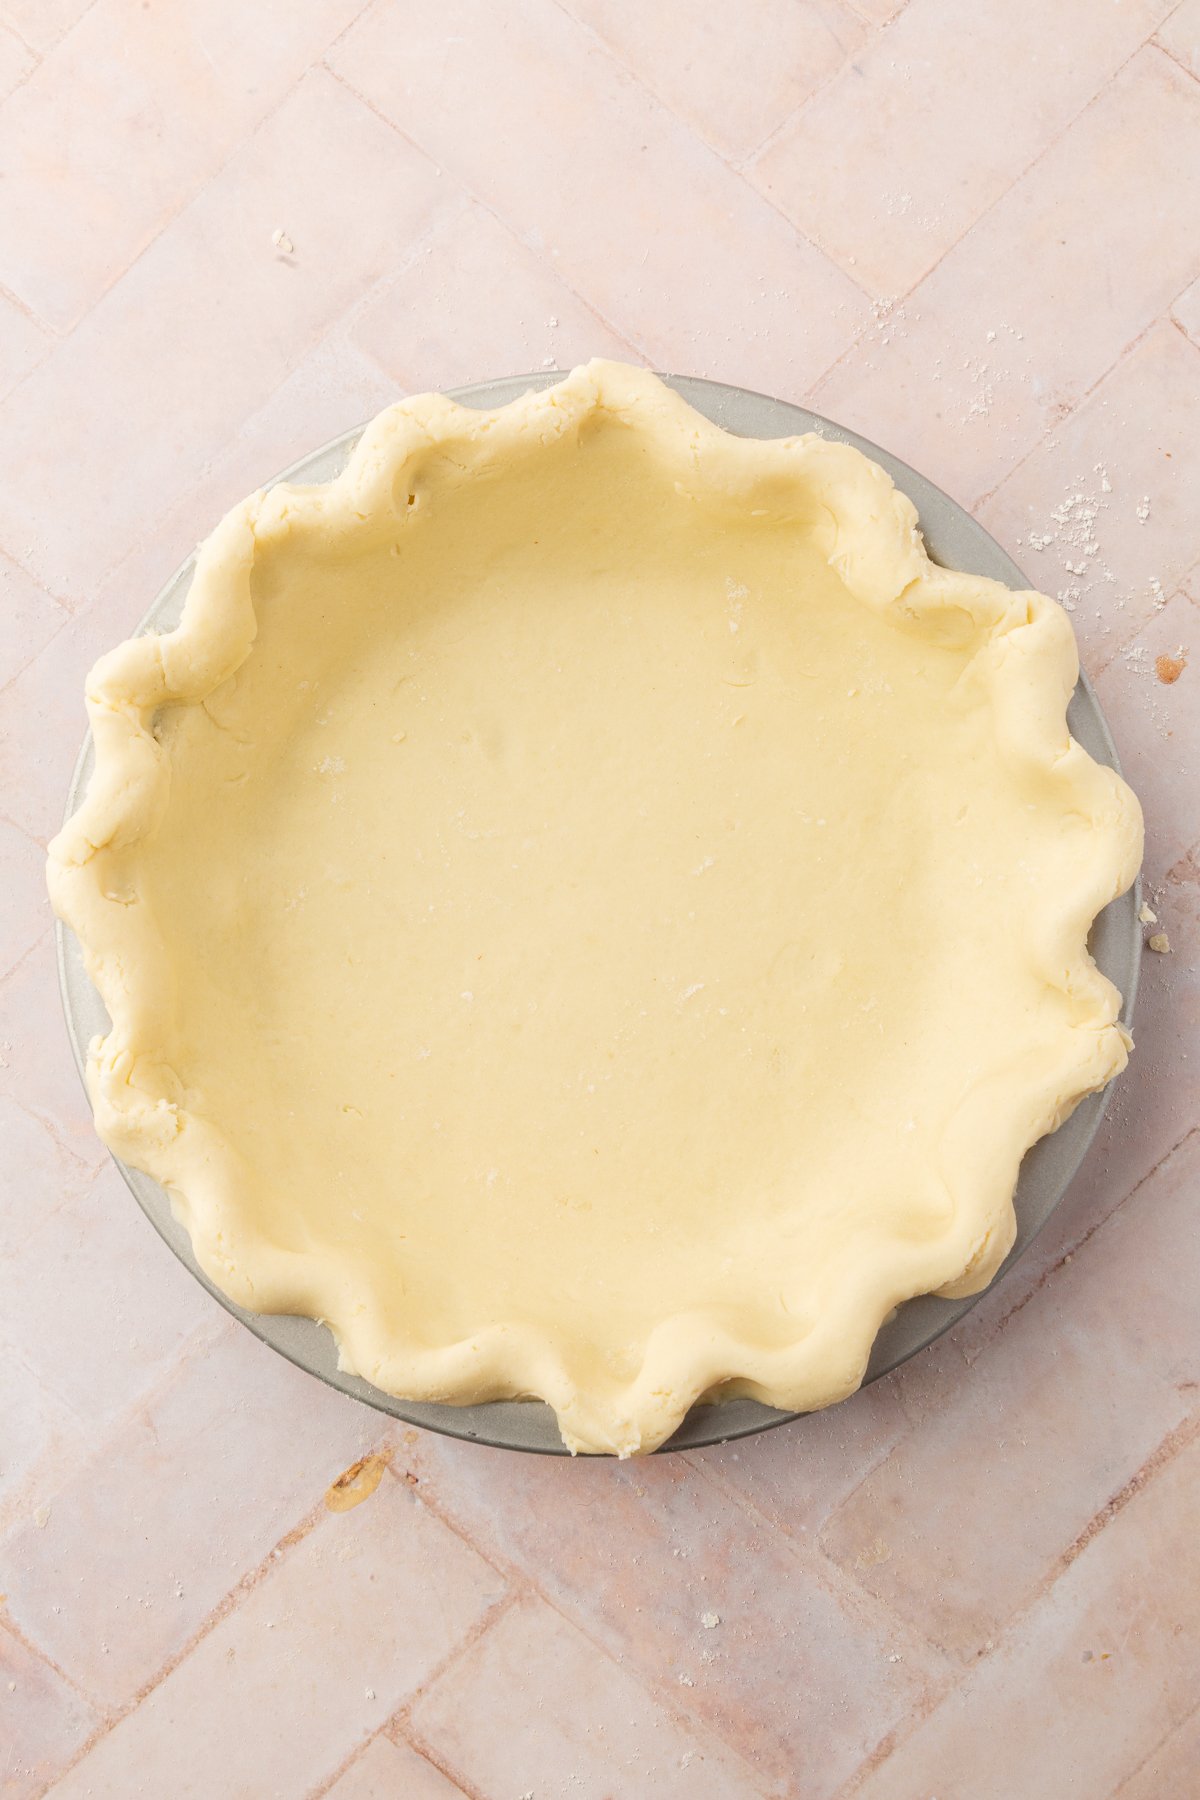
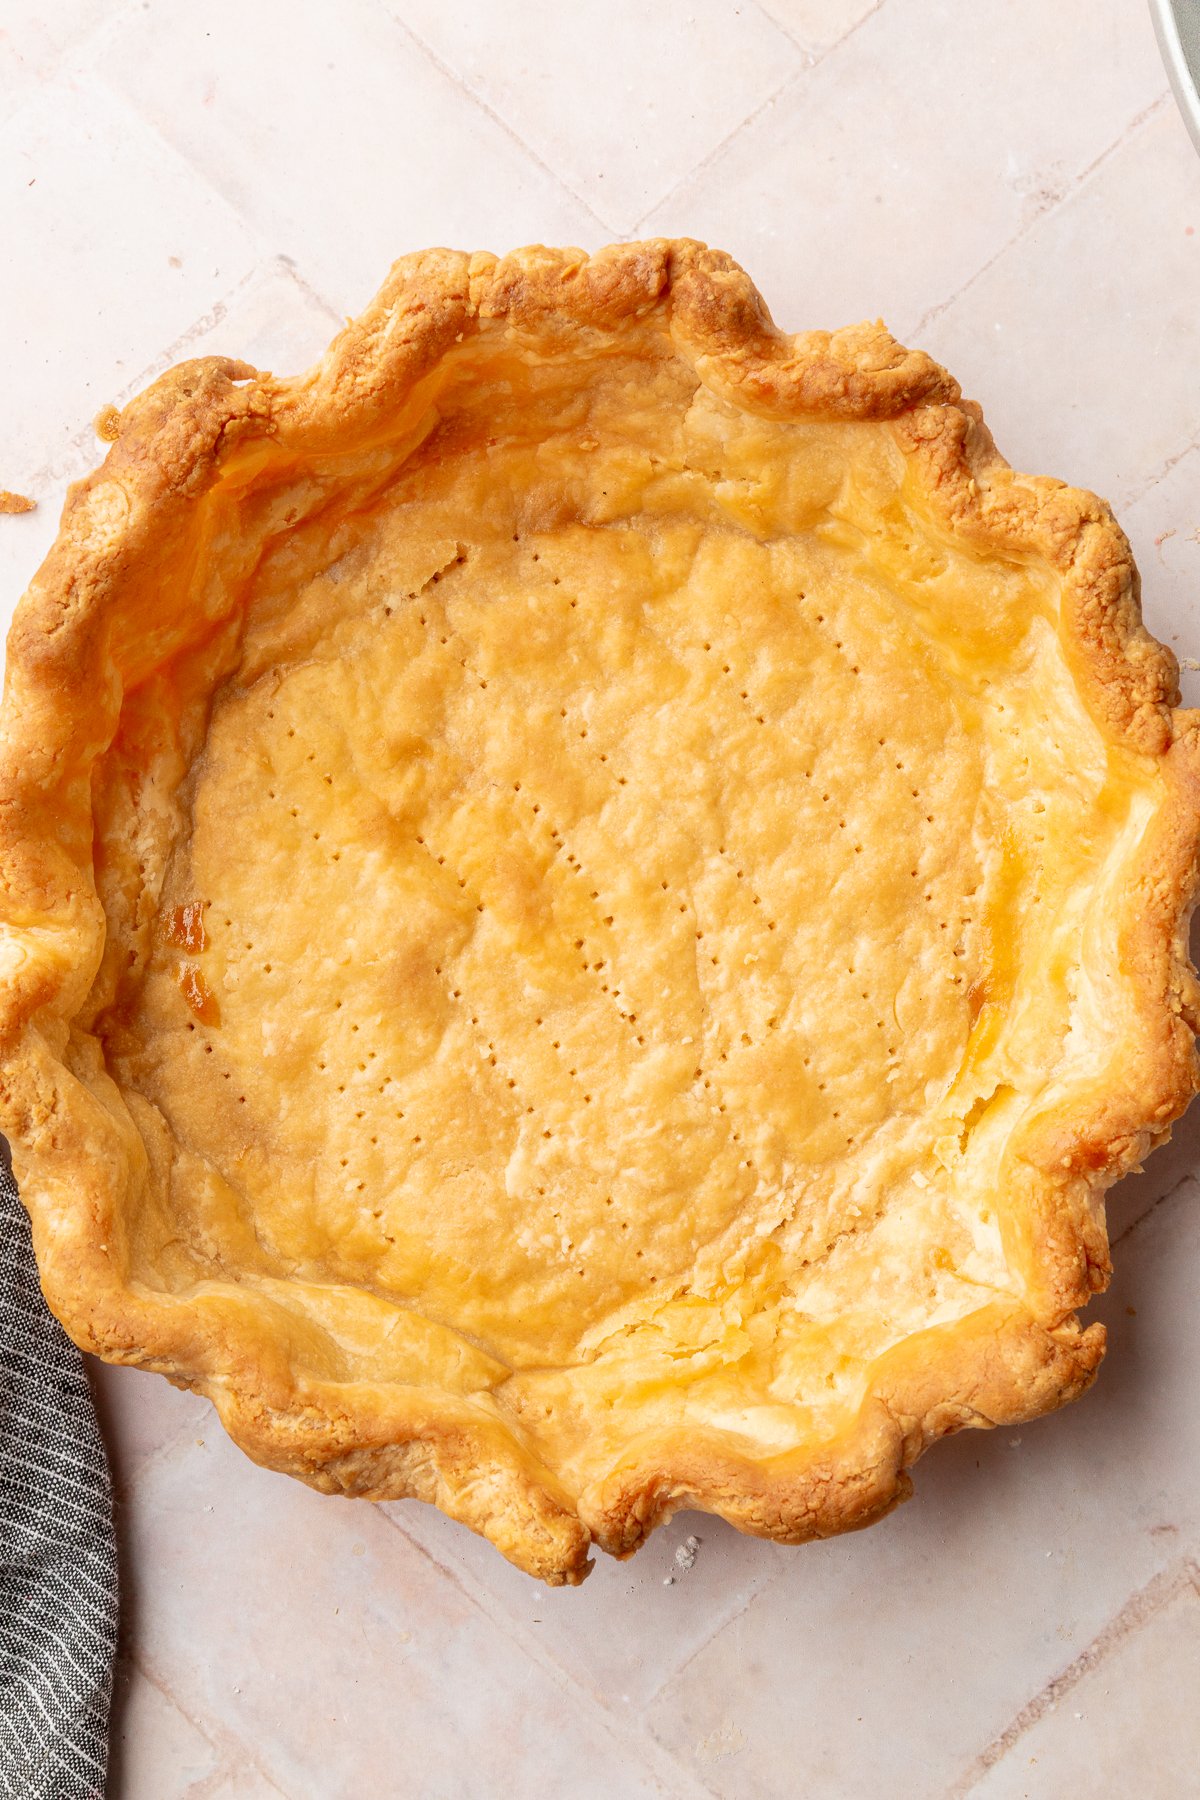
- Fix: Ensure the dough is well-chilled before baking and freeze it for 10 minutes after shaping it in the pie dish. Docking the crust (pricking it with a fork) helps prevent shrinkage by allowing steam to escape. Be sure to use pie weights while blind baking. You can buy ceramic pie weights, or use dried beans or uncooked rice. Be sure that the pie weights go all the way to the sides and all the way up the top. If you only cover the bottom of the pie crust with your pie weights, the sides can still easily slide down.
5. Crust is Soggy:
- Cause: The filling may be too wet, or the crust wasn’t blind-baked if needed.
- Fix: For a crispier crust, blind bake the crust before adding the filling, especially for liquid-heavy fillings. You can also brush the crust with a thin layer of melted white chocolate or sprinkle a tablespoon of gluten-free flour on the bottom before baking to create a barrier against moisture.
6. Dough is Hard to Roll Out:
- Cause: The dough might be too cold or overworked.
- Fix: Let the dough sit at room temperature for a few minutes to soften slightly before rolling. If the dough is overworked and tough, try to handle it as little as possible and allow it to rest in the refrigerator between steps to relax the gluten-free flours.
7. Butter Melting Too Quickly During Laminating:
- Cause: Warm kitchen temperatures or handling the dough too long can cause the butter to melt, leading to less distinct layers and ultimately resulting in a less flaky gluten-free pie crust.
- Fix: Work in a cool environment and chill the dough briefly between folds if you notice the butter starting to soften too much.
Storage instructions
Once the pie crust dough is prepared, it can be stored in the refrigerator, wrapped tightly in plastic wrap, for up to 3 days. If the dough has already been rolled out and placed in a pie dish, cover it with plastic wrap or aluminum foil to prevent it from drying out.
Freezer Storage
The pie crust dough can be frozen for up to 3 months. To freeze, wrap the dough tightly in plastic wrap and then place it in a resealable freezer bag. If the dough has been rolled out and placed in a pie dish, freeze the entire dish by wrapping it well in plastic wrap and aluminum foil. Thaw the dough in the refrigerator overnight before using.
More gluten-free pies to try
Did you make this recipe?
I’d love to know! Please rate it and leave a comment below. You can also share your pictures and tag @adashofmegnut on Instagram.
Gluten-Free Pie Crust
Ingredients
- 2 ½ cups gluten-free flour blend - (350g), I recommend Cup4Cup Multipurpose Flour
- 1 tablespoon granulated sugar - 12.5g
- 1/2 teaspoon salt
- 1/2 teaspoon baking powder
- 1 cup unsalted butter - (225g), cold and cubed
- 2/3 cup sour cream - (160g), cold
**Use the toggle button above to turn the instruction photos on and off!
Instructions
- In a large mixing bowl, combine the gluten-free flour blend, granulated sugar, salt, and baking powder. Stir until well mixed.
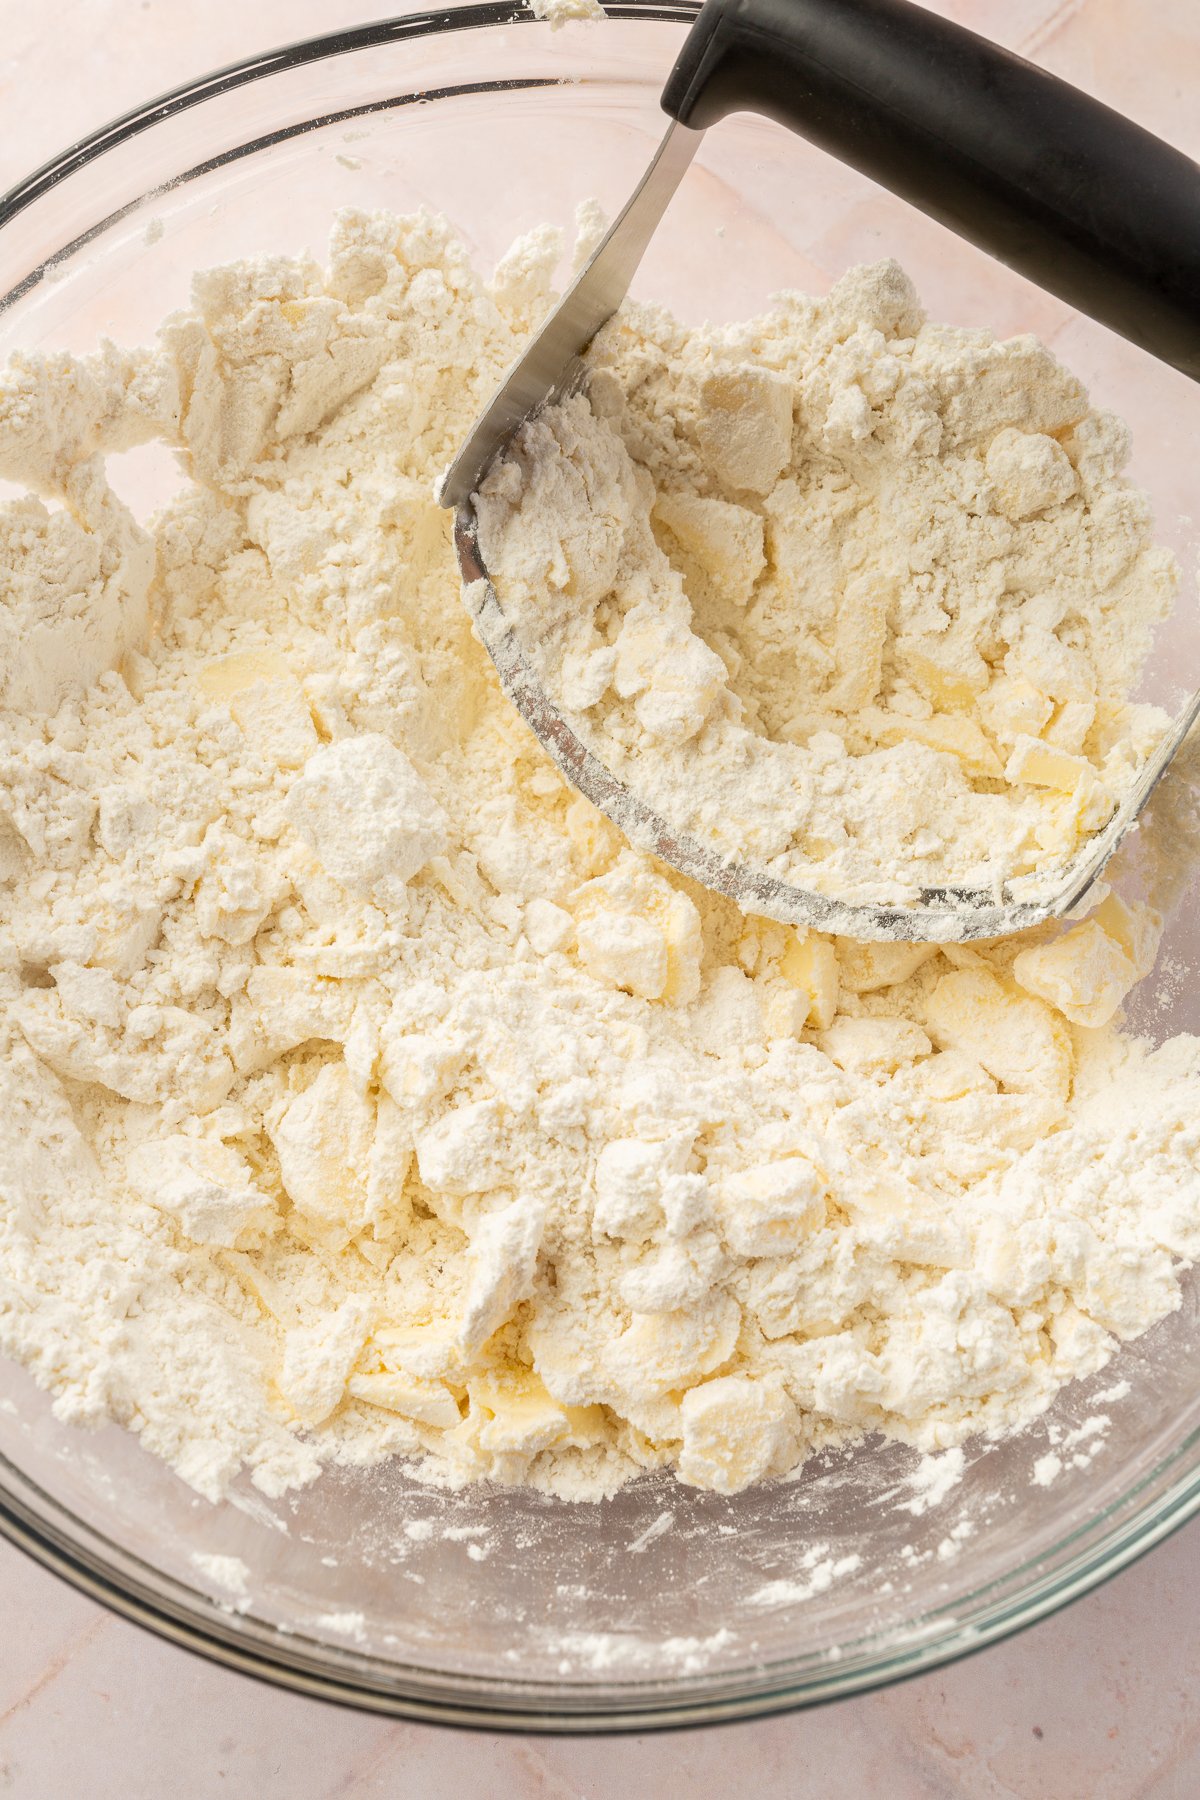
- Add the cold, cubed unsalted butter to the flour mixture. Using a pastry cutter or your fingers, work the butter into the flour until the butter is coated in the flour and there are some larger pieces of butter remaining, about the size of an almond.
- Gently mix in the cold sour cream until the dough starts to come together. The dough will be shaggy and slightly dry at this stage.
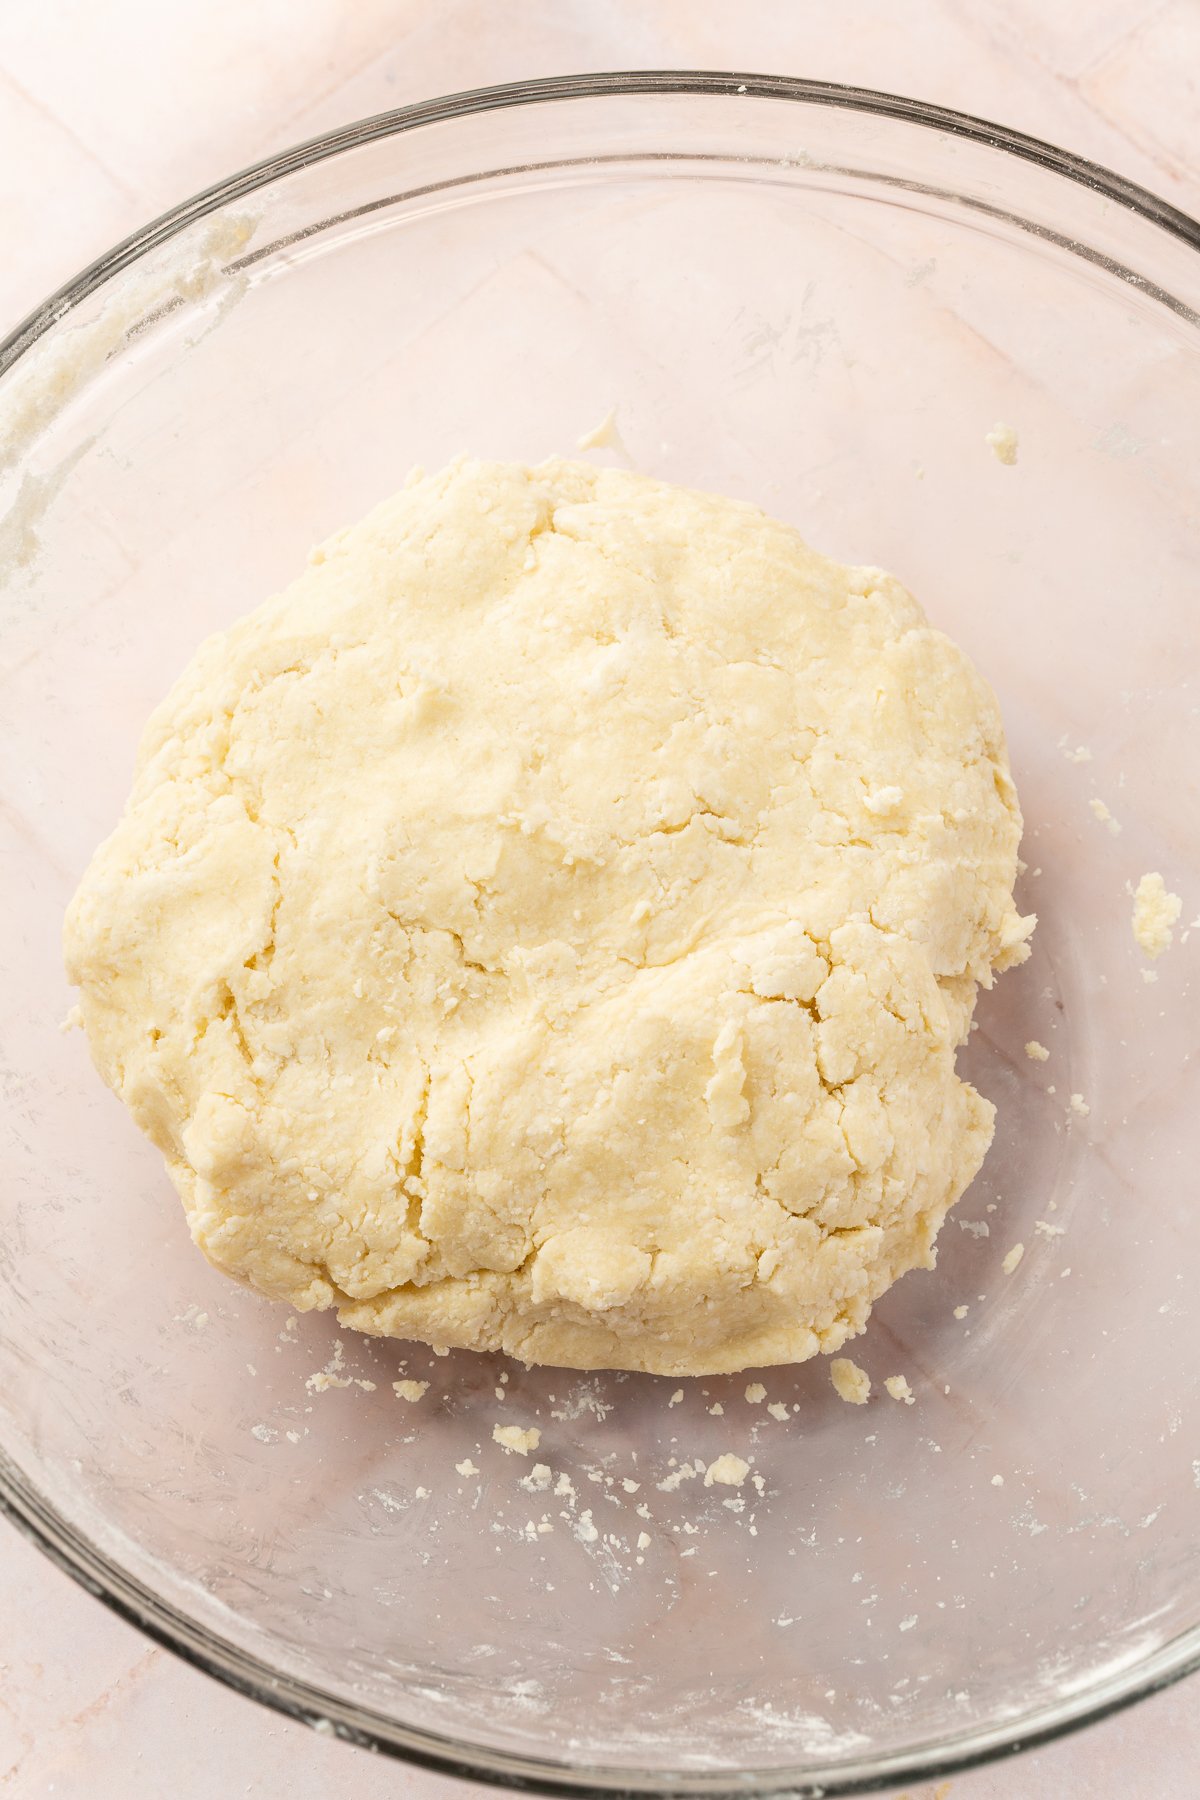
- Knead the dough in the bowl until it forms a ball. This can take a few minutes to do. At first the dough will be dry, but as you knead it the flour will hydrate with the sour cream and some of the butter will melt from the warmth of your hands to form into a ball.
- Shape the dough into a rectangular block and wrap it tightly in plastic wrap. Refrigerate for about 30 minutes to allow the butter to chill.
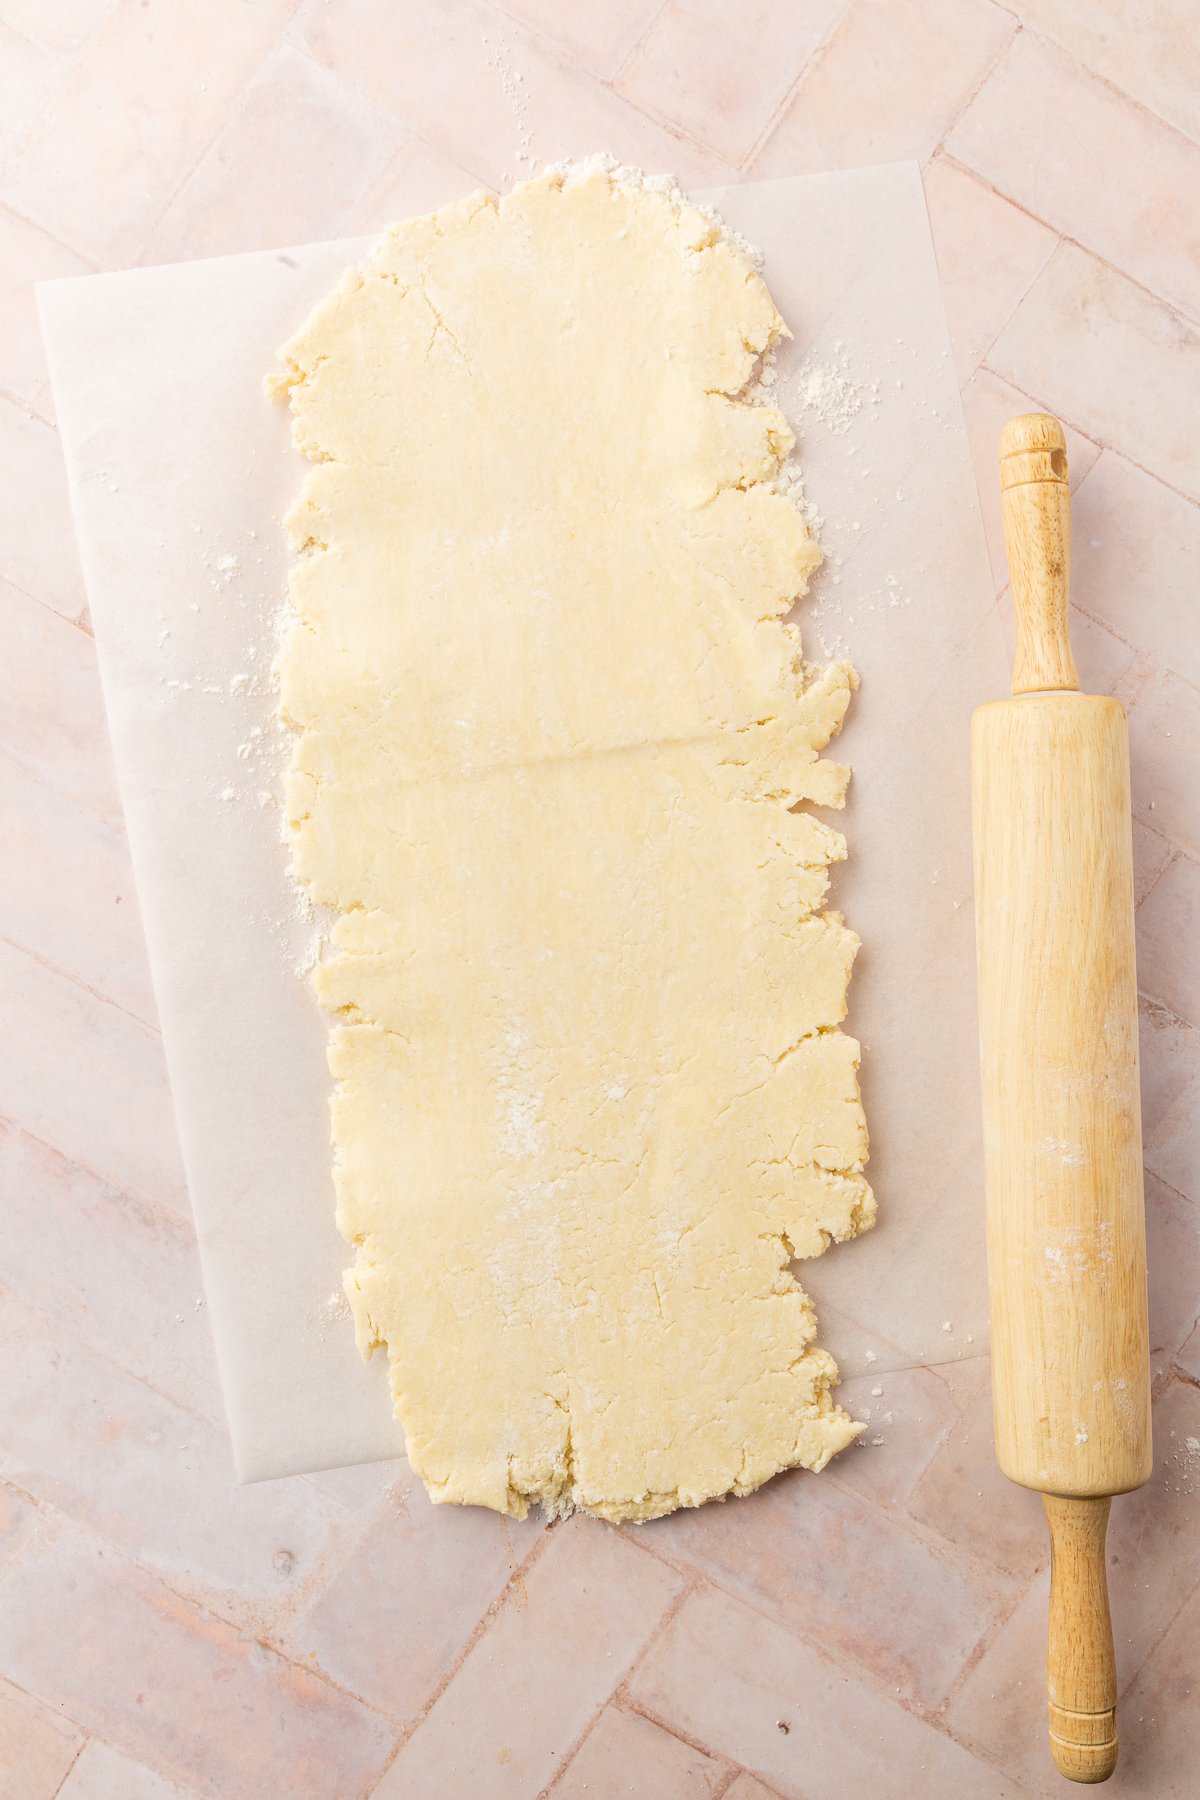
- After chilling, unwrap the dough and place it on a lightly floured surface. Roll the dough out into a long rectangle, about 1/4 inch thick.
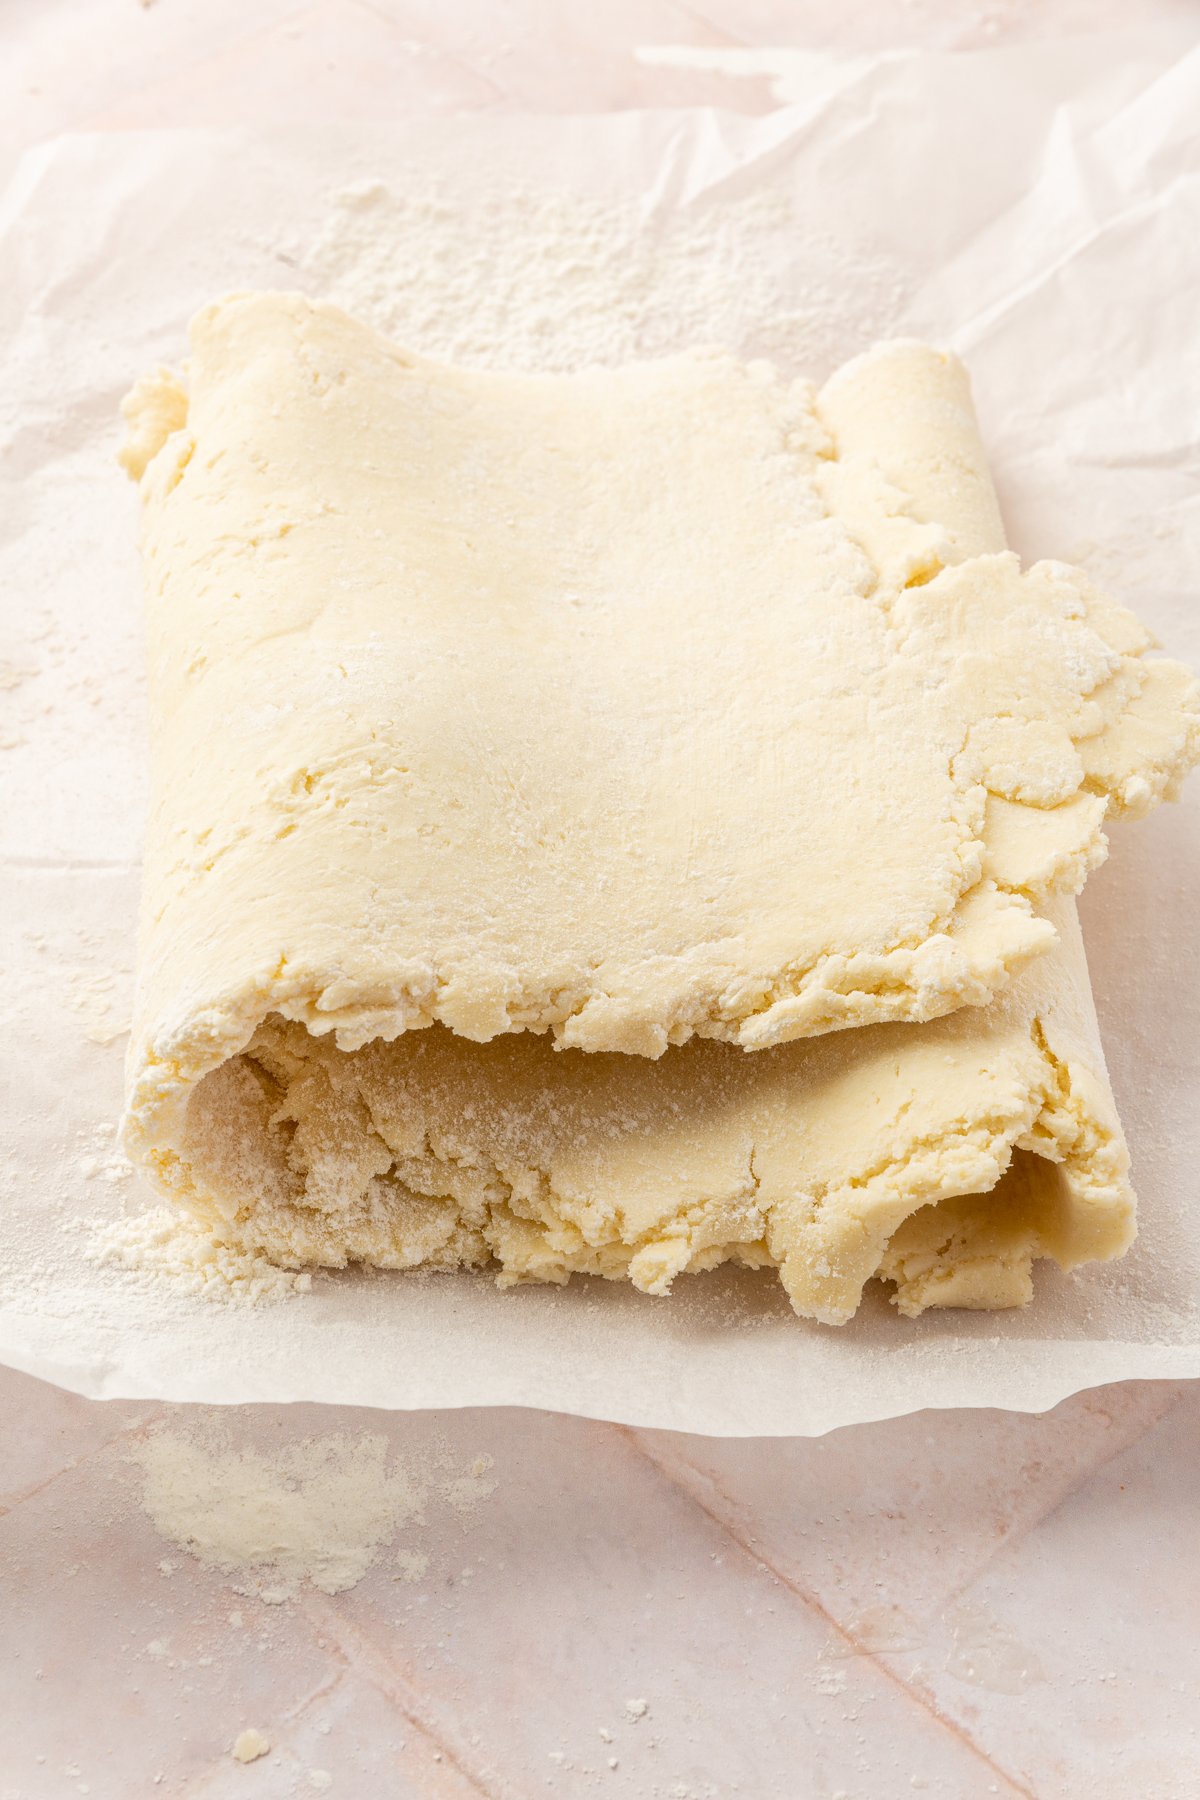
- Fold the dough into thirds, like folding a letter, by bringing one short side of the dough over the center, then folding the other side over that. Rotate the dough 90 degrees and roll it out again into a large rectangle. Do the folding and rotating process 4 times in total. This creates multiple layers of butter within the dough, resulting in a flaky crust.
- Divide the dough into two portions. Shape each portion into a disk and wrap individually in plastic wrap. Refrigerate for at least 1 hour before using. If refrigerating for longer than an hour, let the dough soften at room temperature for about 15 minutes before rolling it out.
- Use this gluten-free pie crust in your favorite pie recipe!
Notes
- I tested this pie crust recipe with many gluten-free flour blends and the clear winner for me was Cup4Cup Multipurpose Flour. It was a dream to handle and resulted in a super flaky pie crust. My second choice would be Bob’s Red Mill 1-to-1 Gluten-Free Baking Flour. However, I find that this blend does not as easy to handle when transferring to the pan or creating a lattice top and is not quite as flaky as the Cup4Cup blend. I still think it’s a good choice for this recipe, though.
- If you have celiac disease or are on a gluten-free diet for any reason, be sure to double check that all of your ingredients are gluten-free as manufacturing practices can change from time to time.
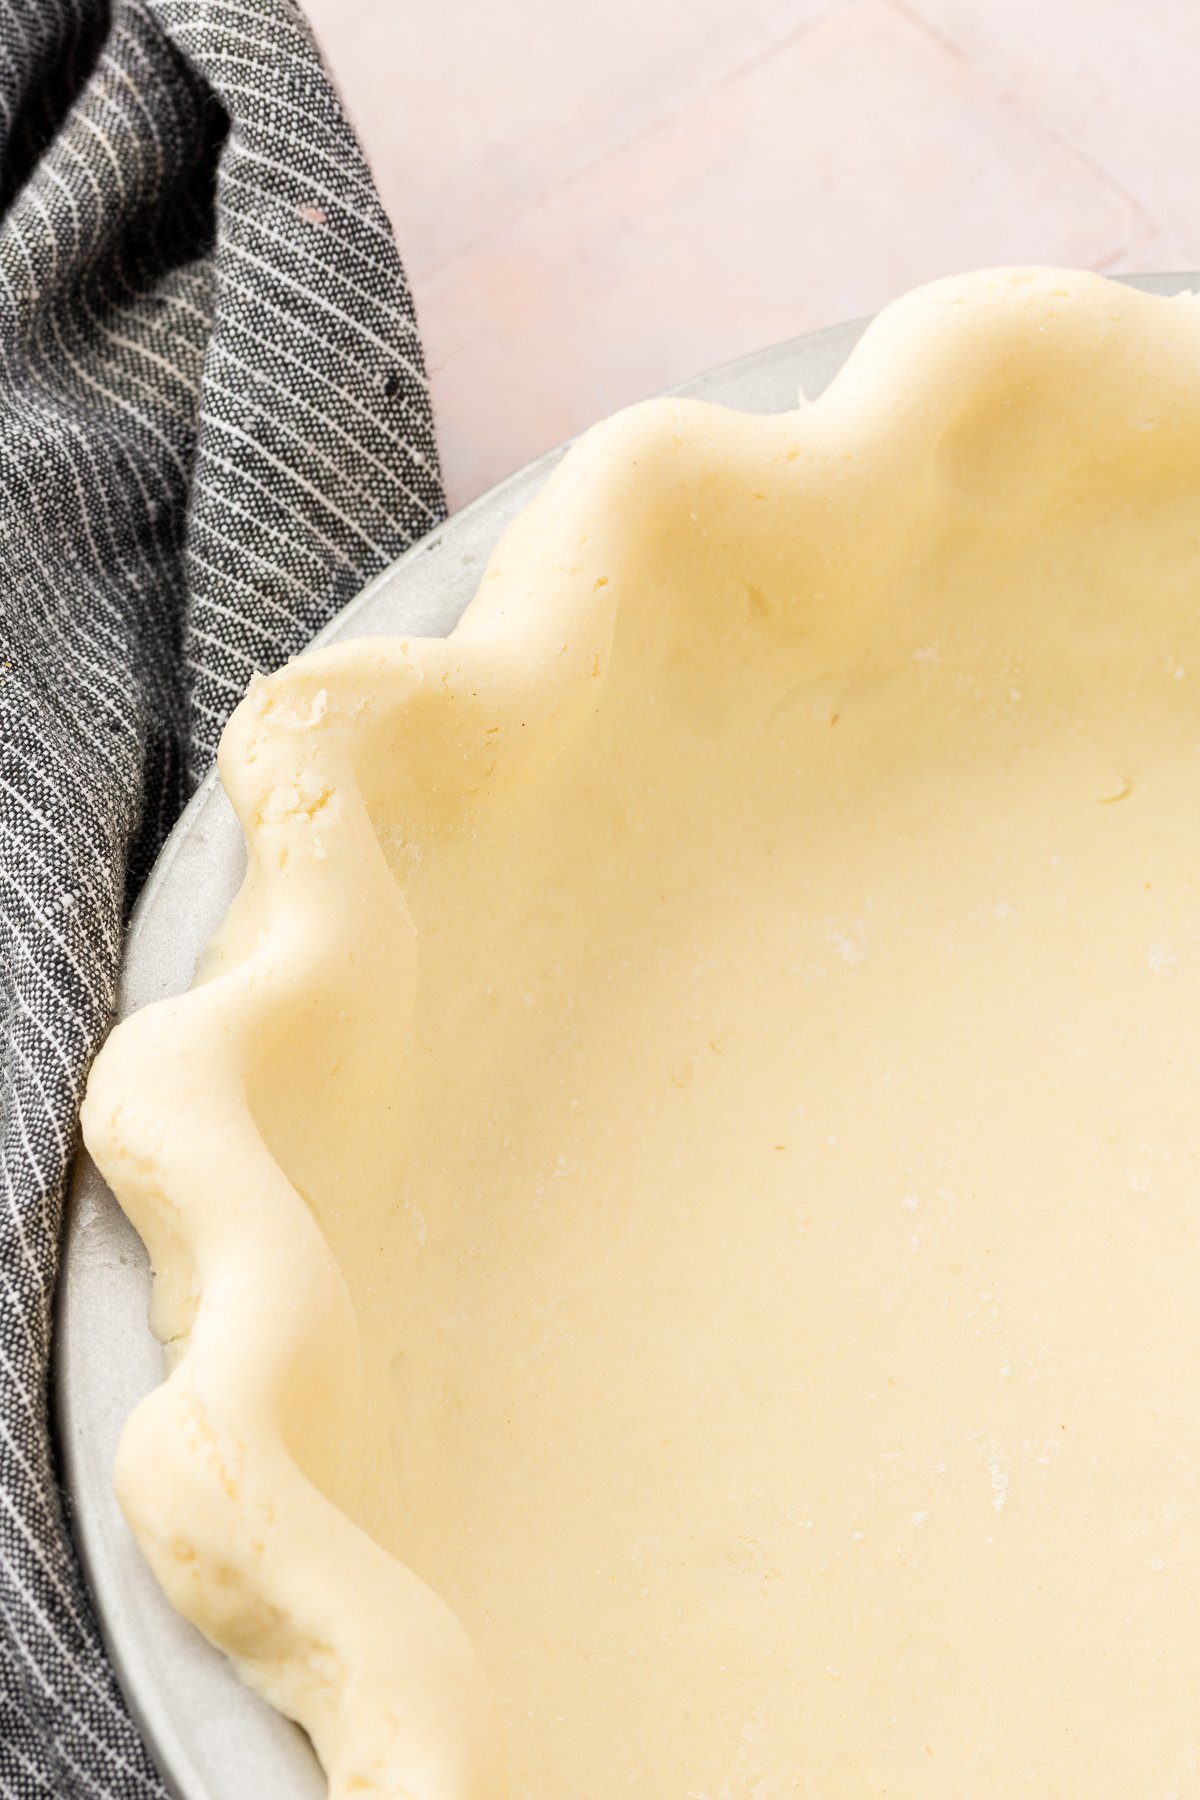
- This recipe is for two 9-inch pie crusts. You can use it for two single-crust pies or use it for a double-crust pie or lattice topped pie.
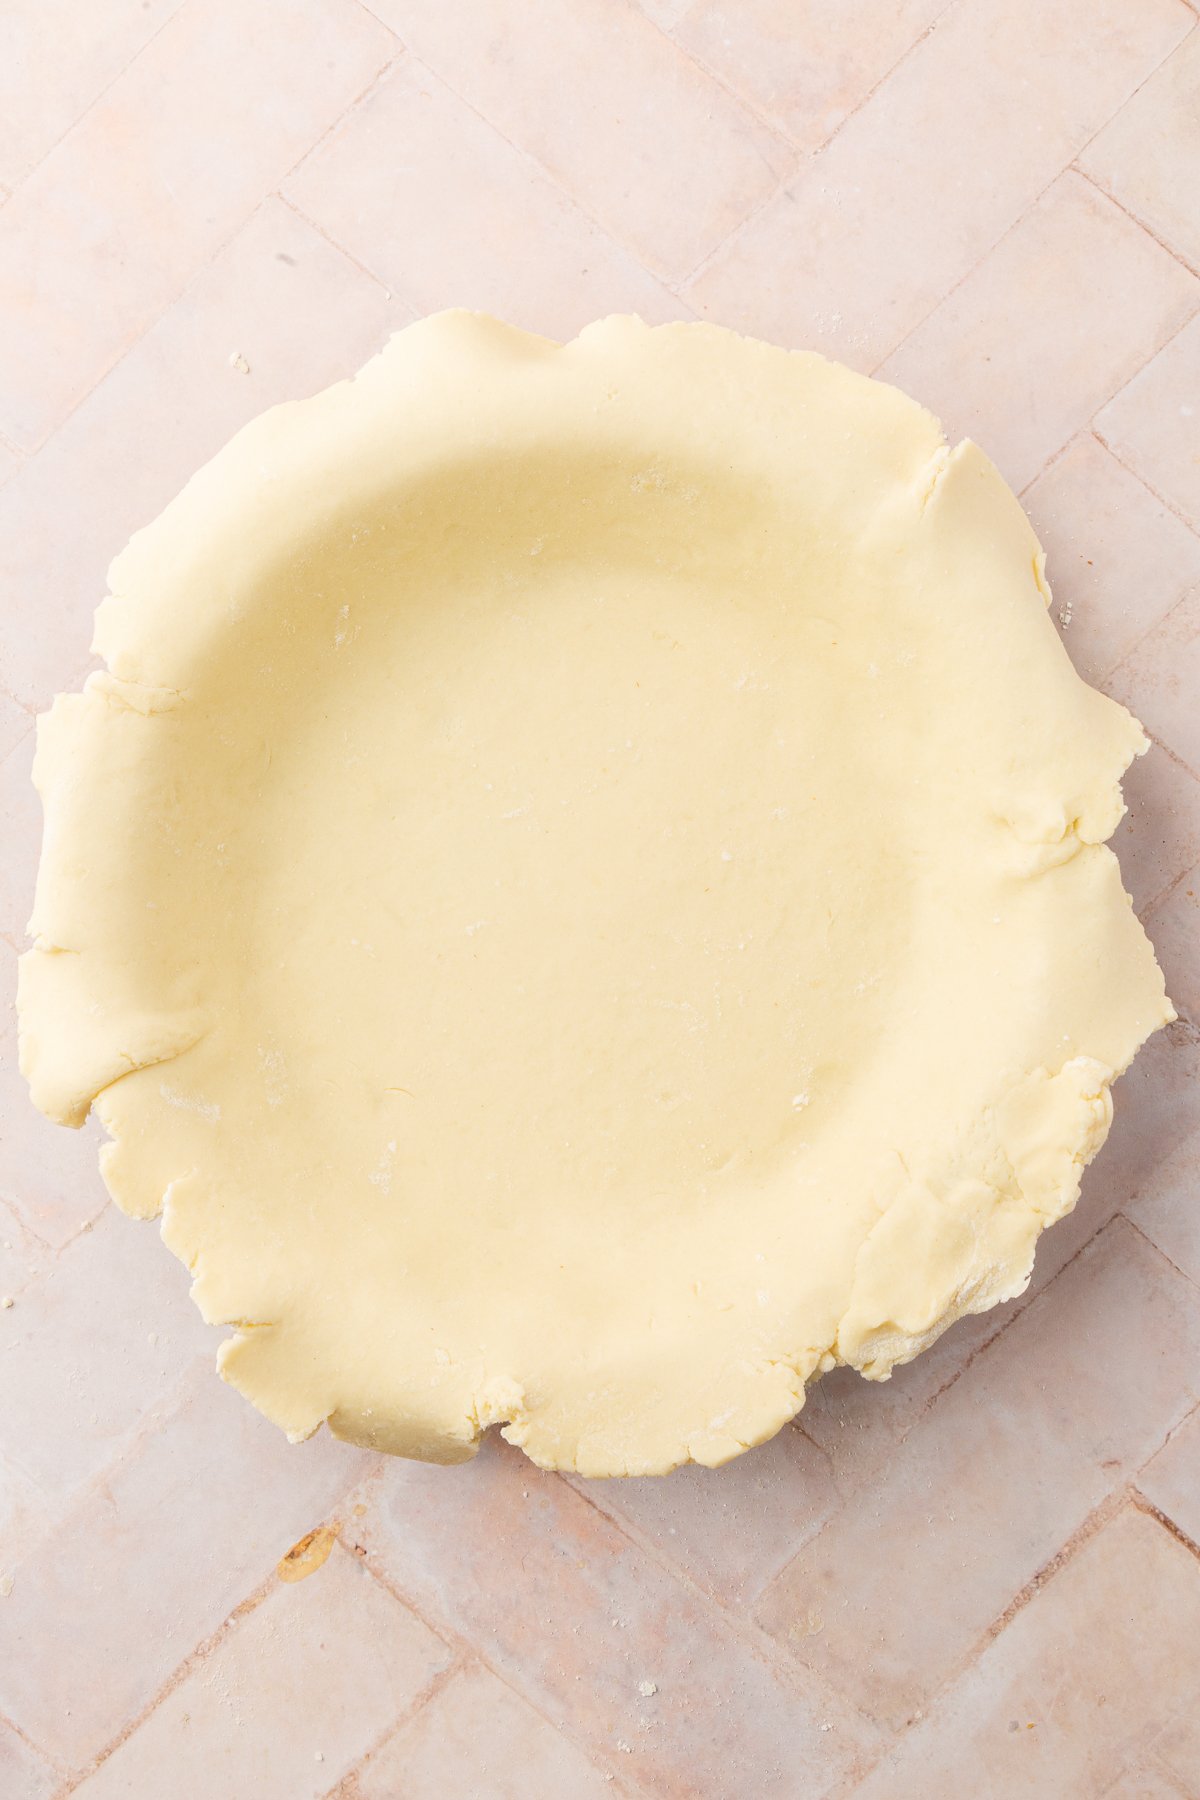
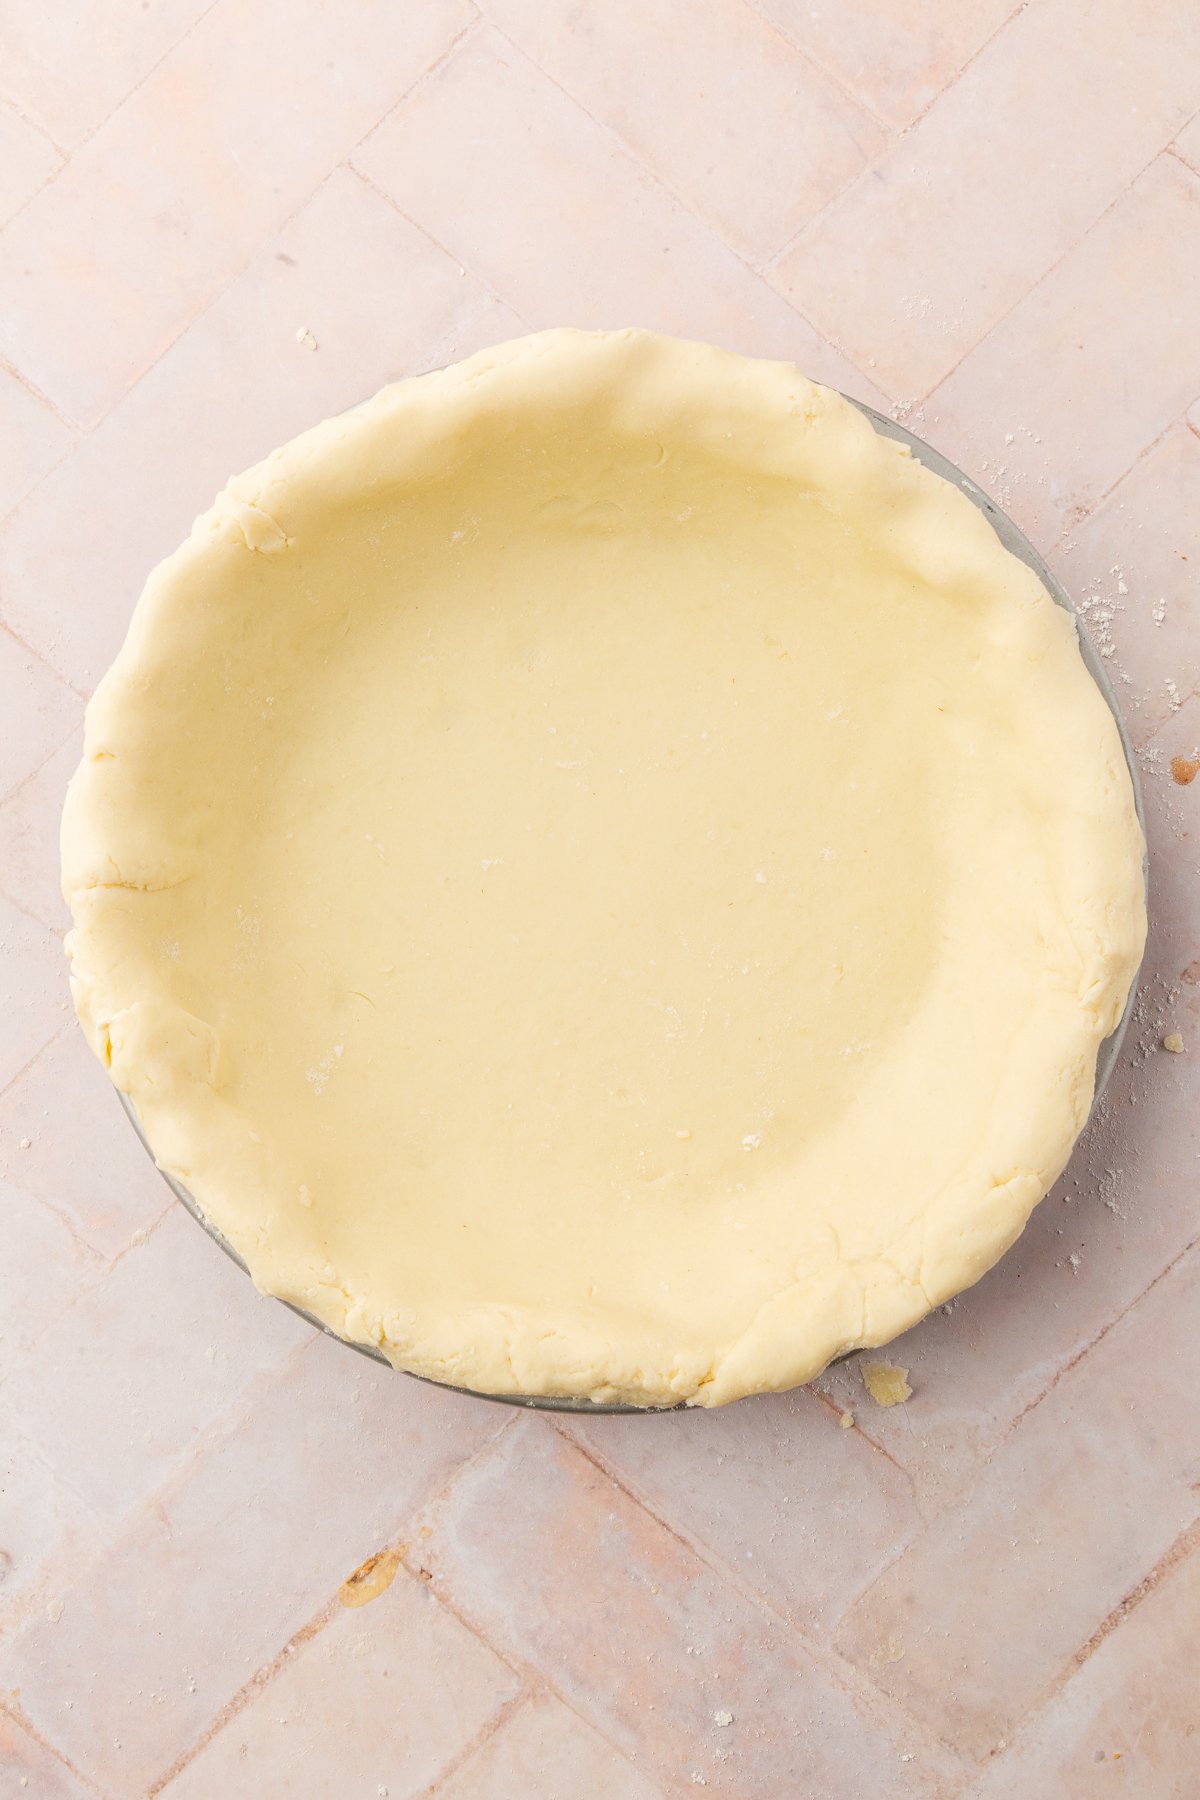
- While shaping your pie crust in the pie tin, if any cracks appear, use the warmth of your hands or a bit of water to seal them. This will help prevent the pie crust from cracking further in the oven.

