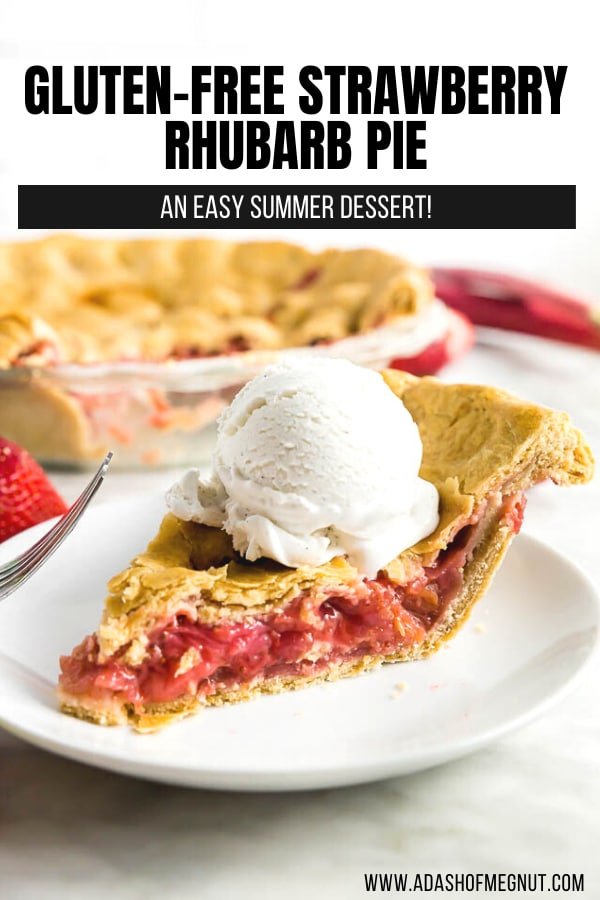
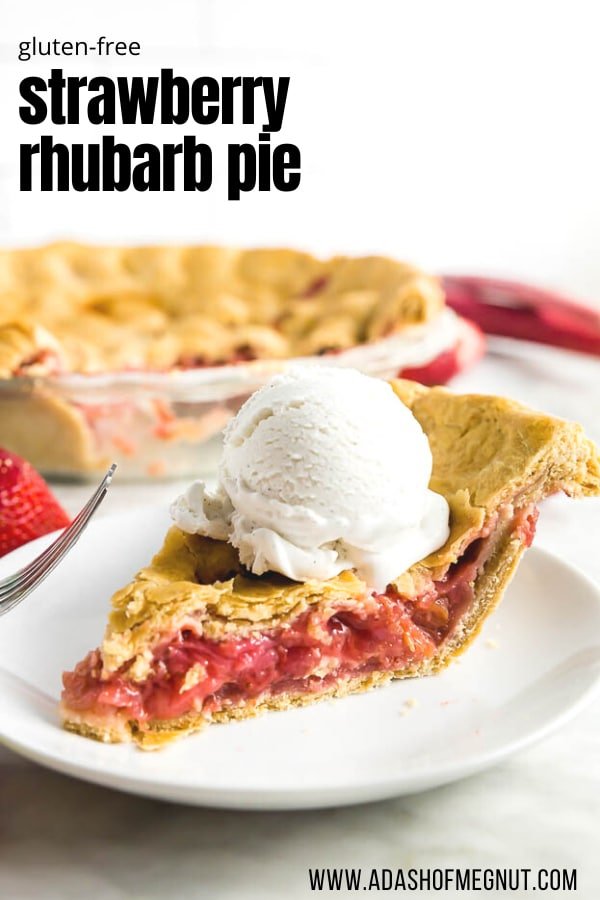

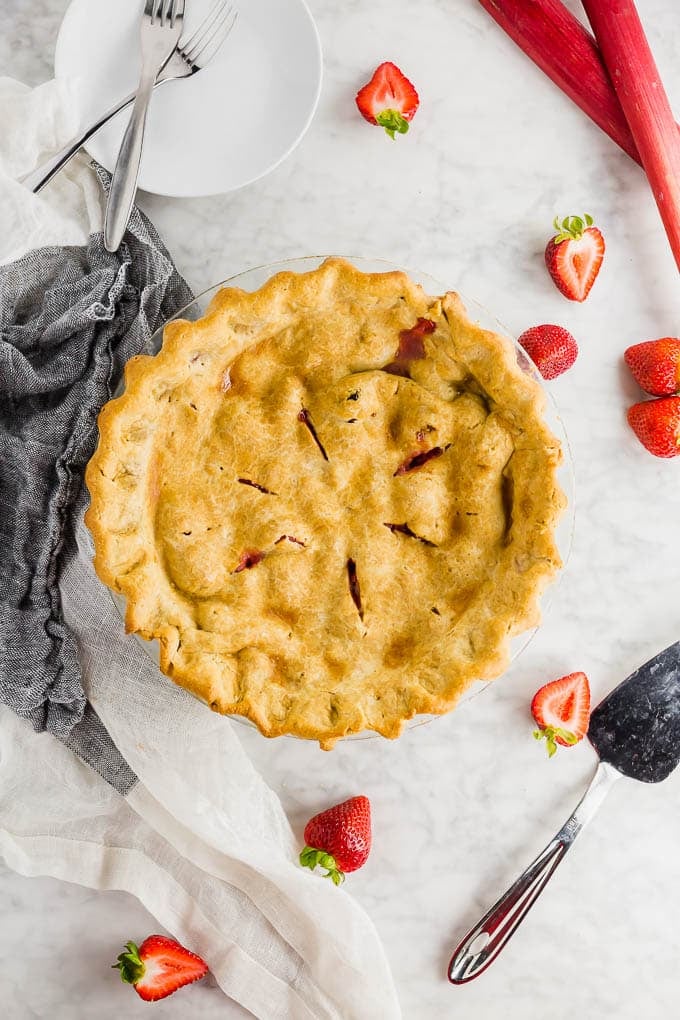
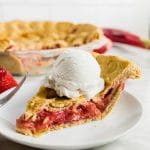
This gluten free strawberry rhubarb pie is perfectly sweet with a little tartness from the rhubarb. It’s absolutely perfect for any summer party that you may be attending. Just don’t forget to serve it with vanilla ice cream!
If there’s one classic pie flavor combination that always comes to mind, it’s strawberry rhubarb pie. The perfect combination of sweet and tart.
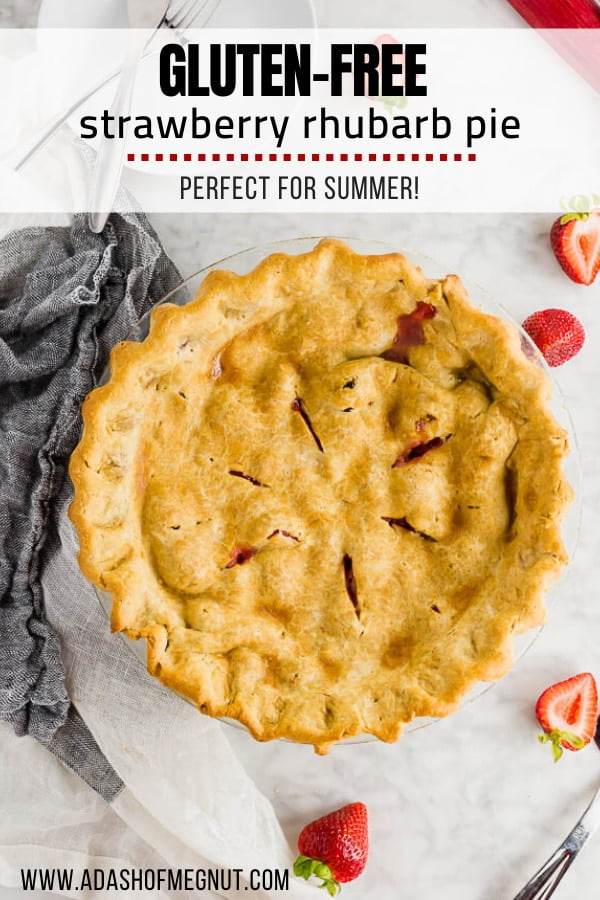
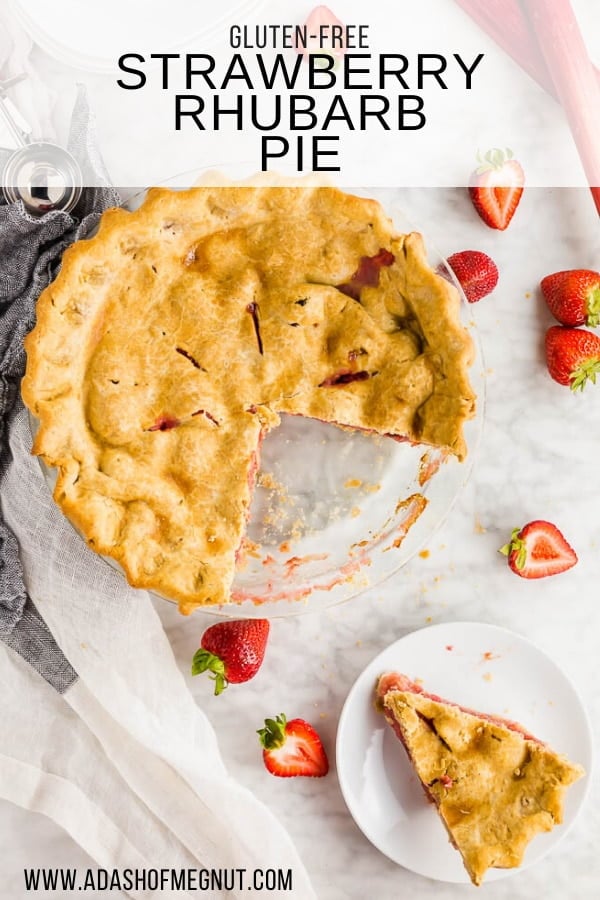
With a homemade gluten free pie crust, this strawberry rhubarb pie is great to bring along to parties of all types this summer. It may seem daunting to make your own pie crust, but it’s a lot easier than you think.
Plus, I’m sharing ALL of my tips to make the perfect gluten free pie crust every time!
Trust me, this old fashioned strawberry rhubarb pie recipe is such a crowd pleaser, you’ll want to make it again and again.
You’ll love this recipe because:
Ingredient notes
- gluten-free flour blend – This recipe was tested with Bob’s Red Mill 1-to-1 Gluten-Free Baking Flour (in the blue bag). This blend is meant to be used as a 1:1 swap with all-purpose flour and already contains xanthan gum. I cannot verify that other brands of gluten-free flours will work as I have not tested them.
- xanthan gum – Xanthan gum is used in gluten-free baking as a thickening and binding agent. It helps mimic the elasticity and structure that gluten provides in traditional baking, resulting in improved texture and cohesiveness in gluten-free baked goods. You only need to add this if your gluten-free blend does not already contain it.
- unsalted butter – Use unsalted butter in this recipe so you can control the amount of salt going into the crust. The butter should be cold and cut into small pieces for a flaky texture.
- shortening – I like to use a combination of shortening and butter because the shortening provides additional tenderness to the pie crust. It should also be cold and cut into pieces.
- ice cold water – The water is necessary to bring the crust together and should be cold so that the butter does not melt. This keeps the pie really flaky. Add the ice cold water by the tablespoon full. You do not want to add too much water to the pie crust, just enough to get the pie crust to hold together.
- strawberries – Look for berries that are bright red, firm, and smell fragrant. Wash, hull and quarter them before using.
- rhubarb – Trim off and discard the leaves of the rhubarb stalks, as they are toxic. Cut the rhubarb into 1-inch pieces to ensure even cooking and a pleasing texture in the pie.
- cornstarch – This is what will thicken the pie filling instead of flour.
- egg – To make the pie crust golden and shiny when baking, we make an egg wash using 1 egg and water.

While you could certainly use a store bought gluten free pie crust to cut down on the time in this recipe, making your own gluten free pie crust is really easy and something I encourage you to try!
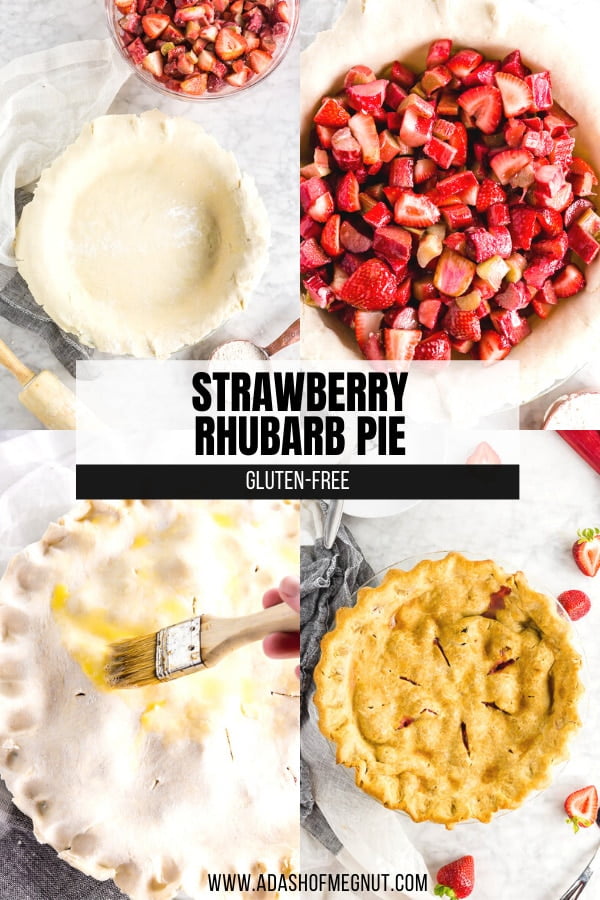
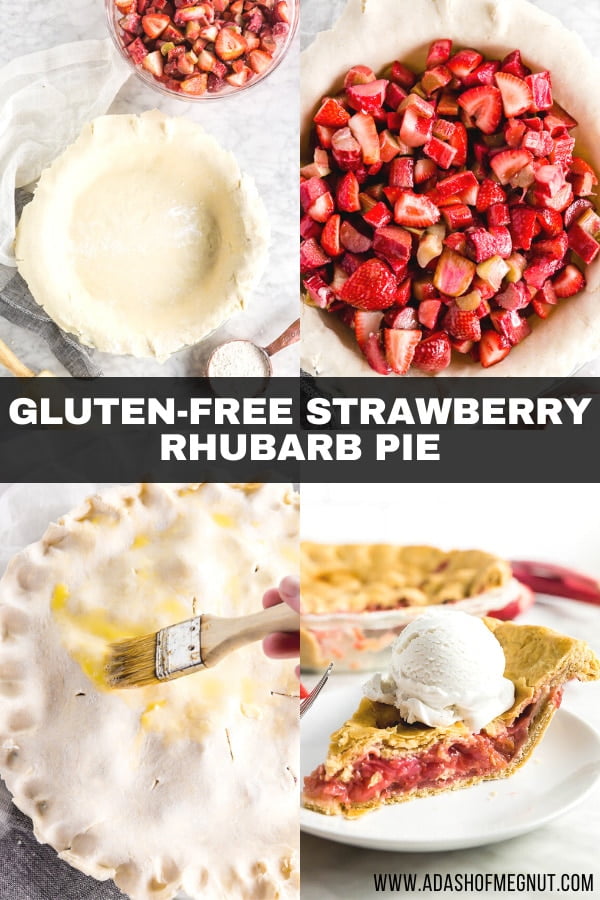
Step-by-Step instructions
The below steps and matching photos are meant to help you see the strawberry rhubarb pie at various stages so that you can make it perfectly every time. They are not the full instructions.
For the ingredient list with measurements, full instructions, printable recipe, and additional notes, please scroll down to the recipe card.
What makes this strawberry rhubarb pie gluten free?
To make this strawberry rhubarb pie gluten free we just have to make a few easy swaps.
First, in the pie crust, use a gluten free flour blend instead of all-purpose flour. I love using Bob’s Red Mill 1-to-1 Gluten Free Baking Flour (in the blue bag) in this recipe, but King Arthur Baking Gluten-Free All-Purpose Flour works well, too!
If your blend does not already contain it, you’ll need to add some xanthan gum which acts similarly to the gluten protein in baked goods.
Instead of using flour as a thickening agent in the filling, we use cornstarch. Cornstarch is a great way to thicken gluten free pie fillings, as well as sauces, soups and gravies.
Recipe FAQs
If you’ve never had rhubarb before, you’re in for a treat. This dark pink vegetable has long stalks, similar to celery, and a sour, bitter taste when eaten. Its leaves are poisonous, so if you harvest it yourself make sure to cut off any leaves and only eat the stalk. Rhubarb is often paired with sweeter fruits, such as strawberries or other berries, to offset its bitterness in desserts. In fact, it’s a favorite in my gluten-free vegan rhubarb blueberry peach galette!
Prime rhubarb season is from April to June, though the actual season lasts a little longer so don’t let that deter you from looking for it at your local stores and farmers’ markets. When you’re looking for rhubarb, look for firm stalks that are not wilted. The color of the stalks may range from pale green to deep red. There are some subtle variances in flavor, with deep red being the least tart, but it’s not a huge difference if you ask me, so buy whichever is available.
As previously mentioned, rhubarb is a rather bitter vegetable and fibrous, so it is almost always cooked with sugar to balance its taste. Rhubarb itself has a mild tart flavor, which makes it pair beautifully with strawberries. Strawberry rhubarb pie has a sweet and tart combination that is so perfect with topped with a creamy vanilla ice cream. The pie crust is flaky and buttery in every bite! It’s such a tasty combination.
Tips for Gluten Free Pie Crust
Gluten free pie crust only taste a few simple ingredients: a gluten free flour blend, xanthan gum (if your blend does not already contain it), sugar, baking powder, salt, butter, shortening, and water.

How to Crimp Pie Crust
If you’ve ever wondered why you crimp a pie crust before, it’s for more than just looks! Crimping the crust helps to keep the filling in the pie while baking. Plus, it looks gorgeous!
Luckily, there are so many ways to crimp a pie crust! My favorite way to crimp a pie crust is the traditional “pinch” method.
When I roll out the pie crust and place it into the pie dish, I like to make sure there is about an inch of overhang over the edges.
Then, when you place the top pie dough layer over the filling, also make sure it hangs over the edges about an inch.
Roll the dough under itself to give it a higher edge. Use two hands to pinch the dough, using the thumb from one and the thumb and index finger from your other hand. Continue until you’ve completed the entire rim of the pie.
Tips to Make Sure Your Strawberry Rhubarb Pie is NOT Runny
I often find that strawberry rhubarb pie filling can be so runny which is not what you want. There are a few tricks that I use to make sure that the filling stays nice and thick every time.
Storage instructions
- Storage: Fruit pies, like this gluten free strawberry rhubarb pie should last covered at room temperature for up to 2 days.
- Refrigerator Option: You can refrigerate it for longer storage. It will last up to 5 days in the refrigerator. Cover the pie before storing.
- Reheat: You can warm up leftover pie in the oven if you like serving it warm. Otherwise, eat at room temperature.

More gluten-free pies & tarts to try
Did you make this recipe?
I’d love to know! Please rate it and leave a comment below. You can also share your pictures and tag @adashofmegnut on Instagram.
Gluten Free Strawberry Rhubarb Pie
Ingredients
For the Pie Crust:
- 2 1/2 cups gluten free flour blend
- 1 teaspoon xanthan gum - if your blend doesn’t already contain it
- 1 tablespoon granulated sugar
- 1/2 teaspoon baking powder
- 1 teaspoon salt
- 8 tablespoons butter - cut in pieces and very cold
- 4 tablespoons shortening - cut in pieces and very cold
- 3/4 cup ice cold water
Strawberry Rhubarb Filling:
- 3 cups strawberries - hulled and sliced
- 4 cups rhubarb - cut into 1-inch pieces (about 4 stalks total)
- 1 cup granulated sugar
- 1 tablespoon lemon juice
- 1 teaspoon vanilla extract
- 1/4 teaspoon salt
- 1/2 teaspoon cinnamon
- 1/2 cup cornstarch
- 1 tablespoon gluten free flour blend
- 1 egg - for egg wash
- 1 tbsp water - for egg wash
**Use the toggle button above to turn the instruction photos on and off!
Instructions
For the Pie Crust:
- In a food processor, combine the gluten free flour blend, xanthan gum (if using), sugar, baking power, and salt. Pulse to combine.
- Then add the very cold butter and shortening to the food processor. Pulse until the butter is the size of peas.
- Place the flour/butter mixture in a large bowl.
- Add the water, tablespoon by tablespoon, until the dough is able to be pinched together. You may not need the full 3/4 cup of water. If you need additional water, add one tablespoon at a time until your pie dough comes together.
- Form the dough into a ball on a piece of parchment paper.
- Then, refrigerate for at least and hour.
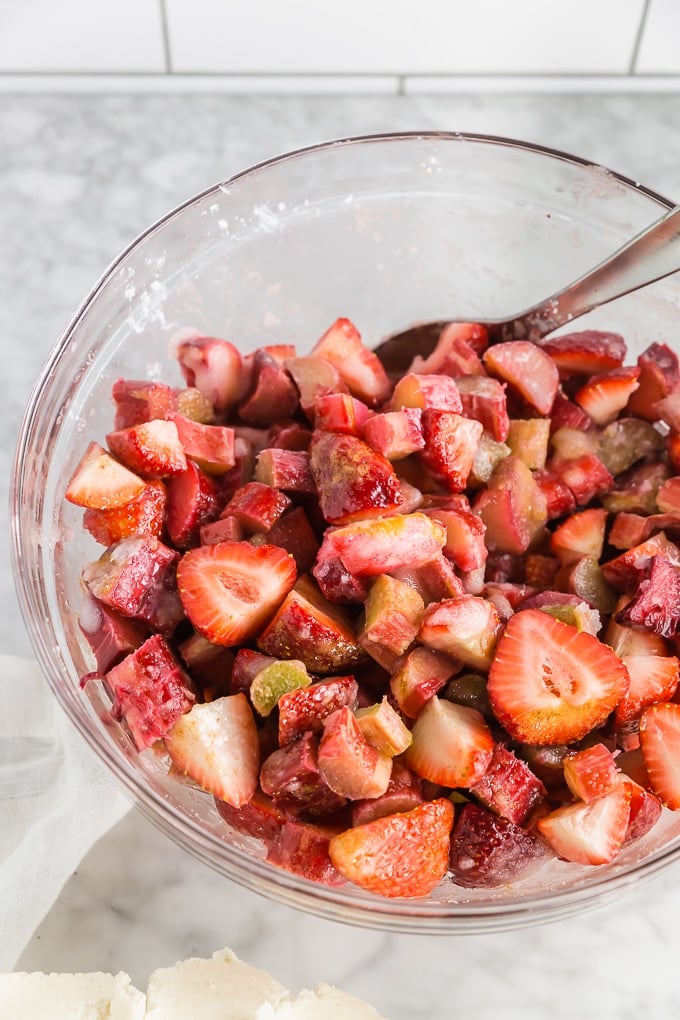
For the Strawberry Rhubarb Filling:
- In a large bowl, mix together strawberries, rhubarb, granulated sugar, lemon juice, vanilla, salt, and cinnamon.
- Let sit for at least 45 minutes to let the juices release.
- Carefully drain the juices from the bowl.
- Then stir in the cornstarch until combined.
To Assemble the Pie:
- Take the pie dough out of the refrigerator.
- Slice the dough in half so you have two equal sized portions.
- Generously flour a surface or parchment paper with gluten free flour.
- Take one of the pie dough portions and roll it out to a round 1/8 inch thickness about 3 inches wider than your pie plate. So, if your pie plate is 9-inches, you’ll want your dough round to be 12 inches in diameter.
- Repeat with other pie dough portion, keeping the dough, surface and rolling pin generously floured to make sure it does not stick.
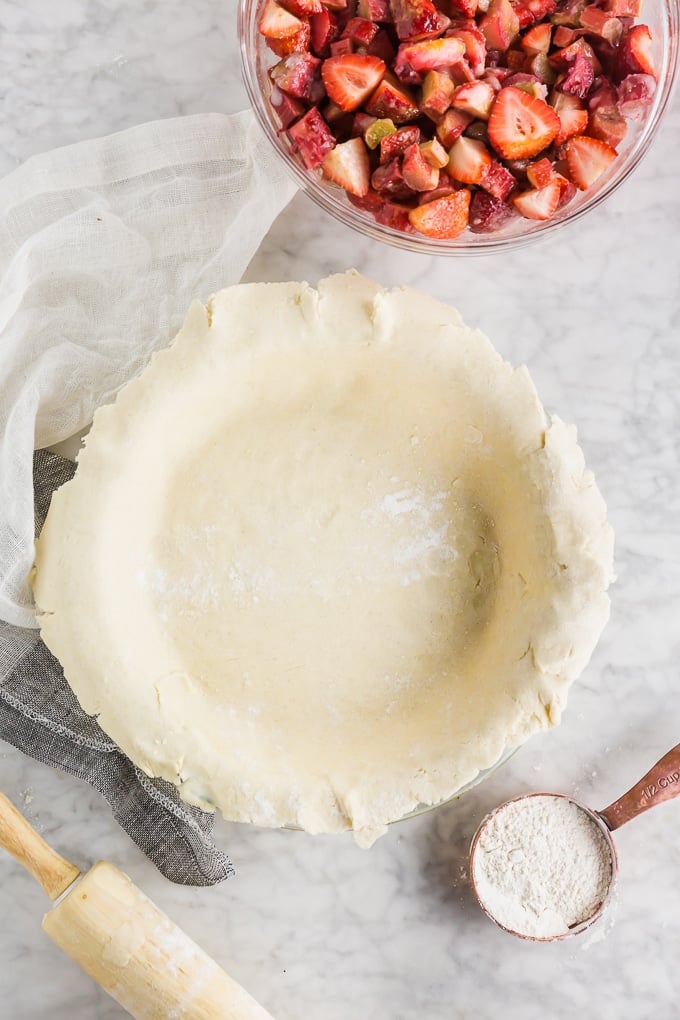
- Carefully transfer one of the rolled out pie crusts to a 9-inch pie plate. You should have about 1/2 inch overhang of dough.
- Add 1 tablespoon of gluten free flour over the bottom crust to soak up any additional juices from the filling.
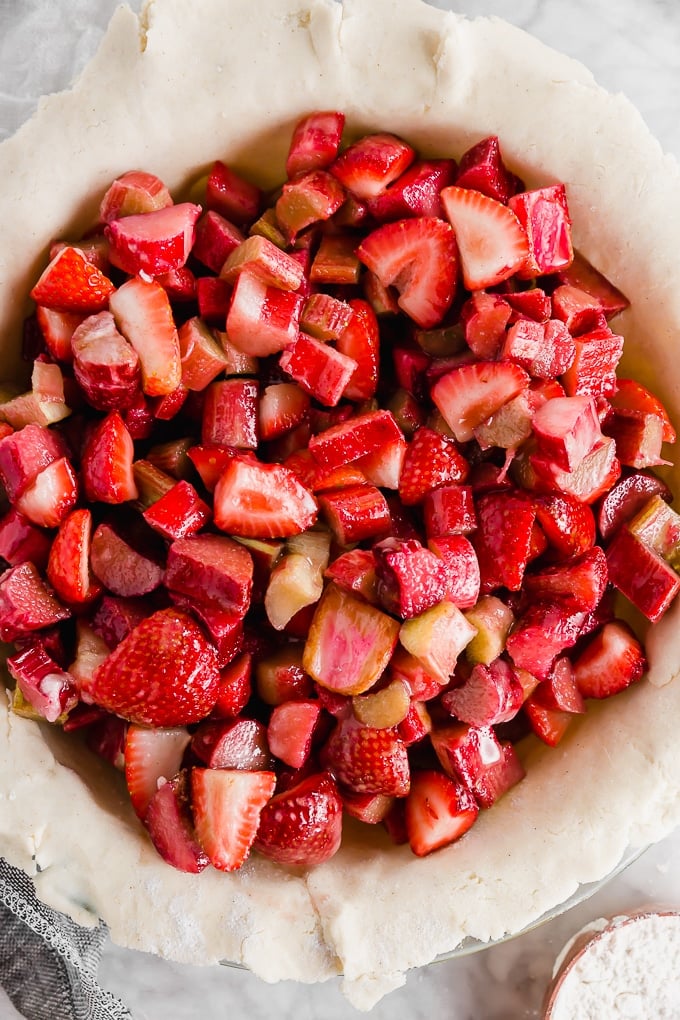
- Then, pour the strawberry rhubarb pie filling over the bottom crust.
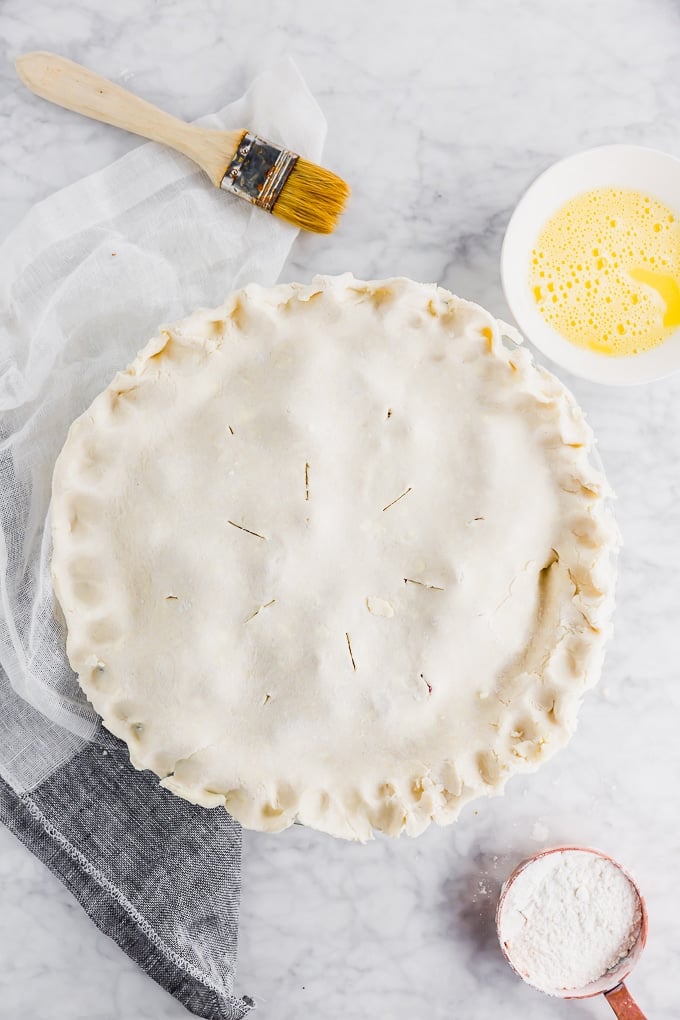
- Carefully place the other pie crust on top of the filling.
- Roll the edges of the overhanging pie crust under itself until it reaches the pie plate. This will give you a higher crust for crimping.
- Crimp the pie crust as desired.
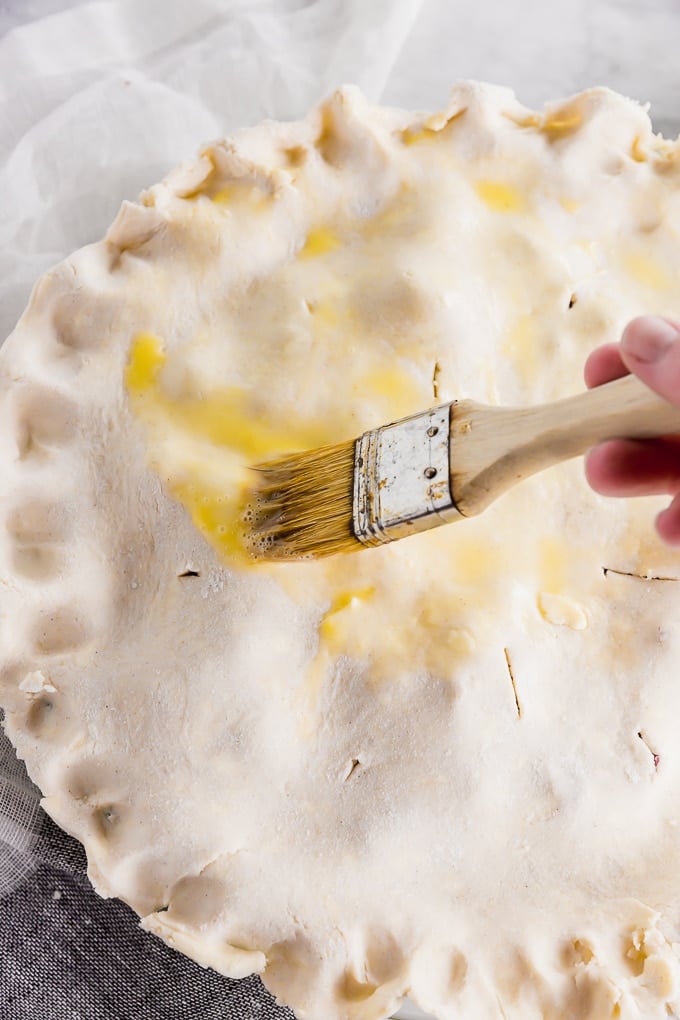
- In a small bowl, whisk together egg and water until combined. Brush the egg wash over the pie crust with a pastry brush.
- Make a few slits with a knife in the top crust to let air escape during baking.
To Bake the Pie:
- Place the pie plate on a baking sheet for easy handling.
- Bake at 400F for 55-60 minutes, until the crust is a golden brown and the filling is bubbling.
- Let cool for at least 2 to 3 hours before slicing to make sure filling sets up.
Nutrition
Note: This post was originally posted on June 26, 2012 and updated on June 26, 2019 with new photos, recipe and tips and tricks to help you make this easy gluten free dessert perfectly every time!