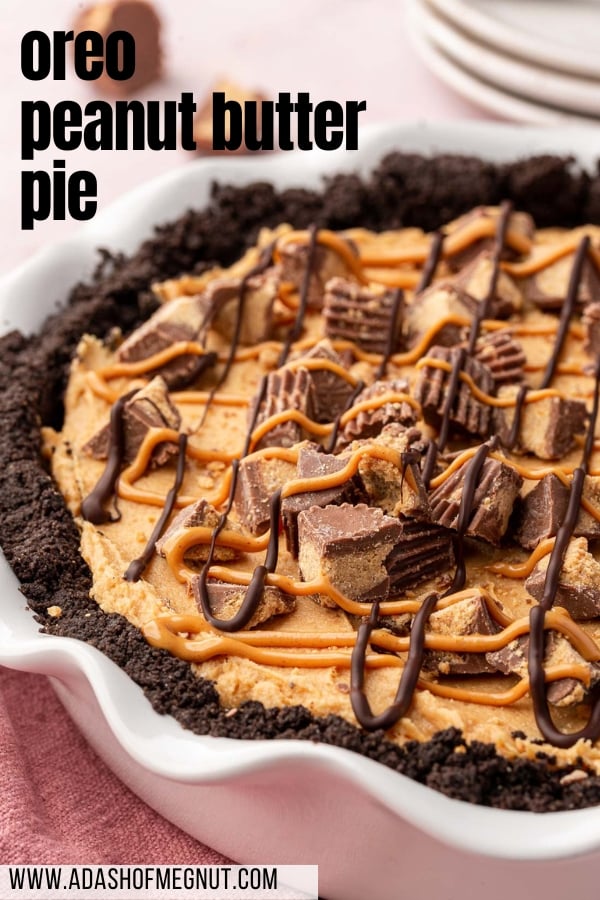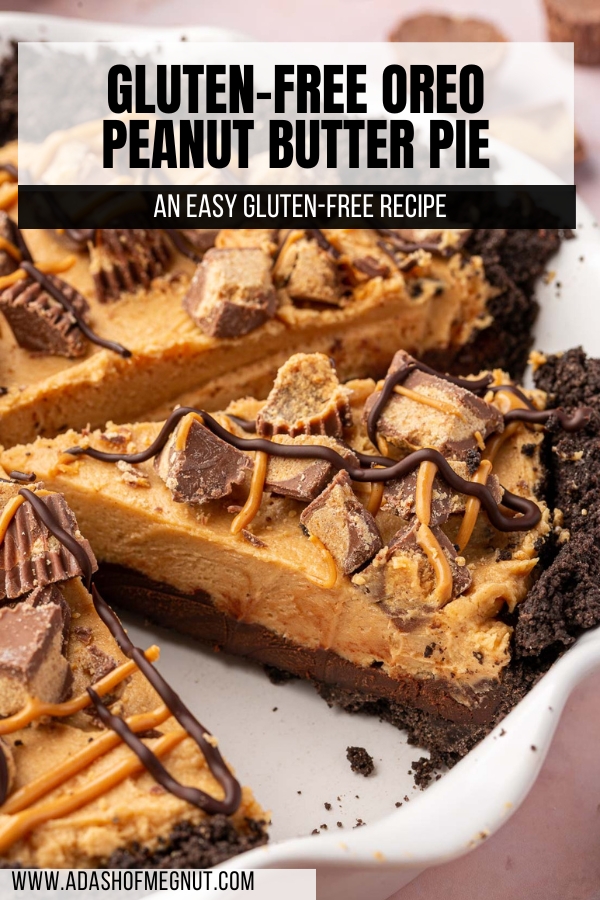
This gluten-free Oreo peanut butter pie is the epitome of a chocolate peanut butter explosion. If you love the combination of chocolate and peanut butter, you’ll love this pie!
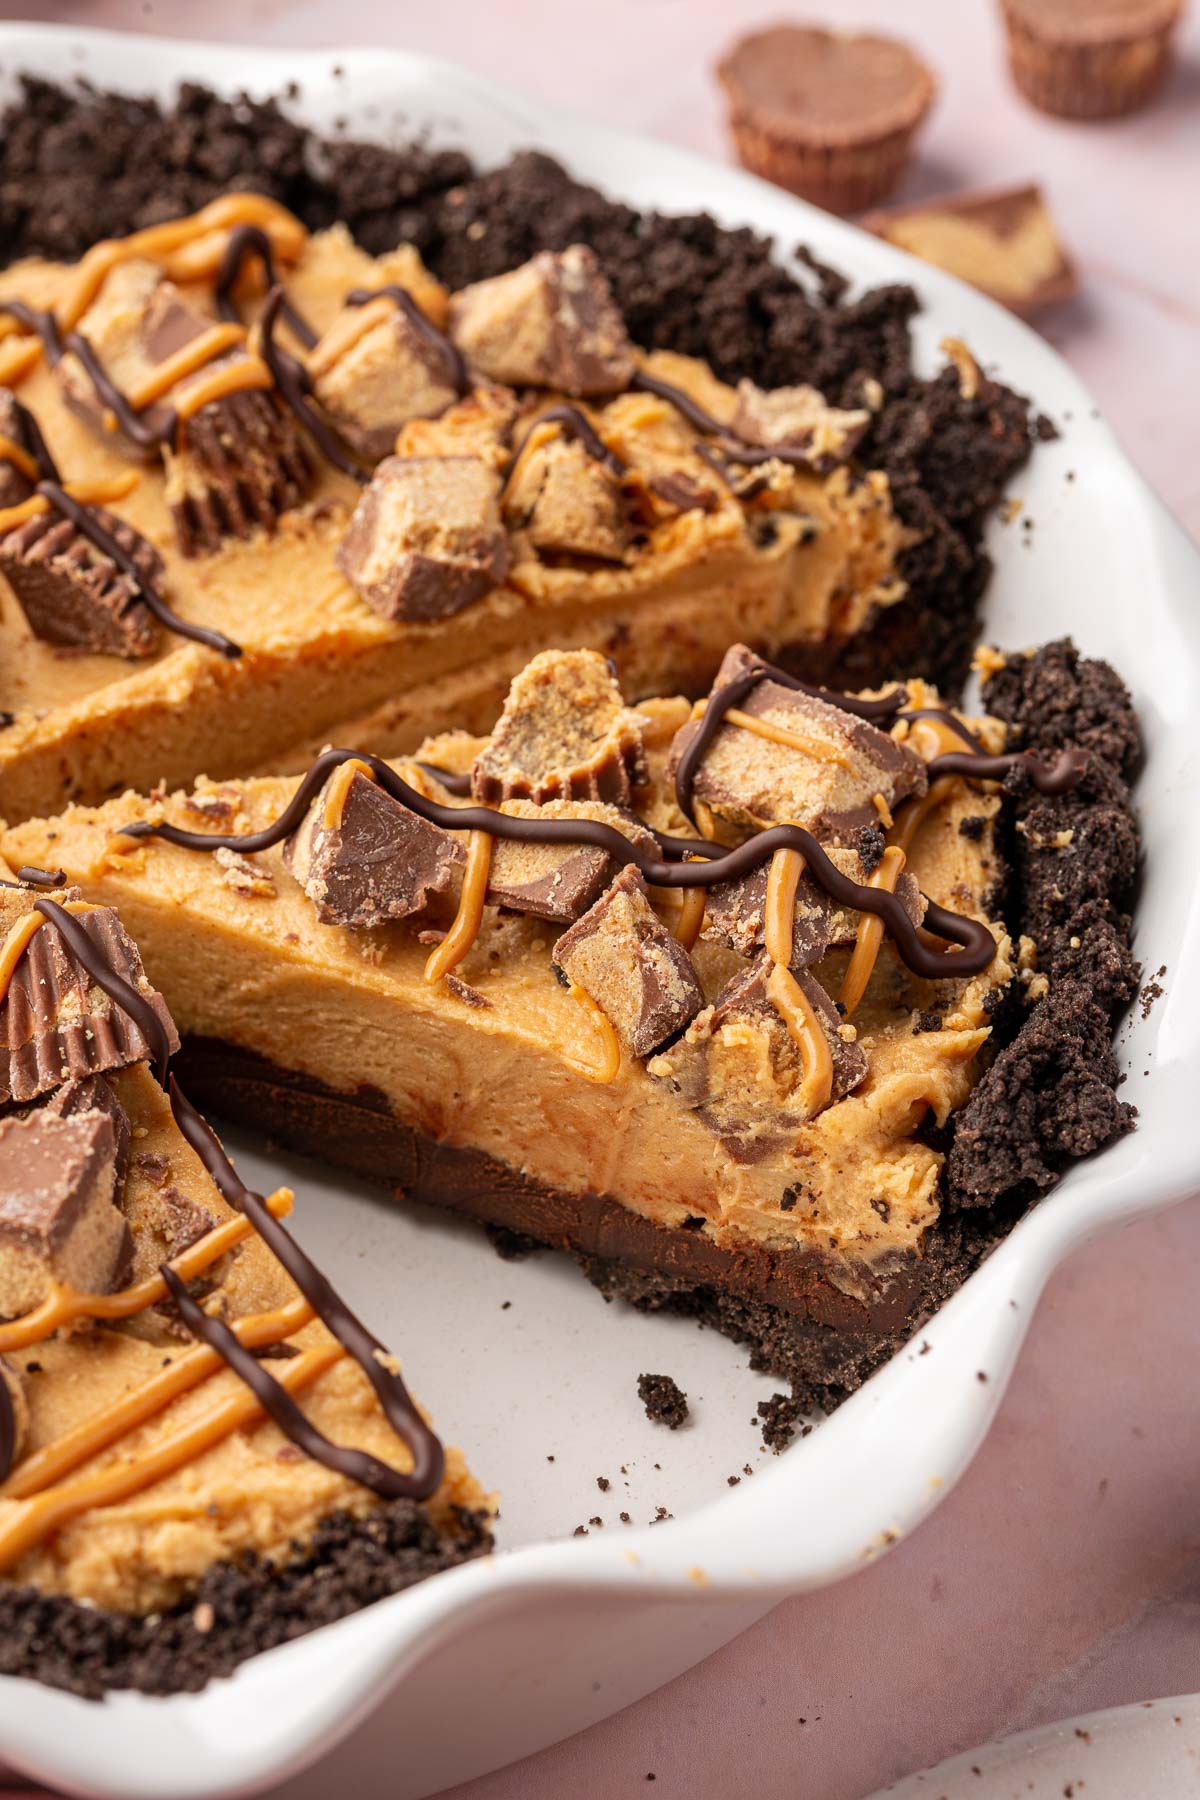
Think a fluffy creamy peanut butter and cream cheese layer, paired with a rich dark chocolate ganache, all nestled on a gluten-free Oreo pie crust. This pie is the epitome of nutty, chocolatey, and downright irresistible.
Whether you’re planning a gathering with friends, a cozy family dinner, or simply treating yourself to a midweek dessert, this pie fits the bill. This recipe is easy to follow with step-by-step photos and instructions so whether you’re an experienced baker or a novice, you can make this easy gluten-free dessert!
You’ll love this recipe because:
Ingredients
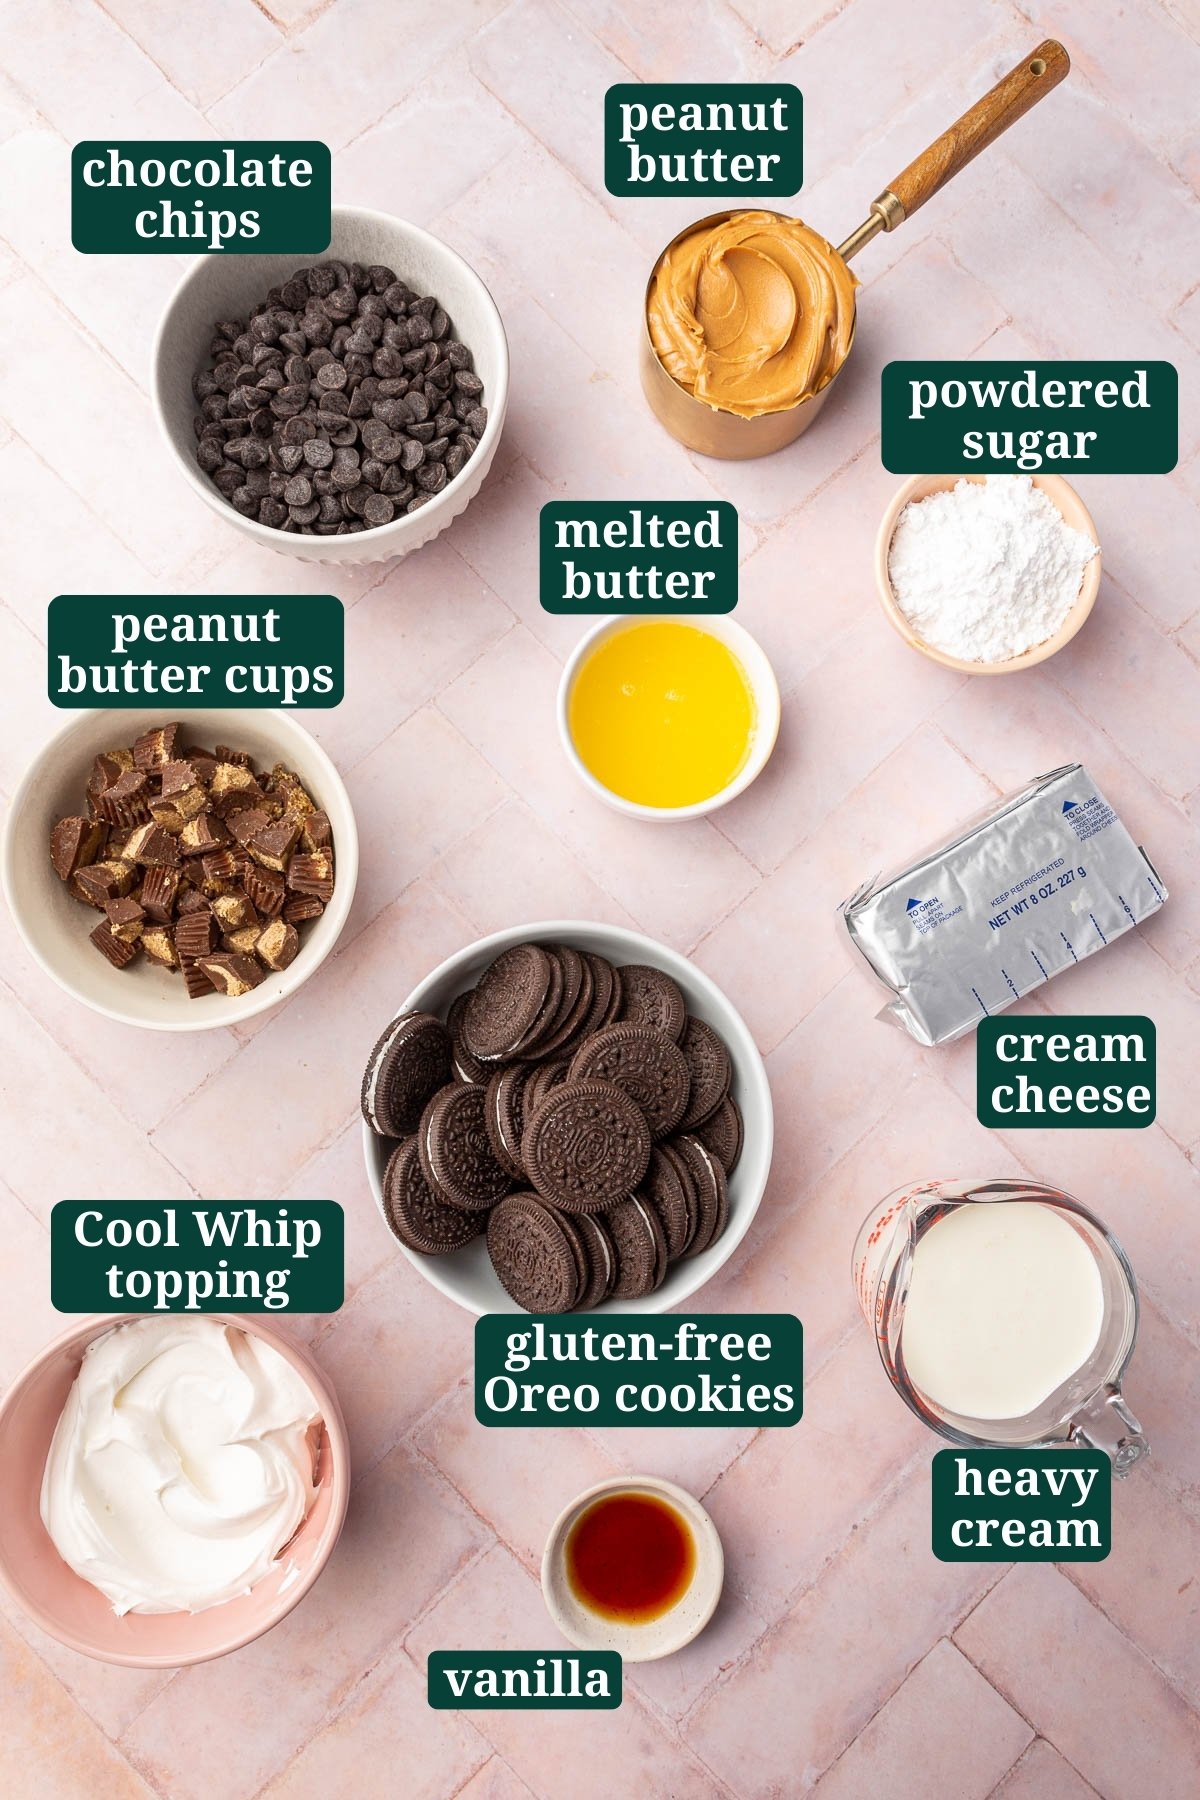
Ingredient Notes
- Gluten-free Oreos – Use regular gluten-free Oreos, NOT double stuffed Oreos as they have too much filling for the pie crust. Other brands of gluten-free chocolate sandwich cookies you can use include Kinnikinnick KinniToos, Glutino Gluten Free Chocolate Sandwich Cookies, and Goodie Girl Gluten Free Chocolate Sandwich Cookies.
- Melted butter – Use unsalted butter for the crust. I like to melt my butter on the stove top, because I find it explodes in the microwave very easily. You can also use dairy-free butter if needed.
- Heavy cream – Use heavy cream for a rich and creamy chocolate filling. It should have a high fat content. Use full-fat coconut milk for a dairy-free option.
- Dark chocolate chips – Choose high-quality dark chocolate chips, chunks or chopped chocolate for the best flavor. You can also use semi-sweet chocolate or milk chocolate if you prefer.
- Creamy peanut butter – Creamy peanut butter works best in the peanut butter filling. Avoid using chunky peanut butter for a smooth texture.
- Cream cheese – Use regular, full-fat cream cheese for the best results. Be sure it’s softened to room temperature before using. If need be, place the foil-wrapped cream cheese in a bowl of warm water for 10 minutes to soften it before using. You can use vegan cream cheese for a dairy-free option.
- Vanilla – Pure vanilla extract is recommended for the best flavor.
- Powdered sugar – Ensure your powdered sugar is finely powdered to avoid graininess in the peanut butter filling.
- Cool Whip topping or homemade whipped cream – You can use store-bought Cool Whip for this recipe, like I did, or make your own whipped cream for the peanut butter filling. If making your own, ensure it’s well whipped and holds its shape.
- Reese’s peanut butter cups – Quartered mini Reese’s cups work great for the topping, but you can also use regular-sized ones and chop them into pieces. Reese’s peanut butter cups are marked gluten-free on their packaging.
- Chocolate – For the topping, use good quality chocolate for melting. Semisweet or dark chocolate is a good choice. I like to use the same chocolate chips I use for the chocolate ganache filled, which are Guittard Extra Dark Chocolate Chips. I just microwave them for about 30 seconds until melted and drizzle with a spoon or use a piping bag for a more precise look.
- Additional melted peanut butter – Use peanut butter with a smooth, pourable consistency for drizzling on top of the pie. Just microwave it for about 20 seconds to get it to a good consistency.

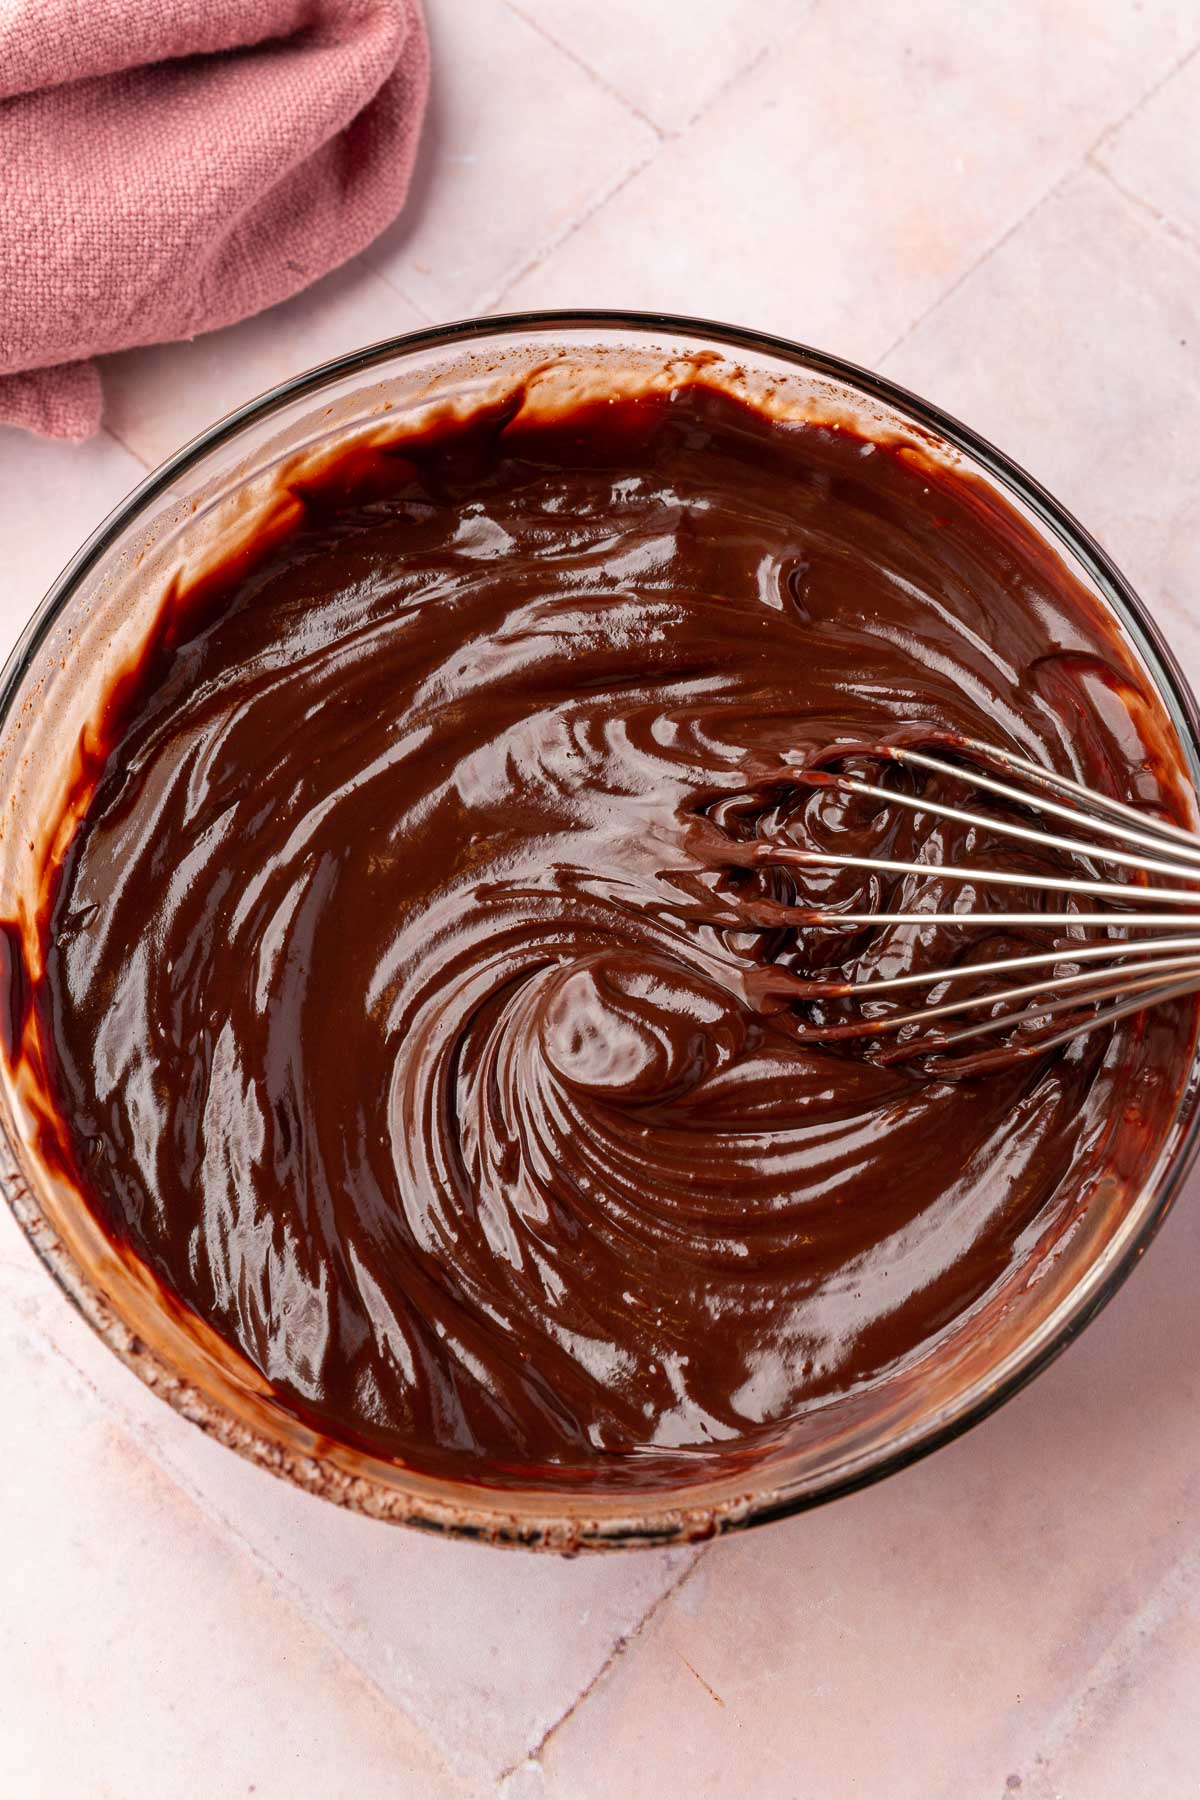
For the chocolate filling, when pouring the simmering heavy cream over the dark chocolate chips, cover the bowl with a plate and let it sit undisturbed for the full 5 minutes before stirring. This resting time allows the chocolate to melt evenly and creates a smoother, more velvety ganache for your pie.
Step-by-Step instructions
While this chocolate peanut butter pie with Oreo crust has a few steps to make it, each of the steps are very simple and easy to make in stages if you’d like. The below photos with matching steps are not the full recipe, but are there to help you see the recipe made at various stages to help you make this gluten-free pie perfectly every time.
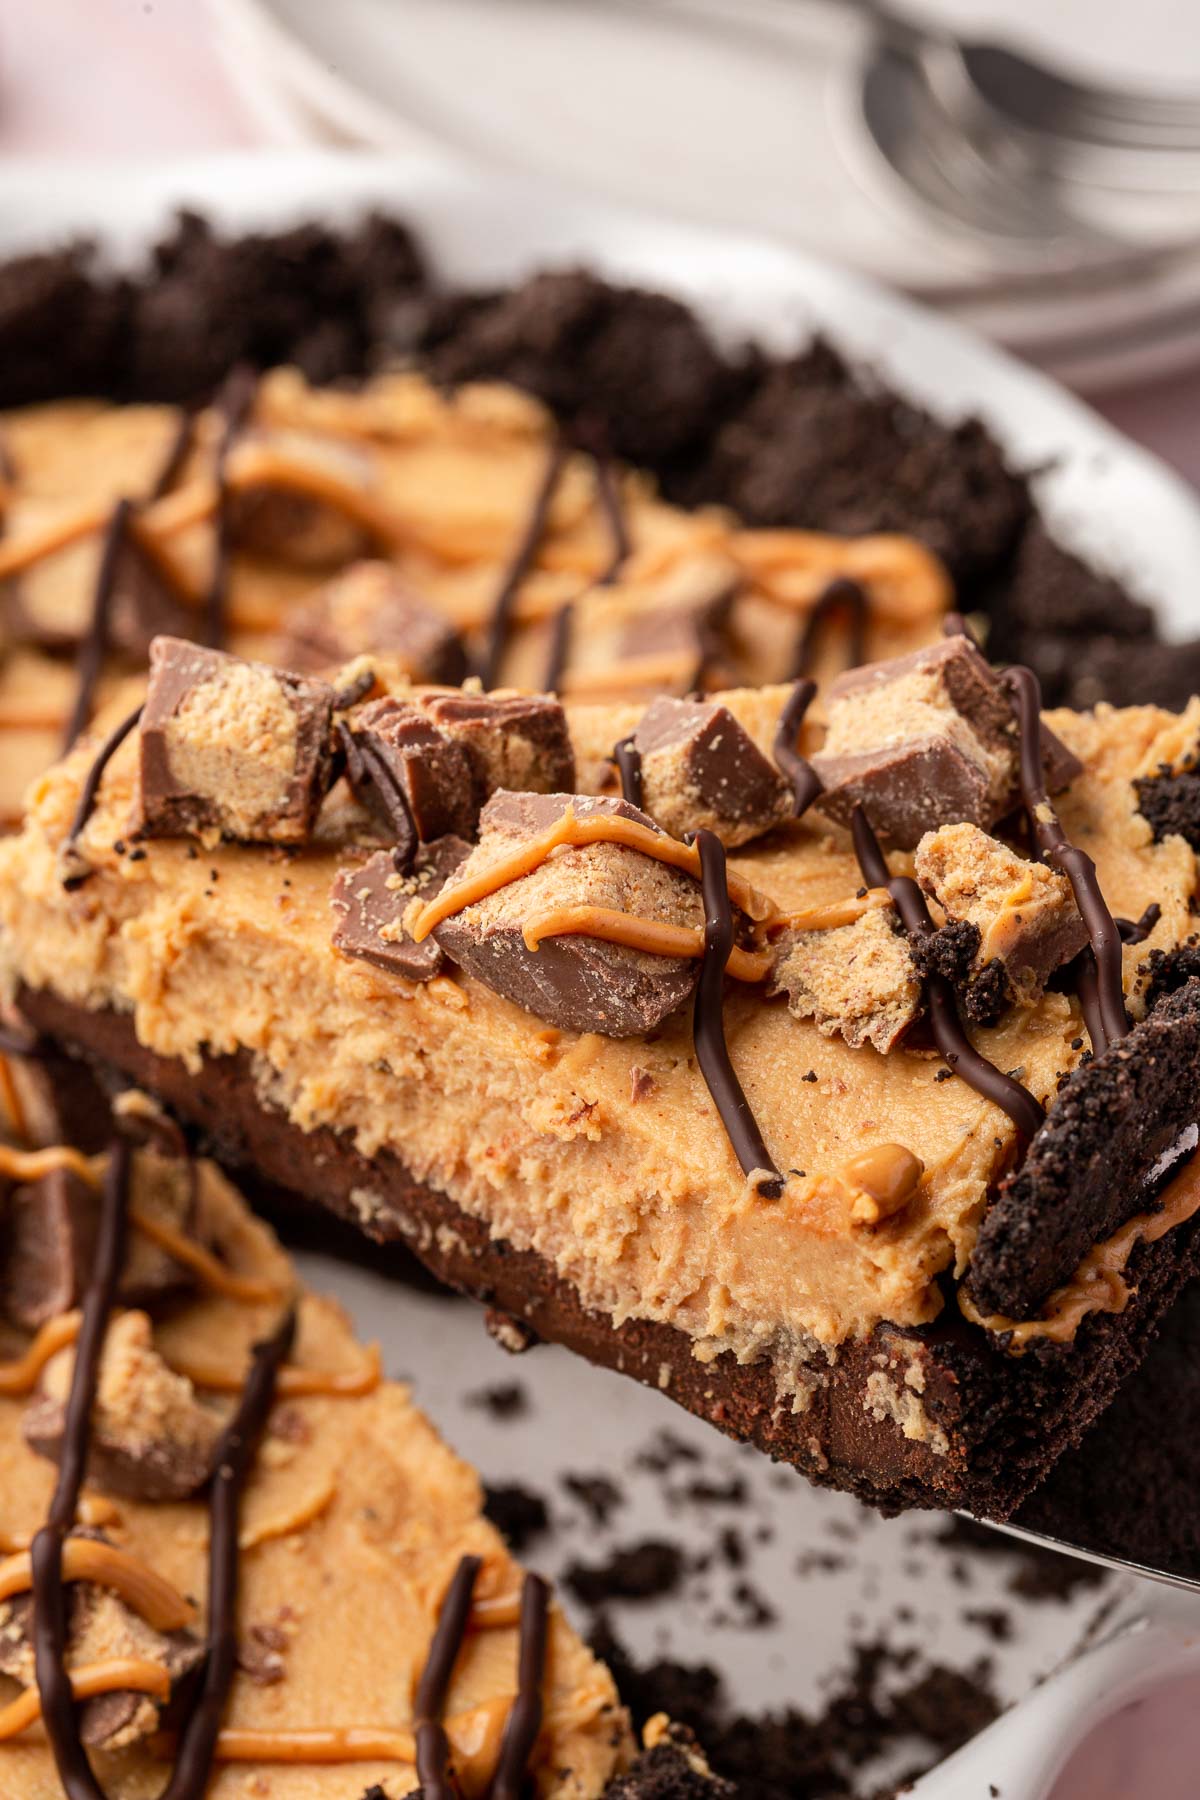
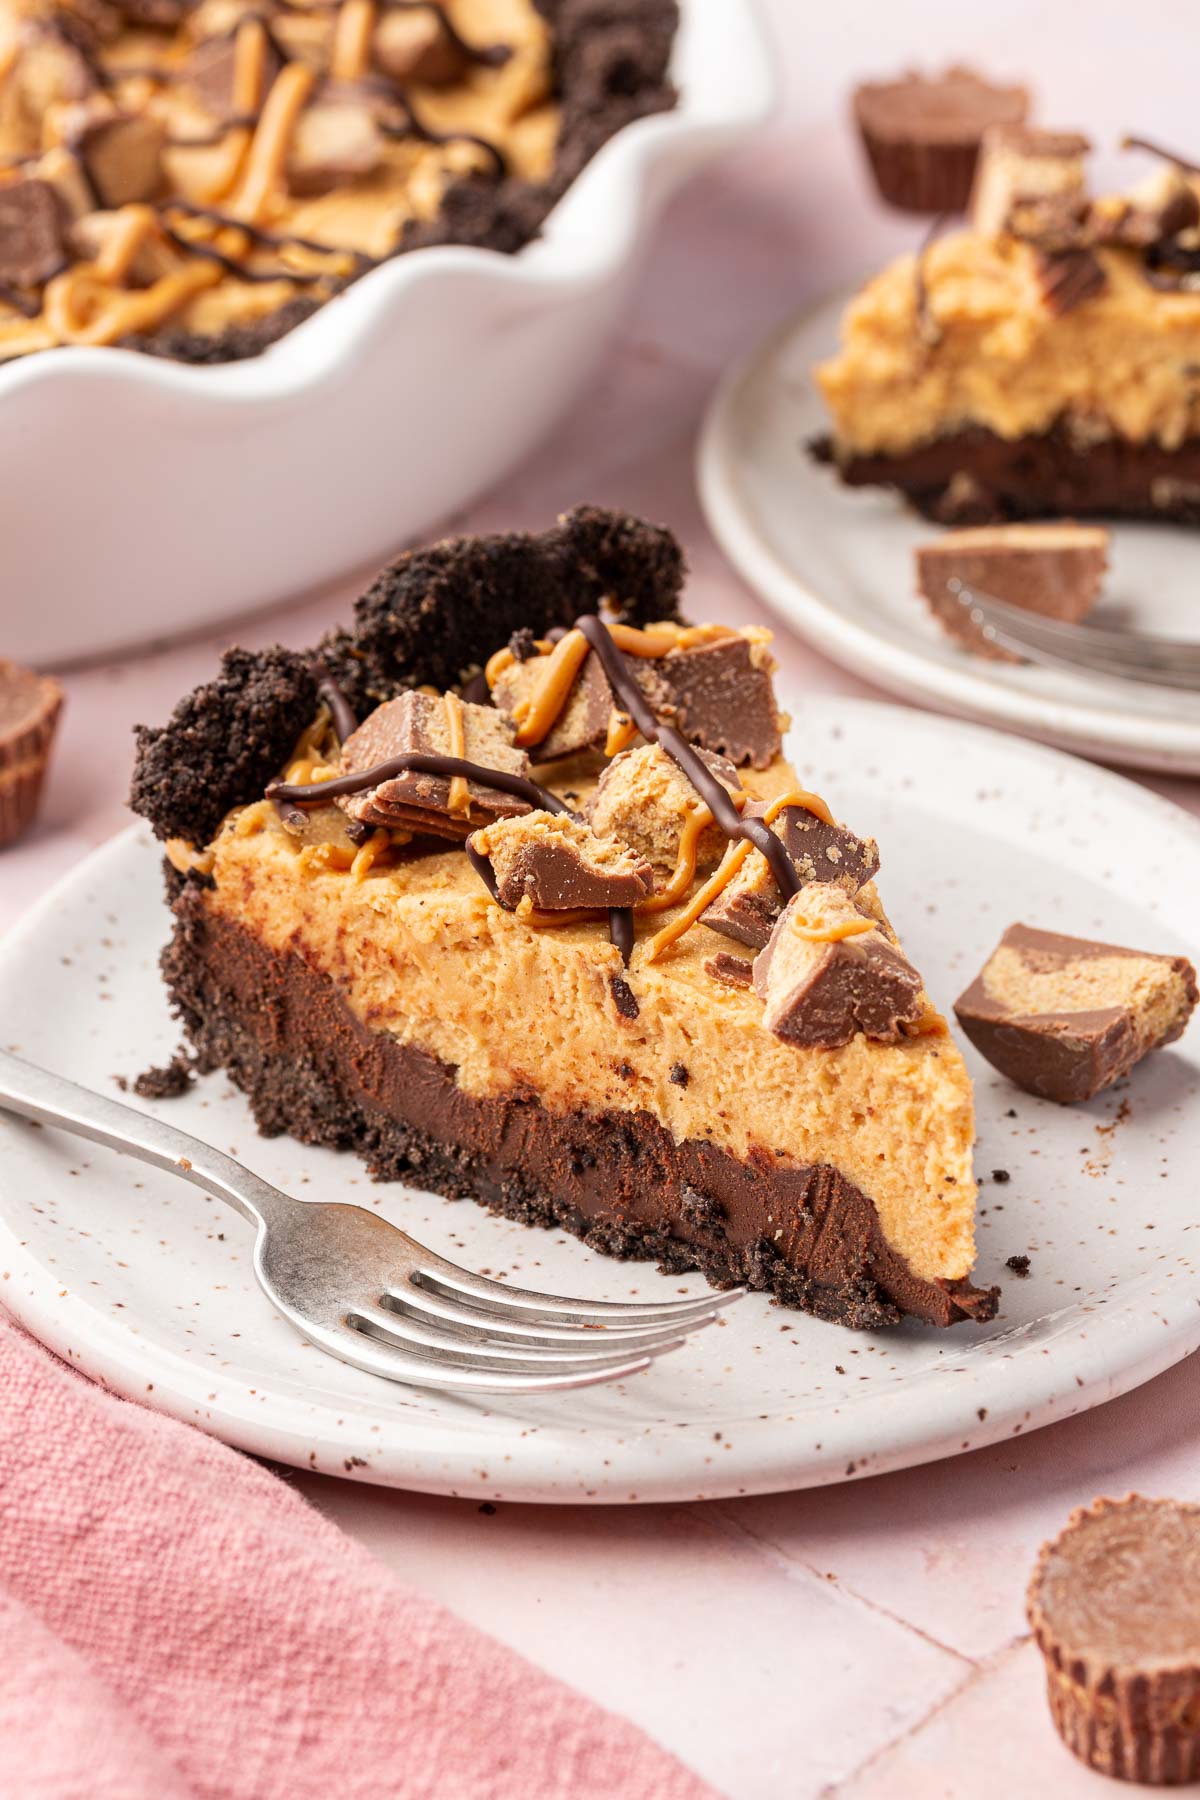
Pay special attention to the thickness of the Oreo pie crust, the texture of the ganache, the smoothness of the peanut butter filling and the decorations on top of the pie!
For the ingredient list with measurements, full instructions, printable recipe, and additional notes, please scroll down to the recipe card.
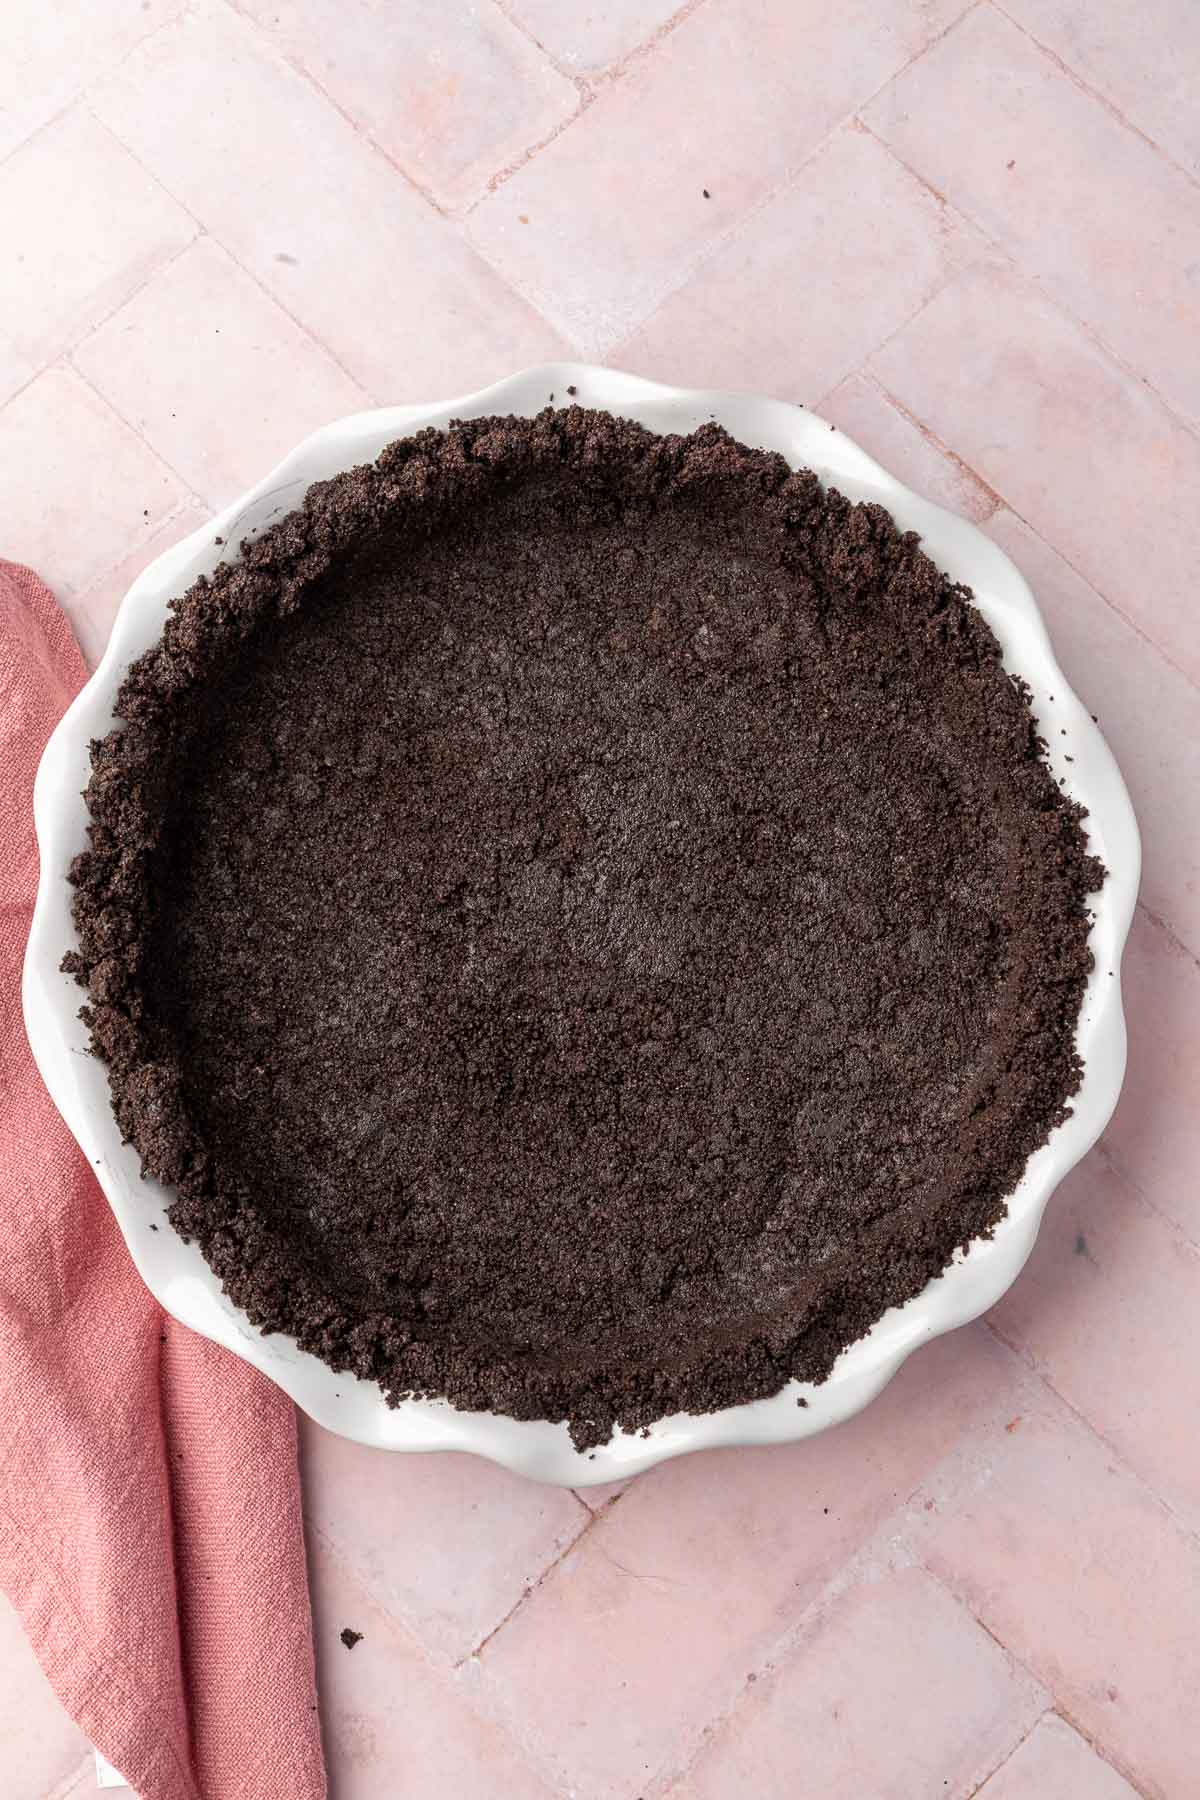
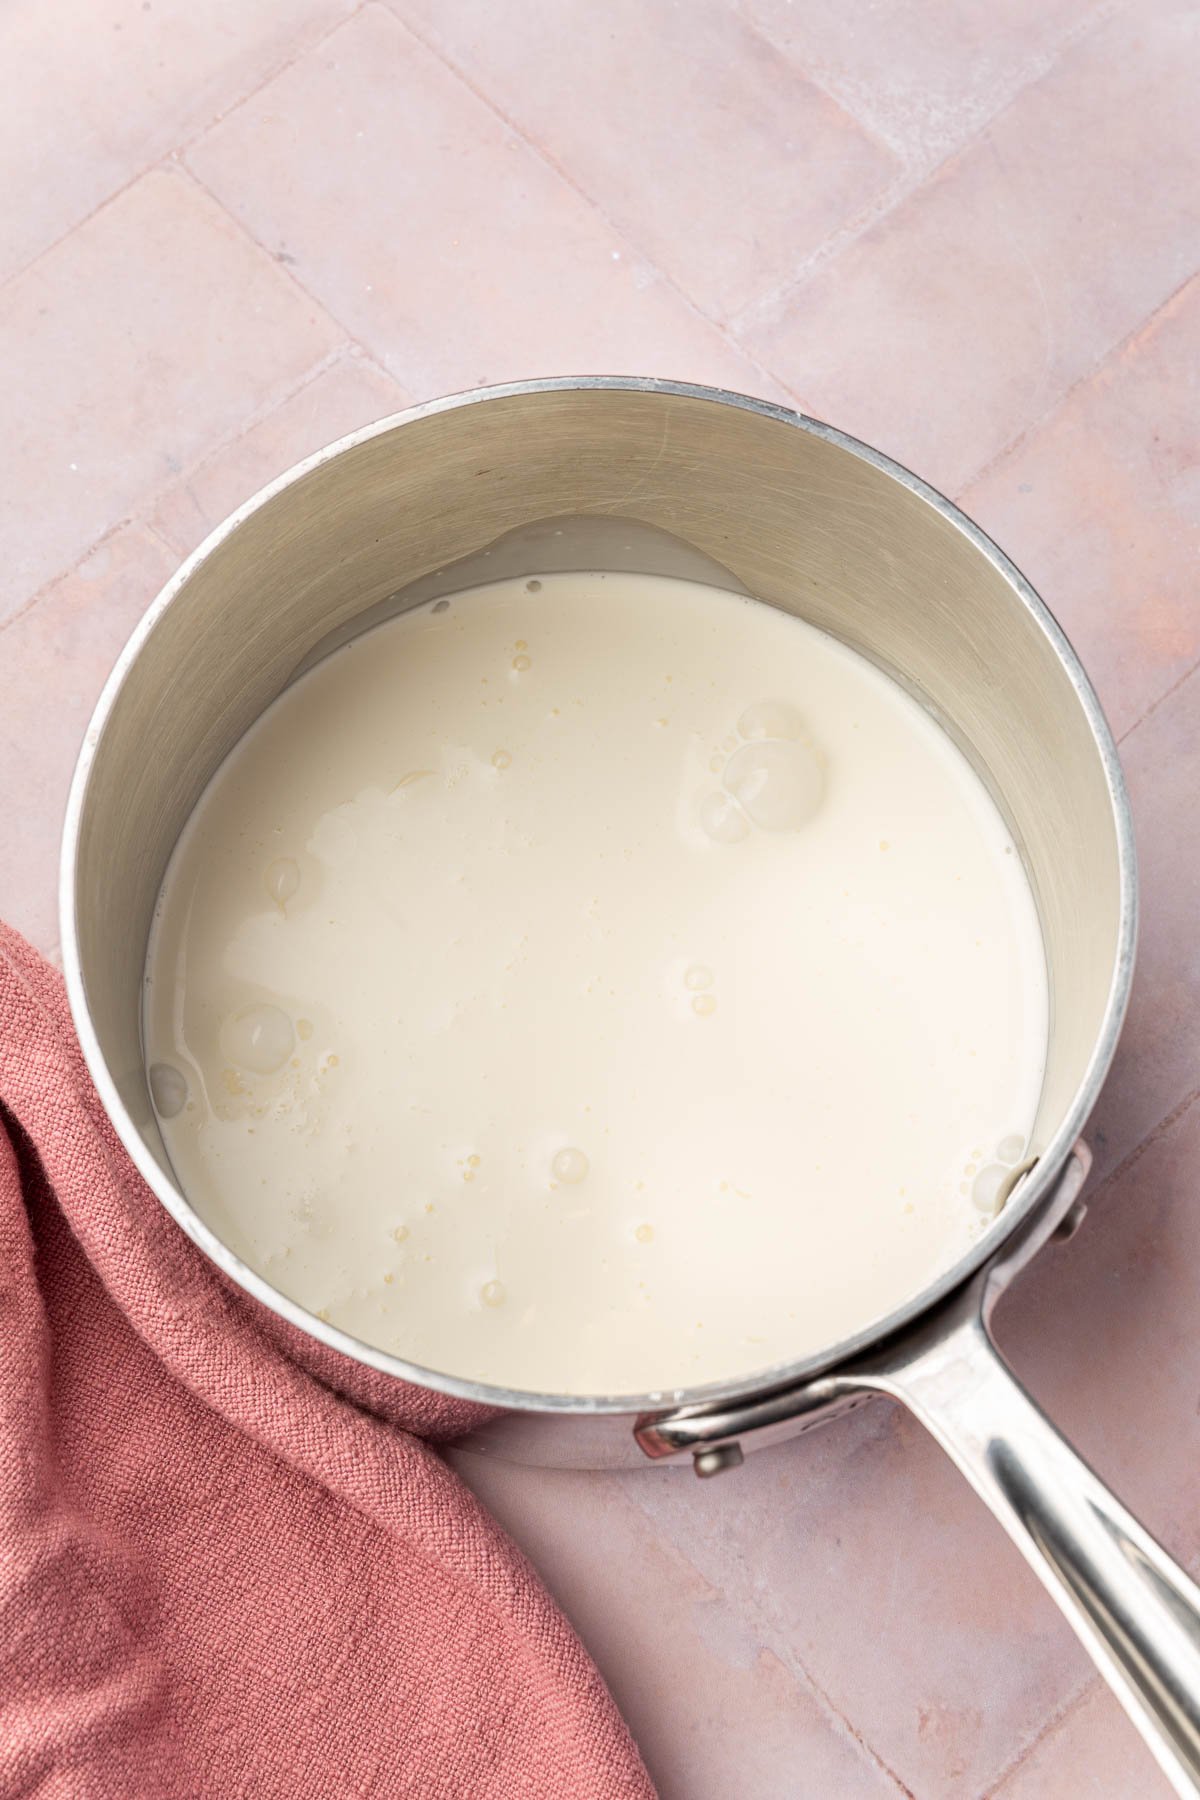
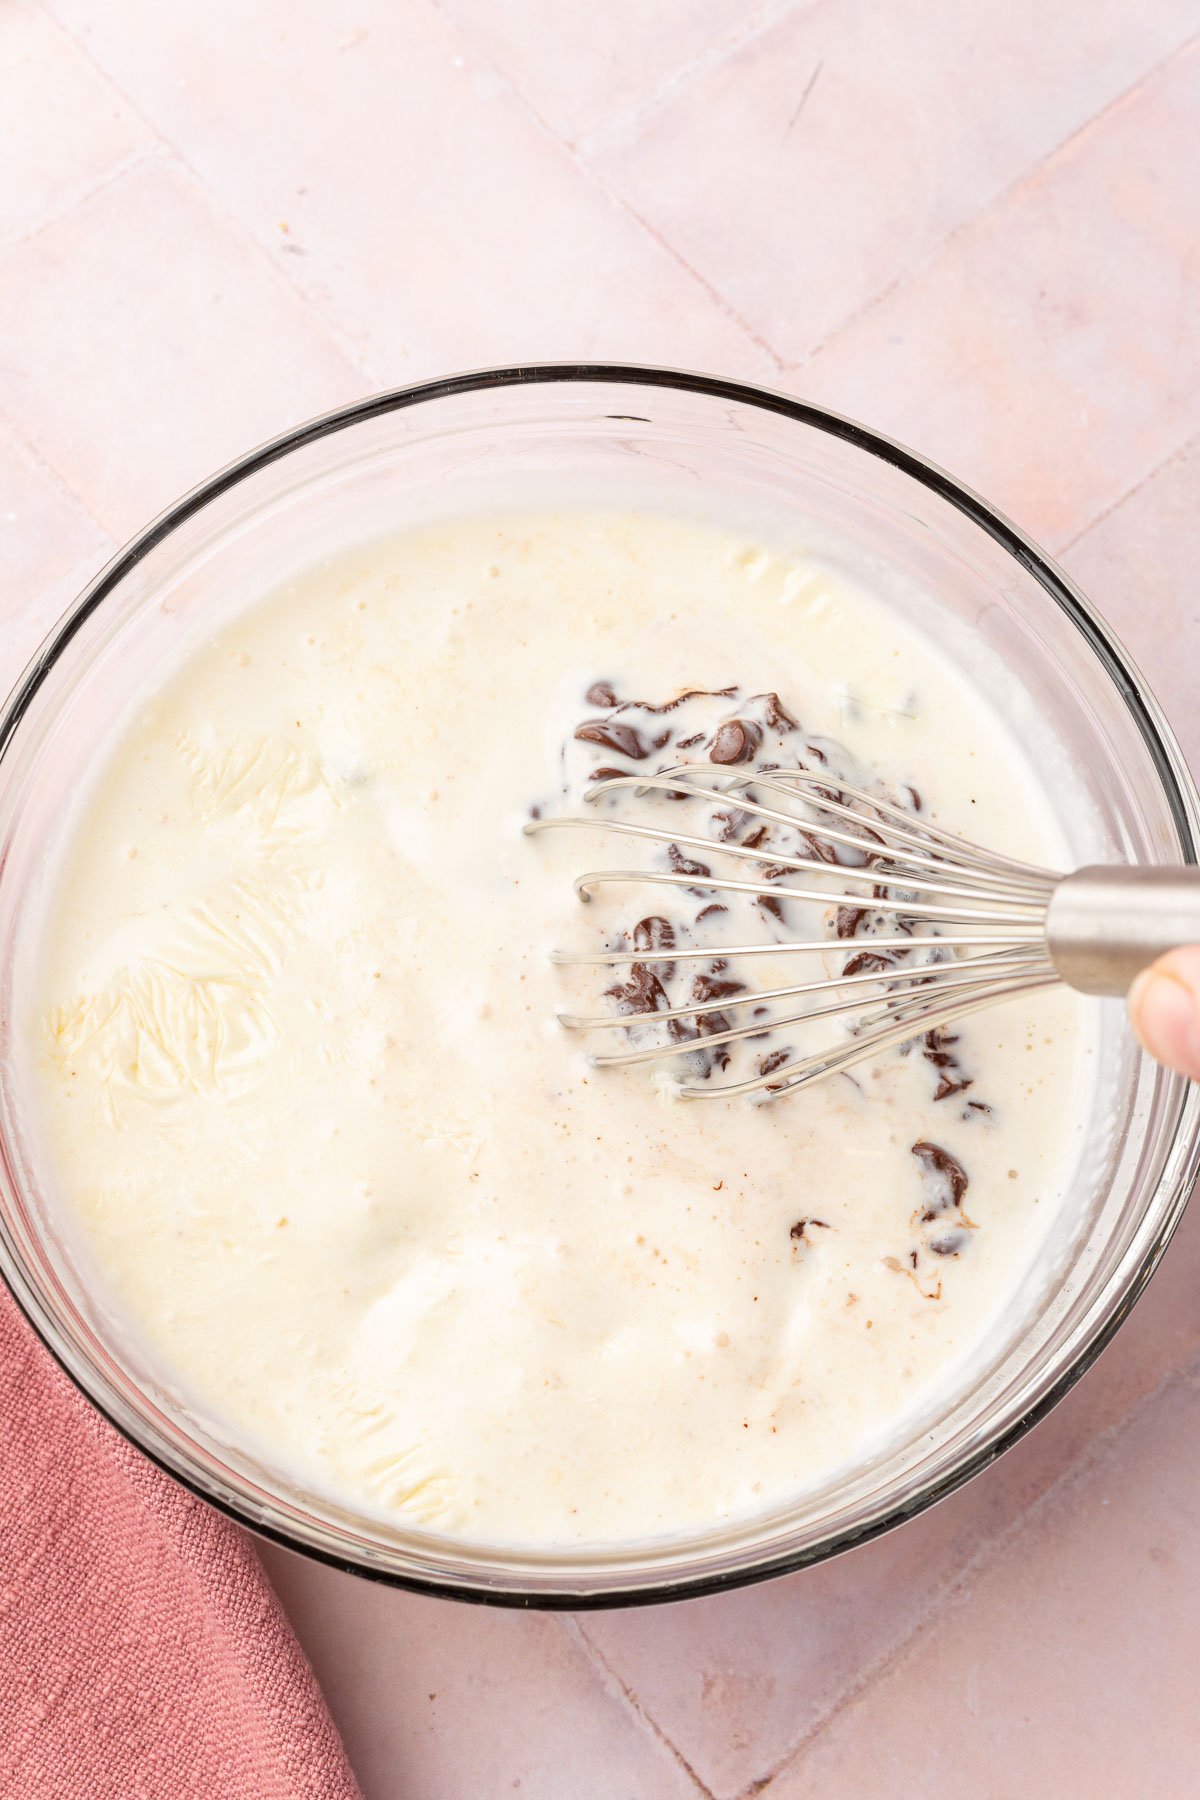
Cover for 5 minutes to let the chocolate chips soften.
Recipe FAQs
Yes, chocolate peanut butter pies can be made in advance and stored in the refrigerator. They often benefit from some time to set, so making them a day ahead can be convenient for many people. You can also freeze the pie for longer storage and refrigerate to defrost.
While my favorite is dark chocolate, you can use other types of chocolate, like milk chocolate or semi-sweet chocolate to suit your taste preferences.
Absolutely! You can use almond butter, cashew butter, or any other nut butter you prefer in place of peanut butter to create variations of this pie.
You can use homemade whipped cream as a substitute for whipped topping in the peanut butter filling. It’s typically made with heavy cream and sweetened to taste.
Yes, you can make a vegan chocolate peanut butter pie by using dairy-free and vegan substitutes for ingredients like butter, heavy cream, cream cheese, chocolate chips, and whipped topping. Omit the peanut butter cups on top of the pie.
expert tips
Storage instructions
- Storage: Store your chocolate peanut butter pie in the refrigerator, covered with plastic wrap or aluminum foil, to maintain its freshness. It’s best enjoyed within 3-4 days of preparation.
- Freezer Option: If you’d like to freeze the pie for longer storage, wrap it tightly in plastic wrap or aluminum foil, or place it in an airtight container. It can be stored for up to 2-3 months.
- Thawing Instructions: You can eat the pie straight from the refrigerator or let it sit out at room temperature to soften briefly before serving. Thaw frozen pie in the refrigerator overnight before serving.
More gluten-free pie recipes to try
Did you make this recipe?
I’d love to know! Please rate it and leave a comment below. You can also share your pictures and tag @adashofmegnut on Instagram.
Gluten-Free Oreo Peanut Butter Pie
Ingredients
Oreo Crust:
- 22 gluten-free Oreos - 9 oz, 250g
- 4 tablespoons melted butter - 56g
Chocolate Ganache Filling:
- 3/4 cup heavy cream - 8 oz
- 8 oz dark chocolate chips - 1 1/3 cups, 226g
Peanut Butter Filling:
- 1 cup creamy peanut butter - 256g
- 8 oz cream cheese - 227g
- 1 teaspoon vanilla
- 1/2 cup powdered sugar - 55g
- 1 cup Cool Whip topping - or homemade whipped cream, 72g
Topping:
- 1 cup Reese’s peanut butter cups - quartered (started with 15 mini Reese’s, 4.5 oz, 125g)
- 2 tablespoons dark chocolate - melted (melt chocolate chips or use your favorite chocolate sauce)
- 1 tablespoon peanut butter - melted
**Use the toggle button above to turn the instruction photos on and off!
Instructions
- Place the gluten-free Oreo cookies in a food processor or blender. You do not need to remove the cream filling from the Oreos. Pulse until the cookies turn into fine crumbs. If you don’t have a food processor, you can place the cookies in a zip-top bag and crush them with a rolling pin.
- In a mixing bowl, combine the Oreo crumbs with the melted butter.
- Stir until the mixture looks like wet sand and all the crumbs are moistened.
- Transfer the mixture to a greased 9-inch pie dish. Using your hands or the back of a measuring cup, press the crumbs firmly and evenly across the bottom and up the sides of the dish.
- Bake the Oreo pie crust at 350°F (175°C) for 8-10 minutes, until fragrant. Set aside to cool.
- Add the heavy cream to a medium saucepan. Heat over medium-low until simmering. Do not let the heavy cream boil.
- Place the chocolate chips in a heat-proof bowl. Then, pour the hot heavy cream over the chocolate chips.
- Cover the bowl with a plate for 5 minutes to trap in the steam. Then, stir the chocolate chips and heavy cream mixture until smooth.
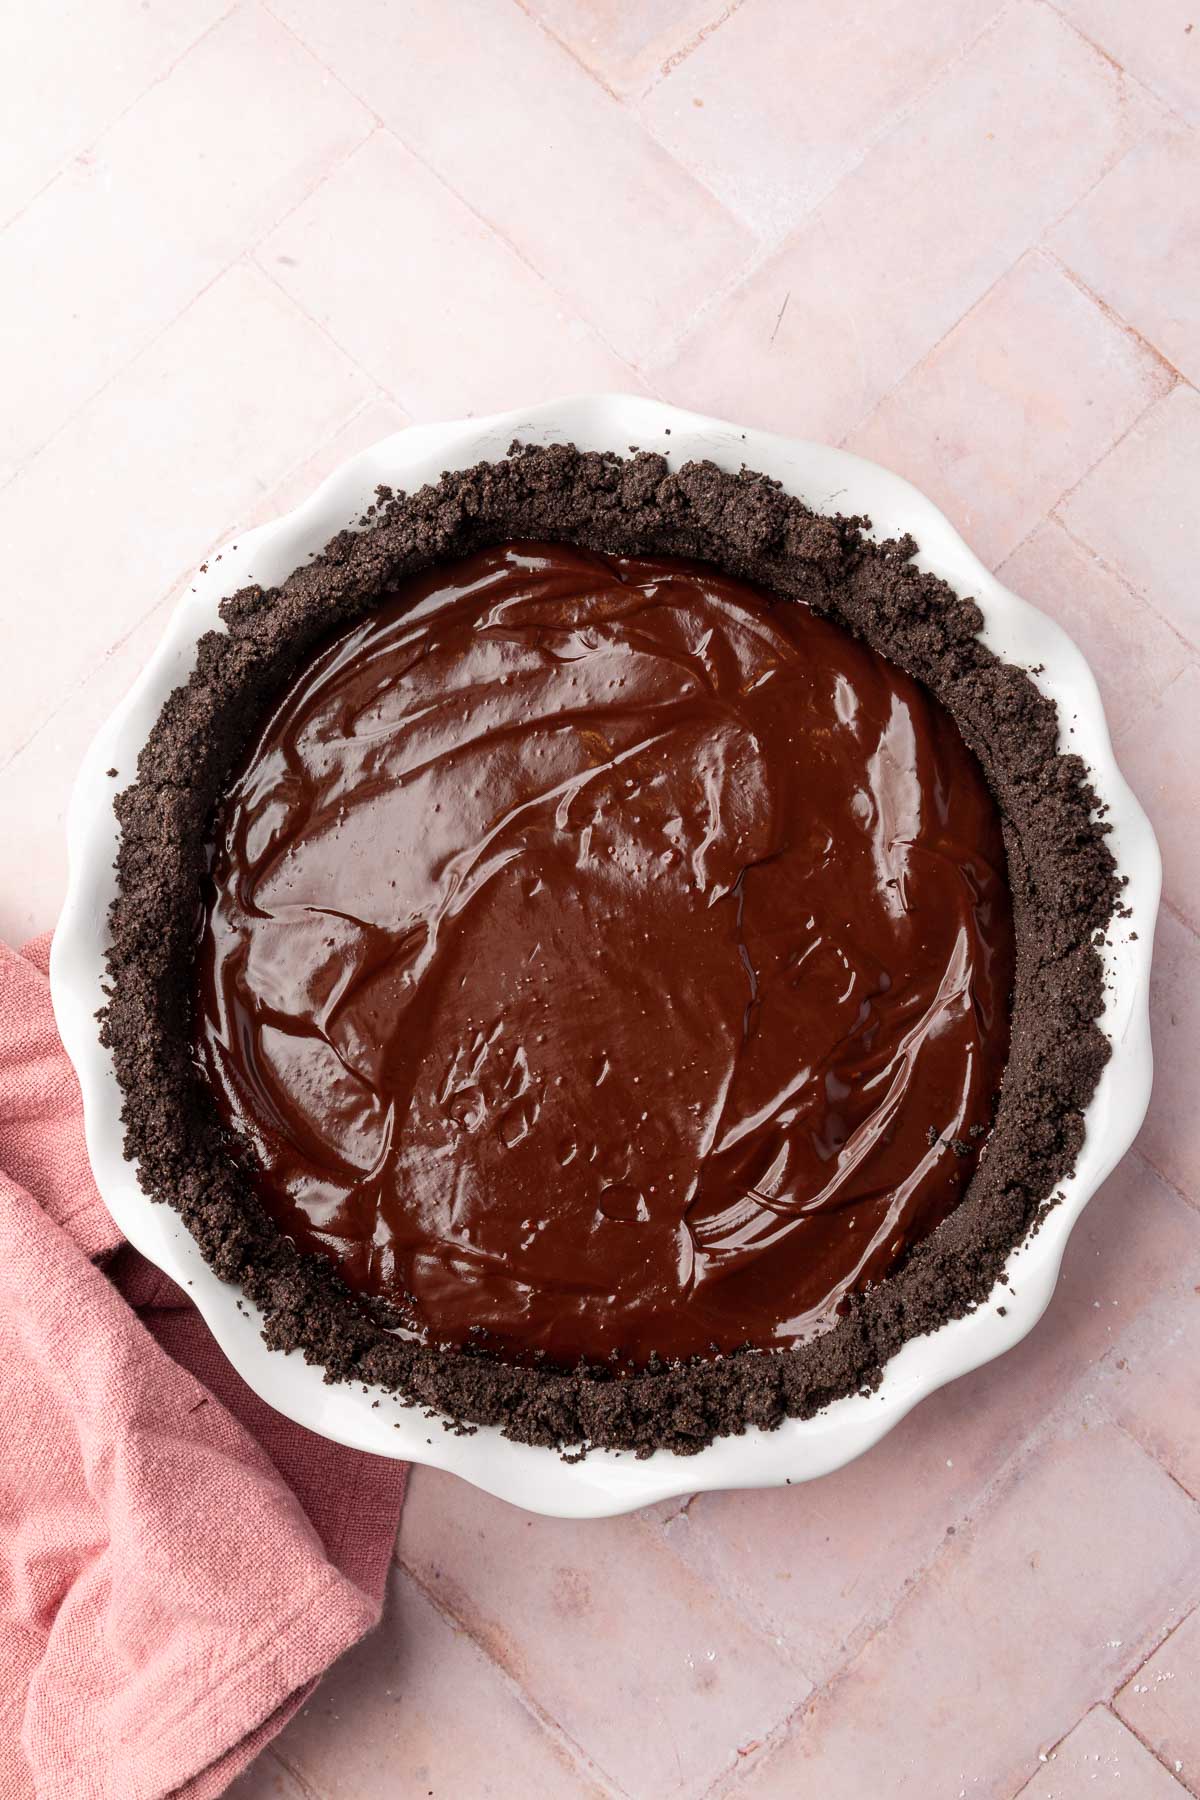
- Pour the chocolate ganache into the prepared cookie crust and smooth with a spoon or spatula.
- Refrigerate the pie for 1 hour until the ganache is semi-set.
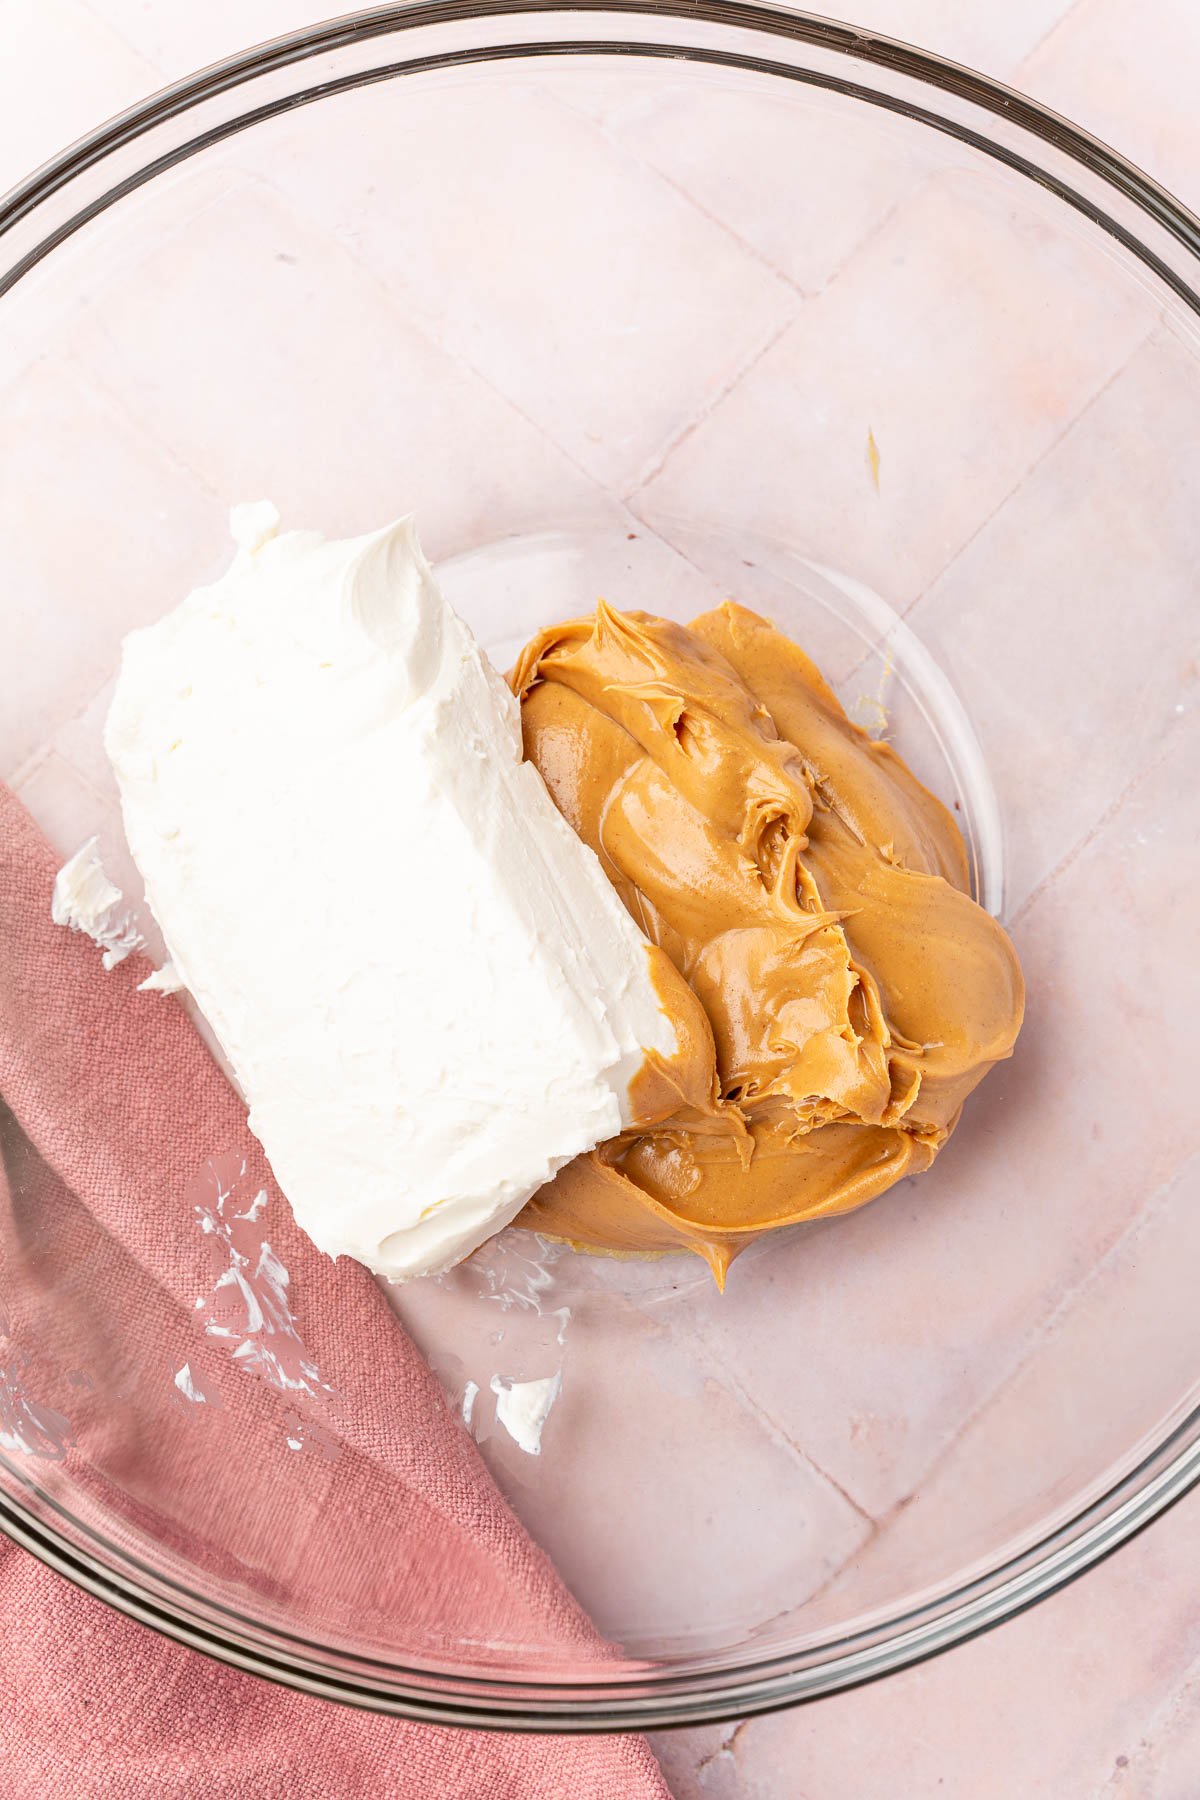
- To make the peanut butter layer, combine the creamy peanut butter and cream cheese in a bowl. Use an electric mixer to mix until smooth.
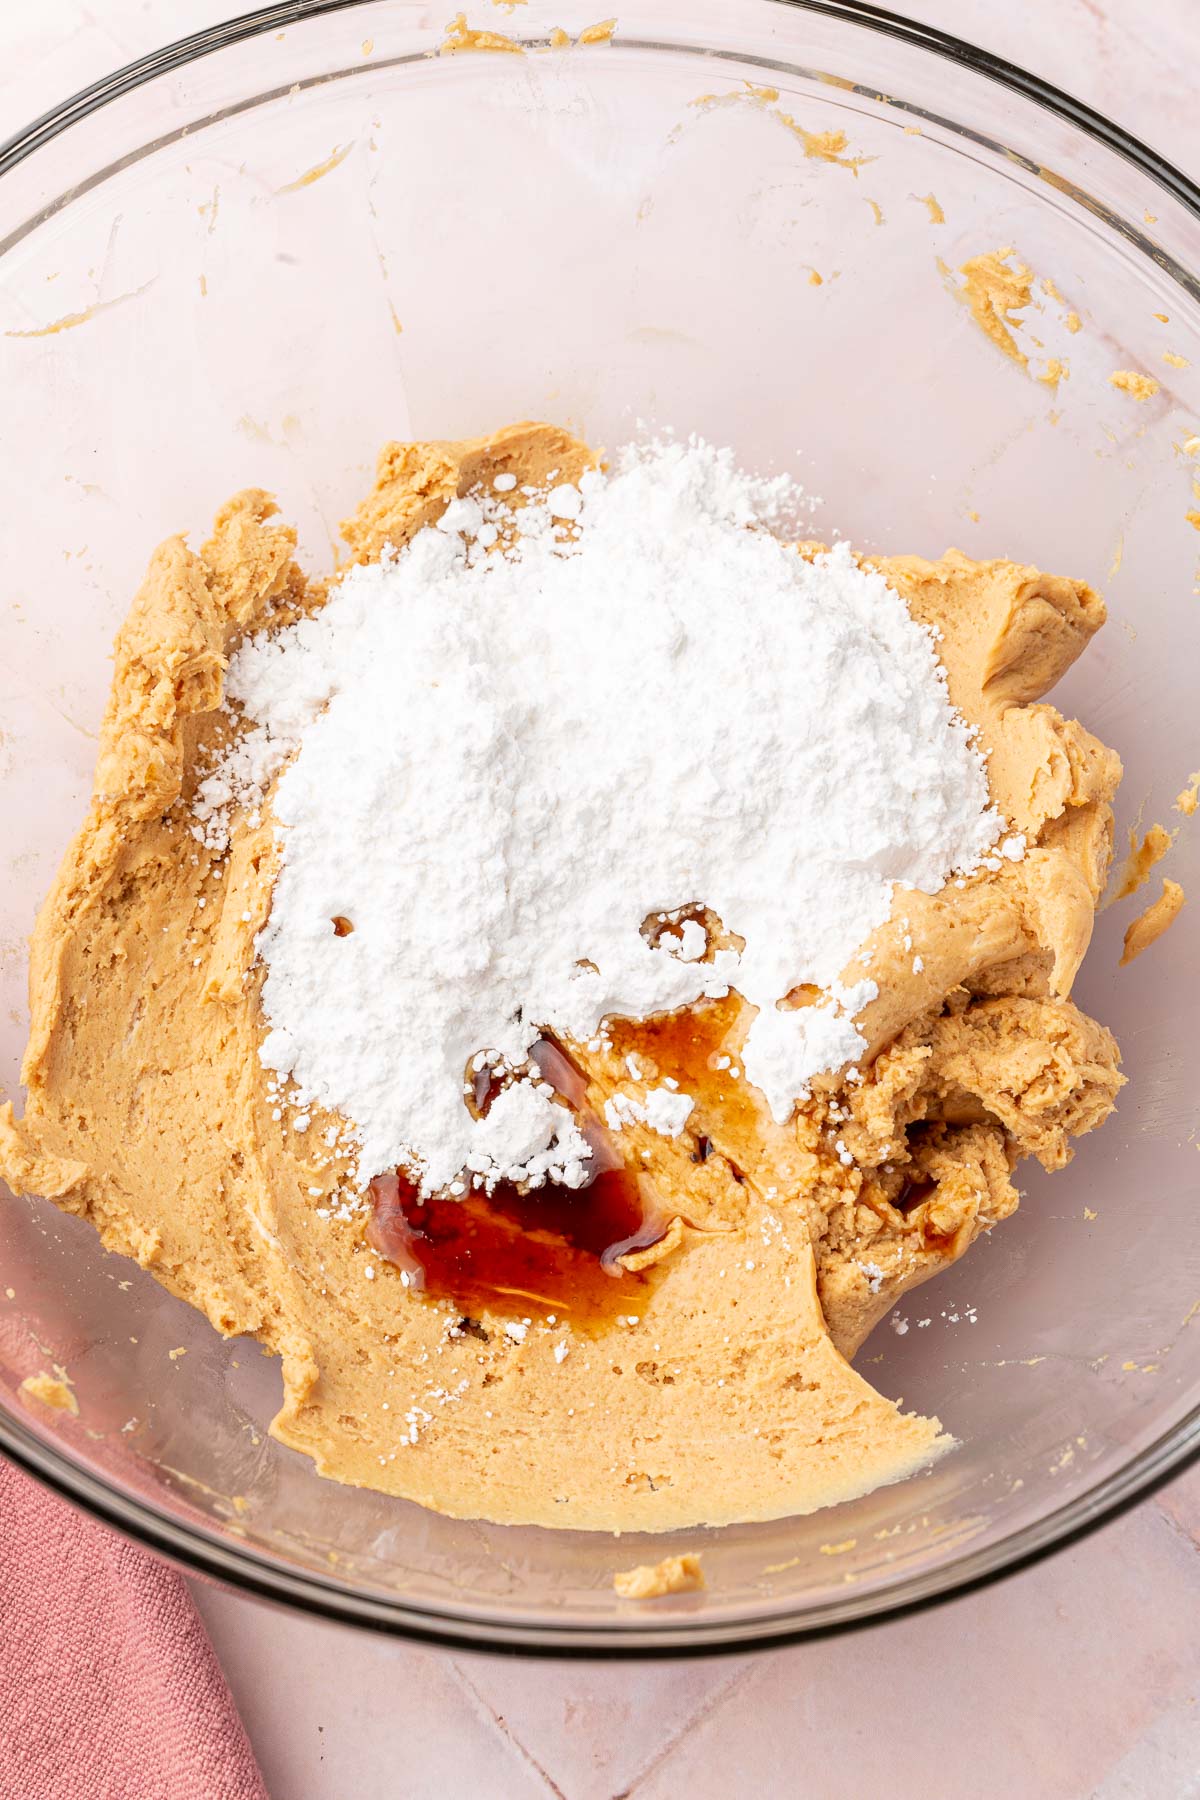
- Then, add the vanilla and powdered sugar to the peanut butter mixture. Mix again until combined.
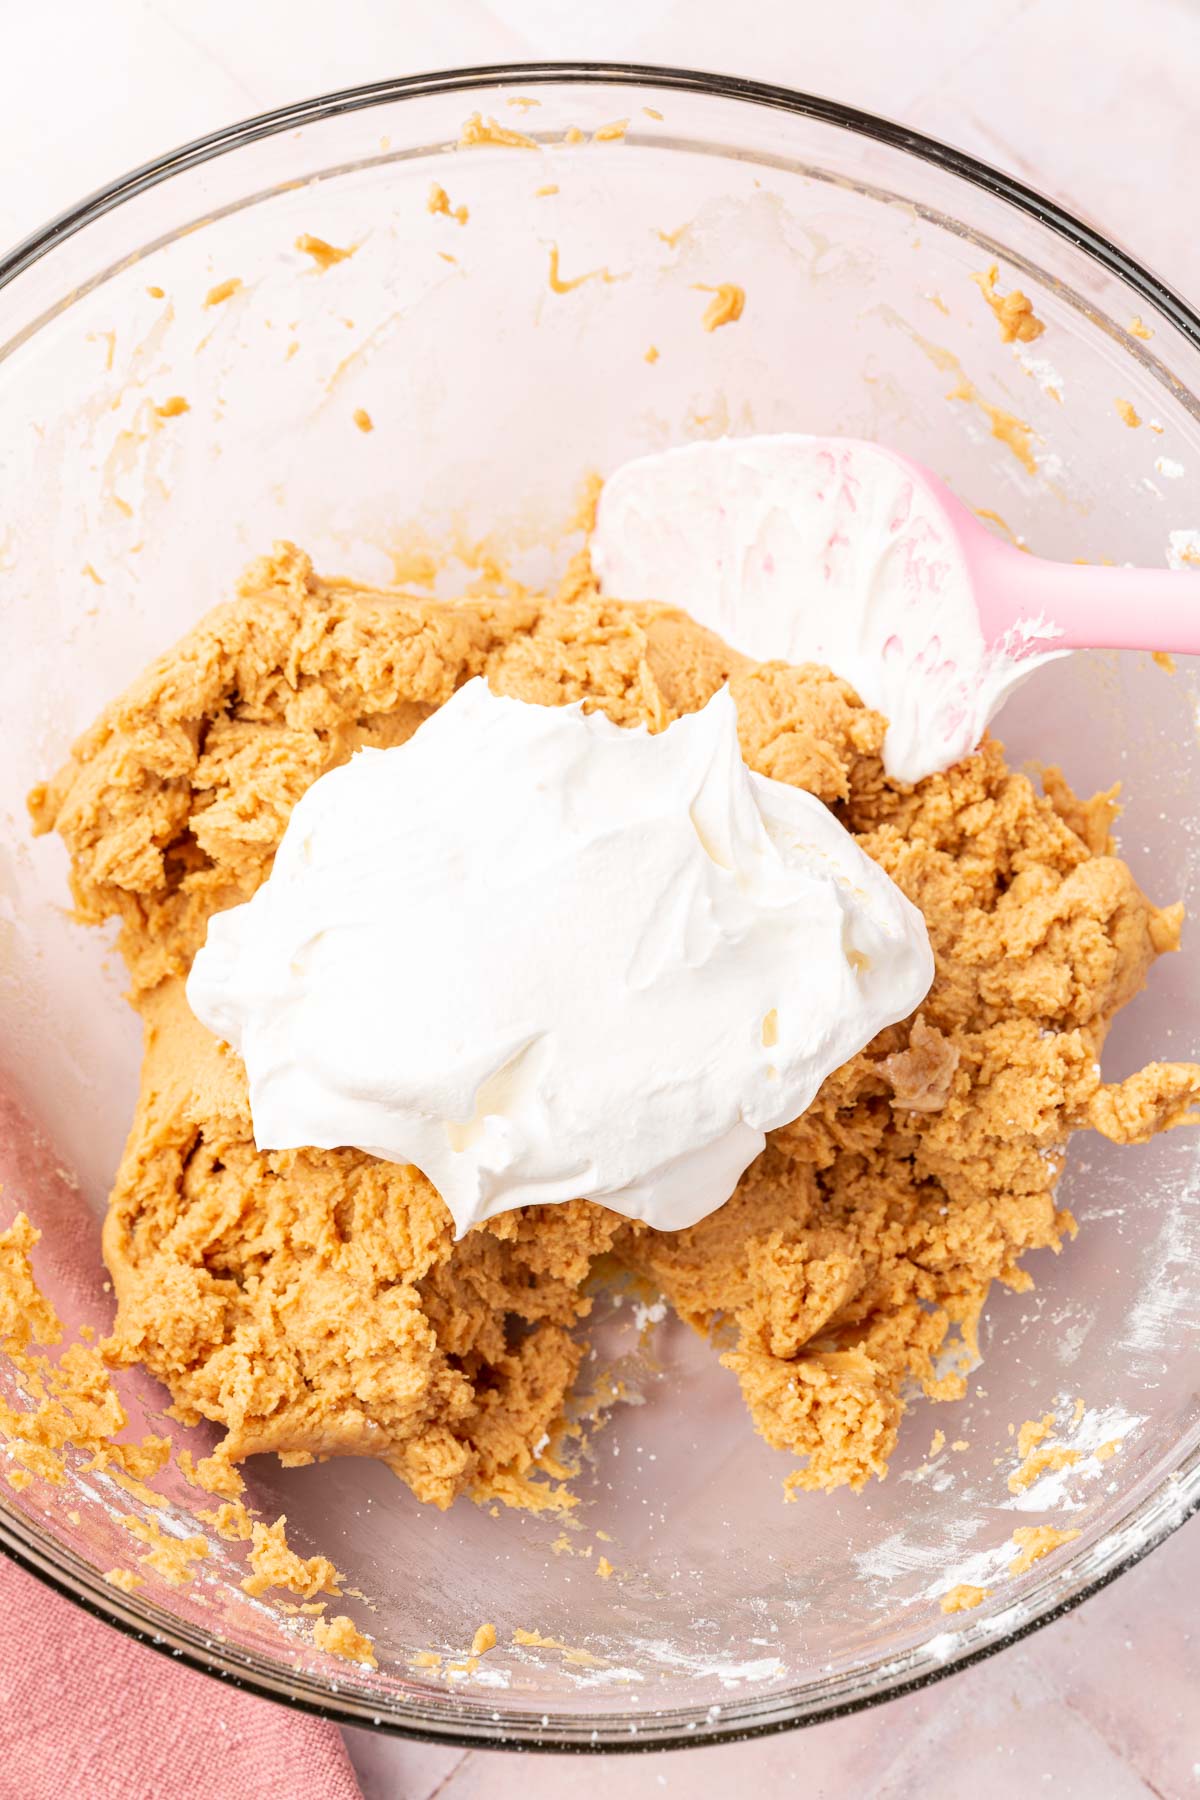
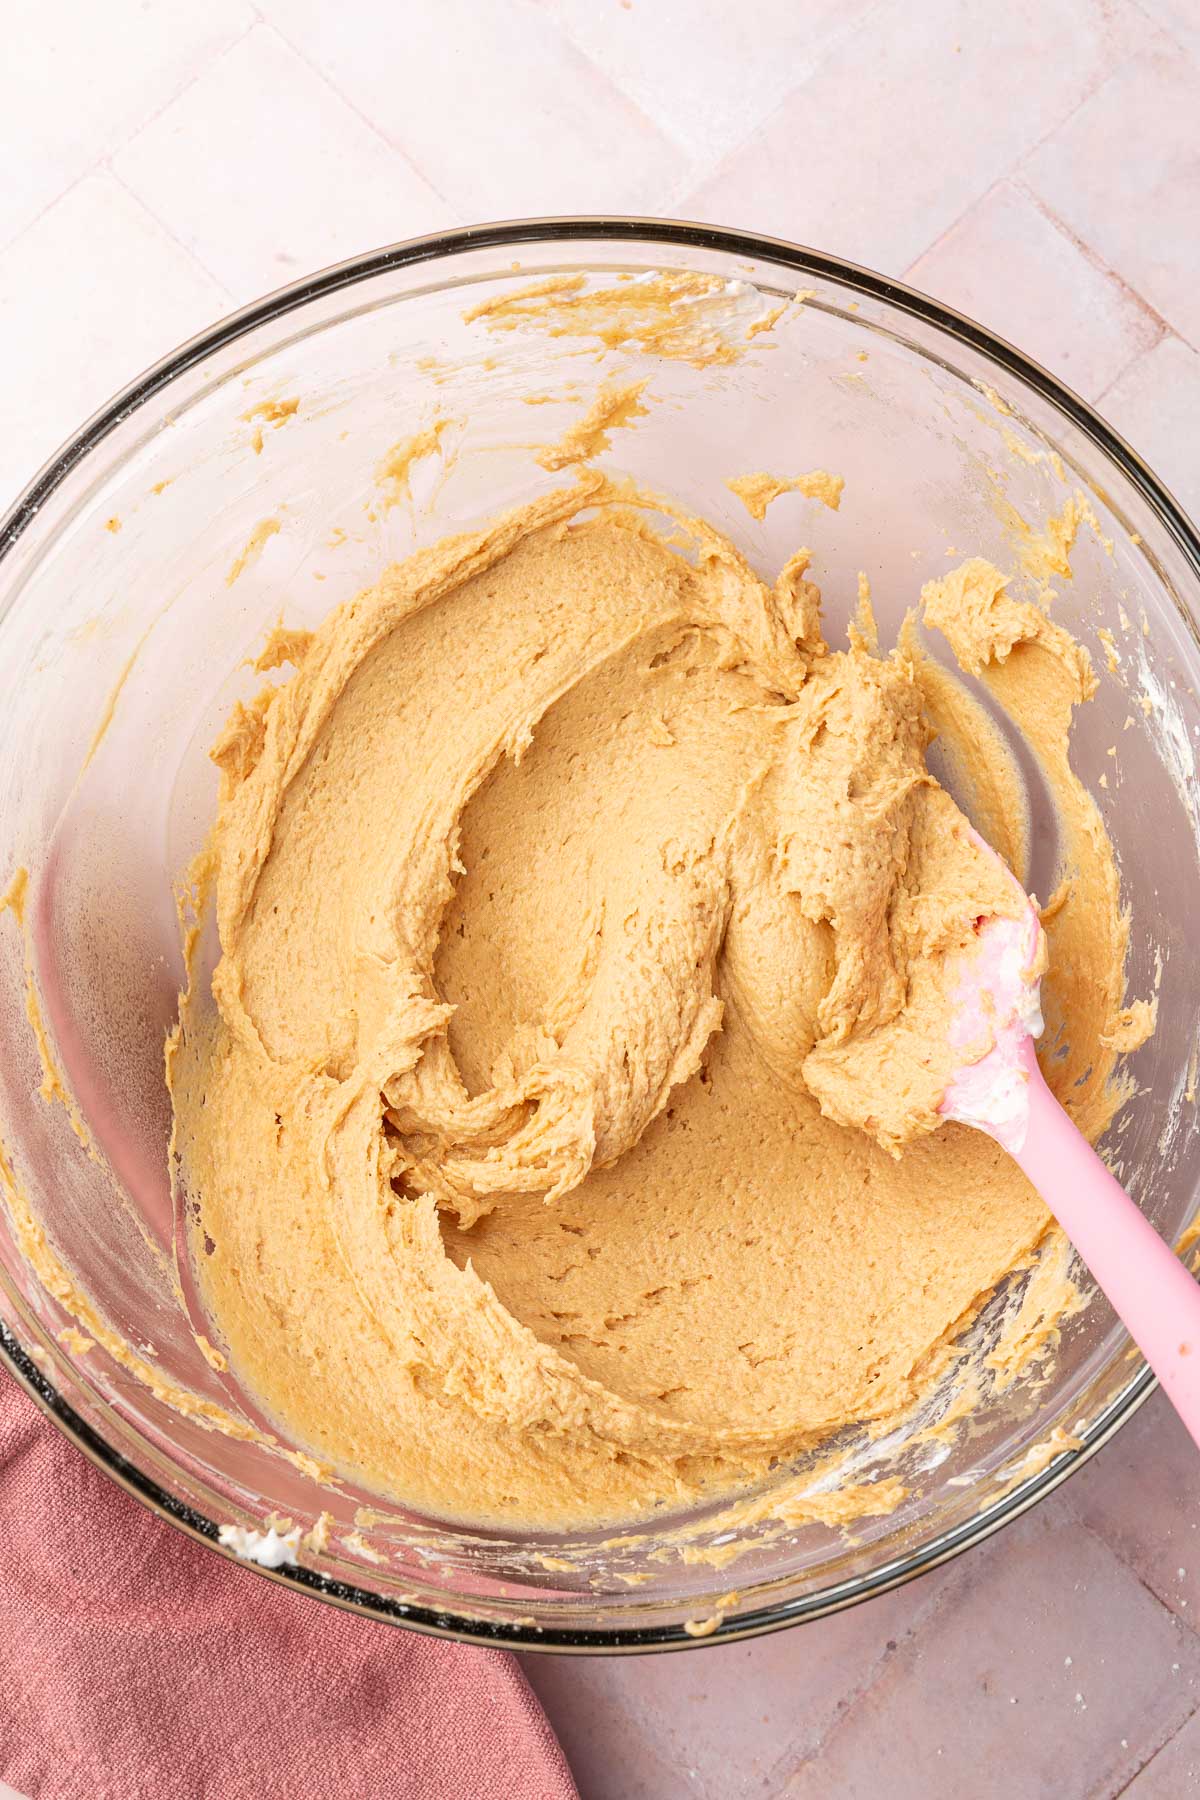
- Fold in the Cool Whip or whipped cream until combined.
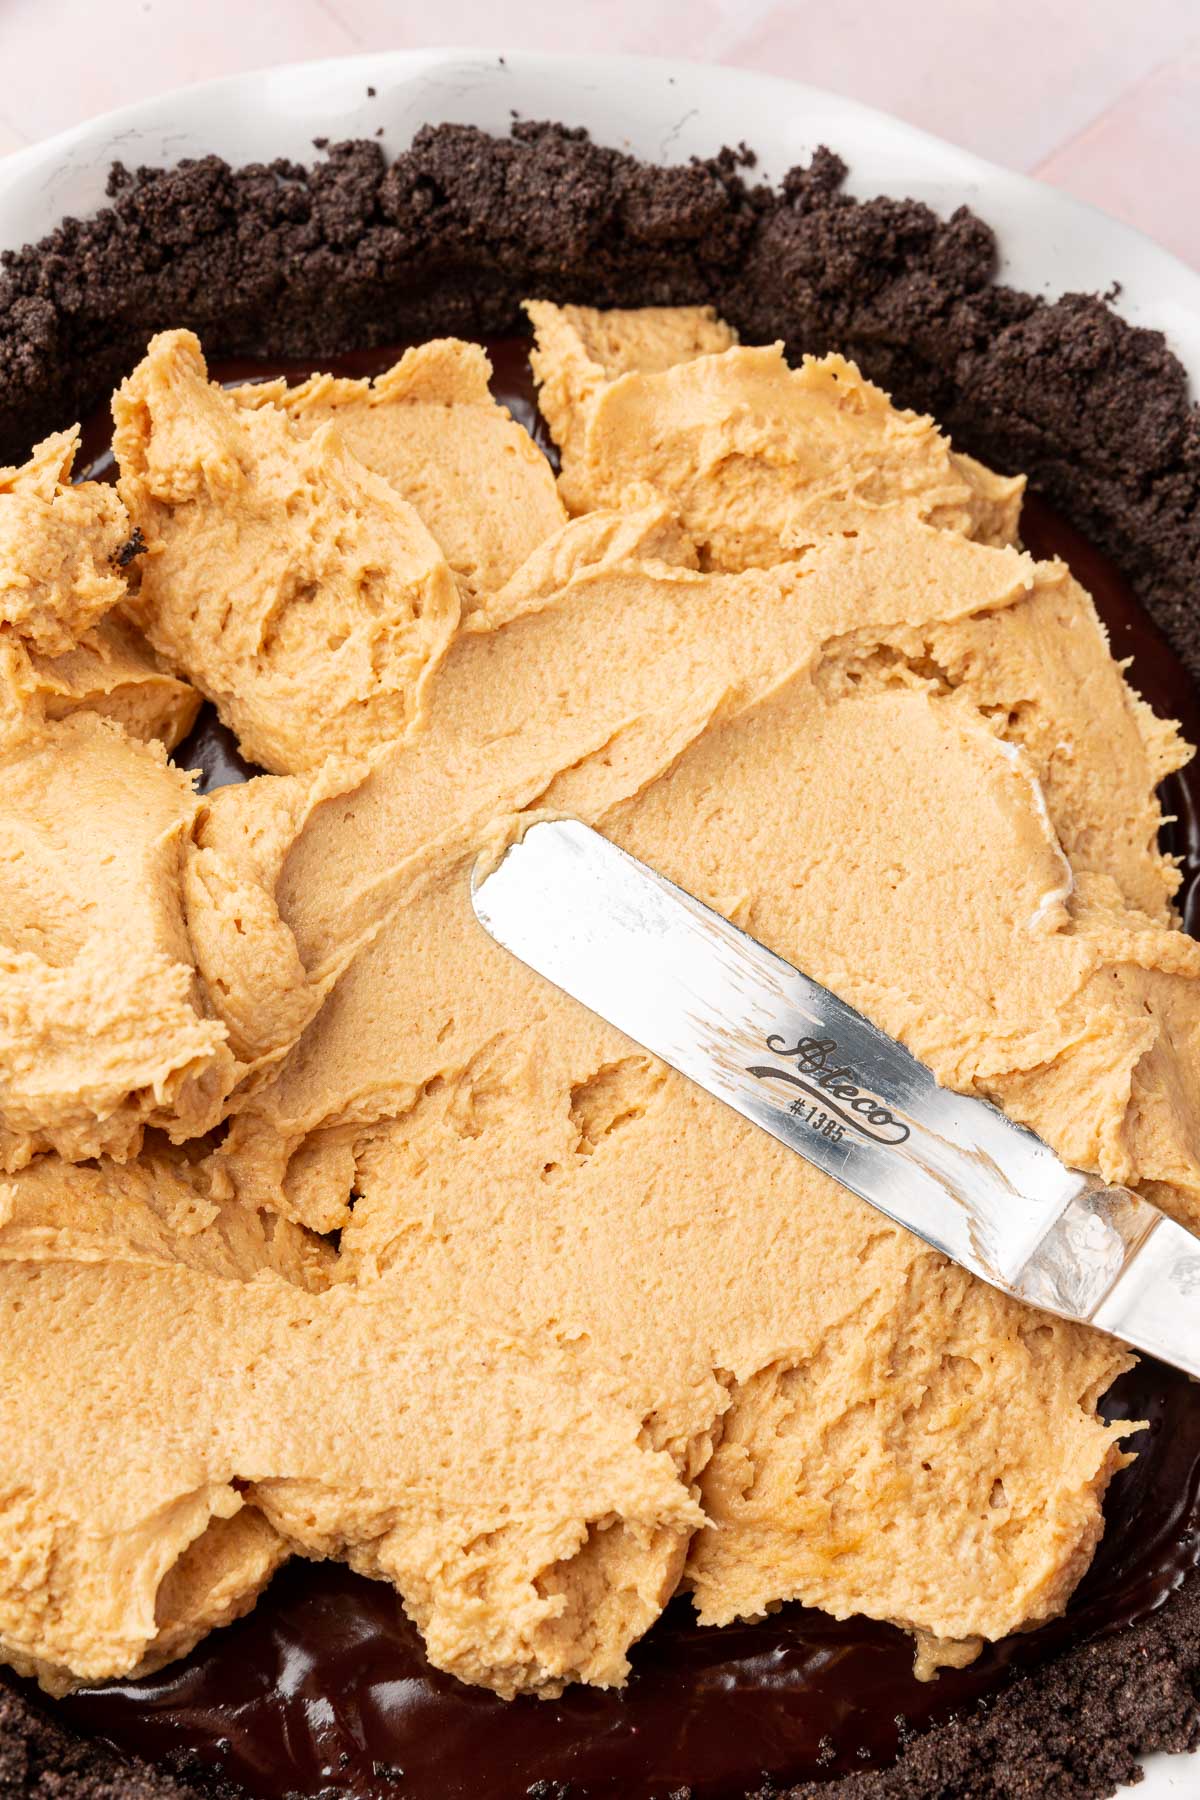
- Spread the peanut butter layer over the top of the chocolate filling.
- Refrigerate for 3-4 hours until set.
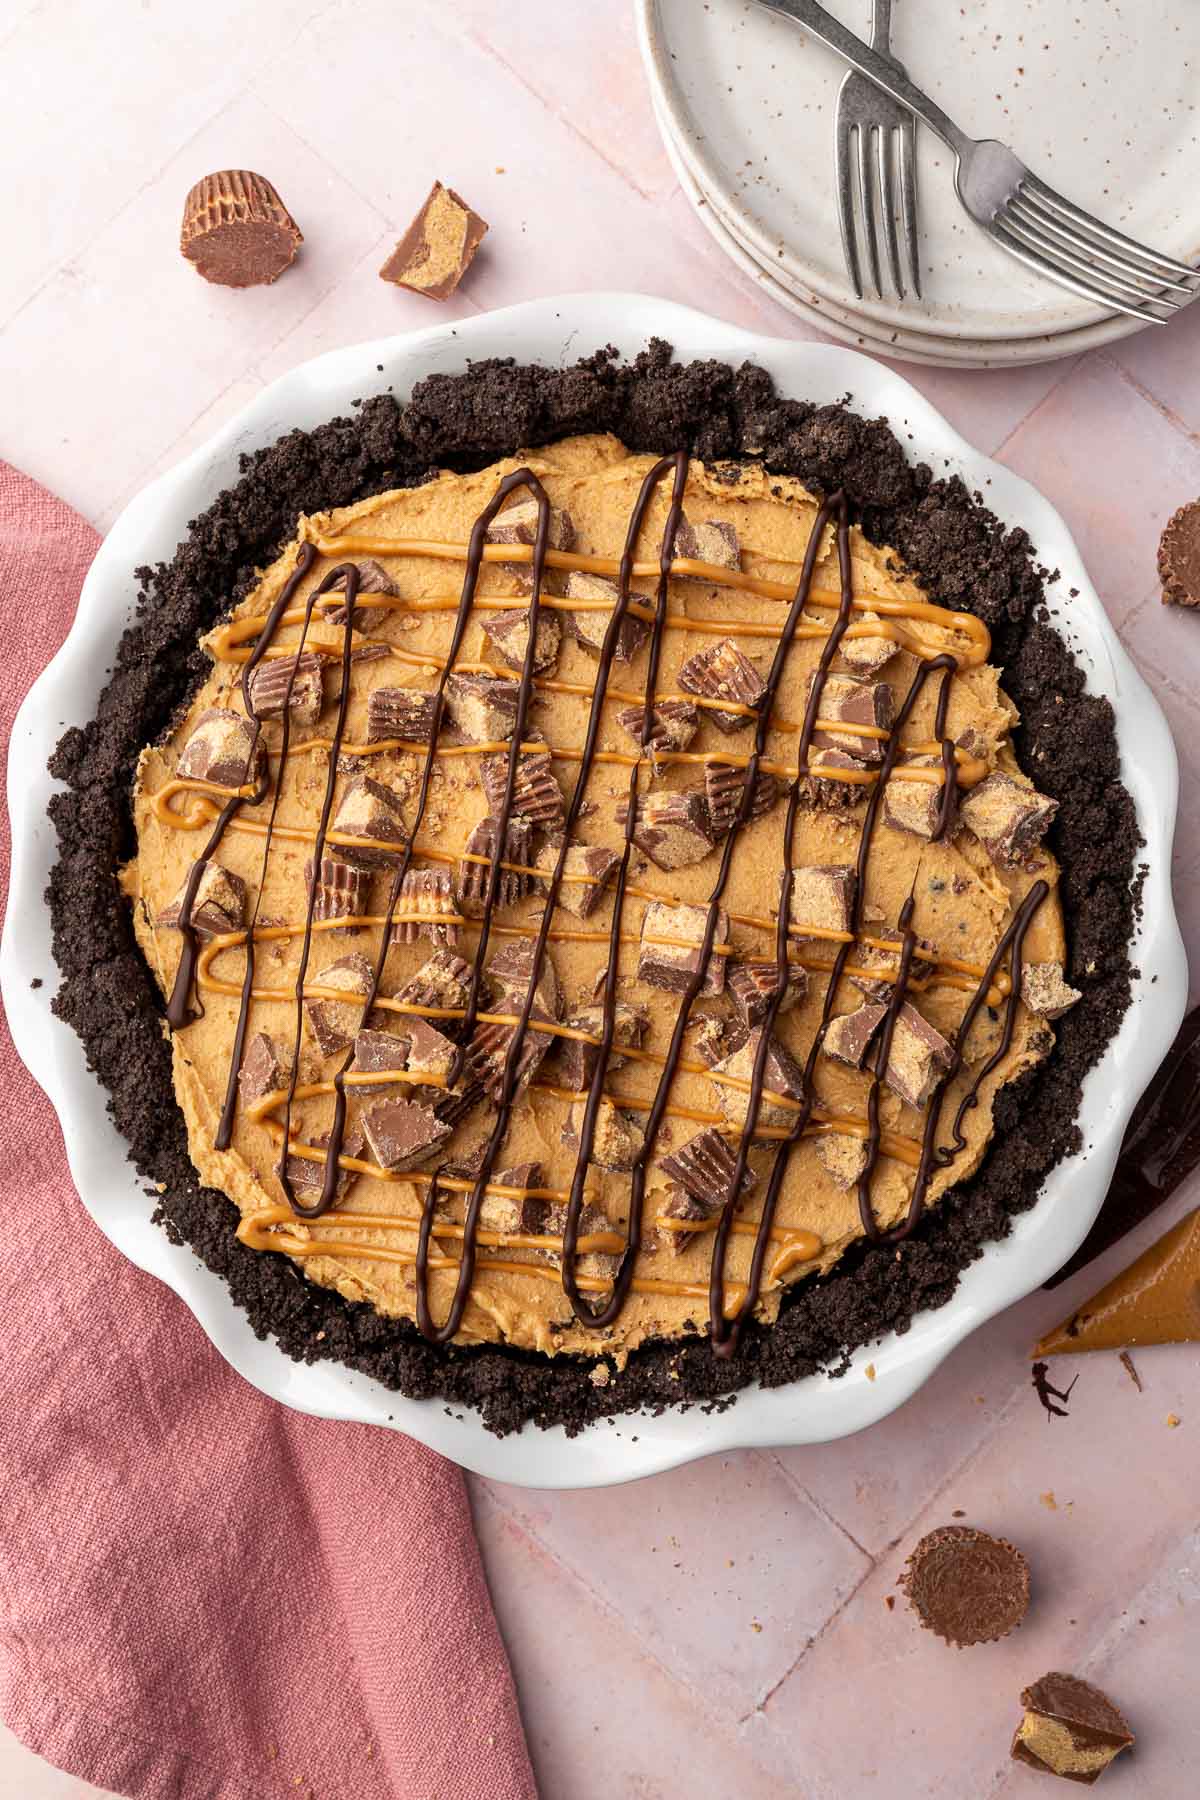
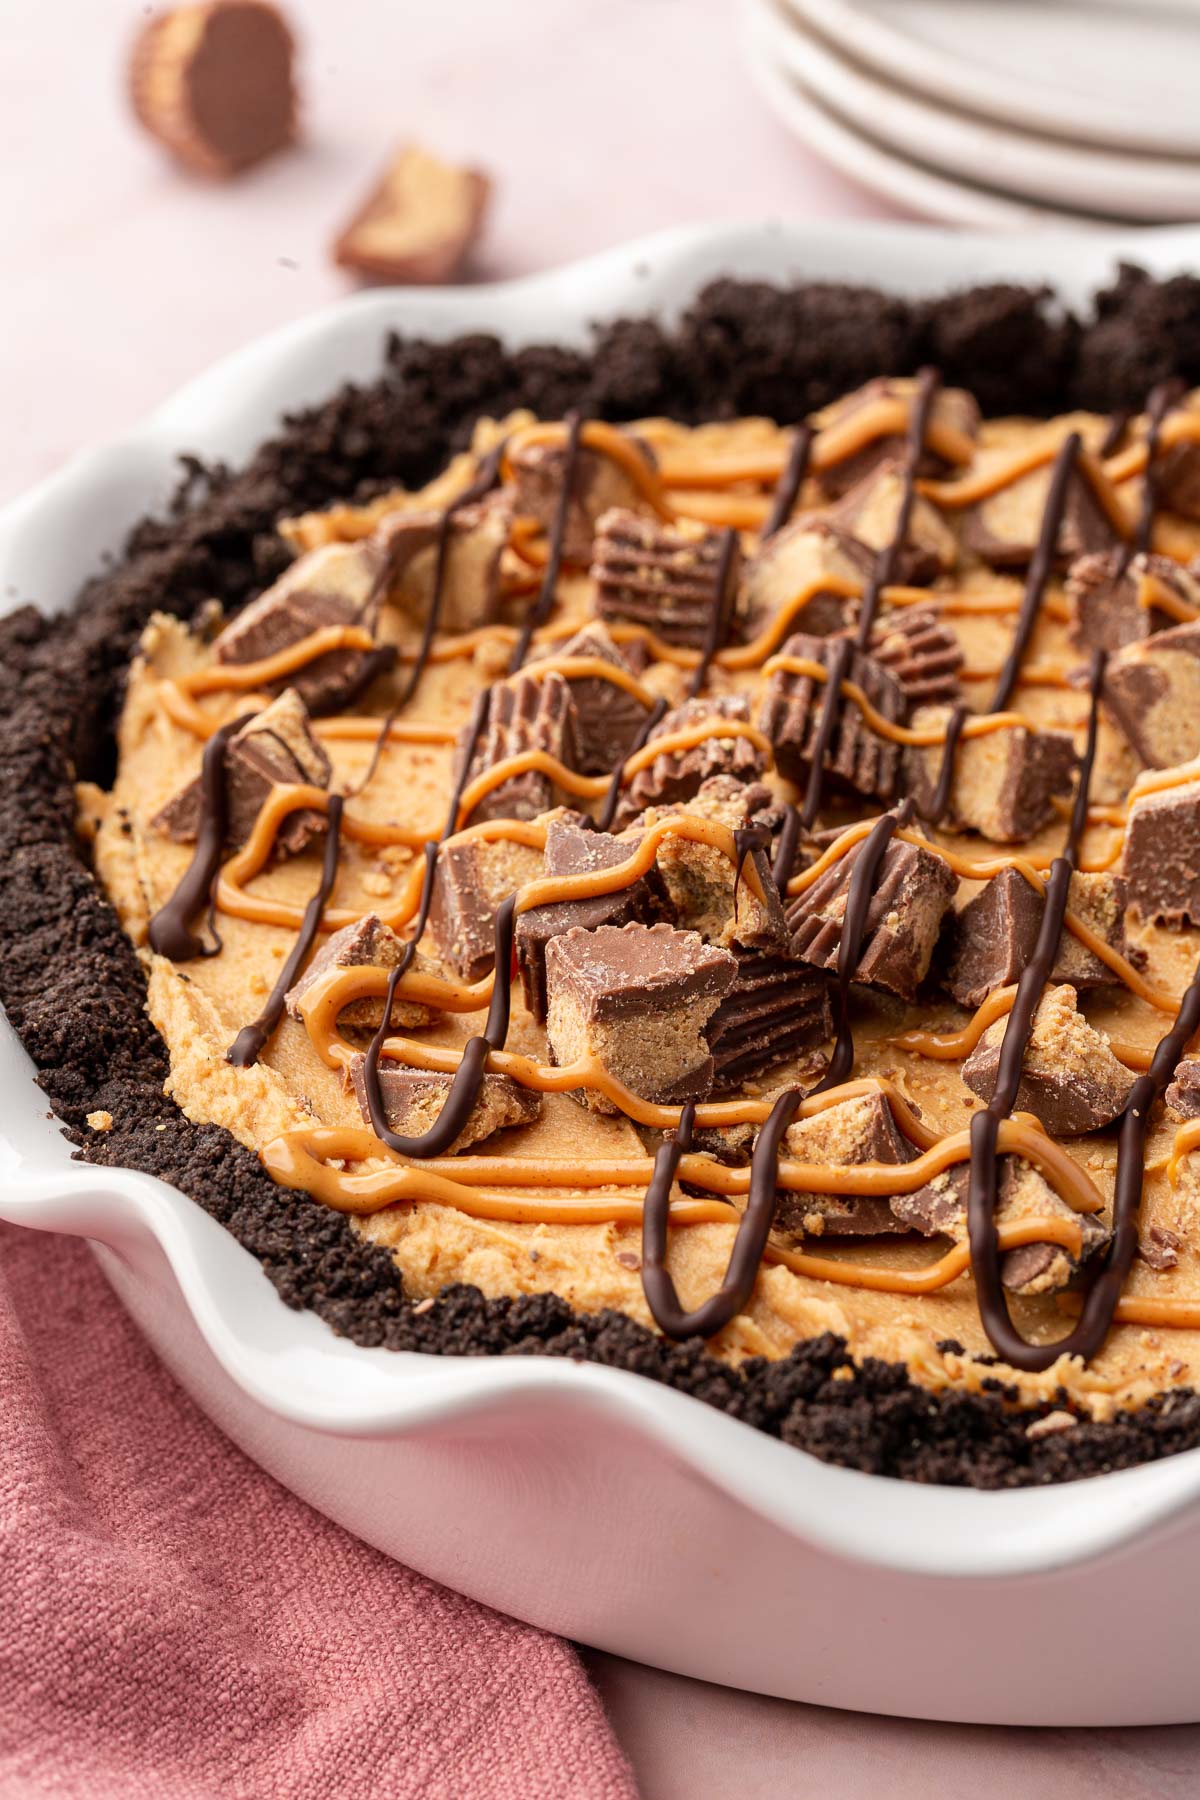
- Top the pie with drizzled melted peanut butter, chocolate and peanut butter cups.
- Slice and serve!
Notes
- If you have celiac disease or are on a gluten-free diet for any, always be sure to double check that your ingredients are gluten-free as manufacturing practices can change from time to time.
- I used 22 gluten-free Oreos for the crust which is 75% of the package. Keep in mind that the gluten-free Oreo packaging is smaller than the regular Oreo packaging. Save the remaining gluten-free Oreos for a snack or different recipe, or you can chop them up and place them on top of the pie instead of Reese’s peanut butter cups if you prefer.
- I used regular creamy peanut butter for this recipe.
- I used Cool Whip in the photos of this recipe, but you can also use homemade whipped cream if you prefer.
- To make this recipe dairy-free and vegan, use dairy-free butter, vegan cream cheese, dairy-free chocolate chips, dairy-free whipped topping such as CocoWhip, and omit the Reese’s peanut butter cups.

