Why you’ll love this recipe
It’s perfect for any occasion. Whether it’s a summer picnic, holiday gathering, or a casual family dinner, this peach mango pie is sure to be a hit and leave everyone asking for seconds.
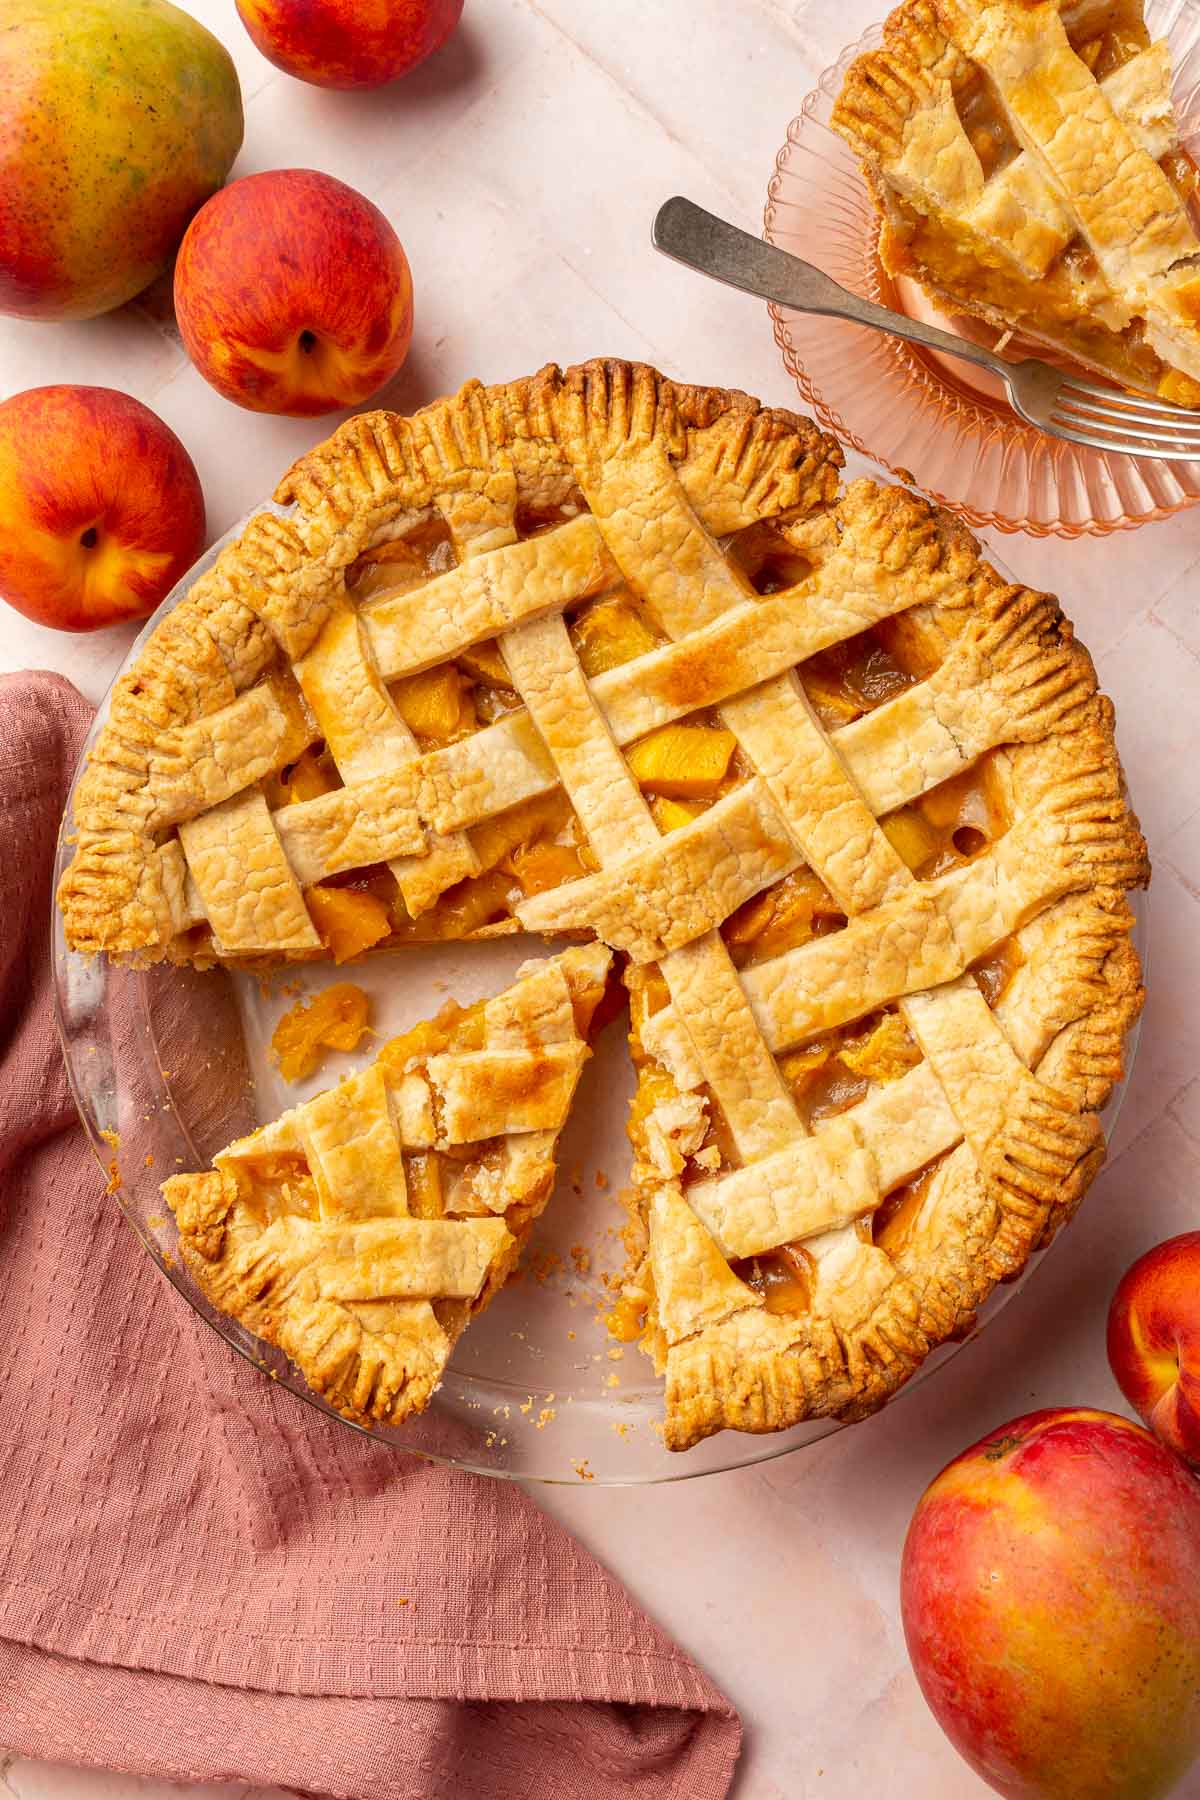
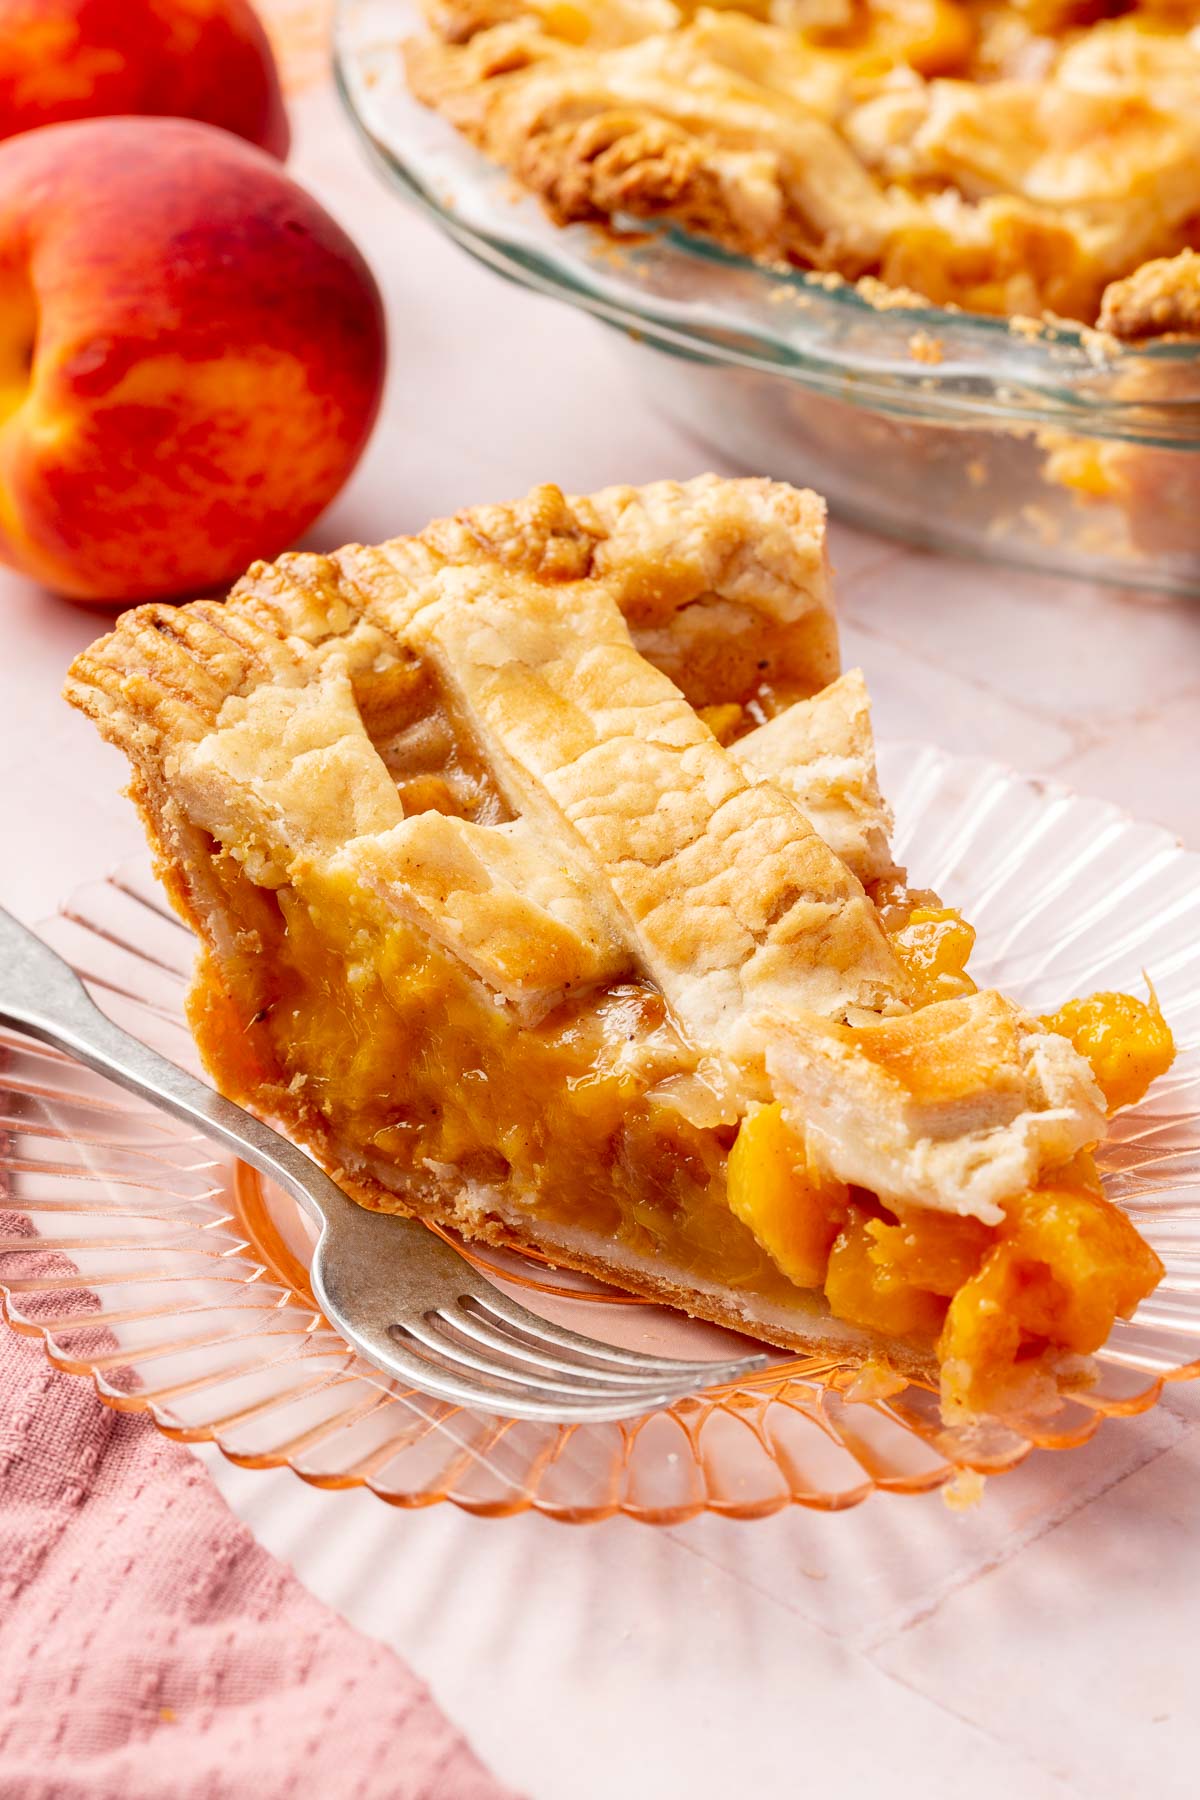
It’s easy to slice. There’s nothing worse than a fruit pie filling that spills out everywhere when you cut a slice. This peach mango pie filling is thick and fruity, ensuring clean, perfect slices every time.
It’s gluten-free. Using cornstarch as the thickening agent and a gluten-free pie crust, you can easily make this peach mango pie gluten-free with my recipe, tips and tricks.
Ingredients

Ingredient Notes
- Gluten-Free Flour Blend – Use a high-quality gluten-free flour blend like Bob’s Red Mill 1-to-1 Gluten-Free Baking Flour for the best results. I cannot verify that other brands of gluten-free flour blends will work for the pie crust because I have not tested them.
- Peaches – Choose ripe but firm peaches for the best texture and flavor. If fresh peaches are unavailable, you can use frozen ones, but make sure to thaw and drain them well before using.
- Mangoes – Look for ripe mangoes that are slightly soft to the touch and have a sweet aroma. If fresh mangoes are unavailable, frozen mangoes can be used; just thaw and drain them thoroughly.
- Granulated Sugar – Standard white granulated sugar works perfectly for this recipe, providing the right amount of sweetness. It also helps draw out the natural juices from the fruit, which combine with the cornstarch to create the thick fruit filling.
- Cornstarch – Cornstarch is naturally gluten-free and used as a thickening agent for the filling.
- Sour Cream – Sour cream is my secret ingredient for a foolproof pie crust. It adds moisture and tenderness to the pie crust. Ensure it’s cold before mixing it into the dough.

To easily peel peaches, cut an X on the bottom of each peach with a knife. Boil a pot of water and blanch the peaches for about 30 seconds to a minute. Then, transfer them to a bowl of ice water to stop the cooking process. Starting at the X, you can easily peel off the skin.
Step-by-Step instructions
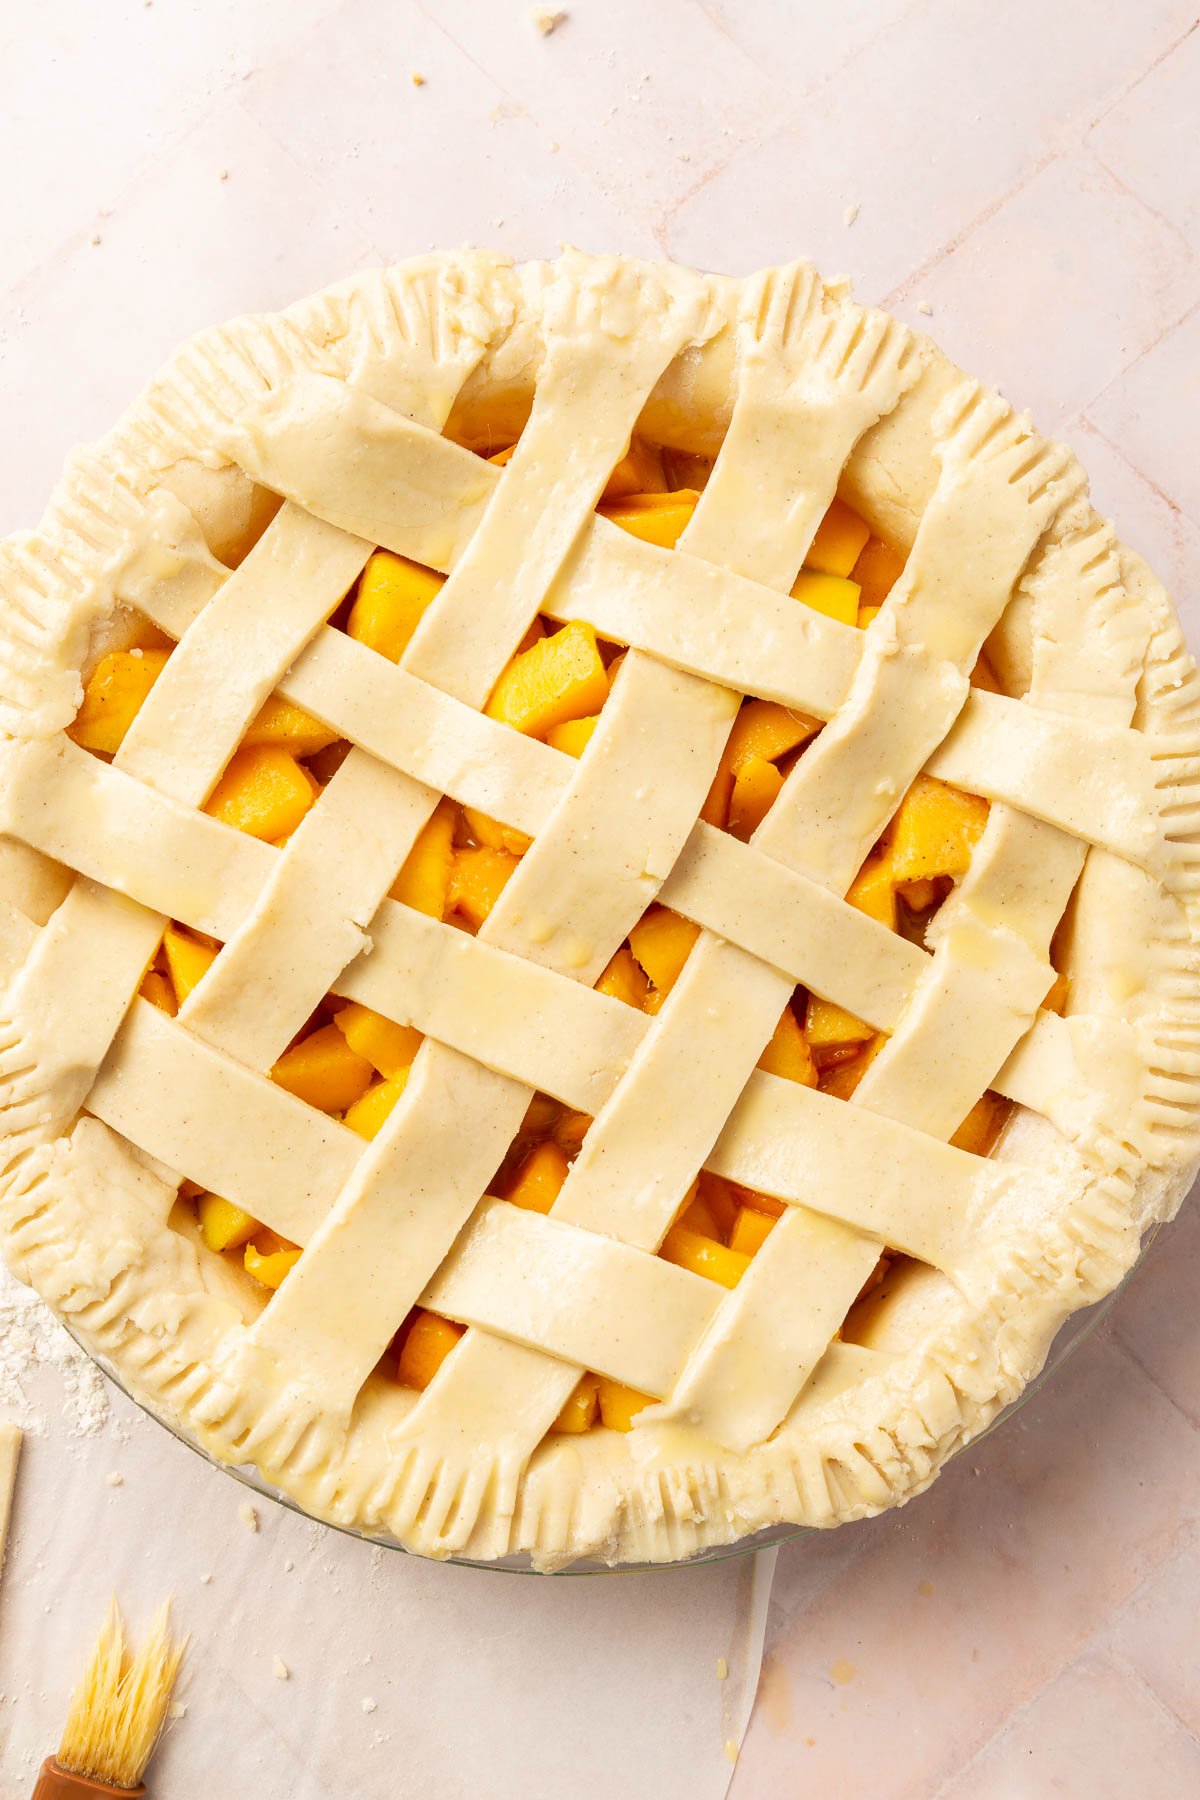
If you’ve never tried the combination of peach and mango in a pie before, you’re in for a treat! This pie filling comes together very easily. No need to cook it on the stove-top first! The below photos with matching steps are meant to help you see the recipe made at various stages and are not the full recipe.
For the ingredient list with measurements, full instructions, printable recipe, and additional notes, please scroll down to the recipe card.


Recipe FAQs
Yes, you can use frozen peaches and mangoes. Just make sure to thaw and drain them thoroughly to remove excess moisture before using them in the pie.
For peaches, blanch them in boiling water for 30-60 seconds, then transfer them to an ice bath. The skins should peel off easily. For mangoes, either use a sharp knife or vegetable peeler to remove the skin or slice off the sides, score the flesh, and scoop it out with a spoon.
Yes, you can use a store-bought gluten-free crust for convenience. If you’re not gluten-free, you can use a regular pie crust with the filling as written in the recipe.
expert tips
Storage instructions
Refrigerator Storage
Refrigerate the cooled peach mango pie for up to 5 days. Leave it out at room temperature for a bit before serving or warm a slice briefly in the microwave for 20-30 seconds.
Freezer Option
There are various ways to freeze the peach mango pie so you can easily make ahead for entertaining. I do not recommend baking the unbaked pie because I think the filling releases too many juices when it’s baking and creates a soggy bottom. The below methods are my preferred ways to freeze this pie.
Freezing a Baked Full Pie
You can freeze the peach mango pie after baking. Let it cool completely and then flash freeze on a baking sheet for 30 minutes until solid. Then, wrap the whole pie in plastic wrap and place in a freezer safe bag or container for up to 2 months. Let it thaw in the refrigerator overnight or reheat in a preheated oven at 350°F (180°C) until warmed through.
Freezing Baked Pie Slices
Similarly to the whole pie, you can freeze individual slices of pie. Let the slices cool down completely and then flash freeze individual slices on a baking sheet. Individually wrap frozen pie slices in plastic wrap and place in a freezer-safe bag or container. This way you can thaw just the amount of pieces you need without having to thaw an entire pie.
Freezing Pie Dough
If you’re not quite ready to bake your pie, you can freeze the pie dough for later. I like to portion out the pie dough into two disks so that it’s easier to roll out later. Wrap each disk tightly in plastic wrap to prevent any exposure to air, which can cause freezer burn.
Place the wrapped dough disks in a ziplock freezer bag or an airtight container for up to 3 months. To thaw the dough, transfer the wrapped dough disks from the freezer to the refrigerator. Allow them to thaw overnight or for at least 8 hours. Once thawed, if the dough feels slightly dry, knead it lightly on a lightly floured surface until it becomes pliable and smooth.
Serving suggestions
You can serve your peach mango pie as is at room temperature or warm a slice in the microwave for 15 seconds for a warm slice of pie. For an extra treat, serve with a scoop of vanilla ice cream or a dollop of whipped cream!
More gluten-free pies to try
Did you make this recipe?
I’d love to know! Please rate it and leave a comment below. You can also share your pictures and tag @adashofmegnut on Instagram.
Gluten-Free Peach Mango Pie
Ingredients
Gluten-Free Double Pie Crust:
- 2 ½ cups gluten-free flour blend - 350g
- 1 tablespoon granulated sugar - 12.5g
- 1/2 teaspoon salt
- ½ teaspoon baking powder
- 1 cup unsalted butter - cold and cubed (225g)
- 2/3 cup sour cream - cold (160g)
Peach Mango Pie Filling:
- 3 cups peeled and sliced peaches - from about 6 medium/large peaches
- 3 cups peeled and sliced mangoes - about 3 large mangoes
- 1/2 cup granulated sugar - 100g
- 1/4 cup cornstarch
- 1/2 teaspoon ground ginger
- 1/2 teaspoon ground cinnamon
- 1/4 teaspoon ground nutmeg
- 1 tablespoon lemon juice
- 1 teaspoon vanilla extract
Egg Wash:
- 1 egg
- 1 tablespoon water
**Use the toggle button above to turn the instruction photos on and off!
Instructions
For the pie crust:
- In a large mixing bowl, combine the gluten-free flour blend, granulated sugar, salt, and baking powder. Stir well to combine.
- Add the cold, cubed unsalted butter to the flour mixture. Using a pastry cutter or your fingers, work the butter into the flour mixture until it resembles coarse crumbs. Some larger pea-sized pieces of butter are okay.
- Add the cold sour cream to the mixture and gently stir until the dough starts to come together. The dough should be shaggy and somewhat dry still.
- Turn the dough out onto a lightly floured surface and gently knead it for a few minutes until it forms a shaggy ball.
- Form the dough into a rectangular shape and wrap it in plastic wrap. Refrigerate for about 30 minutes to chill the butter.
- Laminate the dough by folding it into thirds like a letter, giving it a 90-degree turn in between each fold. Repeat this process about 4 times.
- Divide the dough into two and then shape each into a disk before wrapping in plastic wrap. If you are doing a lattice topping, shape one half into a rectangle instead of a disk for easier rolling out later.
- Refrigerate for at least an hour. If you refrigerate for longer than an hour, you may want to take the pie crust out of the refrigerator 15 minutes before rolling to let it soften up a bit for rolling.
For the pie:
- Preheat your oven to 425°F (220°C).
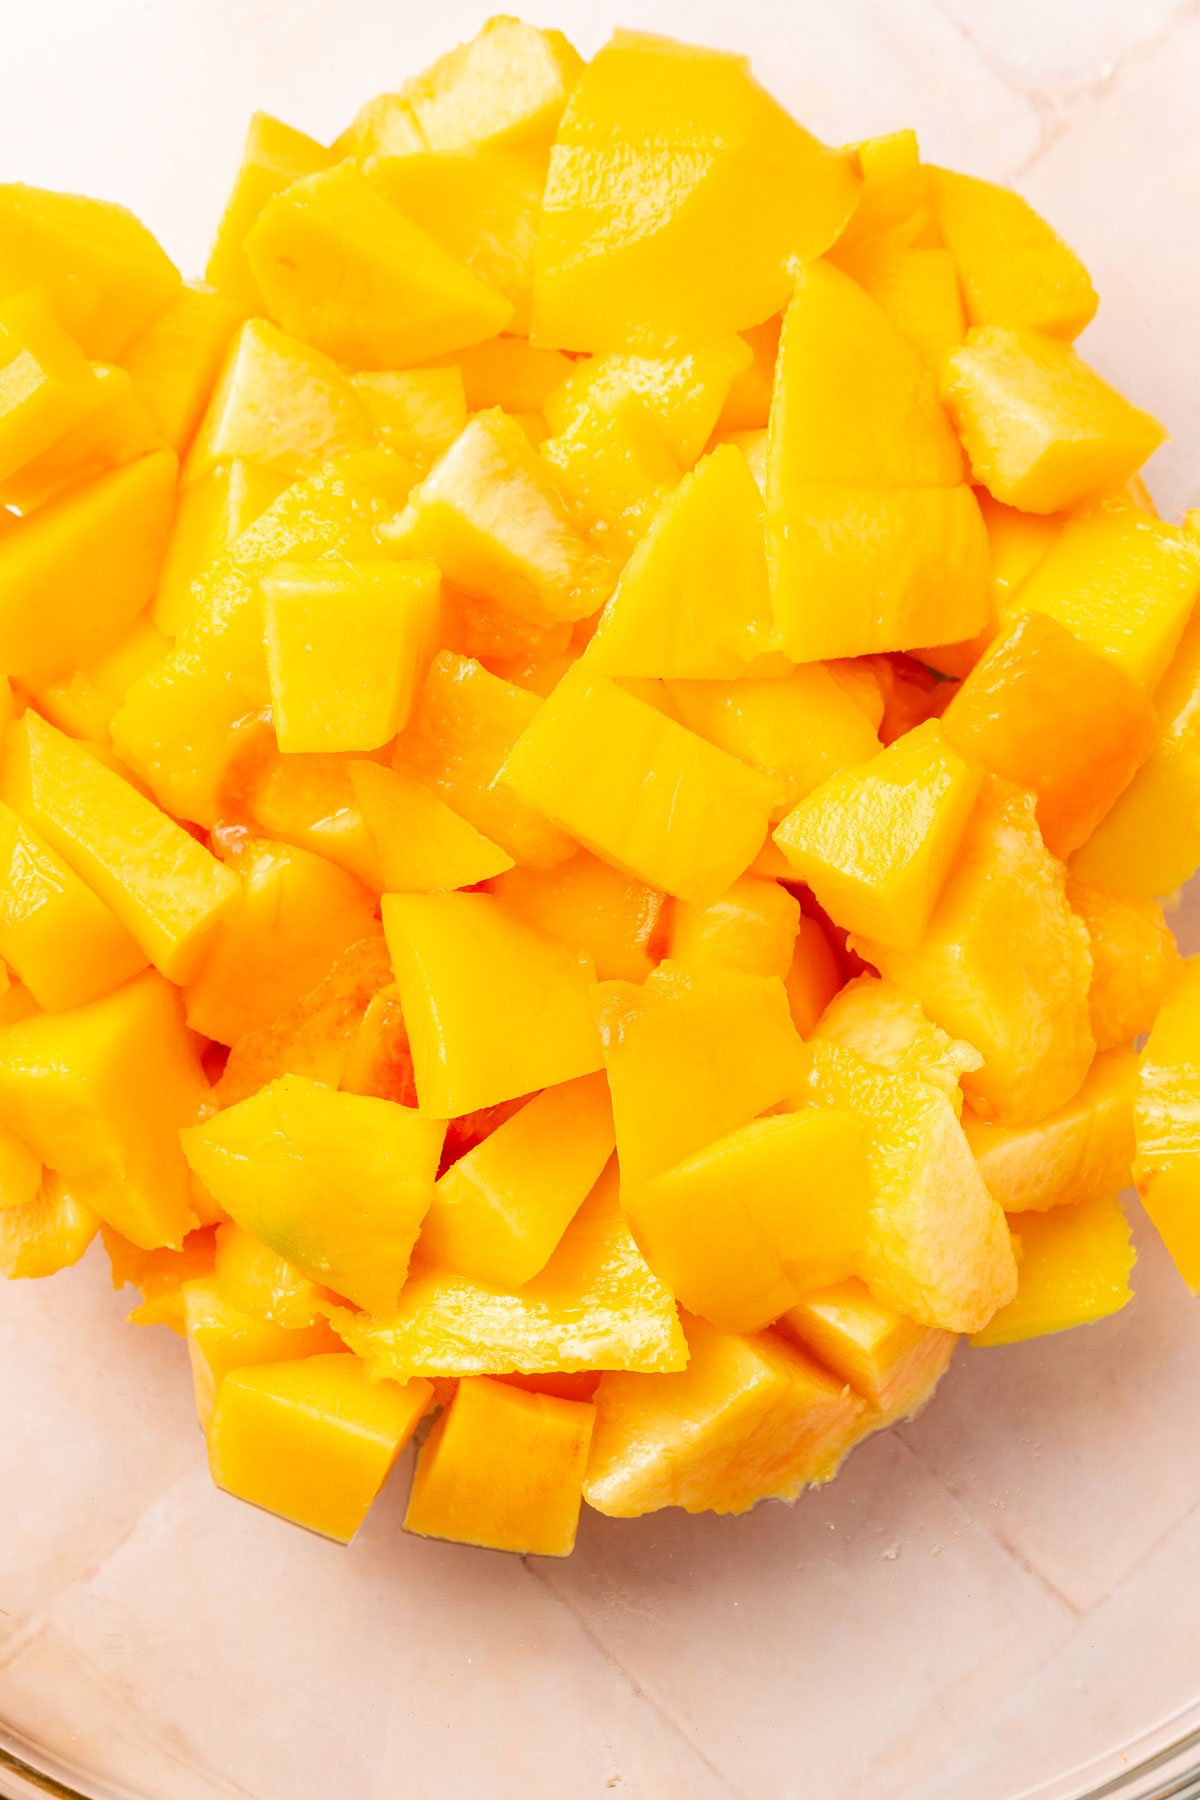
- In a large bowl, combine the sliced peaches and mangoes.
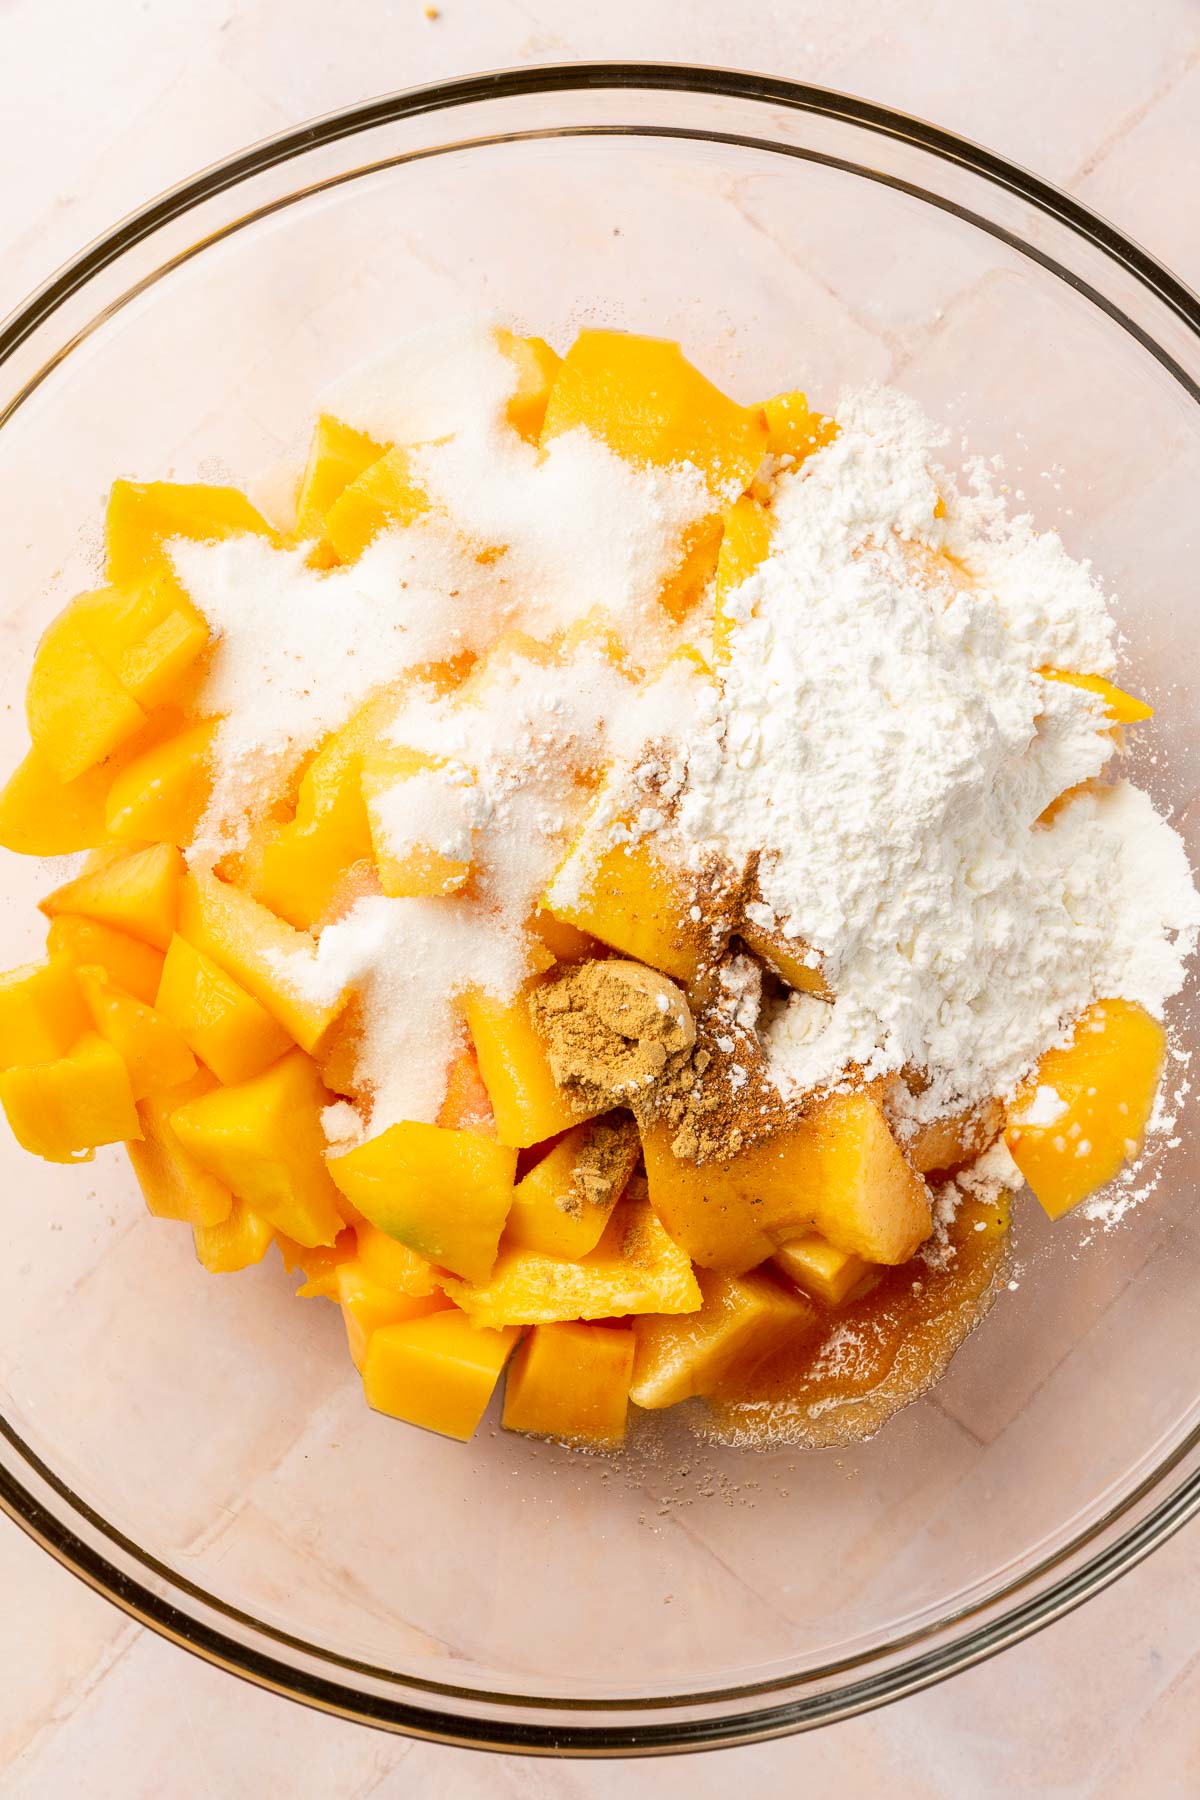
- Add the granulated sugar, cornstarch, ground ginger, ground cinnamon, ground nutmeg, lemon juice and vanilla extract. Stir gently until everything is well mixed. Set the mixture aside.
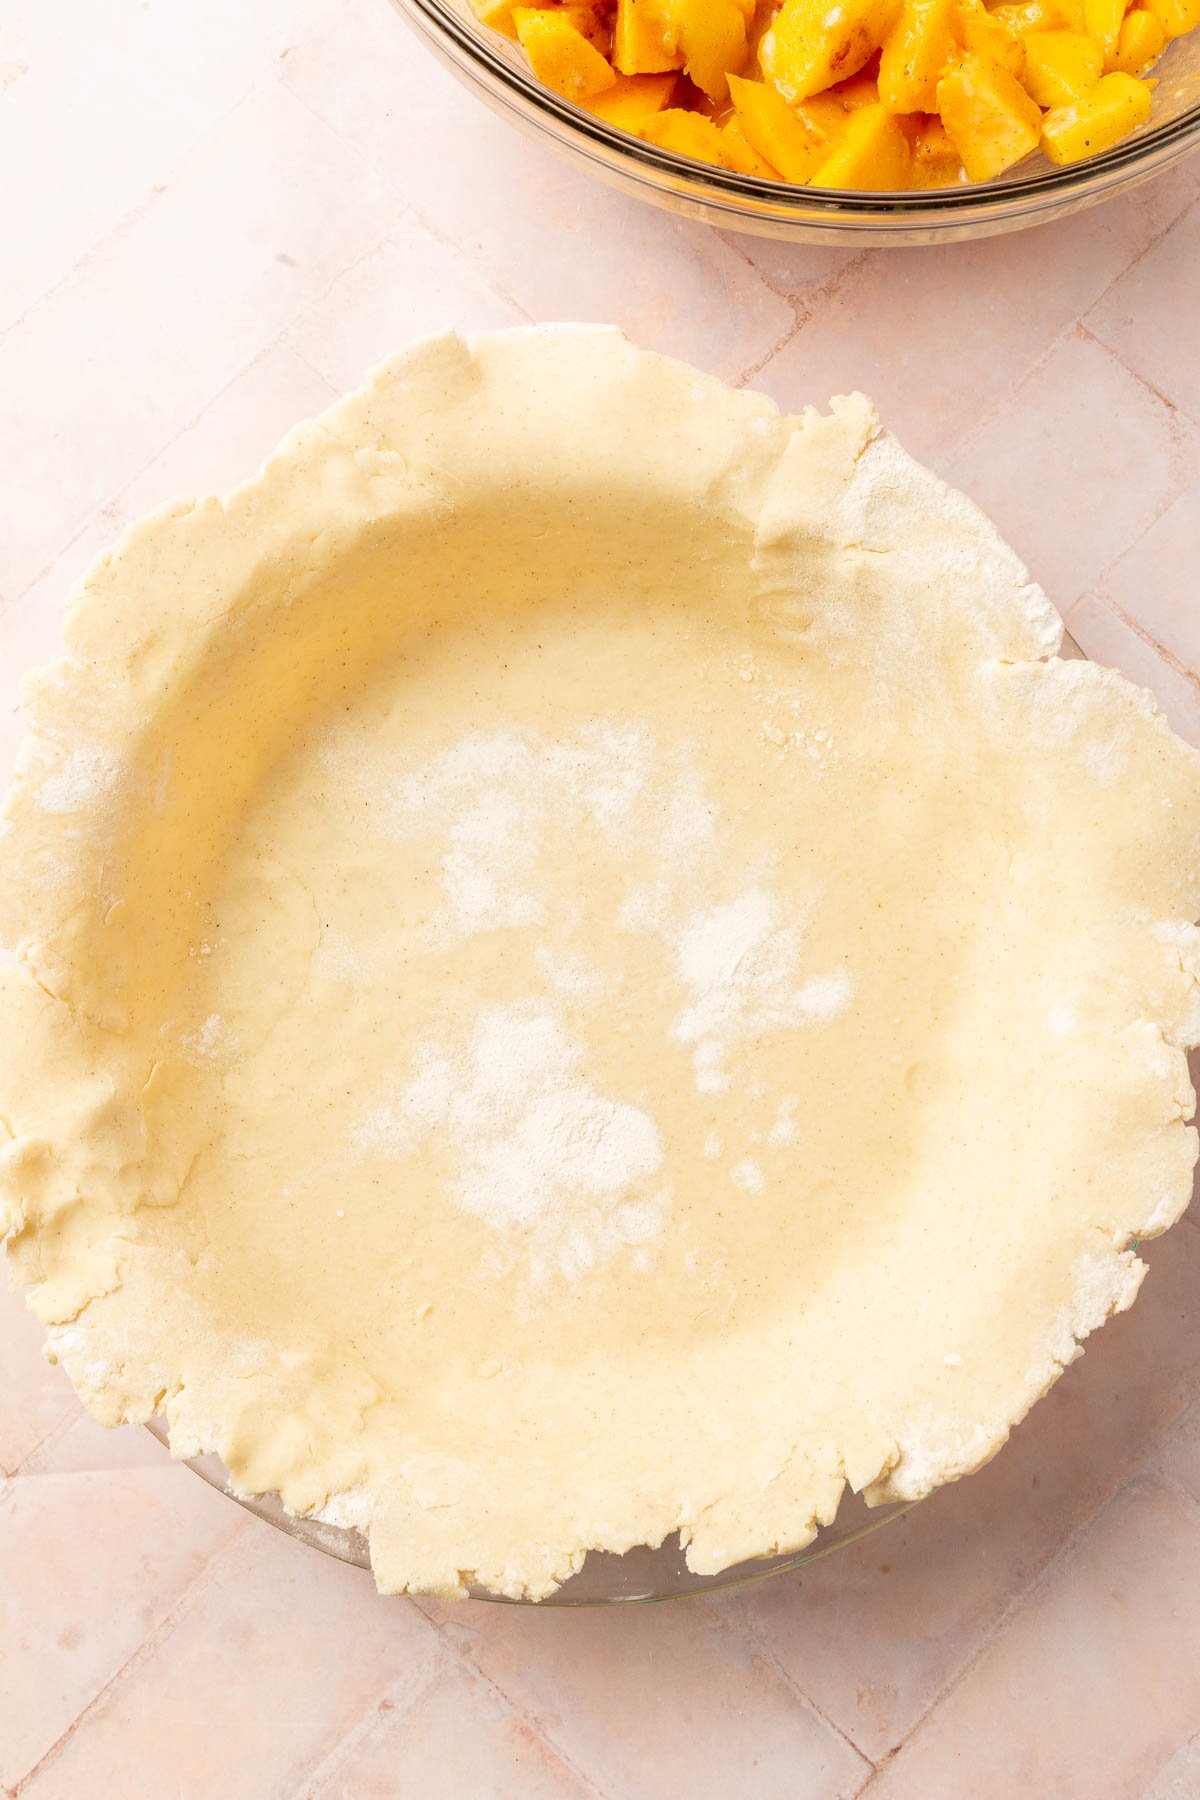
- Use a rolling pin to press down on the pie crust disk a few times to soften it. Roll out the bottom crust into a large circle onto a piece of parchment paper, until it is about ¼ inch thick and 12 inches in diameter for a 9-inch pie dish.
- Place the pie dish upside down on the center of the rolled-out dough. Using the parchment paper for support, carefully flip the dough and pie dish over so the dough lines the inside of the dish. You want to have about 1.5 inches of overhang on all sides. Take the overhang and roll it under itself to create a thick edge.
- Pour the peach mango pie filling into the pie crust, spreading it out evenly.
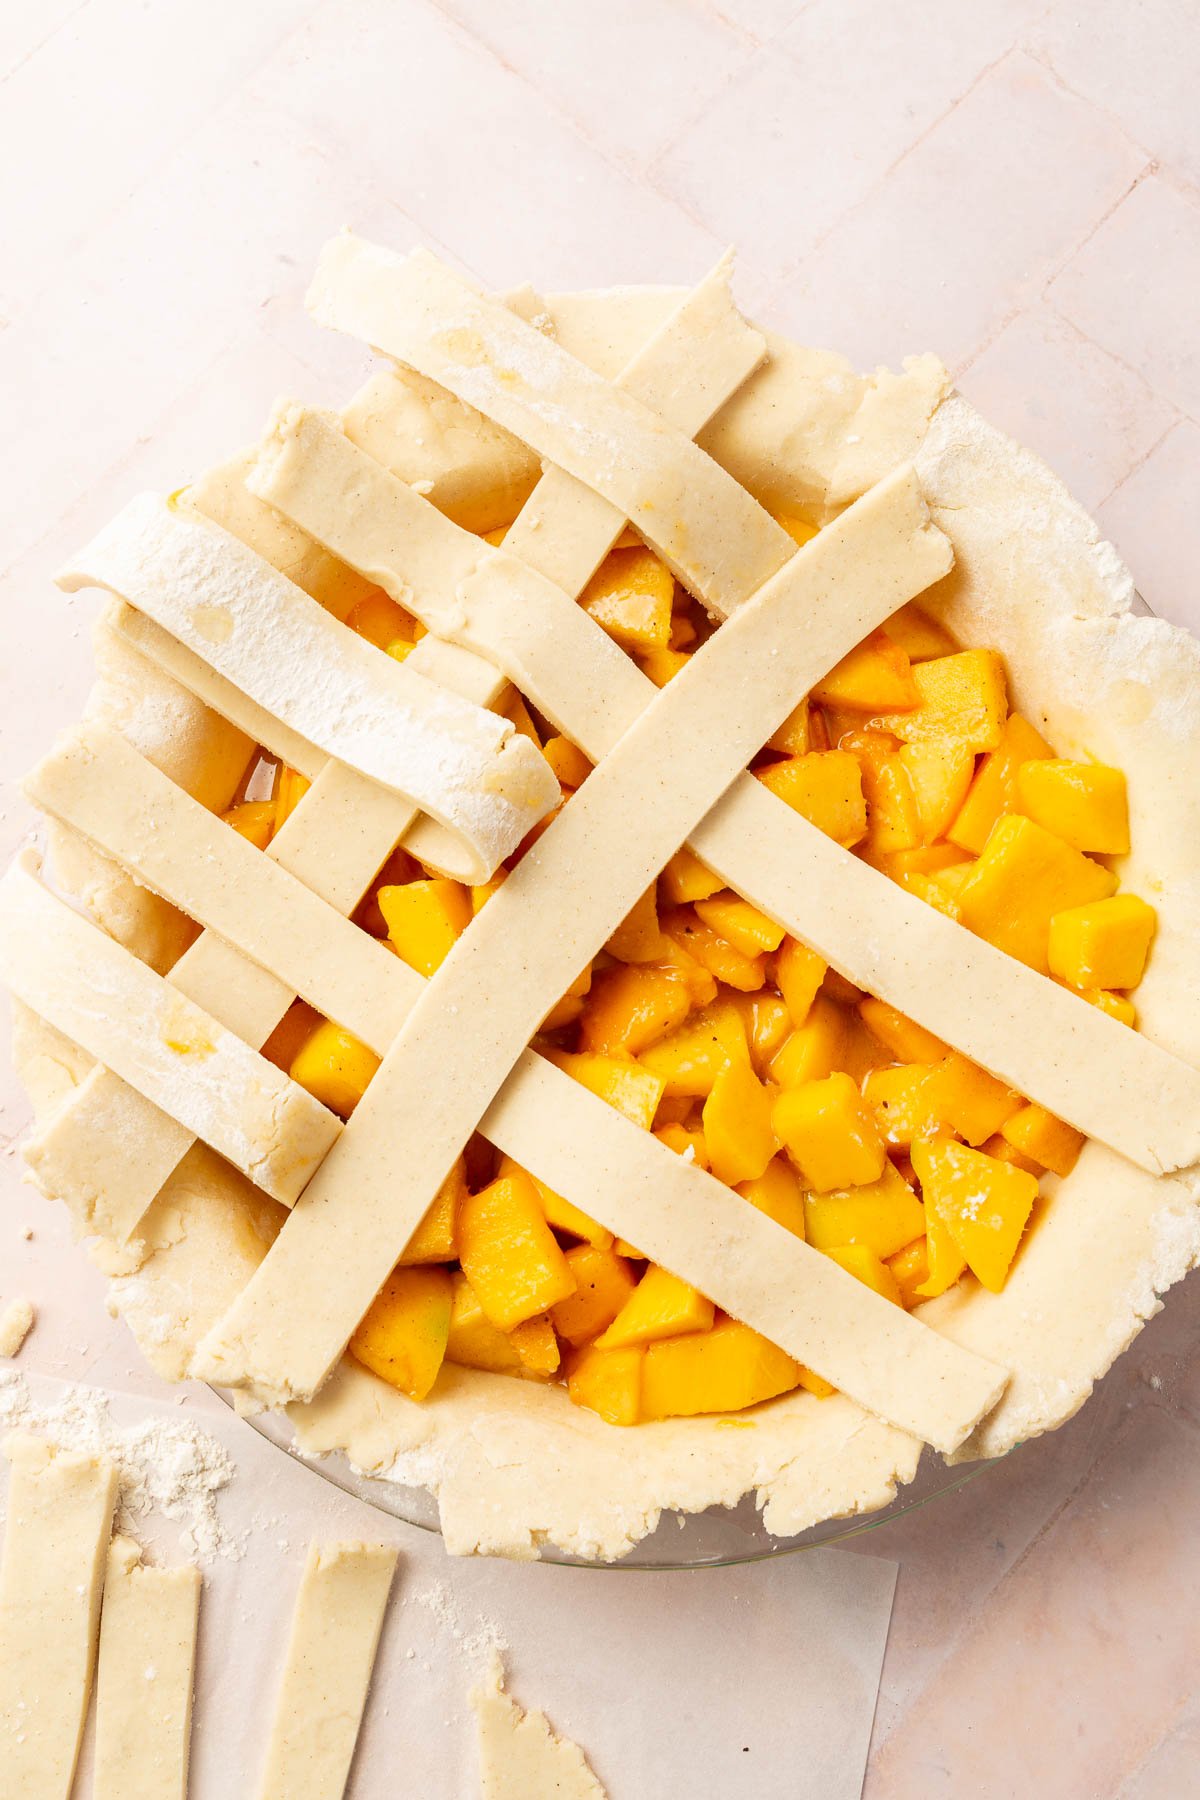
- Roll out the top crust and cut it into 1-inch wide strips. Lay half of the strips horizontally over the pie. Fold back every other strip halfway and lay one strip perpendicular. Unfold the strips over the perpendicular strip and repeat with the remaining strips to create a lattice pattern.
- Trim the excess dough from the strips and press the edges together to seal. Crimp the edges decoratively using your fingers or a fork.
- In a small bowl, beat the egg with the water to create the egg wash. Brush the egg wash over the lattice crust and the edges of the pie.
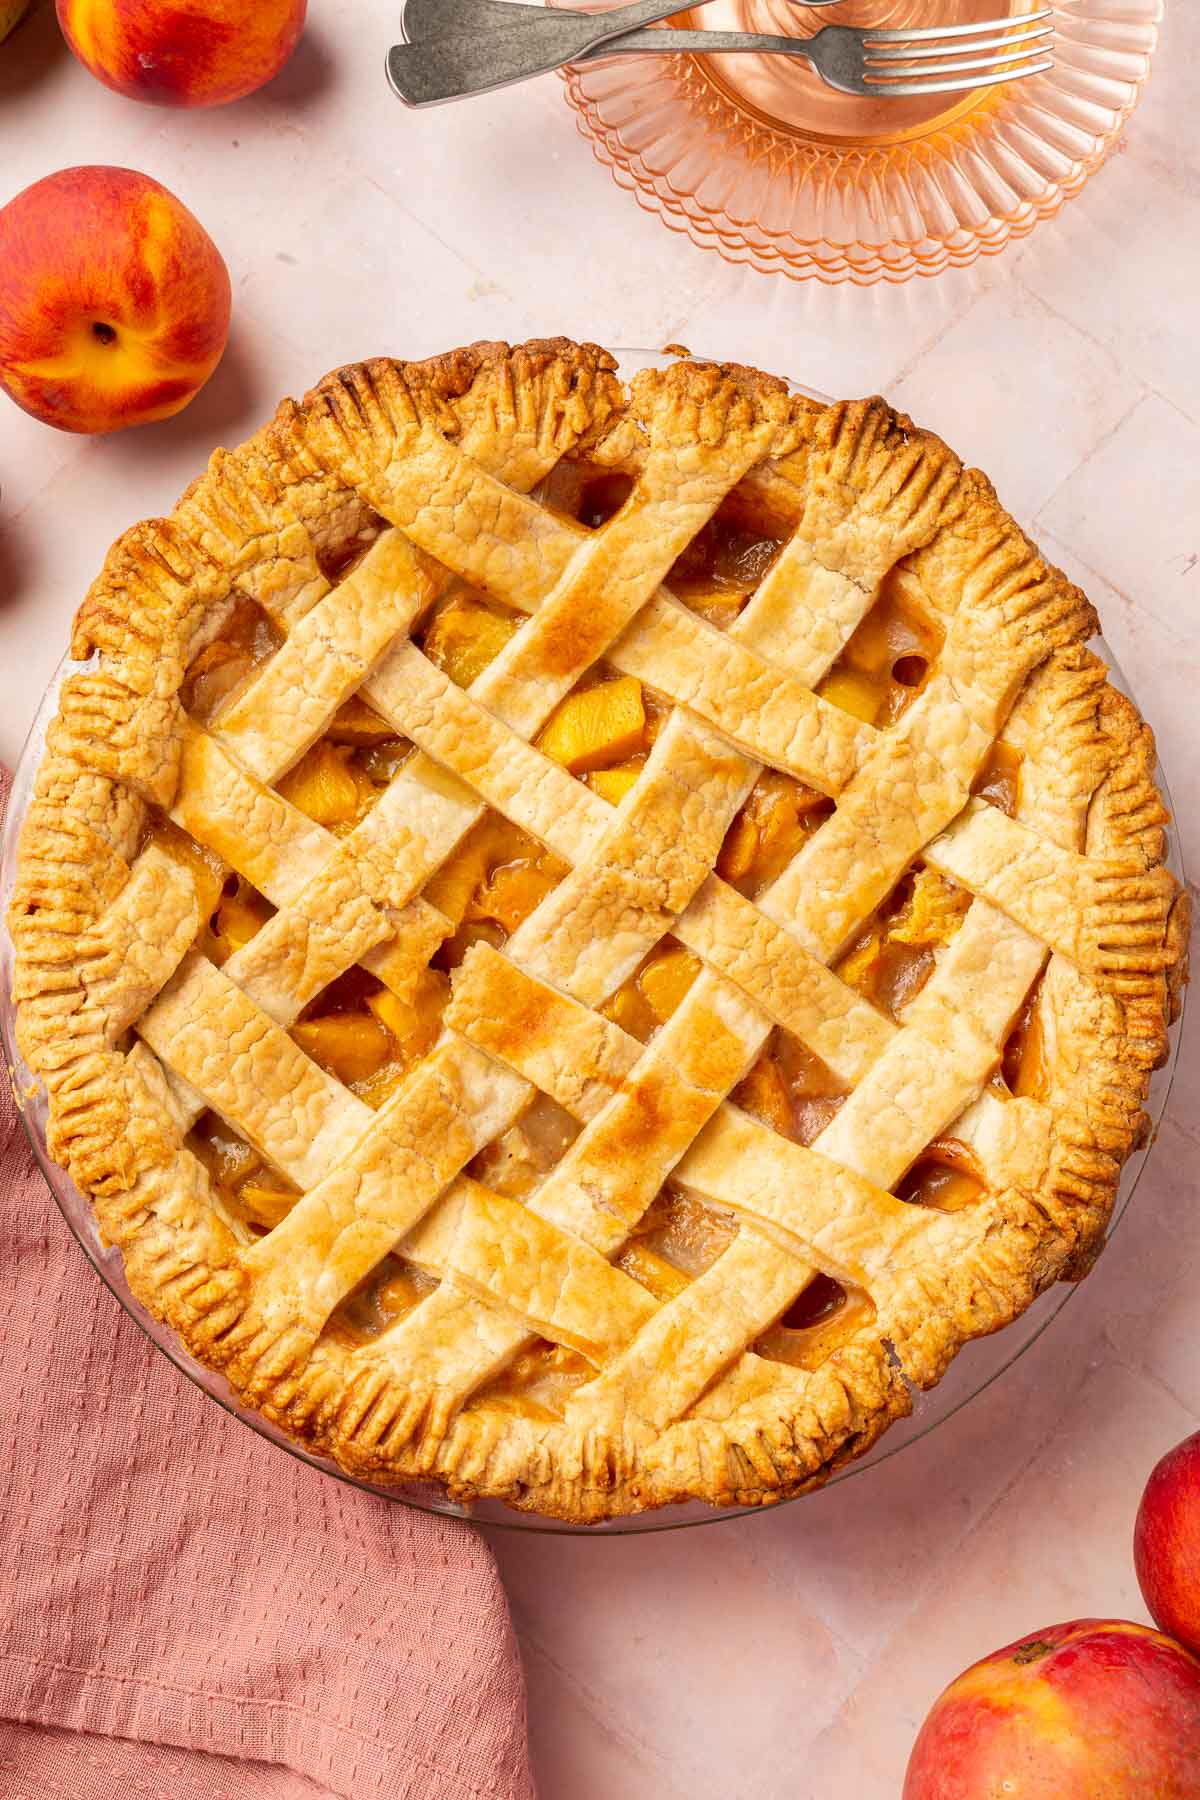
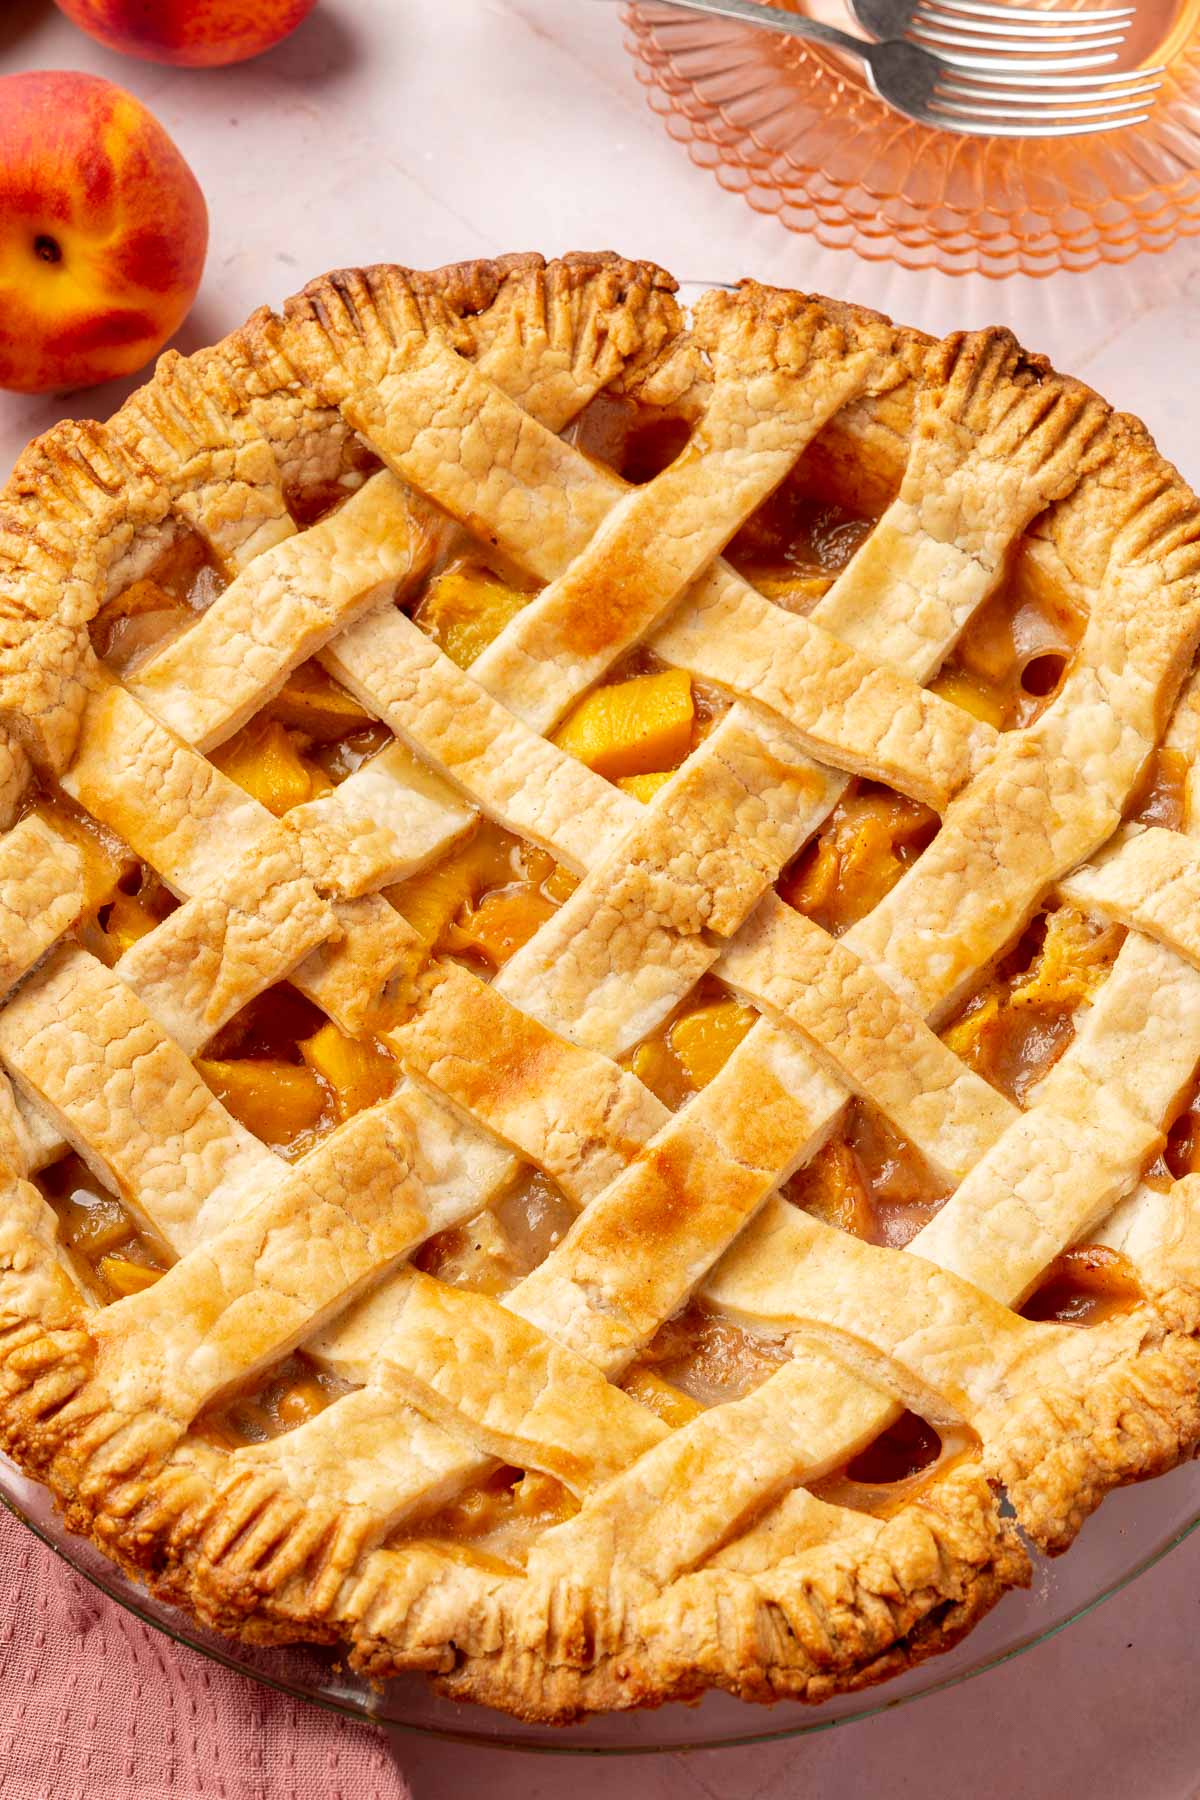
- Place the pie on a baking sheet to catch any drips. Bake at 425°F (220°C) for 15 minutes. Reduce the oven temperature to 375°F (190°C) and continue baking for 45 minutes to 1 hour, or until the crust is golden brown and the filling is bubbling. If the pie is browning too quickly, place aluminum foil over the top of the pie to protect the lattice topping and edges from burning.
- Remove the pie from the oven and let the pie cool on a wire rack for at least 2 hours before serving. This cooling period allows the filling to set, making slicing easier.
- Slice and serve!
Notes
- Ensure that the peaches and mangoes are peeled, pitted, and sliced evenly for a consistent texture and even baking. I prefer cutting them into chunks to retain texture after baking, as thin slices tend to turn mushy.
- If you don’t want to create a lattice crust for the top of the pie, you can also use my gluten-free streusel topping recipe for a crumb top.
- Allowing the pie to cool completely ensures that the filling sets properly and is easier to slice.
- Store any leftovers in an airtight container at room temperature for up to 2 days, or refrigerate for up to 5 days.


