
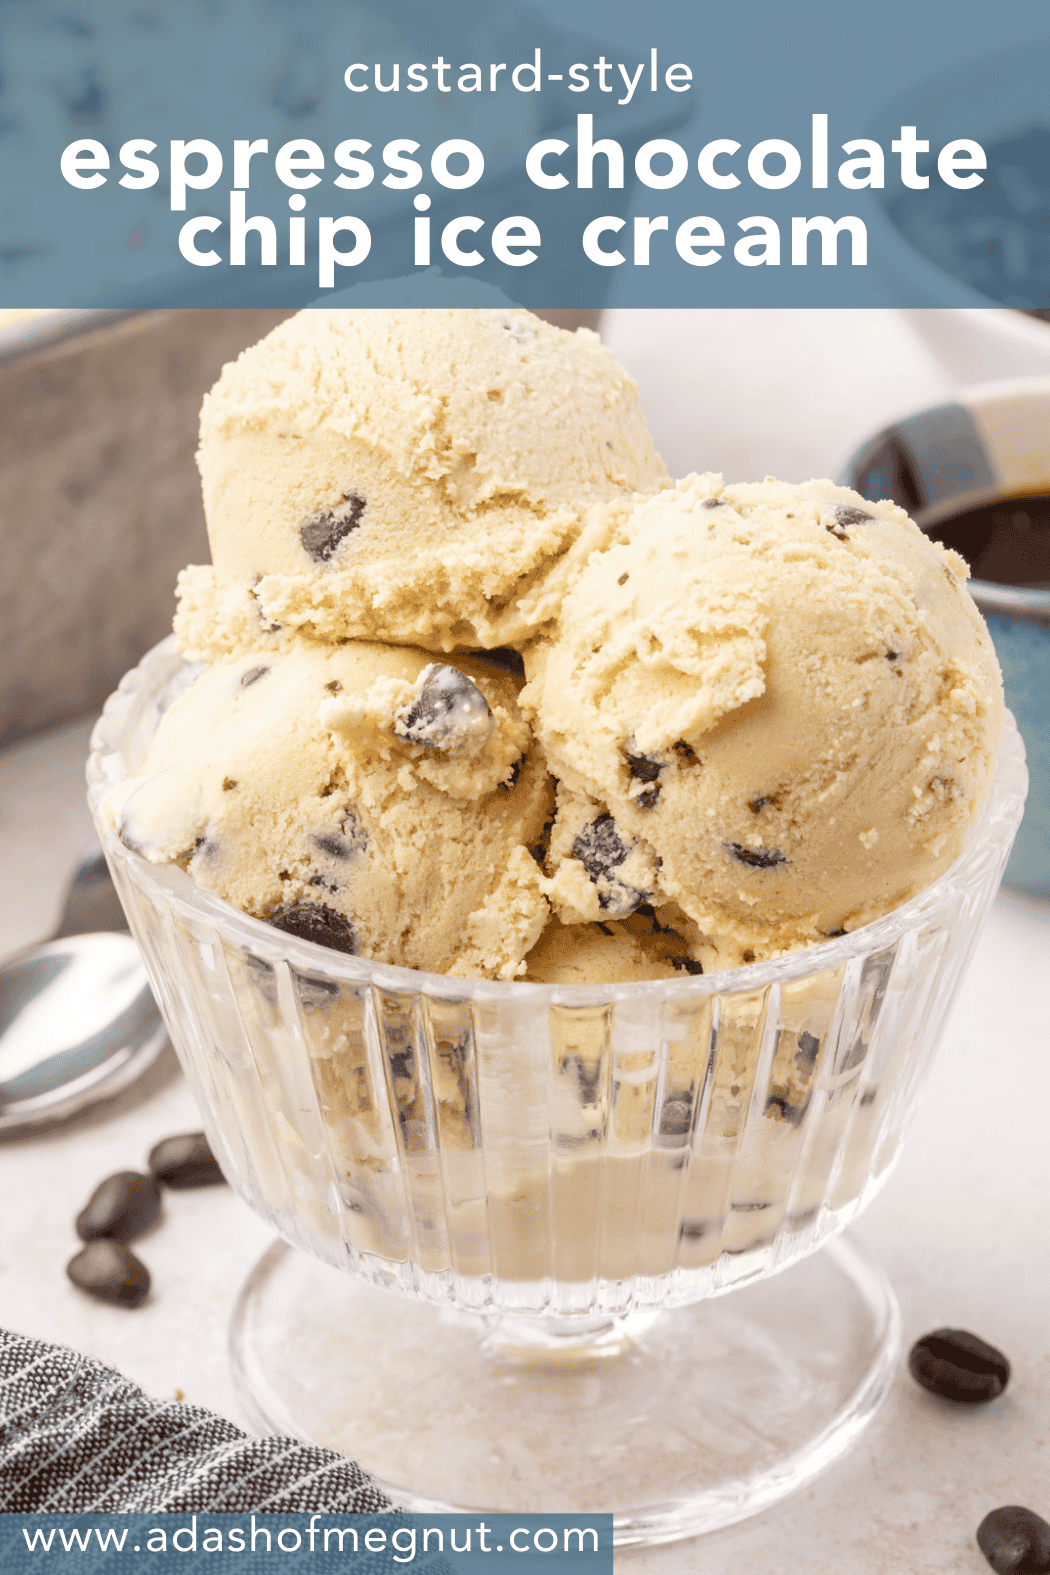
Coffee lovers, this one’s for you. This homemade coffee chocolate chip ice cream is a classic custard-style ice cream, made with brewed espresso, real egg yolks, and rich cream— like your favorite café order in frozen form.
Yes, you’ll need an ice cream maker for this one — but I promise, it’s worth it. It’s simple to make, naturally gluten-free, and so creamy.
Why You’ll Love this Recipe
Ingredients

TIP
I always keep a jar of instant espresso powder on hand. It’s perfect when you want big coffee flavor without brewing a whole shot. Just dissolve 2 tablespoons in ½ cup hot water, and your ice cream will taste like it came from a café.
Ingredient Notes
- Eggs – These add richness and help emulsify the base for a creamy, scoopable texture. Use large eggs — if your yolks are smaller or you’re using farm eggs, measure out 200g to make sure you are using the correct amount.
- Espresso – You can use freshly brewed espresso or dissolve instant espresso powder in hot water. Just don’t sub in regular coffee — it’s too weak and watery.
- Heavy cream + whole milk – This combo strikes the right balance between creamy and light. Don’t substitute lower-fat milk — it’ll turn icy.
This recipe requires egg yolks instead of whole eggs. Here are some recipes featuring egg whites to help you use them up! gluten-free coconut macaroons / gluten-free angel food cake / gluten-free purple sweet potato pie
How to Make Espresso Chip Ice Cream
For the ingredient list with measurements, full instructions, printable recipe, and additional notes, please scroll down to the recipe card.


Expert Tips
Storage instructions
Store this ice cream in an airtight container in the freezer for up to 2 weeks. Press plastic wrap or parchment directly onto the surface to prevent ice crystals.
For best texture, let the ice cream sit at room temperature for 5–10 minutes before scooping.

Serving suggestions
This coffee chocolate chip ice cream is the kind of dessert that stands on its own — but if you’re hosting, here are a few ways to elevate it:
- Pair with gluten-free brownies for a coffee shop-inspired sundae
- Scoop over a warm gluten-free chocolate chip cookie for instant indulgence (but my gluten-free peanut butter cookies would be equally as delicious here as well)
- Serve in gluten-free cones or in gluten-free cookie cups
- Add a drizzle of salted caramel, nutella ganache or espresso fudge sauce to dress it up for dinner guests
It also makes a fantastic affogato: just pour a shot of hot espresso over a scoop of this ice cream. (Double the coffee? Always a yes from me.)
More ice cream recipes to try

Did you make this recipe?
I’d love to know! Please rate it and leave a comment below. You can also share your pictures and tag @adashofmegnut on Instagram.

Coffee Chocolate Chip Ice Cream
Ingredients
- 4 (76 g) large egg yolks
- 3/4 cup (150 g) granulated sugar
- 1 1/2 cups (340 g) whole milk
- 1/2 teaspoon kosher salt
- 1 1/2 cups (352 g) heavy cream
- 1 teaspoon vanilla extract
- ½ cup (120 g) brewed espresso - or 2 tablespoons instant espresso powder mixed with ½ cup hot water
- 1 cup (170 g) chocolate chips or chopped chocolate
**Use the toggle button above to turn the instruction photos on and off!
Instructions
Prep Your Equipment:
- Place the bowl of your ice cream maker in the freezer for at least 24 hours, or until completely solid. You shouldn’t hear any sloshing when you shake it.
Make the Custard Base:
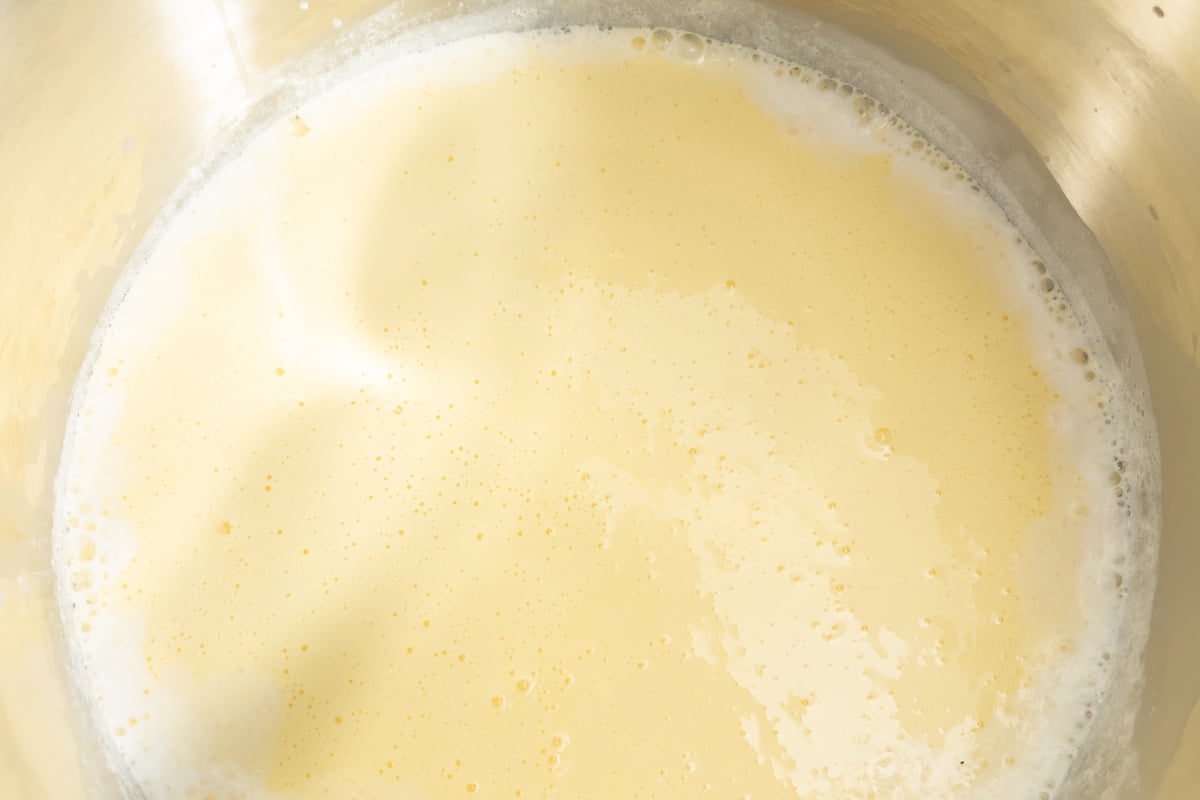
- In a medium bowl, whisk together 4 (76 g) large egg yolks and 3/4 cup (150 g) granulated sugar until smooth and pale yellow.

- In a medium saucepan, combine 1 1/2 cups (340 g) whole milk and 1/2 teaspoon kosher salt. Heat over medium until the milk just begins to simmer — do not boil.
- Slowly whisk about ½ cup of the hot milk into the egg mixture to temper it, whisking constantly. Then pour the tempered mixture back into the saucepan with the remaining milk.
- Heat the custard over low, stirring constantly, until it thickens slightly and reaches 170°F to 175°F on an instant-read thermometer. It should coat the back of a spoon — this usually takes about 3 to 5 minutes.
Flavor the Base & Chill:
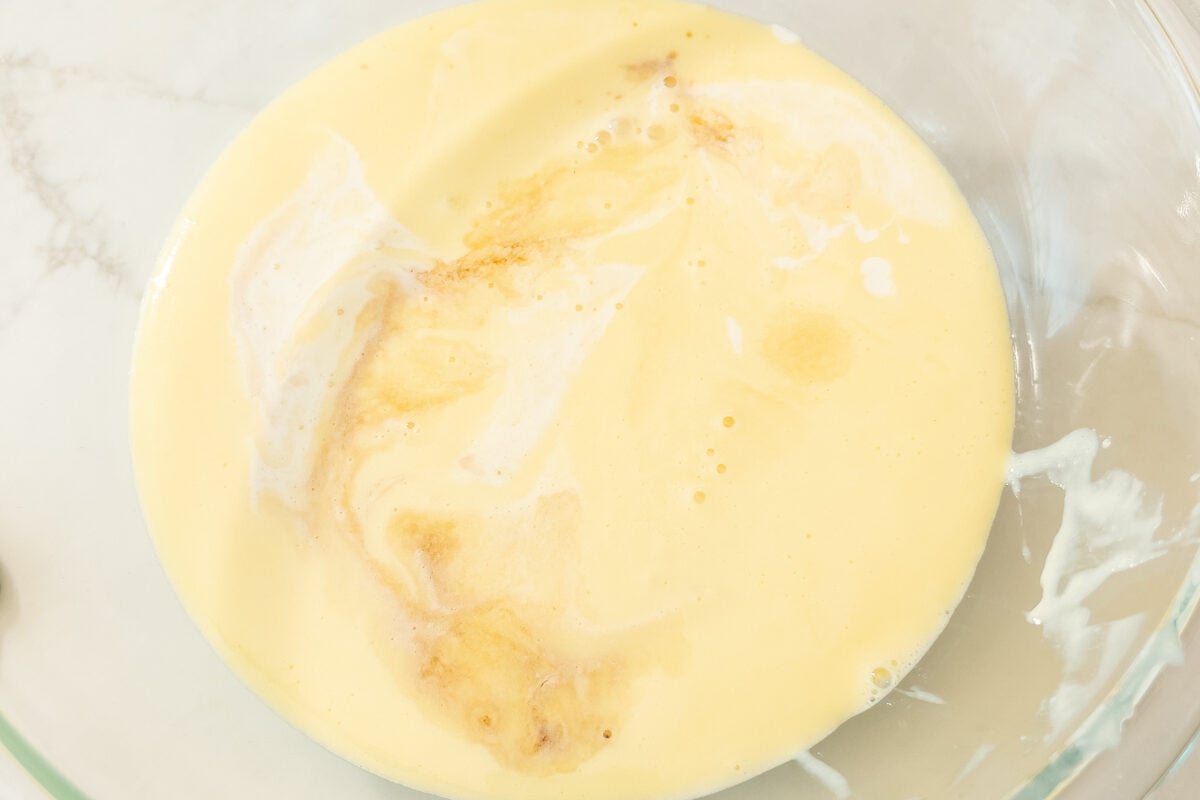
- Remove from heat and strain the custard through a fine mesh sieve into a clean bowl.
- Stir in 1 1/2 cups (352 g) heavy cream, 1 teaspoon vanilla extract, and ½ cup (120 g) brewed espresso (or 2 tablespoons instant espresso powder dissolved in ½ cup hot water).
- Cover with plastic wrap, pressing it directly onto the surface. Refrigerate for at least 3 hours, or until fully chilled.
Churn the Ice Cream:
- Pour the chilled custard into your ice cream maker. Churn according to the manufacturer’s instructions, about 20–25 minutes, until it reaches a soft-serve consistency.
Add the Chocolate:
- In the final minute of churning, add 1 cup (170 g) chocolate chips or chopped chocolate and let them mix into the ice cream.
Freeze Until Firm:
- Transfer the ice cream to a shallow container or loaf pan. Press plastic wrap or wax paper directly onto the surface. Freeze for at least 4 hours, or until firm.
- Let sit at room temperature for about 10-15 minutes before serving.

Notes
- Ice Cream Maker: This recipe works with both styles of ice cream makers. If you’re using a compressor-style machine (like the one shown in the photos), you can churn the base as soon as it’s chilled. If you’re using a model with a freezer bowl, be sure to freeze the bowl for at least 24 hours before churning — it should feel completely solid with no liquid sloshing inside.
- Gluten-Free Note: I have celiac disease, so all of my recipes are developed with gluten-free ingredients. That said, always double-check your labels to ensure everything is gluten-free as needed.
- Espresso: Use freshly brewed espresso or dissolve 2 tablespoons instant espresso powder in ½ cup (120g) hot water. Do not use regular drip coffee — it’s too weak and will water down the base.
- Texture Tip: The custard base should coat the back of a spoon before chilling — if it’s too thin, the final ice cream may be icy instead of creamy. The temperature should reach 170F for the custard base.
Nutrition
This looks amazing!