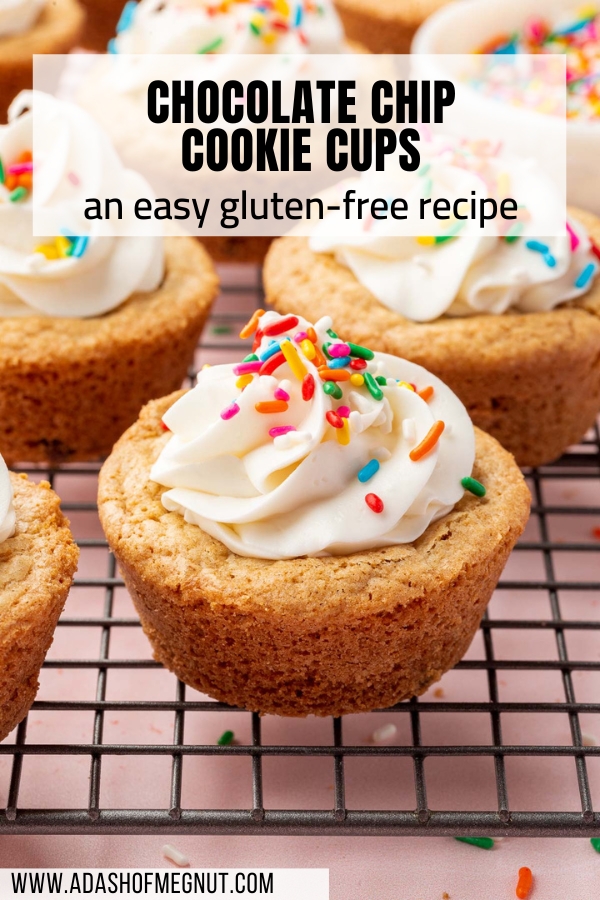

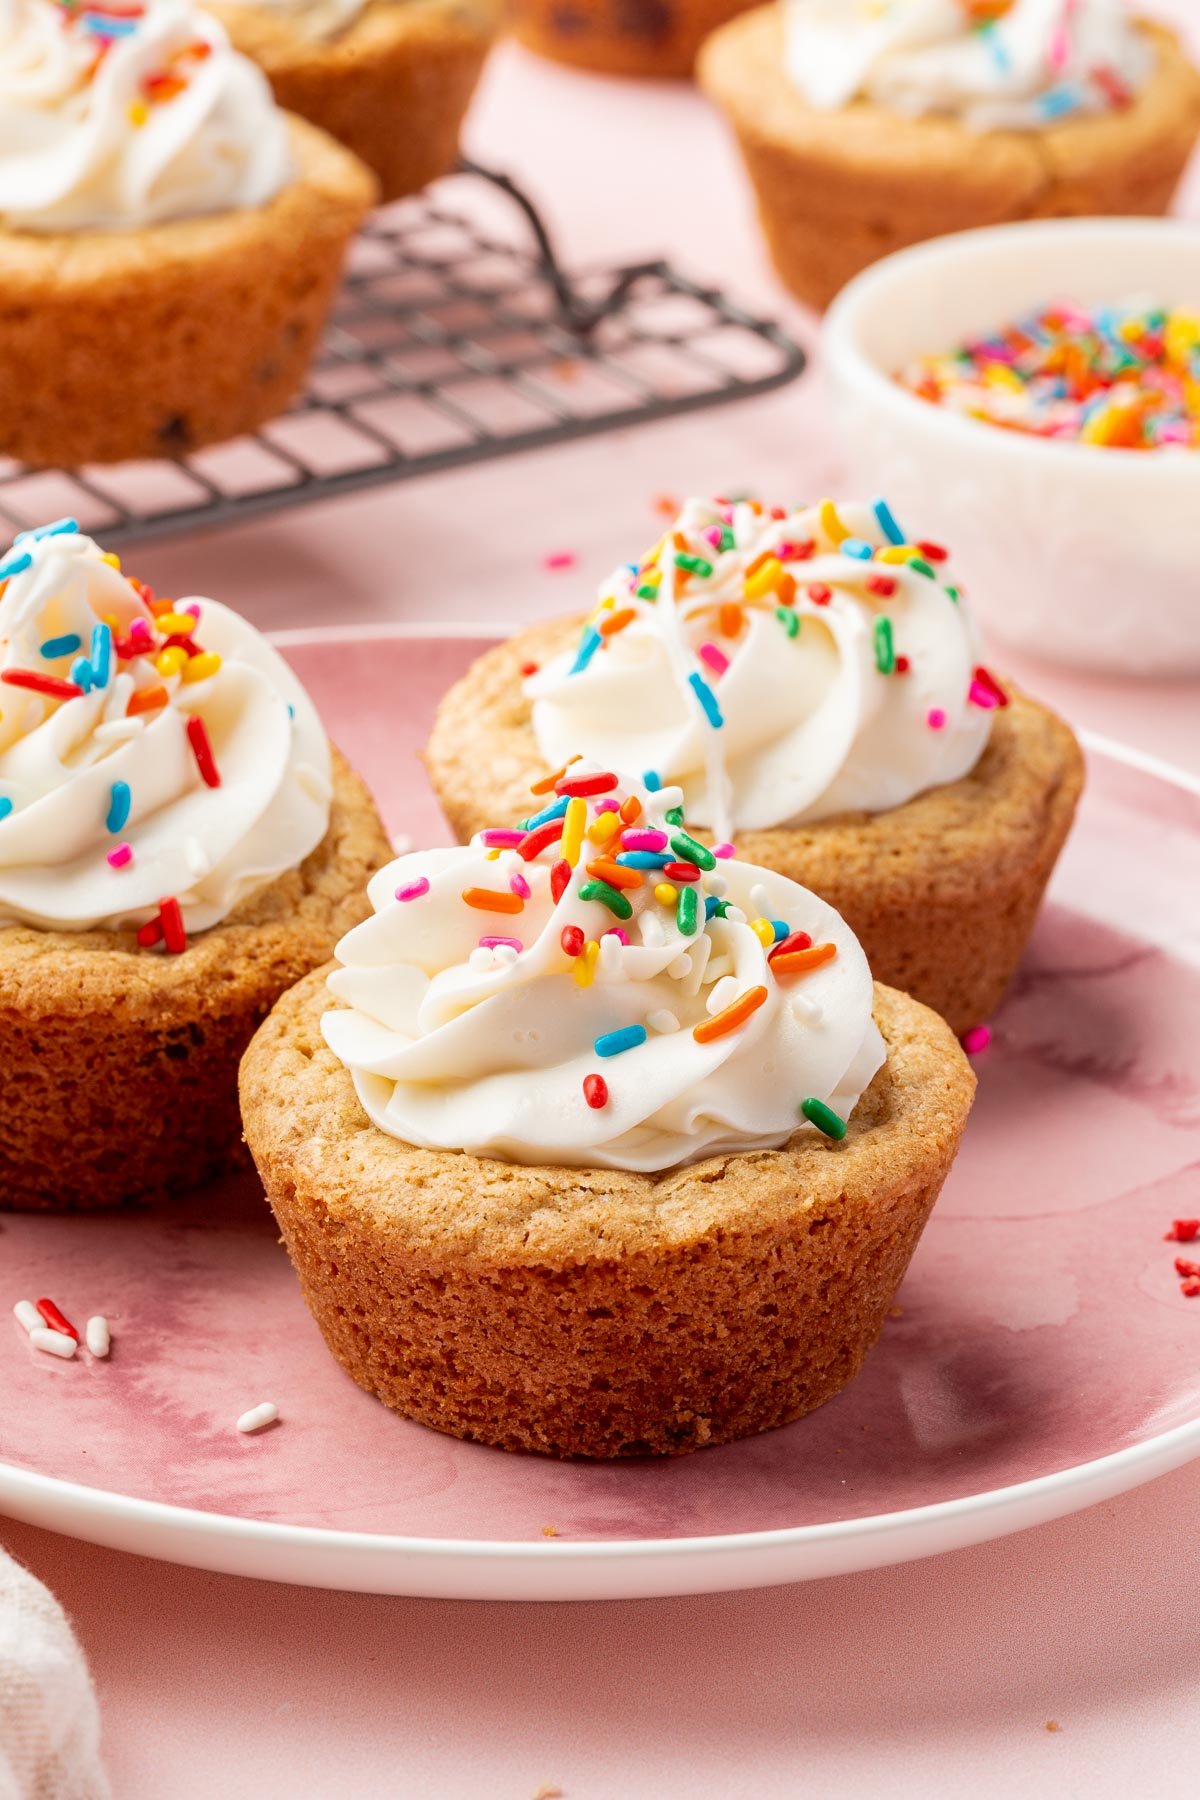
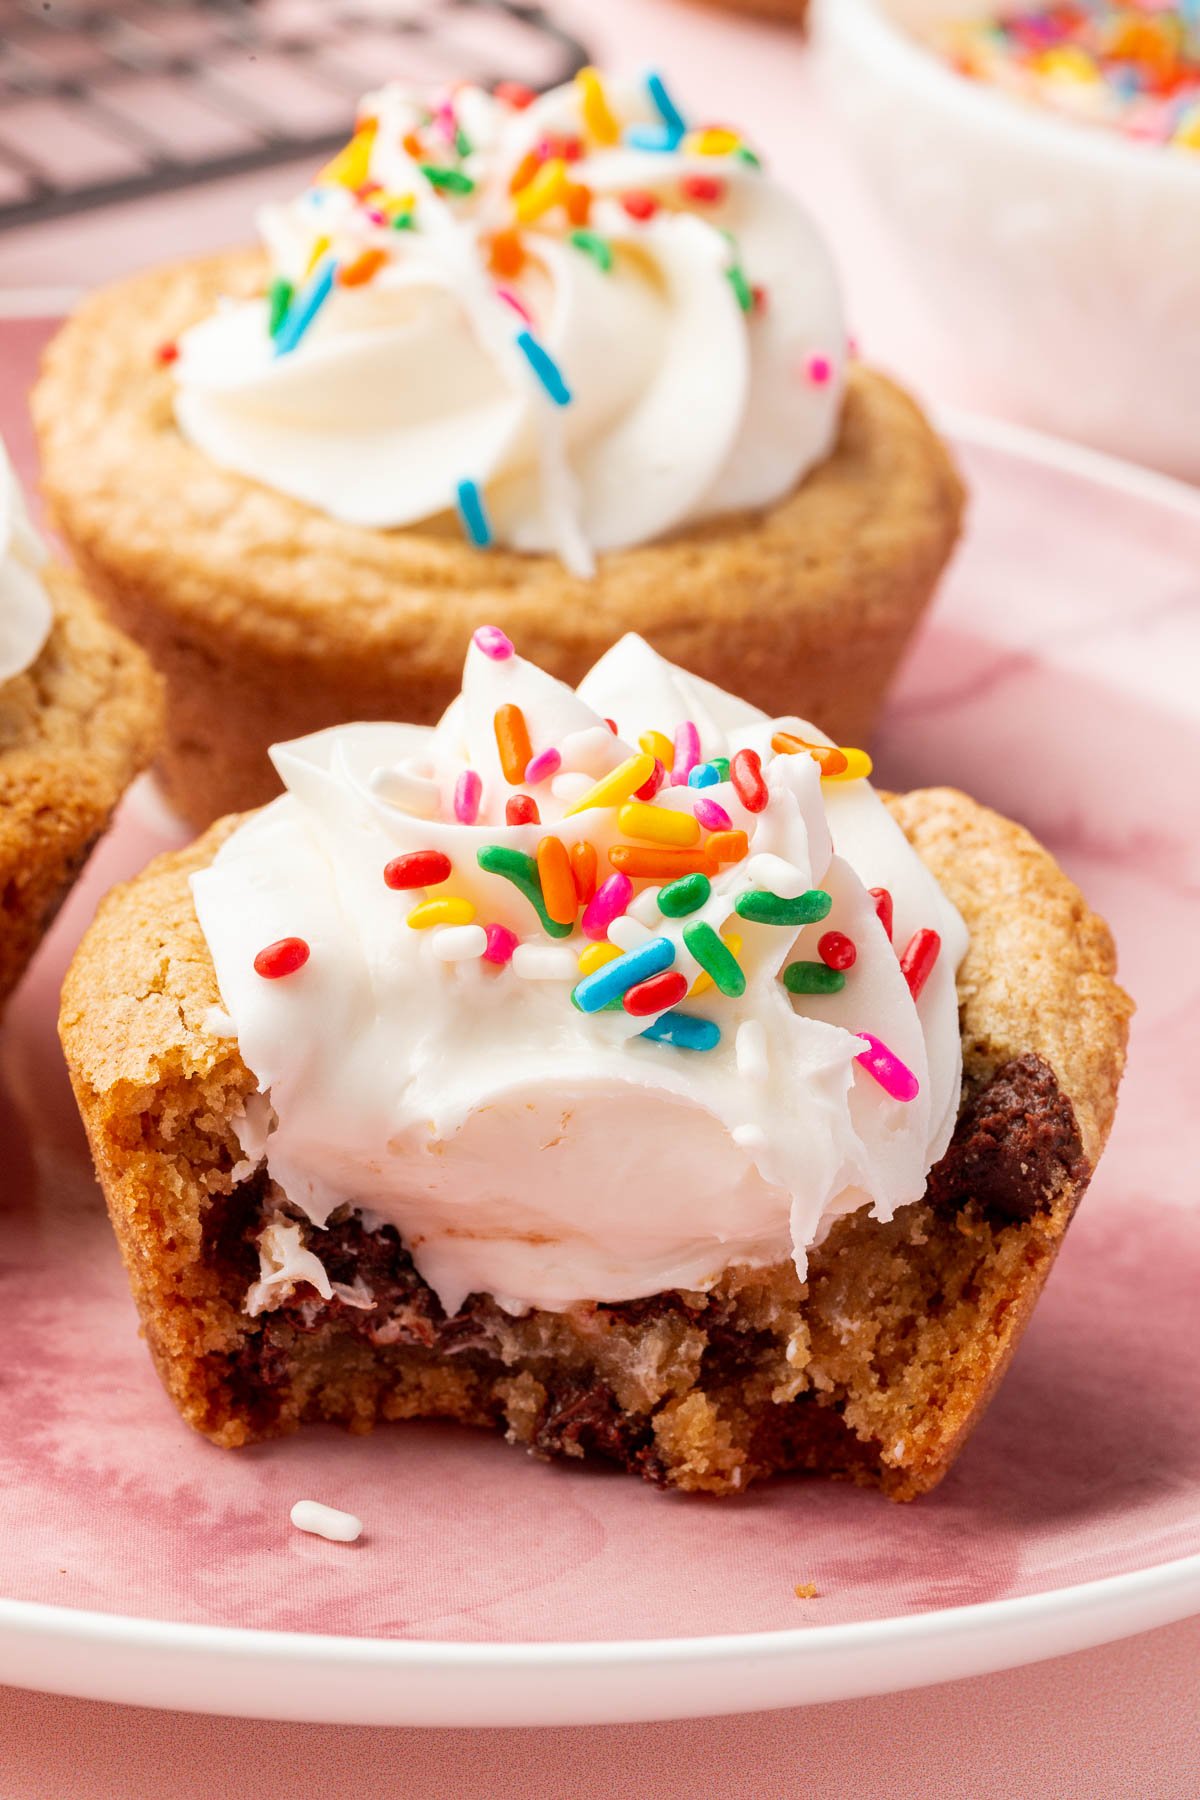
These gluten-free cookie cups are a fun twist on classic chocolate chip cookies. Instead of baking flat on a sheet pan, the dough goes into a muffin tin so each cookie bakes into a cup shape with chewy edges and a soft center. Once they cool, you fill them with frosting and top with sprinkles.
The base is a straightforward chocolate chip cookie dough made with Bob’s Red Mill 1-to-1 gluten-free flour. No chill time, no complicated steps, and the whole batch is done in under an hour.
Why You’ll Love this Recipe
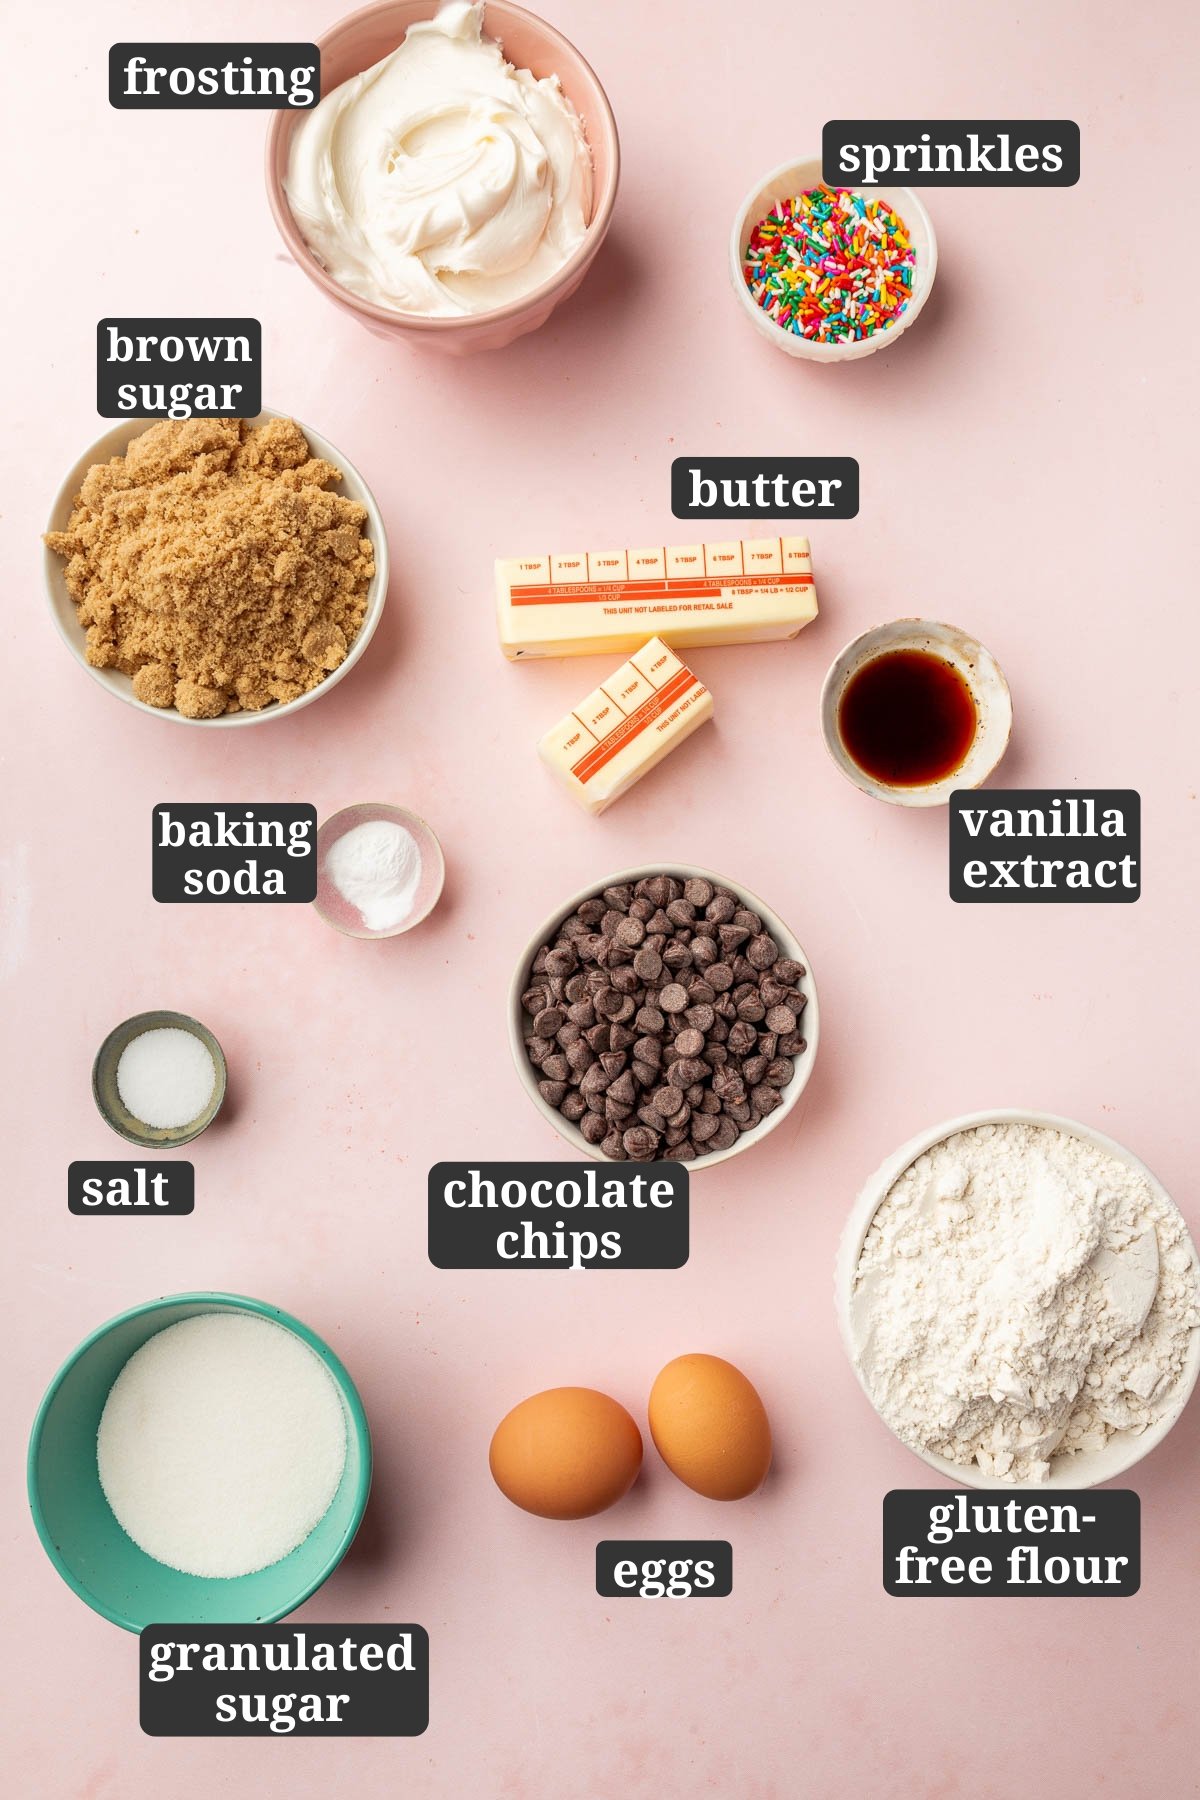
Ingredient Notes
- Gluten-Free Flour Blend – I used Bob’s Red Mill 1-to-1 Gluten-Free Baking Flour (in the blue bag), which contains xanthan gum. I cannot verify that other gluten-free flour blends will deliver the same results in this recipe.
- Unsalted Butter – Use room temperature butter so it creams smoothly with the sugars.
- Granulated Sugar and Brown sugar – I like to use a combination of granulated sugar and brown sugar in my cookie recipes. I use light brown sugar for its mild molasses flavor, but dark brown sugar can be substituted for a deeper, more caramel-like taste.
- Eggs – Use large eggs (50g each) at room temperature so they incorporate easily.
- Chocolate Chips – Semi-sweet is classic, but dark, milk, or white chocolate chips all work.
- Frosting or Buttercream – Homemade or store-bought both work. Some of my favorites for this recipe are brown butter cream cheese frosting, chocolate cream cheese frosting, and peanut butter frosting.
- Rainbow Sprinkles – Sprinkles add a fun, festive touch but are optional. Be sure that your sprinkles are gluten-free, as not all brands are.
Why I Include Metric Measurements
Weighing your gluten-free flour with a kitchen scale is the single best thing you can do for consistent results in this recipe. If you don’t have one, use the spoon and level method. Gently spoon flour into the measuring cup and level it off with a knife. Scooping directly from the bag packs in too much flour and makes the cookies dense.
Step-by-Step Instructions
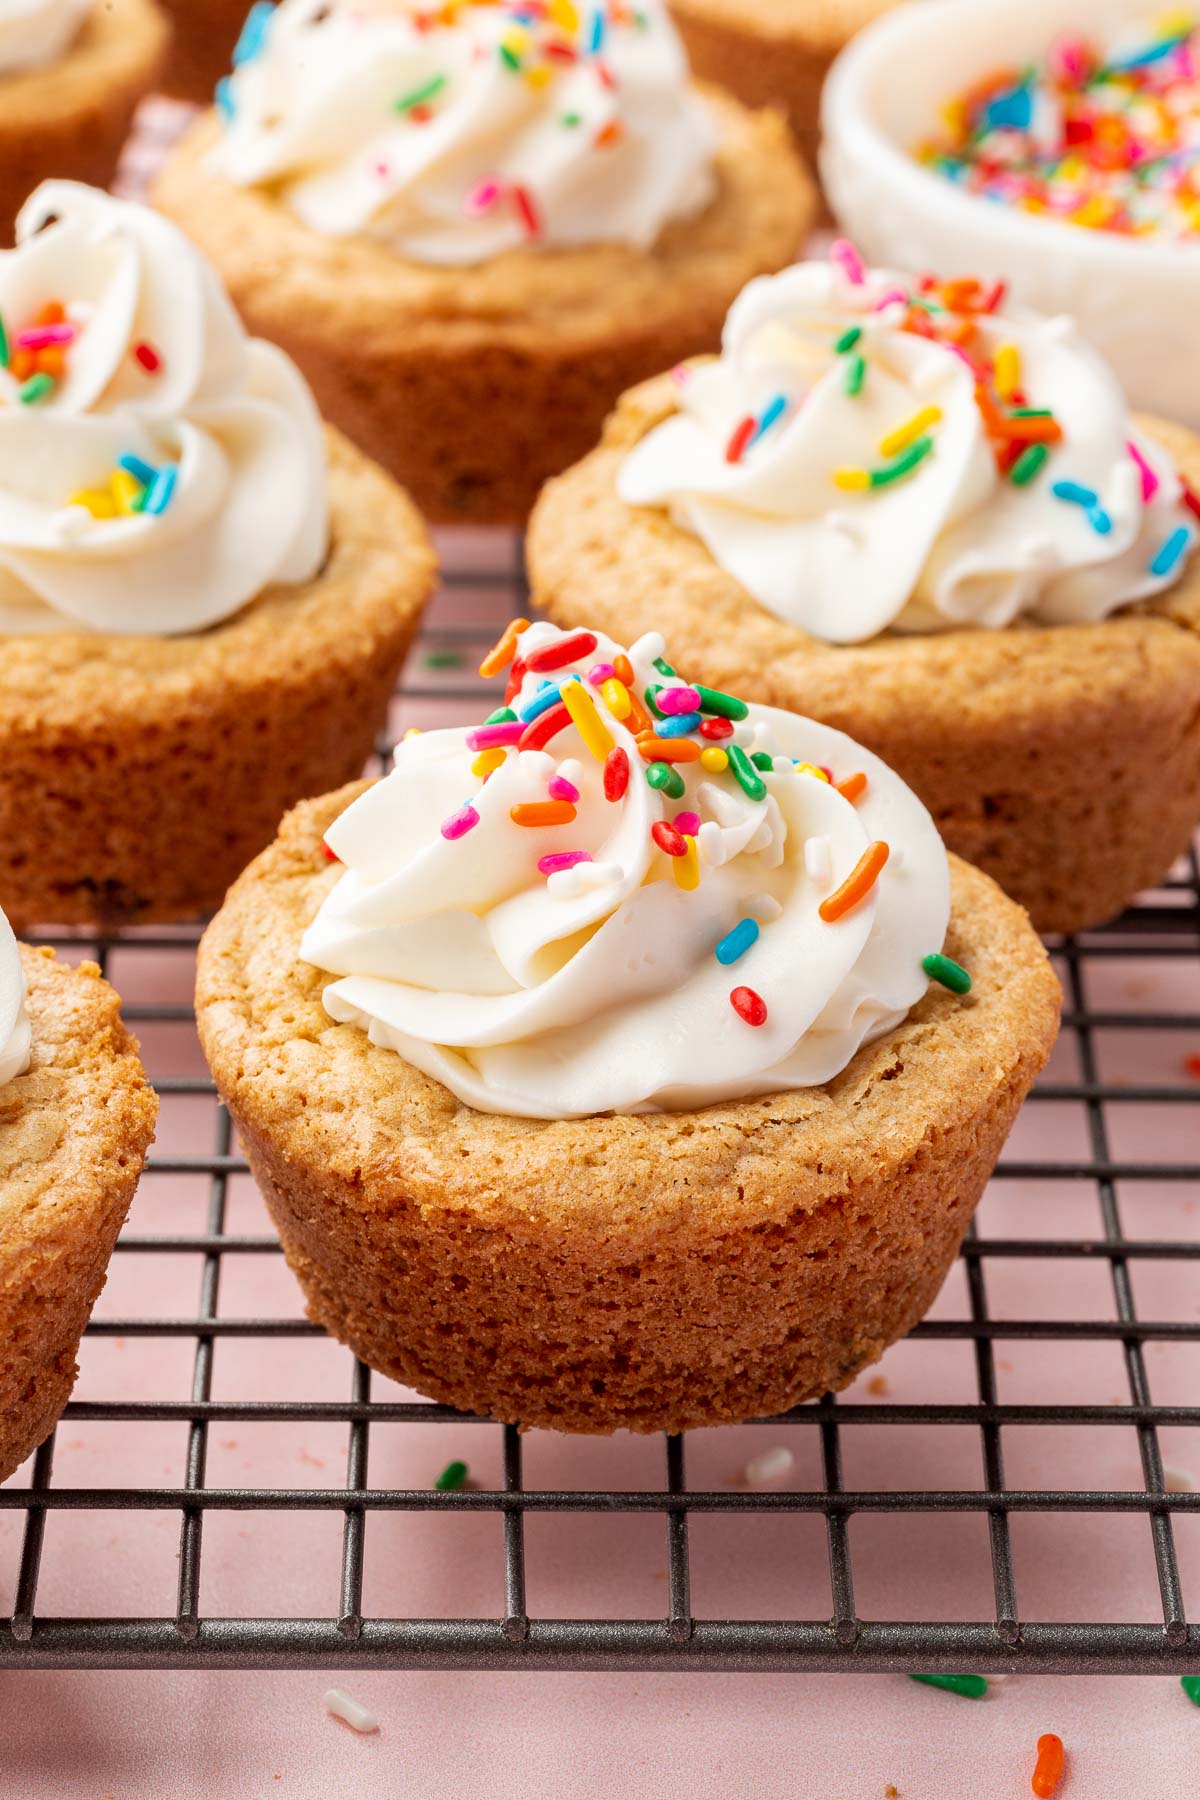
These gluten-free cookie cups with vanilla frosting are super simple to make with just a few ingredients you probably already have on hand! The below photos with matching steps are not meant to be the full recipe, but are there to help you see the recipe made at various stages so you can make these chocolate chip cookie cups perfectly every time.
For the ingredient list with measurements, full instructions, printable recipe, and additional notes, please scroll down to the recipe card.
Recipe FAQs
I tested this recipe with Bob’s Red Mill 1-to-1 Gluten-Free Baking Flour (in the blue bag). I cannot verify that other brands will work, as not all gluten-free flour blends behave the same way.
Generously grease the muffin tin with nonstick cooking spray or use parchment liners. If they still stick, run a thin spatula around the edges after cooling to release them without breaking. You can also use parchment liners if you prefer like I do in my gluten-free peanut butter cup cookies recipe.
The edges should be golden brown and the centers should be set but not hard. If you gently press the middle and it feels slightly soft but not raw, they’re done. They will continue to firm up as they cool in the tin.
Yes, you can. You will get about triple the yield using mini muffin tins. The mini cookie cups will bake much faster than regular sized ones, so check the oven at about 9-10 minutes instead.
Expert Tips
Storage Instructions
- Room temperature: Store unfrosted cookie cups in an airtight container for up to 3 days. If frosted with a cream-based frosting, store in the refrigerator for up to 5 days.
- Freezer: Place cooled cookie cups on a baking sheet and freeze until solid, then transfer to a freezer-safe bag or container with parchment between layers. Store for up to 2 months.
- Reheating: Thaw frozen cookie cups at room temperature for about 30 minutes. For a warm, fresh-baked texture, reheat unfrosted cups in a 300°F oven for 3-5 minutes. Add frosting after reheating.
Gluten-Free Cookie Cups
Ingredients
- 2½ cups (350 g) gluten-free flour blend - Bob's Red Mill 1-to-1 Gluten-Free Baking Flour (in the blue bag) which contains xanthan gum
- 1 teaspoon baking soda
- 1 teaspoon salt
- ¾ cup (170 g) unsalted butter - at room temperature
- 1 cup (200 g) brown sugar
- ½ cup (100 g) granulated sugar
- 2 (100 g) large eggs
- 1 tablespoon (15 g) vanilla extract
- 1½ cups (270 g) chocolate chips
- 2 cups (452 g) frosting or buttercream - of choice
- ¼ cup (40 g) gluten-free rainbow sprinkles - optional
**Use the toggle button above to turn the instruction photos on and off!
Instructions
- Preheat the oven to 350°F (175°C). Grease 18 wells of a standard muffin tin with nonstick cooking spray or line with parchment liners.
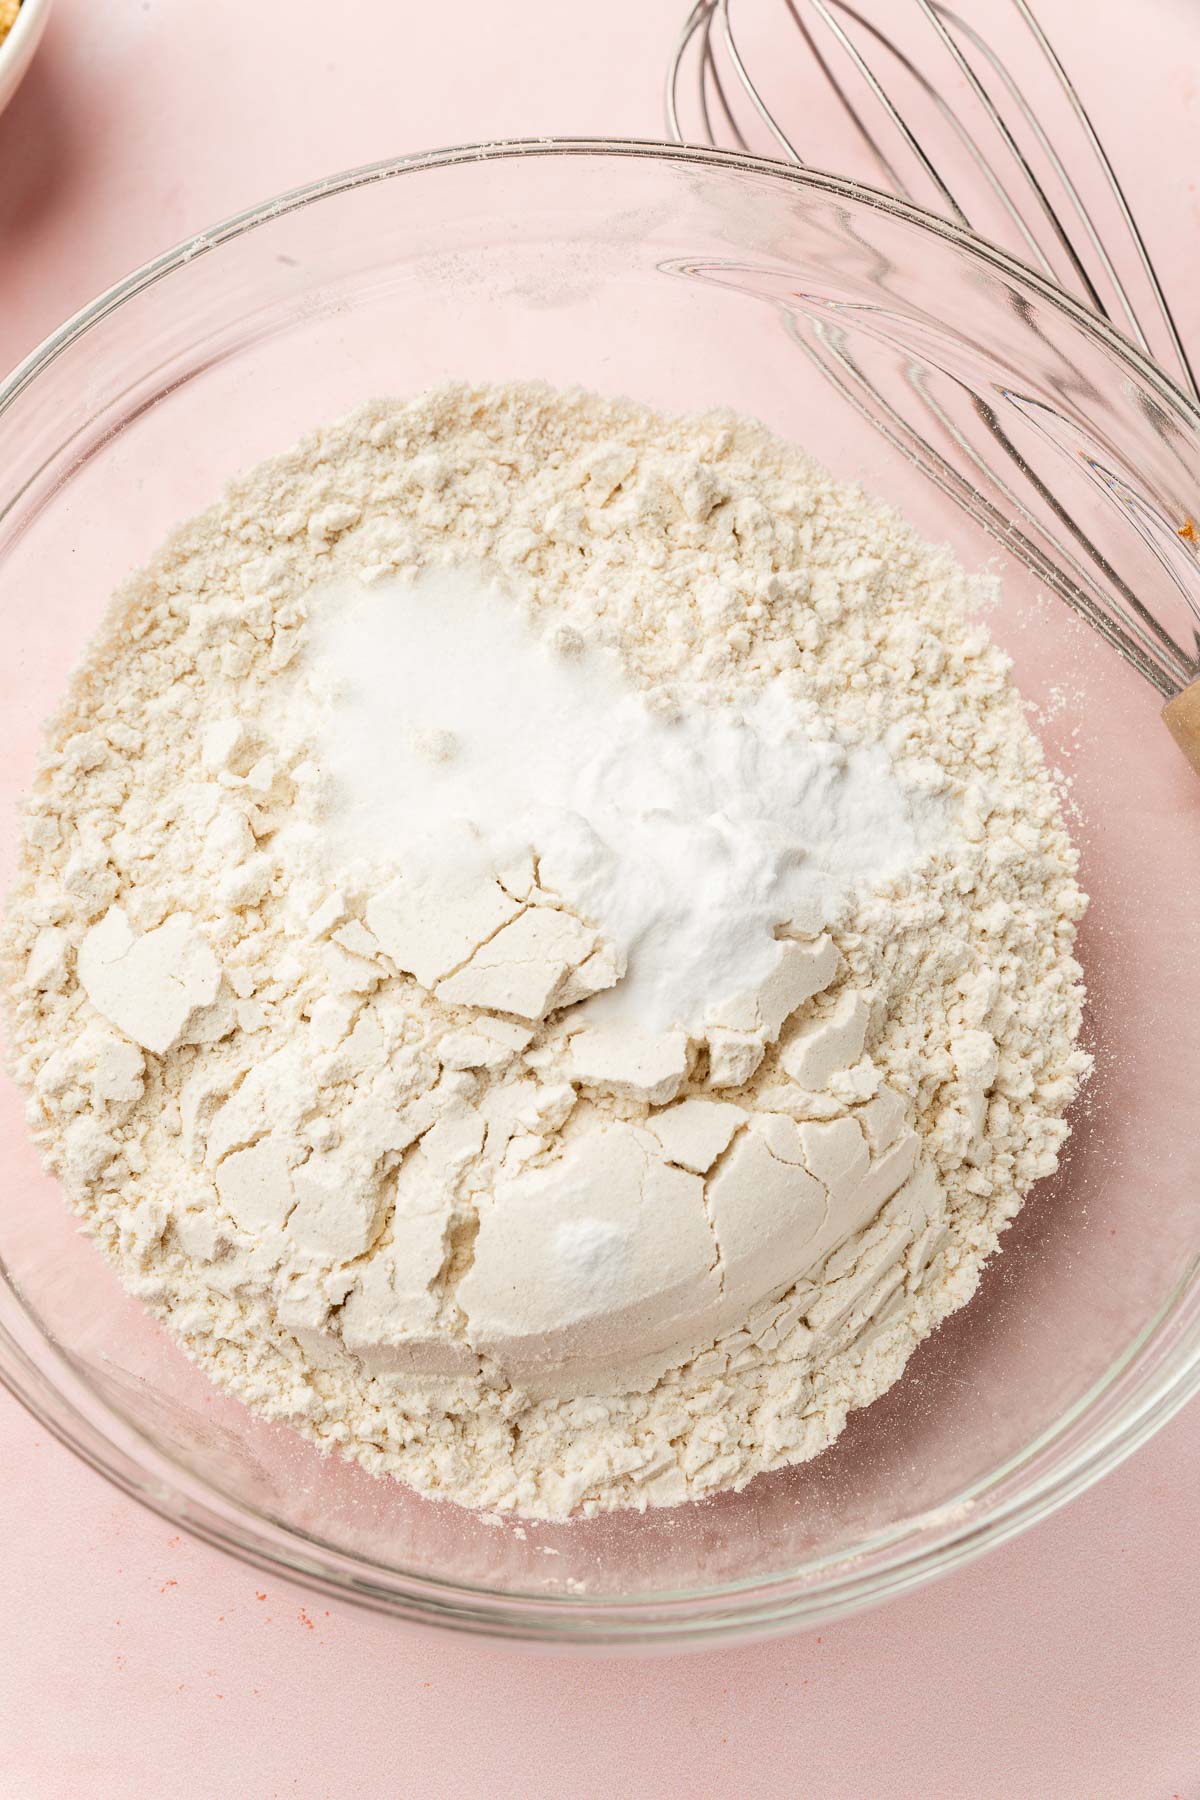
- In a medium bowl, whisk together 2½ cups (350 g) gluten-free flour blend, 1 teaspoon baking soda, and 1 teaspoon salt. Set aside.
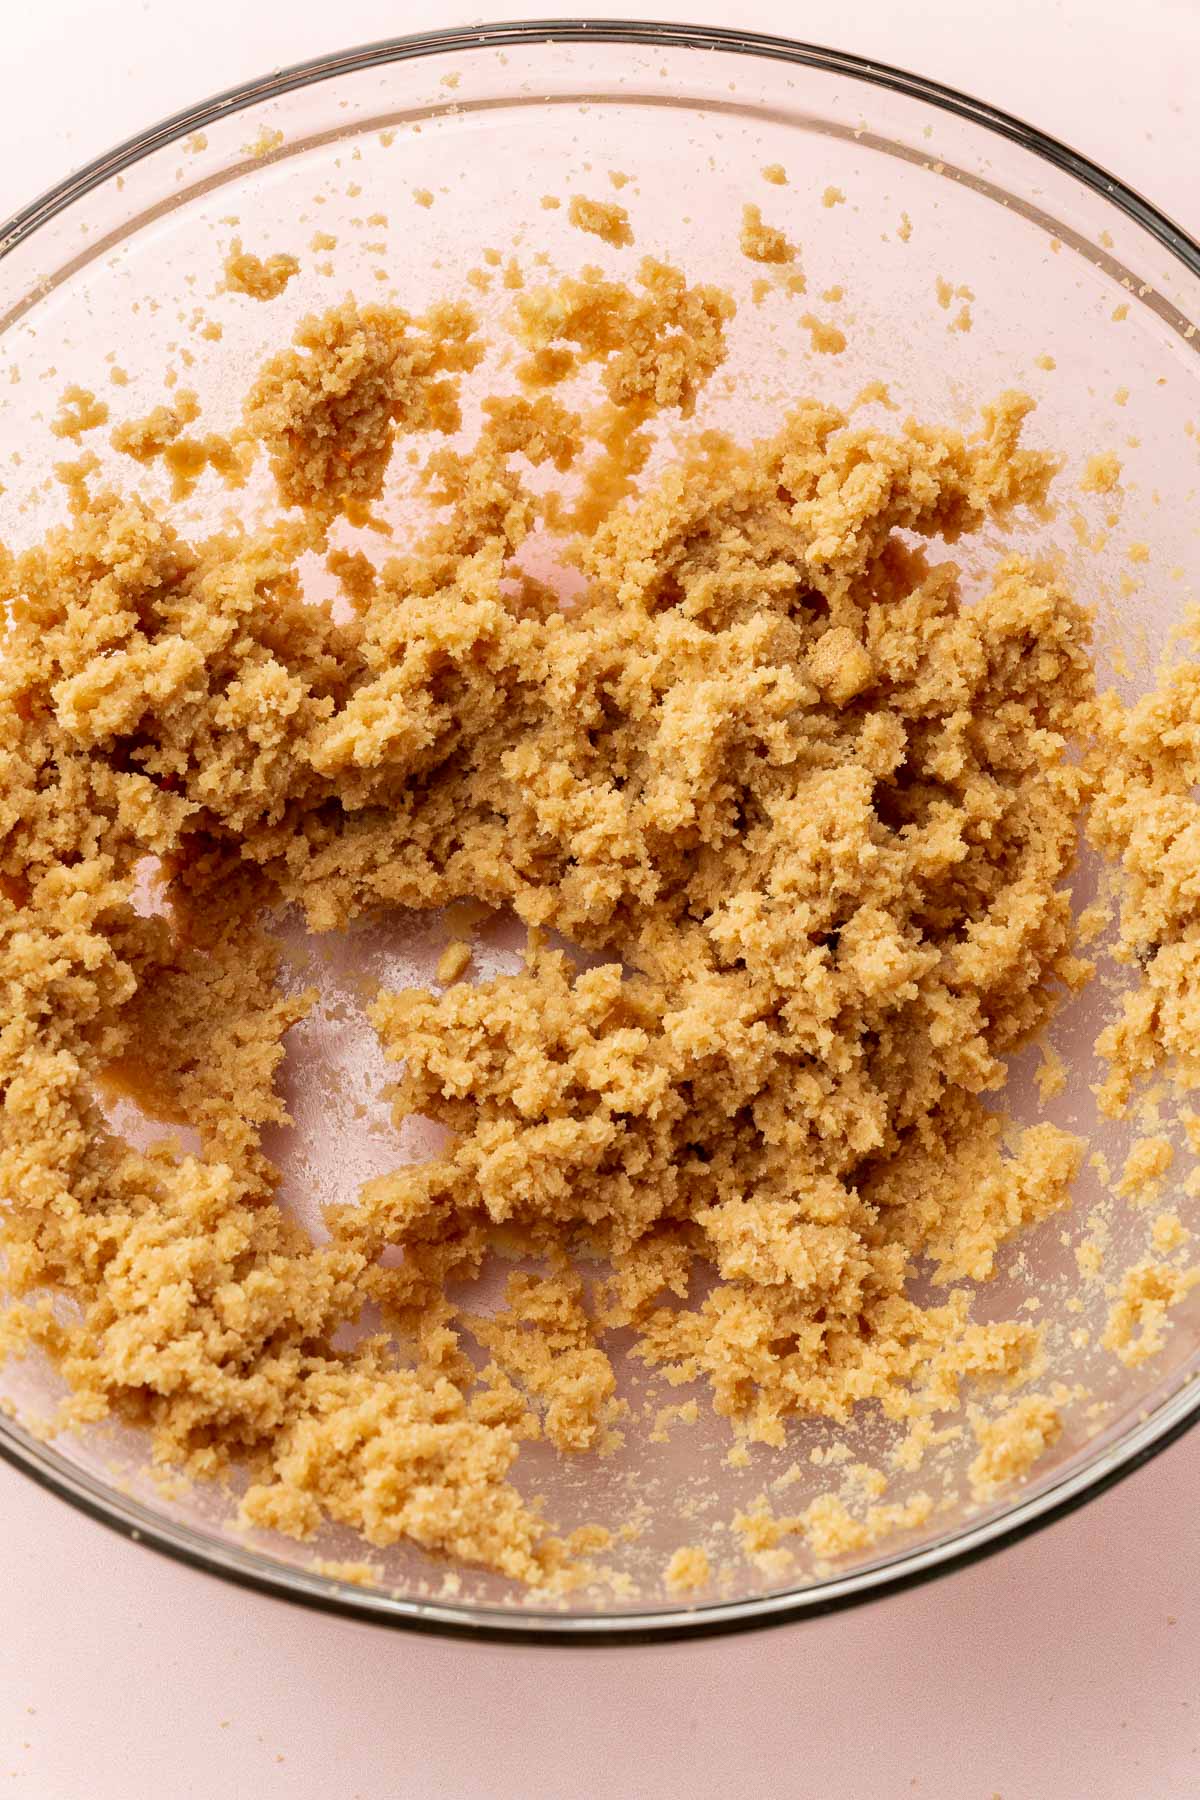
- In a large bowl, cream ¾ cup (170 g) unsalted butter, 1 cup (200 g) brown sugar, and ½ cup (100 g) granulated sugar with an electric mixer for 2-3 minutes, until light and fluffy. Scrape down the sides of the bowl as needed.
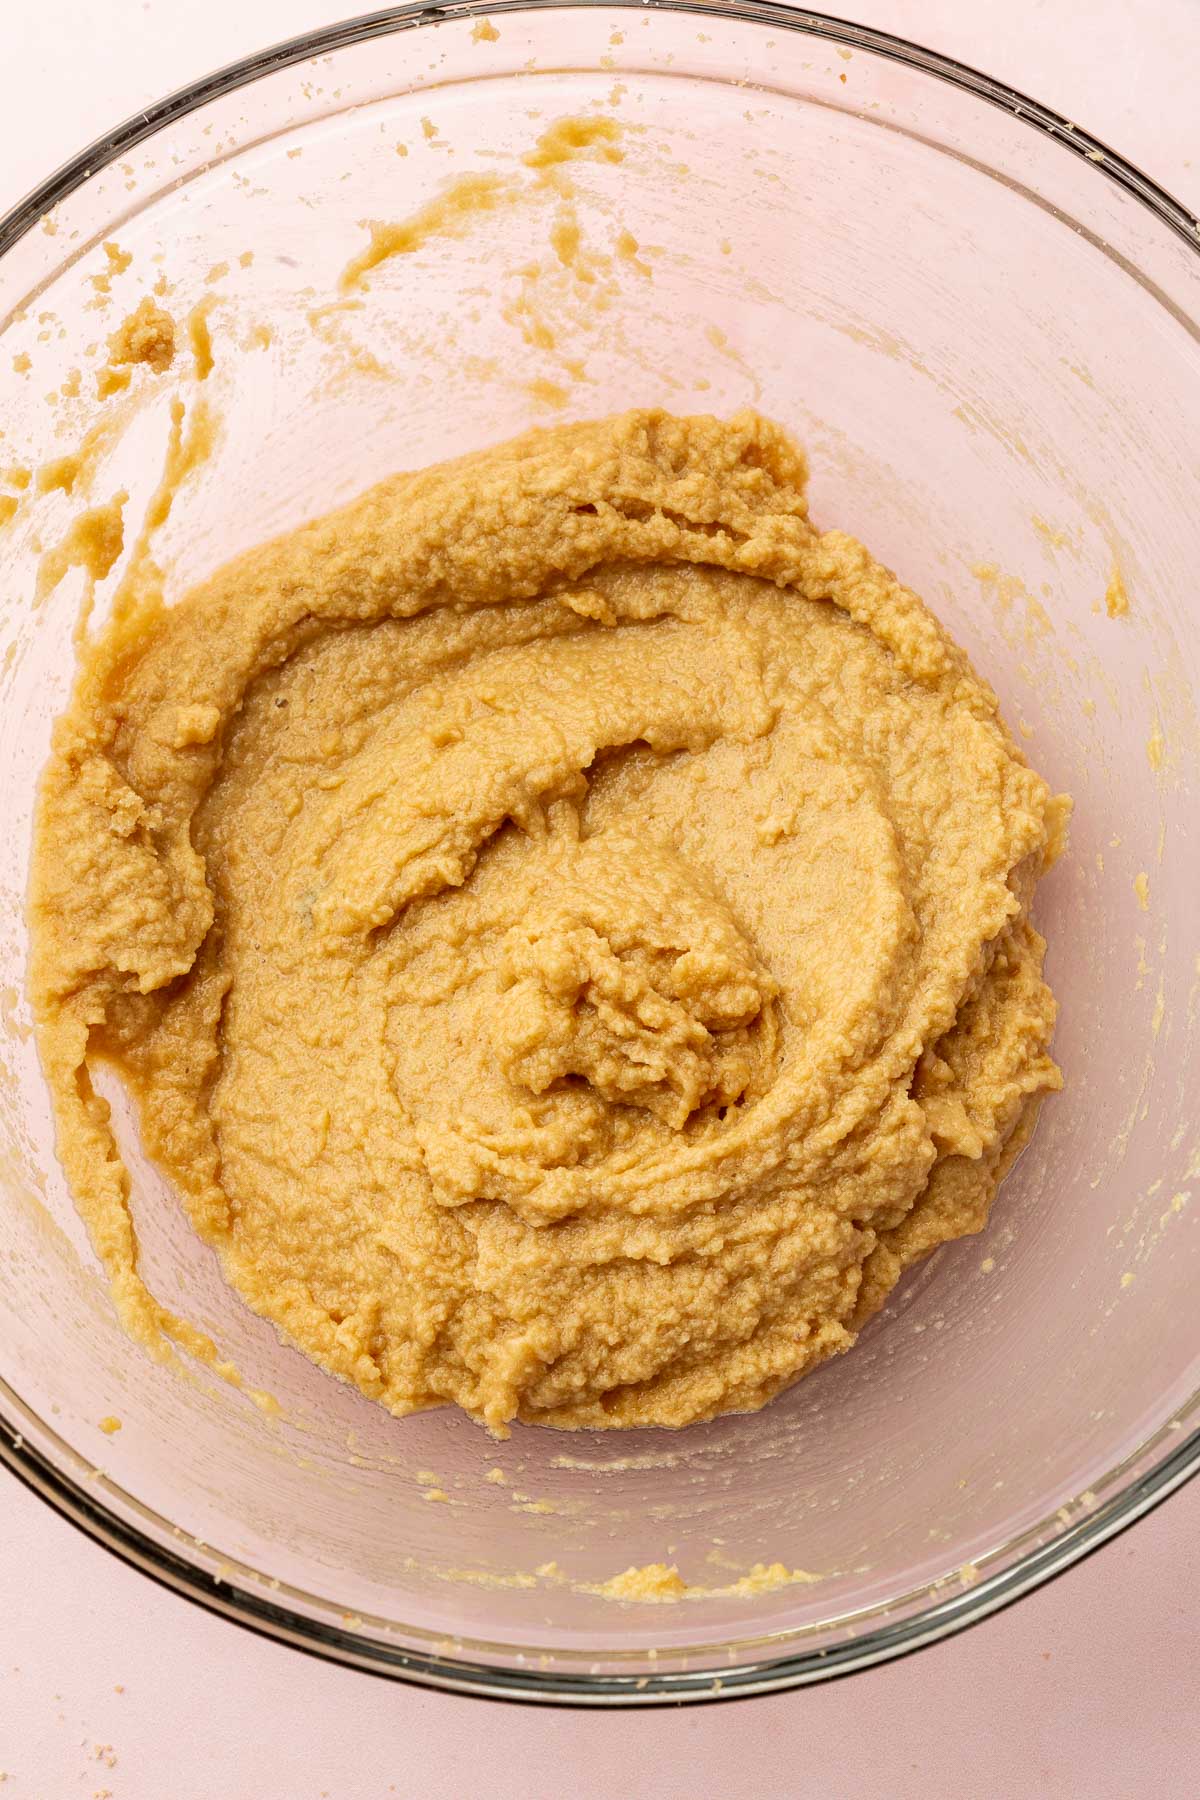
- Add 2 (100 g) large eggs and 1 tablespoon (15 g) vanilla extract. Mix until smooth.
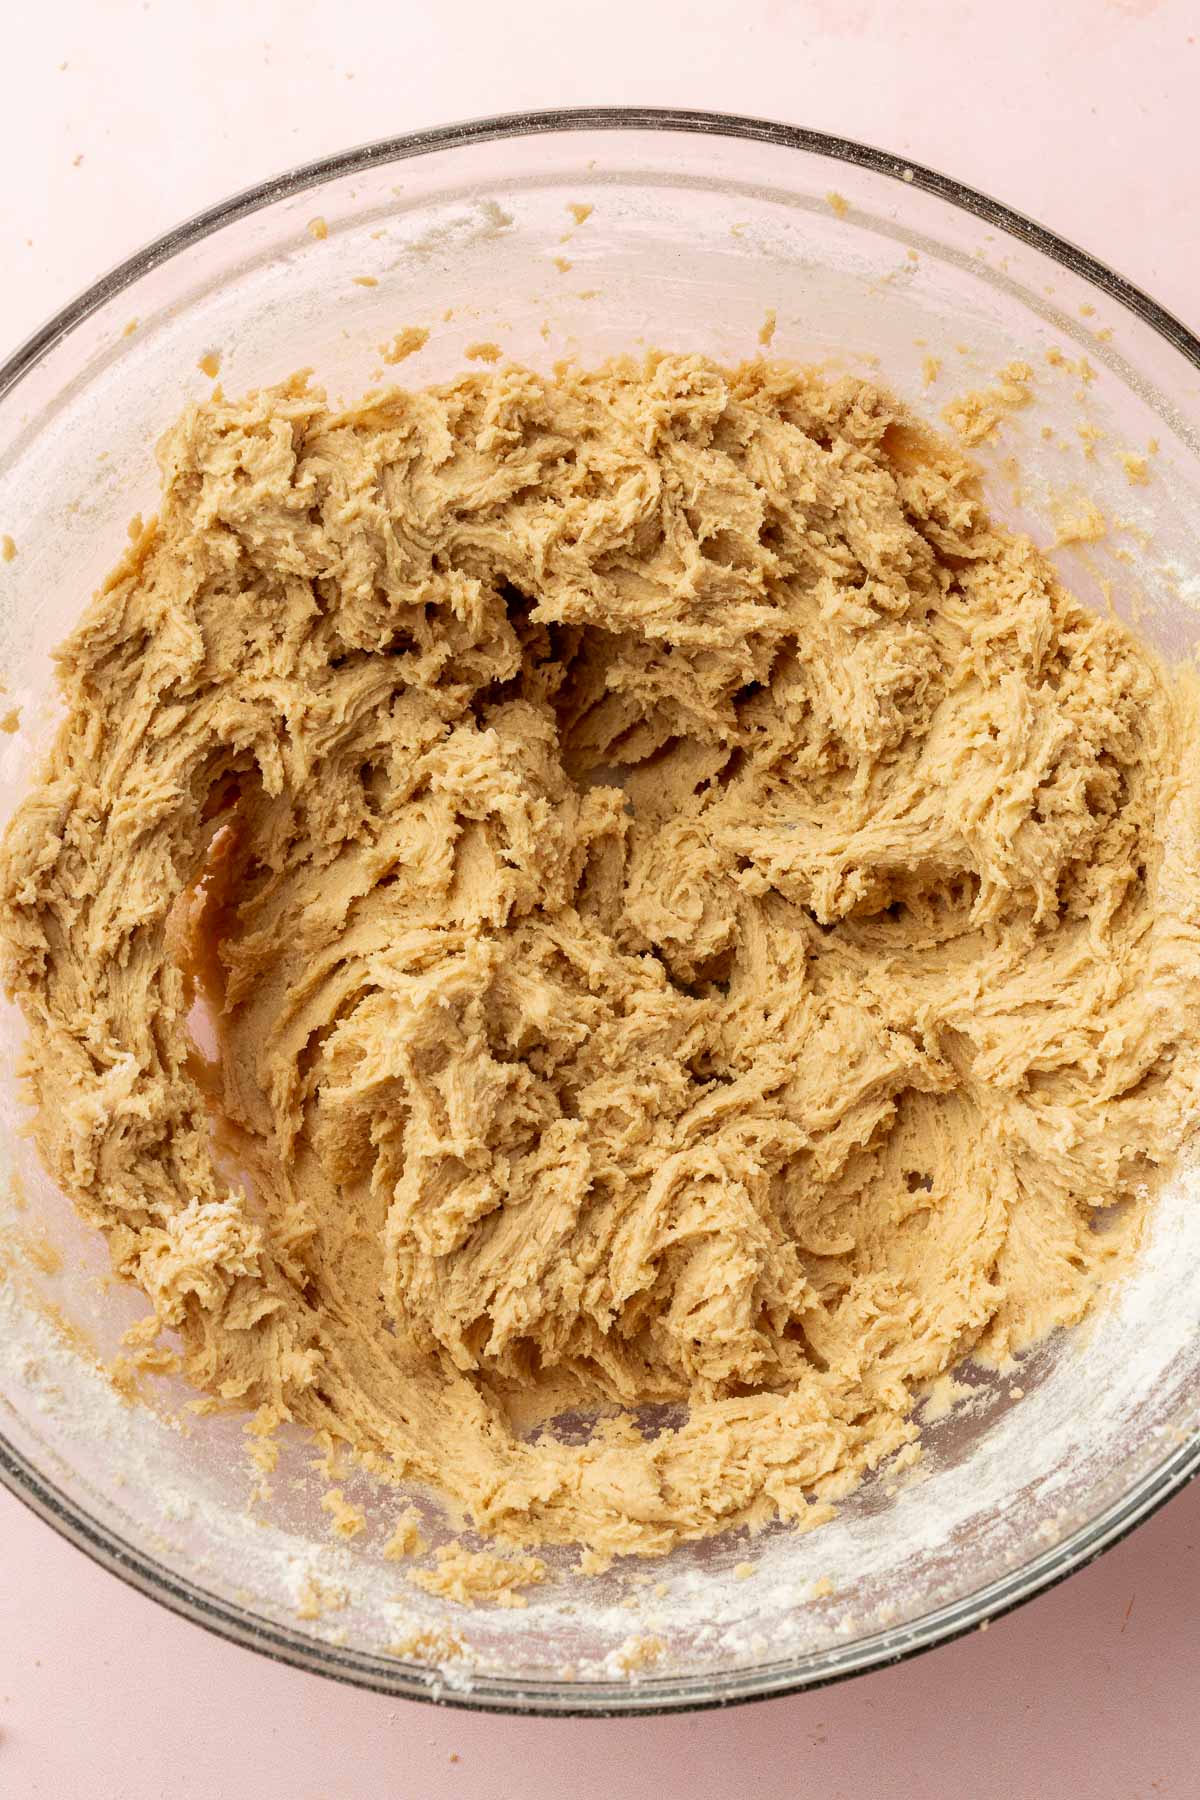
- Add half of the dry ingredients to the butter mixture and stir until just combined. Add the remaining dry ingredients and stir until no streaks of flour remain.
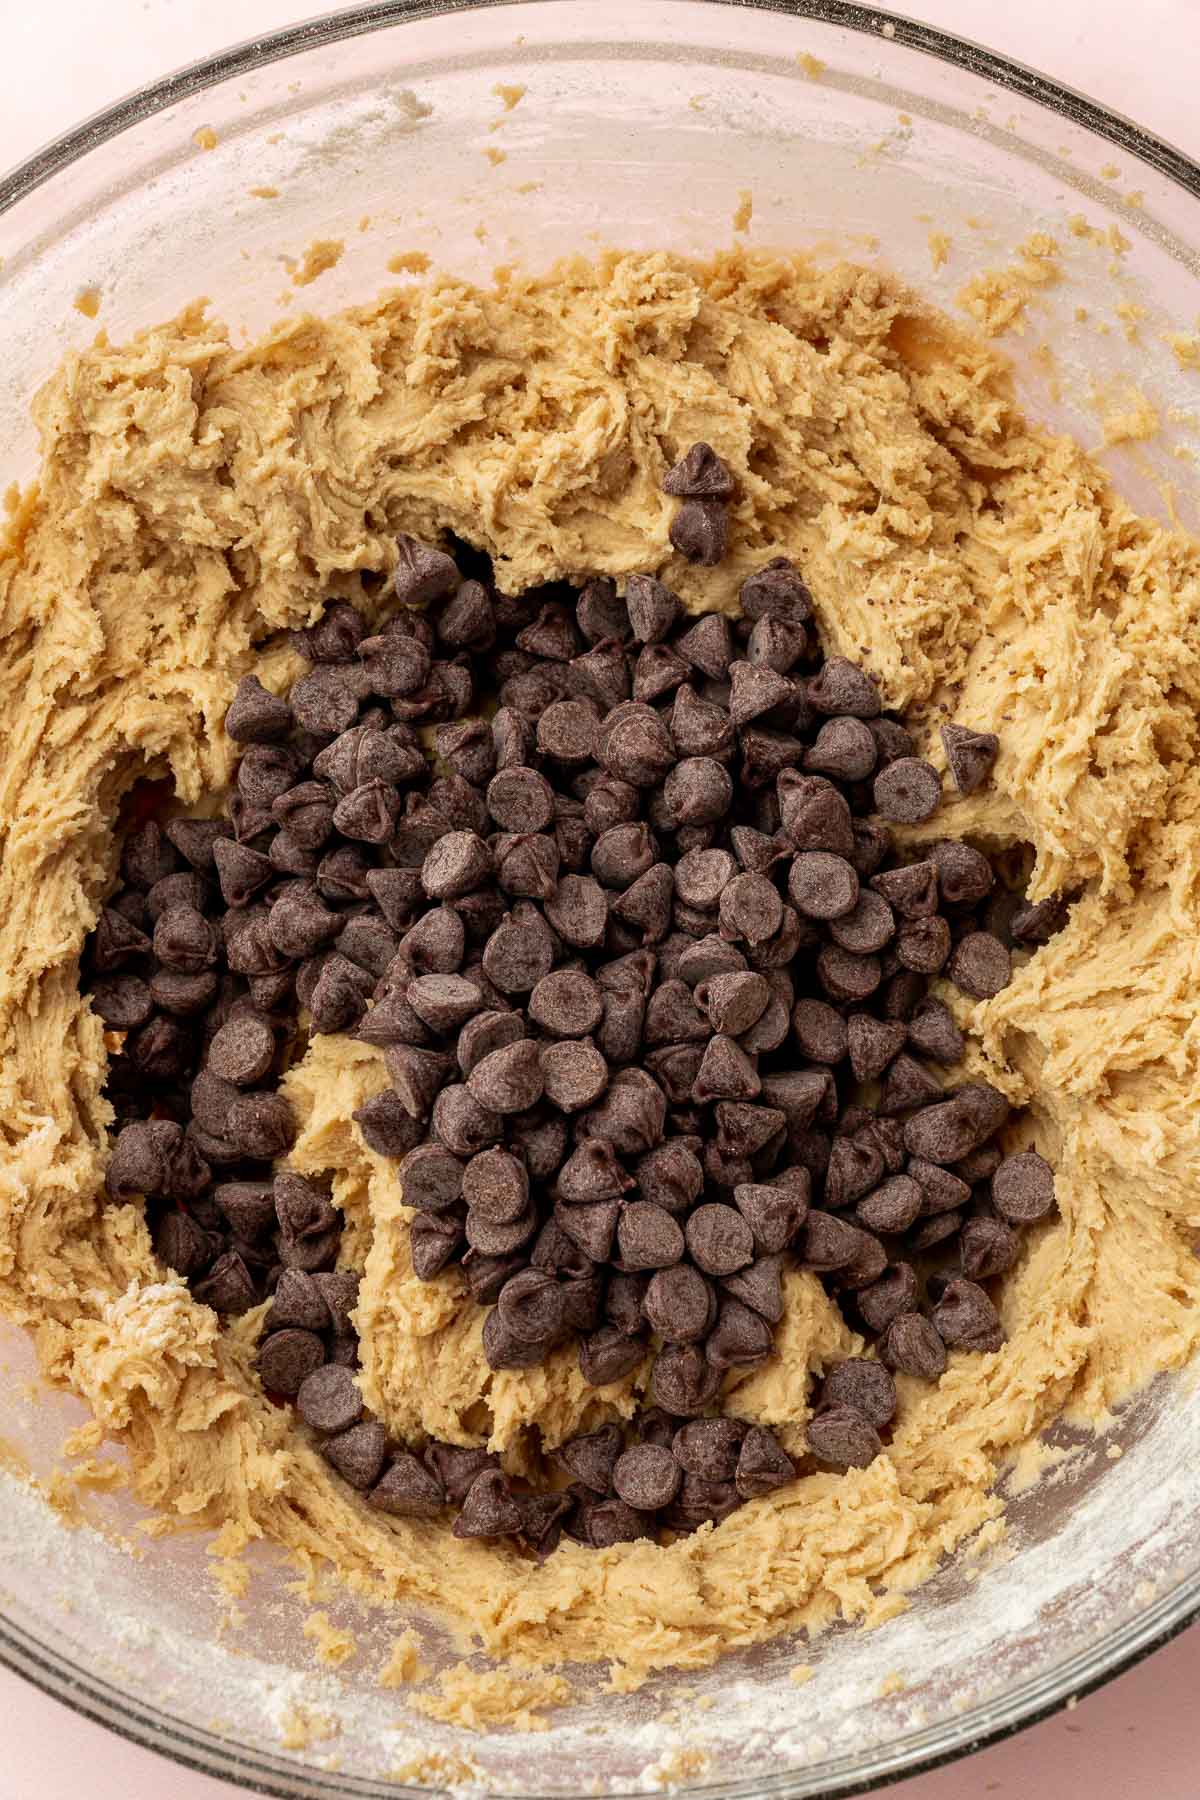
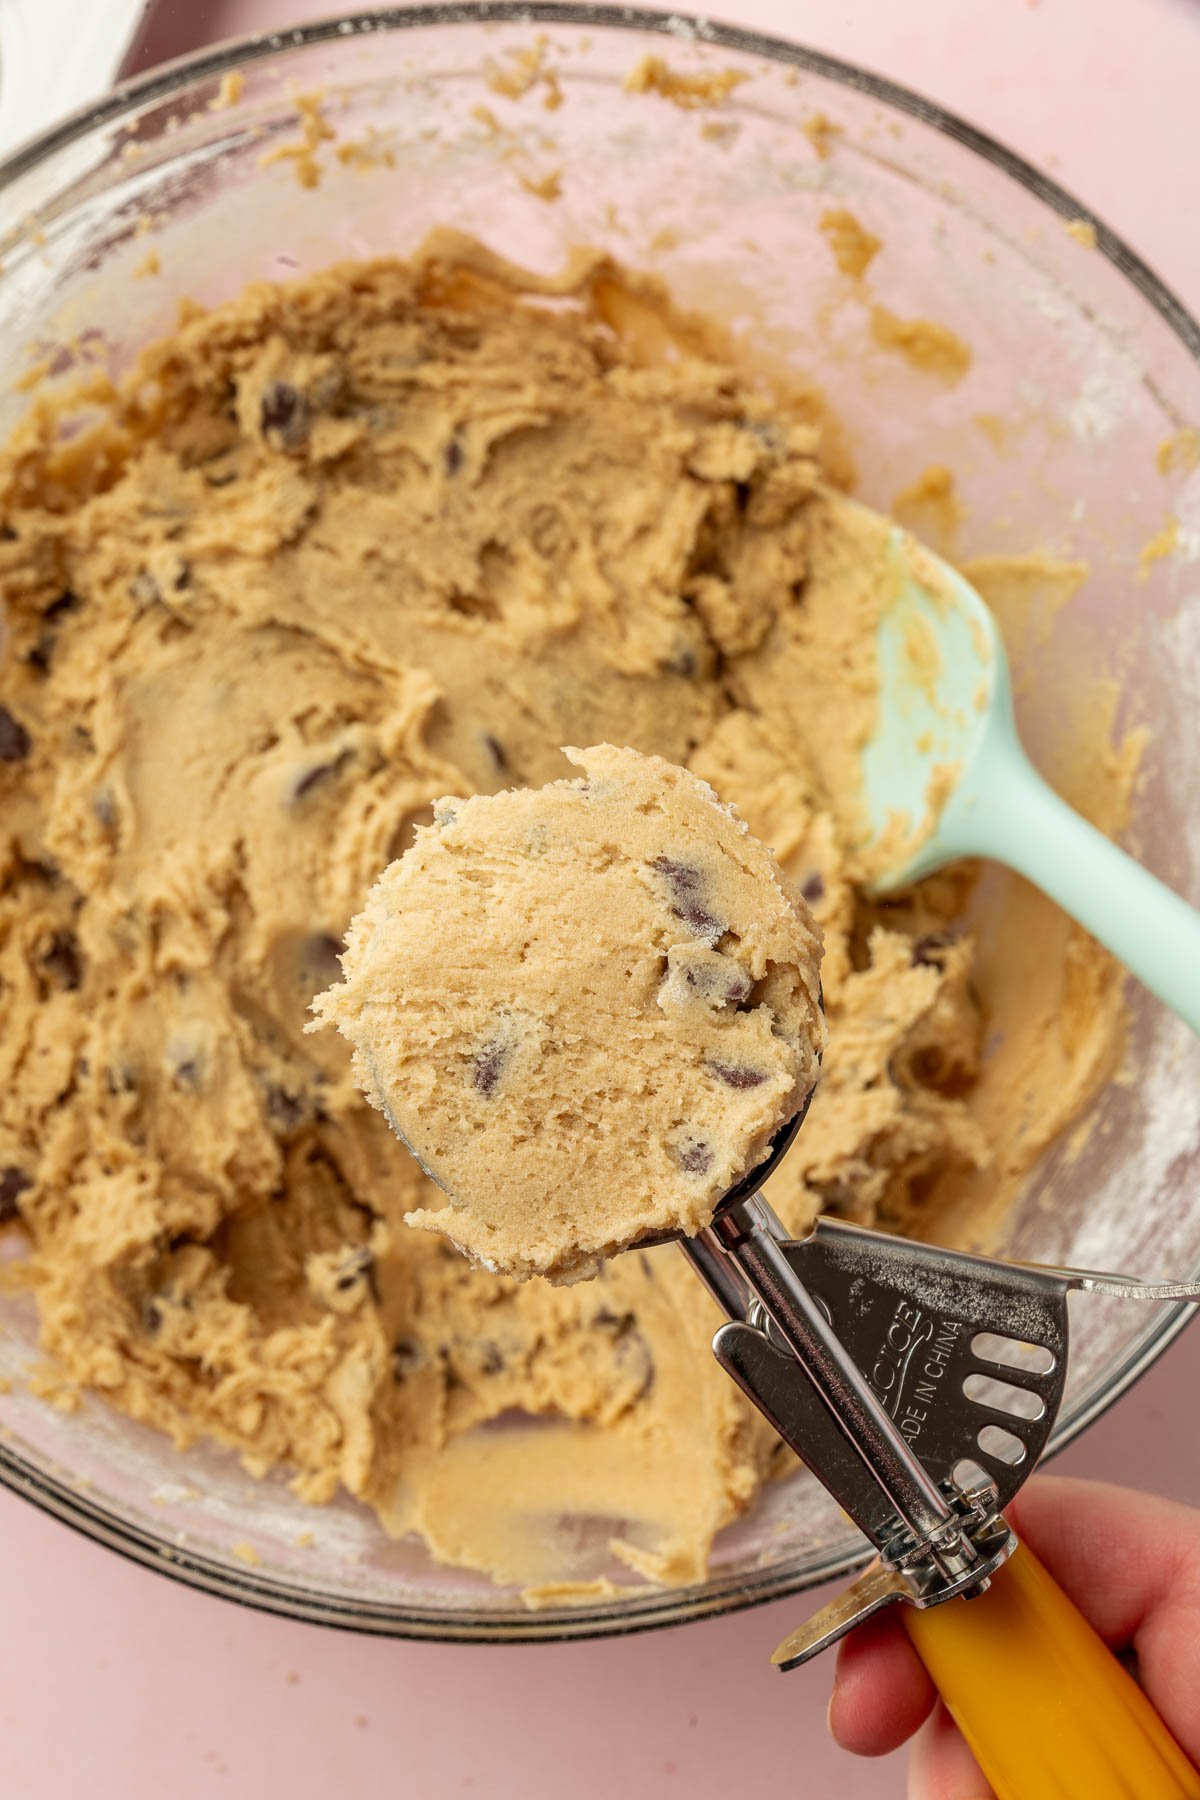
- Fold in 1½ cups (270 g) chocolate chips.
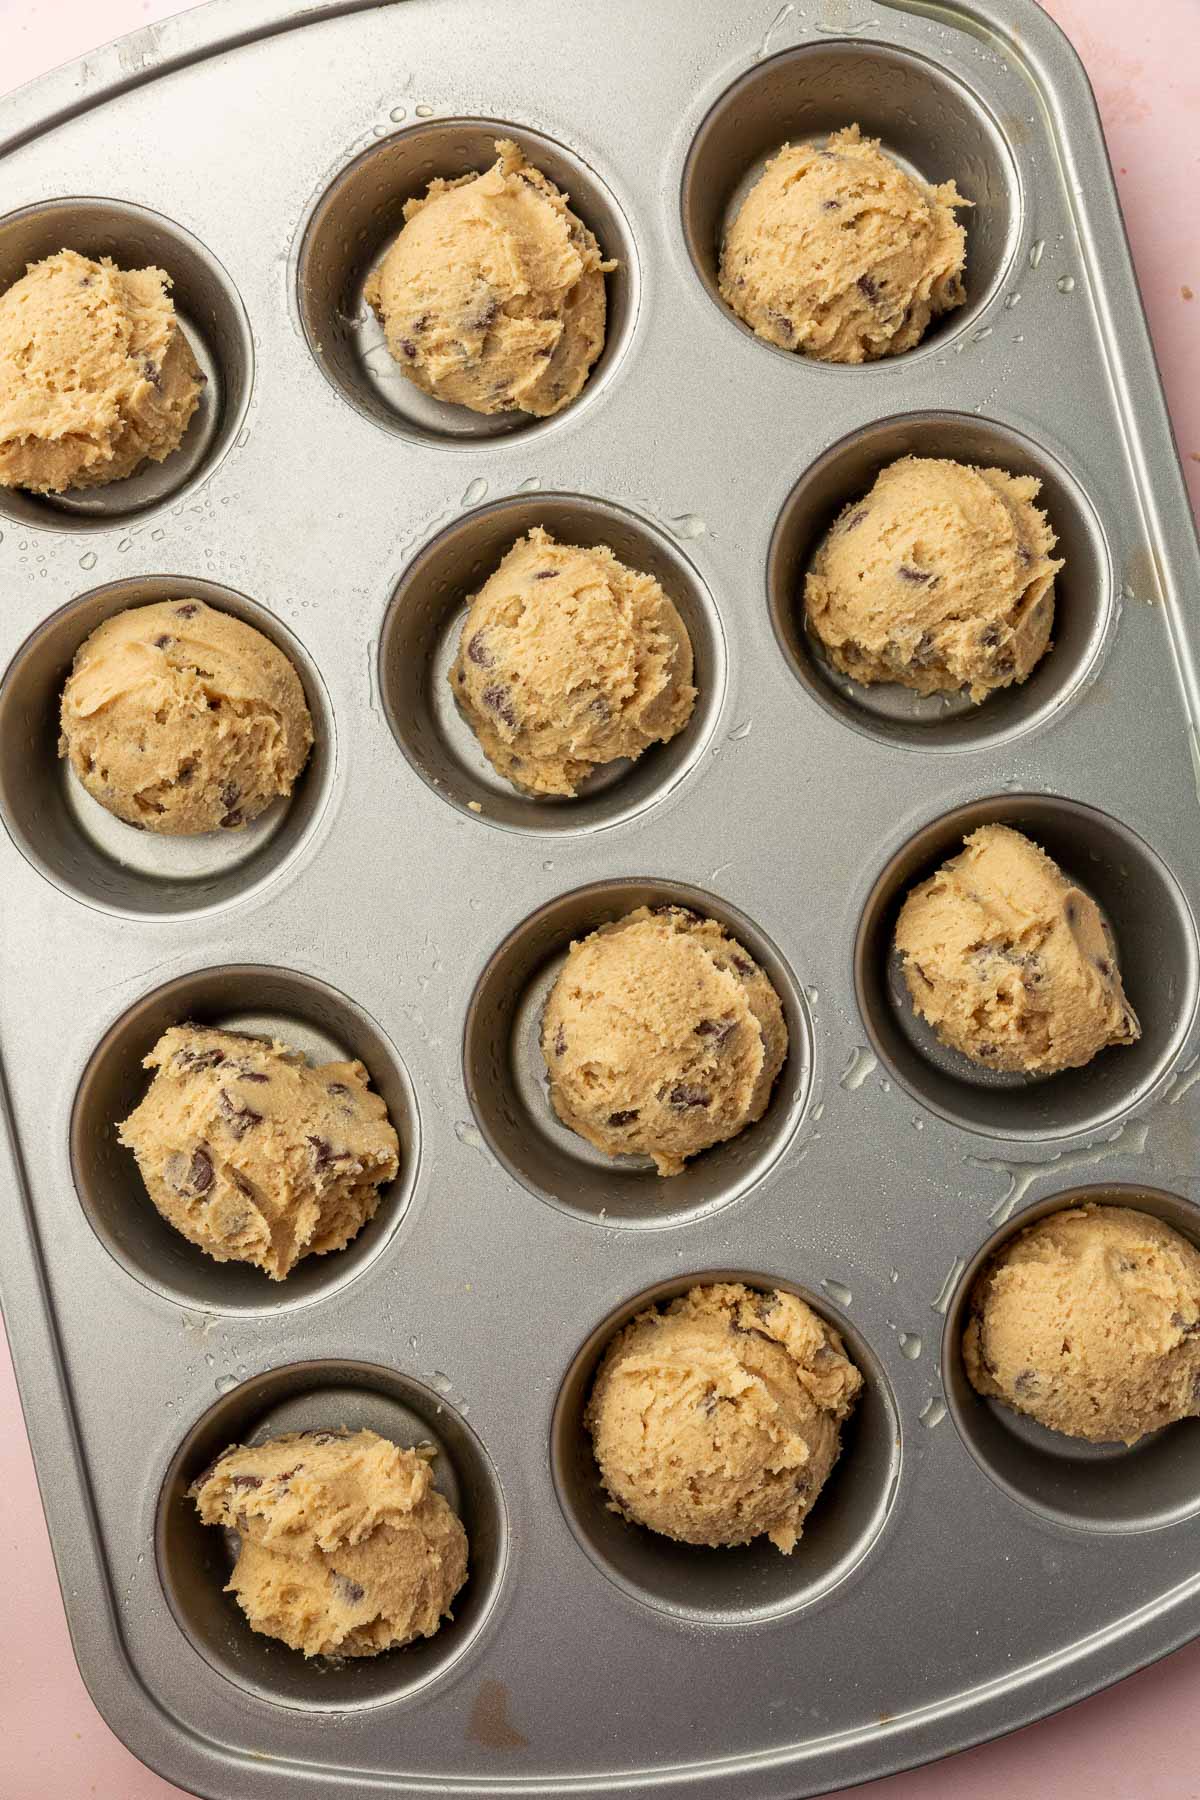
- Scoop the dough into 2-3 tablespoon balls and place one in each greased muffin well. This should fill about 18 cups.
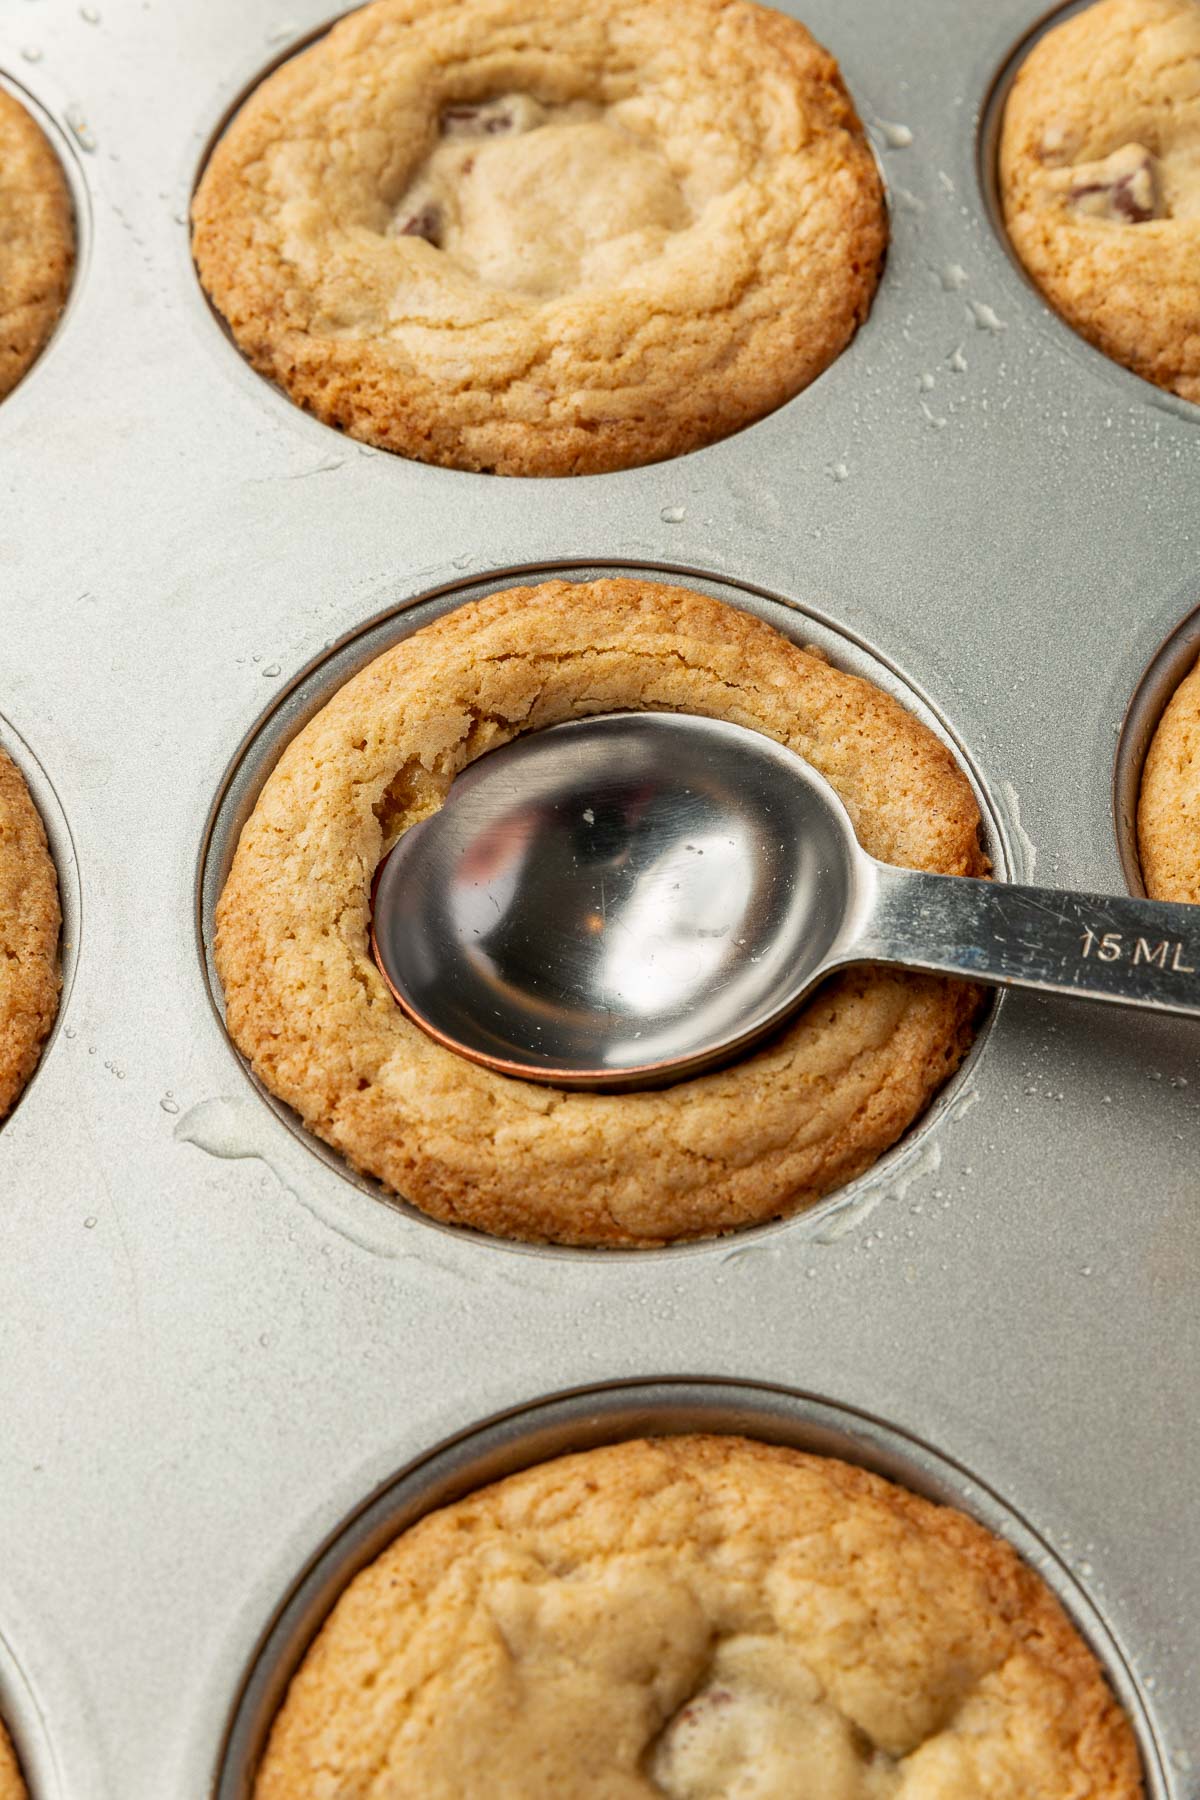
- Bake at 350°F (175°C) for 14-16 minutes, until the edges are golden brown and the centers are set but still slightly soft.
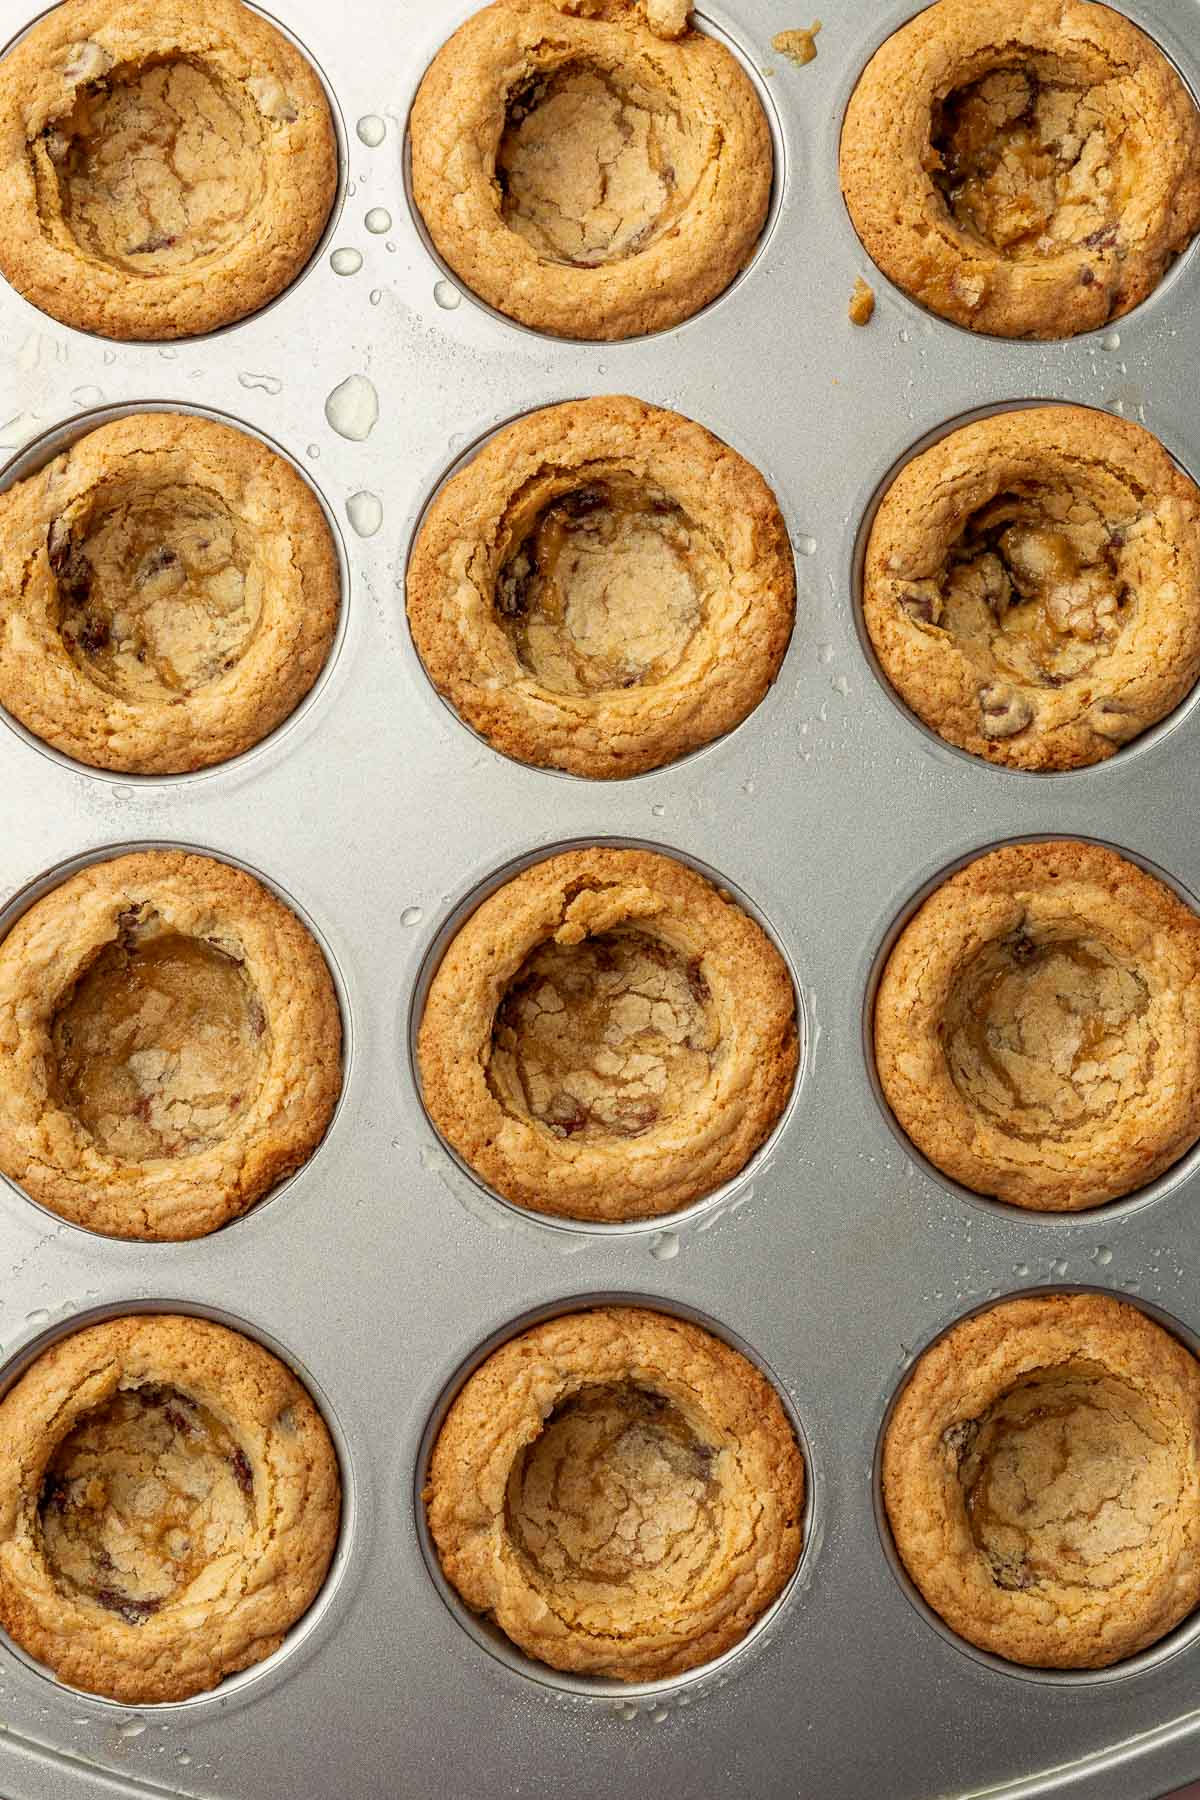
- While the cookies are still warm, use the back of a tablespoon or small rounded object to press an indentation into the center of each cup.
- Let the cookie cups cool in the muffin tin for 10 minutes, then transfer to a wire rack to cool completely before decorating.
- Divide 2 cups (452 g) frosting or buttercream among the cookie cups and top with ¼ cup (40 g) gluten-free rainbow sprinkles.
Notes
- Flour: This recipe was tested with Bob’s Red Mill 1-to-1 Gluten-Free Baking Flour (in the blue bag), which contains xanthan gum. I cannot verify that other brands will work in this recipe.
- Measuring: For best results, weigh your gluten-free flour with a kitchen scale. If using cups, spoon the flour into the measuring cup and level it off with a knife to avoid packing.
- Frosting: Homemade or store-bought frosting both work for this recipe.
- Storage: Store unfrosted cookie cups in an airtight container at room temperature for up to 3 days. If frosted with a cream-based frosting, refrigerate for up to 5 days. Freeze for up to 2 months.