


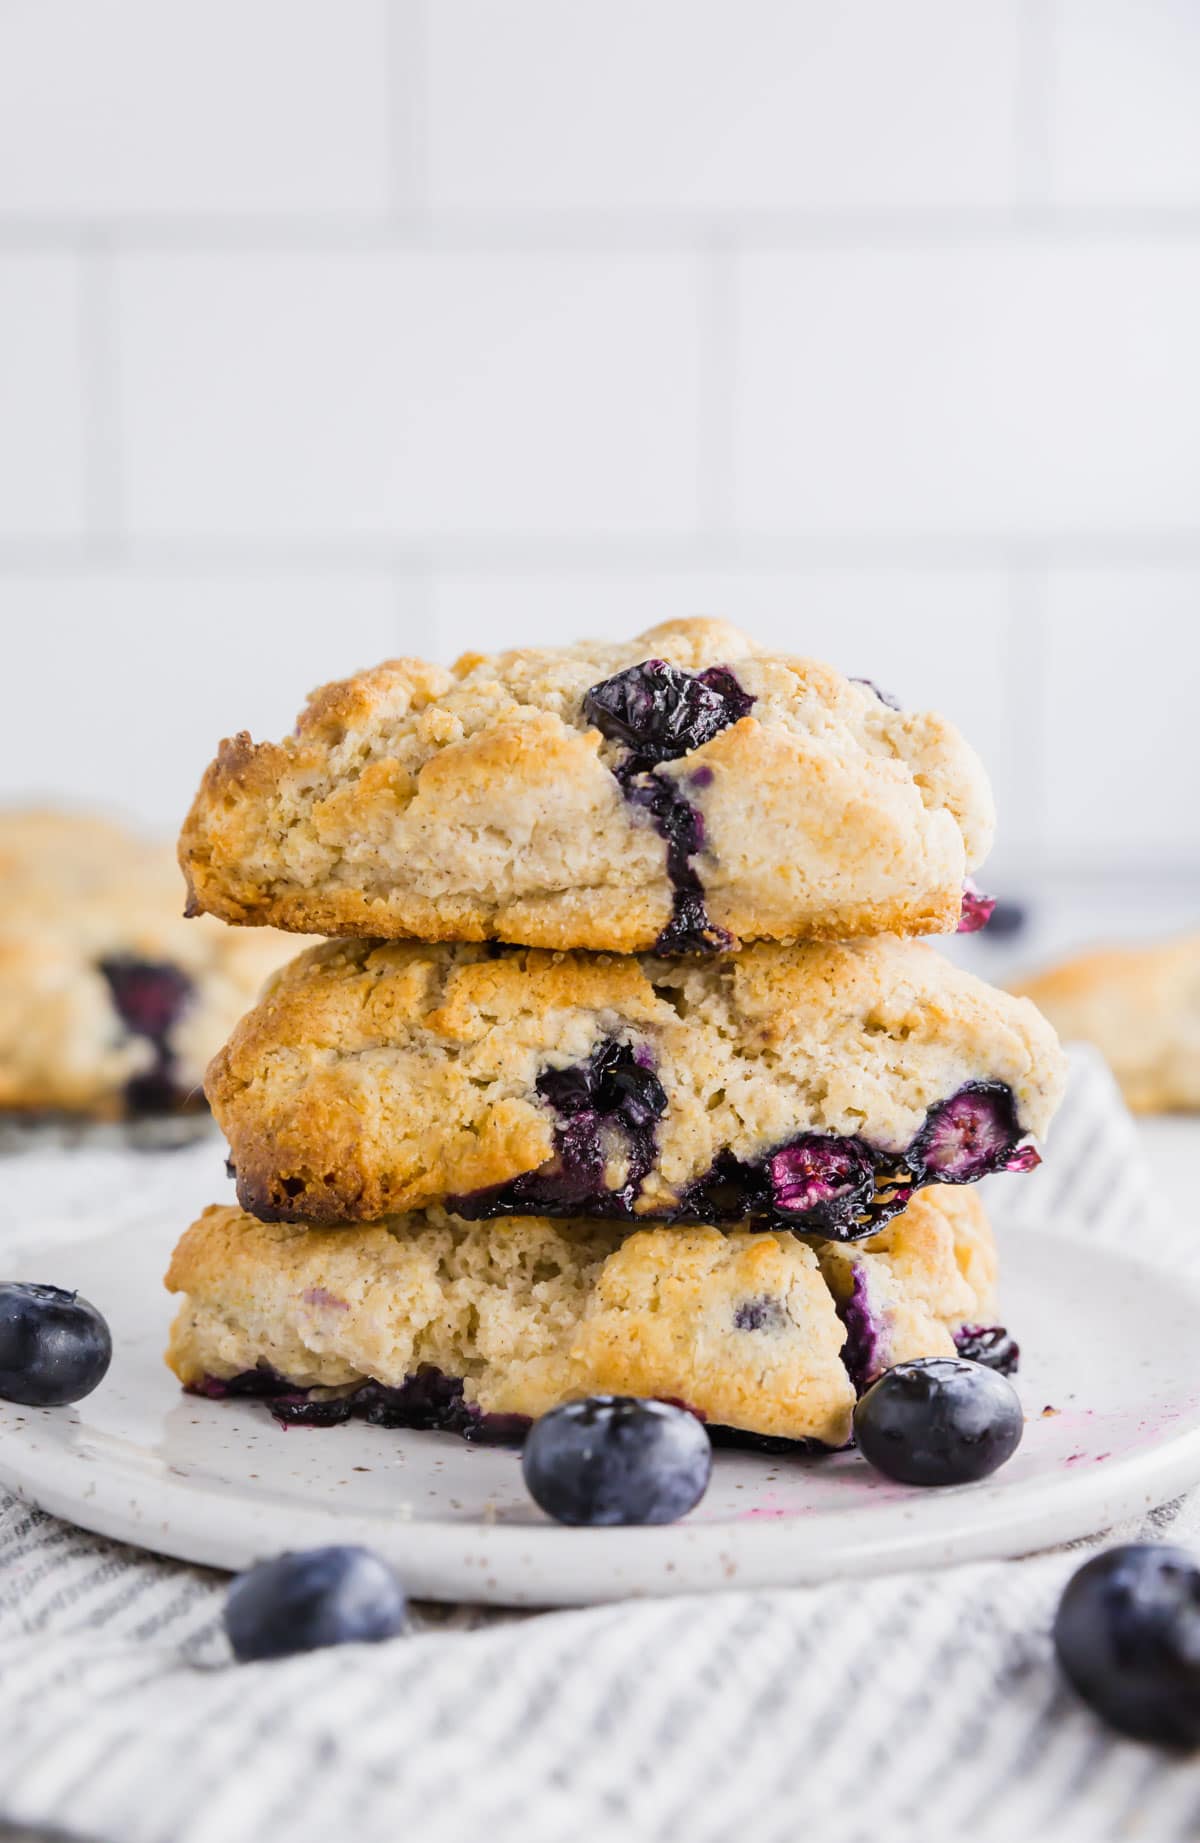
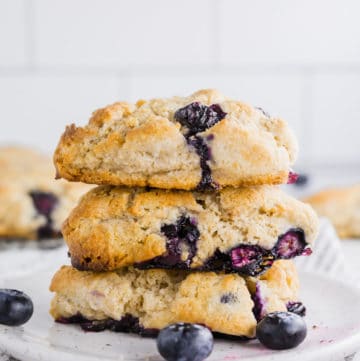
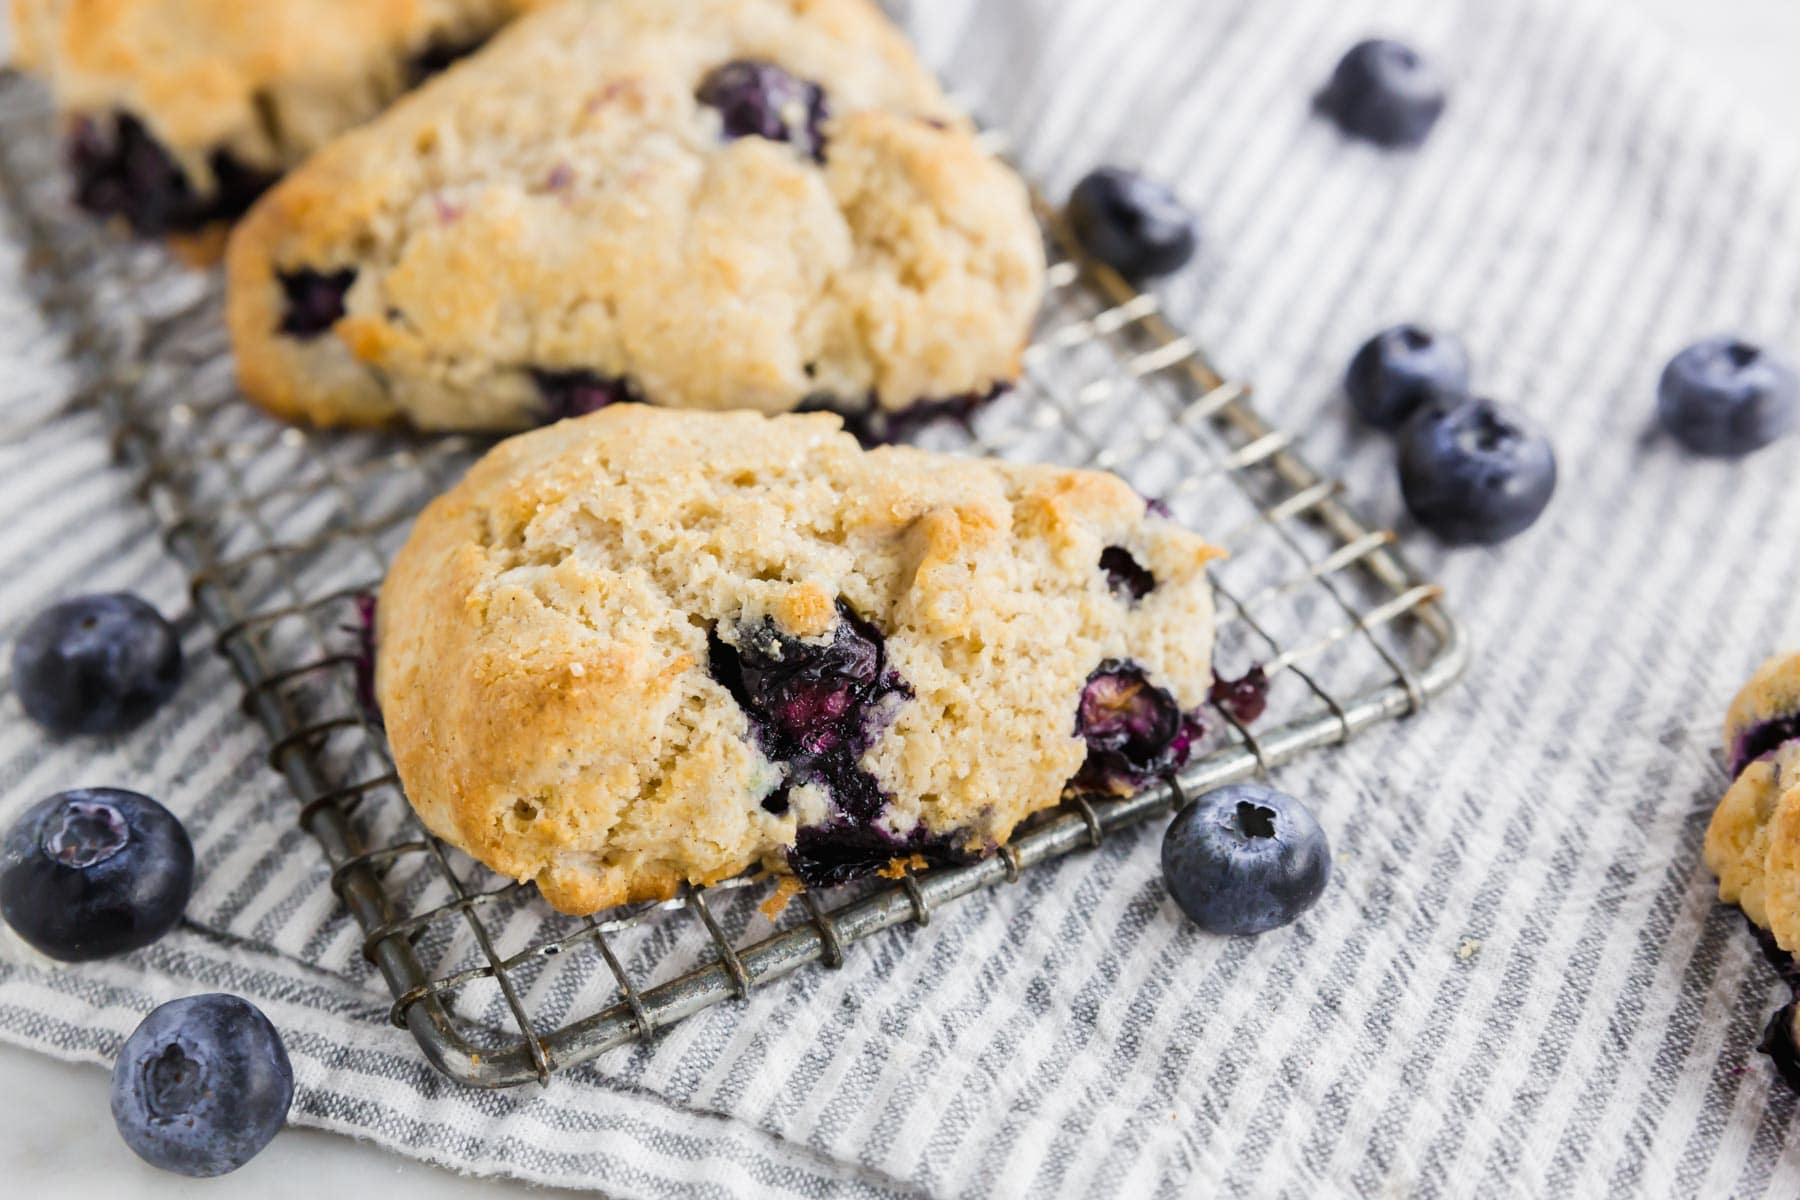
These gluten-free blueberry scones are tender and buttery with crispy golden edges. If you’ve only had dry, crumbly scones before, these will change your mind.
The secret is cold butter. Keeping it frozen until you cut it into the flour creates those flaky layers and pockets of butter throughout.
I first made this recipe while studying abroad in Denmark. The only oven was in the basement common room, and it was closed almost the entire summer. When it finally opened the last week, my friend Chris and I wasted no time. We made scones with tiny wild blueberries his friend had flown in from Iceland.
I’ve been making this recipe for 15 years now, but that first batch with those little Icelandic berries is still the one I think about.
Ingredient notes
- Gluten-Free Flour Blend – Use a 1-to-1 blend like Bob’s Red Mill (blue bag) or King Arthur Measure for Measure Gluten-Free Flour.
- Butter – Must be very cold. I freeze mine, then cube it right before using.
- Blueberries – Fresh is best, but frozen works. Rinse frozen berries and pat dry, then toss with a little flour to keep them from bleeding into the dough.
- Turbinado Sugar – The coarse sugar on top gives the scones that bakery-style crunch. Regular granulated sugar won’t give you the same texture.
Why I Include Metric Measurements
Weighing your flour is the most reliable way to get consistent scones every time. Too much flour is the #1 reason scones turn out dense. A kitchen scale takes the guesswork out completely.
Expert Tips
FAQs
Yes. Rinse, pat dry, and toss with a little flour before folding into the dough to reduce bleeding.
Yes. Slice into wedges, freeze on a baking sheet for an hour, then transfer to a freezer bag. Keeps for 2 months.
Warm, with butter or jam. Reheat in the oven or toaster oven to keep the edges crispy.
Storage instructions
Scones are best fresh from the oven. Store leftovers in a freezer bag and freeze for up to 2 months. Reheat from frozen at 350°F for 10-15 minutes until warm and crispy. Room temperature storage isn’t ideal since they lose their crisp edges within a day.
Serving Suggestions
These are best warm with butter or a little jam. I like them alongside eggs and fresh fruit for a full brunch spread, or just on their own with coffee. If you’re feeding a crowd, they go well with Gluten-Free Cinnamon Rolls, Gluten-Free Cottage Cheese Breakfast Biscuits, or Gluten-Free Coffee Cake.
Gluten-Free Blueberry Scones
Ingredients
For the Scones:
- 2 cups (280 g) gluten-free flour blend - I used Bob's Red Mill 1-to-1 Gluten-Free Baking Flour (in the blue bag) which contains xanthan gum
- 1/2 cup (100 g) granulated sugar
- 1 tablespoon baking powder
- 1/2 teaspoon ground cinnamon
- 1/2 teaspoon salt
- 6 tablespoons (84 g) unsalted butter - frozen and cubed
- 1/2 cup (122 g) whole milk - cold, plus additional as needed up to 3/4 cup (183g) total
- 1 teaspoon vanilla extract
- 1 cup (148 g) fresh blueberries - or frozen, rinsed and patted dry
For Topping:
- 1 tablespoon (14 g) unsalted butter - melted
- 1 teaspoon turbinado sugar - or other coarse sugar
**Use the toggle button above to turn the instruction photos on and off!
Instructions
- Preheat oven to 425°F. Line a baking sheet with parchment paper.
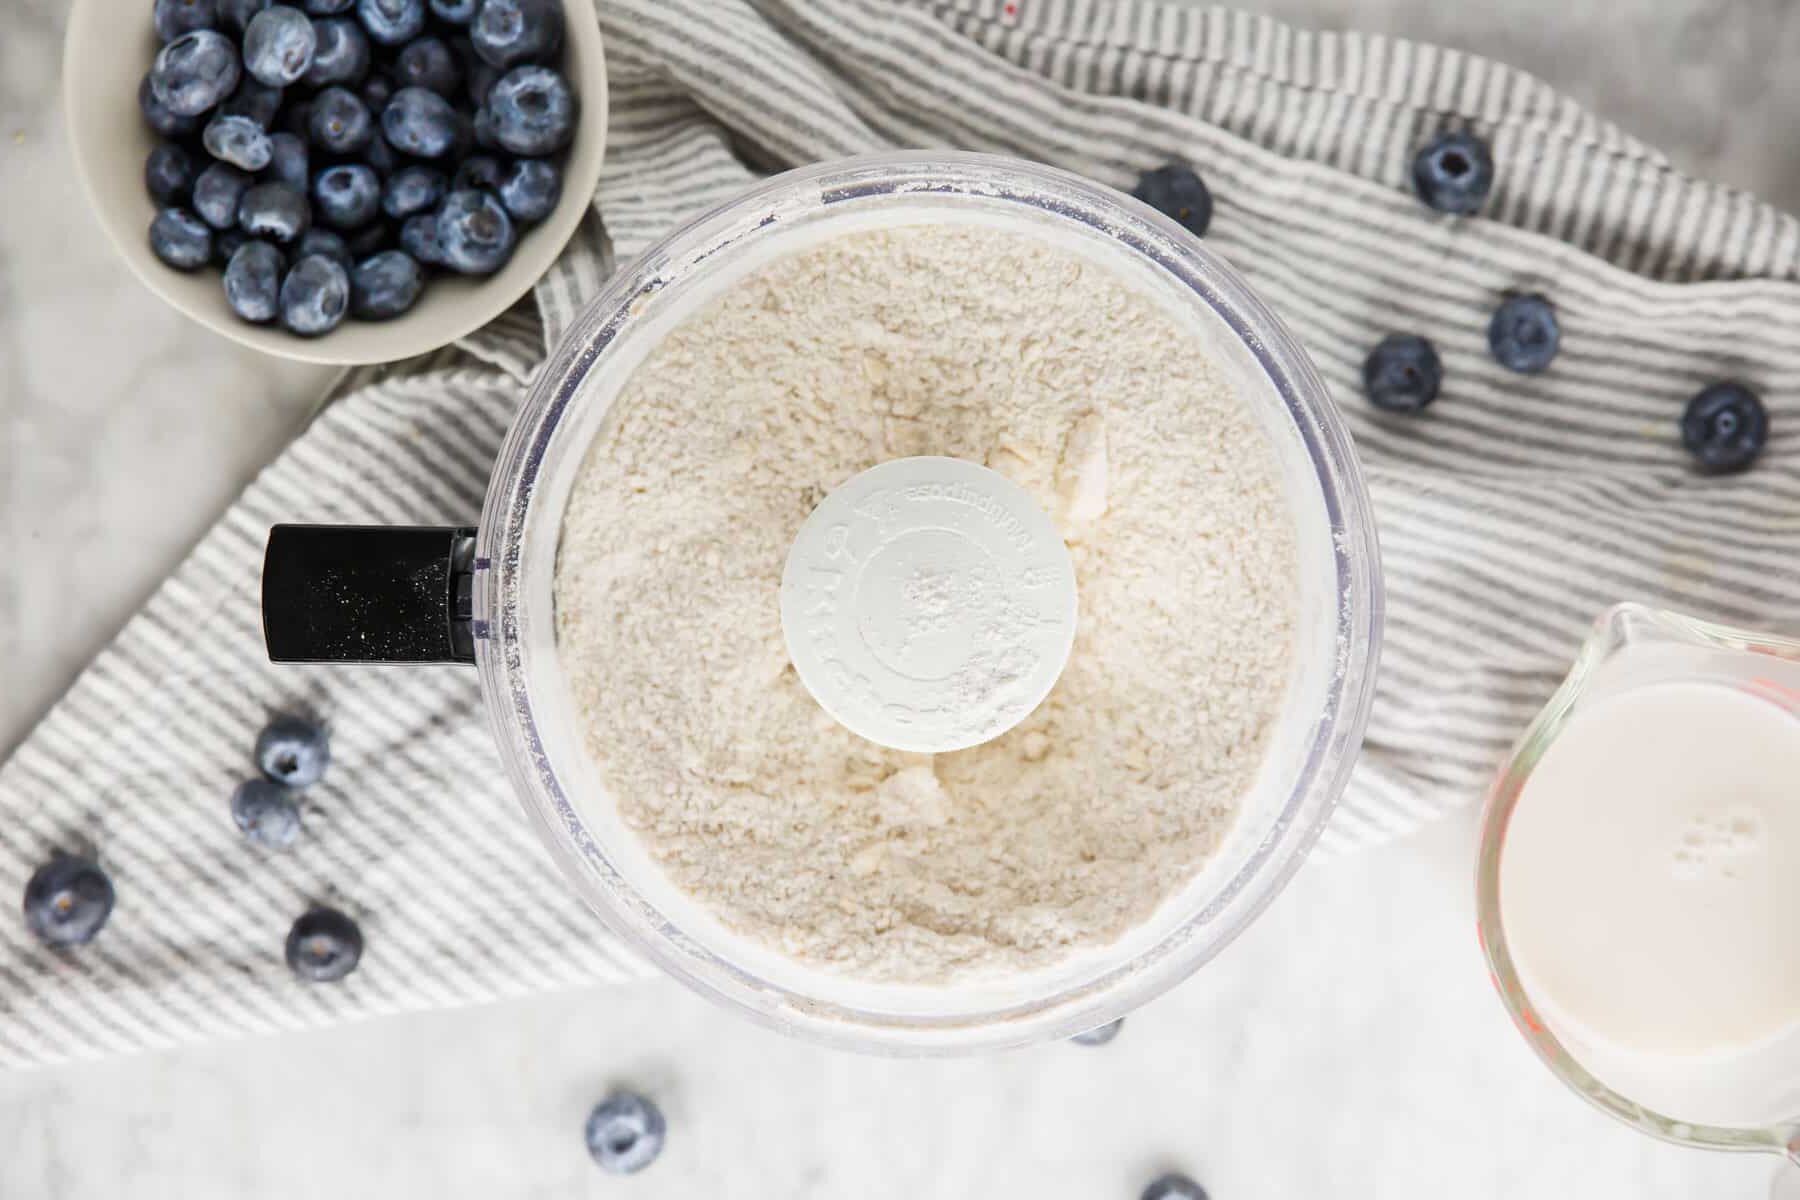
- In a food processor, combine 2 cups (280 g) gluten-free flour blend, 1/2 cup (100 g) granulated sugar, 1 tablespoon baking powder, 1/2 teaspoon ground cinnamon, and 1/2 teaspoon salt. Pulse to combine.

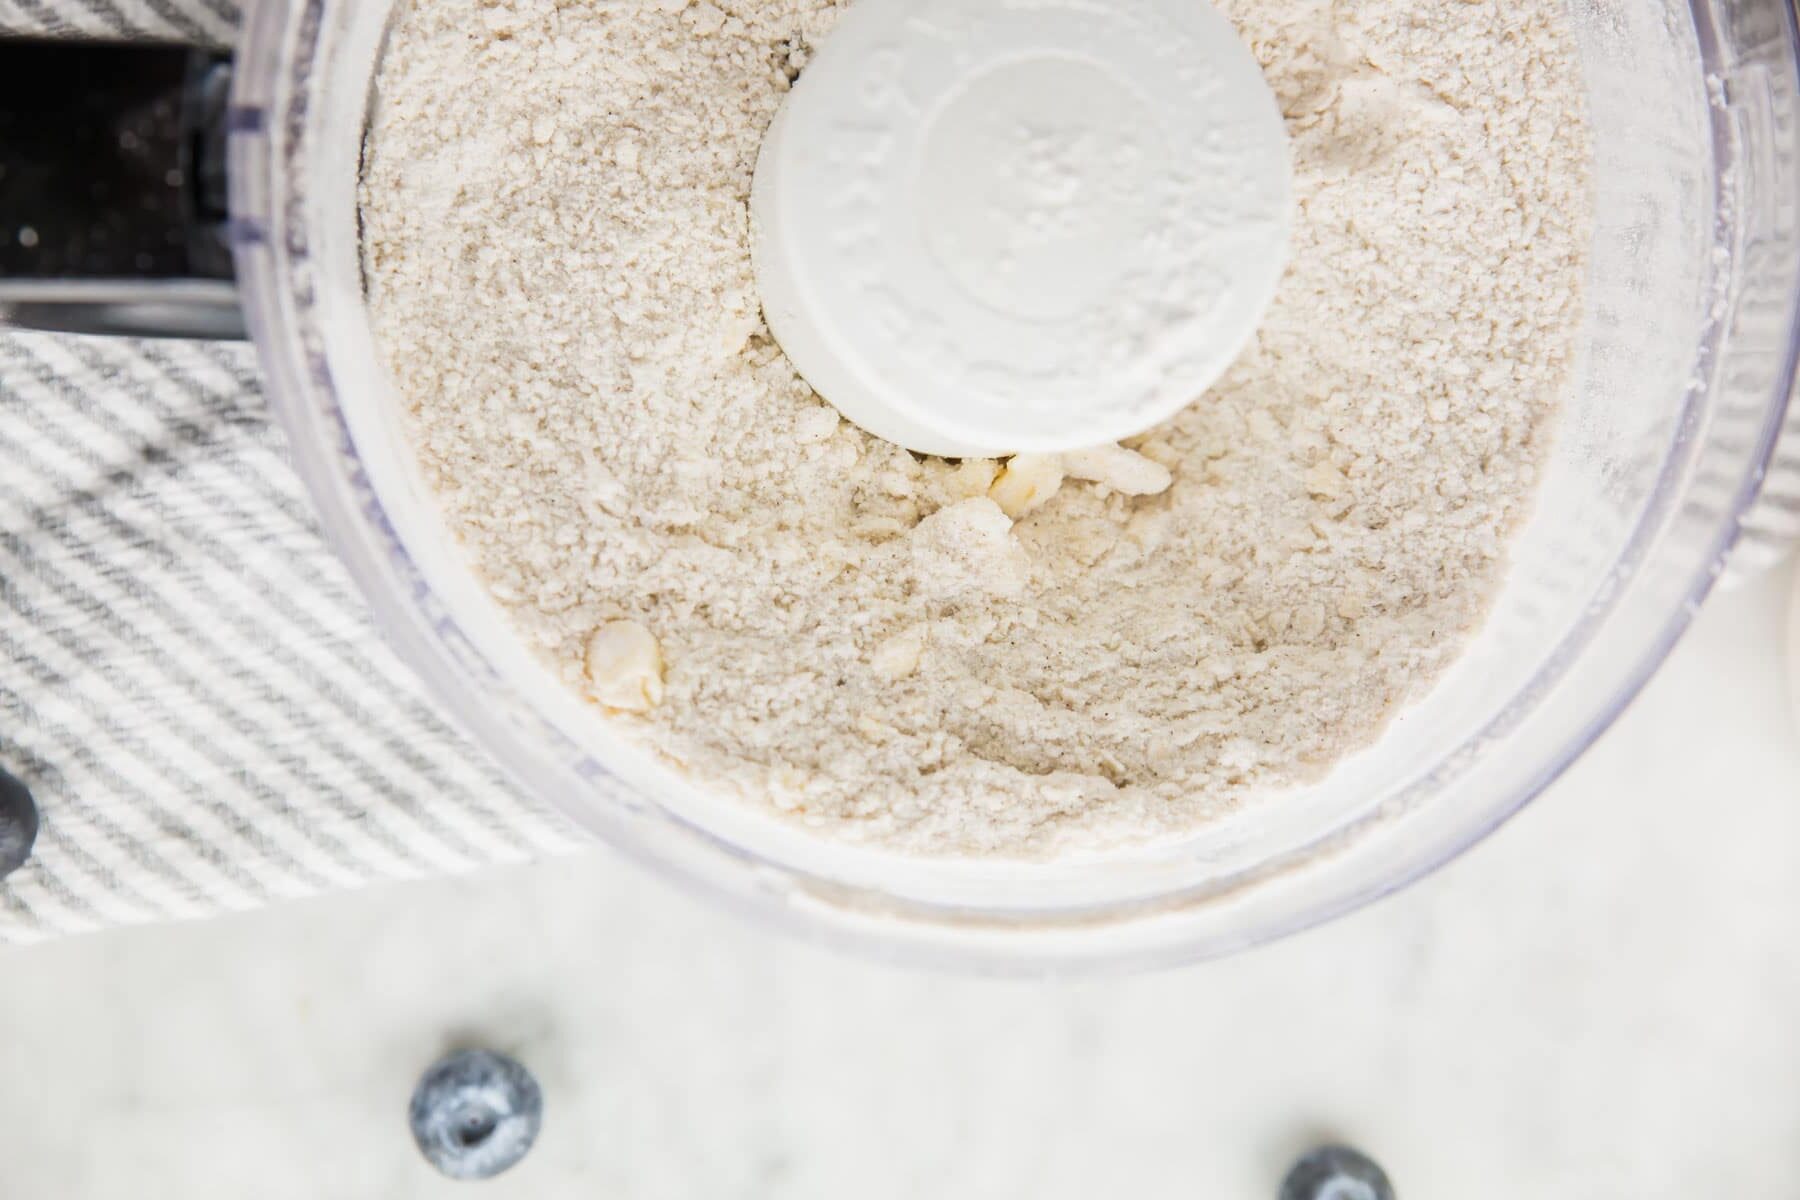
- Add 6 tablespoons (84 g) unsalted butter and pulse 10-15 times, until butter is pea-sized. Do not over mix. Transfer the flour mixture to a large bowl.
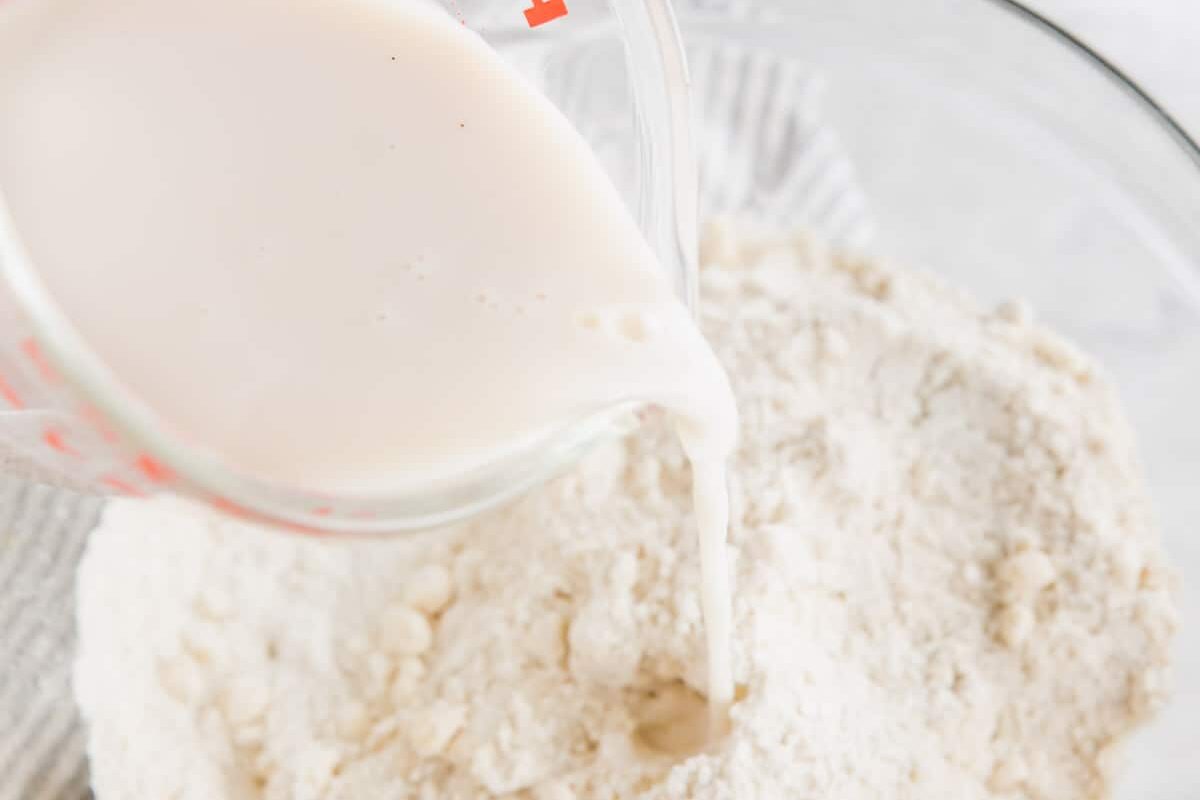
- Add 1 teaspoon vanilla extract and 1/2 cup (122 g) whole milk. Fold with a spatula until dough just comes together. If too dry, add more milk 1 tablespoon at a time. Dough should hold together but not be wet.

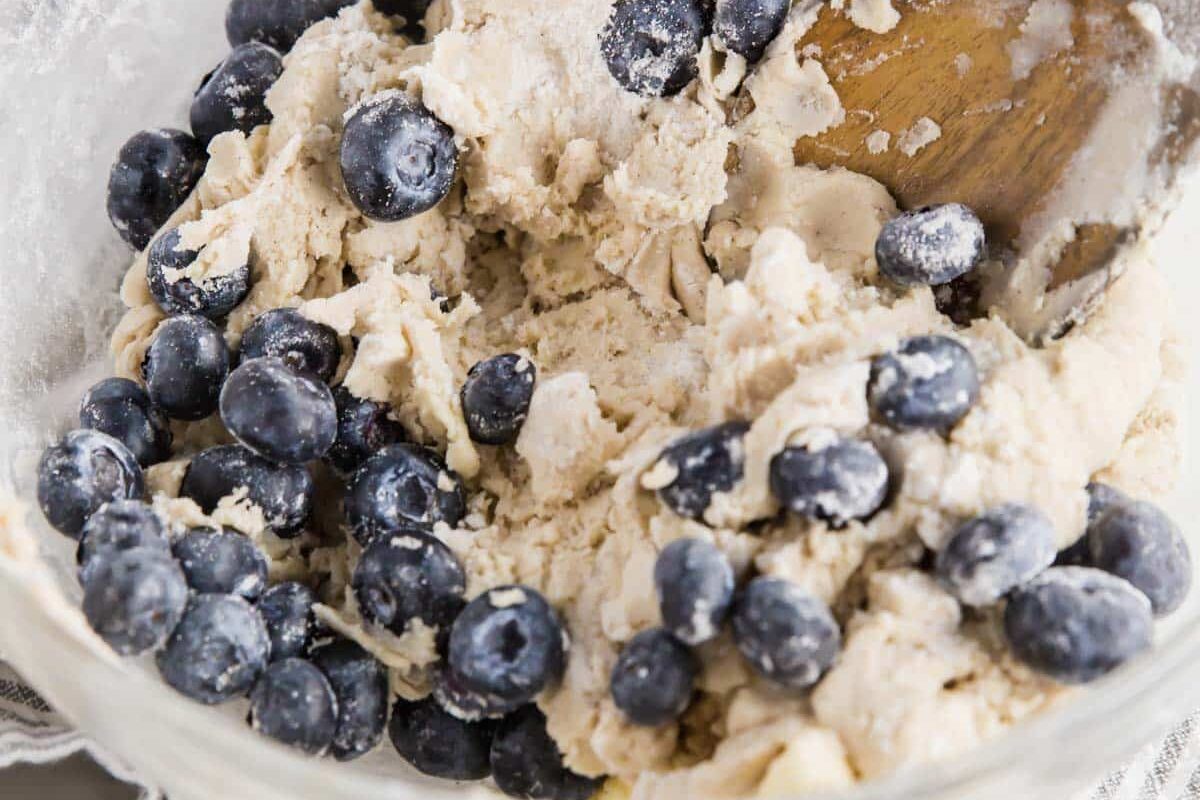
- Gently fold in 1 cup (148 g) fresh blueberries, trying to ensure they do not break.
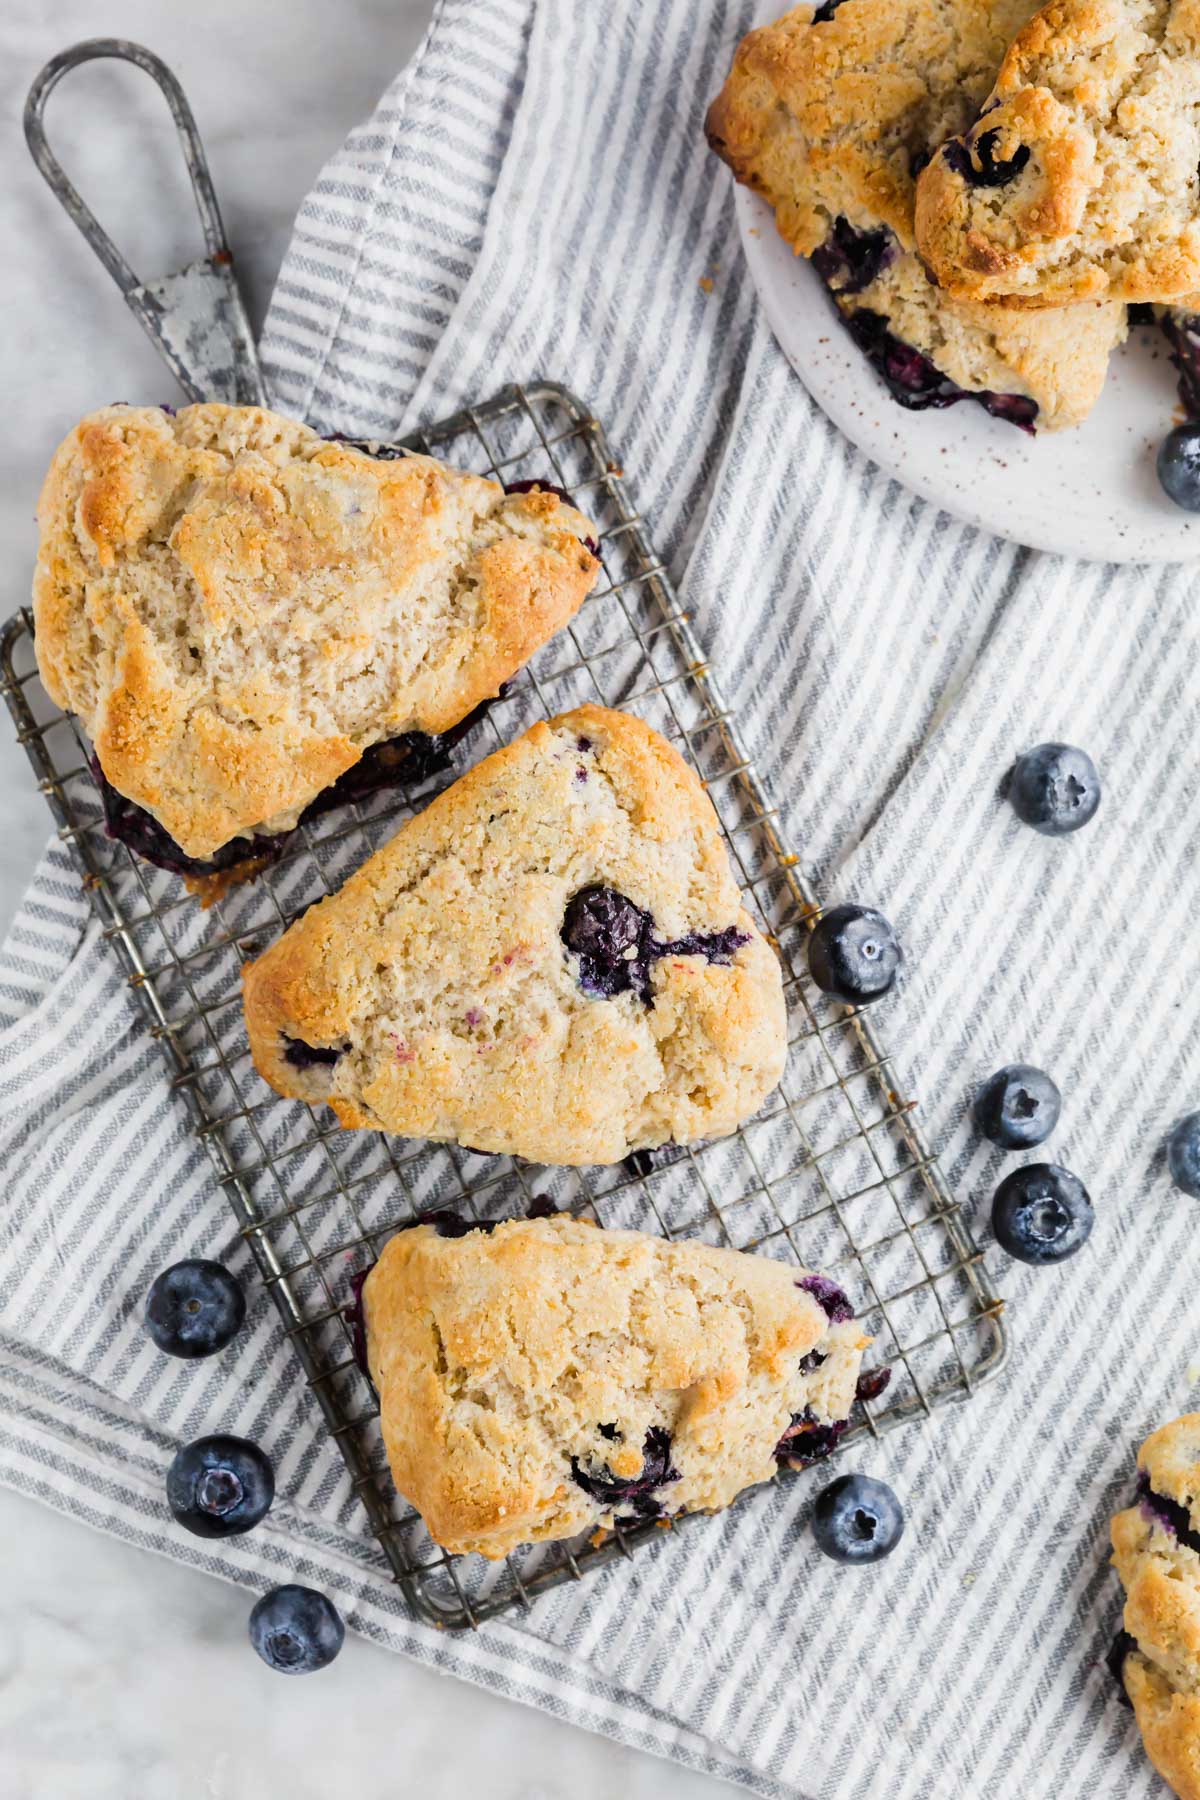
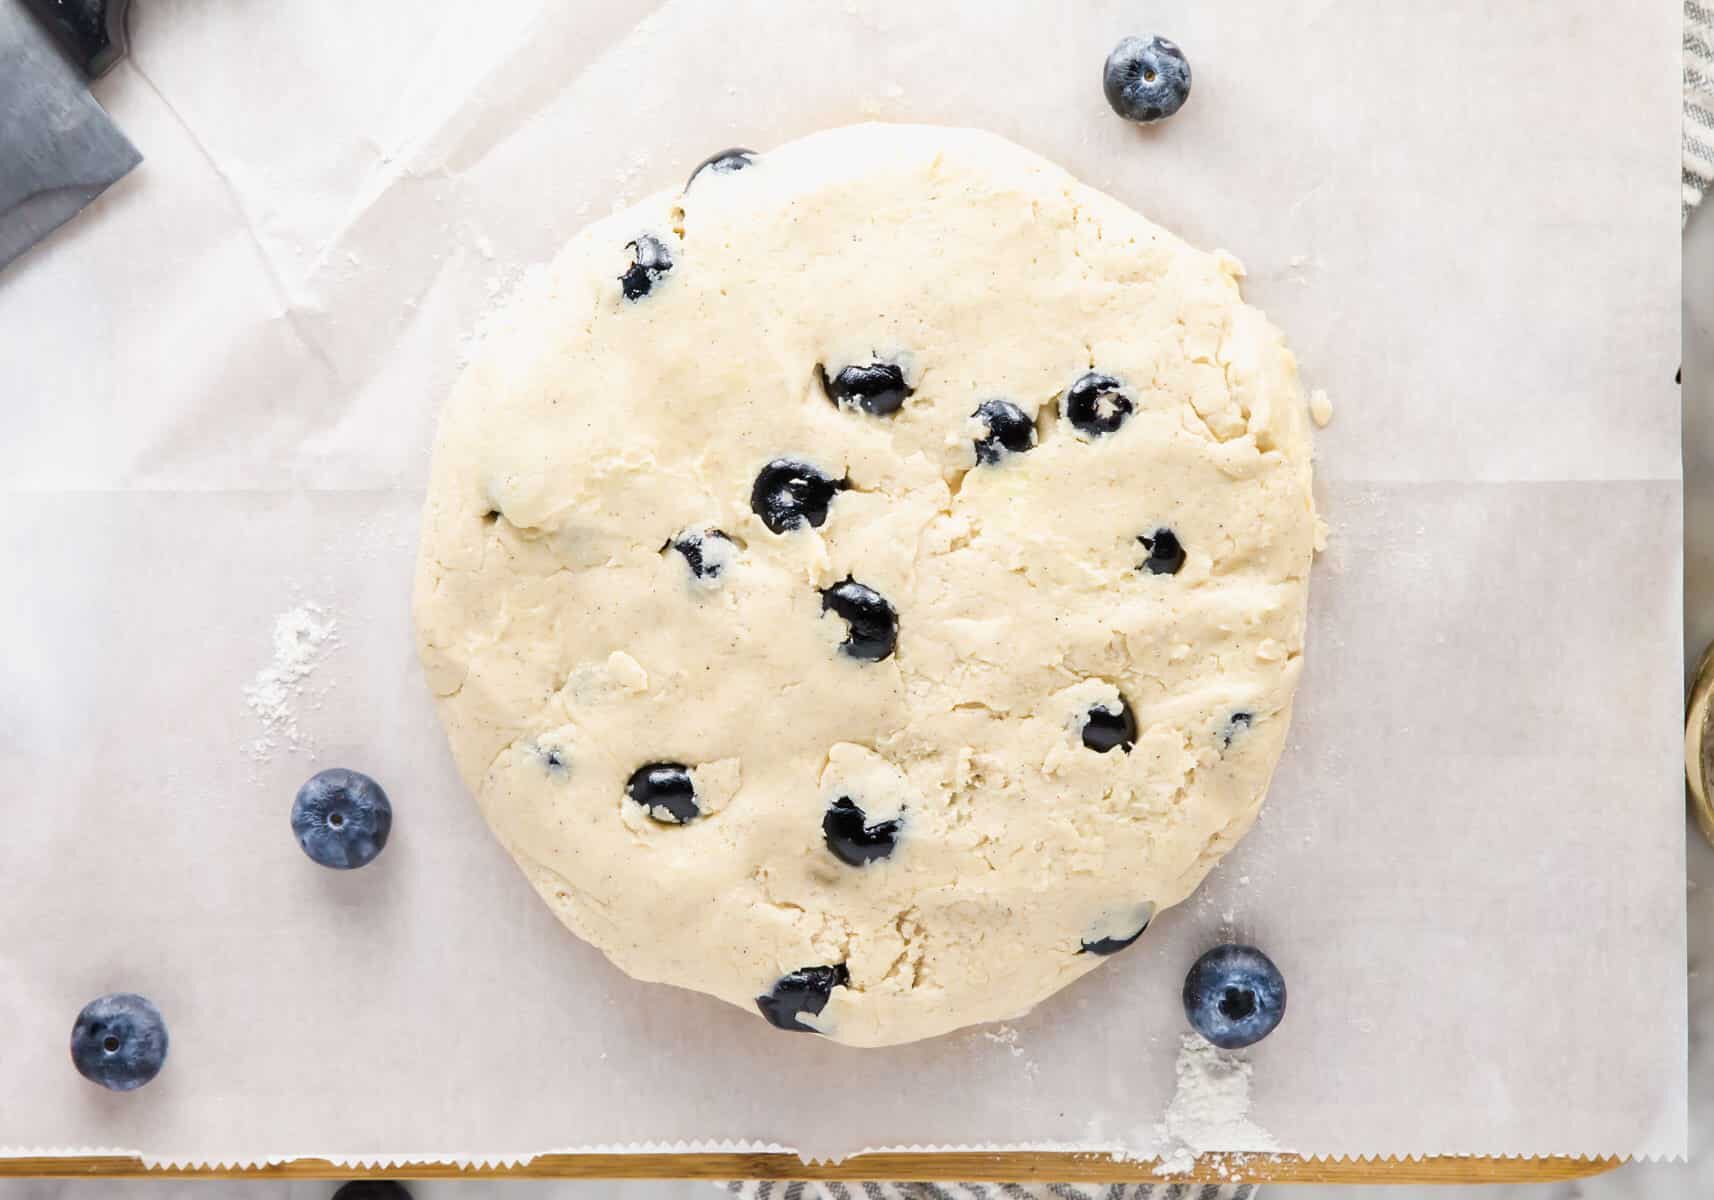
- Transfer the dough to a generously floured work surface. Knead the dough into a ball. Shape into a 7-inch circle, about 1 inch thick.

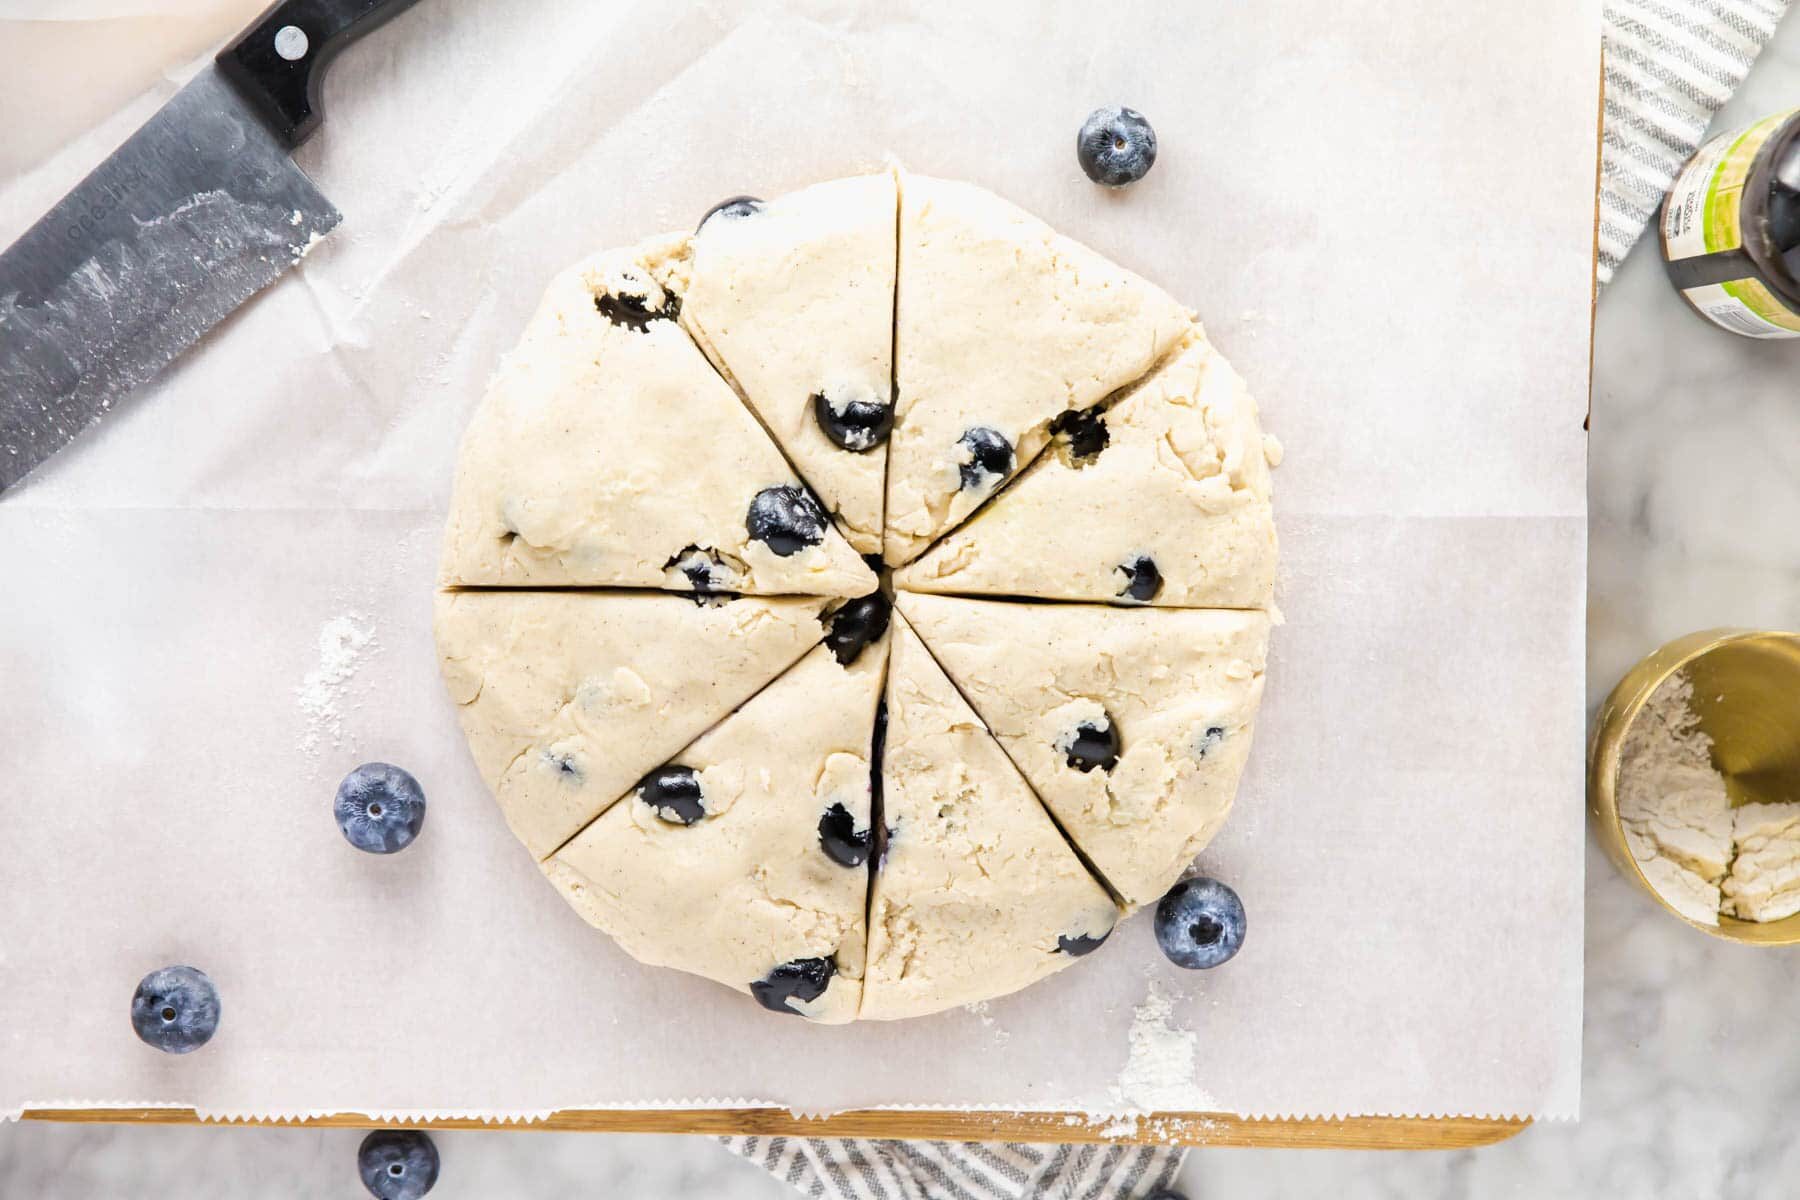
- Cut into 8 wedges with a floured knife.
- Transfer to prepared baking sheet. Brush tops with 1 tablespoon (14 g) unsalted butter and sprinkle with 1 teaspoon turbinado sugar.
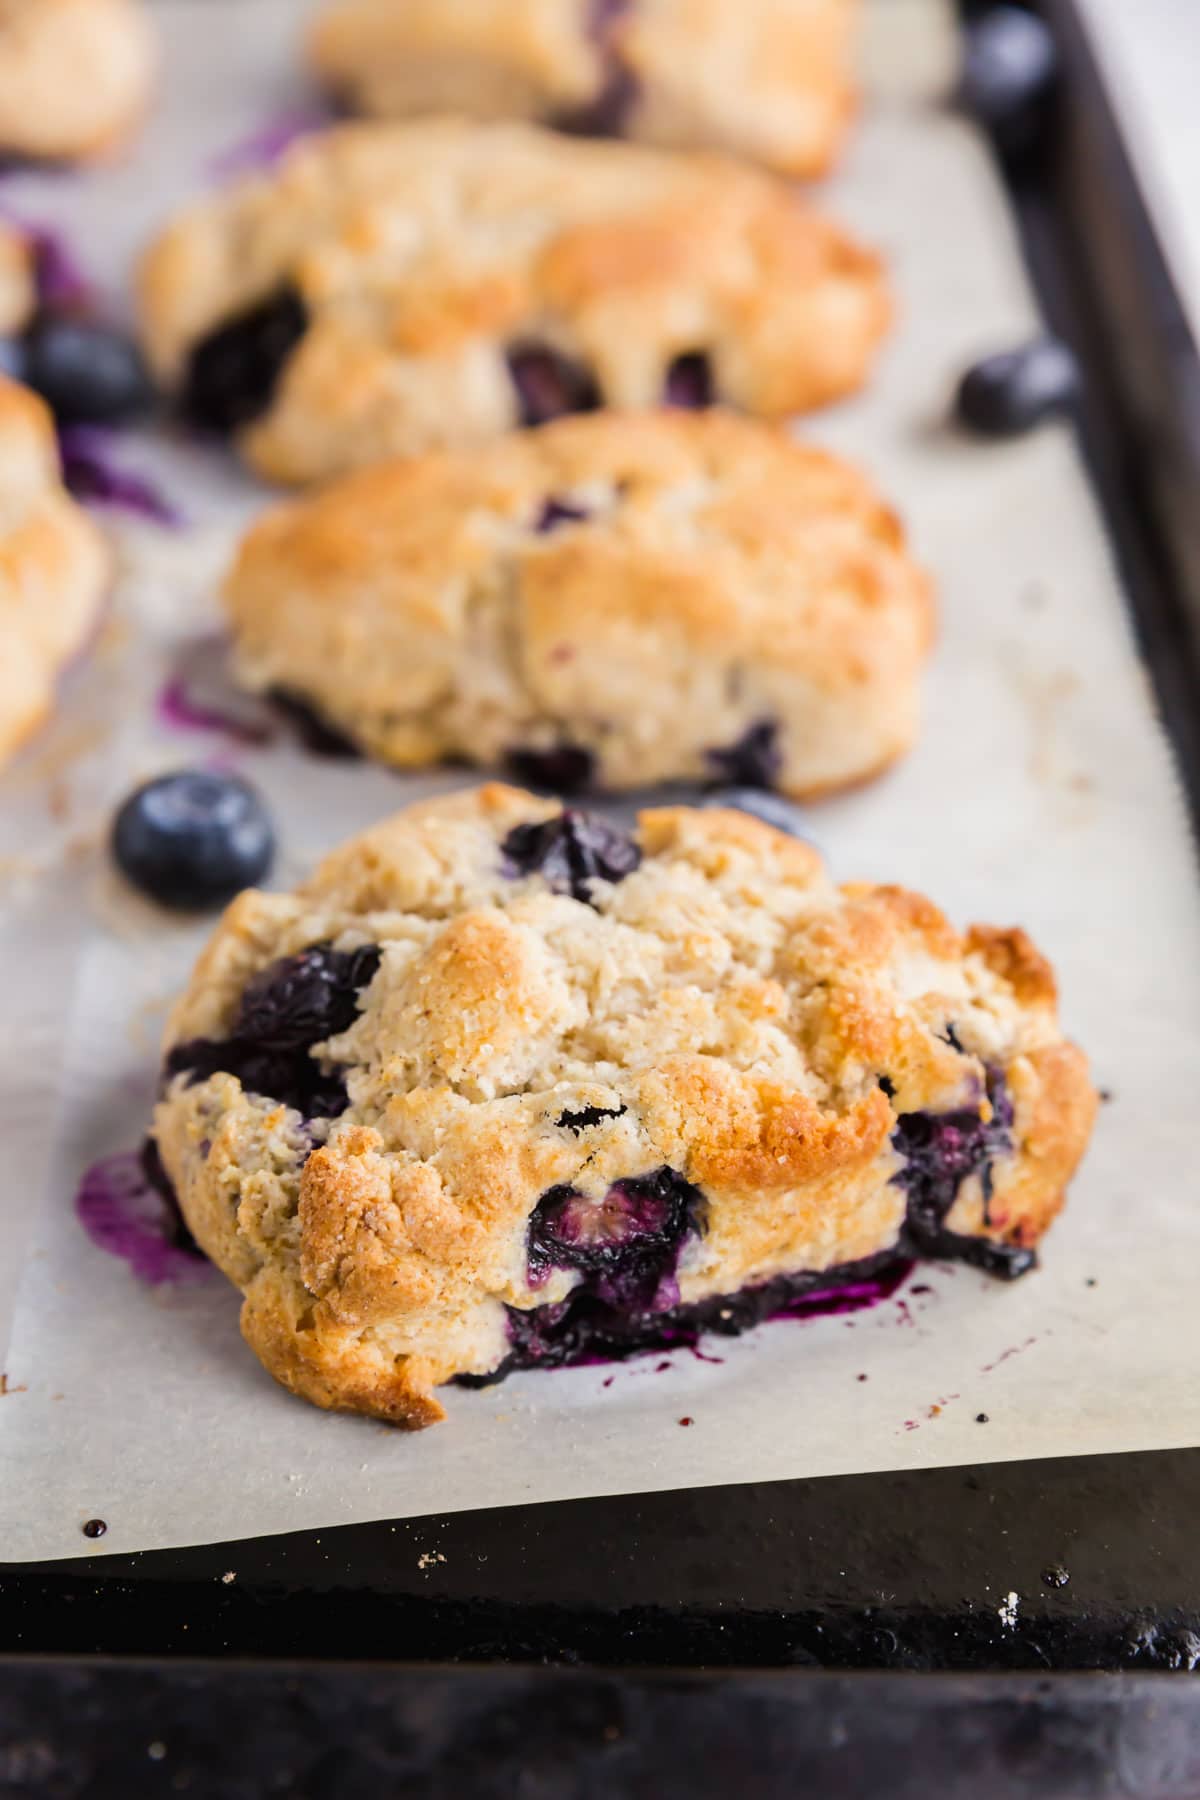
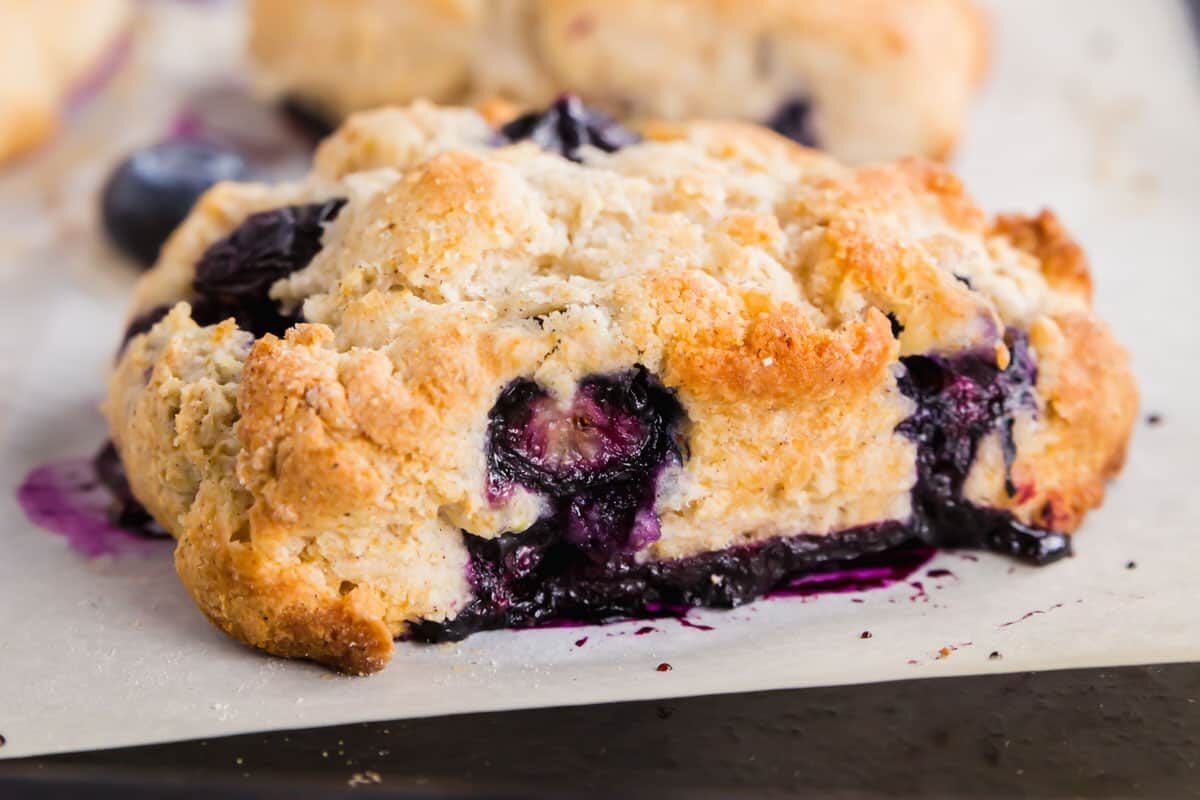
- Bake at 425°F for 18-22 minutes, until tops and bottoms are golden brown.
- Cool on a wire rack for 5 minutes before serving.
Notes
- Measuring flour: Weigh it if you can. If not, spoon flour into your measuring cup and level off with a knife. Scooping from the bag packs it down and makes dense scones.
- Frozen blueberries: Toss with a tablespoon of flour before folding in to reduce bleeding.
- Storage: Freeze baked scones for up to 2 months. Reheat from frozen at 350°F for 10-15 minutes.
Nutrition
Thanks for sharing! Does it keep long?
They’ll stay fresh at room temperature in an airtight container for 1-2 days, but they will lose their crisp edges. I personally prefer to freeze any leftovers. Just let the scones cool completely after baking and then freeze on a baking sheet for an hour. Once frozen, place in a freezer bag or freezer-safe container for up to 2 months.