
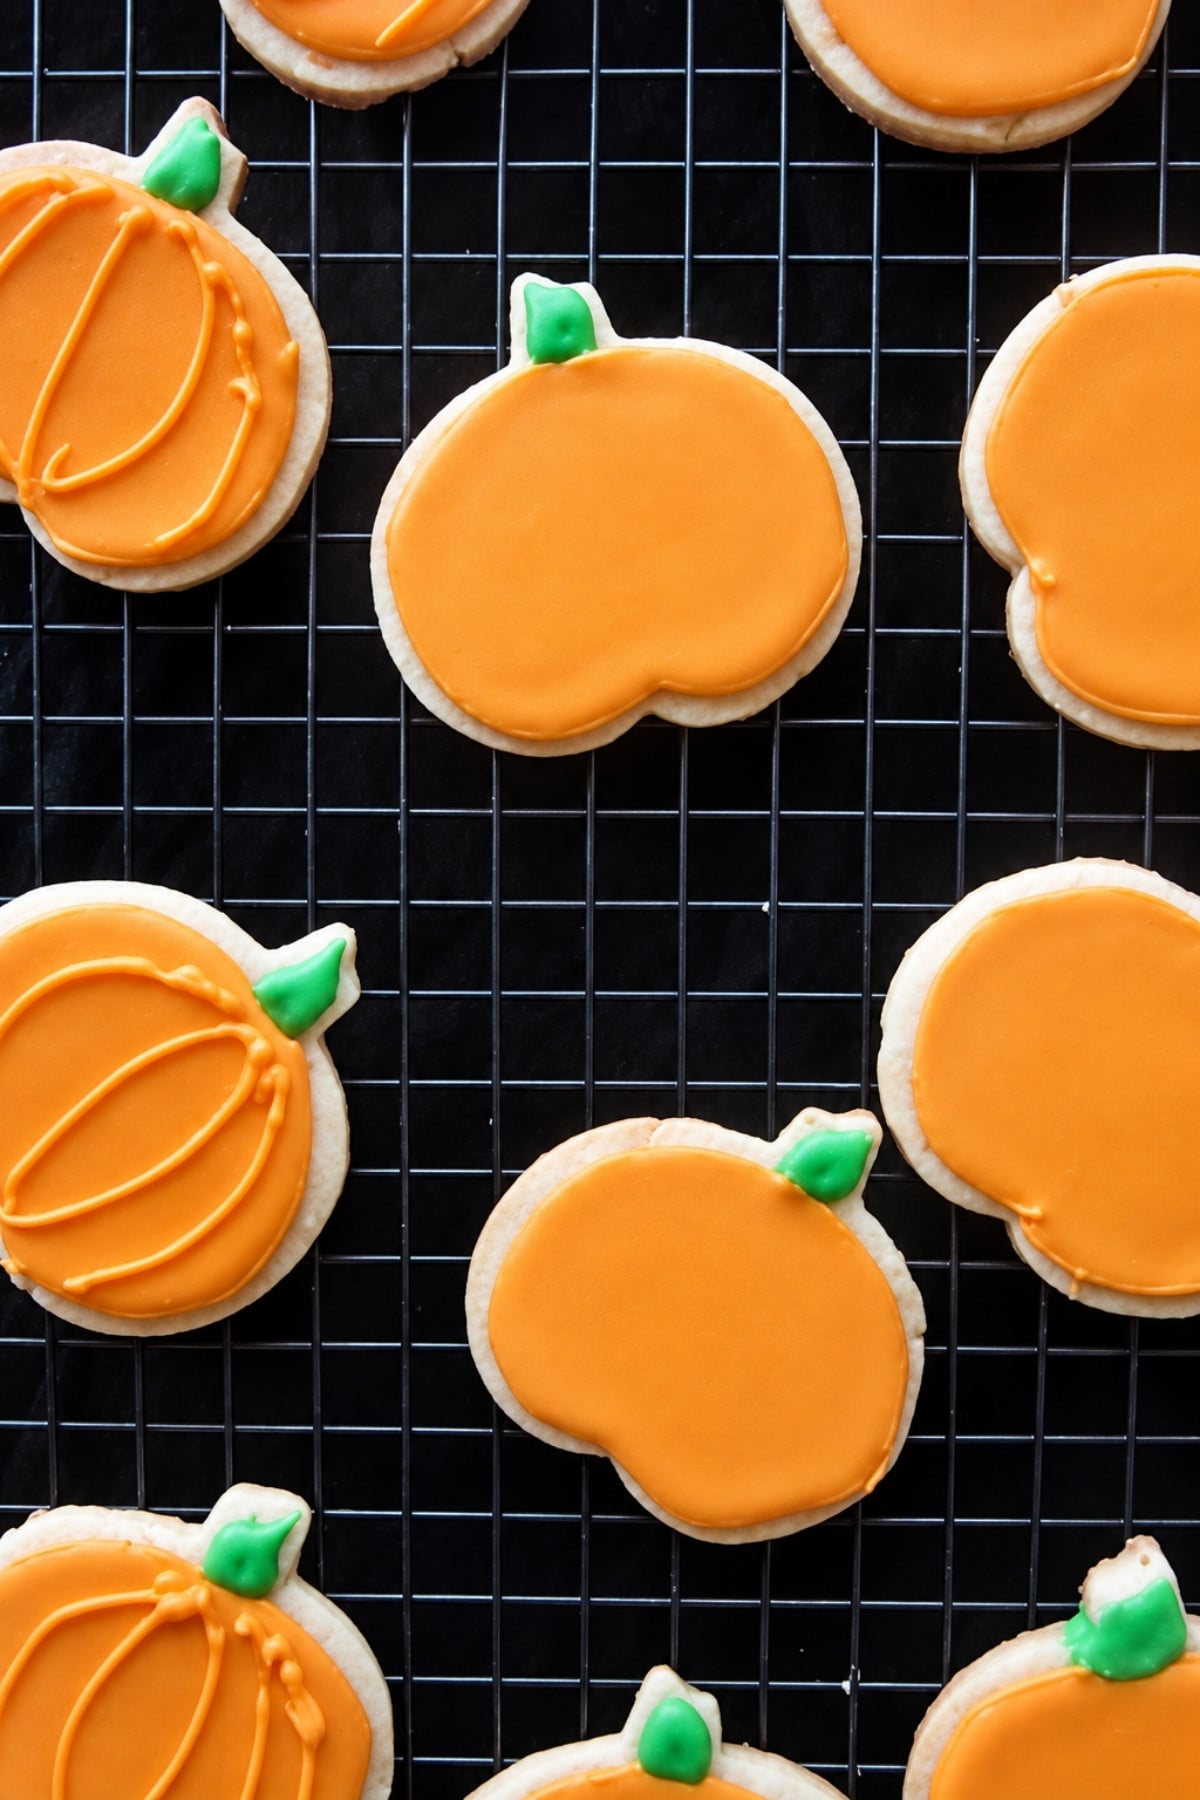
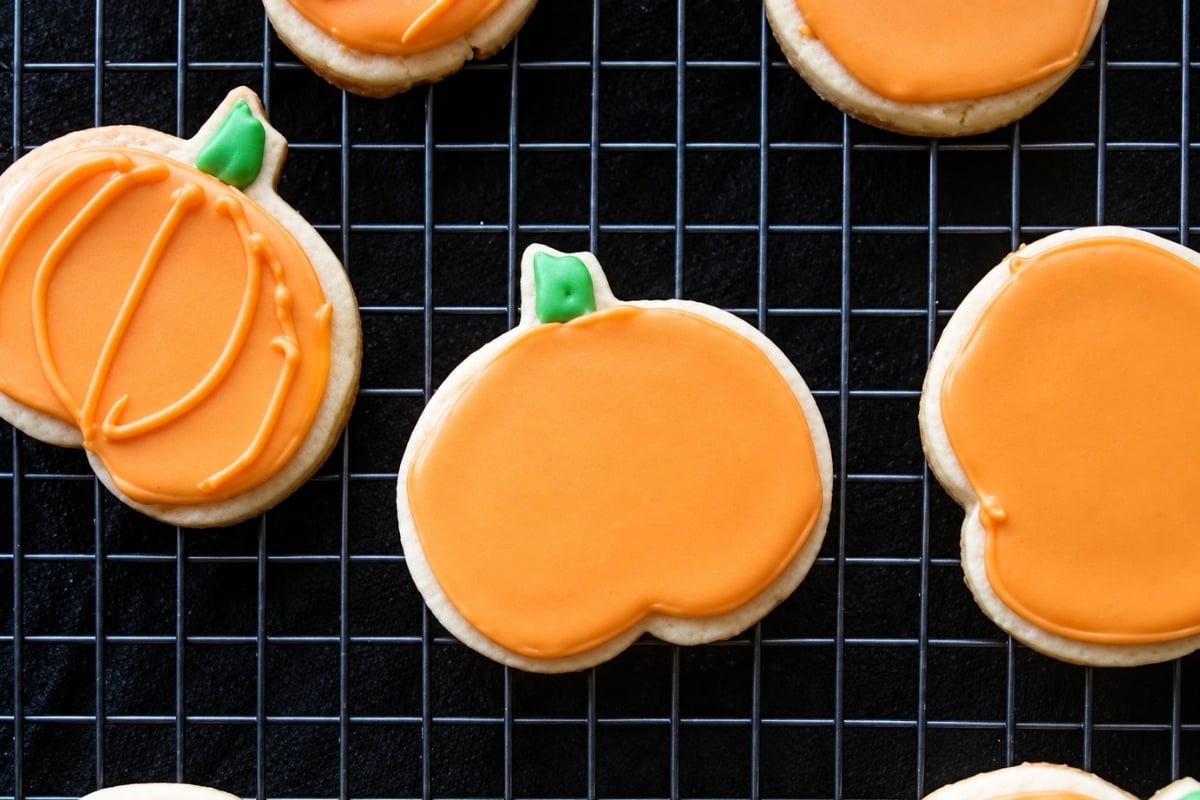
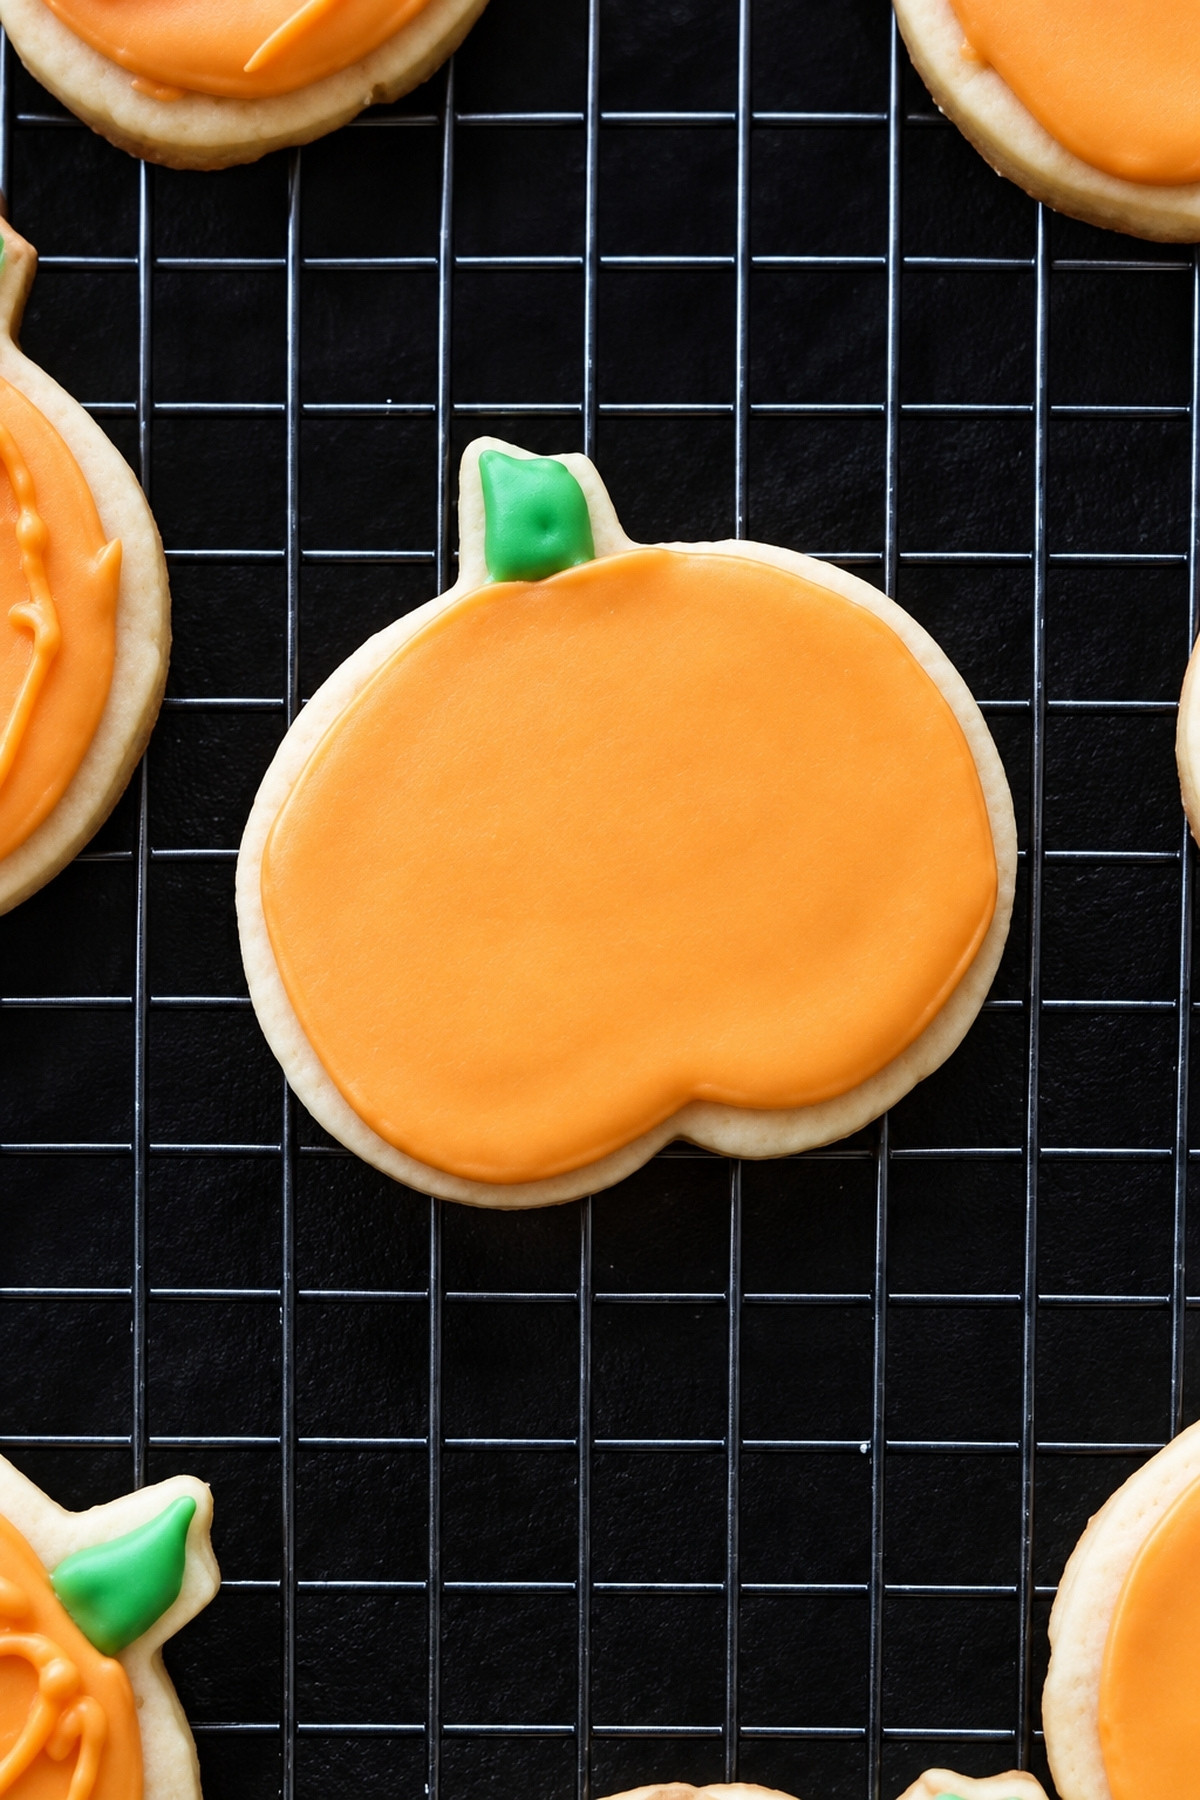
These gluten-free pumpkin sugar cookies are a simple sugar cookie cut into pumpkin shapes and decorated with royal icing. No fancy piping work is required, just an outline and a flood of orange icing, with a few ridge lines added once that dries.
The dough itself is my basic gluten-free sugar cookie dough, rolled and cut with a pumpkin cutter before baking. Once they’ve cooled, royal icing gives them that smooth bakery-style finish.
They’re an easy way to bring something festive to a Halloween or fall gathering, even if you’ve never worked with royal icing before.
Ingredient Notes
- Gluten-Free Flour: I use Bob’s Red Mill 1-to-1 Gluten-Rree Baking Flour (in the blue bag), which already contains xanthan gum. I can’t verify other blends of gluten-free flour will work in this recipe as I have not tested them and every blend is so different.
- Almond Extract: this gives the cookies a slightly different flavor than a standard vanilla sugar cookie. You can leave it out if you would rather keep things more classic, but I think it’s what makes these so delicious.
- Meringue Powder: This is what gives royal icing its structure and that matte, hardened finish once it dries. Look for it near the cake decorating supplies at a craft store or baking or online.
Expert Tips
Recipe FAQs
Though that’s too warm when it hits the oven and spreads more than you want. Make sure you’ve chilled both the dough before rolling and the cut shapes before baking, not just the initial dough itself.
Look at the edges, not the top. The cookies are ready when the edges are just barely golden and the center is no longer shiny, even though the top itself won’t brown.
A full flow of icing needs several hours, sometimes overnight, to dry completely hard. Plan for more time than you expect if you’re stacking or packaging the cookies afterwards.
Storage Instructions
Store these cookies in an airtight container at room temperature once the icing has fully dried. Plain, undecorated cookies keep for about a week. Once they’re iced, they’ll stay fresh for closer to two weeks.
You can also freeze the unbaked, undecorated cookies for up to 3 months. Layer them with parchment paper so they don’t stick together. Then let them thaw completely before icing.
Serving Suggestions
These are my go-to for a fall dessert table. I bring them to parties and events, and they’re a fun one to make with kids too, since the decorating is pretty forgiving and doesn’t require precise piping skills. I’ll usually set them out alongside my other decorated cookies, like my spider web cookies. I’ll usually round up the table with my gluten-free pumpkin donuts and caramel apple cheesecake bars for more variety than just cookies.
Gluten Free Pumpkin Sugar Cookies
Ingredients
For the Cookies:
- 1 cup (227 g) unsalted butter - at room temperature
- 1 cup (120 g) powdered sugar
- 1 (50 g) large egg
- 1 teaspoon vanilla extract
- 1 teaspoon almond extract
- 1 teaspoon salt
- 2¼ cups (315 g) gluten free flour blend - Bob's Red Mill 1-to-1 Gluten Free Baking Flour (in the blue bag), which contains xanthan gum
For the Royal Icing:
- 4 cups (480 g) powdered sugar
- 3 tablespoons (45 g) meringue powder
- 5 tablespoons (75 g) water - plus more for thinning the icing
- 1 teaspoon vanilla extract
- AmeriColor gel food coloring - for decorating
**Use the toggle button above to turn the instruction photos on and off!
Instructions
For the Cookies:
- Cream 1 cup (227 g) unsalted butter and 1 cup (120 g) powdered sugar with an electric mixer for 2-3 minutes until light and fluffy.
- Add 1 (50 g) large egg, 1 teaspoon vanilla extract, 1 teaspoon almond extract, and 1 teaspoon salt. Beat until smooth, about another minute.
- Gradually mix in 2¼ cups (315 g) gluten free flour blend, half a cup at a time, until no streaks of flour remain.
- Scoop the dough onto parchment paper and pat into a circle about 1 inch thick. Chill in the refrigerator for at least 1 hour.
- Preheat the oven to 375°F and line a baking sheet with parchment paper.
- Dust your work surface and rolling pin with powdered sugar. Roll the dough to 1/4-inch thickness and cut with your pumpkin cookie cutter. Gather the scraps, re-roll and cut again, chilling the dough for a few minutes first if it's gotten too soft to work with.
- Place the cookies on the prepared baking sheet, leaving 2 inches between each cookie. Freeze for 10-15 minutes, or refrigerate for 30 minutes to help them hold their shape.
- Bake at 375°F for 8-10 minutes until the edges are lightly browned and the center is matte, no longer shiny.
- Cool on a baking sheet for 5 minutes, then transfer to a wire rack to finish cooling. Cool completely before decorating with royal icing.
For the Royal Icing:
- In the bowl of a stand mixer, combine 4 cups (480 g) powdered sugar, 3 tablespoons (45 g) meringue powder, 5 tablespoons (75 g) water, and 1 teaspoon vanilla extract. Mix on low speed for 1-2 minutes to incorporate. Then increase to medium-high and mix for 3-4 minutes until thick, white, and matte. This is your base consistency.
- Set aside a small portion of the icing and tint it green with AmeriColor gel food coloring for the stems. Tint the rest orange.
To Decorate:
- Thin the orange icing with water, 1 teaspoon at a time, to a 15-second consistency. Drizzle a spoonful over the bowl, and it should hold its shape for 15 seconds before melting in.
- Using a pastry bag fitted with a small round tip, outline each cookie with the orange icing. Then flood the center with the same icing. Use a toothpick or scribe tool to help spread the icing to the edges of the cookie.
- While the orange flood icing is still wet, thin the green icing to a stiffer 20-second consistency and pipe on the stems.
- Let the icing dry completely (4-5 hours or overnight) before moving on.
- If desired, you can thicken the remaining orange icing to a stiff consistency and pipe the ridge lines onto each pumpkin. Let dry completely again, about an hour, before stacking or storing.
Notes
- Measuring: Weigh your ingredients for best results. A kitchen scale is more accurate than measuring cups, especially for the flour.
- Drying Time: Icing drying time varies with humidity. Give yourself extra time if your kitchen runs.

Hi Megan – your pumpkin cookies and spider cookies look so cute. You did a great job on the icing too. I’m Tom’s aunt, Anita, and I too like to cook, but no time now that I’m in school again. Actually, a few of Tom’s aunts like to cook, so you’re in good company. Look forward to seeing other creations.