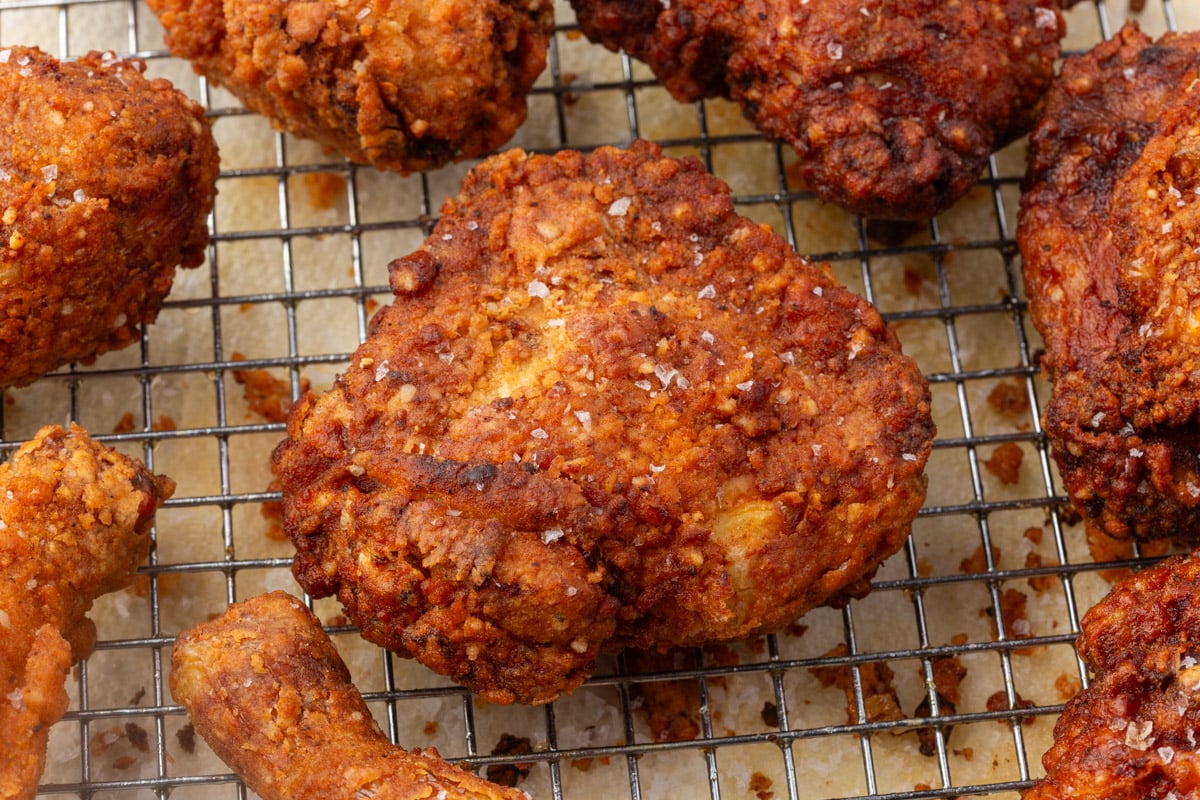
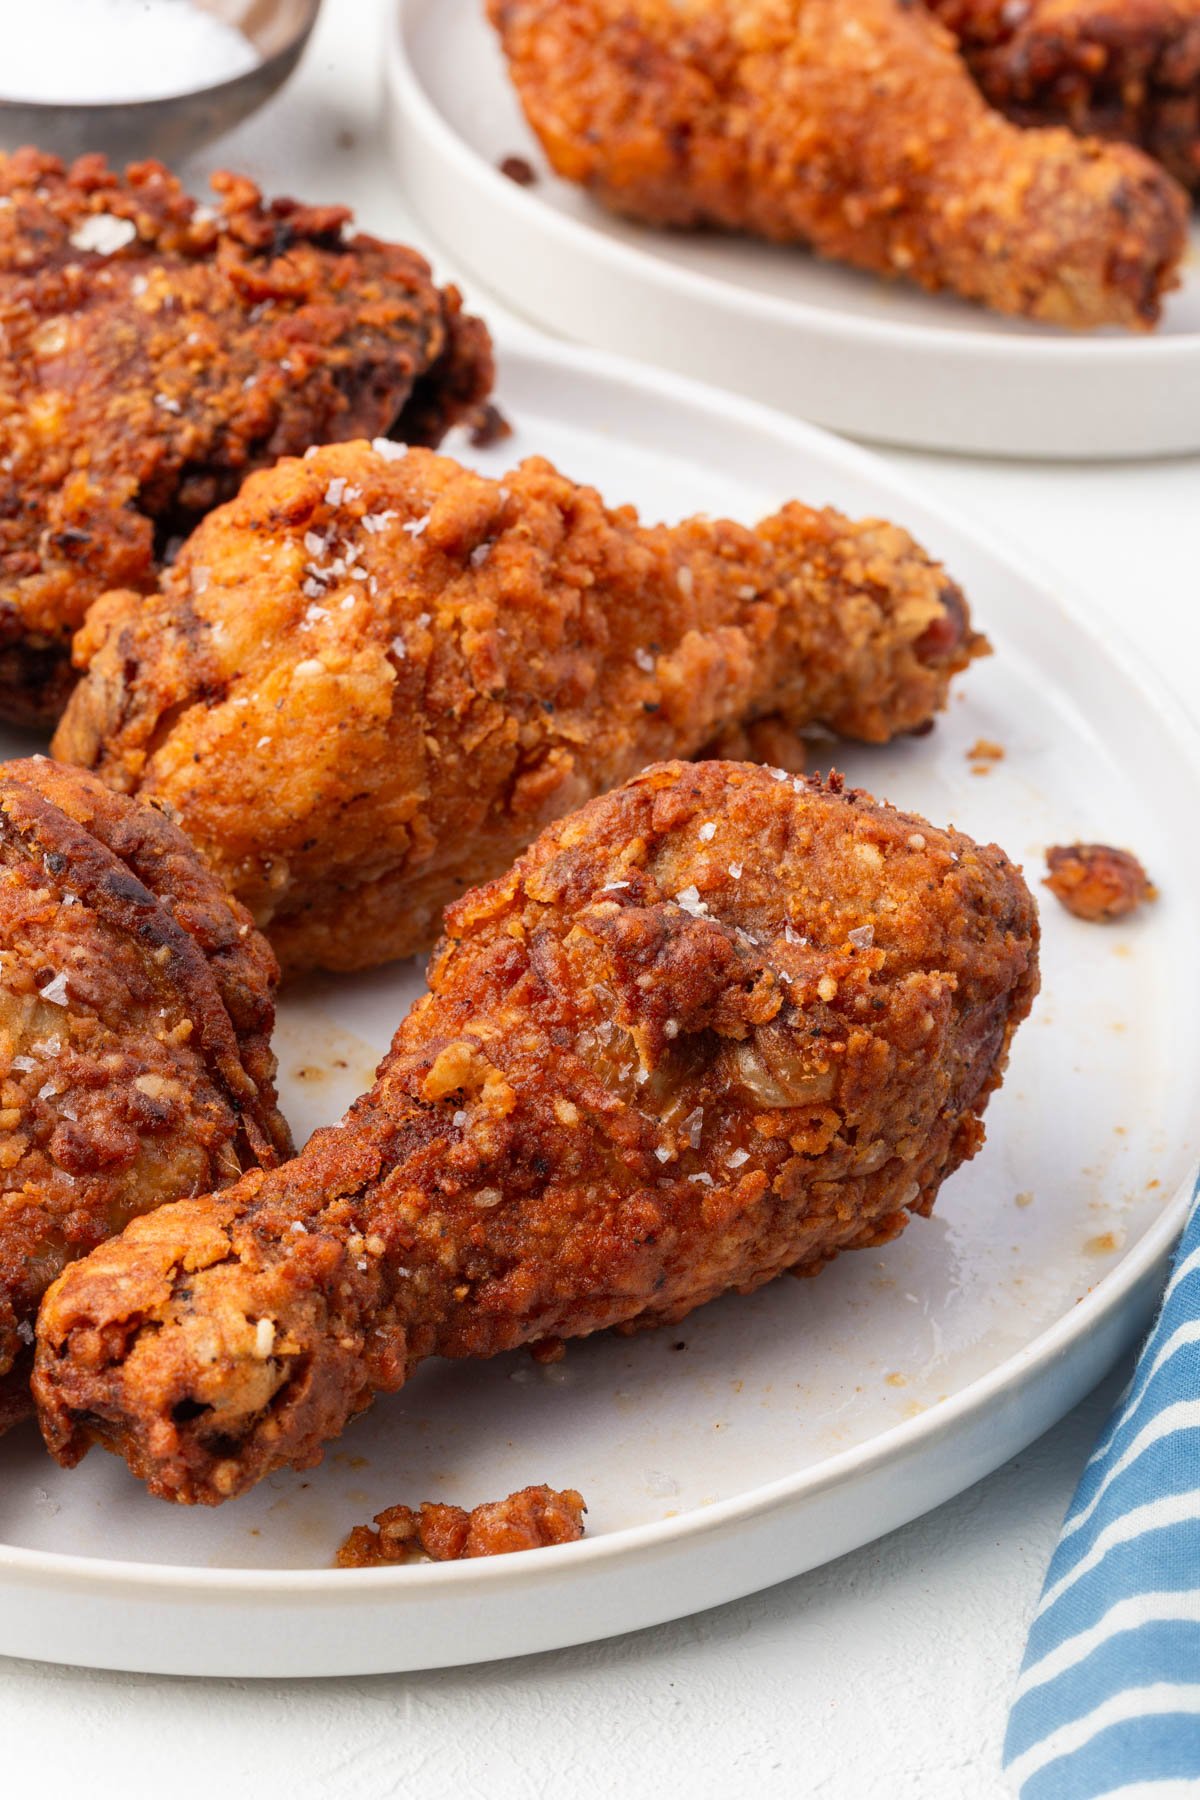
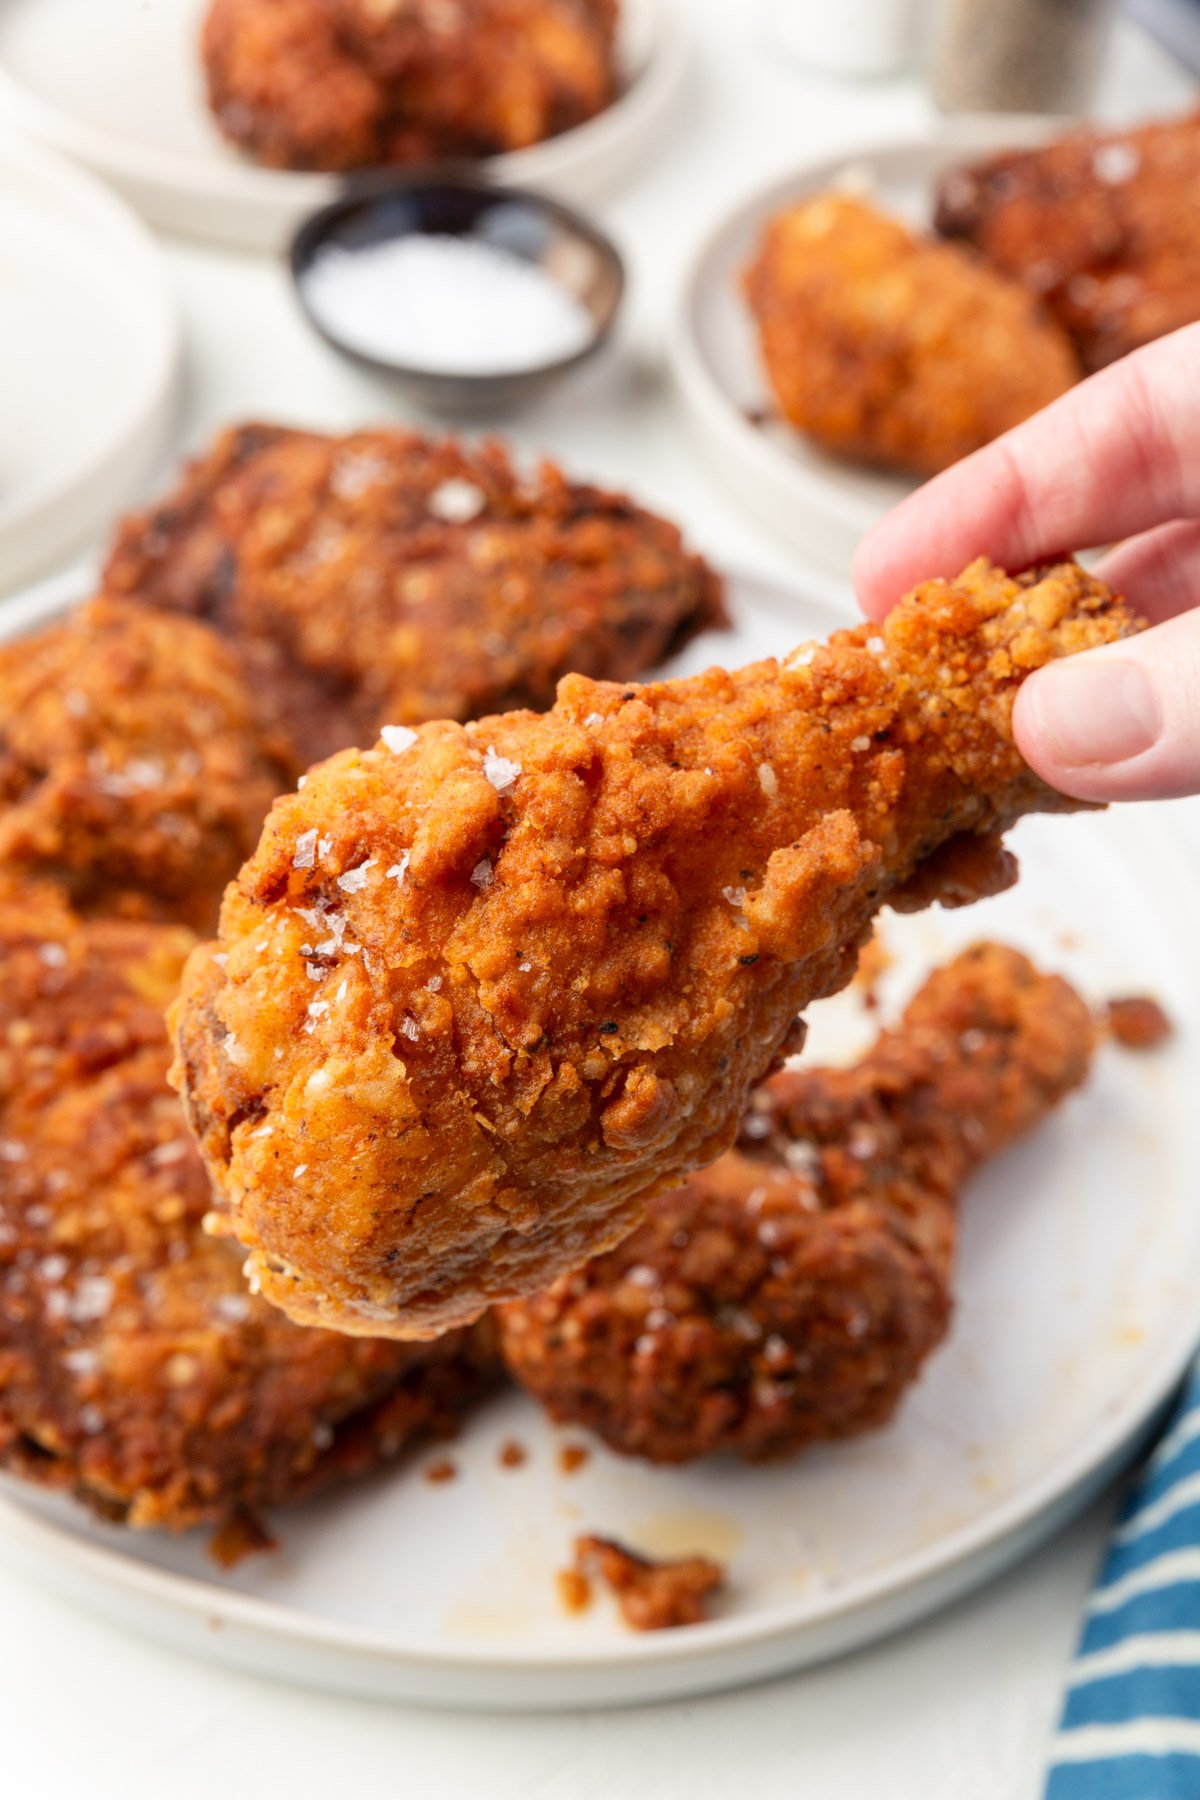
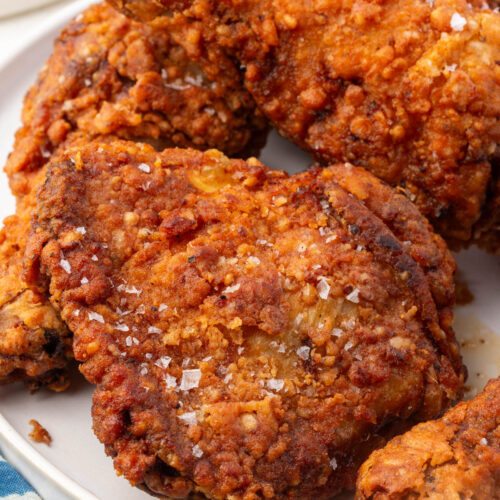
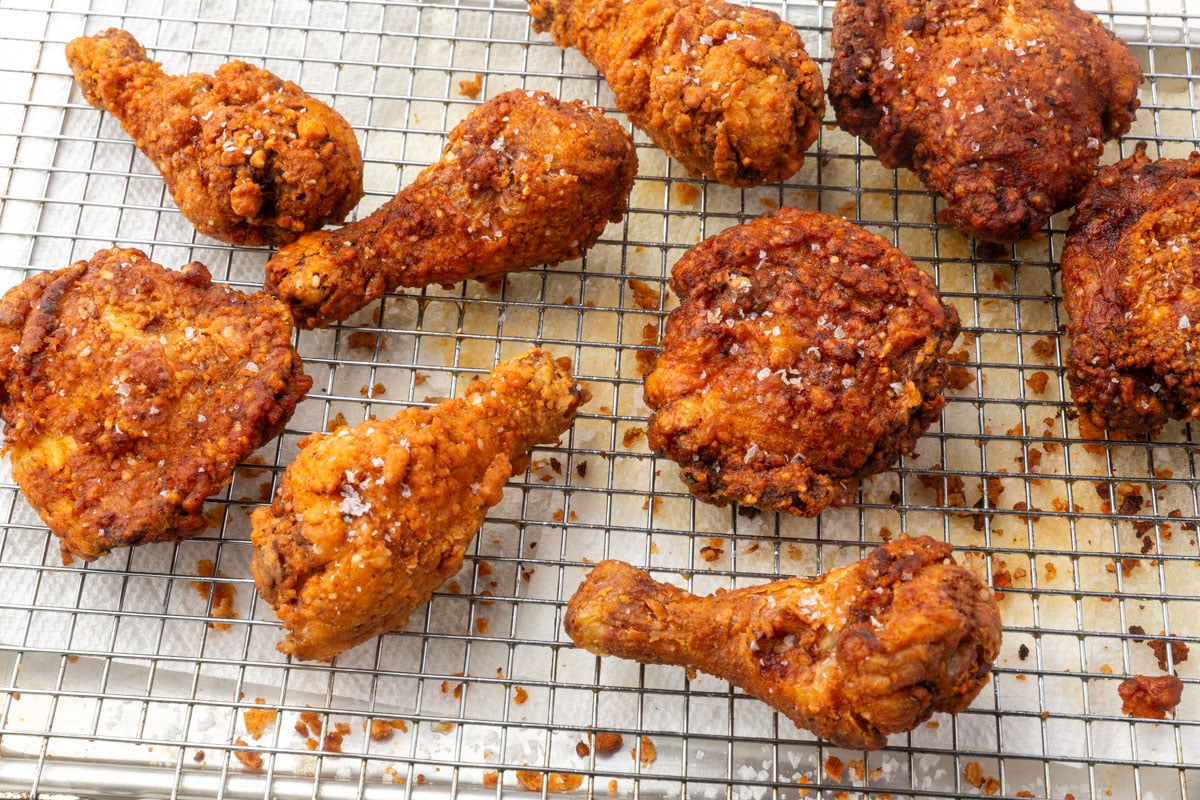
If you’ve been craving crispy, juicy fried chicken since going gluten-free, this recipe is for you. The coating is perfectly crispy and crunchy without being too thick, and it yields when you take a bite. Exactly what fried chicken should be.
The secret is the flour blend: rice flour, potato starch, and cornstarch. This specific combination creates that ideal texture without any heaviness or gumminess. The buttermilk and pickle juice marinade keeps the chicken incredibly tender and flavorful.
Whether you’re planning a Sunday dinner or just want comfort food on a weeknight, this gluten-free fried chicken delivers.
Why You’ll Love this Recipe
Searching for more gluten-free chicken recipes? Gluten-Free Chicken Wings / Gluten-Free Chicken Pot Pie / Gluten-Free Chicken Parmesan / Roasted Chicken Poblano Soup
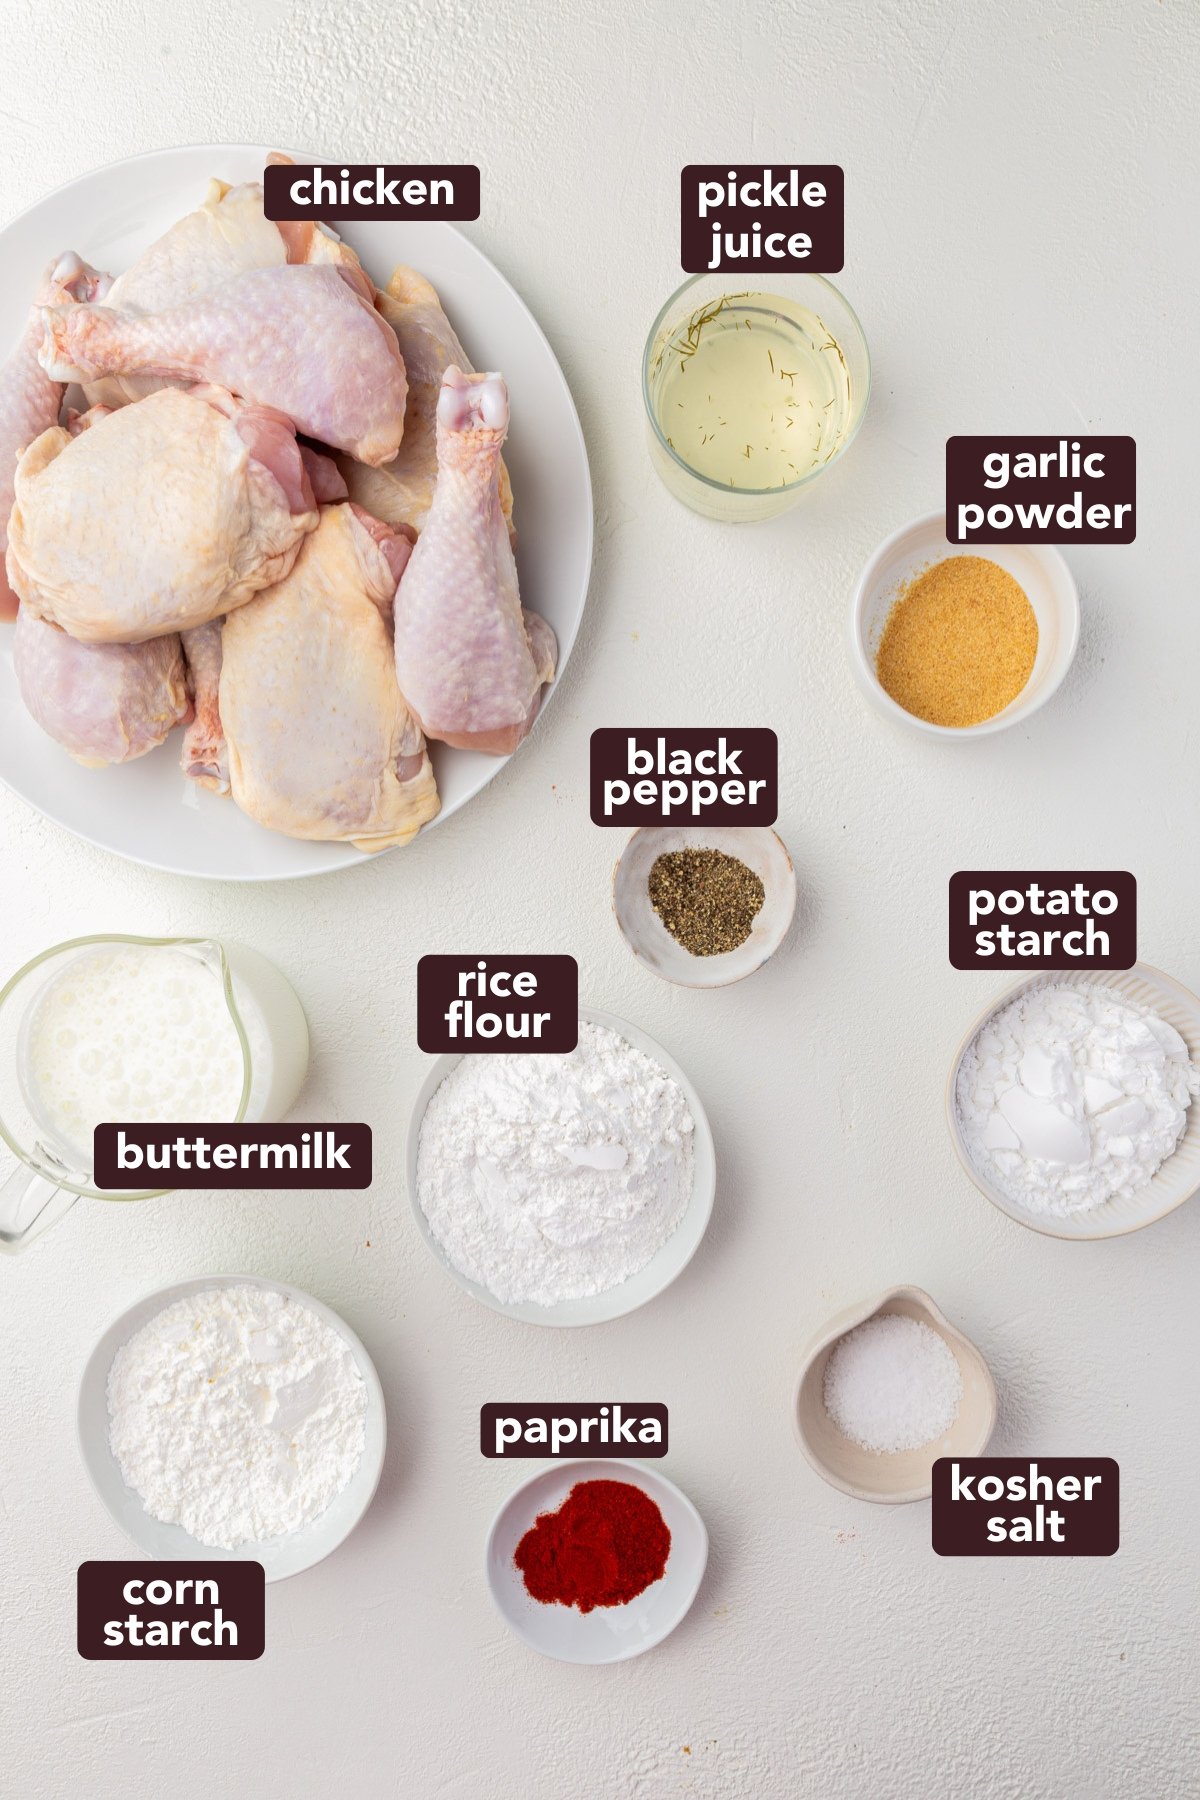
Ingredients
TIP
You need all three flours: rice flour, potato starch, AND cornstarch. I tested this with just two flours in different combinations, and it wasn’t the same. The three-flour blend is what gives you that perfect crispy-but-yielding texture.
Searching for more gluten-free dinner recipes? spinach feta egg muffins / gluten-free breakfast casserole / gluten-free mini quiches
Ingredient Notes
- Rice Flour – White rice flour creates that crispy, shattery texture we’re after. It fries up lighter than other flours and won’t get heavy or dense. Don’t use sweet rice flour (also called glutinous rice flour). That’s entirely different.
- Potato Starch – This is key for achieving that light, crispy coating with just a bit of chew. It helps the coating brown beautifully and stay crispy even as it cools.
- Cornstarch – Works with the potato starch to create lightness and adds to that satisfying crunch. I tried the recipe originally with just rice flour and potato starch to try to get it down to 2 flours, but I was missing a bit of that yield when you bite into the chicken. Adding in some cornstarch helped with that.
- Buttermilk – The acidity tenderizes the chicken and adds that classic tangy flavor.
- Pickle Juice – This is a game-changer. The brine adds flavor and helps keep the chicken juicy. It’s the secret to that Chick-fil-A-style taste. You can omit it if you need to, but I highly recommend it for flavor.
- Seasonings – Keep it simple with salt, pepper, garlic powder, onion powder, and paprika. The seasoning is in both the marinade and the dredge for maximum flavor.
About the Testing Process for this Recipe
Getting the coating right for gluten-free fried chicken took a lot of testing. About 9 batches to be exact. I really wanted to simplify things by using a store-bought gluten-free all-purpose flour, but every time I tried it, the coating came out way too heavy and bready.
Most gluten-free all-purpose blends contain xanthan gum and other binders that work great for baking but make fried coatings dense and gummy. That’s not what we want here.
I also tested adding baking powder to the flour blend (a common trick for extra crispiness), but it made the coating too bready and thick. We’re going for light and crispy, not thick and puffy.
When I switched to this three-flour blend with rice flour, potato starch, and cornstarch, everything clicked. The coating came out perfectly crispy every time, with just a bit of chew, and it stayed light instead of thick and heavy. That combination is what gives you that restaurant-style crunch that’s so hard to achieve in gluten-free cooking.
Recipe FAQs
I don’t recommend it. Store-bought blends often contain xanthan gum and other binders that make the coating heavy and gummy. This specific combination of rice flour, potato starch, and cornstarch is what creates that light, crispy texture.
Yes! I tested this with different combinations (just rice flour and potato starch, just rice flour and cornstarch) and the texture wasn’t right. Don’t get me wrong, it was still pretty good, and I definitely ate every single piece still. But, you need all three for that perfect crispy-but-yielding bite.
Make sure you’re pressing the flour firmly into the chicken and letting it rest before frying. The resting time helps the coating adhere. Also, don’t overcrowd the pan. Too many pieces at once drops the oil temperature and can cause the coating to slip.
You can marinate the chicken overnight, but for best results, dredge and fry the same day you plan to serve it. However, I’ve had pretty good results reheating in the air fryer at 350F for about 8-10 minutes until hot.
Expert Tips
Storage instructions
This gluten-free fried chicken is best enjoyed fresh and hot, but leftovers can be stored and reheated. If I’m making this a little head for dinner, I’ll pop the fried chicken into a 200°F oven to keep it warm until I’m ready to serve.
Storing: Let the chicken cool completely, then store in an airtight container in the refrigerator for up to 3 days.
Reheating: For the best texture, reheat in the oven. Place on a wire rack over a baking sheet and bake at 350°F for 15-20 minutes until warmed through and crispy again. You can also use an air fryer at 350°F for 8-10 minutes.
Serving suggestions
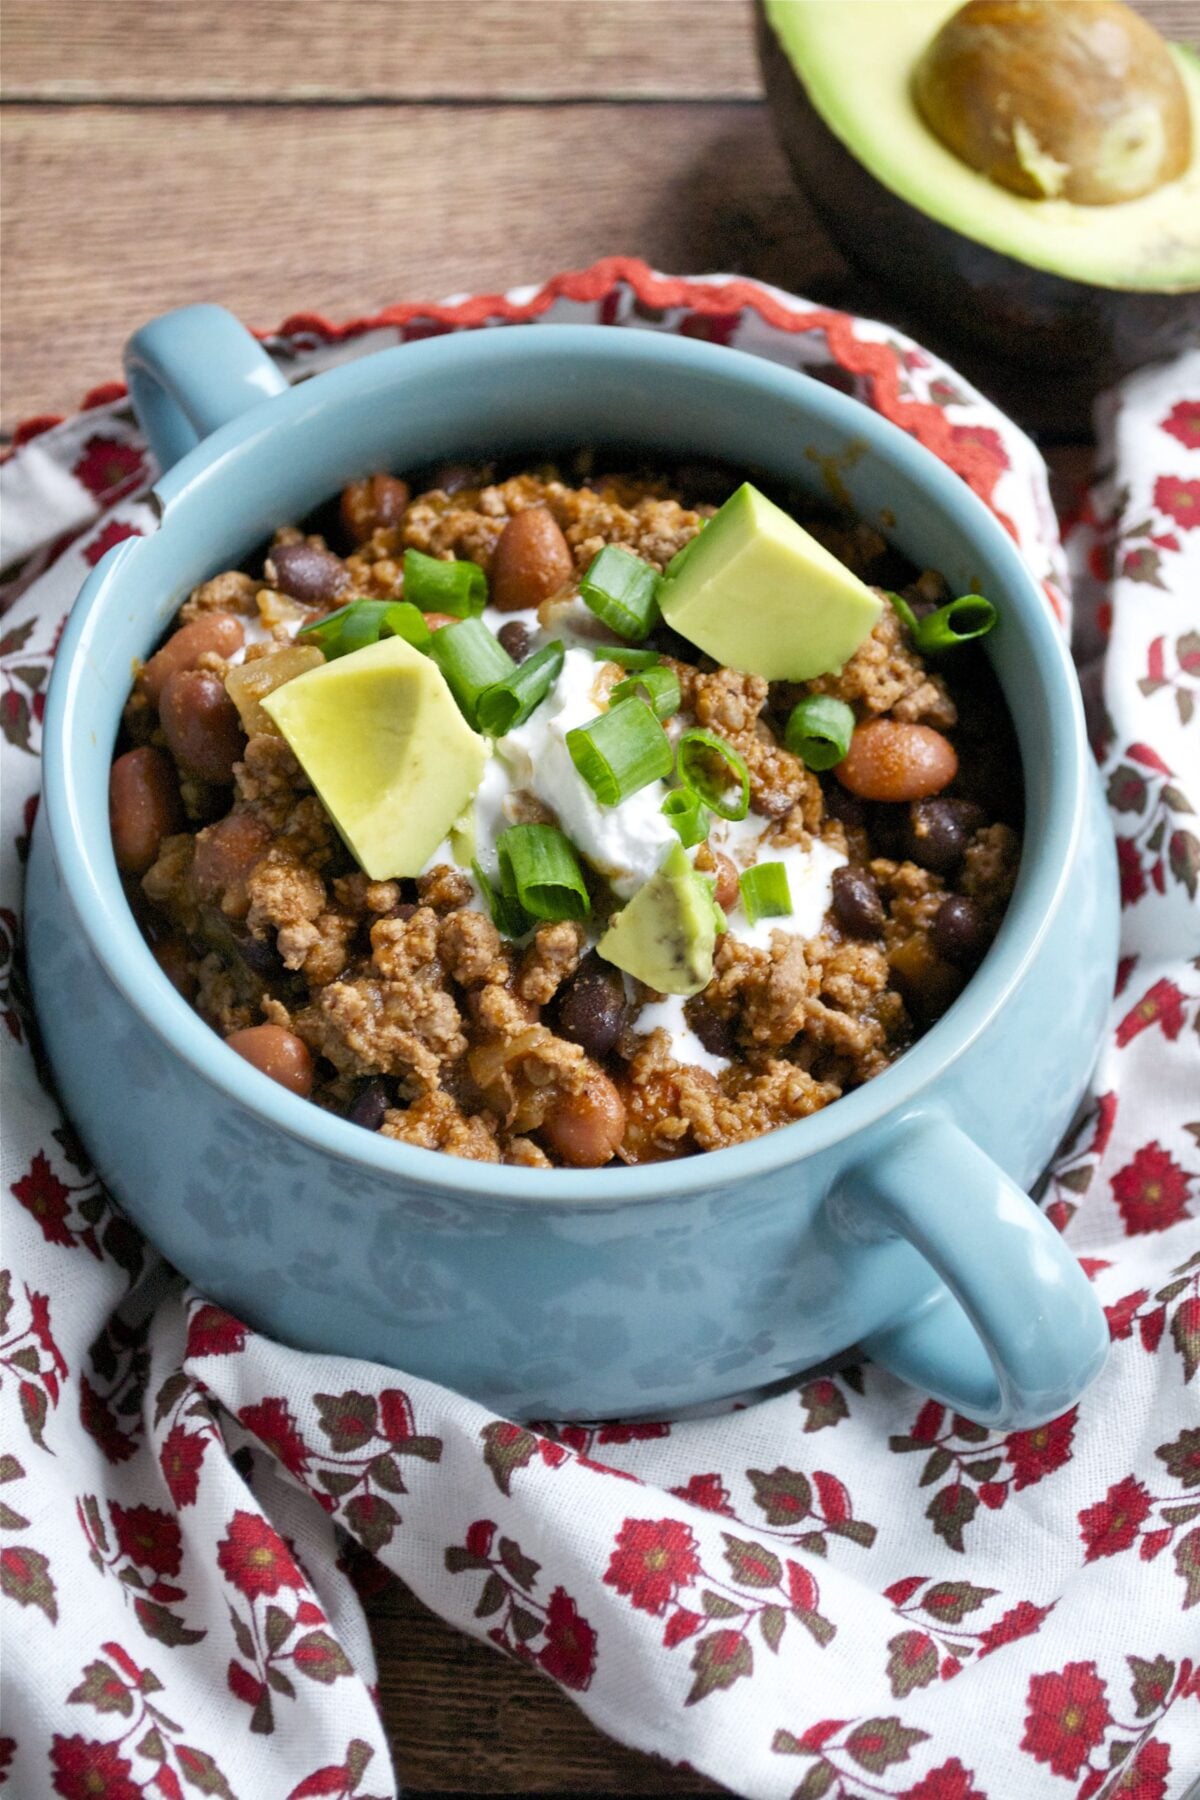
This gluten-free fried chicken pairs perfectly with classic comfort food sides. Serve it with mashed potatoes, coleslaw, gluten-free mac and cheese, or biscuits for a complete meal.
For a Southern-style feast, try it with gluten-free waffles and hot honey, or make fried chicken sandwiches with pickles and your favorite sauce.
It’s also perfect for picnics and potlucks. Just make sure to keep it warm or plan to serve it at room temperature.
More gluten-free meals to try
Did you make this recipe?
I’d love to know! Please rate it and leave a comment below. You can also share your pictures and tag @adashofmegnut on Instagram.
Gluten-Free Fried Chicken
Ingredients
Marinade
- 2 cups buttermilk
- ½ cup pickle juice
- 1 tablespoon kosher salt
- 1 teaspoon ground black pepper
- 2 teaspoons garlic powder
- 2 teaspoons paprika
- 2 lbs chicken thighs – about 4 chicken thighs - bone-in and skin-on
- 2 lbs chicken legs – about 5 chicken legs - bone-in and skin-on
Flour Dredge
- 1 cup white rice flour - 1 cup is 115g for Three Ladies brand which is finely milled, you'll get less than 1 cup for other brands like Bob's Red Mill
- ½ cup potato starch - 80g
- ½ cup cornstarch - 64g
- 2 teaspoons kosher salt
- 2 teaspoons garlic powder
- 1 teaspoon onion powder
- 1 teaspoon black pepper
- 2 teaspoons paprika
For Frying
- 4-6 cups vegetable oil - canola oil, or peanut oil
For Finishing
- Flaky sea salt – such as Maldon
**Use the toggle button above to turn the instruction photos on and off!
Instructions
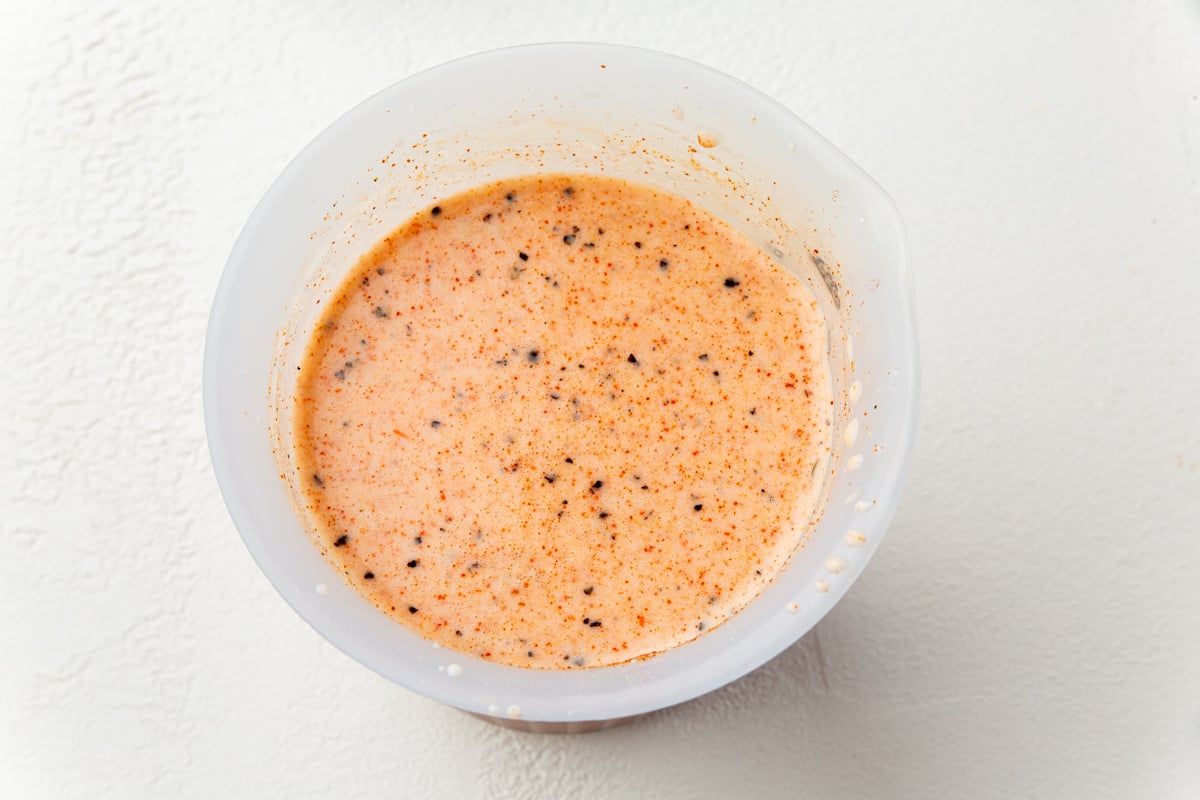
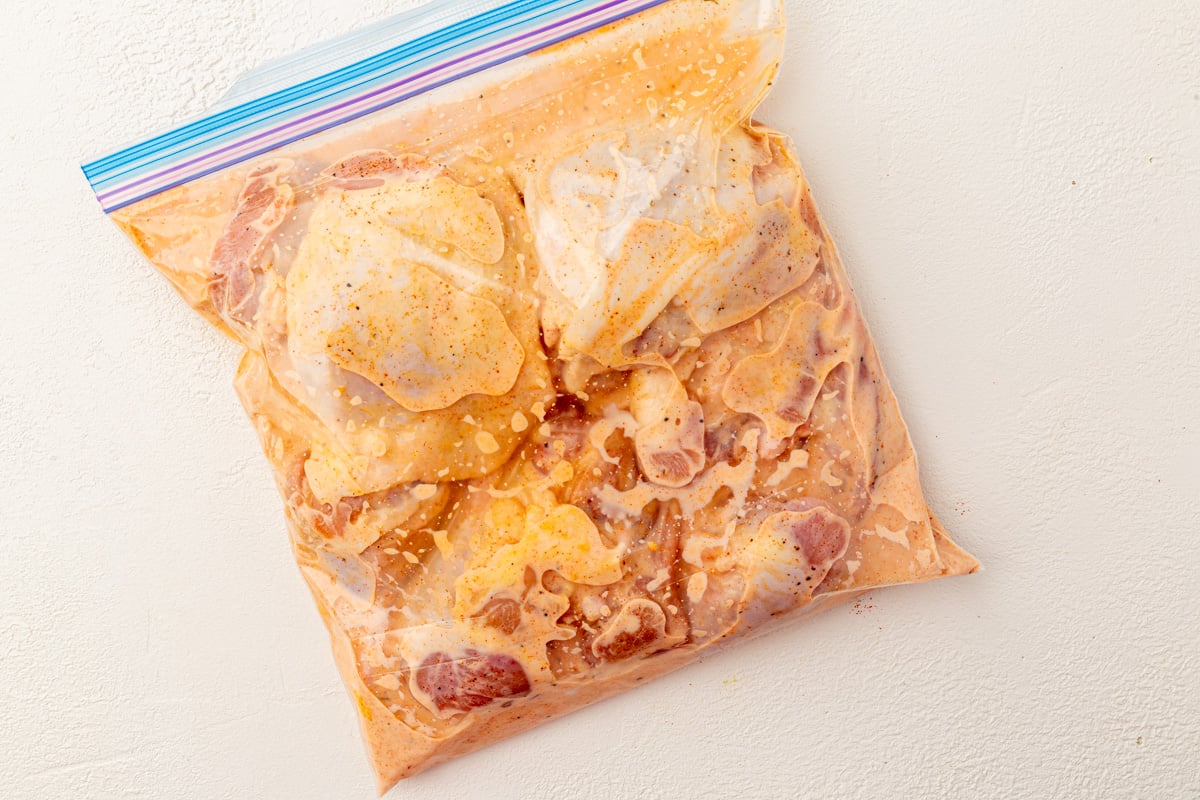
- Make the marinade: In a large bowl or zip-top bag, whisk together 2 cups buttermilk, ½ cup pickle juice, 1 tablespoon salt, 1 teaspoon black pepper, 2 teaspoons garlic powder, and 2 teaspoons paprika.
- Marinate the chicken: Add chicken thighs and legs to the marinade. Make sure everything is coated. Cover and refrigerate for at least 2 hours, but overnight is even better.
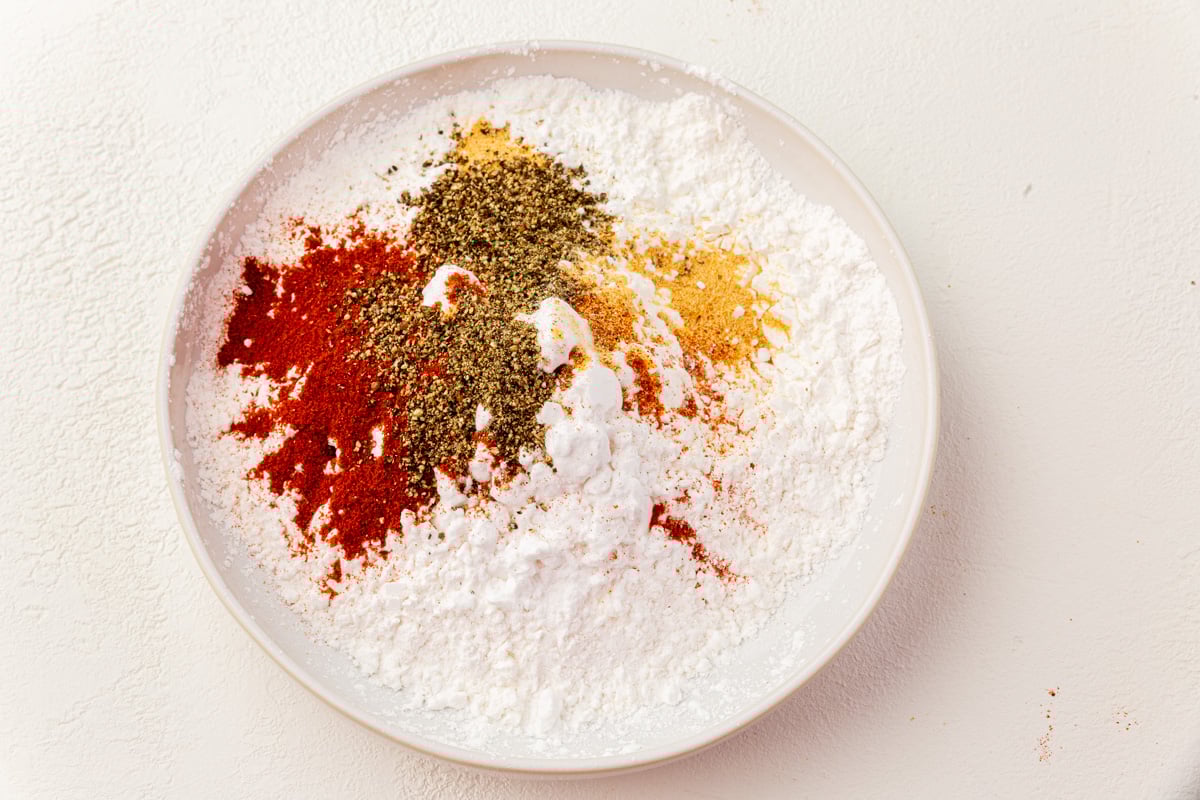
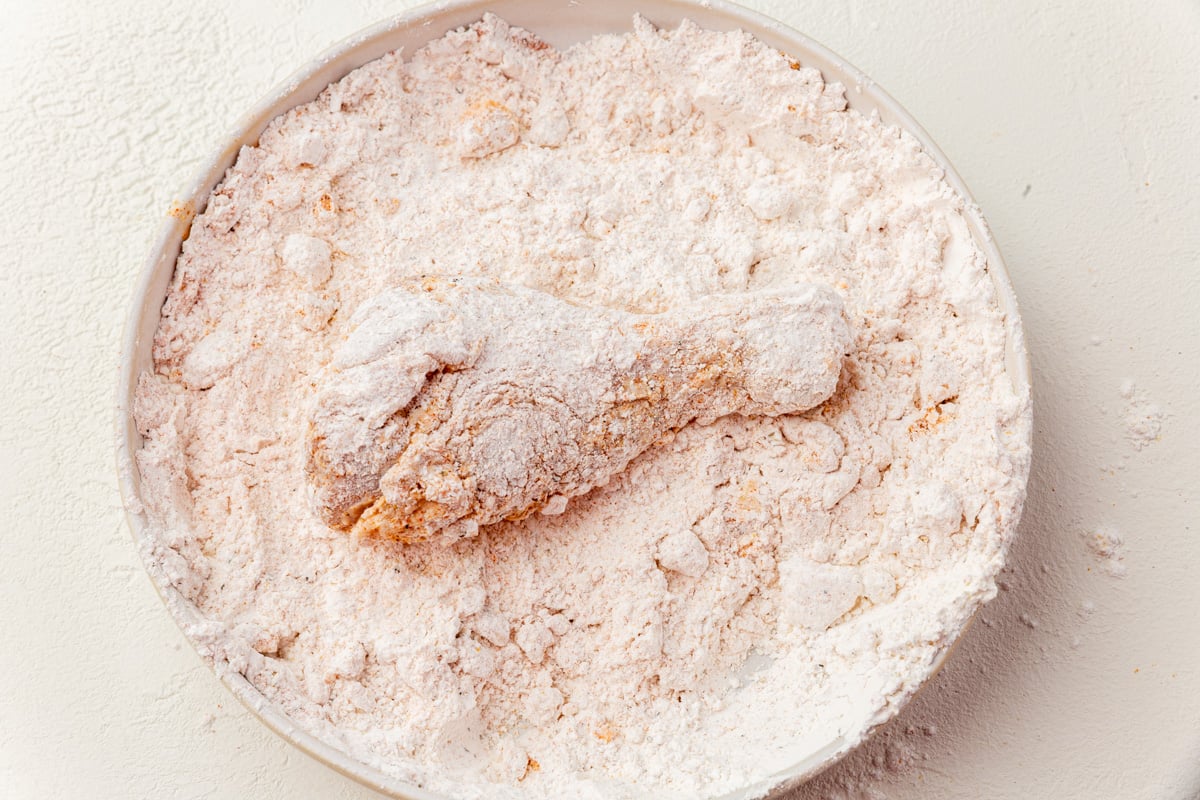
- Make the flour dredge: In a shallow dish, whisk together 115g (1 cup) rice flour, 80g (½ cup) potato starch, 64g (½ cup) cornstarch, 2 teaspoons salt, 2 teaspoons garlic powder, 1 teaspoon onion powder, 1 teaspoon black pepper, and 2 teaspoons paprika.
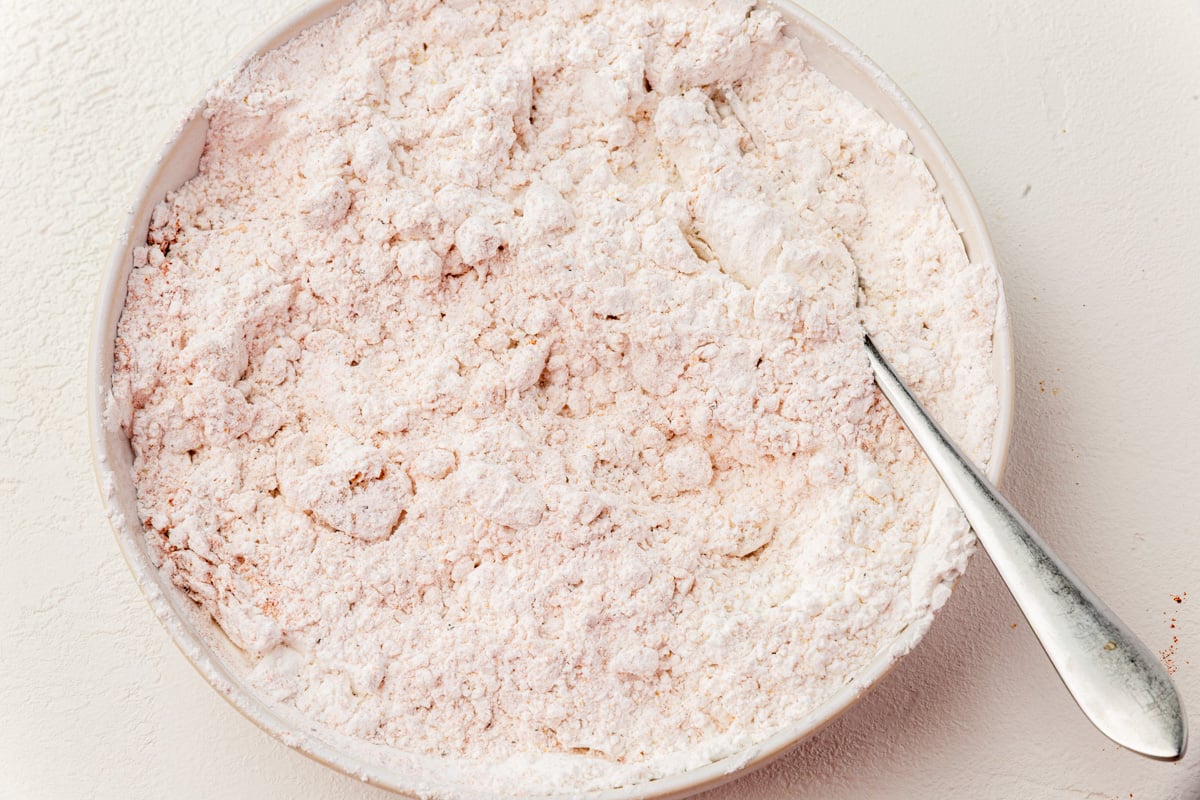
- Add brine to the flour: Take about ½ cup of the marinade and whisk it into the flour mixture.
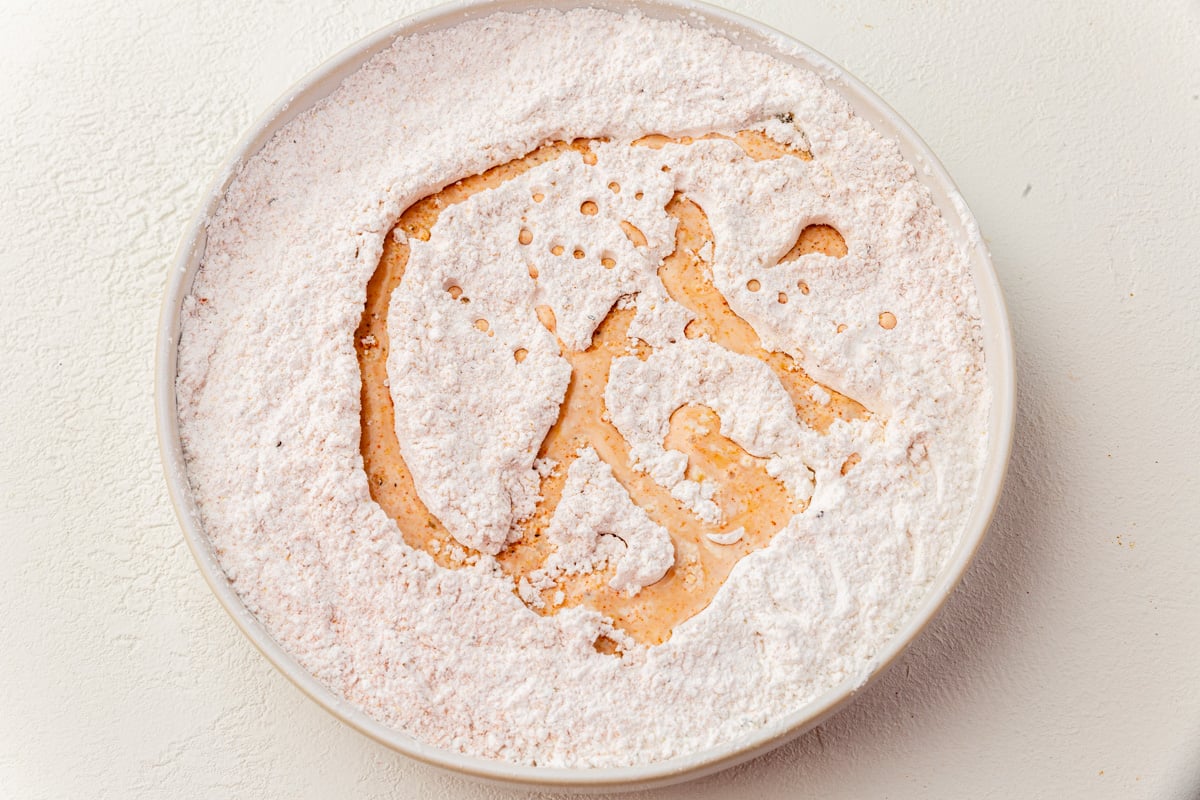
- This creates those craggy bits that fry up extra crispy.
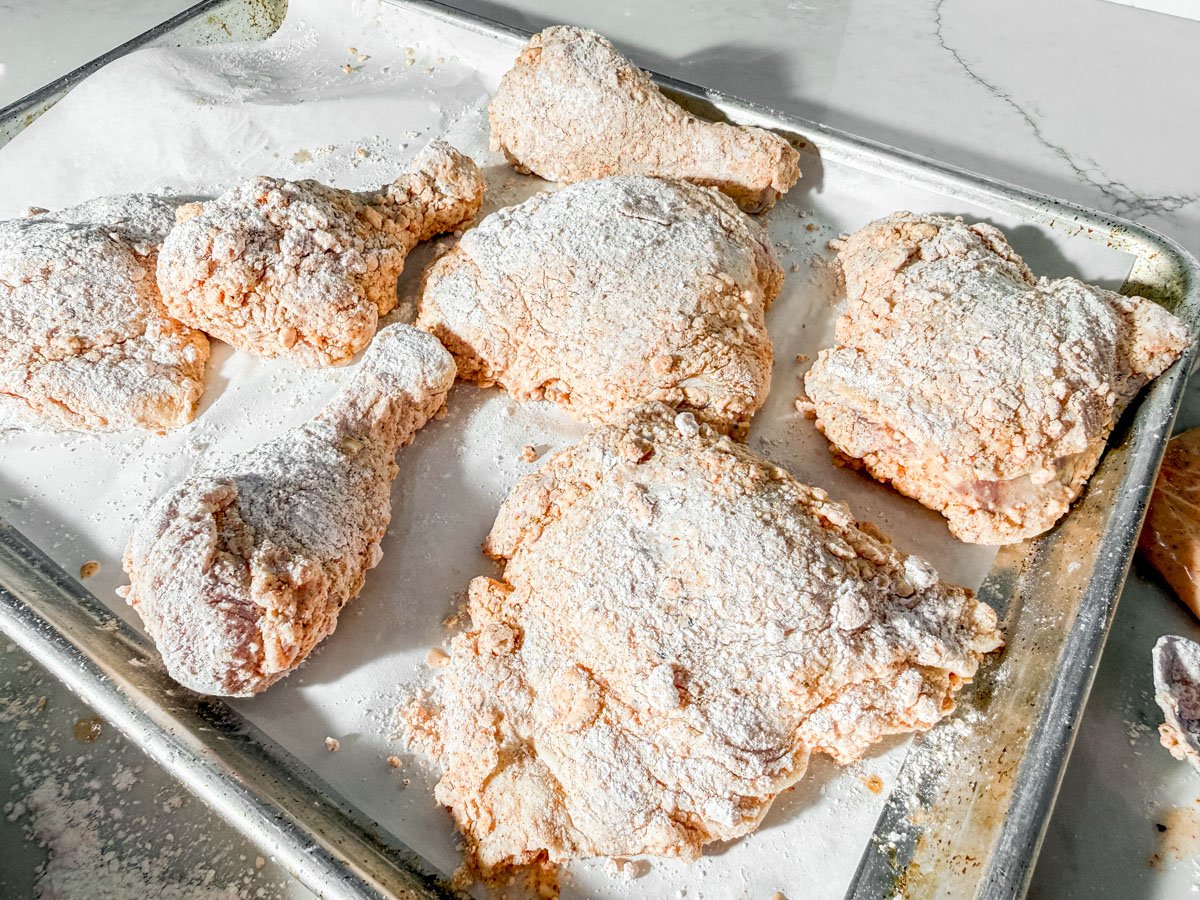
- Dredge the chicken: Remove chicken from the marinade and press each piece firmly into the flour mixture, making sure to coat all the nooks and crannies.
- Let it rest: Place the coated chicken on a wire rack and let it sit for 10-15 minutes. This helps the coating set and stick better.
- Heat the oil: In a large, heavy pot or Dutch oven, heat 3 inches of oil to 325°F.
- Fry the chicken: Working in batches to avoid crowding, carefully add the chicken to the hot oil. Maintain oil temperature at 310-325°F.
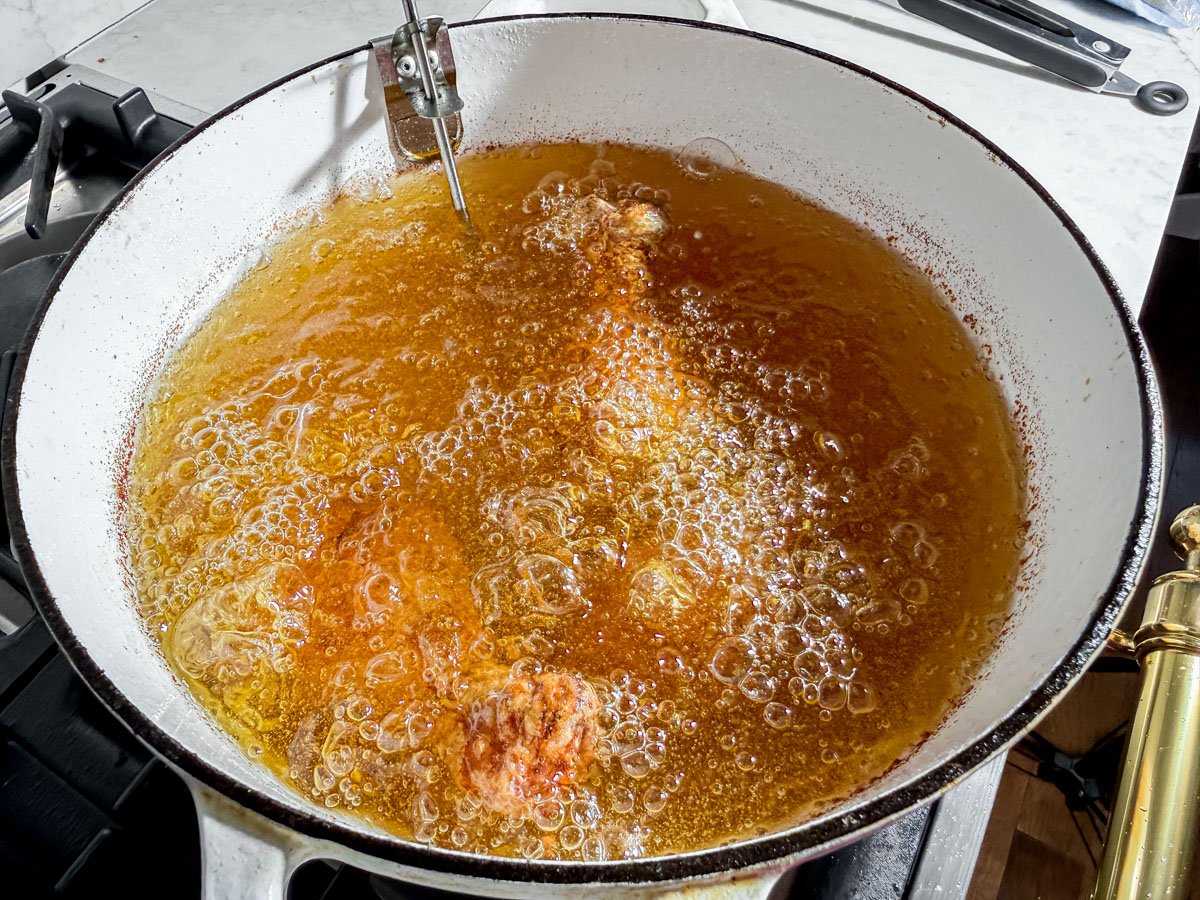
- Fry chicken legs for about 10-14 minutes and thighs for 12-16 minutes, flipping halfway through, until golden brown and internal temperature reaches 165°F. Use a thermometer to confirm the internal temperature of the chicken.
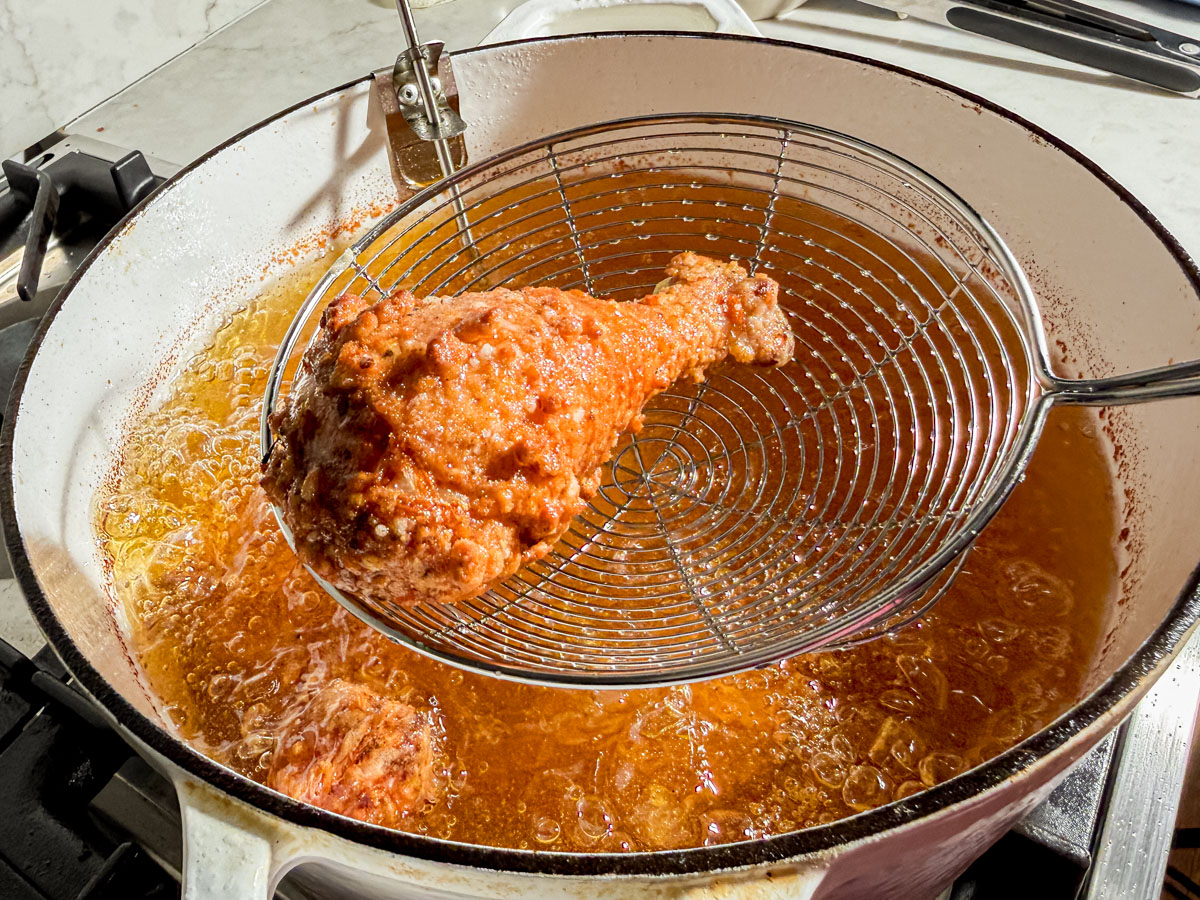
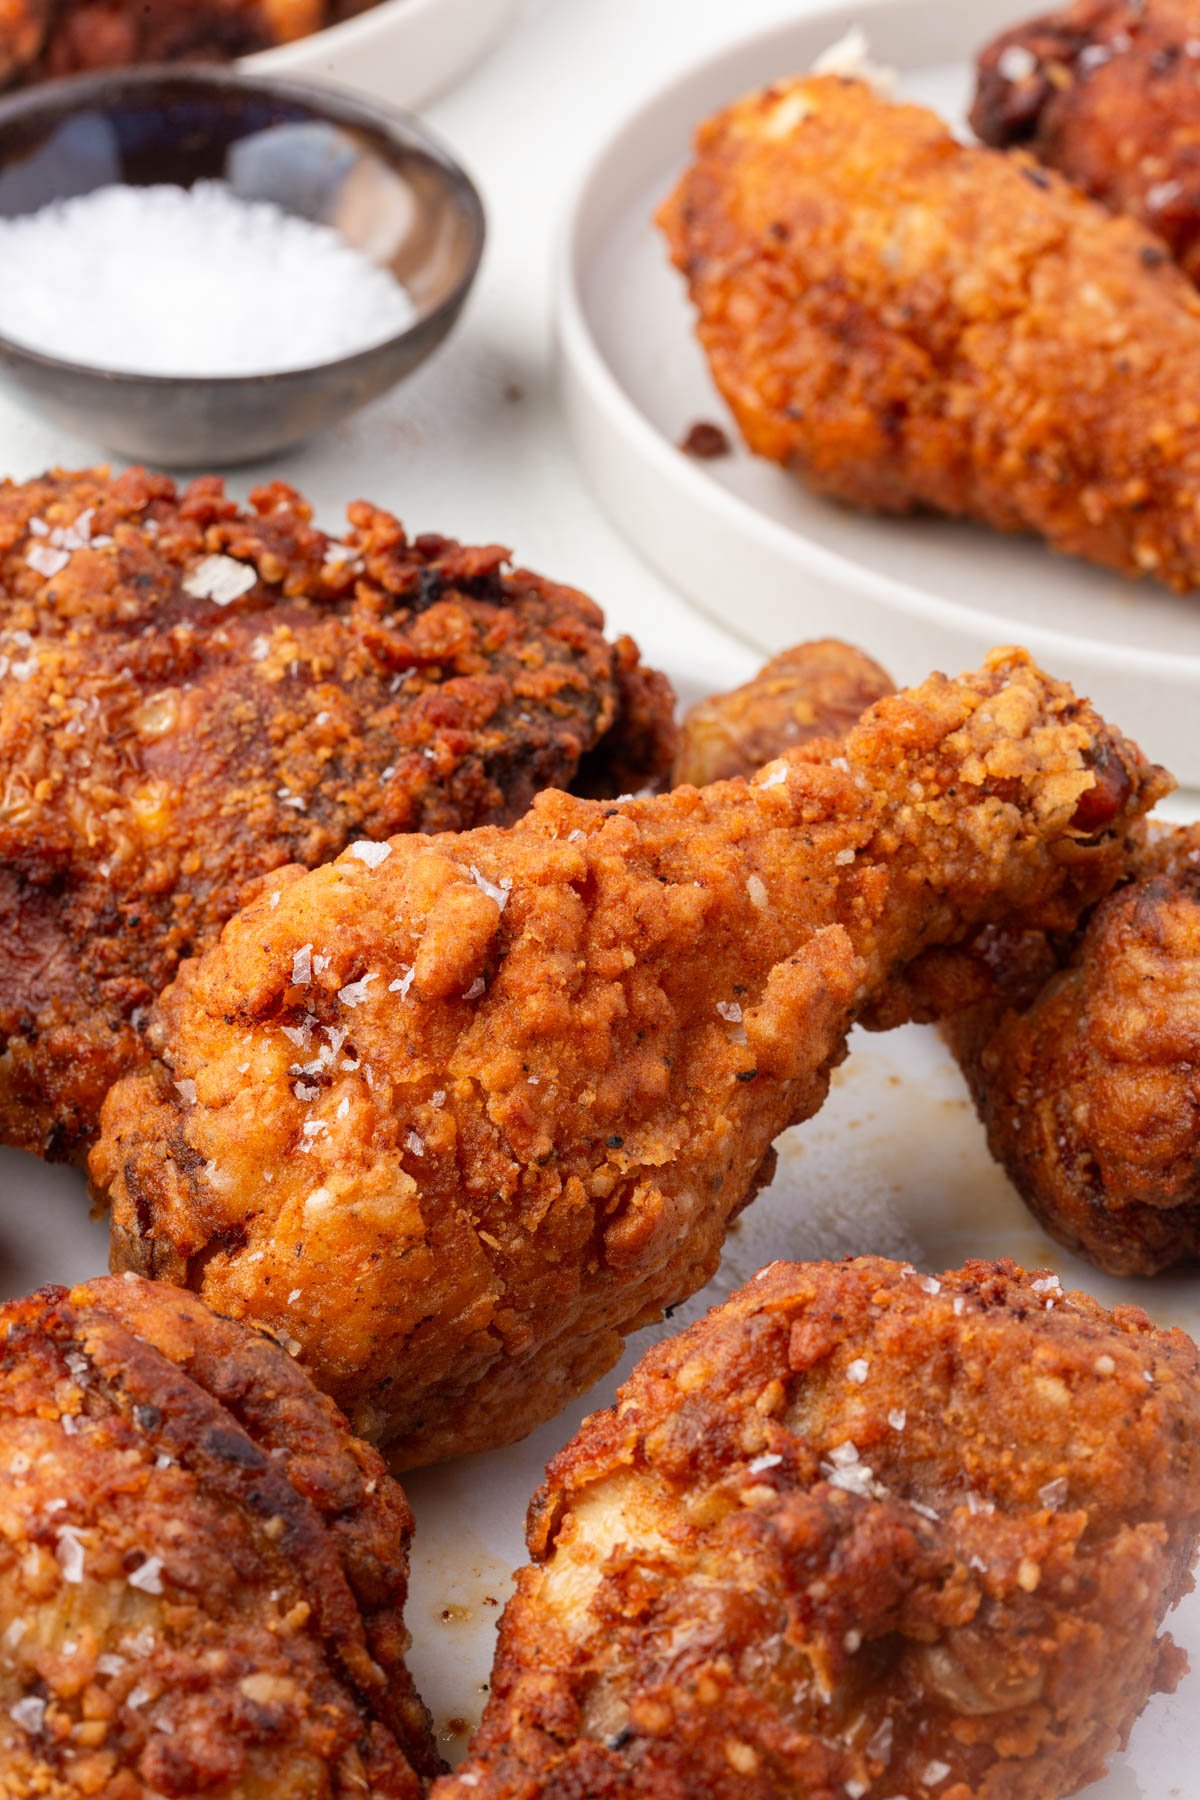
- Drain and season: Transfer fried chicken to a wire rack set over a baking sheet. Immediately sprinkle with flaky sea salt while still hot.
Notes
- Flour Blend: Don’t substitute with store-bought gluten-free blends. Most contain xanthan gum and binders that make the coating heavy and gummy. This custom blend was tested specifically for this recipe to get that light, crispy texture.
- Note on rice flour weight: Rice flour weight varies significantly by brand depending on how finely it’s milled. I use Three Ladies brand (115g per cup), which is also way cheaper than brands like Bob’s Red Mill. If using a different brand, 1 cup may weigh closer to 140-158g. For best results, measure by weight if possible, but the cup measurement should work across brands.
- Oil Temperature: Maintaining 310-325°F is crucial. Use a thermometer to keep it consistent. If the oil gets too hot, the coating will burn. If it’s not hot enough, the chicken gets greasy instead of crispy.
- Frying Time: Total frying time will be 45-50 minutes when cooking all pieces in batches. I usually do about 3 pieces per batch with my dutch oven but that may vary depending on the size of your pot.
- Resting Time: Don’t skip letting the coated chicken rest for 10-15 minutes. This helps the coating hydrate and stick better during frying.
Nutrition