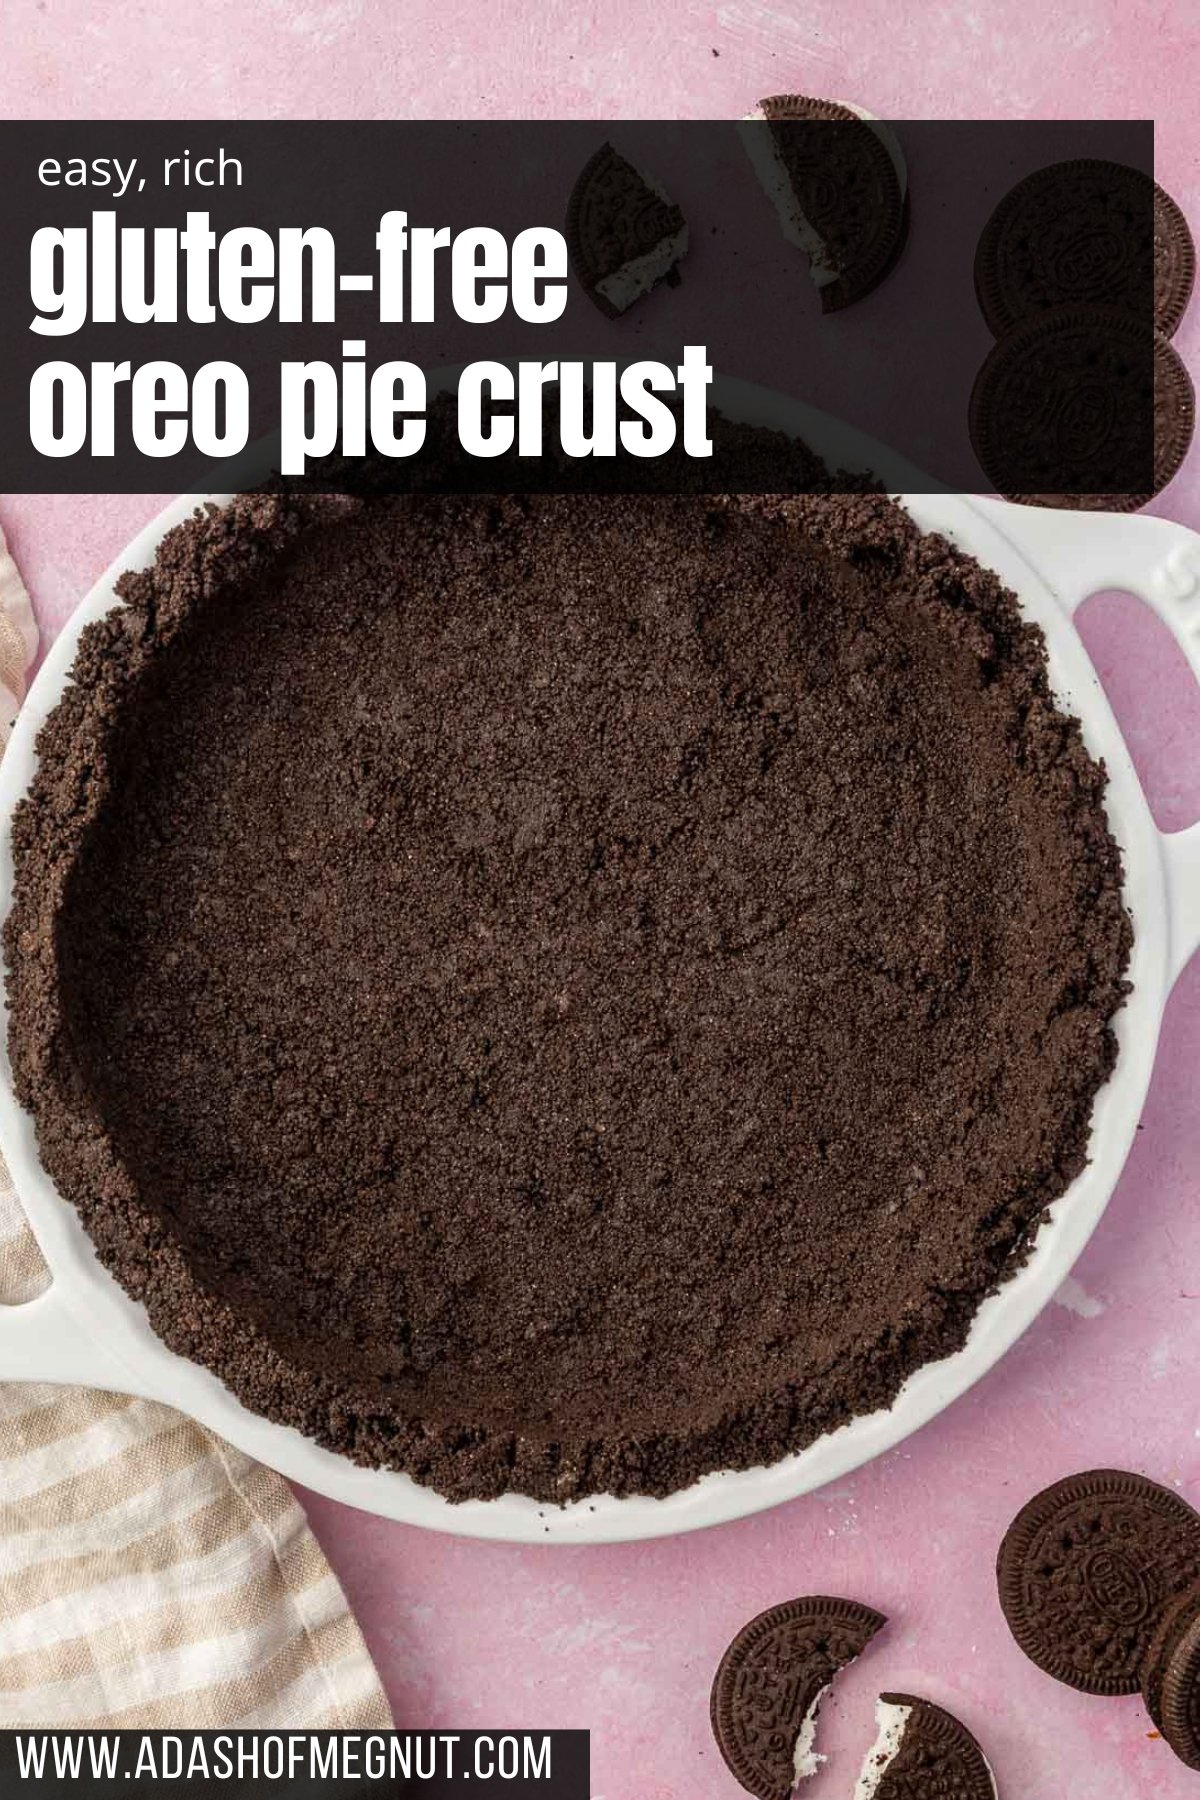
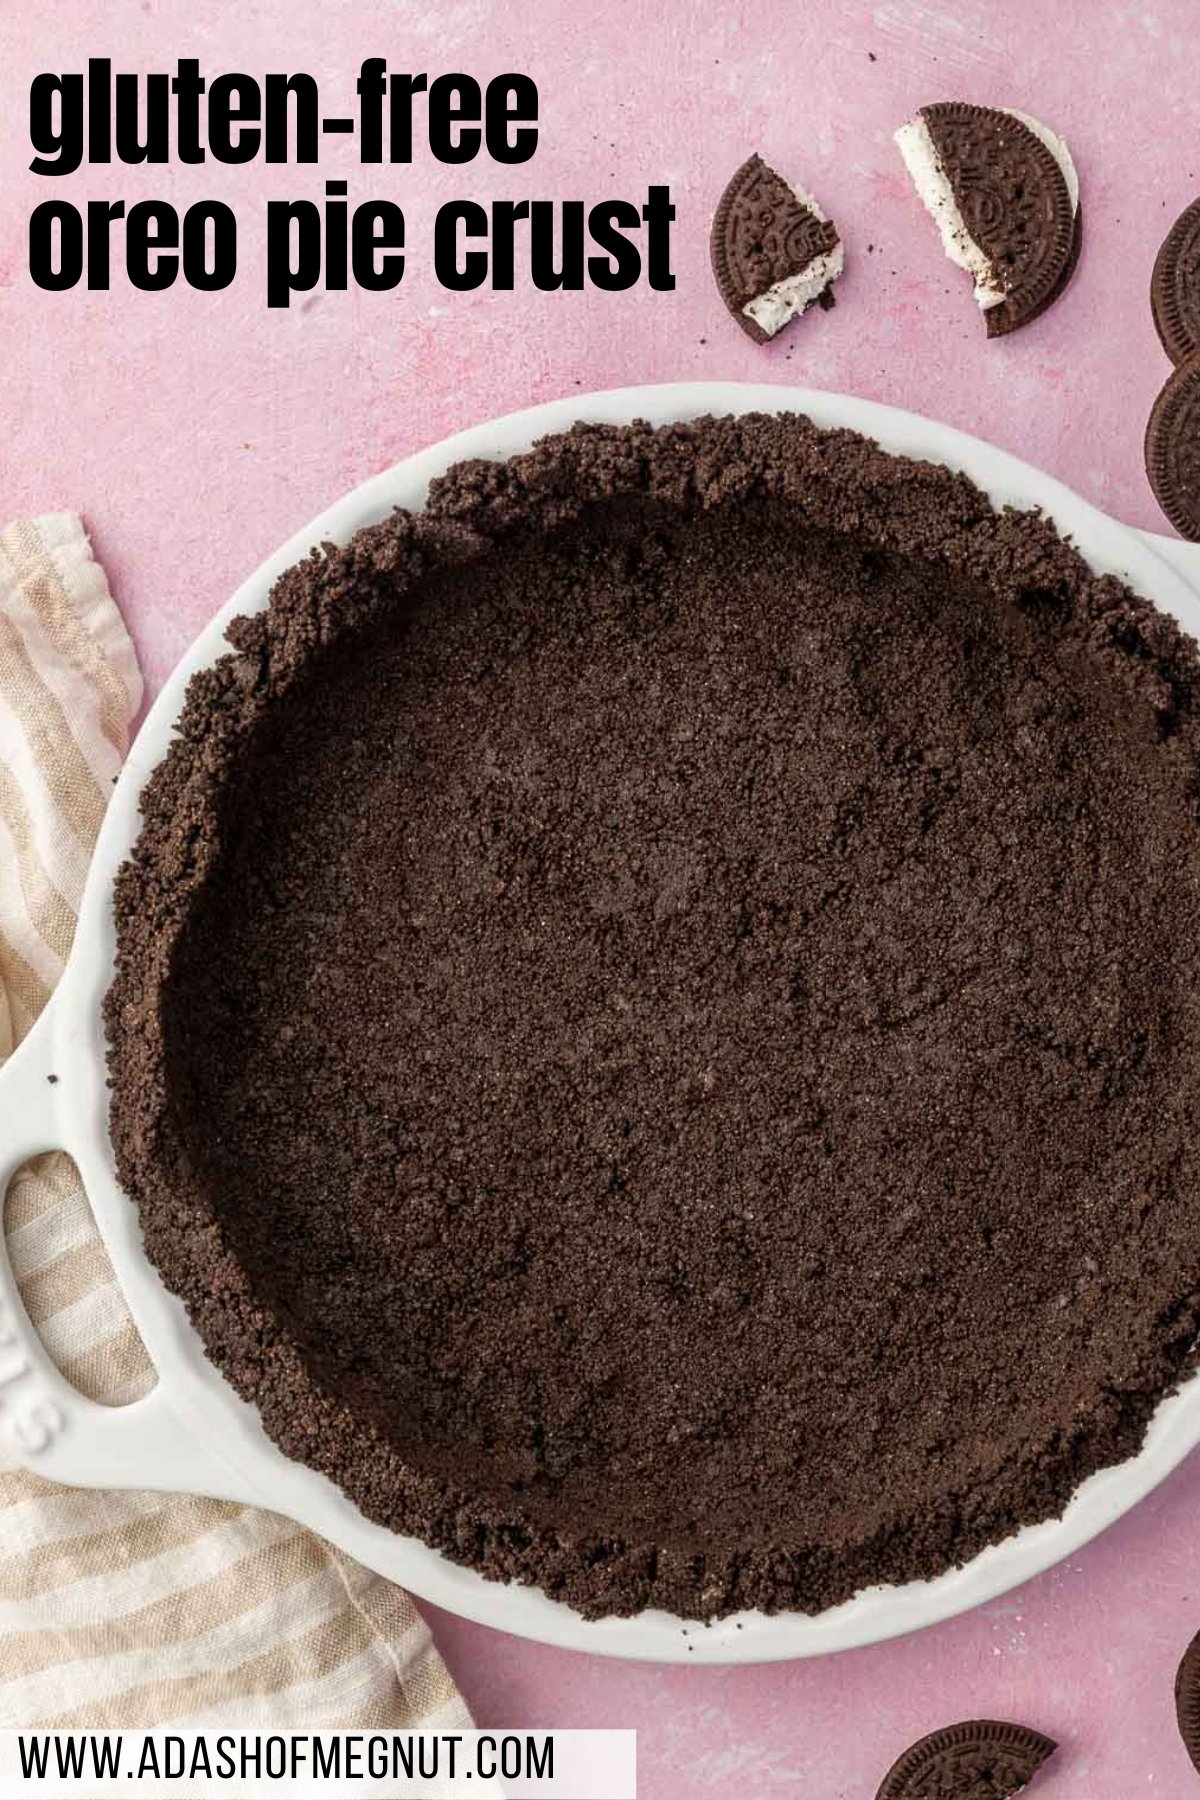
Two ingredients. That’s it. This gluten-free Oreo pie crust comes together in about 10 minutes and works for both baked and no-bake pies. I use it for my gluten-free Oreo pudding pie and my gluten-free cheesecake when I want a chocolate crust instead of my gluten-free graham cracker crust.
The key is using regular gluten-free Oreos, not double stuffed. Too much filling and the crust won’t hold together the way it should.
Why You’ll Love This Recipe
Ingredient Notes
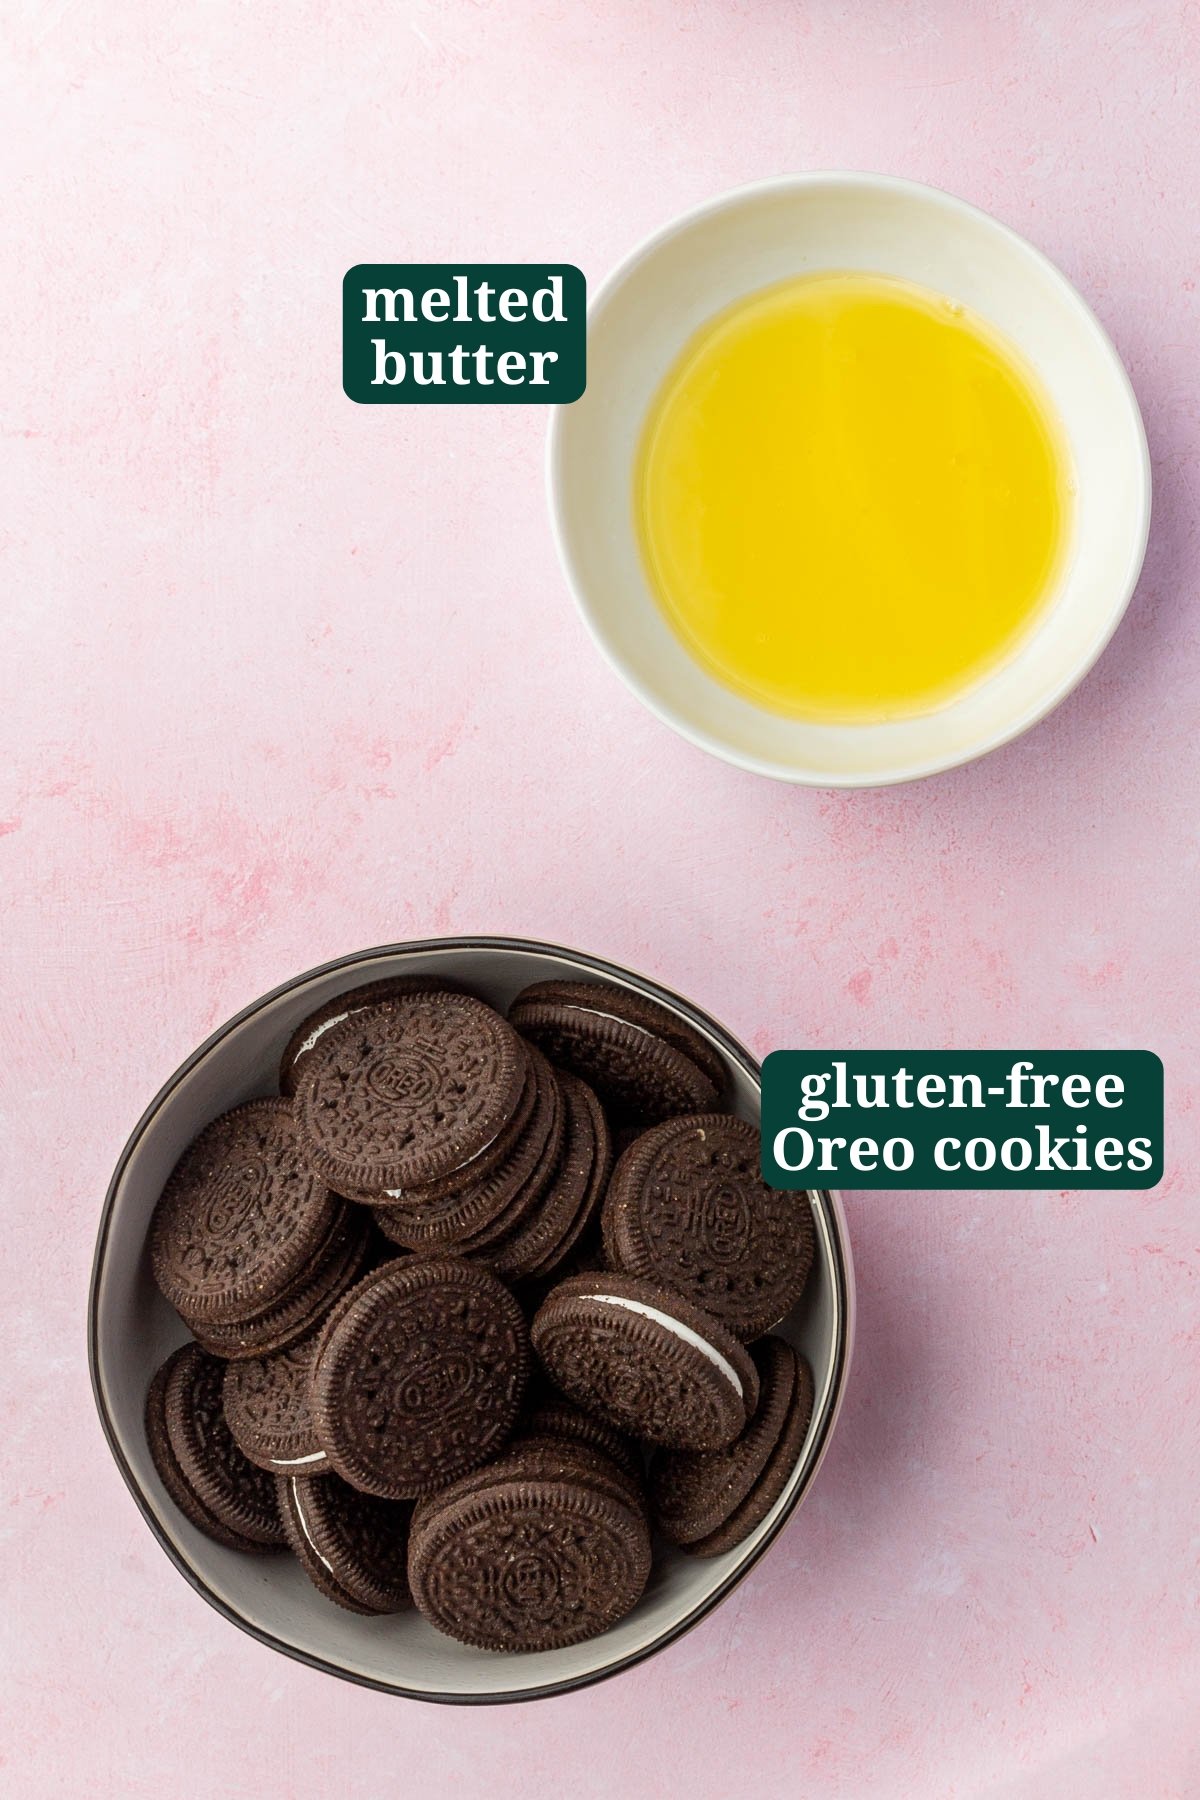
- Gluten-Free Oreos – Use regular gluten-free Oreos, NOT double stuffed. The extra filling in double stuffed throws off the ratio and the crust won’t hold together. Leave the filling in the cookies when you process them.
- Unsalted Butter – Unsalted butter works best here. Melt it and let it cool slightly before adding to the crumbs. If it’s too hot it can make the crumbs greasy rather than sandy.
Baked crust or no-bake crust?
Technically you can do either, but I usually bake mine even when the filling is no-bake. Ten minutes at 350°F and it holds its shape noticeably better when you slice. If you skip the oven, refrigerate the crust for at least 1 hour before filling. Either way, make sure the crust is fully cooled before anything goes in.
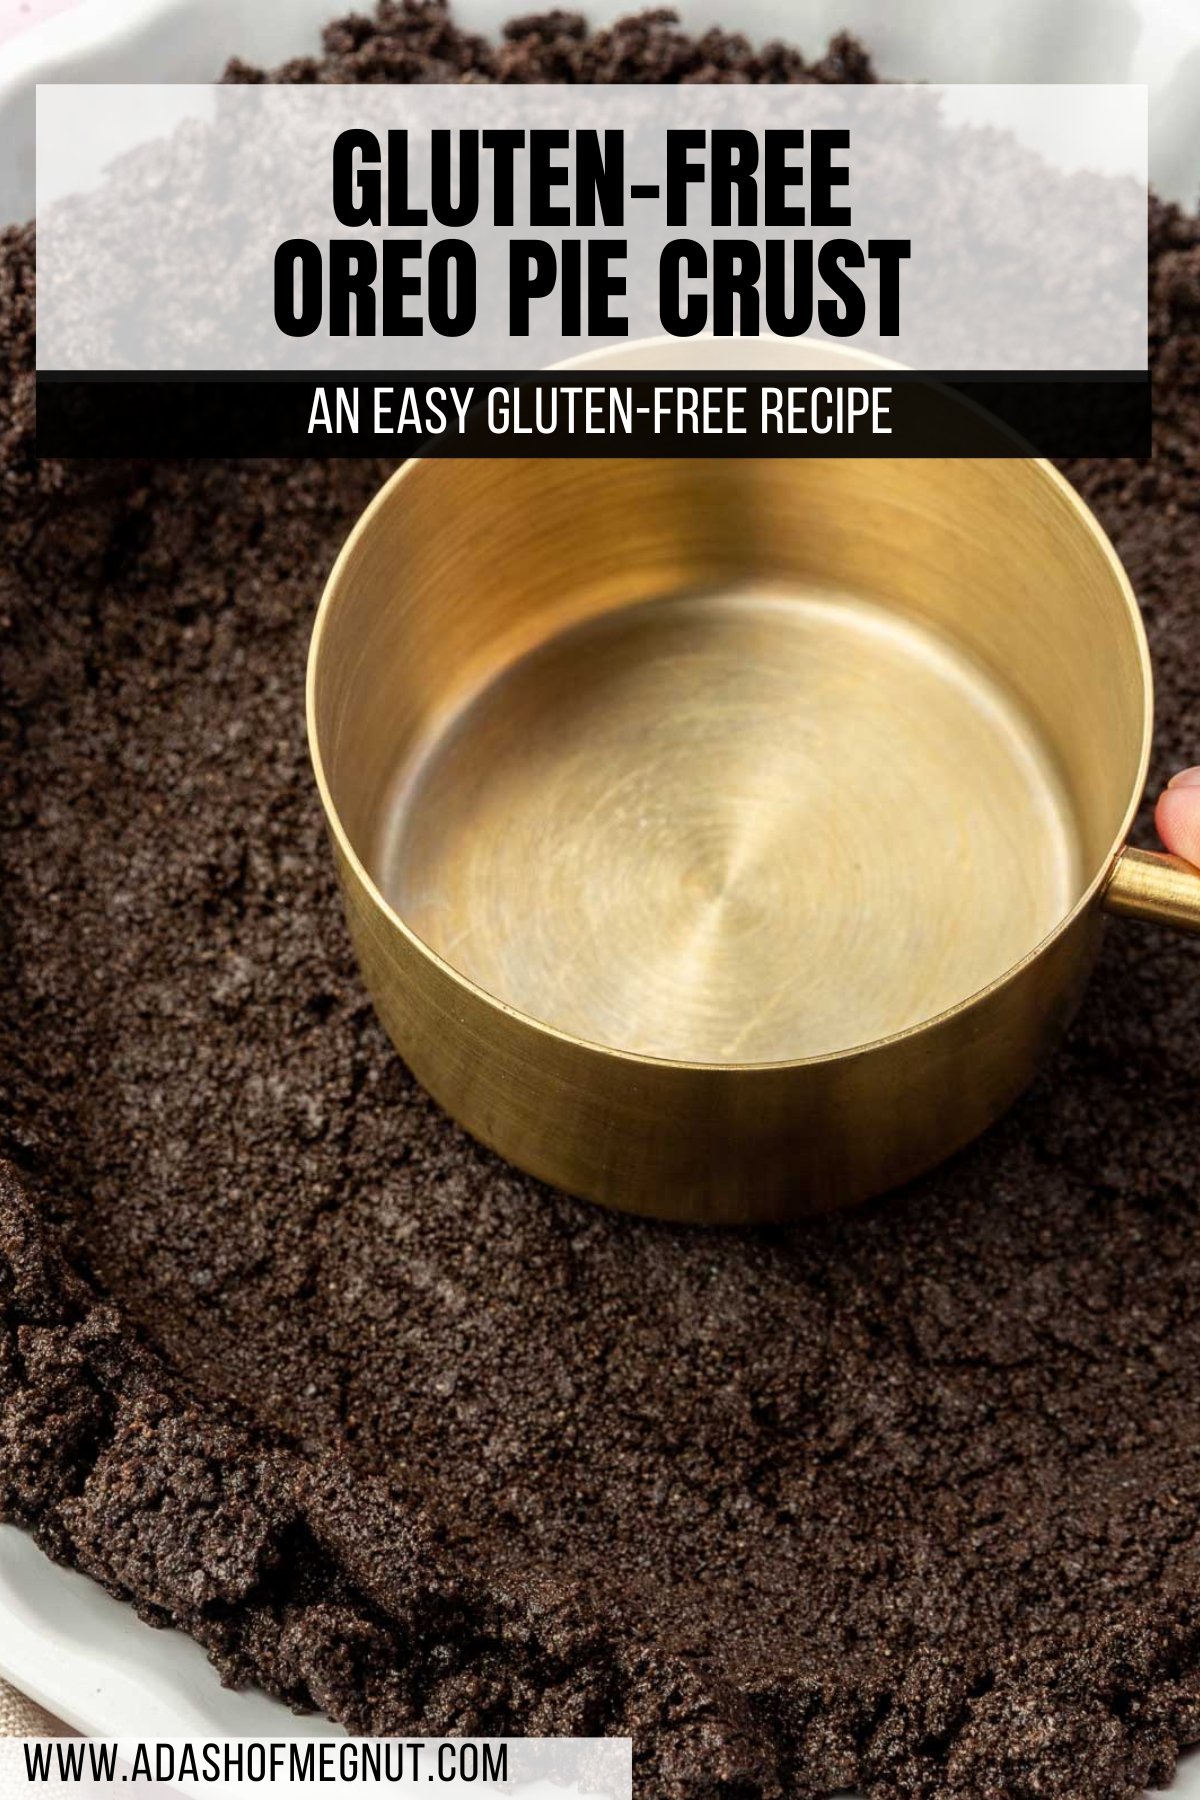
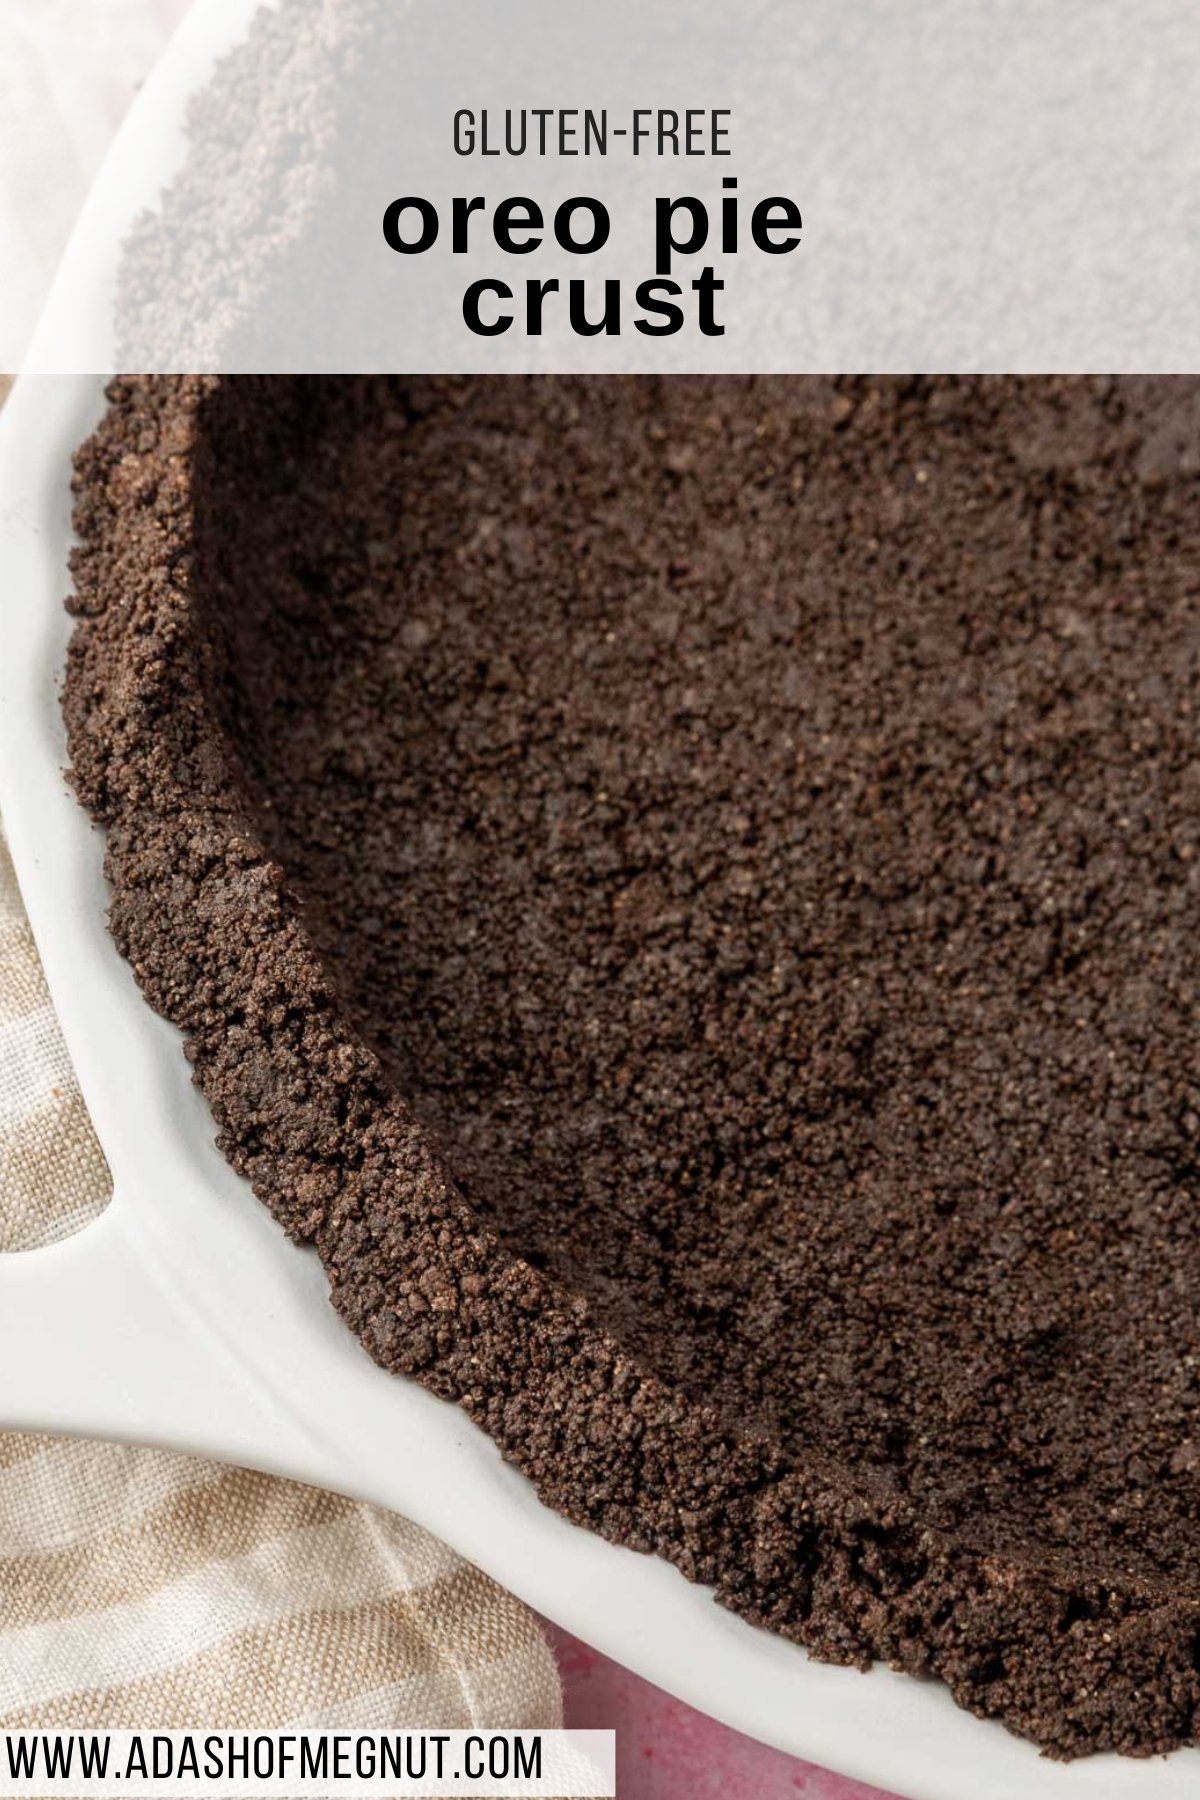
Step-by-Step Instructions
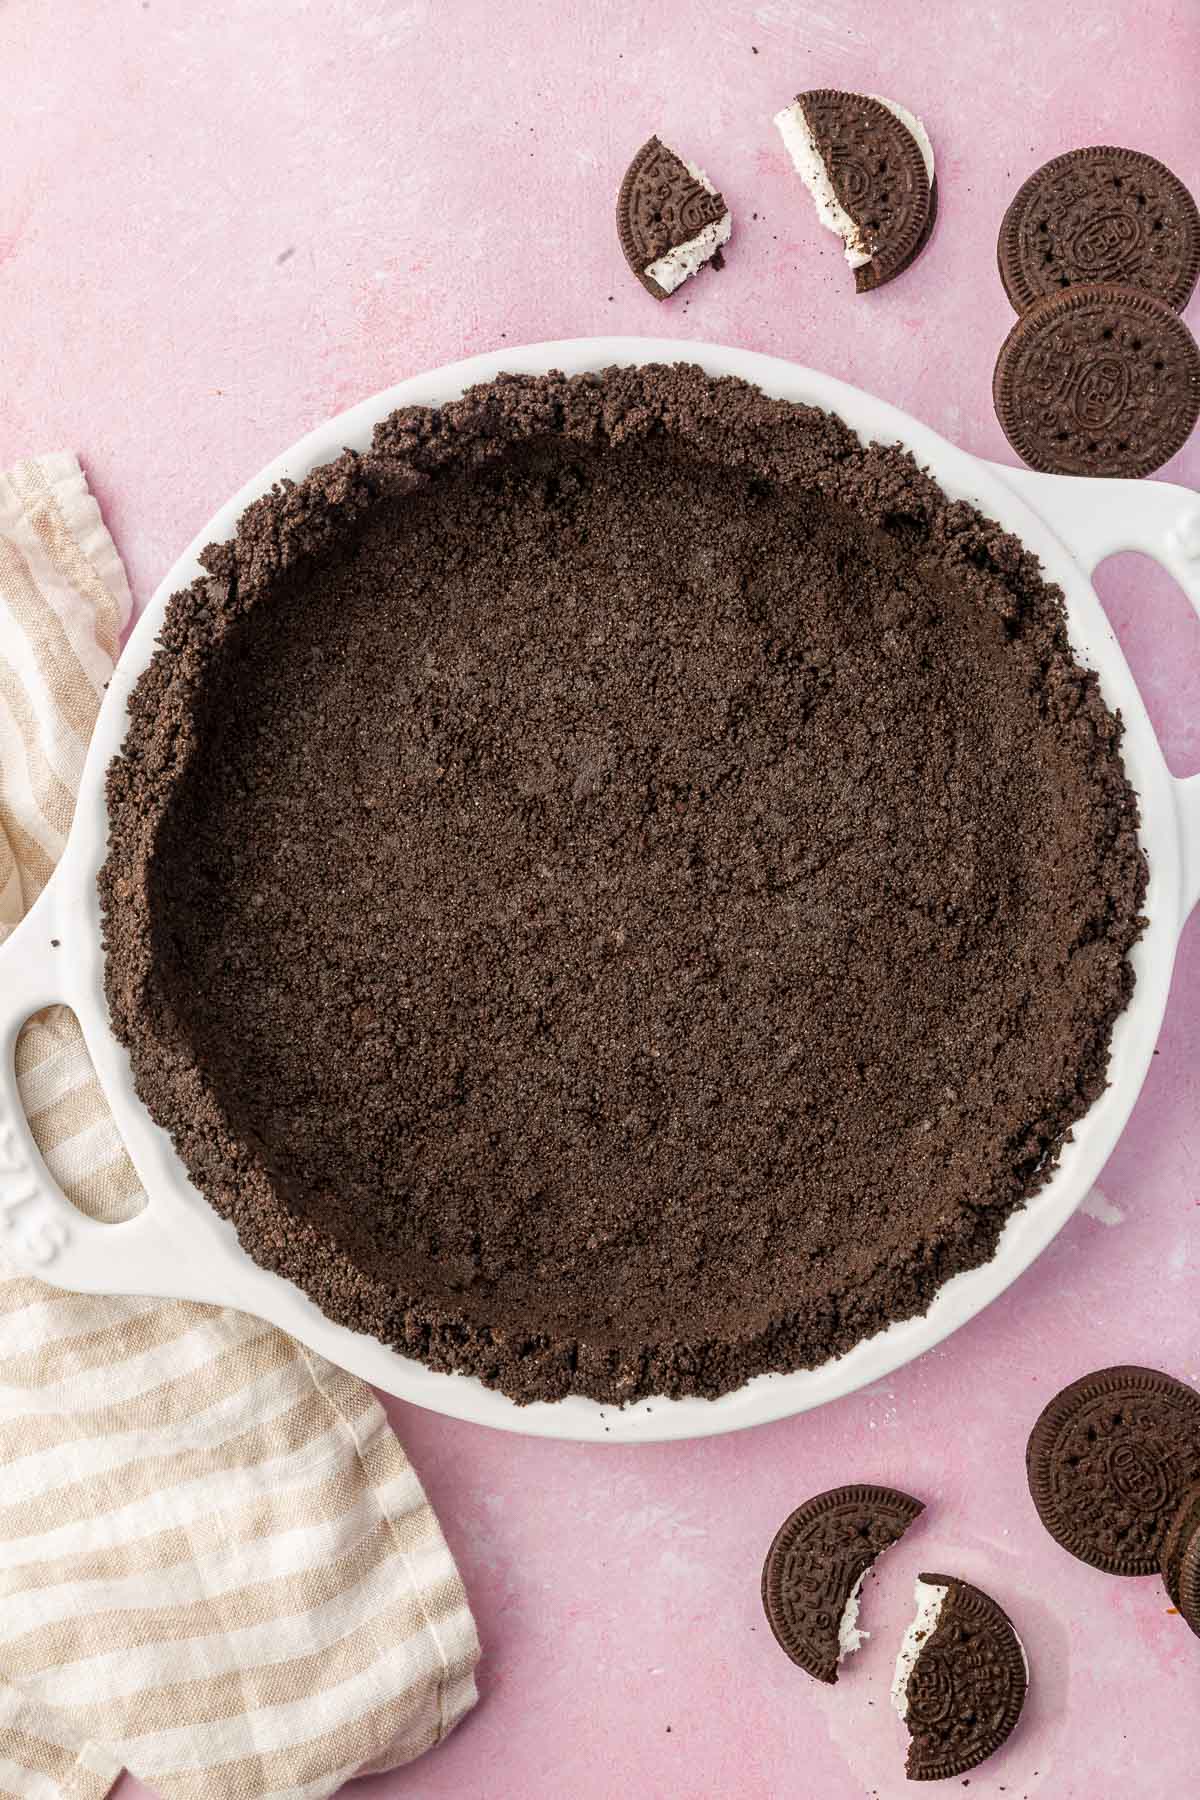
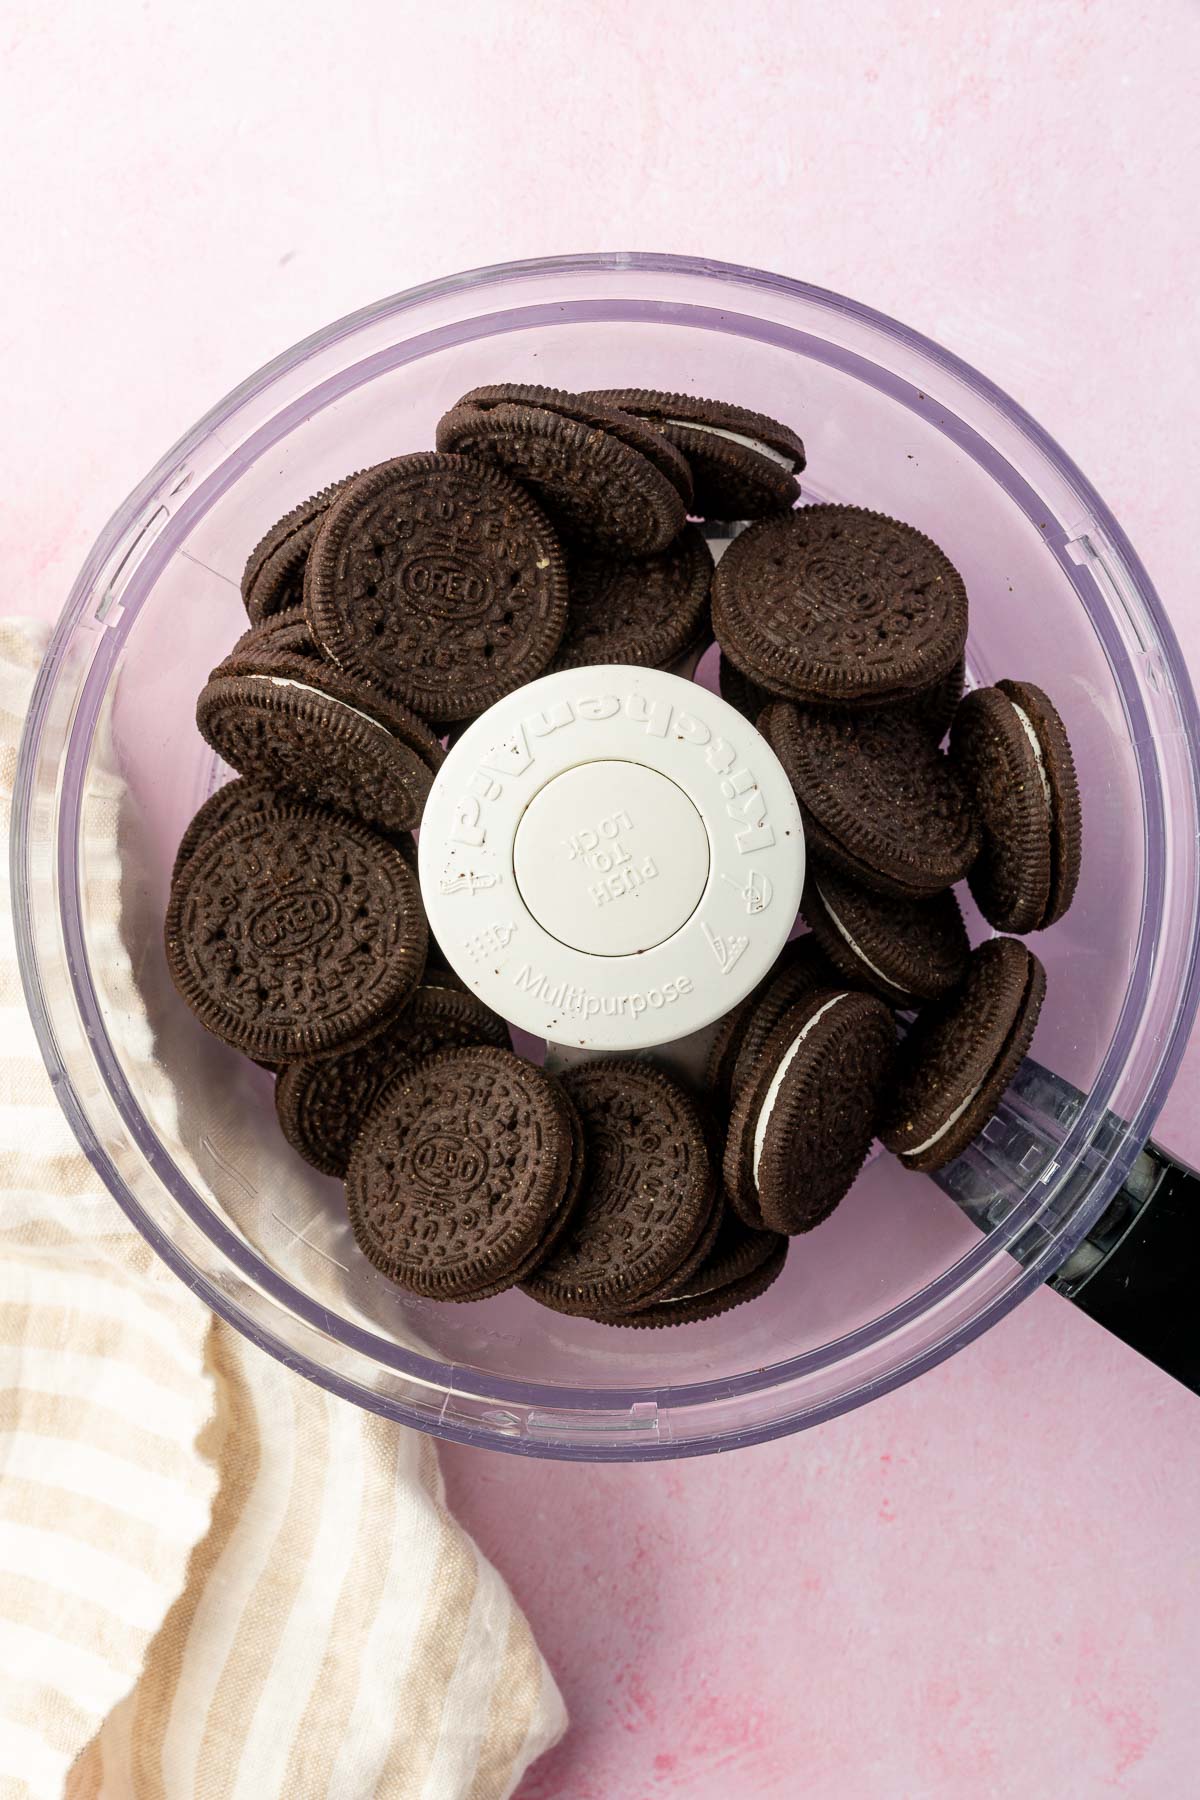
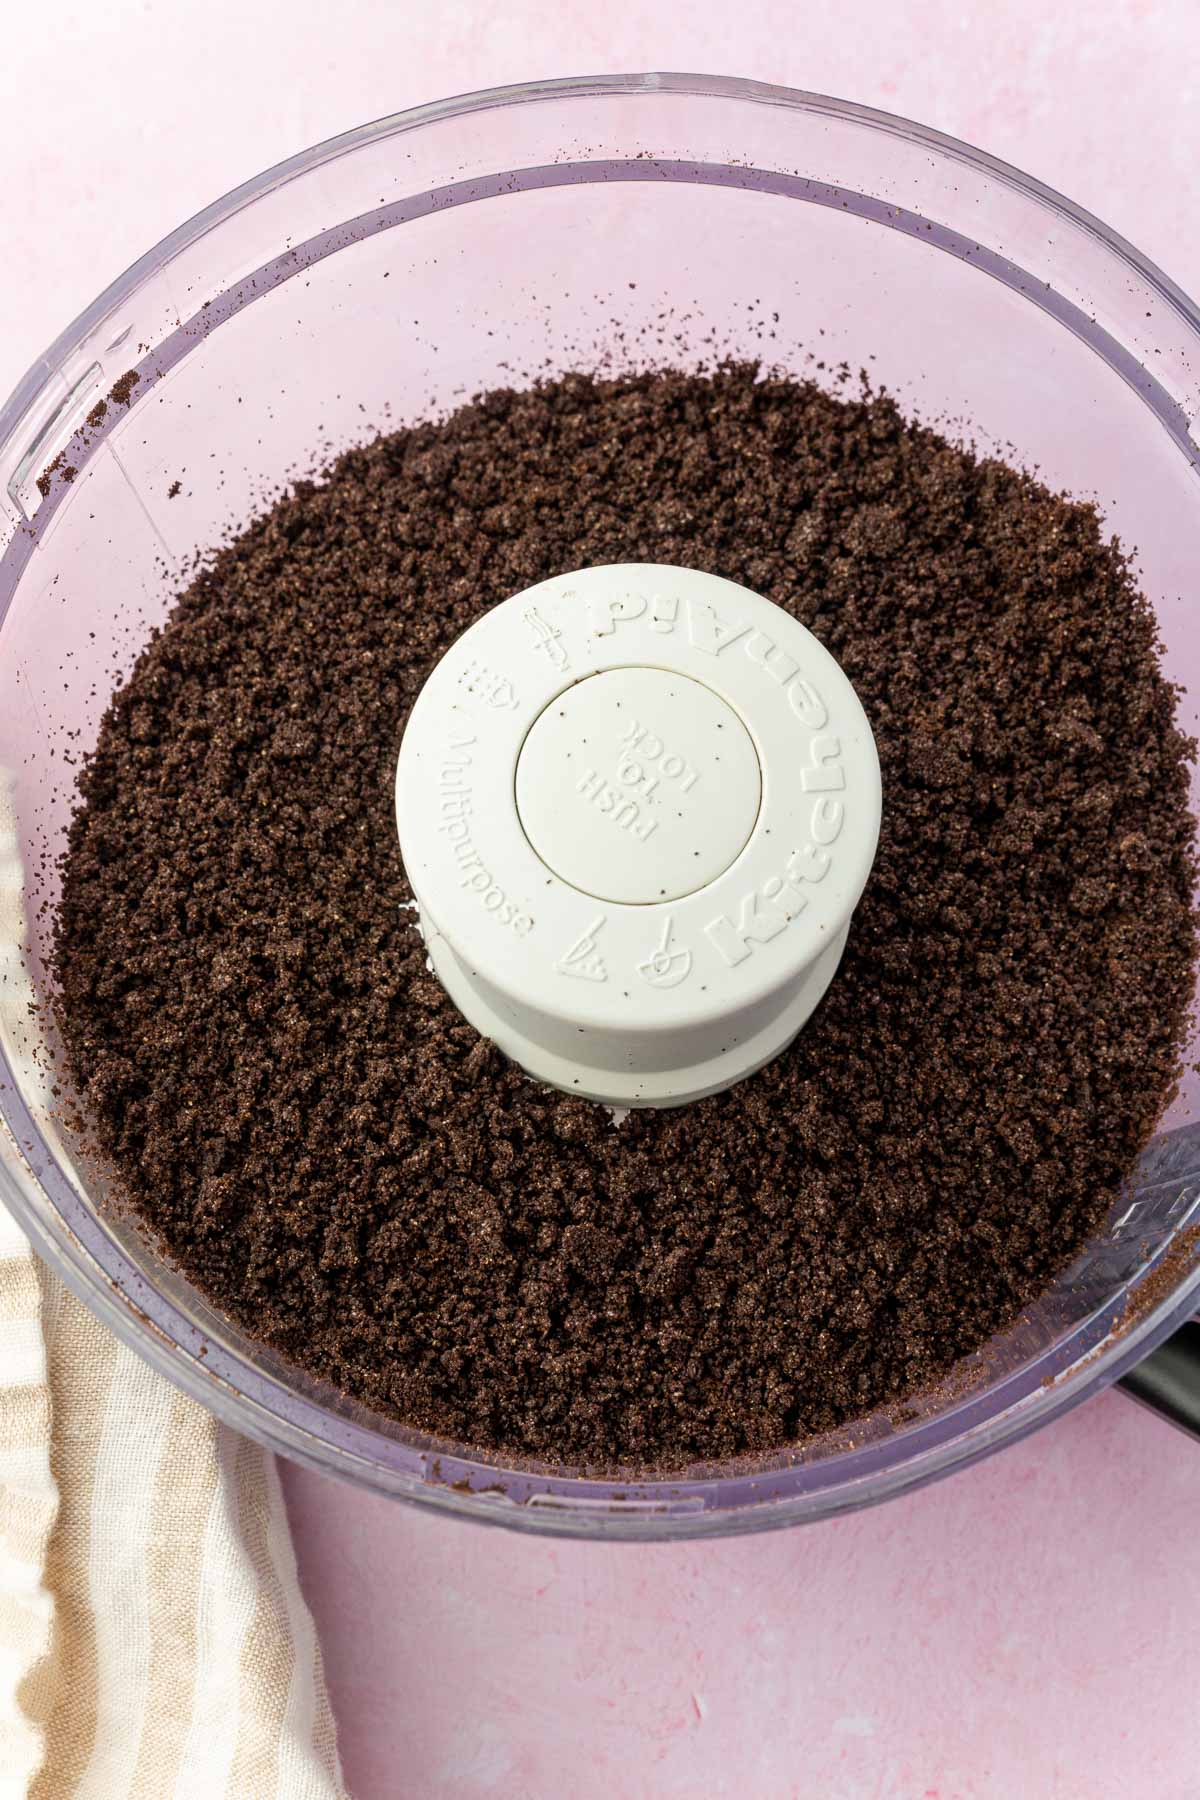
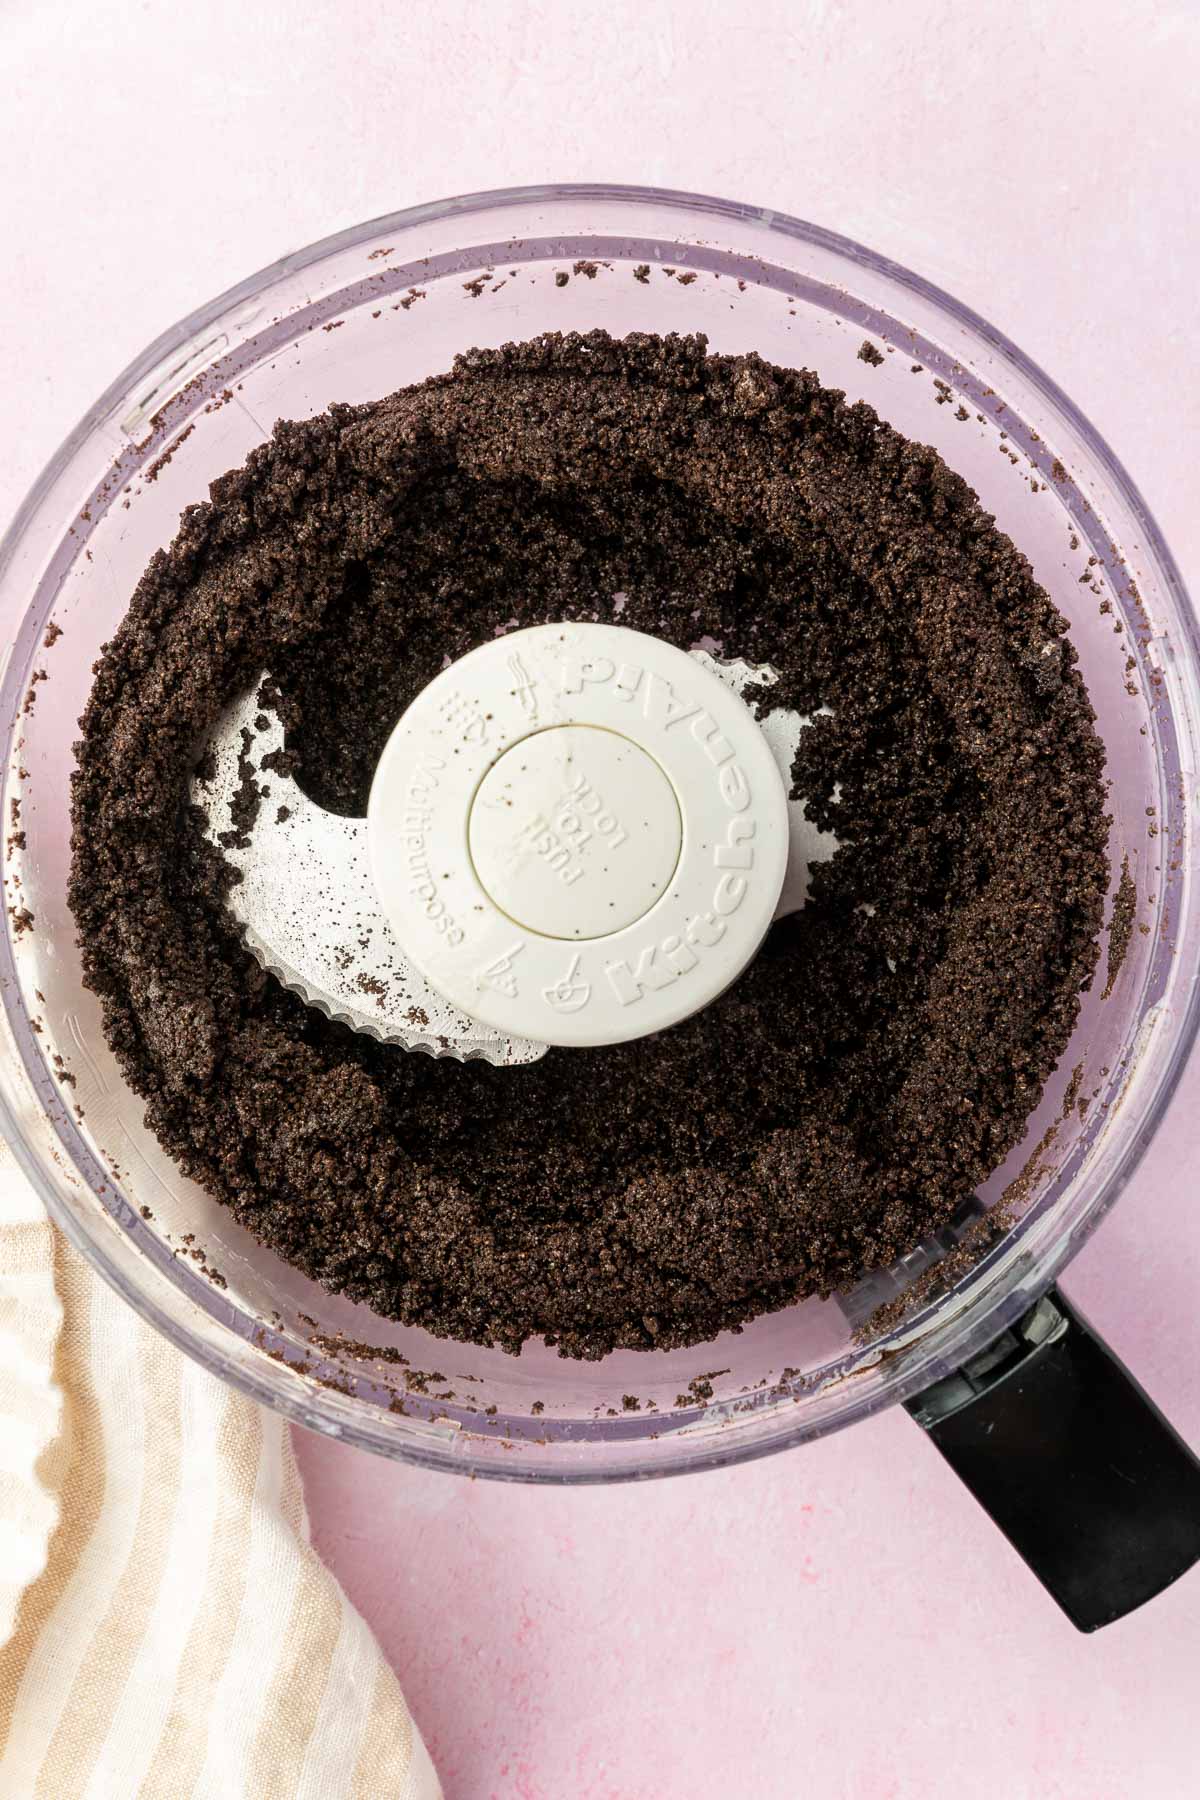
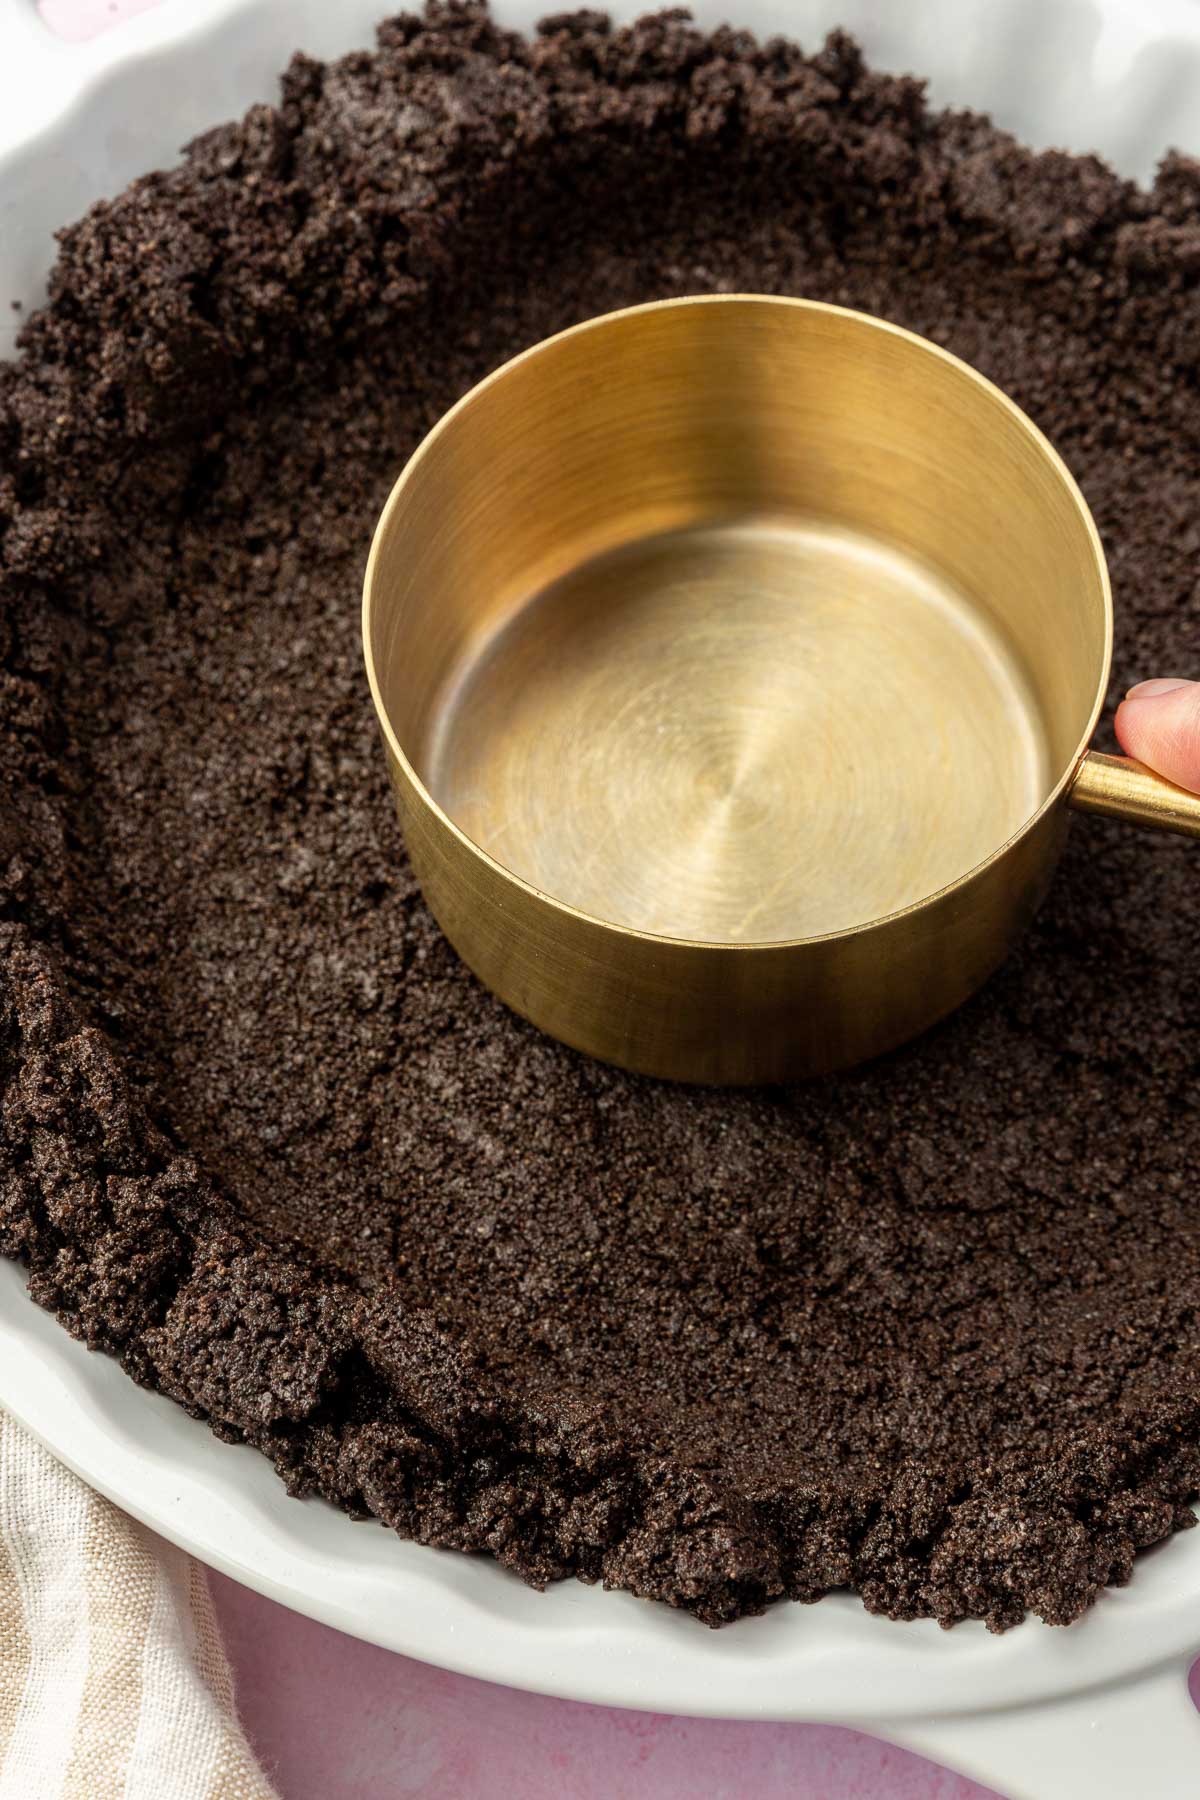
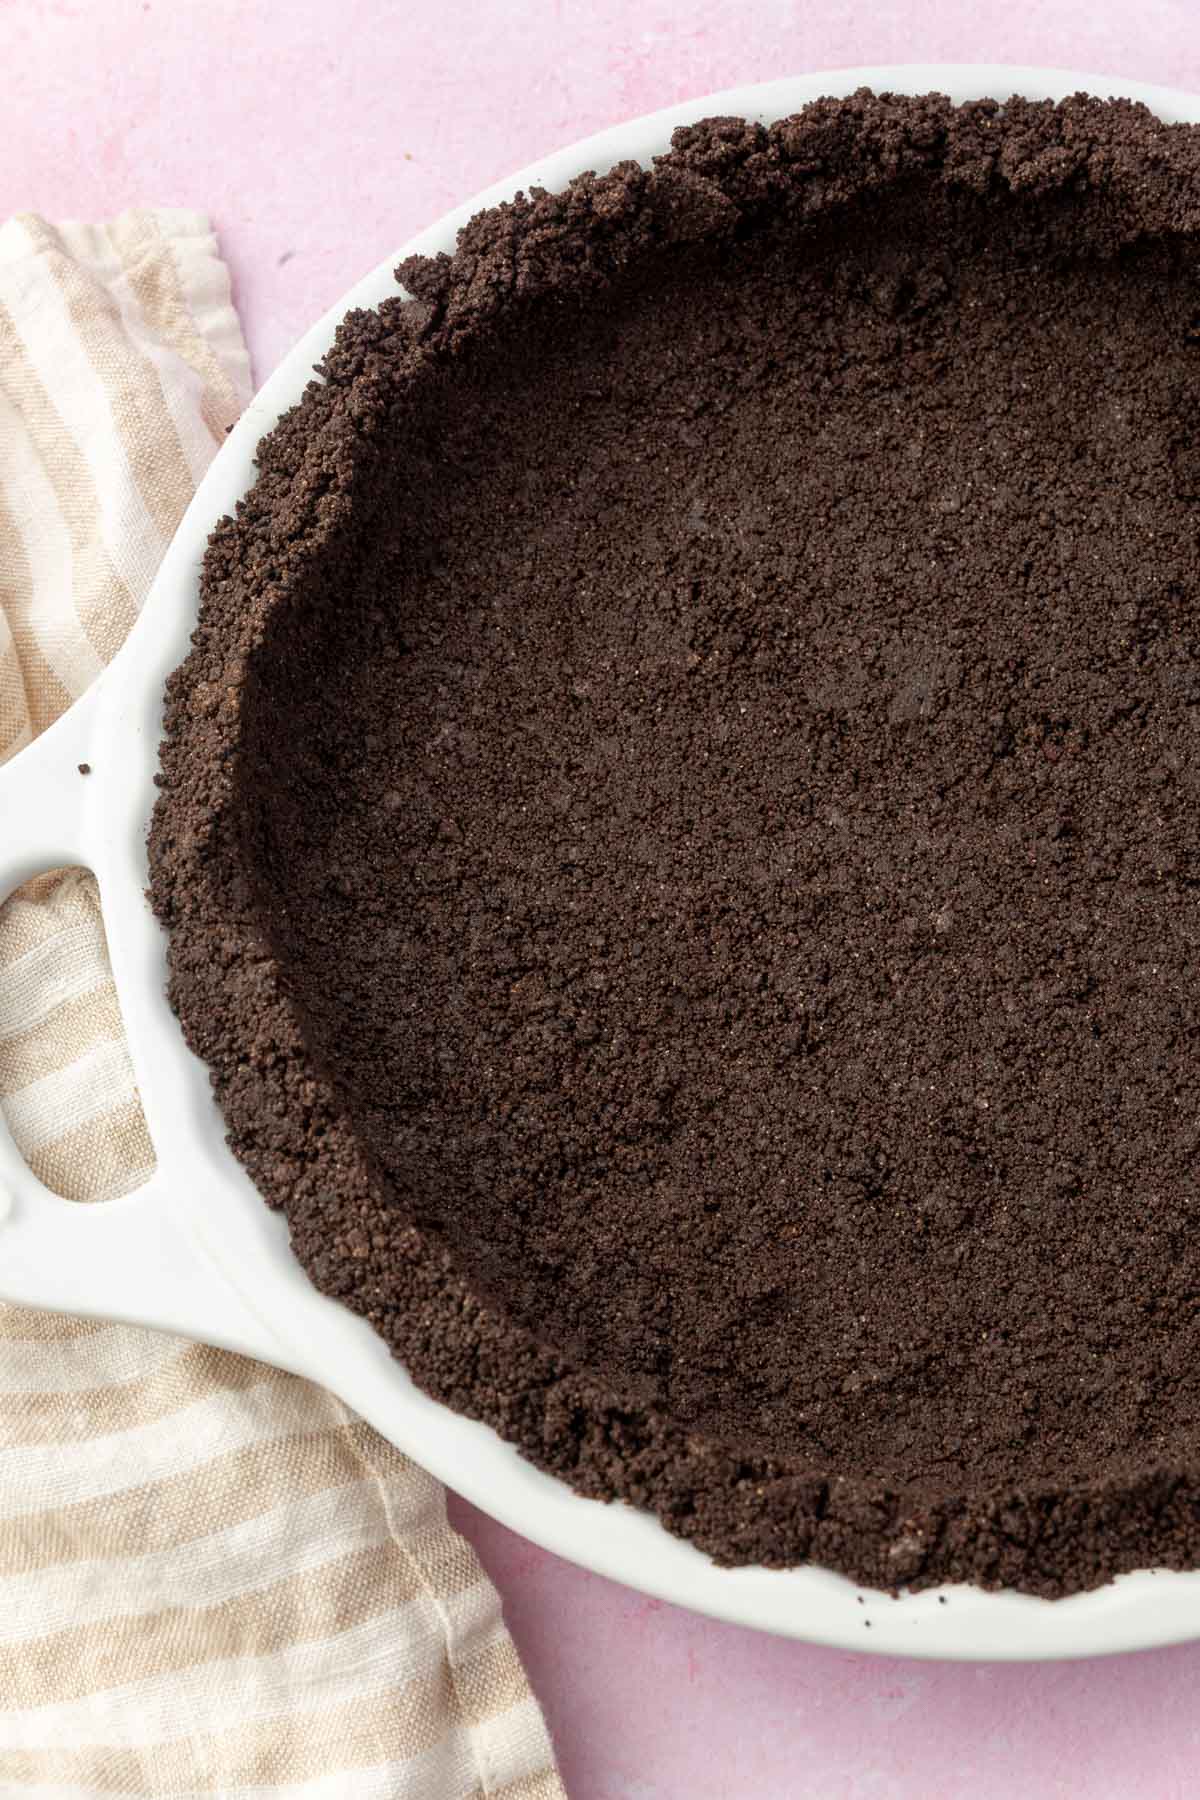
This gluten-free Oreo pie crust is very simple to make with just two ingredients. The below photos with matching steps are not the complete recipe, but are meant to help you see the recipe made at various stages so you can make this cookie crust perfectly every time. Pay special attention to the fine crumb of the cookies in the food processor and the thickness of the cookie crust in the tart pan.
For the ingredient list with measurements, full instructions, printable recipe, and additional notes, please scroll down to the recipe card.
Recipe FAQs
No. Leave the filling in. It helps the crumbs stick together and adds flavor to the crust. This is also why double stuffed Oreos don’t work here. Too much filling makes the crust greasy and hard to press.
Yes. For a springform cheesecake where you want the crust to go up the sides, double the recipe. For a cheesecake in a standard pie dish where you only need a bottom crust, the single recipe is enough.
Put the Oreos in a zip-top bag and crush them with a rolling pin. It takes a bit longer and the crumbs may be slightly less uniform, but it works. The goal is fine crumbs with no large pieces.
Expert Tips
Storage Instructions
- Storage: Once the crust is prepared, if not being used immediately, wrap it tightly in plastic wrap or aluminum foil. Store it in the refrigerator for up to 3 days before adding your filling. If you’ve already added a filling, the storage duration will depend on the type of filling used.
- Freezer Option: Wrap the prepared crust (without any filling) tightly in plastic wrap and then in aluminum foil. Label with the date, and store it in the freezer for up to 3 months.
- Reheat: If you’ve frozen a pre-baked crust, there’s typically no need to thaw it before adding your filling and baking. Just add a couple of minutes to the baking time. If your filling does not require baking or you’ve frozen a pre-baked crust, you can let it thaw at room temperature or in the refrigerator.
Serving Suggestions
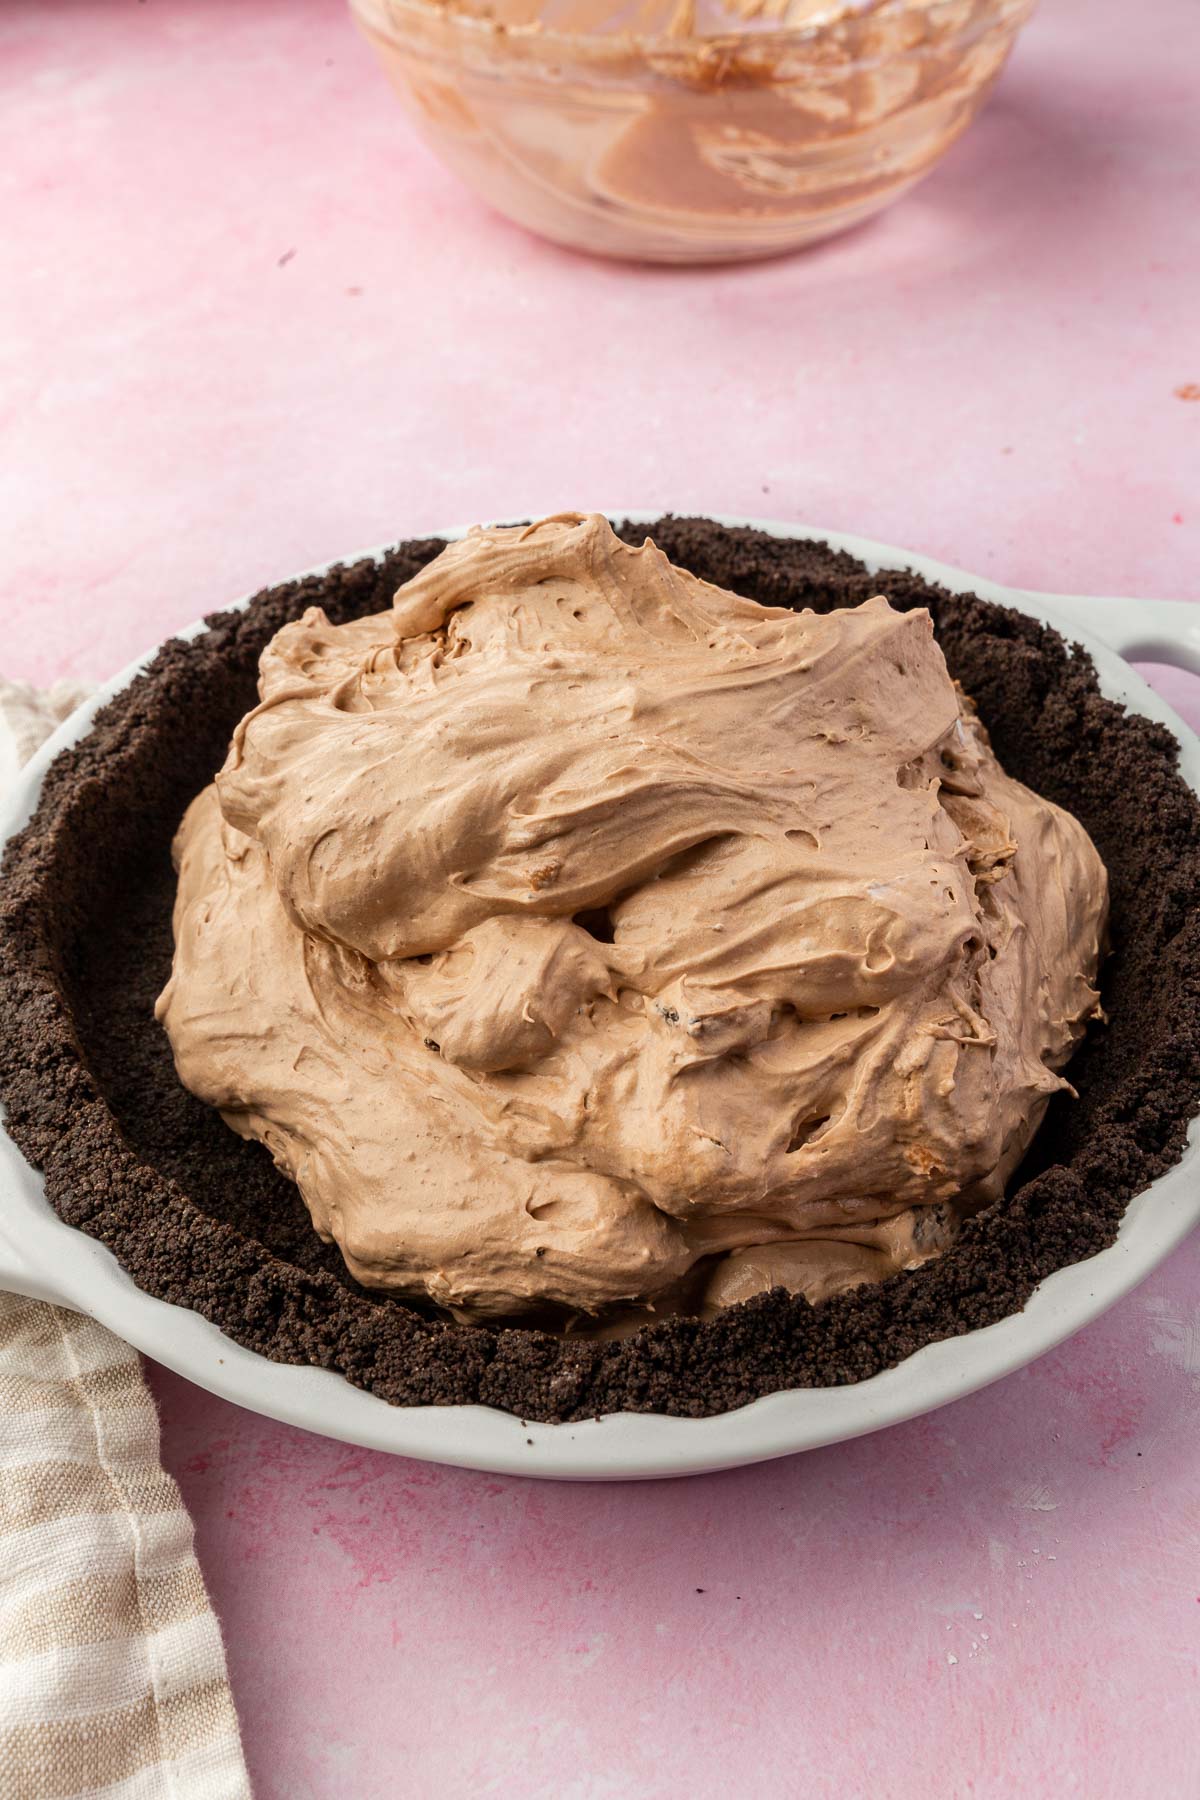
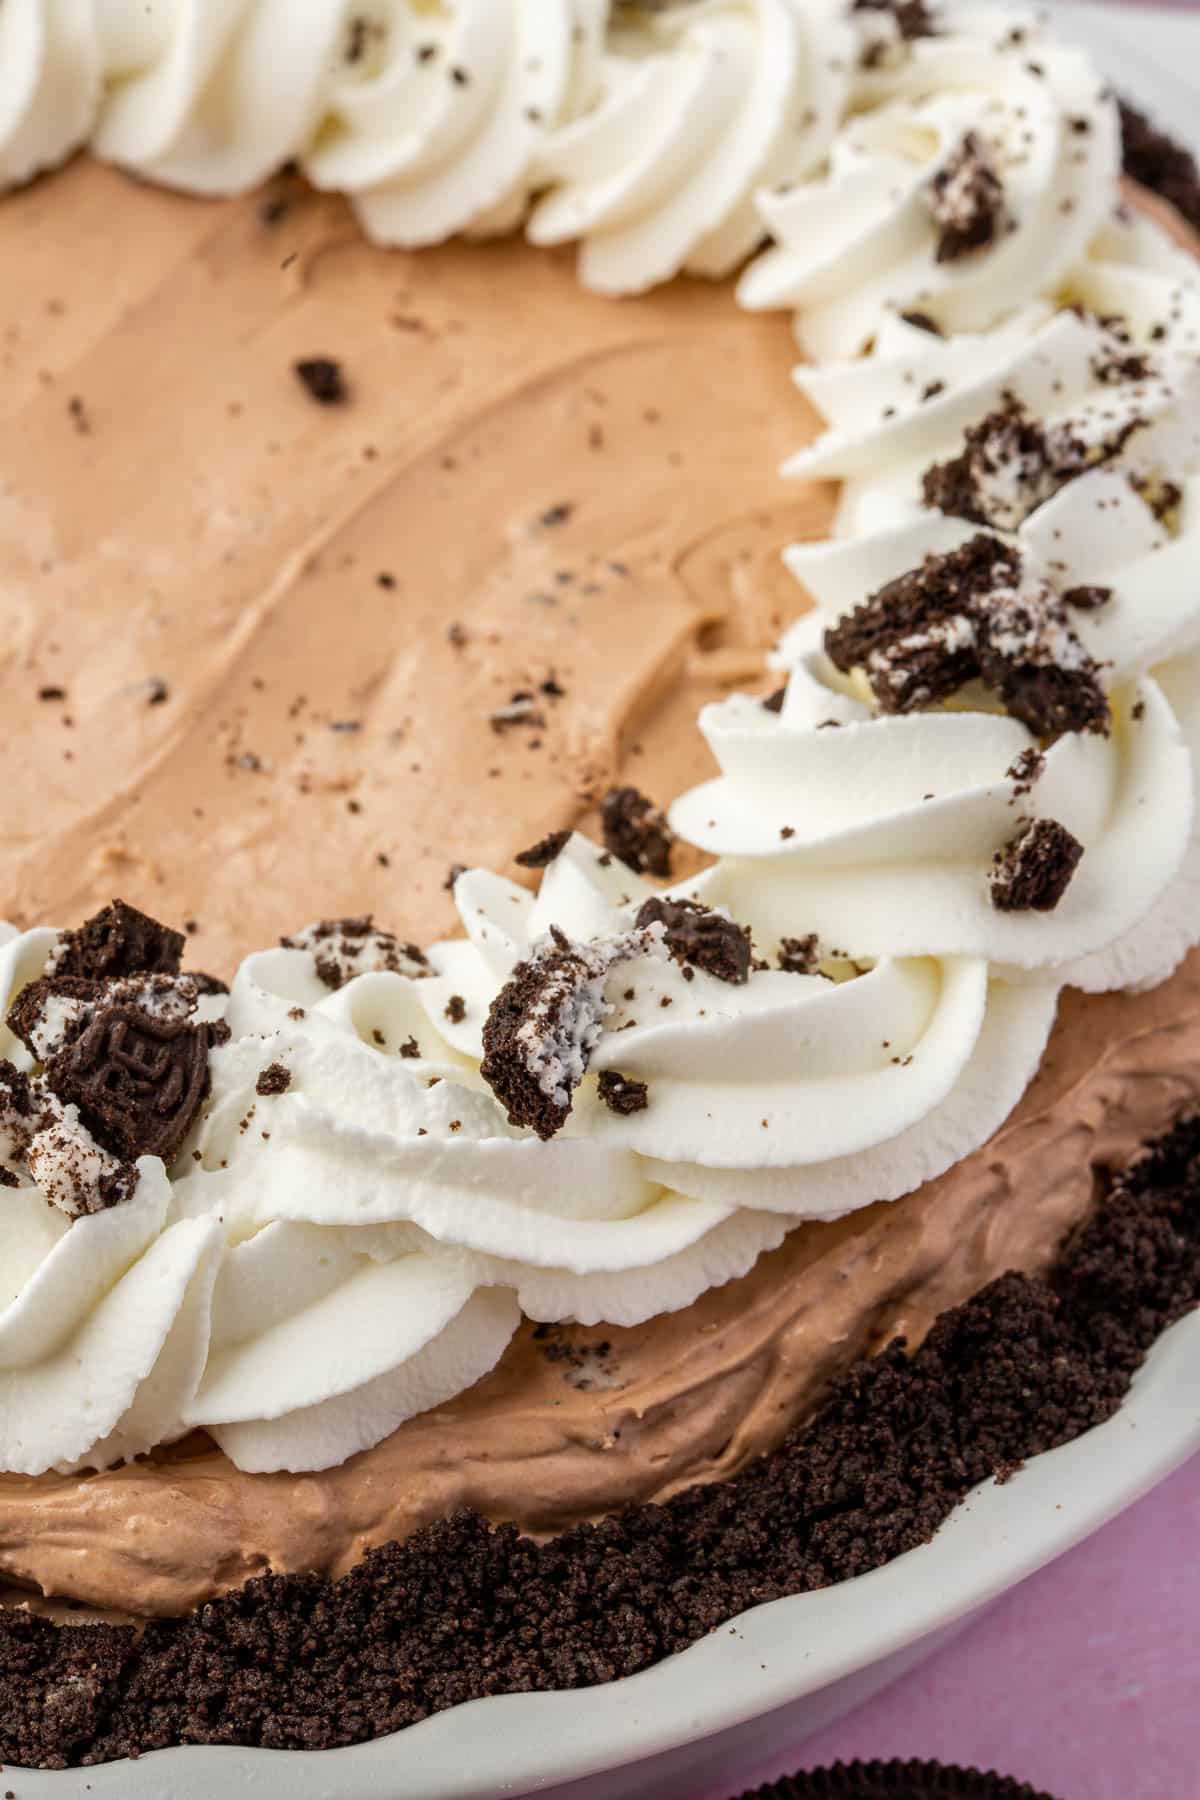
My favorite thing to make with this crust is my gluten-free Oreo peanut butter pie. It’s a combination I keep coming back to. Chocolate and peanut butter in one dessert, and the crust holds up perfectly under that filling. You can also use this crust recipe as a chocolate swap in my gluten-free strawberry cream cheese pie when I want something a little richer.
Gluten-Free Oreo Pie Crust
Ingredients
- 24 (250 g) gluten-free Oreos - approximately 9 oz
- 4 tablespoons (56 g) unsalted butter - melted and slightly cooled
**Use the toggle button above to turn the instruction photos on and off!
Instructions
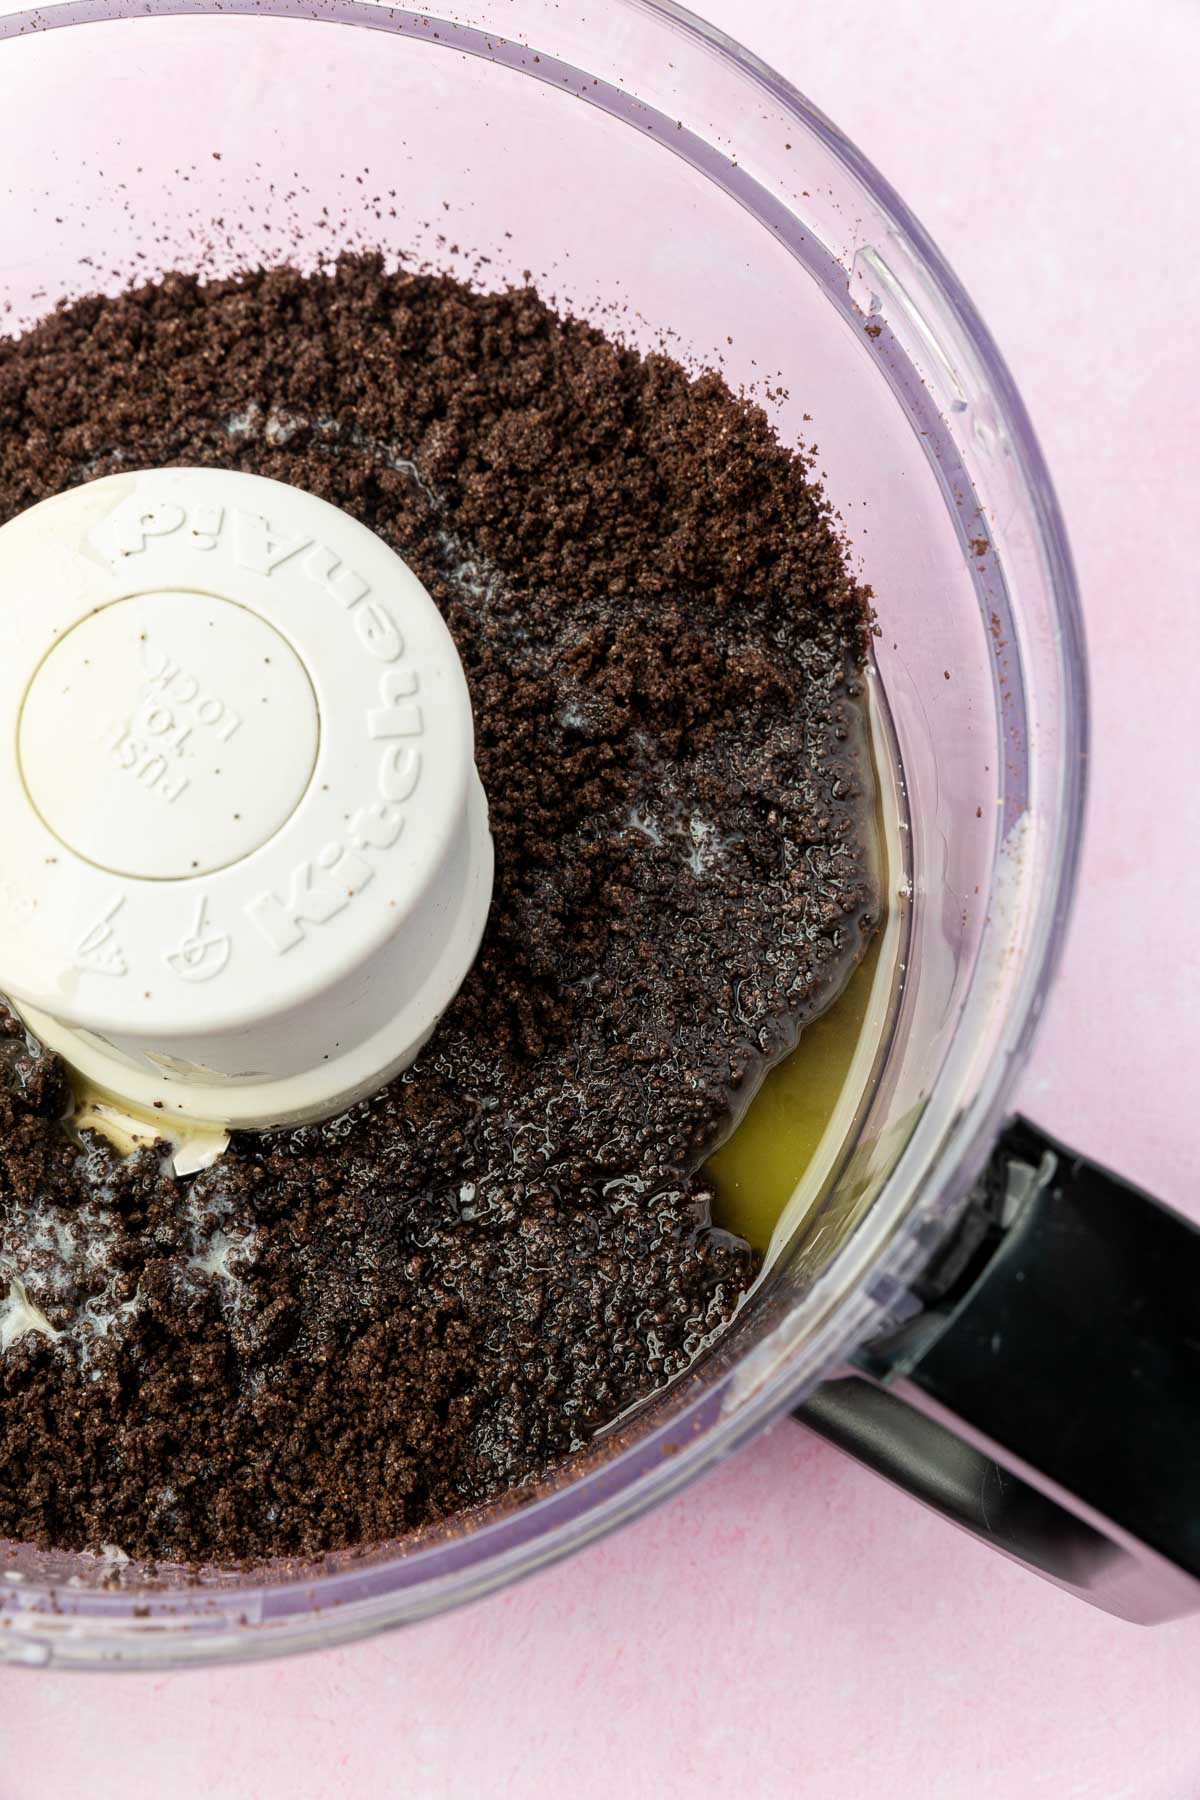
- Add 24 (250 g) gluten-free Oreos to a food processor. Do not remove the cream filling. Pulse until the cookies are ground into fine, uniform crumbs with no large pieces remaining.
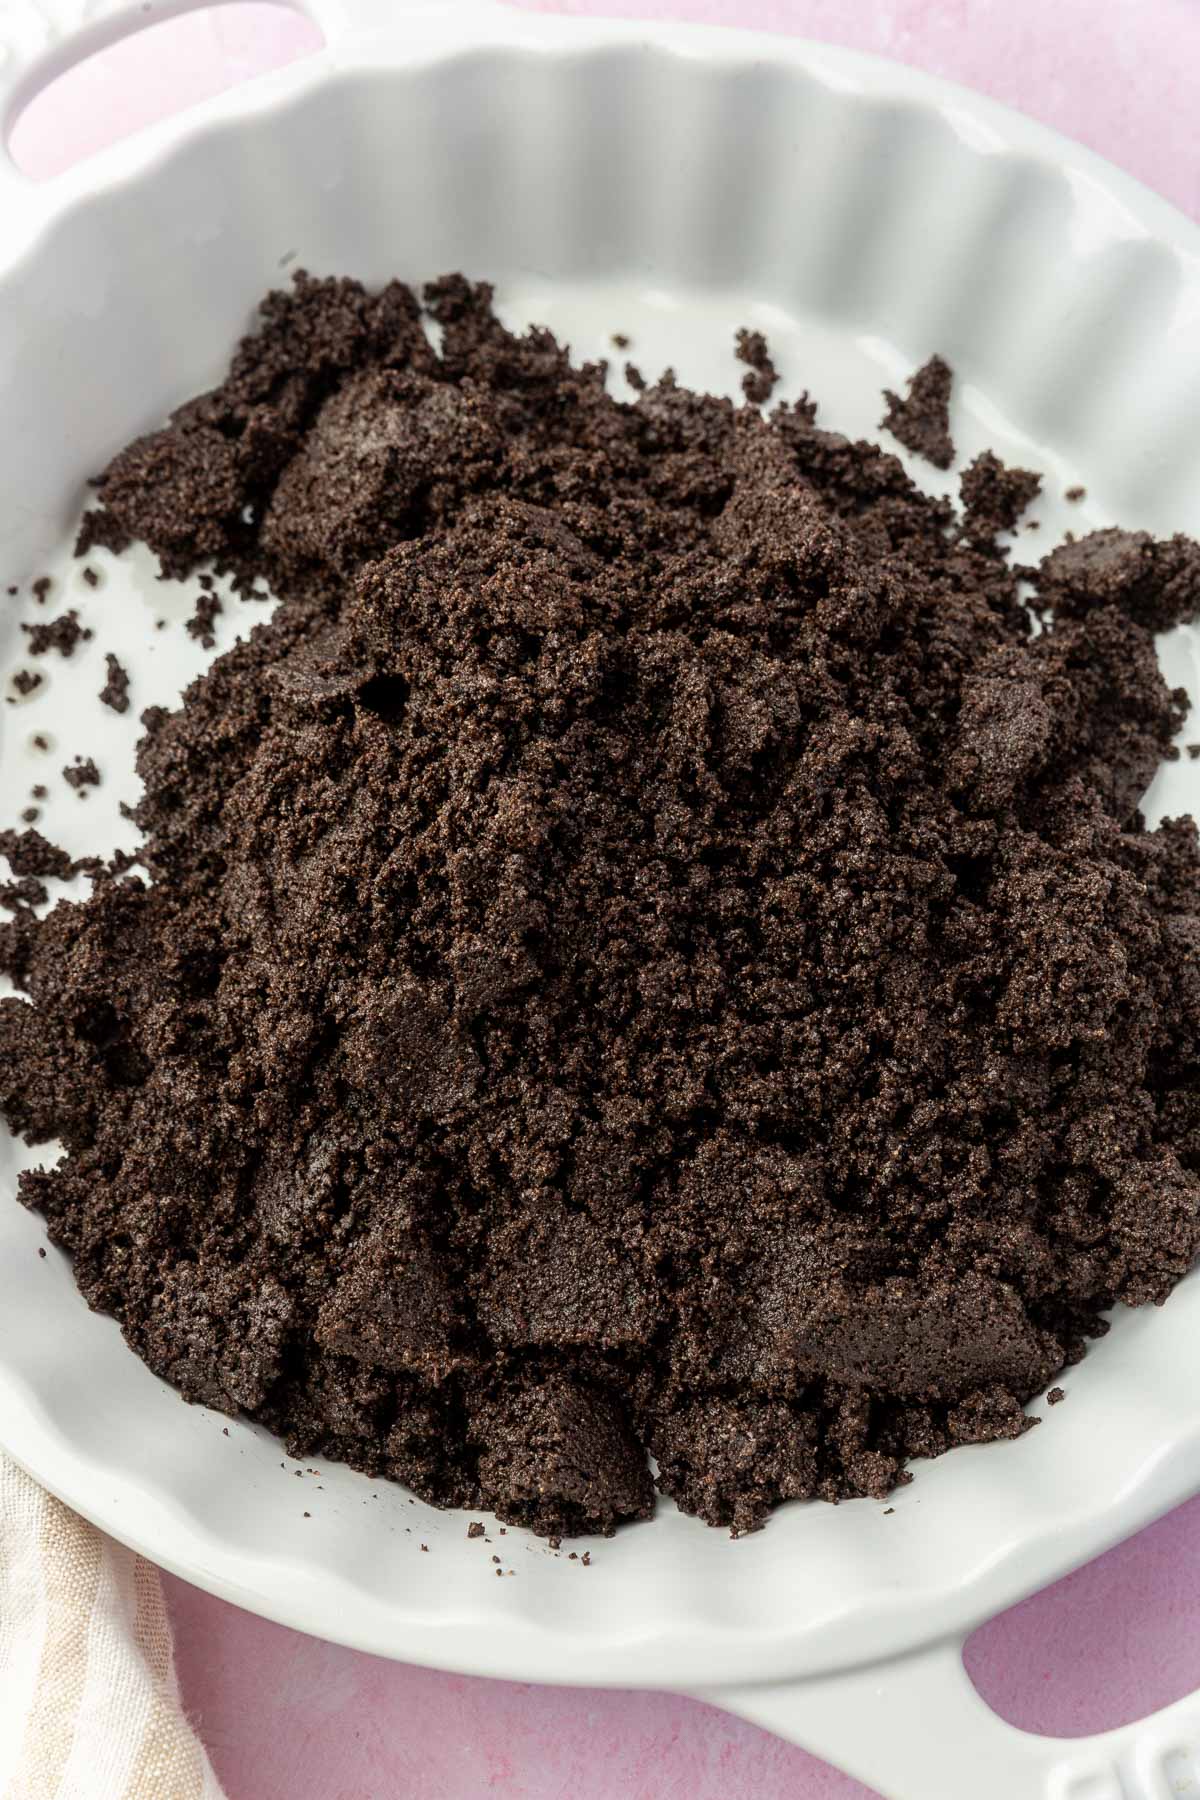
- Transfer the crumbs to a bowl and add the melted 4 tablespoons (56 g) unsalted butter. Stir until all the crumbs are evenly moistened and the mixture looks like wet sand.
- Pour the mixture into a greased 9-inch pie dish, tart pan, springform pan, or 8-inch baking pan. Use the bottom of a measuring cup to press the crumbs firmly and evenly across the bottom and up the sides.
- For a no-bake crust: Refrigerate the crust for at least 1 hour before adding your filling.
- For a baked crust: Bake at 350°F (175°C) for 10 minutes until set and fragrant. Cool completely before adding your filling.
Notes
- Oreos: Use regular gluten-free Oreos, not double stuffed. Leave the cream filling in the cookies when processing.
- No food processor: Place the cookies in a zip-top bag and crush with a rolling pin until fine.
- Pan size: This recipe makes enough for one 9-inch pie dish, 9-inch tart pan, 9-inch springform pan (bottom only), or 8-inch baking pan.
- Cheesecake: Double the recipe if you want the crust to go up the sides of a springform pan.