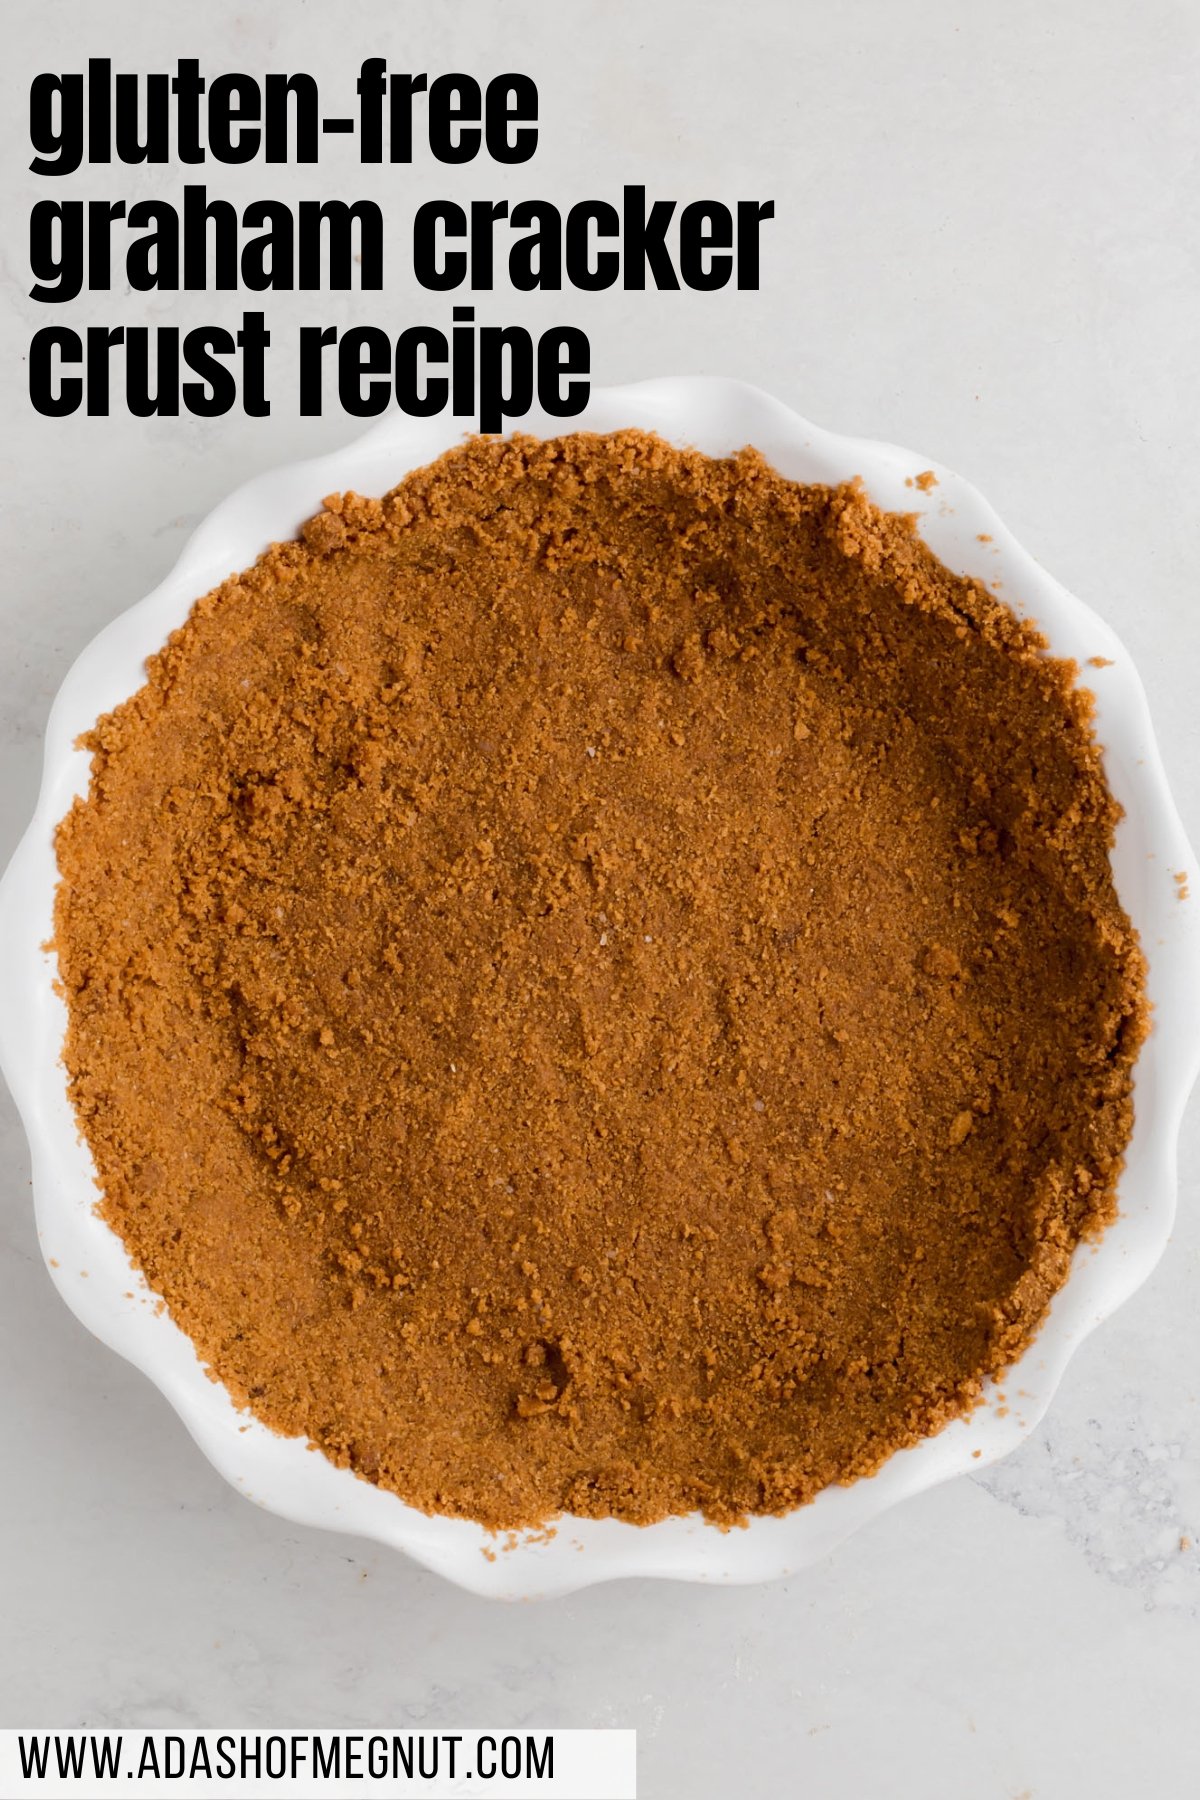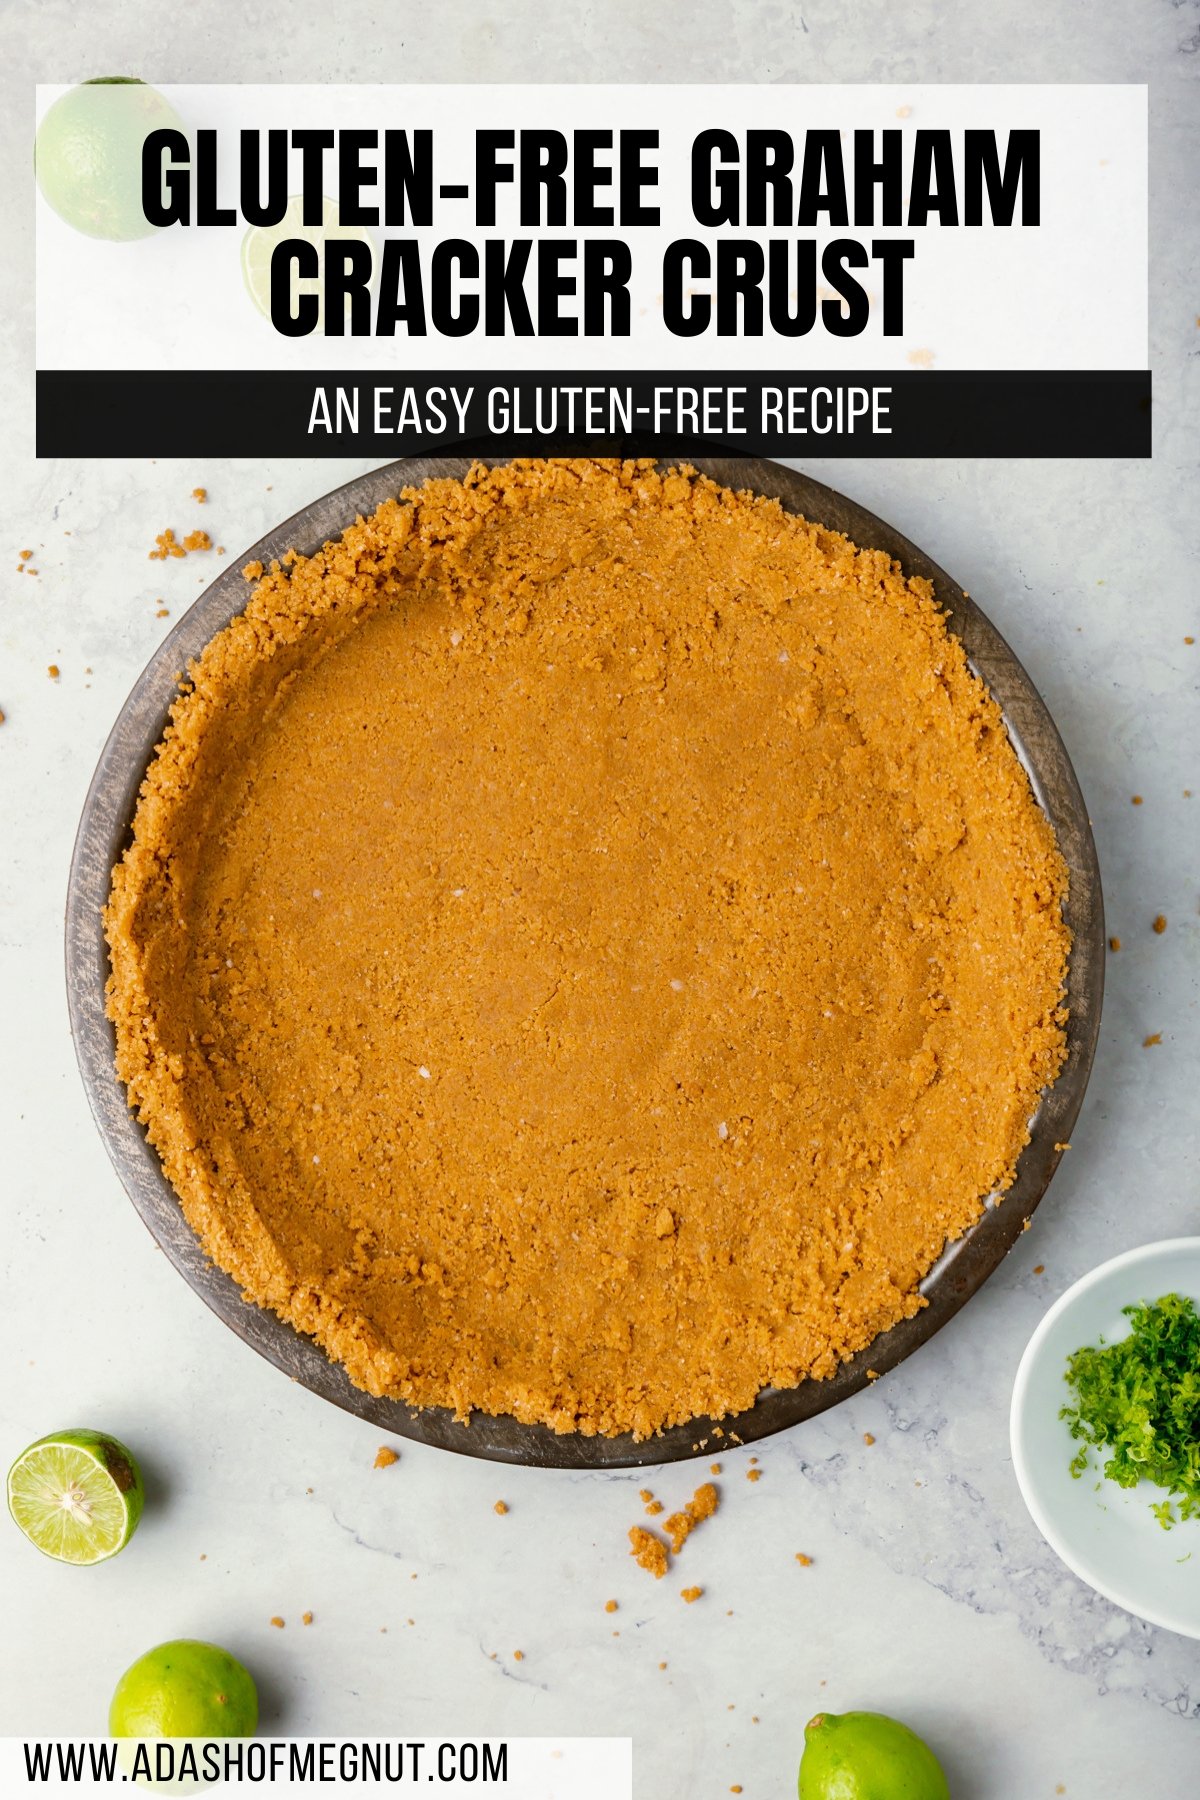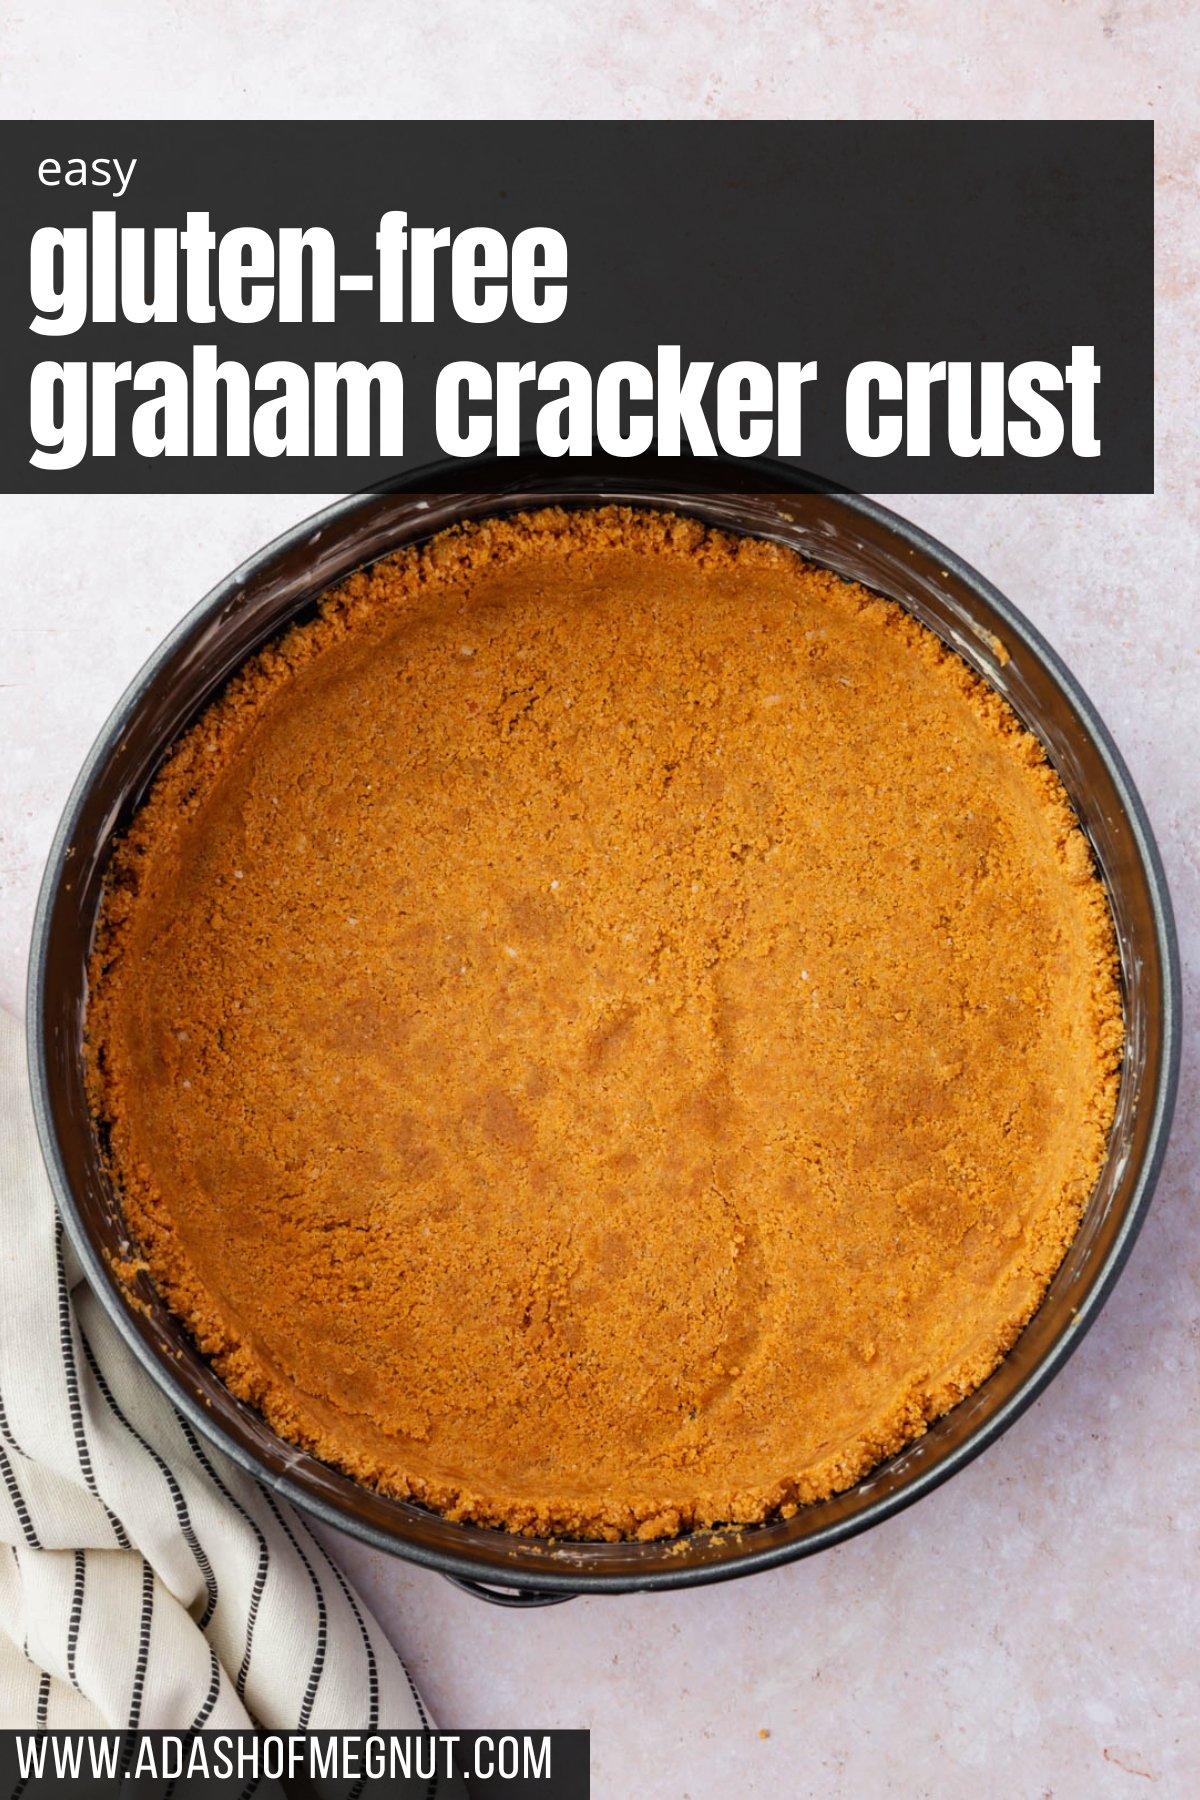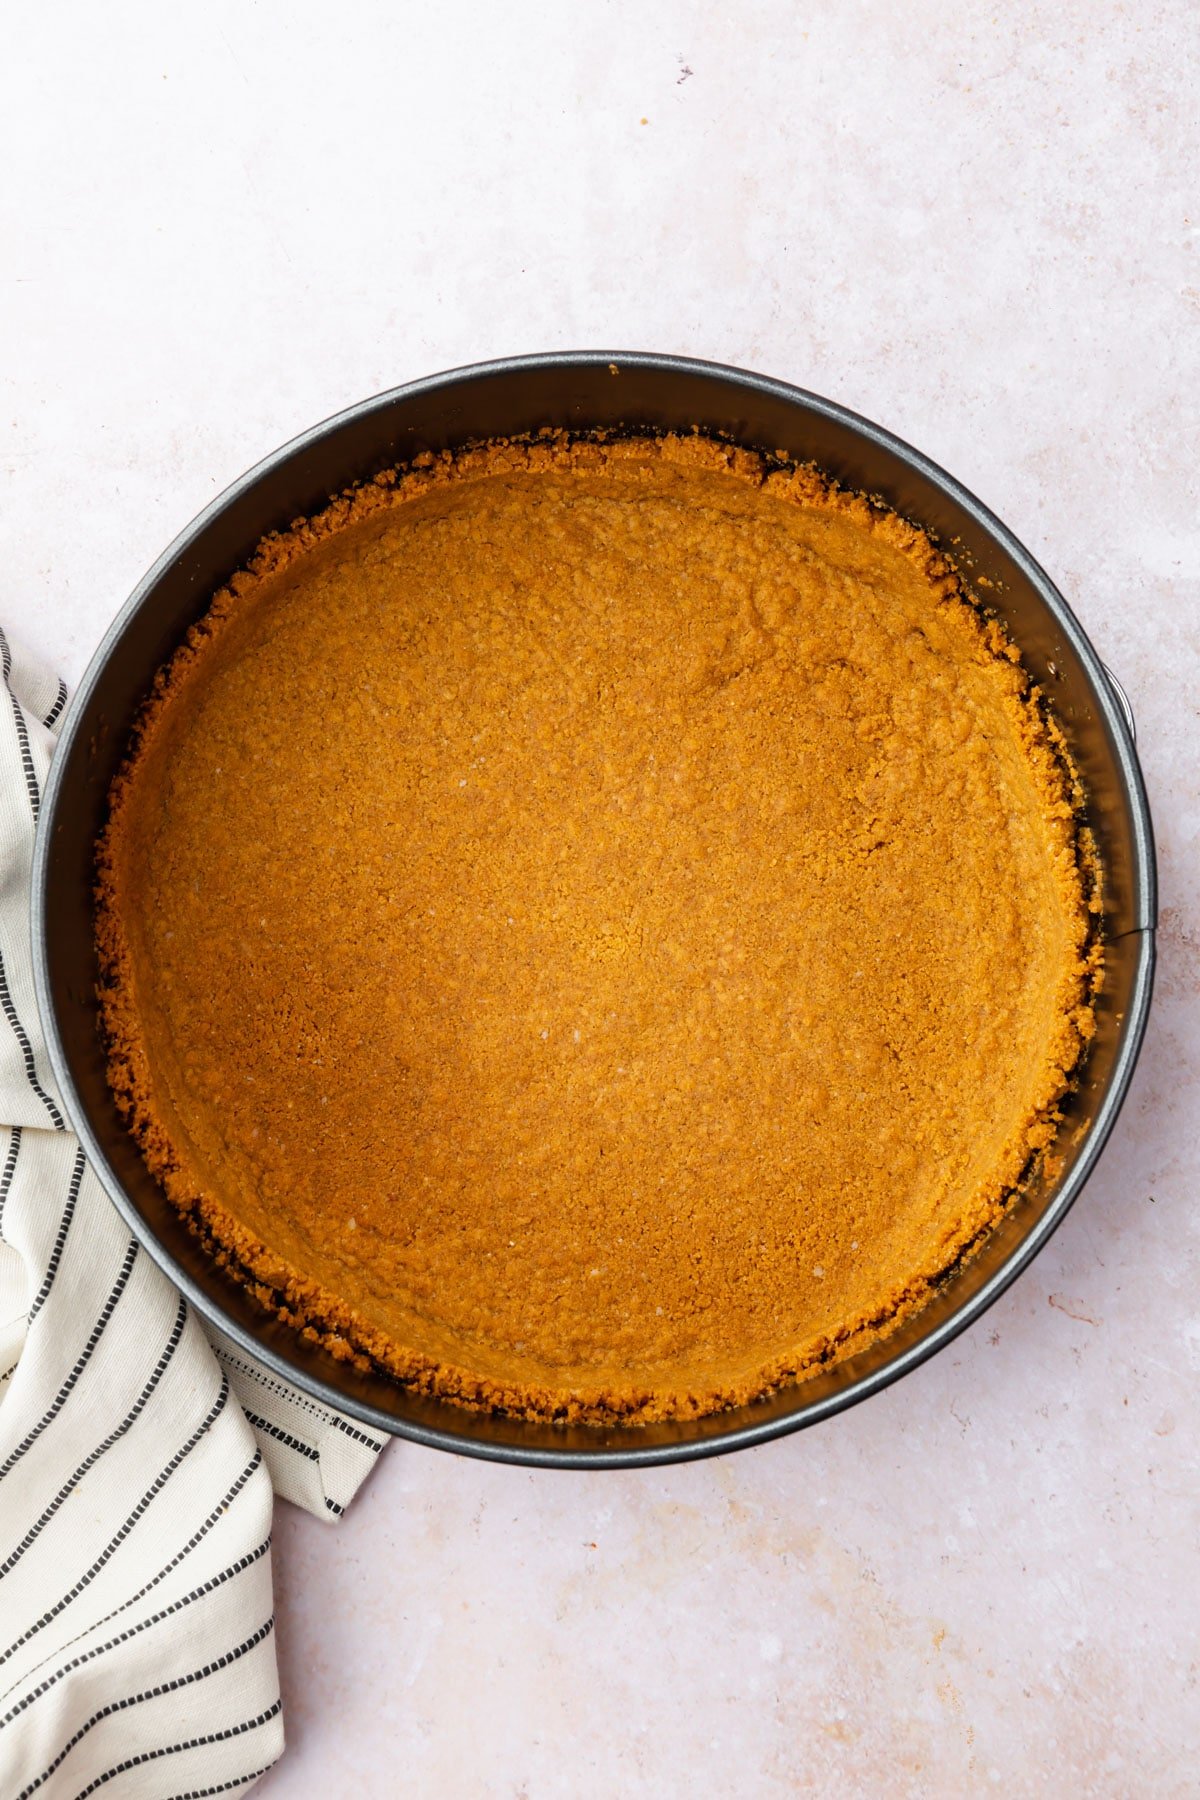
This gluten-free graham cracker crust recipe has the perfect blend of crispy texture with a hint of brown sugar sweetness. Not too overpowering, this crust complements both creamy and fruit-based fillings, lending its subtle, toasty notes to balance out the flavors. It’s remarkably easy to whip up, so even if you’re pressed for time, this recipe won’t let you down.
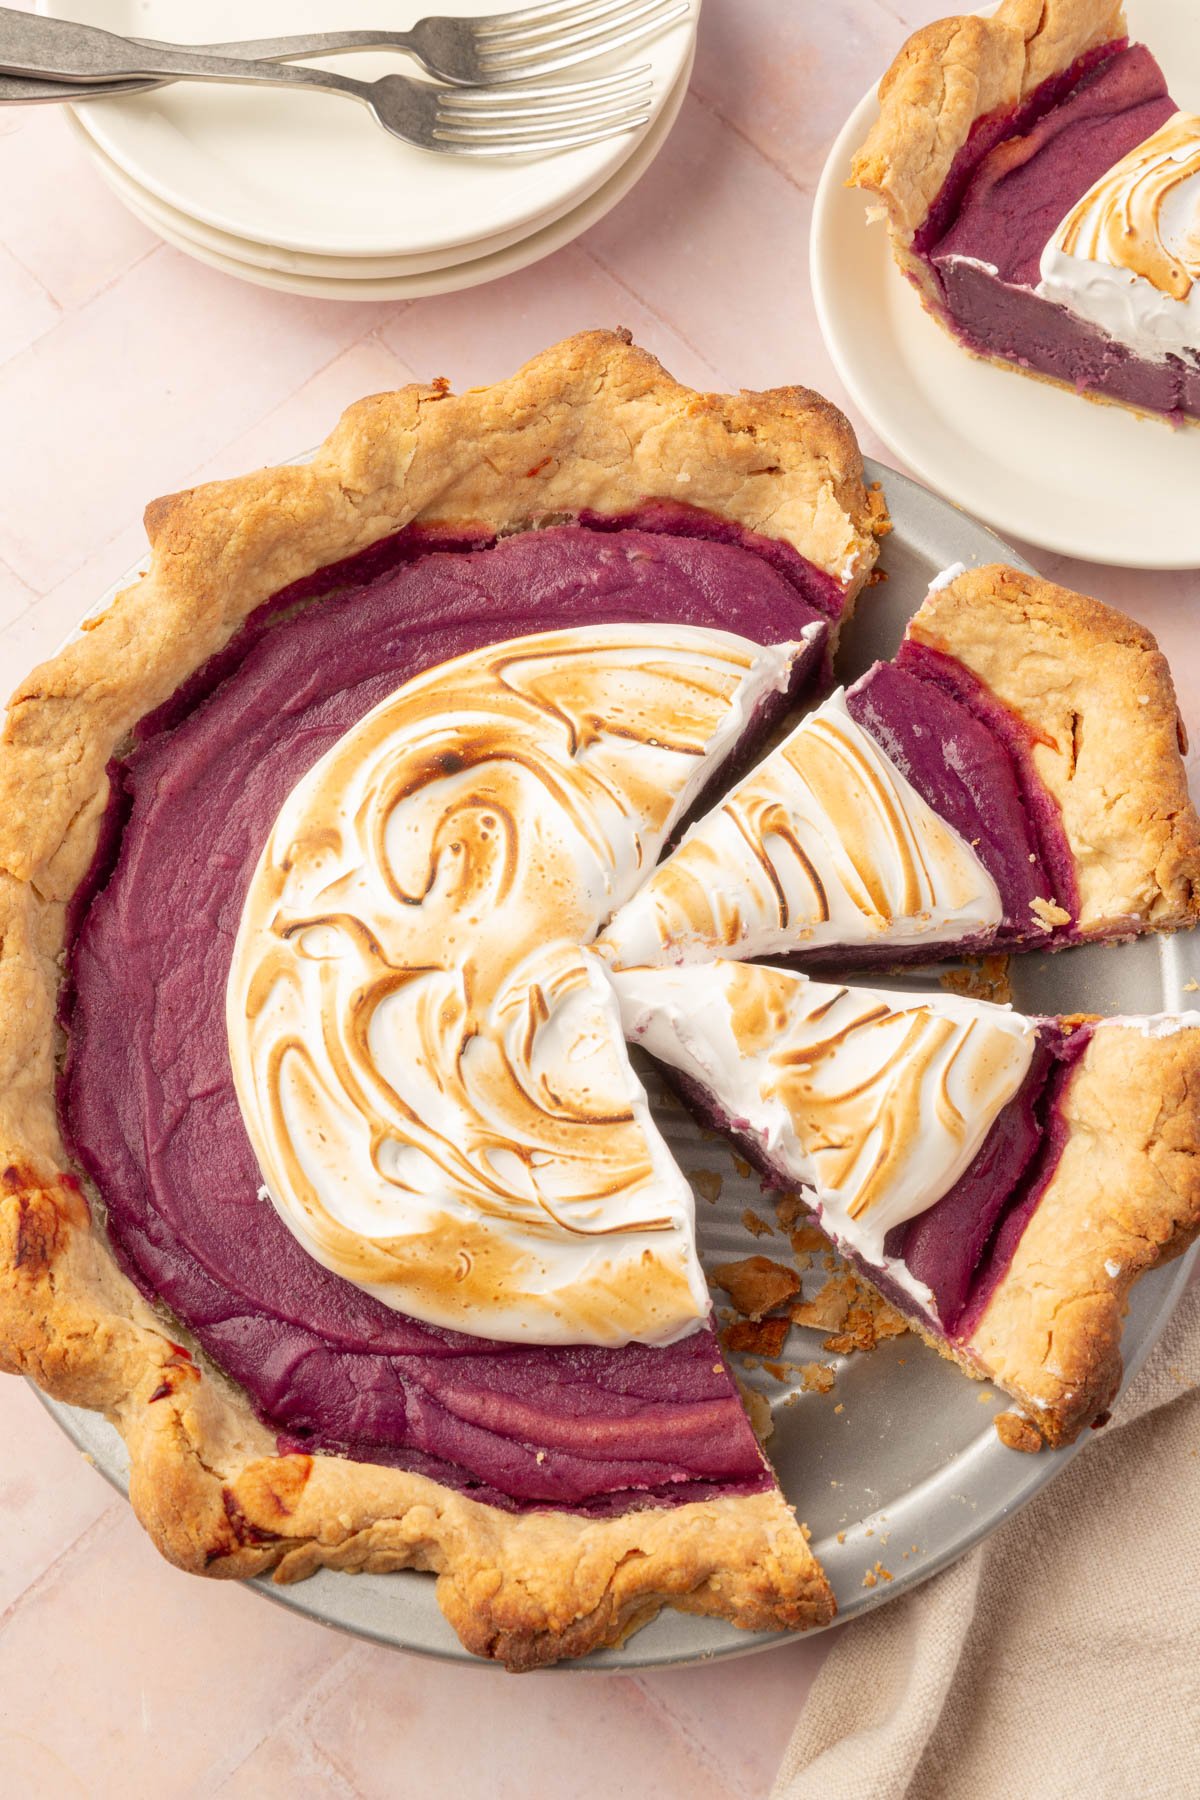
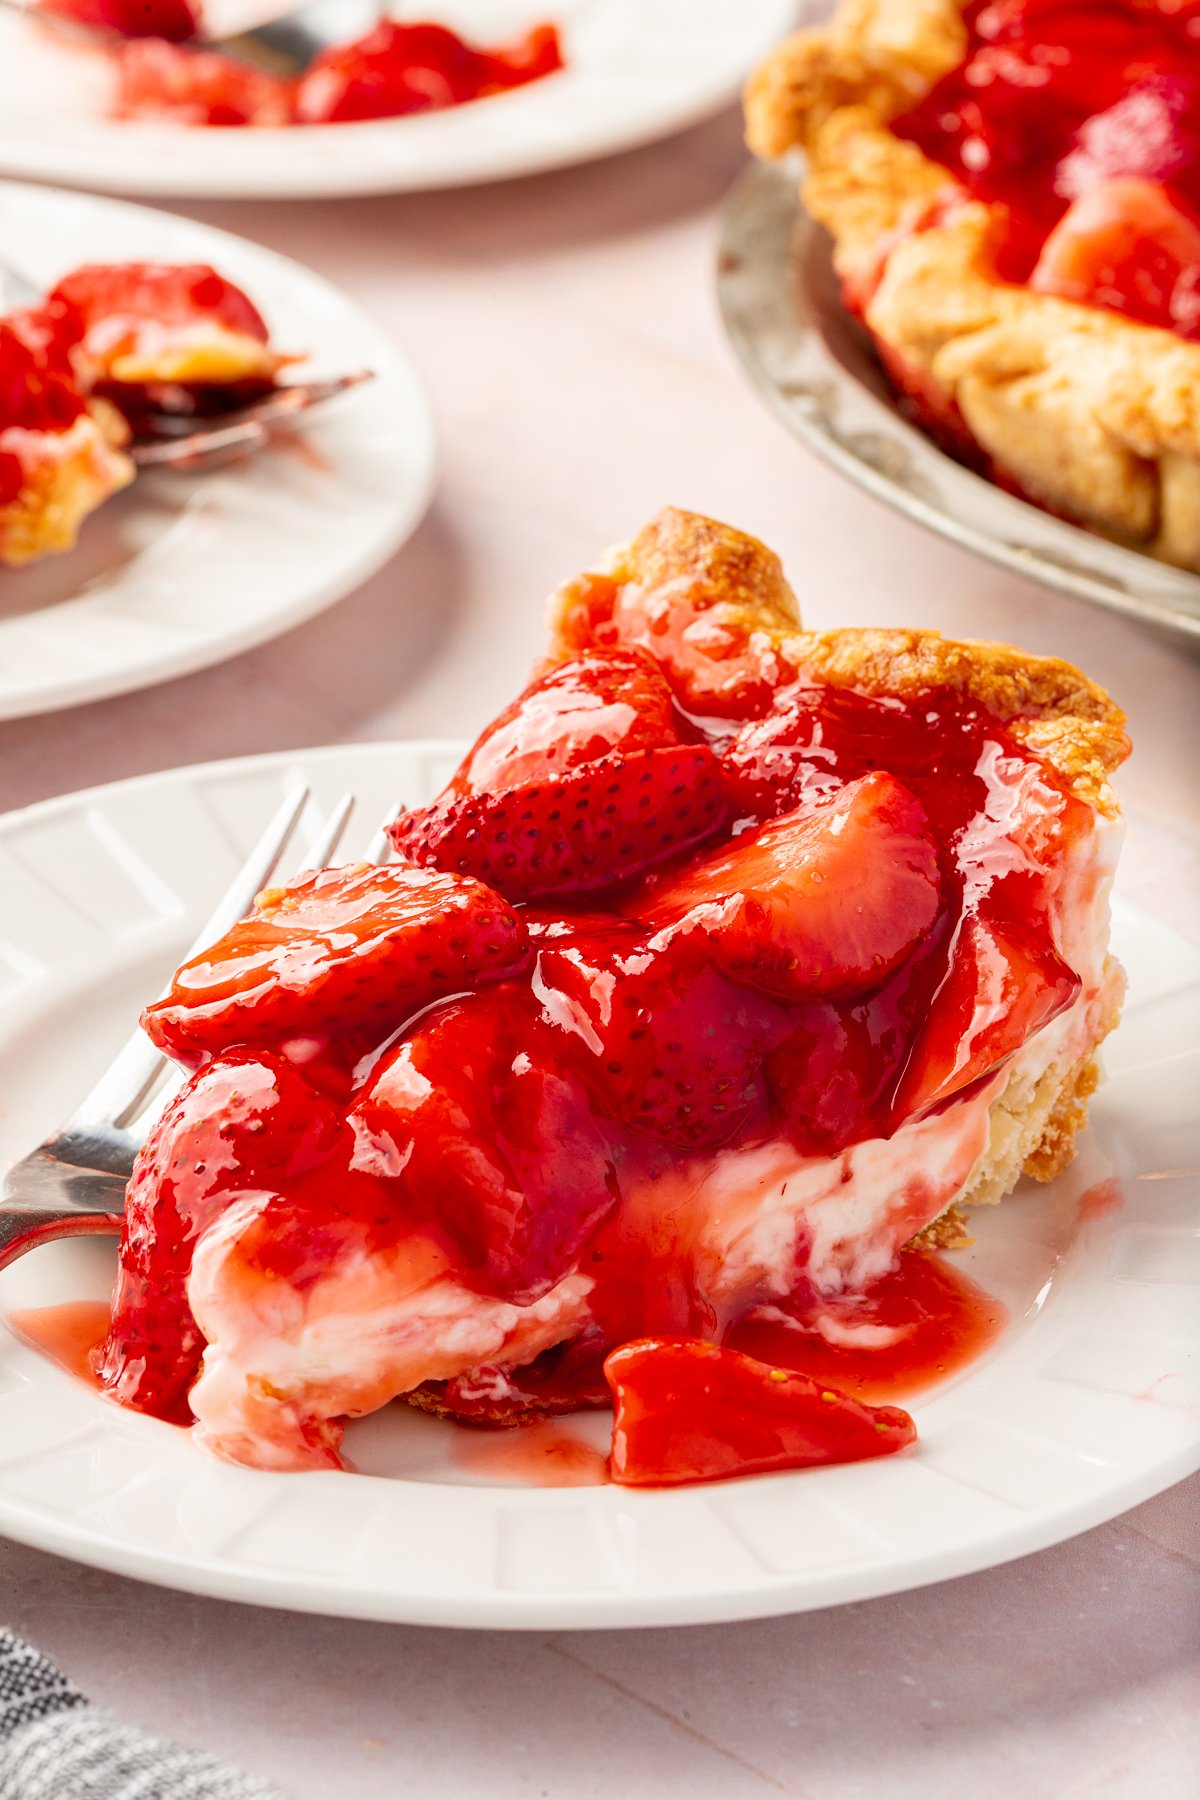
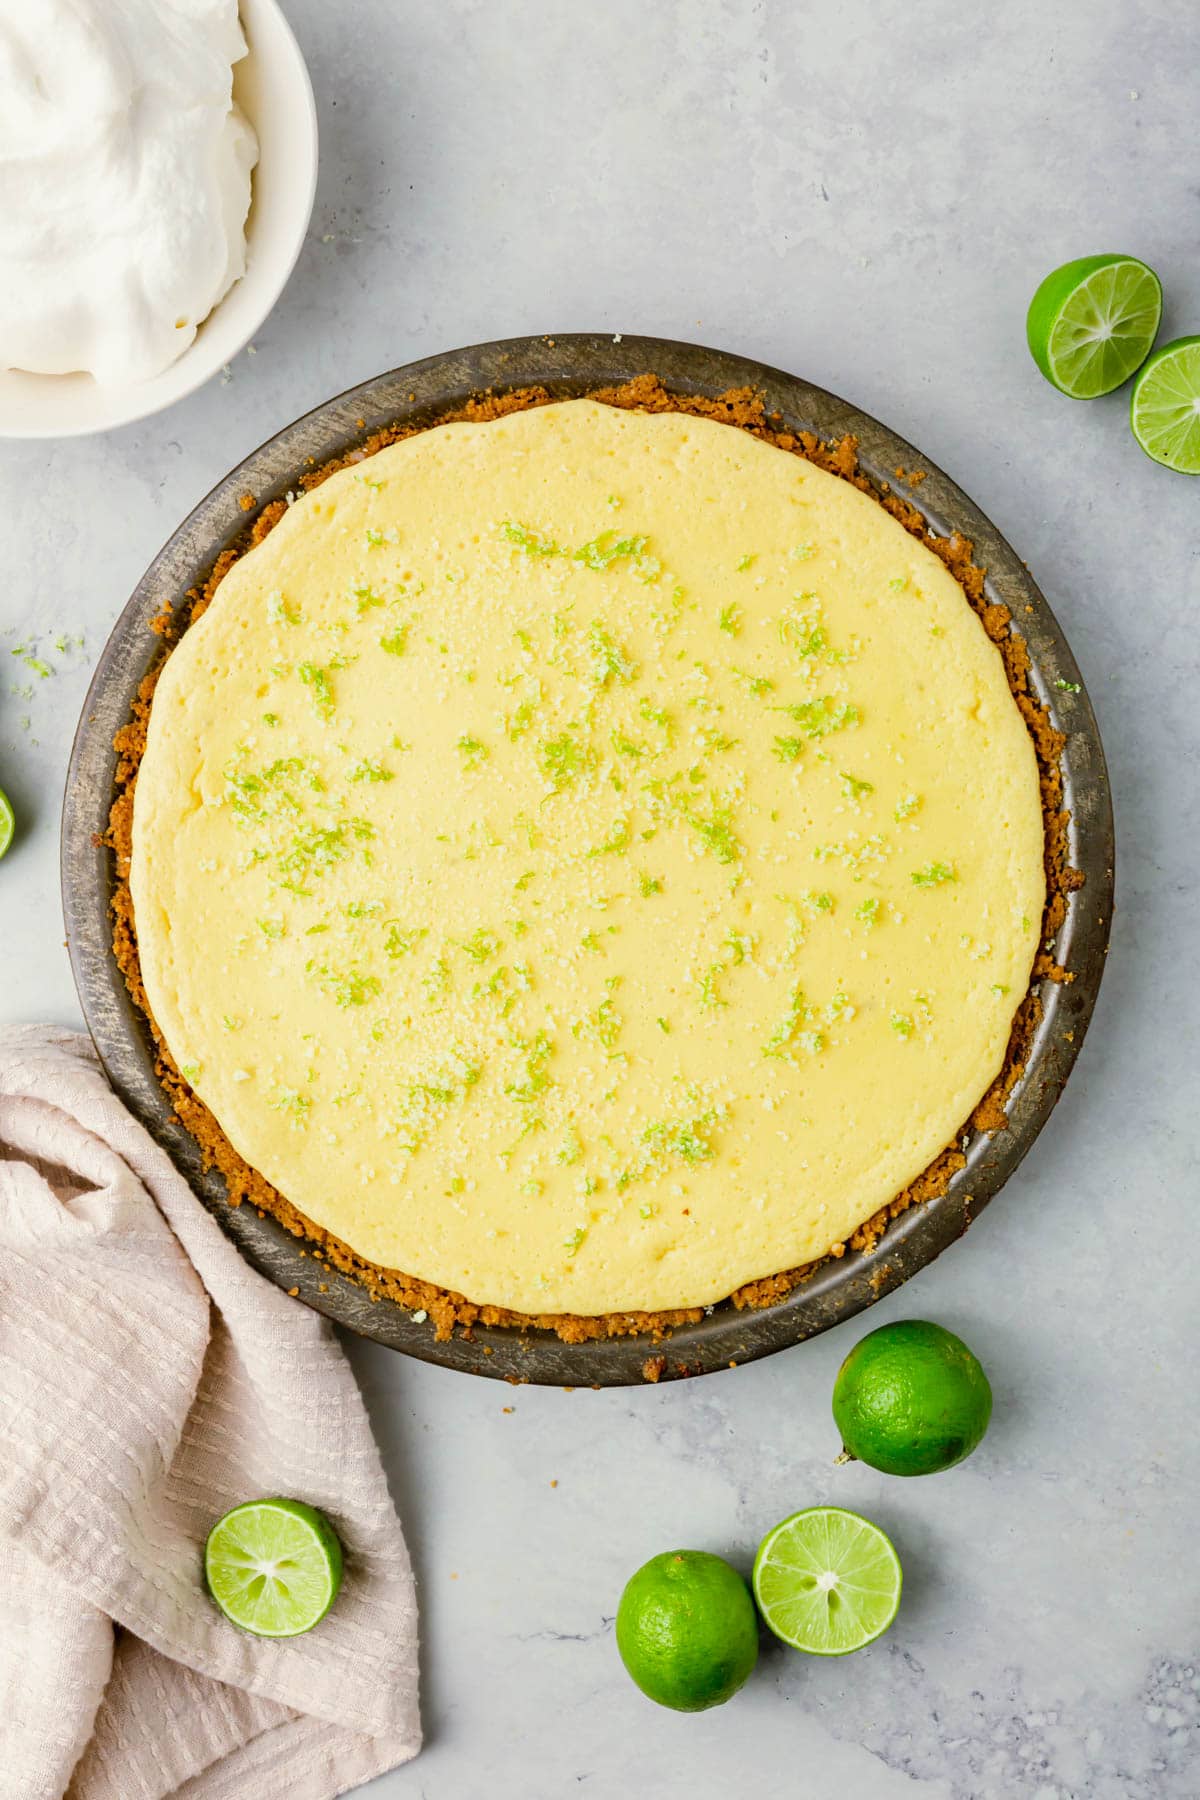
The best part about this crust is its versatility. It’s great for making gluten-free cheesecake, gluten-free pumpkin pie, or gluten-free key lime pie! I’ve even used it as a replacement for shortbread crust in my gluten-free lemon bars recipe. You can use it any place you use an Oreo pie crust, like in my Oreo pudding pie recipe.
Whether you’re hosting a weekend dinner party or simply looking for a dessert for a mid-week treat, this graham cracker crust is a great choice. It’s robust enough for baked fillings and gentle enough for no-bake options. And remember, the hint of cinnamon is optional, but it adds a warmth that can elevate many classic pie fillings.
If you’re looking for a go-to gluten-free graham cracker crust recipe to add to your repertoire, this is it!
You’ll love this recipe because:
Ingredients
Ingredient Notes
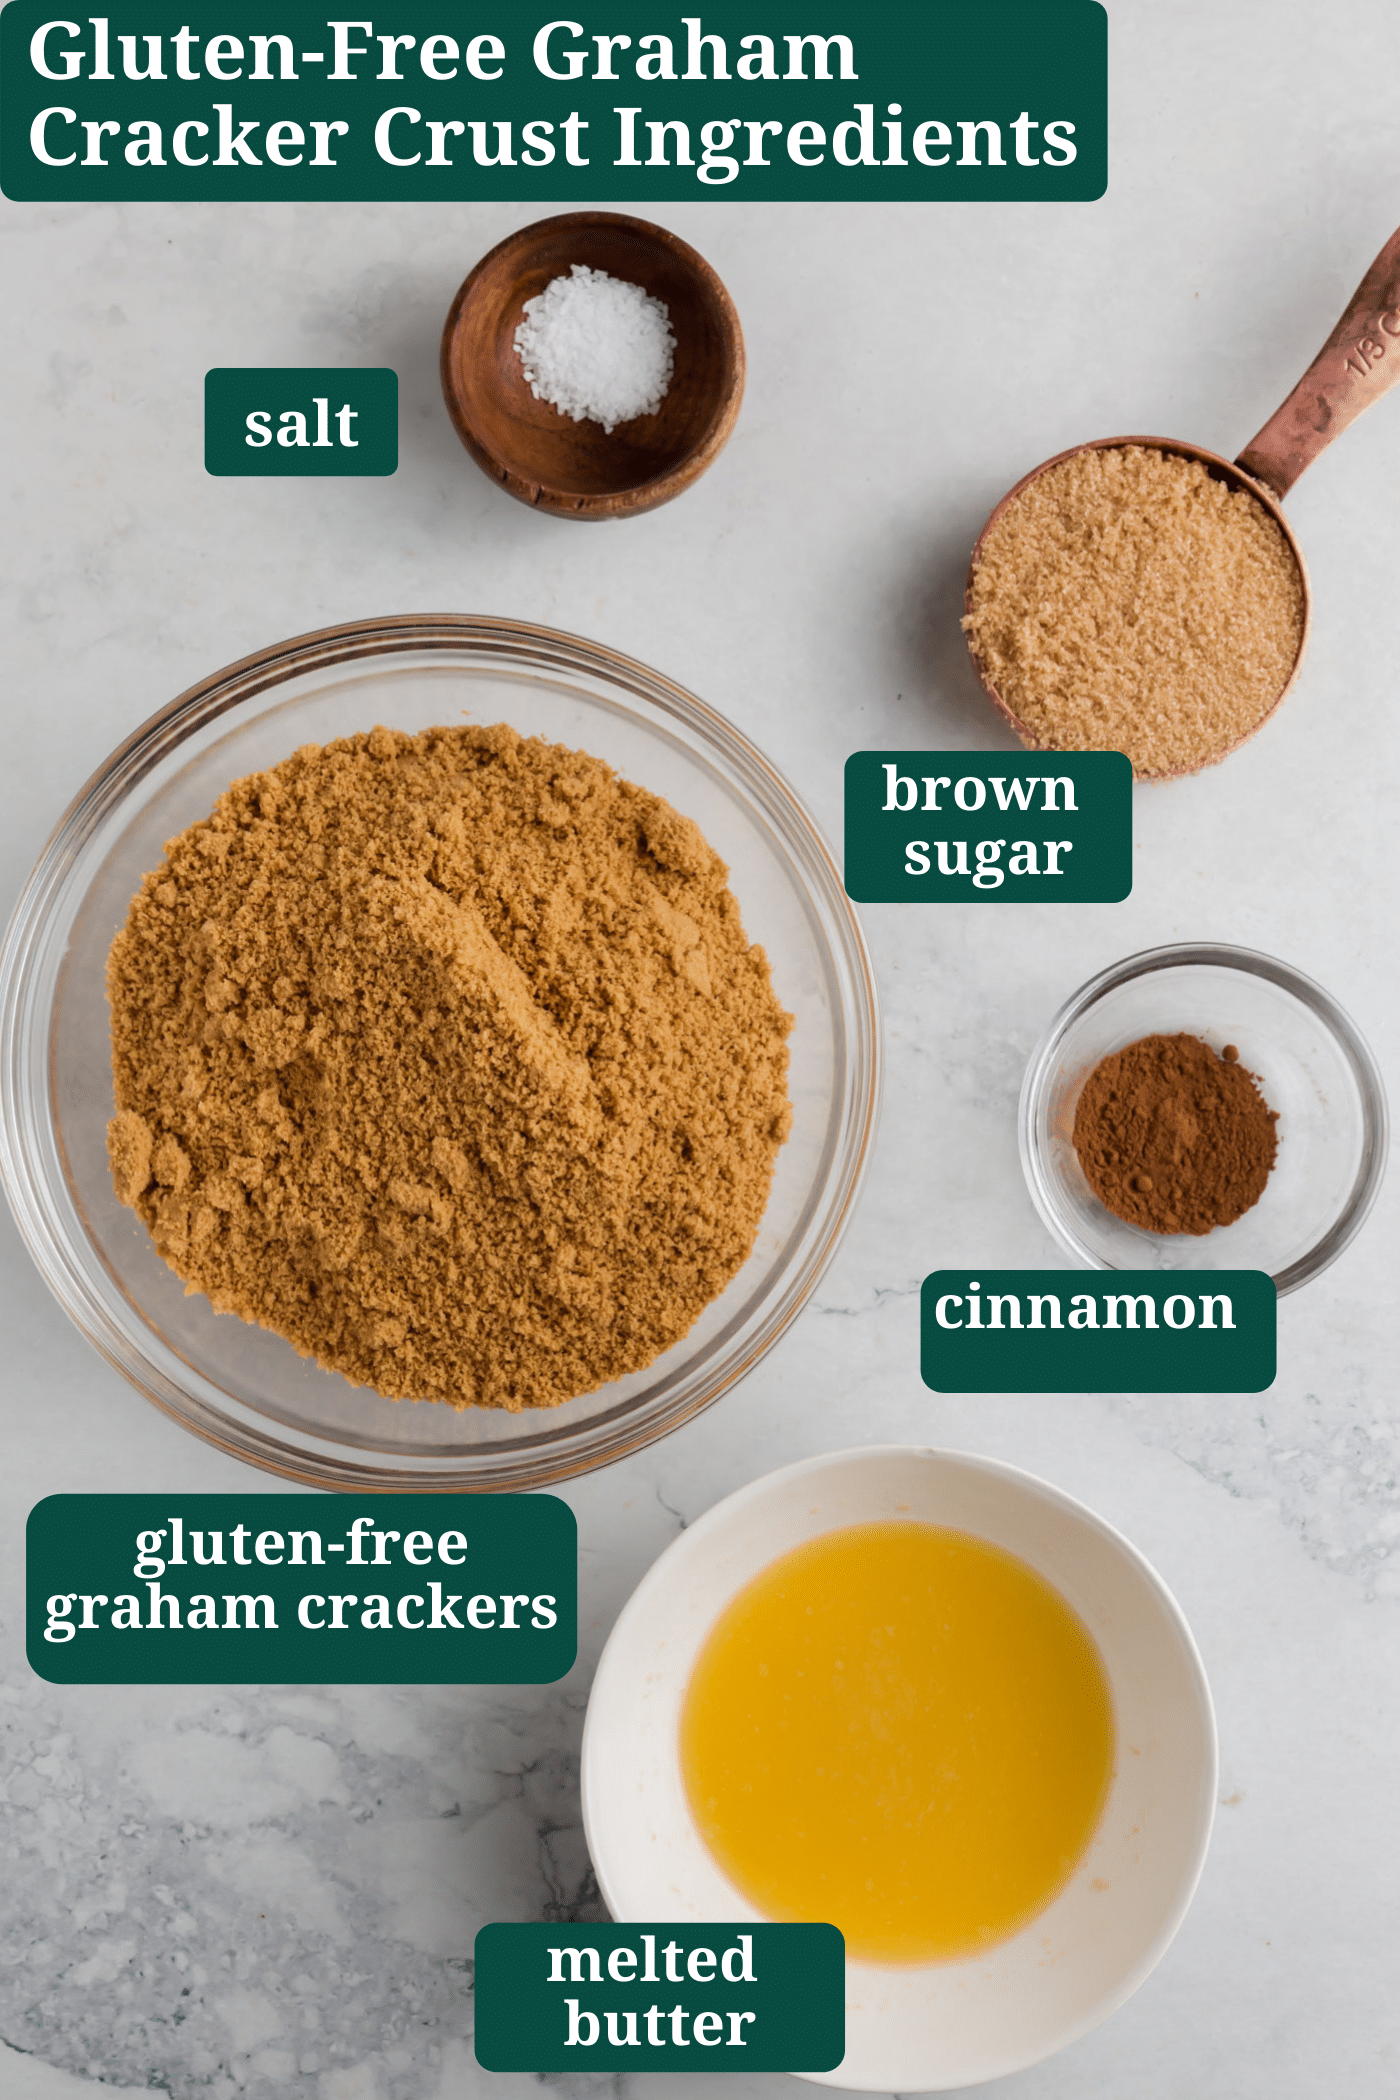
- Gluten-free graham crackers – Ensure that the package specifically states “gluten-free”. Brands and flavors might vary, so taste test a few to find your favorite. If you can’t find them, gluten-free digestive biscuits can be an alternative. My favorite brand that I find consistently at local grocery stores and even at Walmart is Kinnikinnick S’moreables Graham Style Crackers. You can also use my homemade gluten-free graham crackers recipe, too!
- Brown sugar – This sugar adds a warm, molasses flavor. Light or dark brown sugar can be used, with dark having a richer molasses tone. You can also use granulated sugar or coconut sugar, but these will slightly alter the flavor profile.
- Salt – Just a little salt will help bring out the sweetness of the graham cracker pie crust and provide flavor. I just use table salt in this recipe.
- Ground cinnamon – This is an optional ingredient, but it adds a touch of warmth to the crust. Depending on what the filling is, you may want to omit the cinnamon.
- Unsalted butter – I prefer to use unsalted butter instead of salted butter because the salt content can vary in salted butters and using unsalted butter allows you to control the salt content in your recipe. If you only have salted butter on hand, simply omit or reduce the added salt.

For best results, melt the butter slowly over low heat on the stove top. I don’t like to melt my butter in the microwave because I find that it overheats easily, causing it to splatter and explode. It’s always a mess to clean up and then I need to melt more butter to make the recipe!
Step-by-Step instructions
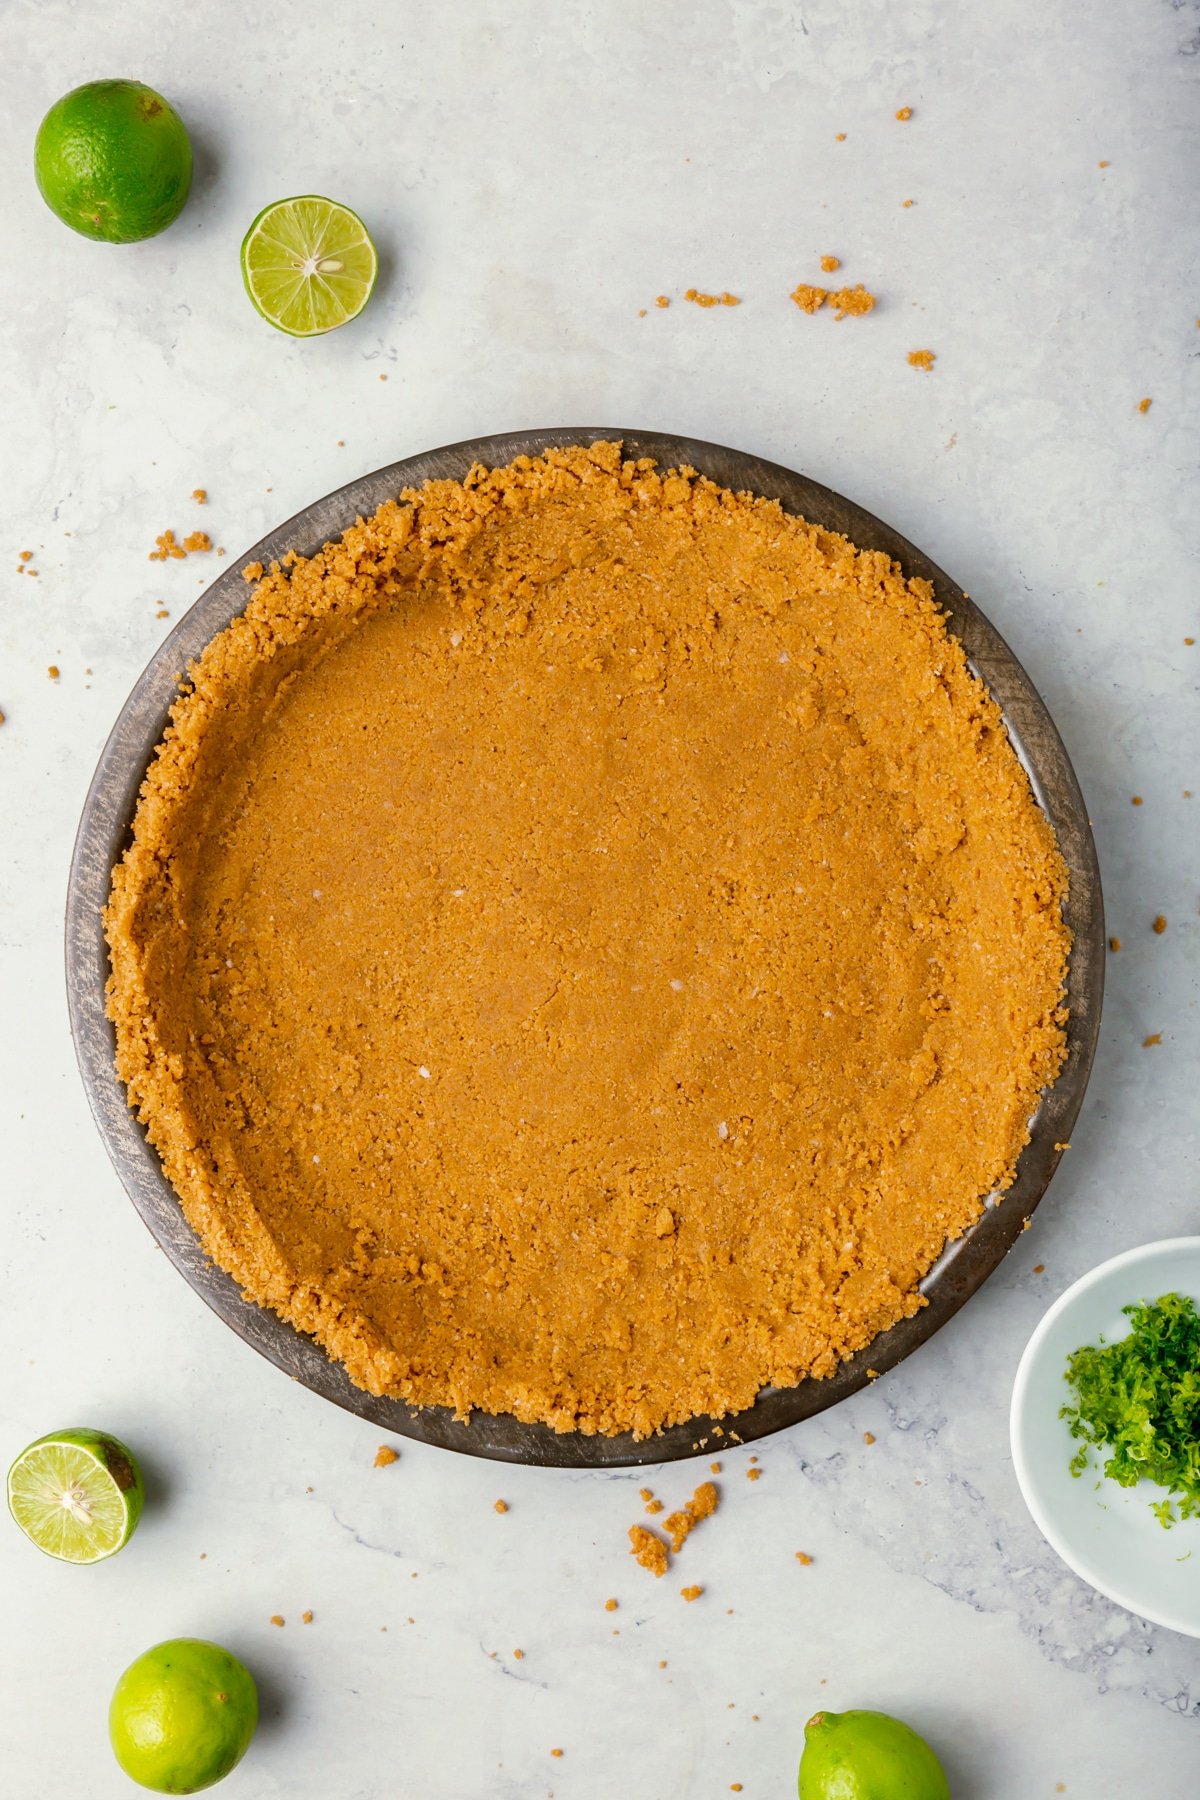
It’s very simple to make your own gluten-free graham cracker crust from scratch, perfect for your next pie or cheesecake! The below steps with matching photos are not meant to be the complete recipe, but are there to help you see the recipe made at various stages so you can make this easy graham cracker crust perfectly every time!
For the ingredient list with measurements, full instructions, printable recipe, and additional notes, please scroll down to the recipe card.
Recipe FAQs
This recipe is ideally suited for a standard 9-inch pie dish, 8-inch square baking dish, 9-inch tart pan or 9-inch springform pan. However, for a cheesecake in a springform pan, you’ll want to double the recipe to have the crust go up the sides of the pan completely. If you have leftover crust mixture, it can be used to make mini crusts in muffin tins for individual dessert servings or you can freeze the mixture for later.
Yes, granulated sugar or coconut sugar can also be used, but they may slightly alter the flavor profile of the crust.
Absolutely! Just make sure to wrap it well in plastic wrap and store in an airtight container or freezer bag. It can be frozen for up to three months.
If you don’t have a food processor, you can place the graham crackers in a zip-top bag and crush them using a rolling pin until they reach a fine crumb consistency.
To make it vegan, you can substitute the unsalted butter with a vegan butter alternative. I like Earth Balance buttery spread (in the tub, not the sticks).
expert tips
Storage instructions
- Storage: Once the crust is baked and cooled, if you’re not using it immediately, wrap it tightly in plastic wrap or aluminum foil. You can then store the crust in a cool, dry place for up to 2 days before using. If the graham cracker crust is filled, you will want to refrigerate it to keep the pie fresh.
- Freezer Option: For longer storage, the crust can be frozen. If it’s pre-baked and cooled, wrap the crust or the whole pie (if filled) tightly in plastic wrap, then in aluminum foil. Label with the date and type of pie for easy identification. The crust or pie can be stored in the freezer for up to 2-3 months.
- Reheat/Thaw: To thaw a frozen baked graham cracker crust, leave it at room temperature for 1-2 hours before using.
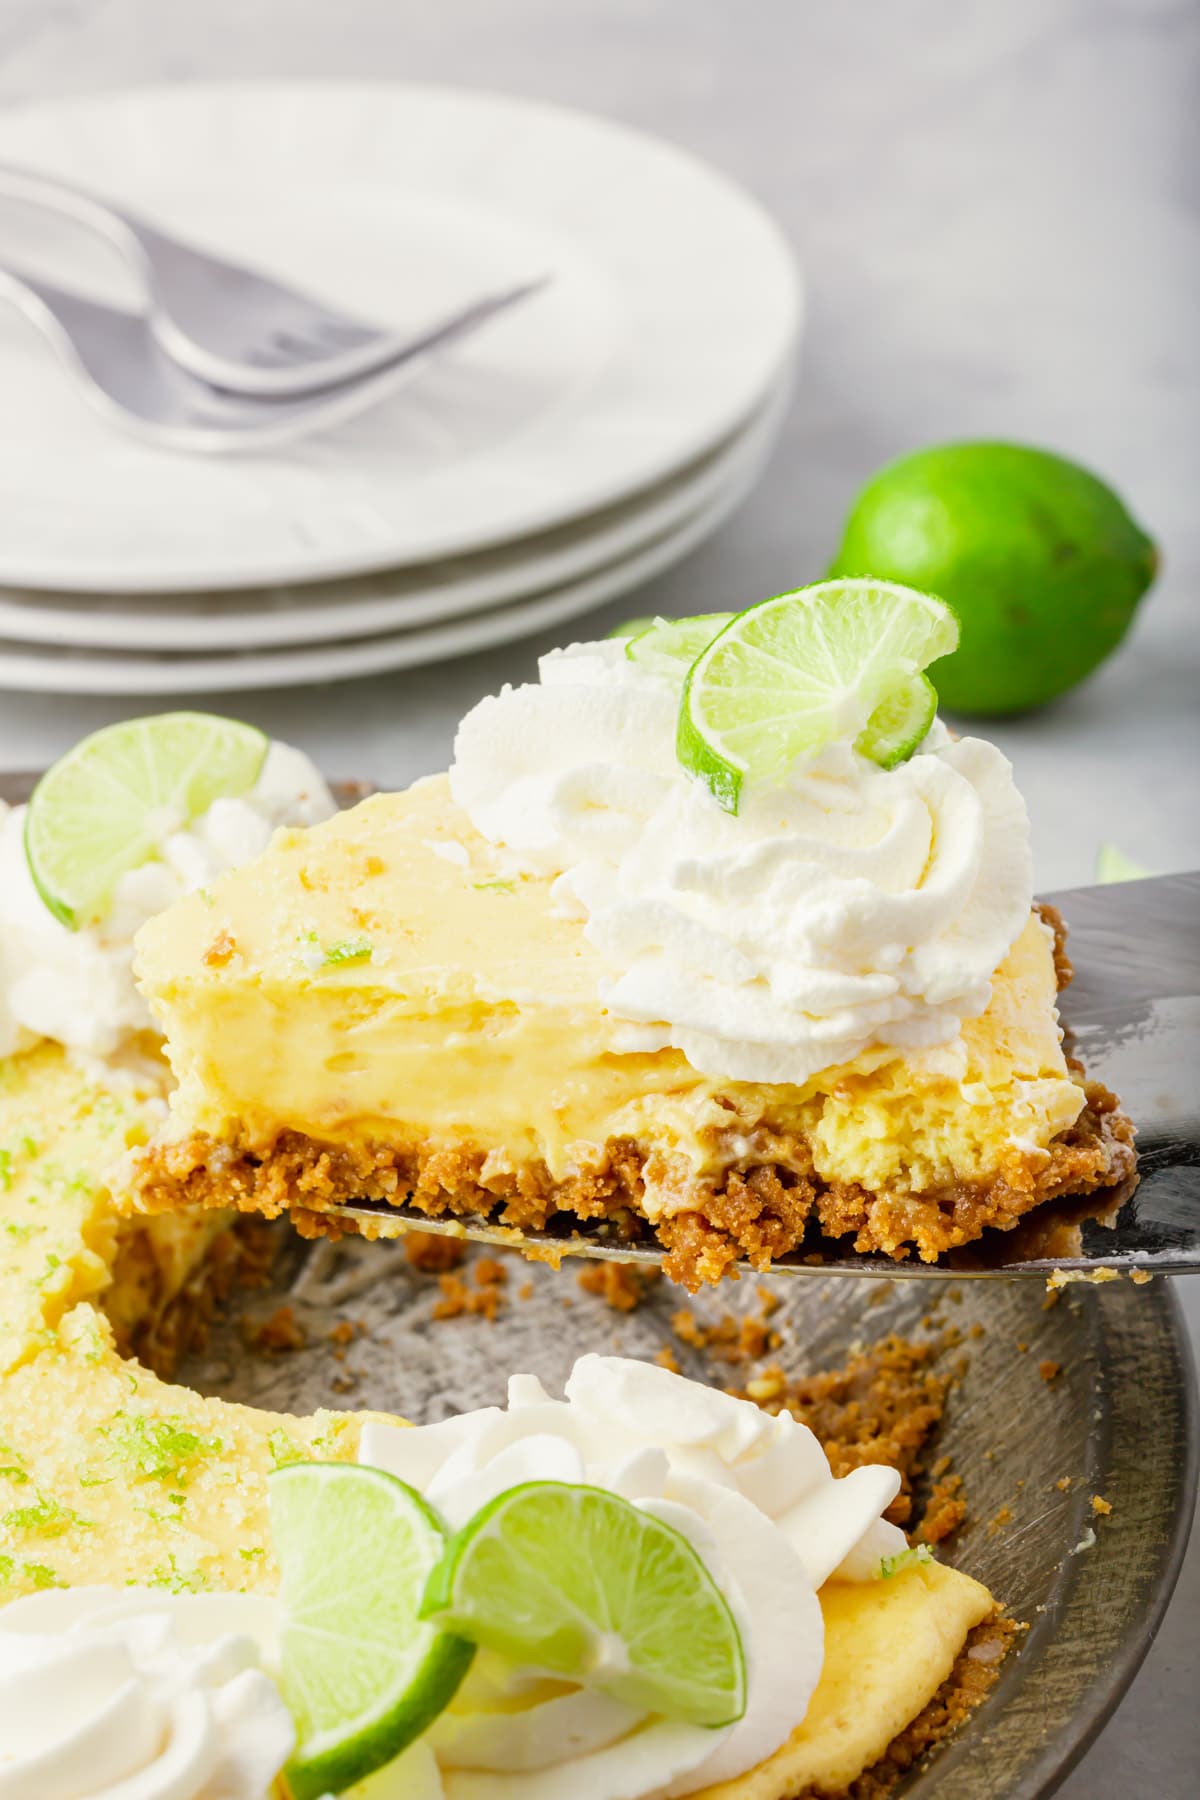
More gluten-free pies to try
Did you make this recipe?
I’d love to know! Please rate it and leave a comment below. You can also share your pictures and tag @adashofmegnut on Instagram.
Gluten-Free Graham Cracker Crust
Ingredients
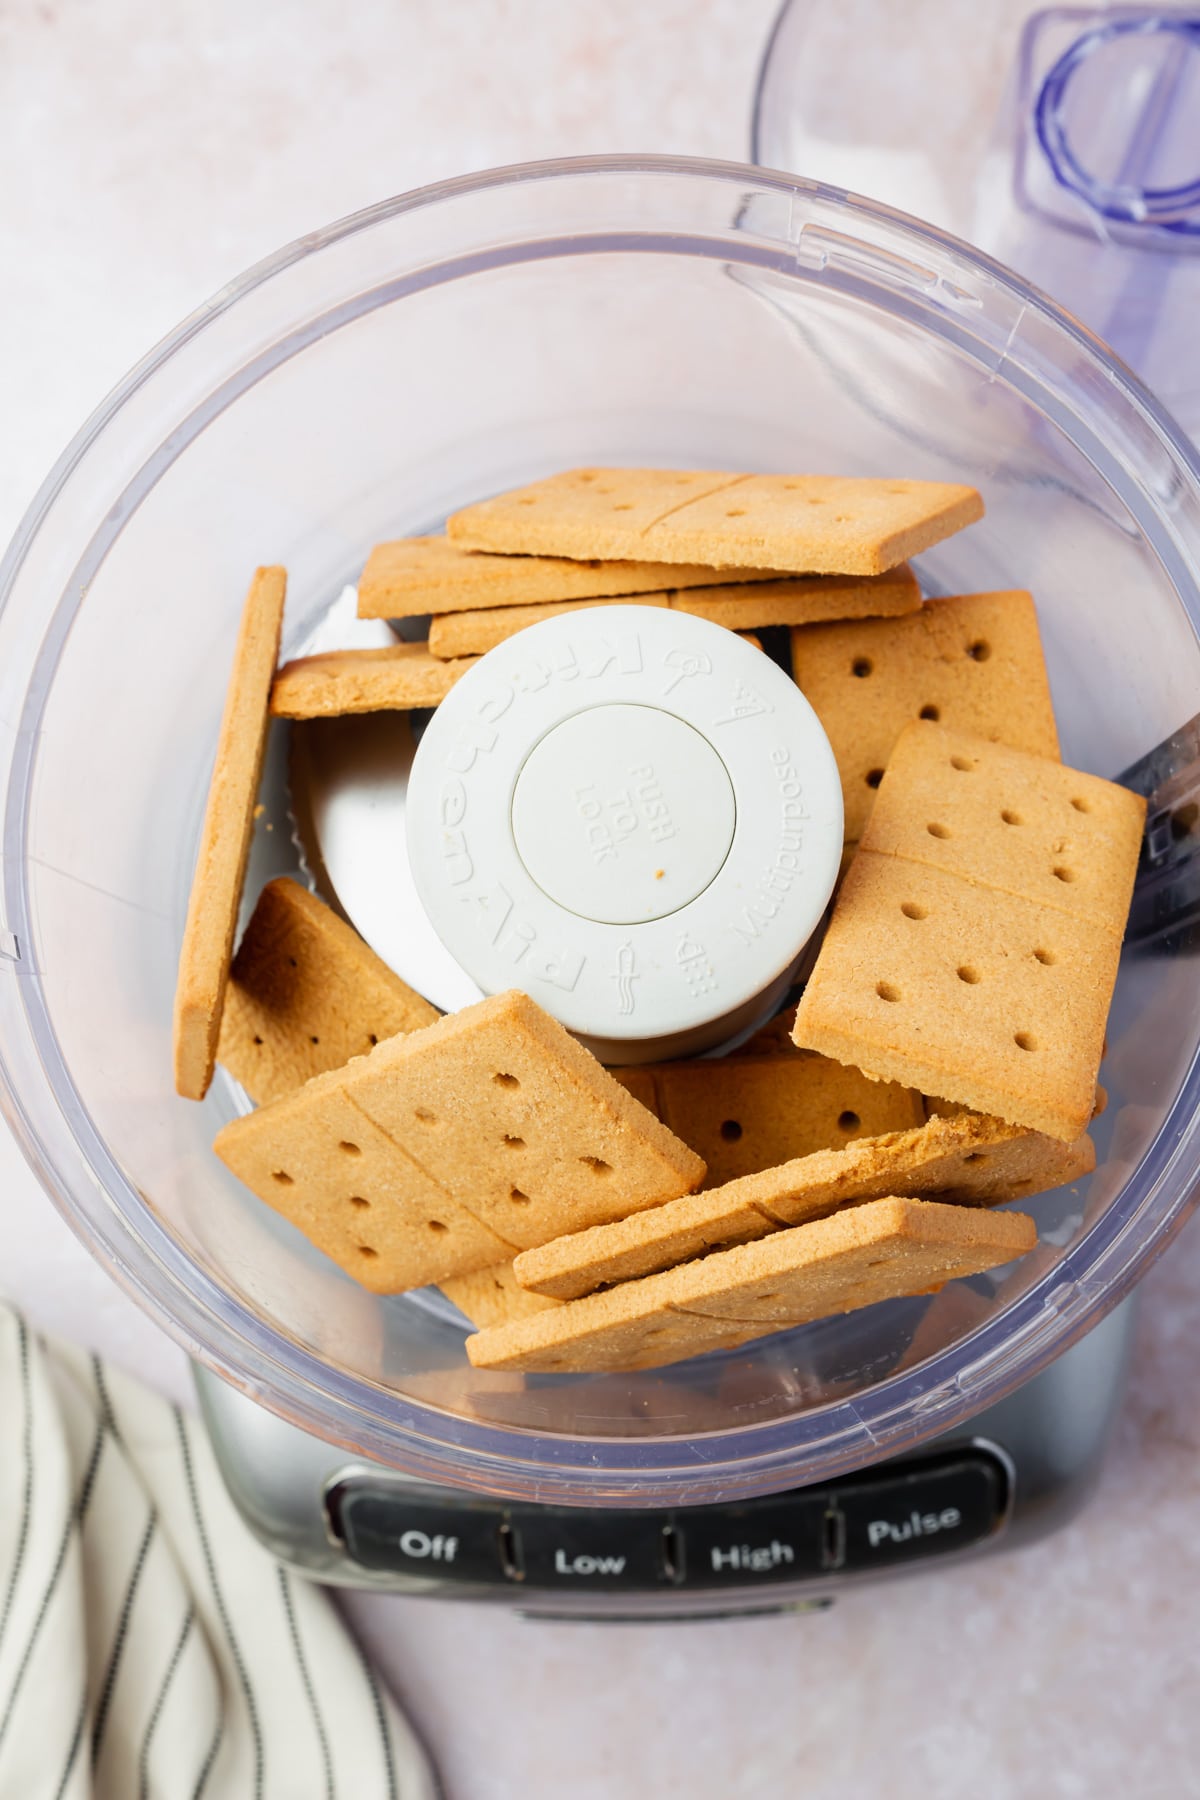
- 8 oz gluten-free graham crackers - which will yield approximately 1 3/4 cups of crumbs
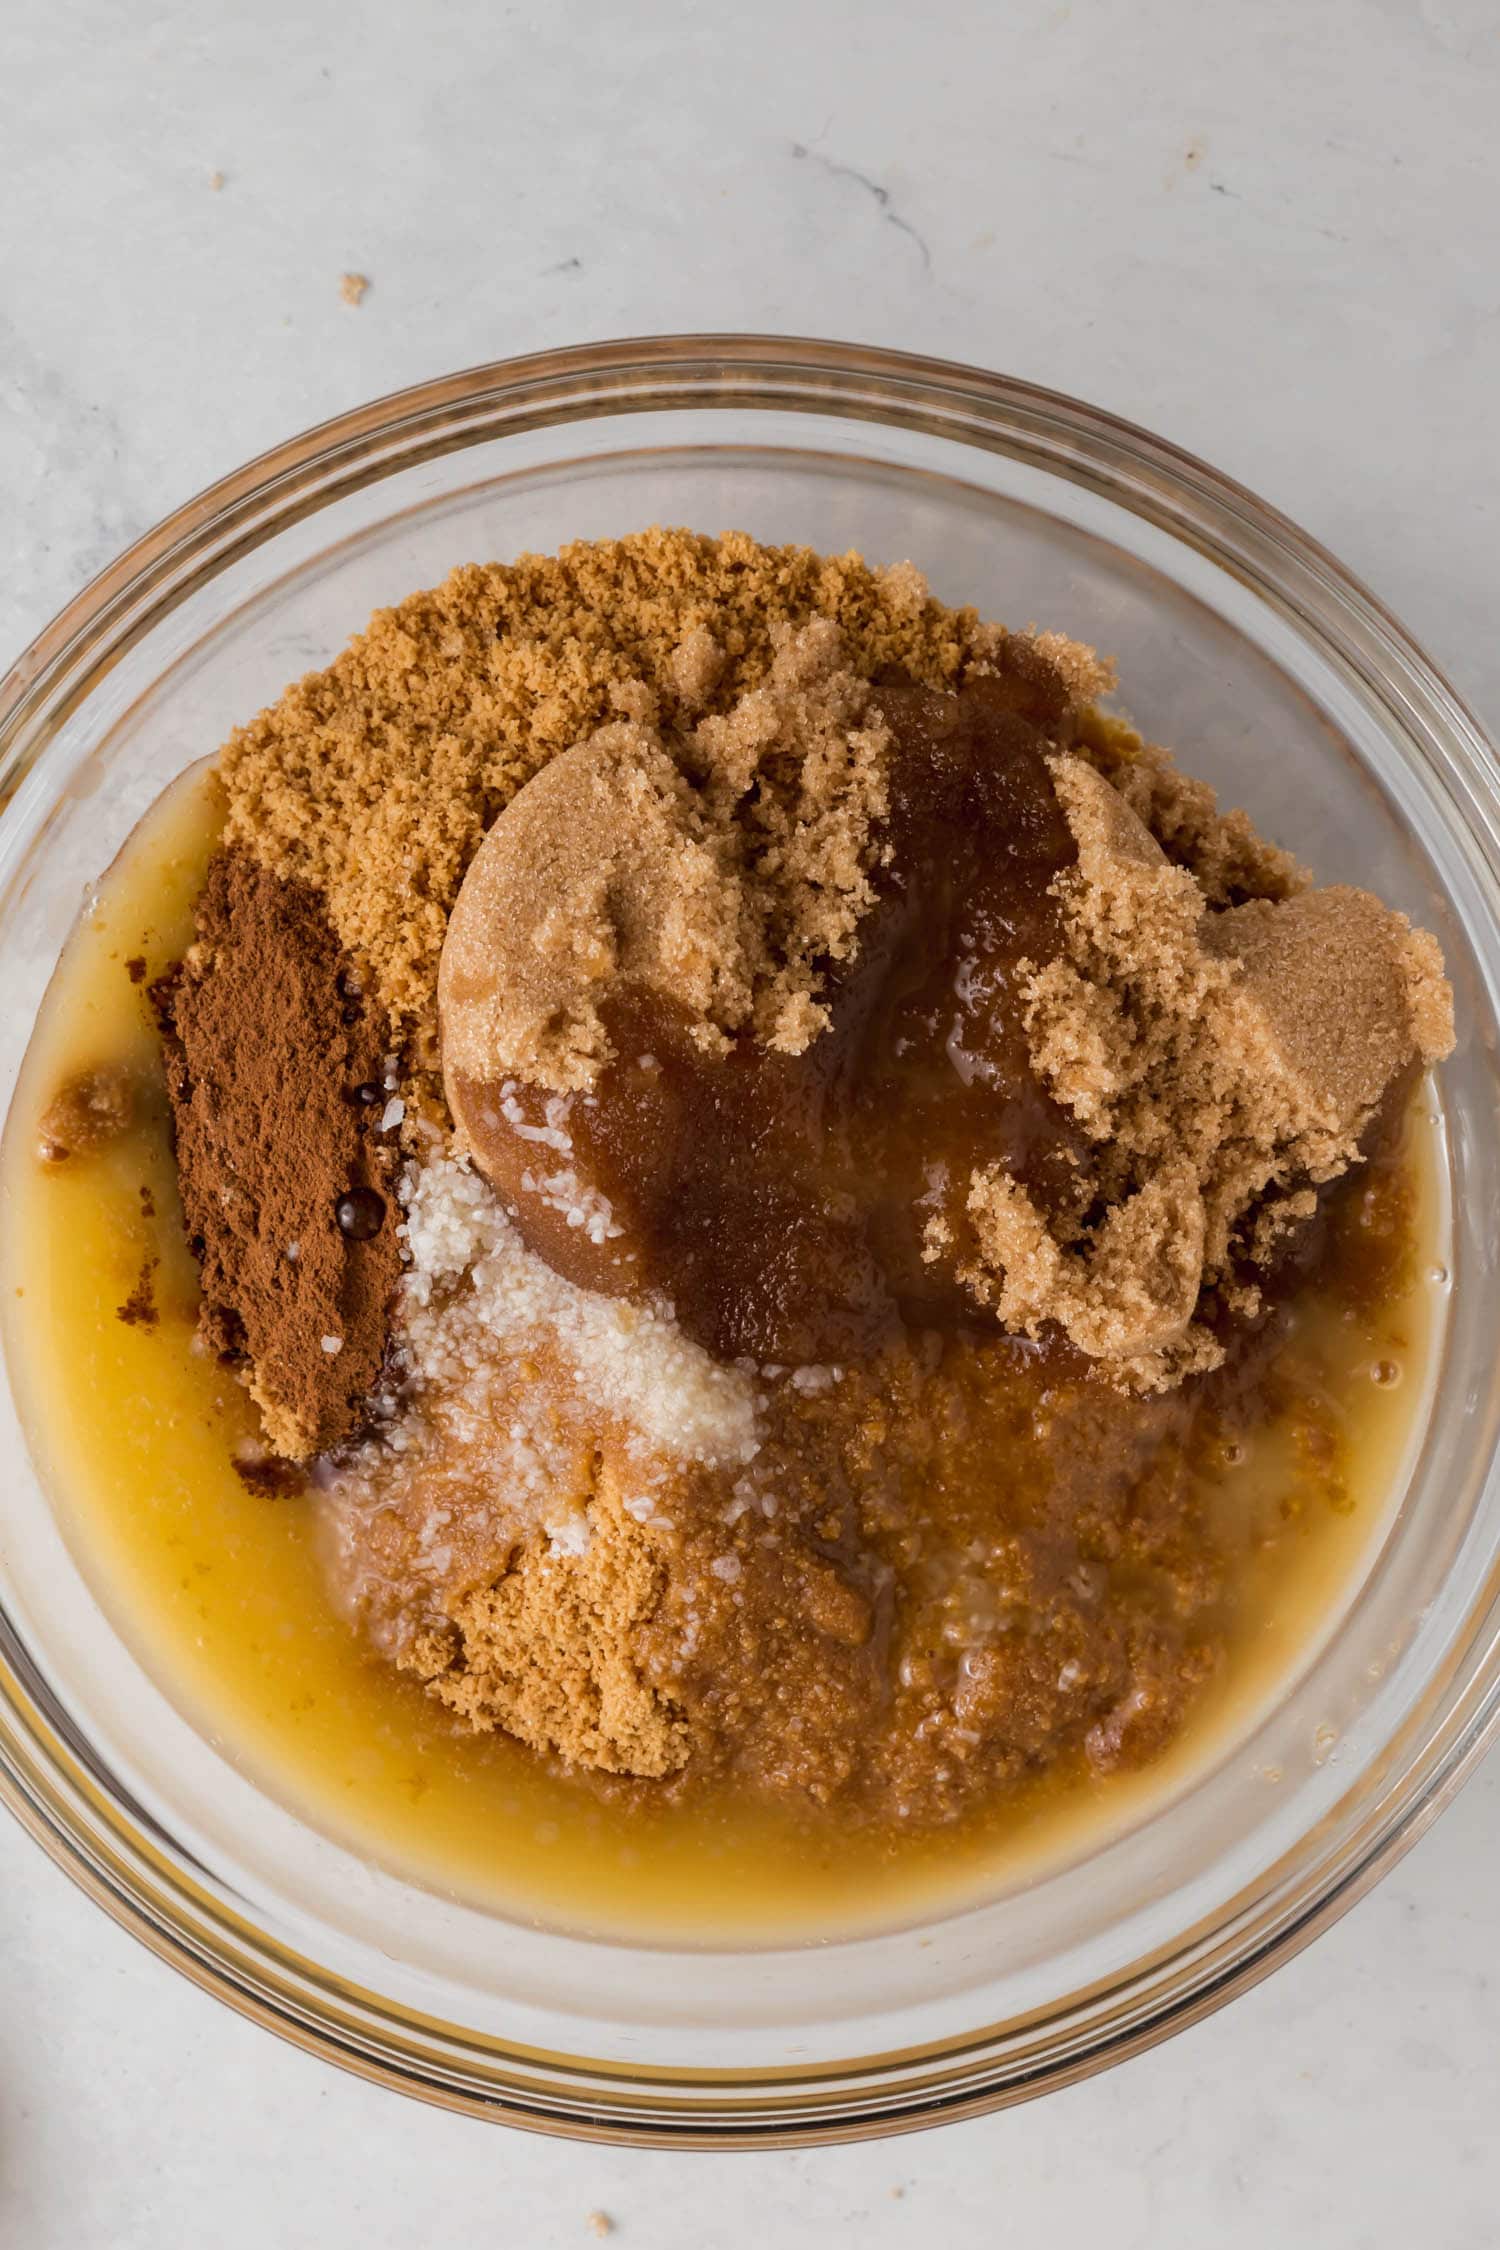
- 1/3 cup brown sugar - 66g
- 1/2 teaspoon salt
- 1/2 teaspoon ground cinnamon - optional
- 6 tablespoons unsalted butter - melted (85g)
**Use the toggle button above to turn the instruction photos on and off!
Instructions
- Add the gluten-free graham crackers to a food processor. Process until finely ground.
- Place the gluten-free graham cracker crumbs in a large mixing bowl.
- Add the brown sugar, salt and any optional flavorings, like cinnamon. Stir to combine.
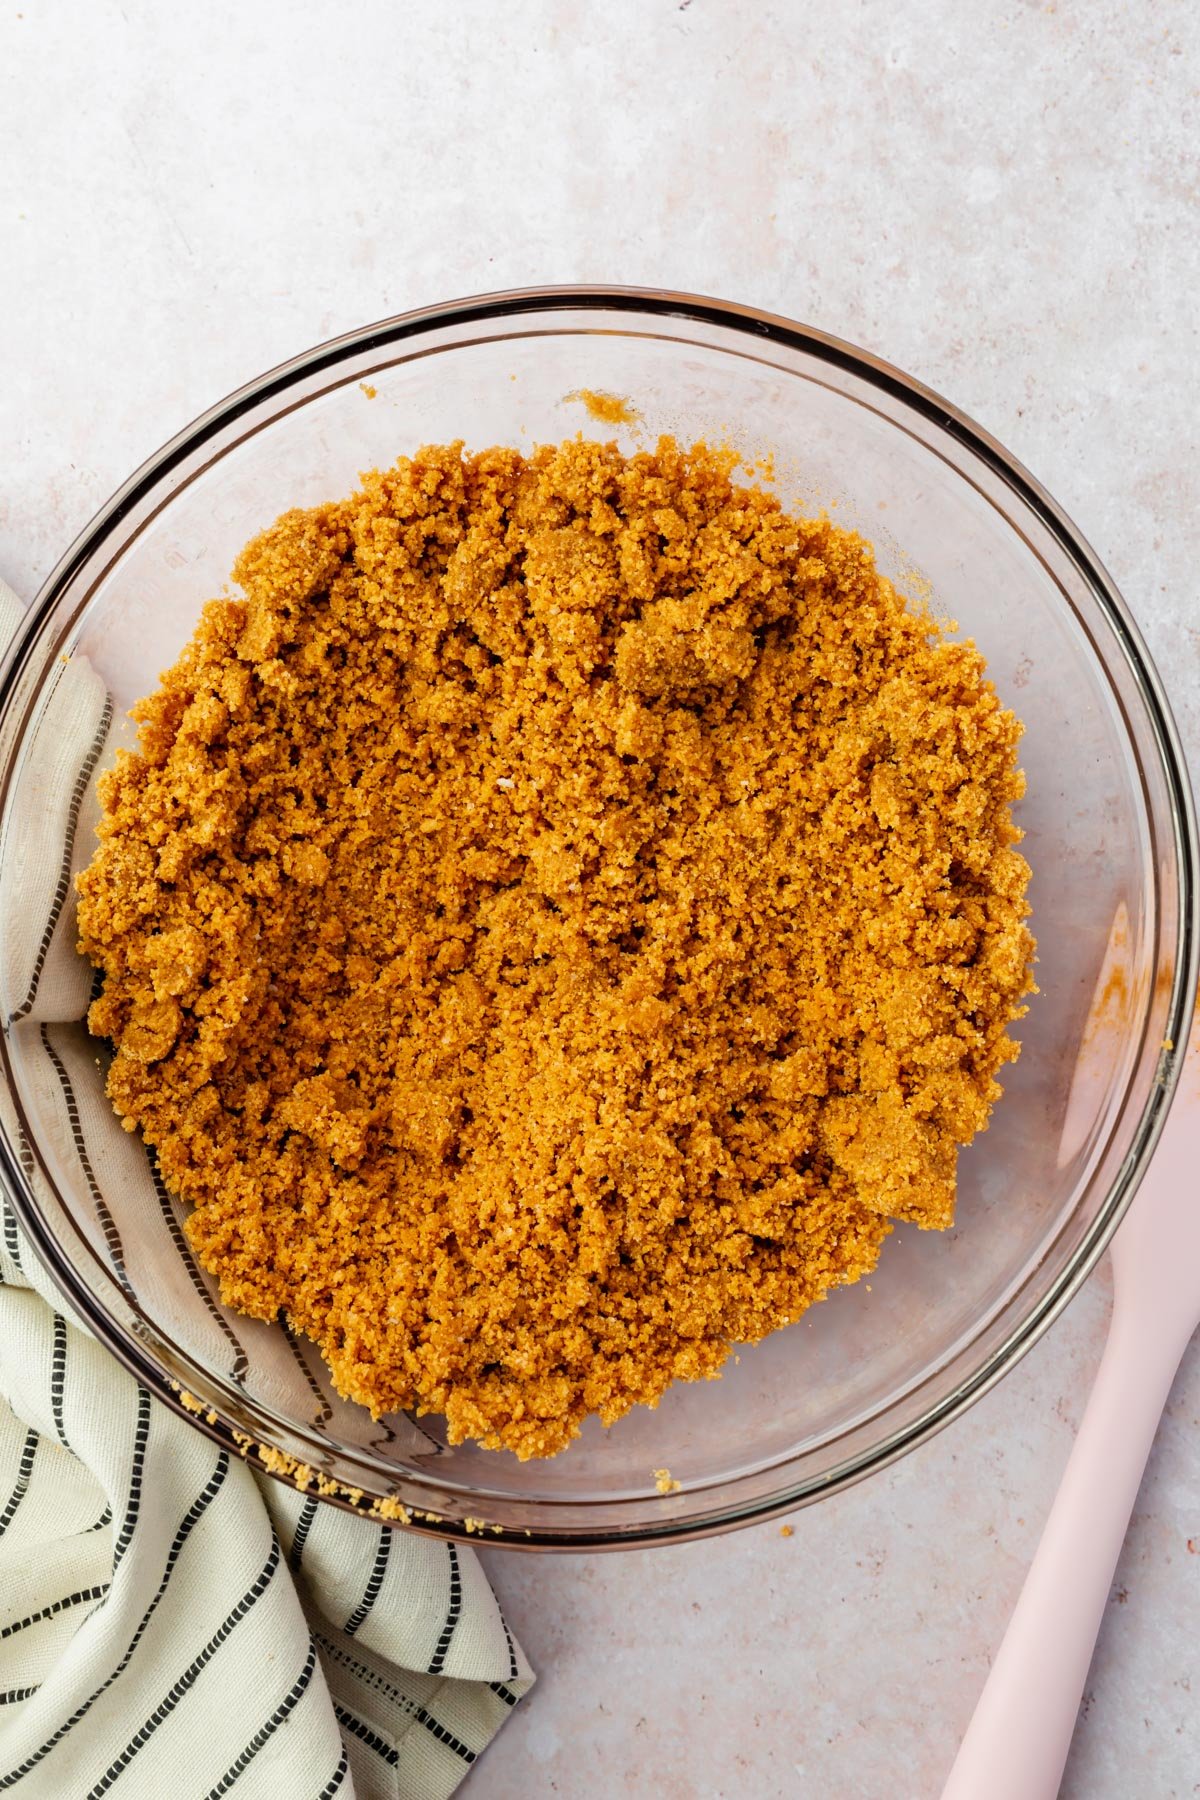
- Pour in the melted butter. Stir until combined and the graham crackers are completely moistened and the crust mixture resembles wet sand.
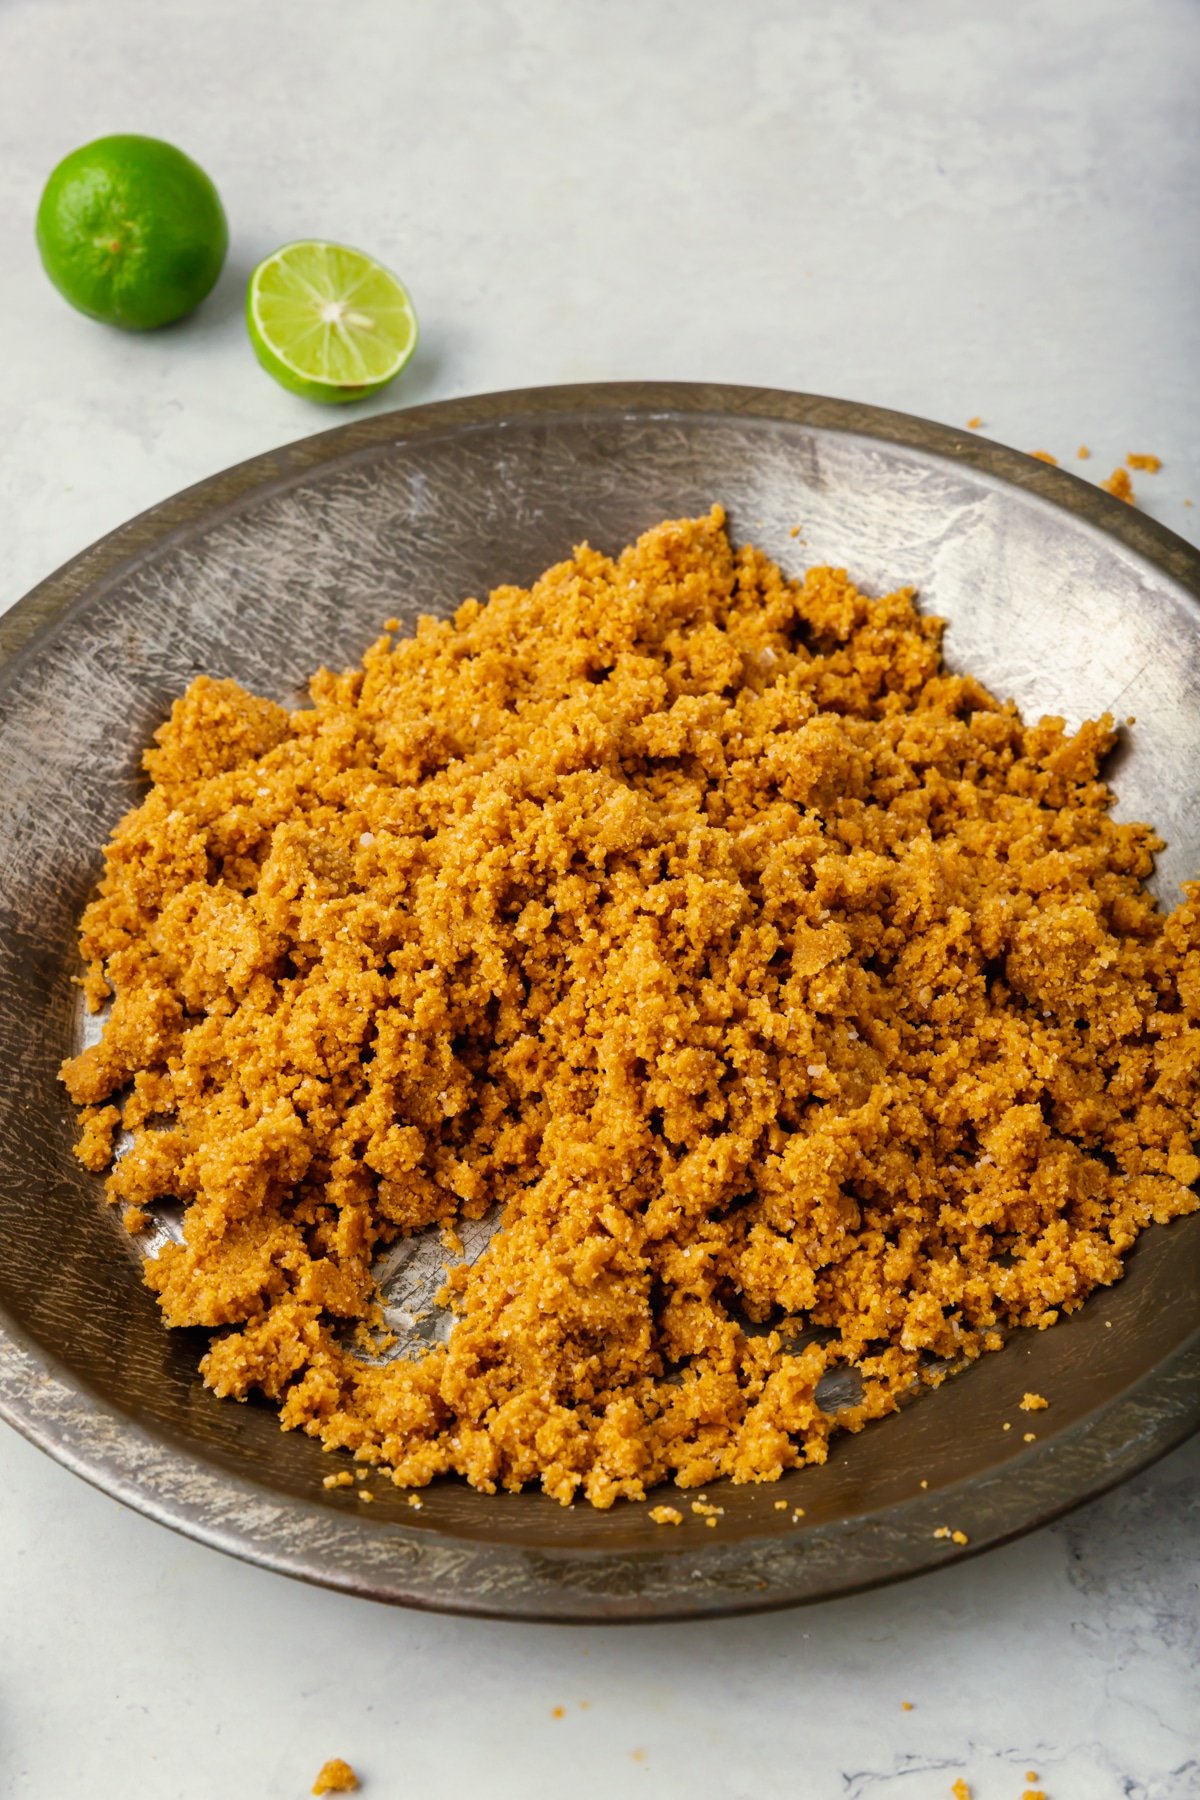
- Pour the graham cracker mixture into your pie dish or baking dish. Use a 9-inch pie dish, 9-inch tart pan, 8-inch square baking dish, or 9-inch springform pan (see notes).
- Press to the bottom and sides of the pie pan until even. You can use your hands or the bottom of a measuring cup to get an even layer.
- For a baked graham cracker crust, bake the crust at 350°F (177°C) for 8-10 minutes, until the crust is fragrant and lightly browned. Let cool briefly for 5-10 minutes, before filling as instructed in your specific recipe.
- For a no-bake gluten-free graham cracker crust, place the pie crust in the refrigerator and chill until ready to serve. A no-bake pie crust is more delicate than a baked one, so you’ll want to keep it chilled until just before serving so it doesn’t fall apart.
Notes
- The nutrition calculation is based on 8 servings and is an approximation.
- This crust perfectly fits a regular 9-inch pie plate, an 8-inch square pan, a 9-inch tart mold, or a 9-inch springform pan. For cheesecakes that require the crust to fully line the springform’s sides, consider using twice the recipe amount. Any extra crust mix can either be turned into petite crusts using muffin cups for single-serving desserts or stored in the freezer for future use.
- If you have celiac disease or are on a gluten-free diet for any reason, always be sure to double check your ingredients to ensure they are gluten-free.
- I’ve tested this recipe with both my homemade gluten-free graham crackers and Kinnikinnick Gluten-Free S’moreables Graham Style Crackers which comes in an 8 oz box. I use the entire box, which gets me about 1 3/4 cups of crumbs. Kinnikinnick also sells Graham Style Cracker Crumbs, but I tend to have the graham crackers on hand because they are more versatile.
- I love the flavor of brown sugar in this recipe because it makes the pie crust take on a more caramelized flavor, but you can also use granulated sugar or even coconut sugar if you prefer.

