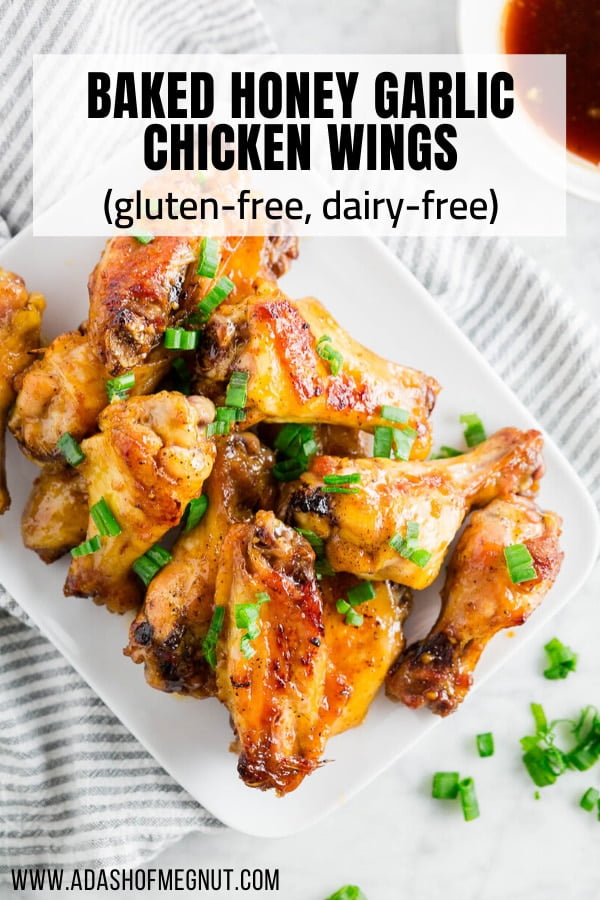
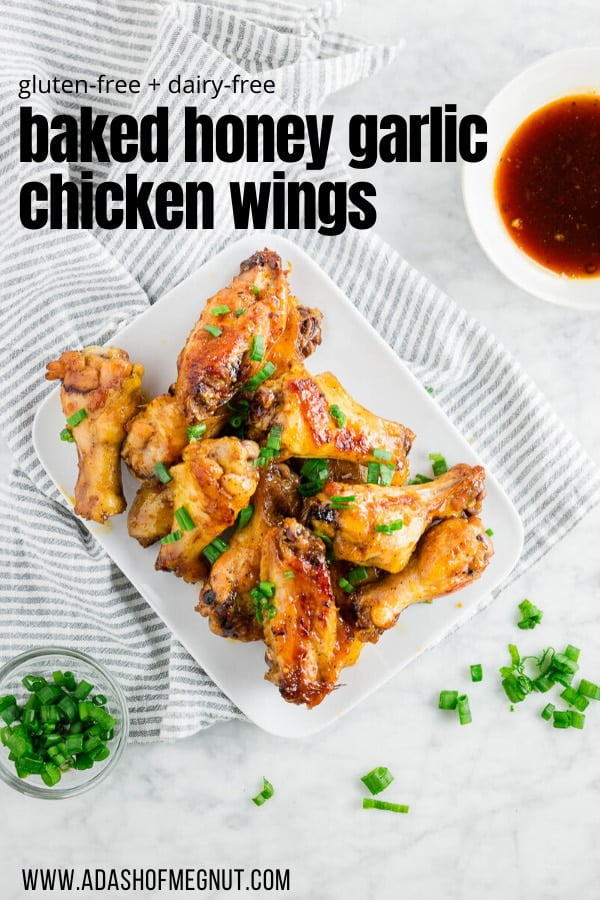

These baked honey garlic chicken wings are my go-to for Super Bowl parties and game day gatherings. They’re sweet, sticky, and have just enough heat from the sriracha to keep things interesting. They’re baked in the oven (not fried!) but still get that crispy skin everyone fights over. Made gluten-free and dairy-free, so everyone at your watch party can dig in.
You can bake chicken wings and still get that crispy skin. No deep fryer required.
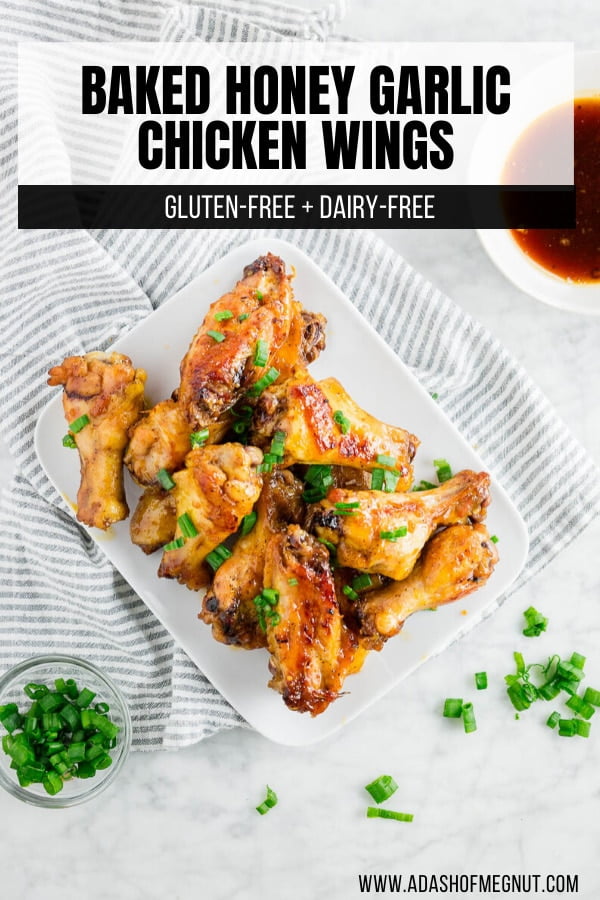
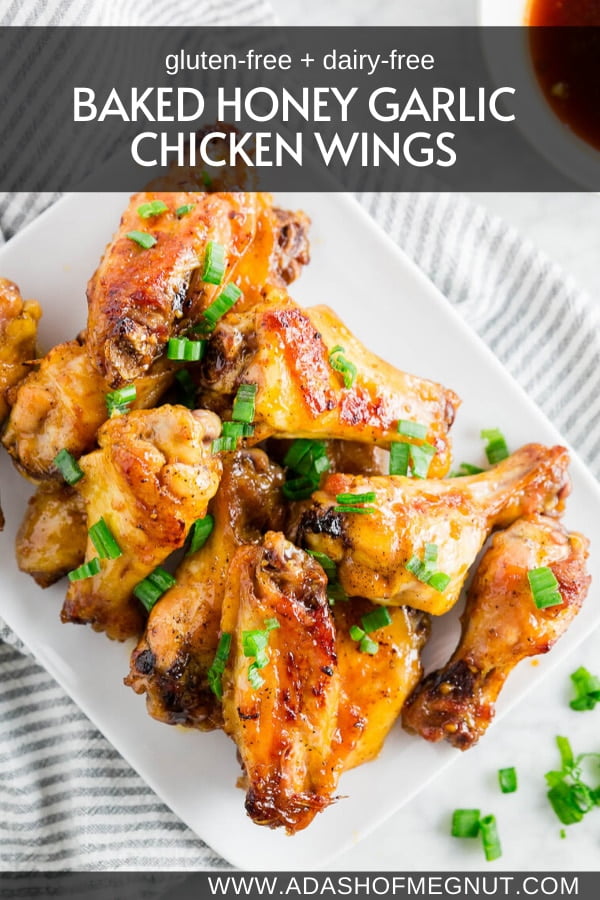
These honey garlic wings are a favorite in our house, and we make them every Super Bowl Sunday. They’re easy to scale up for a crowd and the sticky-sweet glaze means they disappear fast.
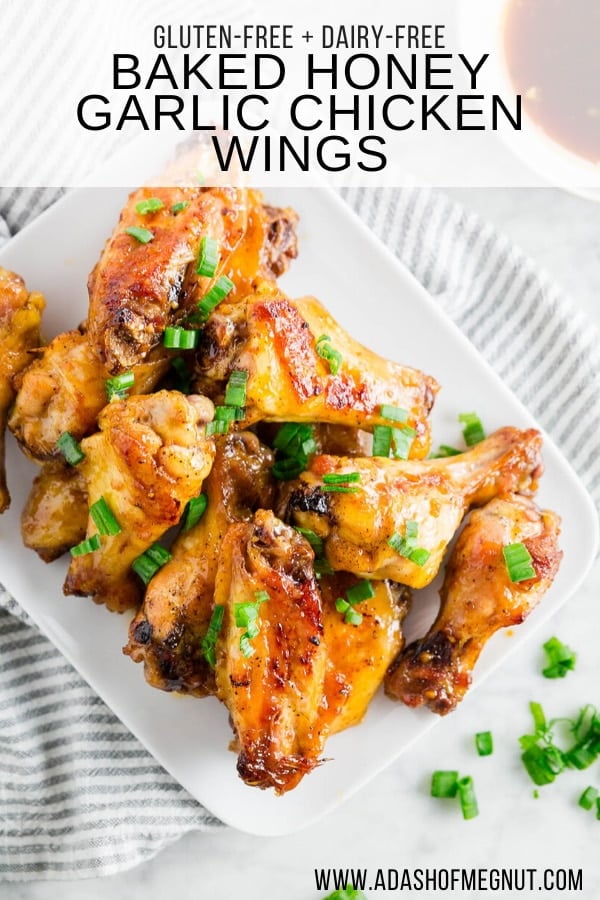
Why These Wings are Perfect for Game Day
I make these every Super Bowl, and they’re the one appetizer I never skip. They work so well for watch parties for a few reasons.
Ingredient Notes
- Chicken wings: I use pre-cut wings (drumettes and wingettes) to save time. If you’re buying whole wings, you’ll need to separate them yourself. Plan on about 4 to 5 pieces per person for an appetizer.
- Tamari: This is what makes the recipe gluten-free. Tamari tastes like soy sauce but is made without wheat. You’ll find it next to the soy sauce at most grocery stores.
- Sriracha: Adds a little heat without being overwhelming. Skip it if you want a milder wing, or add more if you like it spicy.
- Honey: Any honey works here.
- Cornstarch: This thickens the sauce. Mix it with cold water before adding (creating a slurry) so it doesn’t clump up.
Searching for more gluten-free chicken wing recipes? Teriyaki Chicken Wings / Gluten-Free Chicken Wings / Peanut Butter Chicken Wings / Peanut Butter Chicken Wings / Mango Habanero Wings

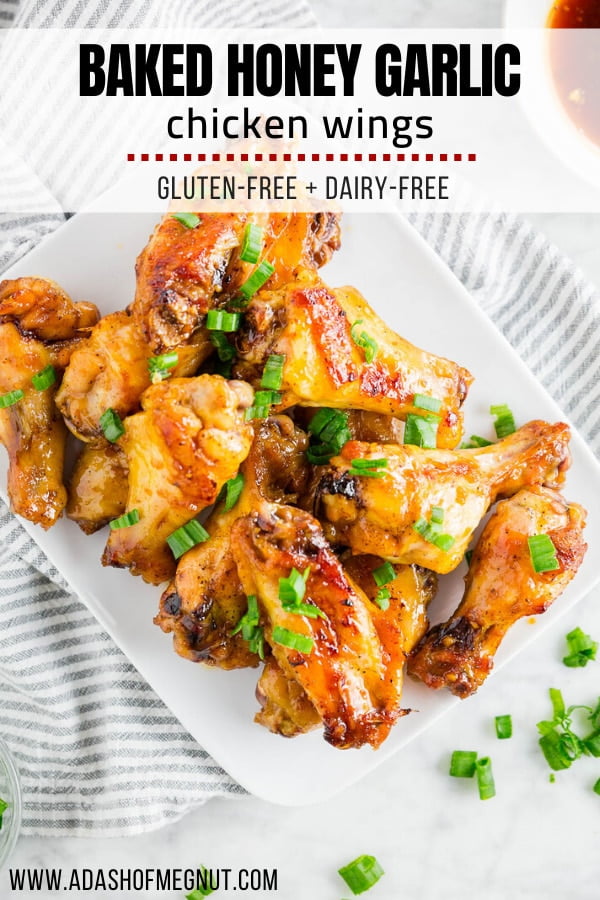
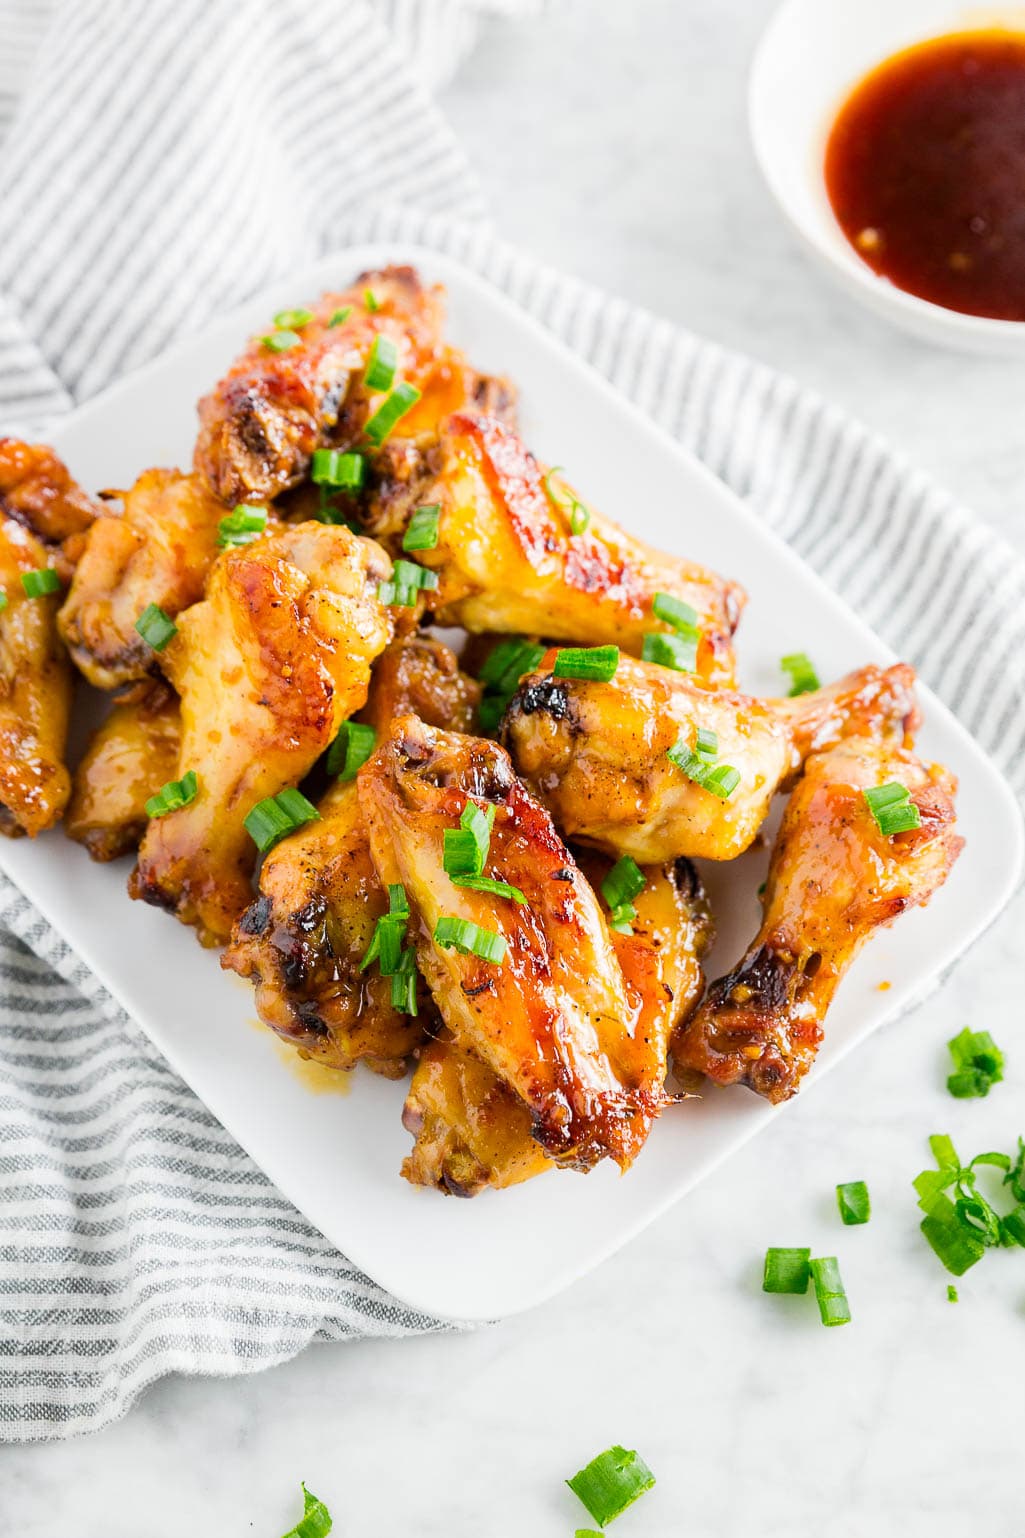
Tip for Crispy Baked Wings
The trick is baking without the sauce, then adding it at the end. Bake at 400°F for 40 to 45 minutes, flip halfway through, then broil for about 5 minutes until the skin crisps up. Toss in the sauce right before serving. This keeps the skin from getting soggy and gives you that sticky glaze on the outside. Make sure your wings reach 165°F internal temperature before pulling them.
Building a Gluten-Free Game Day Spread
If you’re hosting, these wings pair well with a few other recipes from my site:
- For dipping: My buffalo chicken dip is always the first thing to disappear, or go with spinach artichoke dip if you want something creamy without more chicken. Both can be made ahead and reheated.
- For snacking: Gluten-free chex mix is easy to set out in bowls around the room. It holds up all day and gives people something to grab between plays.
- For finger food: Cream cheese stuffed mini peppers or bacon wrapped dates are both baked and can go in the oven alongside the wings.
- For something fresh: Black bean corn salsa with chips balances out all the rich stuff. It’s also naturally gluten-free, so no recipe modifications needed.
Storage Instructions
Leftover wings keep in the fridge for up to 3 days. Reheat in the oven at 400°F or in the air fryer at 375°F until the skin crisps up again. The microwave will make them soggy.
More gluten-free appetizers to try

Did you make this recipe?
I’d love to know! Please rate it and leave a comment below. You can also share your pictures and tag @adashofmegnut on Instagram.

Baked Honey Garlic Chicken Wings
Ingredients
For the Chicken Wings:
- 2 lbs chicken wings - already cut into drumettes and wingettes (about 16-20 pieces total)
- 1 tablespoon avocado oil - or other high-heat oil such as grapeseed oil or vegetable oil
- 1/2 teaspoon kosher salt
- 1/2 teaspoon ground black pepper
- 1/2 teaspoon garlic powder
- 1/4 cup chopped green onions - for serving
For the Sauce:
- 1 tablespoon cornstarch
- 2 tablespoons water
- 1/2 cup honey
- 4 cloves garlic - minced (about 1 tablespoon)
- 1/4 cup tamari sauce - or gluten-free soy sauce
- 1 tablespoon sriracha
**Use the toggle button above to turn the instruction photos on and off!
Instructions
For the Chicken Wings:
- Preheat oven to 400°F. Line a baking sheet with parchment paper, or set a wire rack on the baking sheet for extra crispy skin.
- In a large bowl, toss 2 lbs chicken wings with 1 tablespoon avocado oil until coated. Sprinkle with 1/2 teaspoon kosher salt, 1/2 teaspoon ground black pepper, and 1/2 teaspoon garlic powder and toss again.
- Arrange wings in a single layer on the baking sheet.
- Bake at 400°F for 40-45 minutes, until the chicken reaches an internal temperature of 165°F. If using parchment, flip the wings halfway through baking. If using a wire rack, no flipping needed.
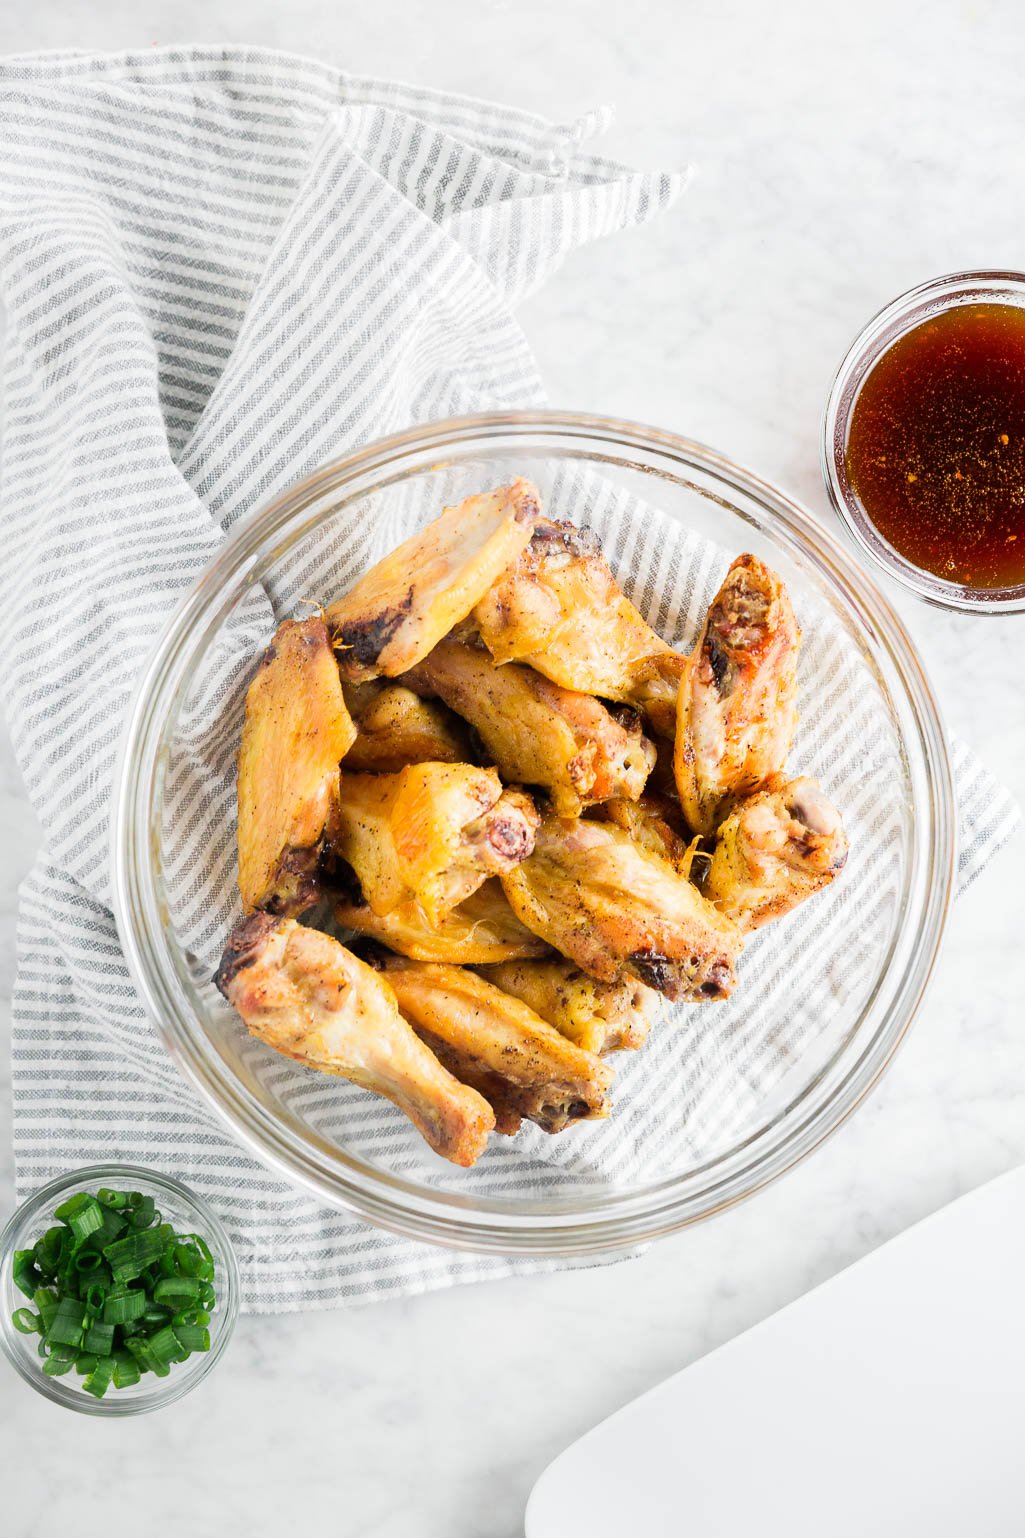
- Switch the oven to broil. Broil for 5 minutes until the skin is crispy and golden.
- Transfer wings to a clean bowl, pour the sauce over (recipe below), and toss until coated. Serve topped with 1/4 cup chopped green onions.
For the Sauce (make while the wings bake):
- Mix 1 tablespoon cornstarch and 2 tablespoons water in a small bowl until smooth and no much clumps remain. Set aside.
- In a small saucepan, combine 1/2 cup honey, 4 cloves garlic, 1/4 cup tamari sauce, and 1 tablespoon sriracha. Heat over medium, stirring until the honey dissolves.
- Bring to a boil, stirring occasionally. Then stir in the cornstarch slurry.
- Reduce heat to medium-low and stir until the sauce thickens and looks glossy, about 5-10 minutes.
- Remove from heat and let cool slightly before tossing with the wings. You want the sauce warm but not hot, so it coats the wings without creating steam.
Notes
- Sauce ahead: The sauce can be made up to 2 days ahead. Store in the fridge and give it a stir before using. Warm it gently before tossing with the chicken wings.
- Scaling: Double or triple the recipe for a crowd. Make extra sauce to match.
- Crispier wings: Use a wire rack on your baking sheet instead of parchment. No flipping needed.
- Don’t crowd the pan: If your wings are touching, use two baking sheets. Crowding leads to steaming instead of crisping.
Nutrition
Love the tip on the tamari sauce. I will look out for it next time – thanks -x-
Thanks Chrissi!
I was just wondering if you ever tried it with coconut aminos instead of tamari?
Hi Amy, I haven’t tried it with coconut aminos but it should work just fine in this recipe!