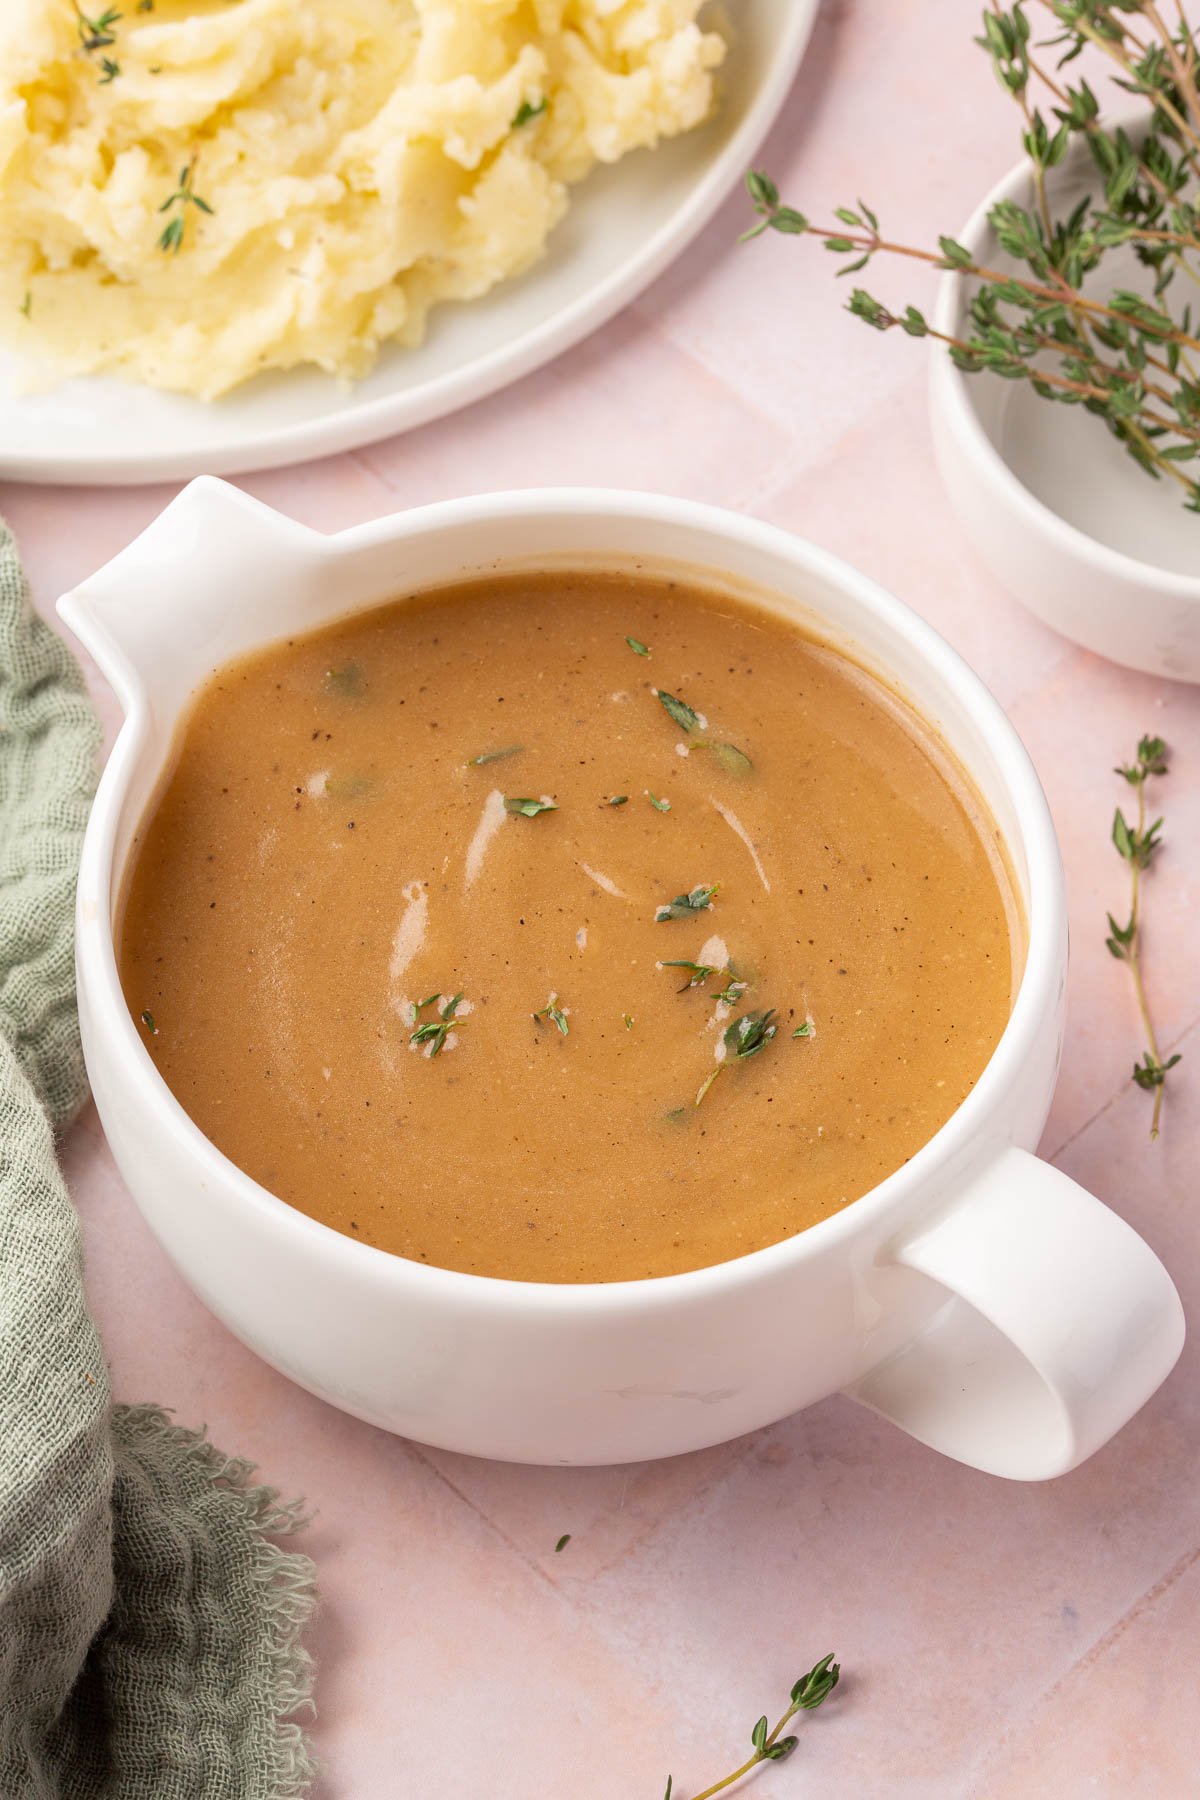
A roux is one of those things that sounds intimidating but takes about 5 minutes once you know what you’re doing. It’s the base for some of the most comforting things you can make, mac and cheese, gravy, broccoli cheddar soup, and getting it right gluten-free takes one small adjustment.
A gluten-free roux works the same way a traditional roux does, but the ratio is different. Gluten-free flour is lighter and more absorbent than wheat flour, so a standard 1:1 ratio by weight tends to produce a thick, gummy paste that’s hard to whisk smooth. I use a 1.5:1 ratio instead, 4 tablespoons (56g) of butter to 4 tablespoons (35g) of gluten-free flour, which gives you a silky base that blends cleanly into milk or stock every time.
I use this roux in everything from my gluten-free mac and cheese to my gluten-free broccoli cheddar soup to my gluten-free chicken pot pie. Once you have it down, it becomes second nature.
Why You’ll Love this Recipe
Ingredients
TIP
Gluten-free flours are lighter and more absorbent than wheat flour. A little extra butter is the secret to a silky, easy-to-whisk roux.
Ingredient Notes
- Butter: I use unsalted butter so I can control the salt level in my final dish.
- Gluten-Free Flour Blend: I use a gluten-free all-purpose flour blend that contains xanthan gum, like Bob’s Red Mill 1-to-1 Gluten-Free Baking Flour. If you’re using a gum-free blend, that works too. I just find that a roux made with a flour blend containing xanthan gum is really smooth, so it’s usually my preference and is what I typically have on hand in my pantry anyways.
Why I Don’t Do a 1:1 Ratio by Weight
Traditional roux recipes use equal parts butter and flour by weight, but gluten-free flour behaves differently. It’s lighter, more absorbent, and doesn’t develop gluten to help bind the fat.
If you use a 1:1 ratio by weight, say 54g butter and 54g flour, you usually end up with a thick paste that’s hard to whisk smooth. My version uses 4 tablespoons butter (56g) to 4 tablespoons gluten-free flour (36g), which works out to roughly a 1.5:1 ratio by weight. That gives the roux a silky, pourable texture instead of a dense, doughy one.
The extra butter helps the gluten-free flour cook evenly, prevents gumminess, and produces a smooth base that blends into milk or stock without clumping. It’s the same method I use in my gluten-free mozzarella mac and cheese and gluten-free broccoli cheddar soup.
How to Make a Gluten-Free Roux
For the ingredient list with measurements, full instructions, printable recipe, and additional notes, please scroll down to the recipe card.
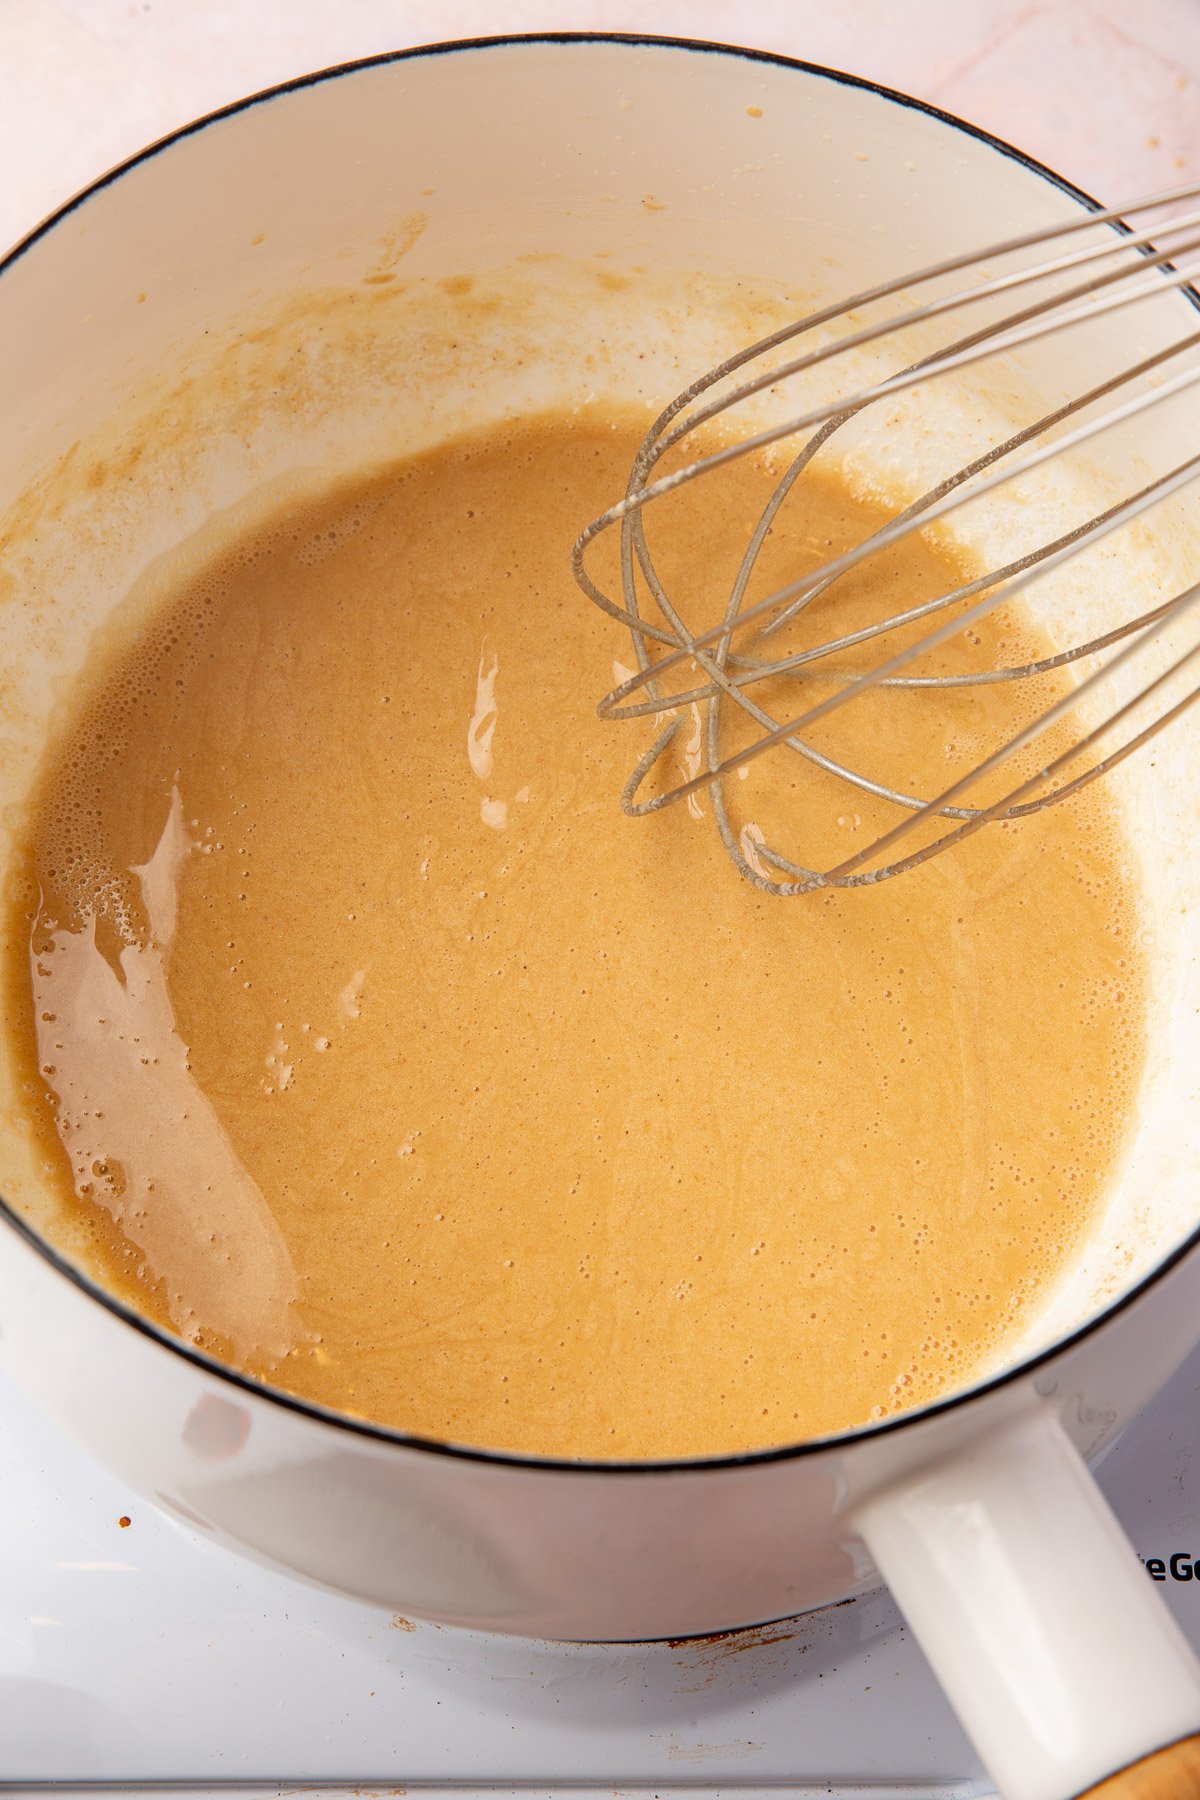
This darker roux is ideal for gravies, stews, and heartier sauces.
Understanding Types of Roux and Roux Colors
The longer you cook your roux, the darker and more flavorful it becomes, but it will also lose some of its thickening power. Here’s how to choose the right one for your recipe:
- White Roux (1-2 minutes): Cooked just until the raw flour is cooked out, it’s very pale and creamy. Best for white sauces like béchamel or cheese sauce.
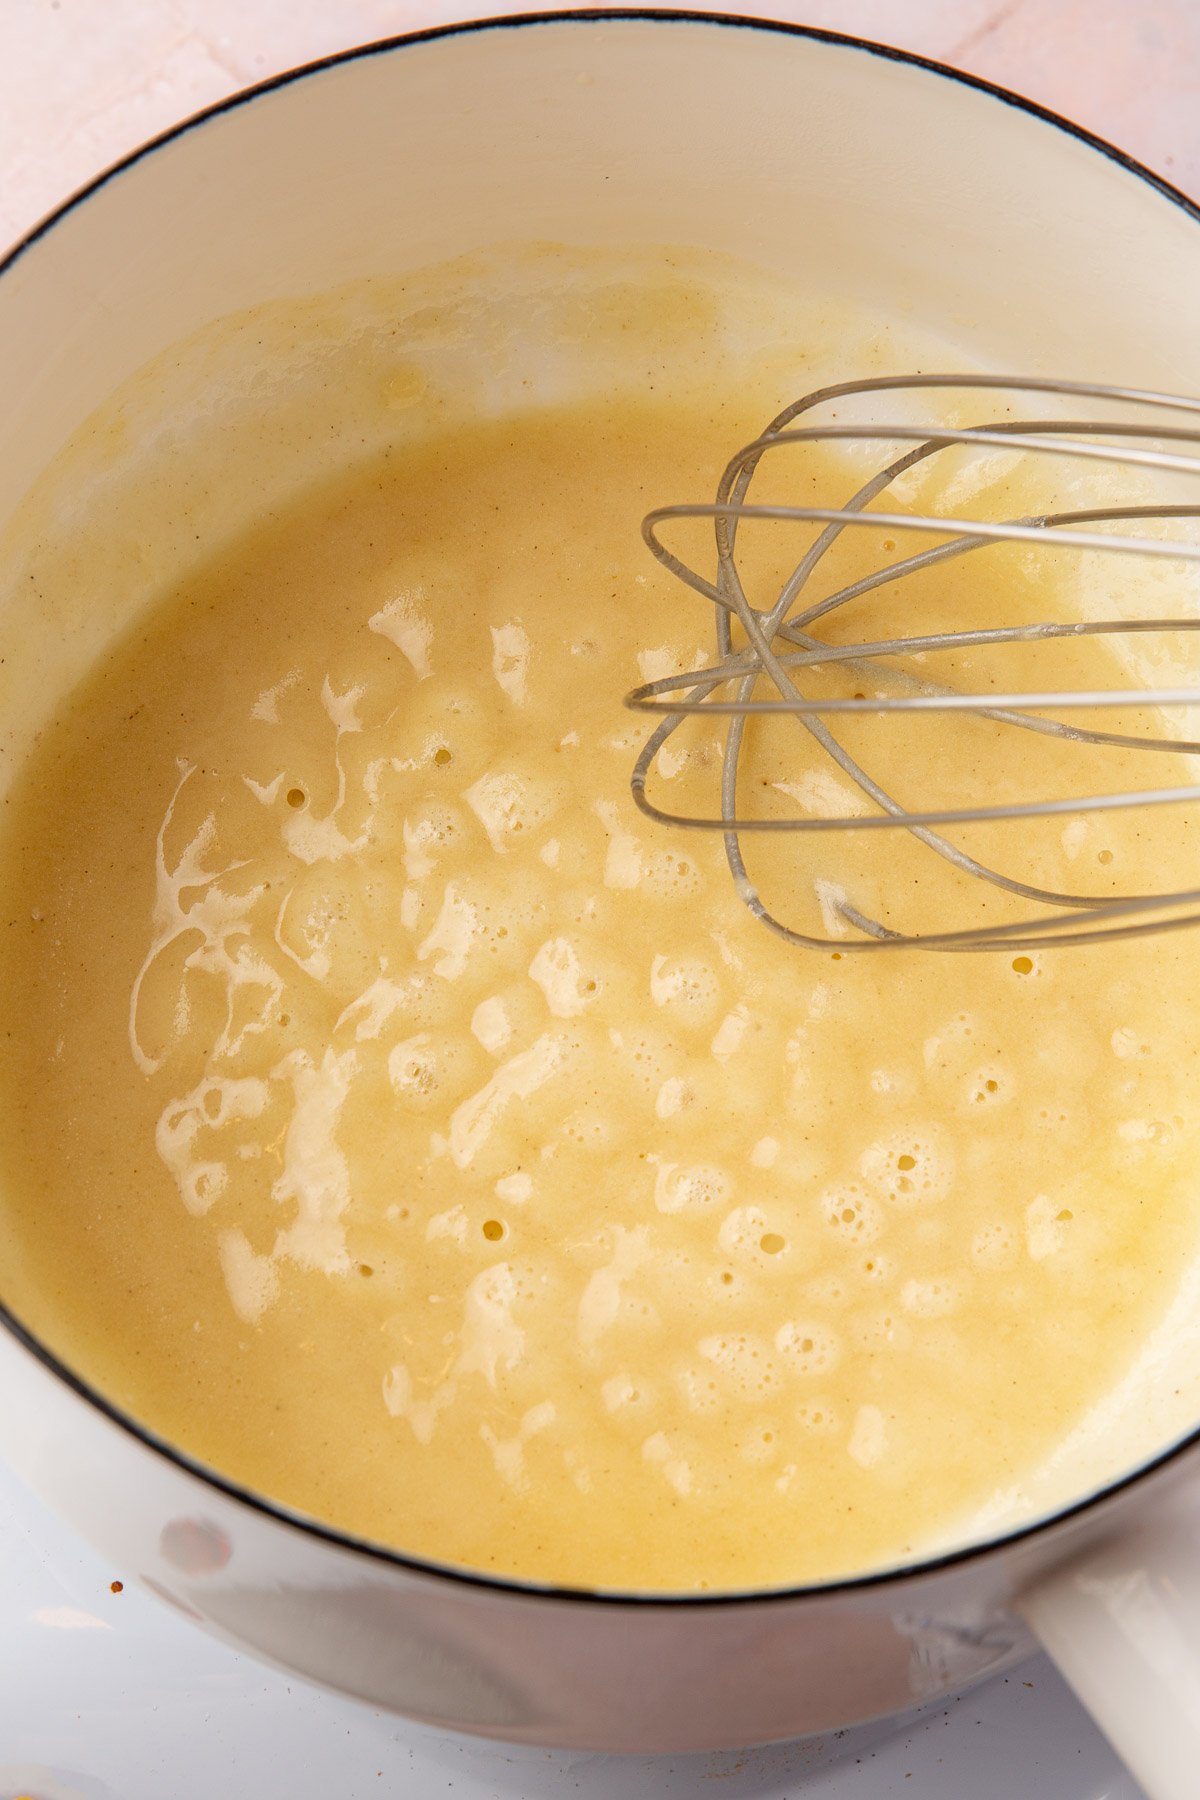
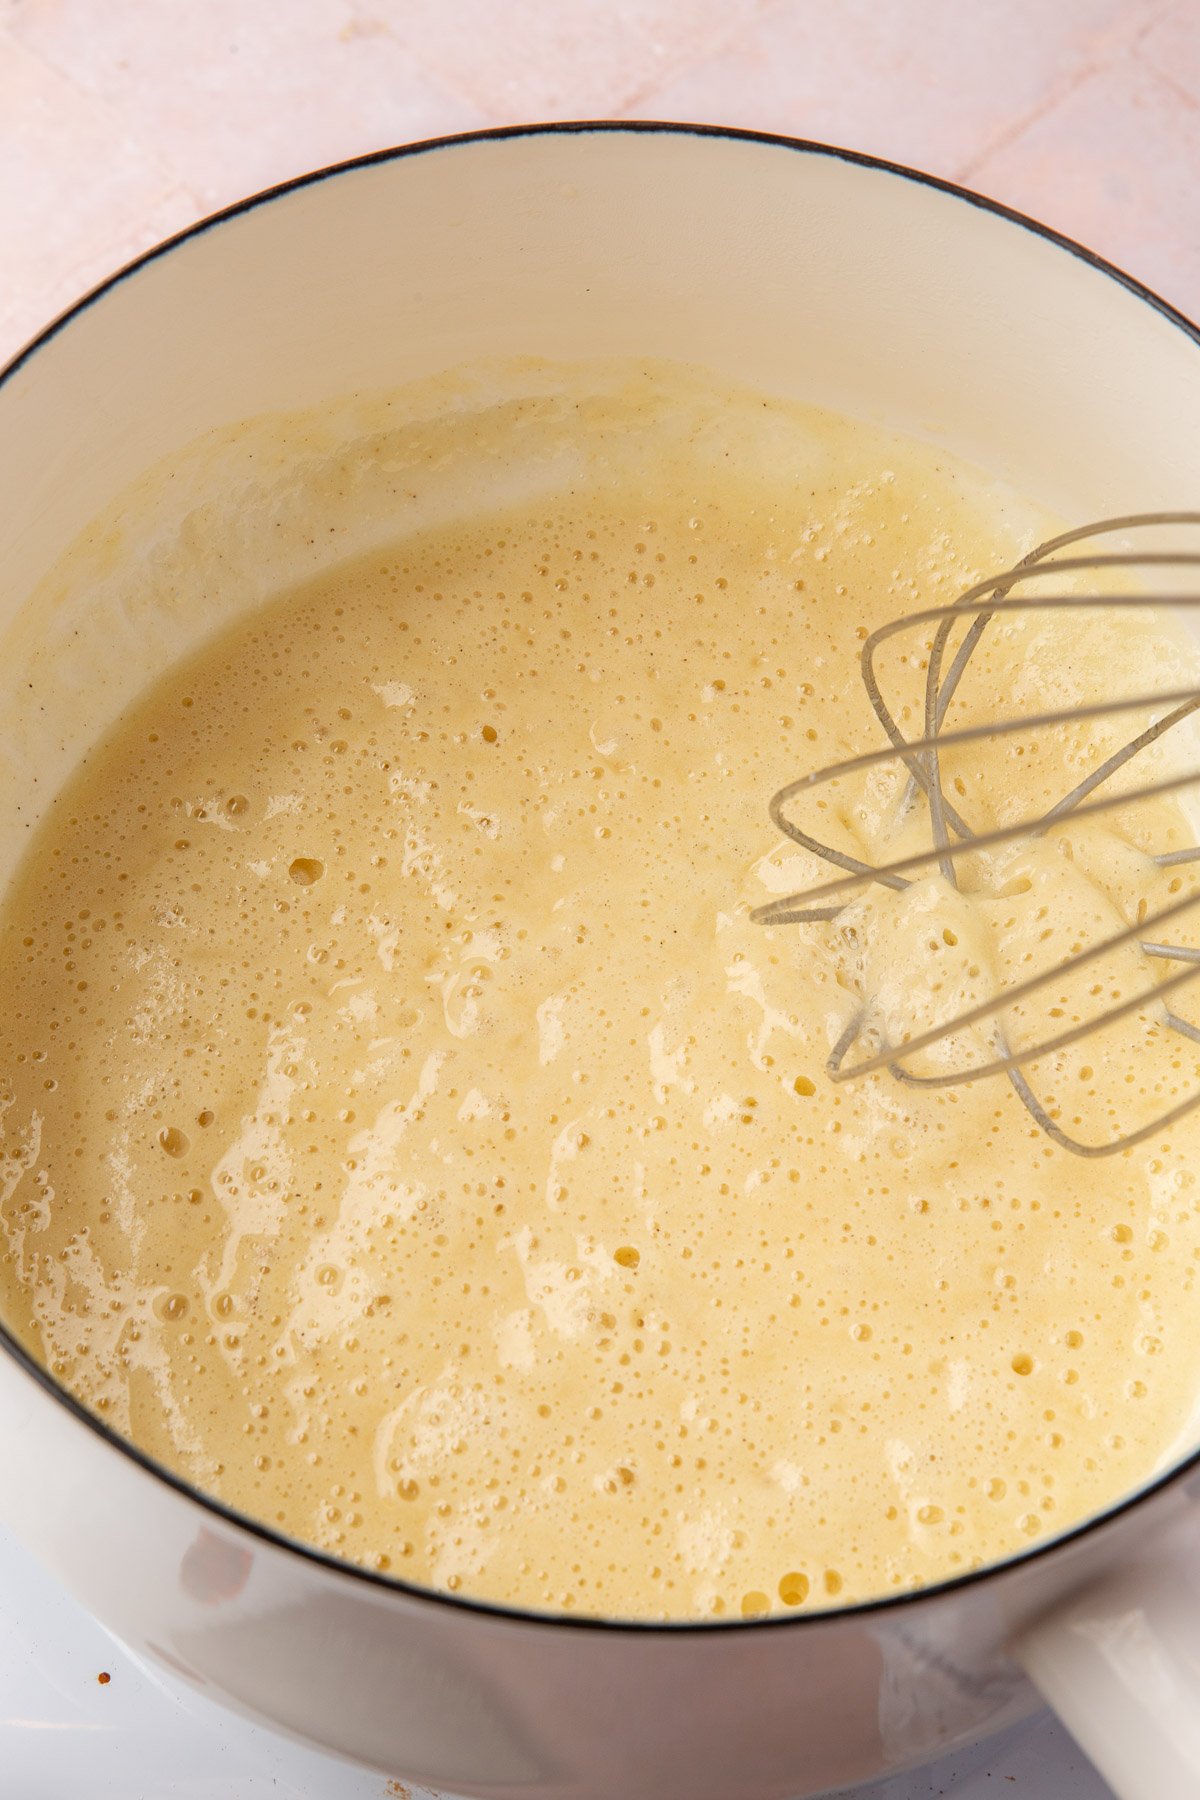
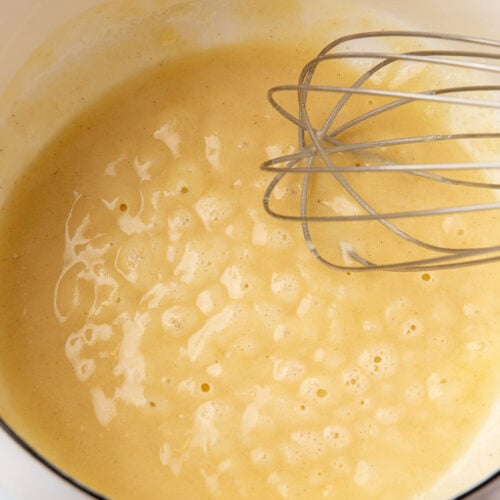
- Blond Roux (3-4 minutes): Light golden with a subtle nutty flavor. Great all-purpose option for soups, gravies, and mac and cheese. (This is shown in the 4th step-by-step image above)
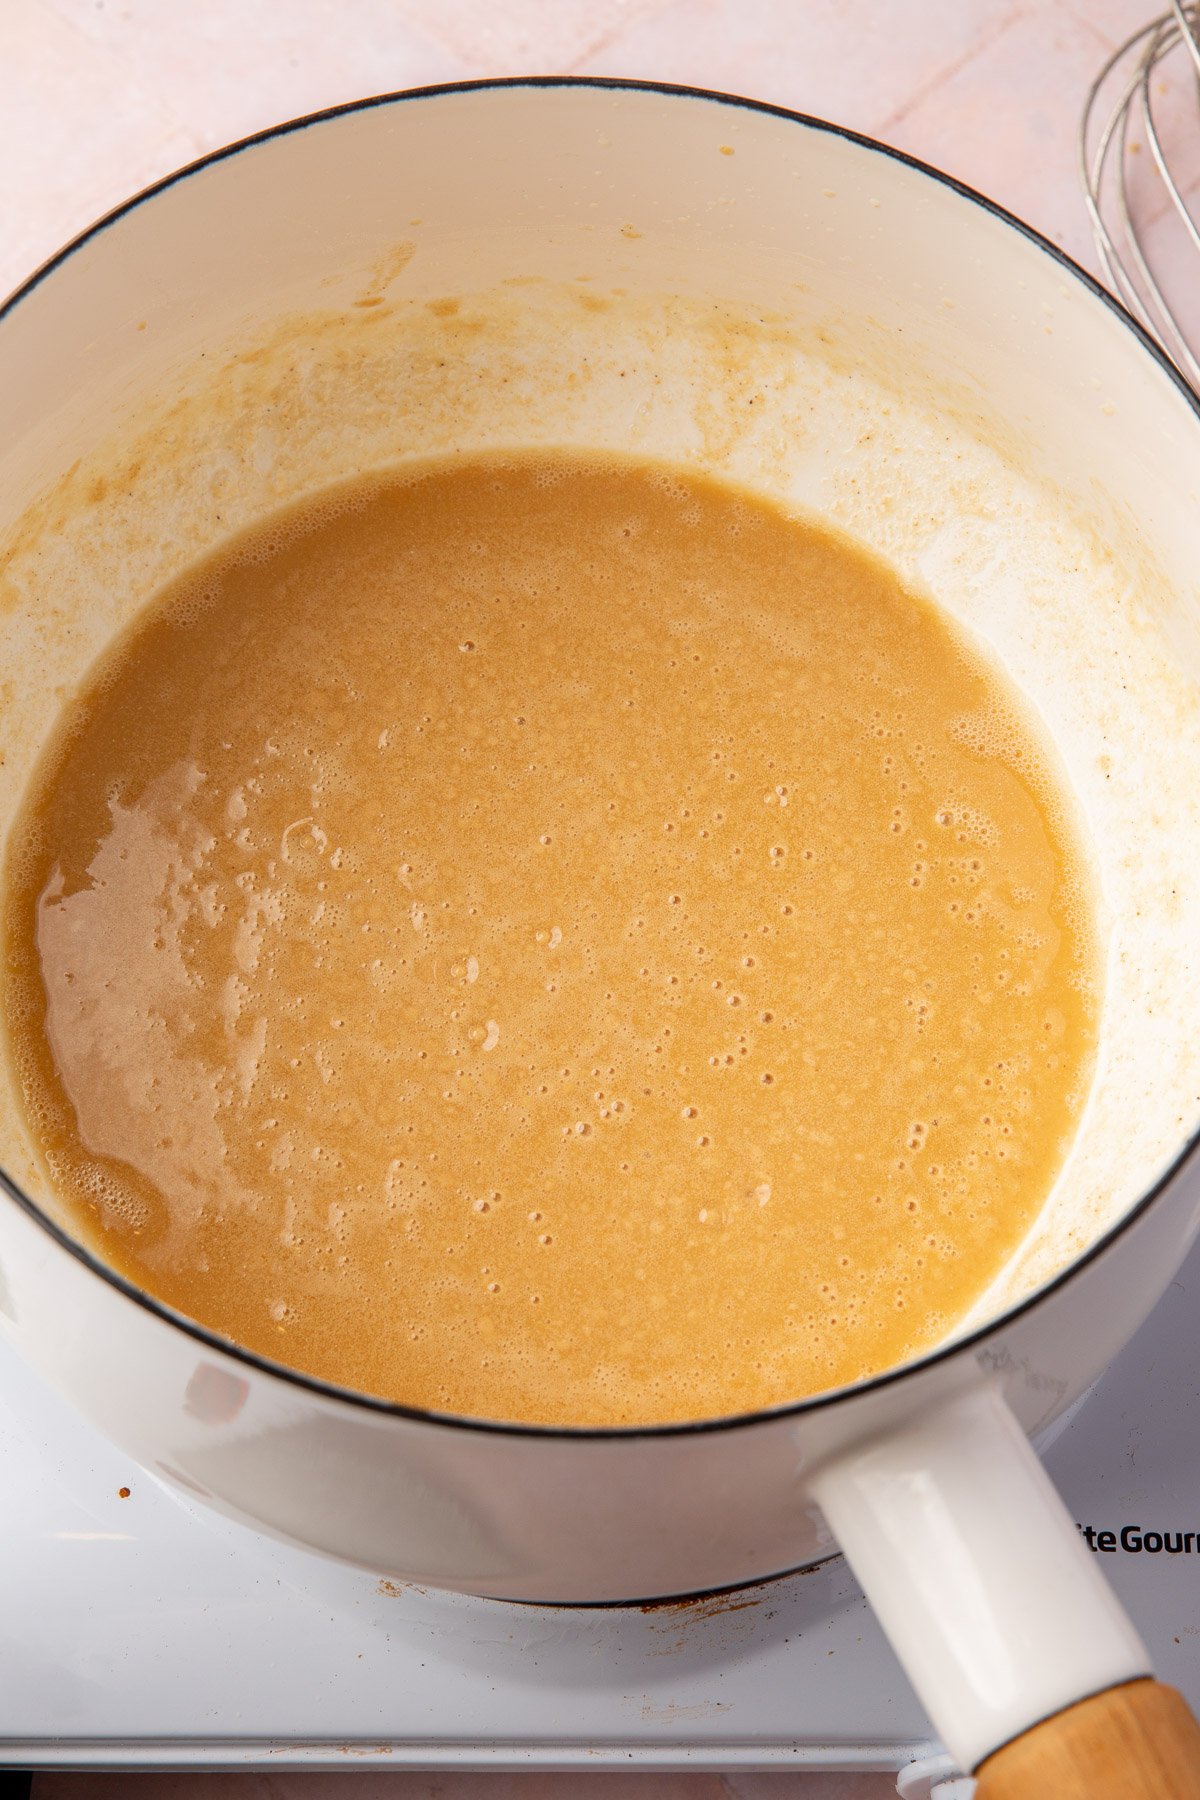
- Brown Roux (5-6 minutes): Rich golden-brown, with a toasted, slightly caramelized aroma. Also called the peanut butter stage. Perfect for gravies, stews, and pan sauces. (This is shown in the 5th step-by-step image above)
- Dark Roux/Chocolate Roux (over 10 minutes): Deep chocolate color, used for Cajun and Creole dishes like gumbo. It adds flavor, but little thickening.
Because gluten-free flour doesn’t contain proteins that brown the same way, your roux might not darken quite as much as a wheat-based one, but the flavor and thickening are just as good
Recipe FAQs
You can use olive oil instead of the butter. However, oil-based roux doesn’t emulsify quite as smoothly as butter-based, so it won’t have that subtle nutty richness. If you go this route, use about 3 tablespoons of oil for every 4 tablespoons of butter.
After 2-3 minutes of cooking and whisking, the roux should look glossy and smell slightly nutty, with no raw flour smell. For a light (blond) roux, stop here; for a darker, more flavorful base, cook it longer until golden brown.
Yes! Store it in an airtight container in the refrigerator for up to 3 days. Reheat gently over low heat before adding your liquid, whisking to smooth it out again.
Expert Tips
Gluten-Free Roux
Ingredients
- 4 tablespoons (56 g) unsalted butter
- 4 tablespoons (35 g) gluten-free flour blend - I used Bob's Red Mill 1-to-1 Gluten-Free Baking Flour
**Use the toggle button above to turn the instruction photos on and off!
Instructions
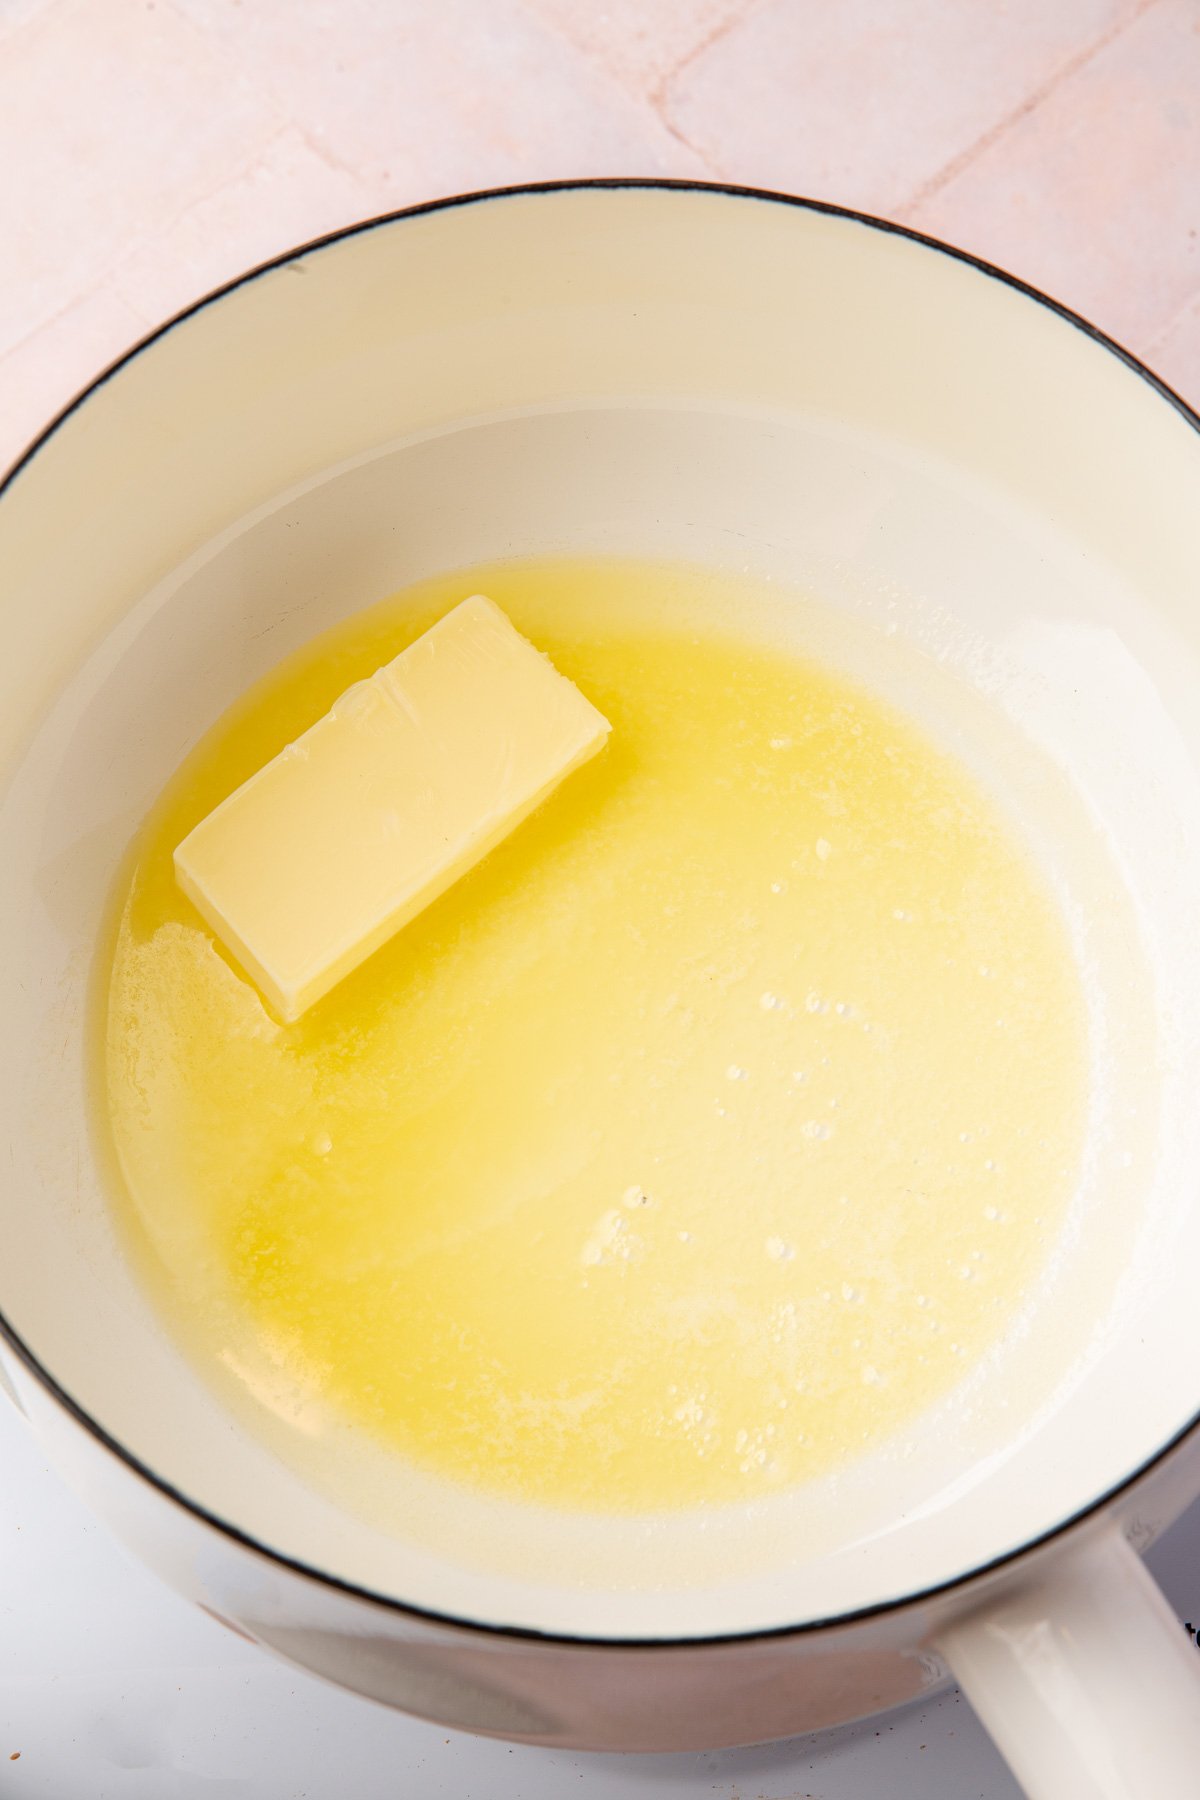
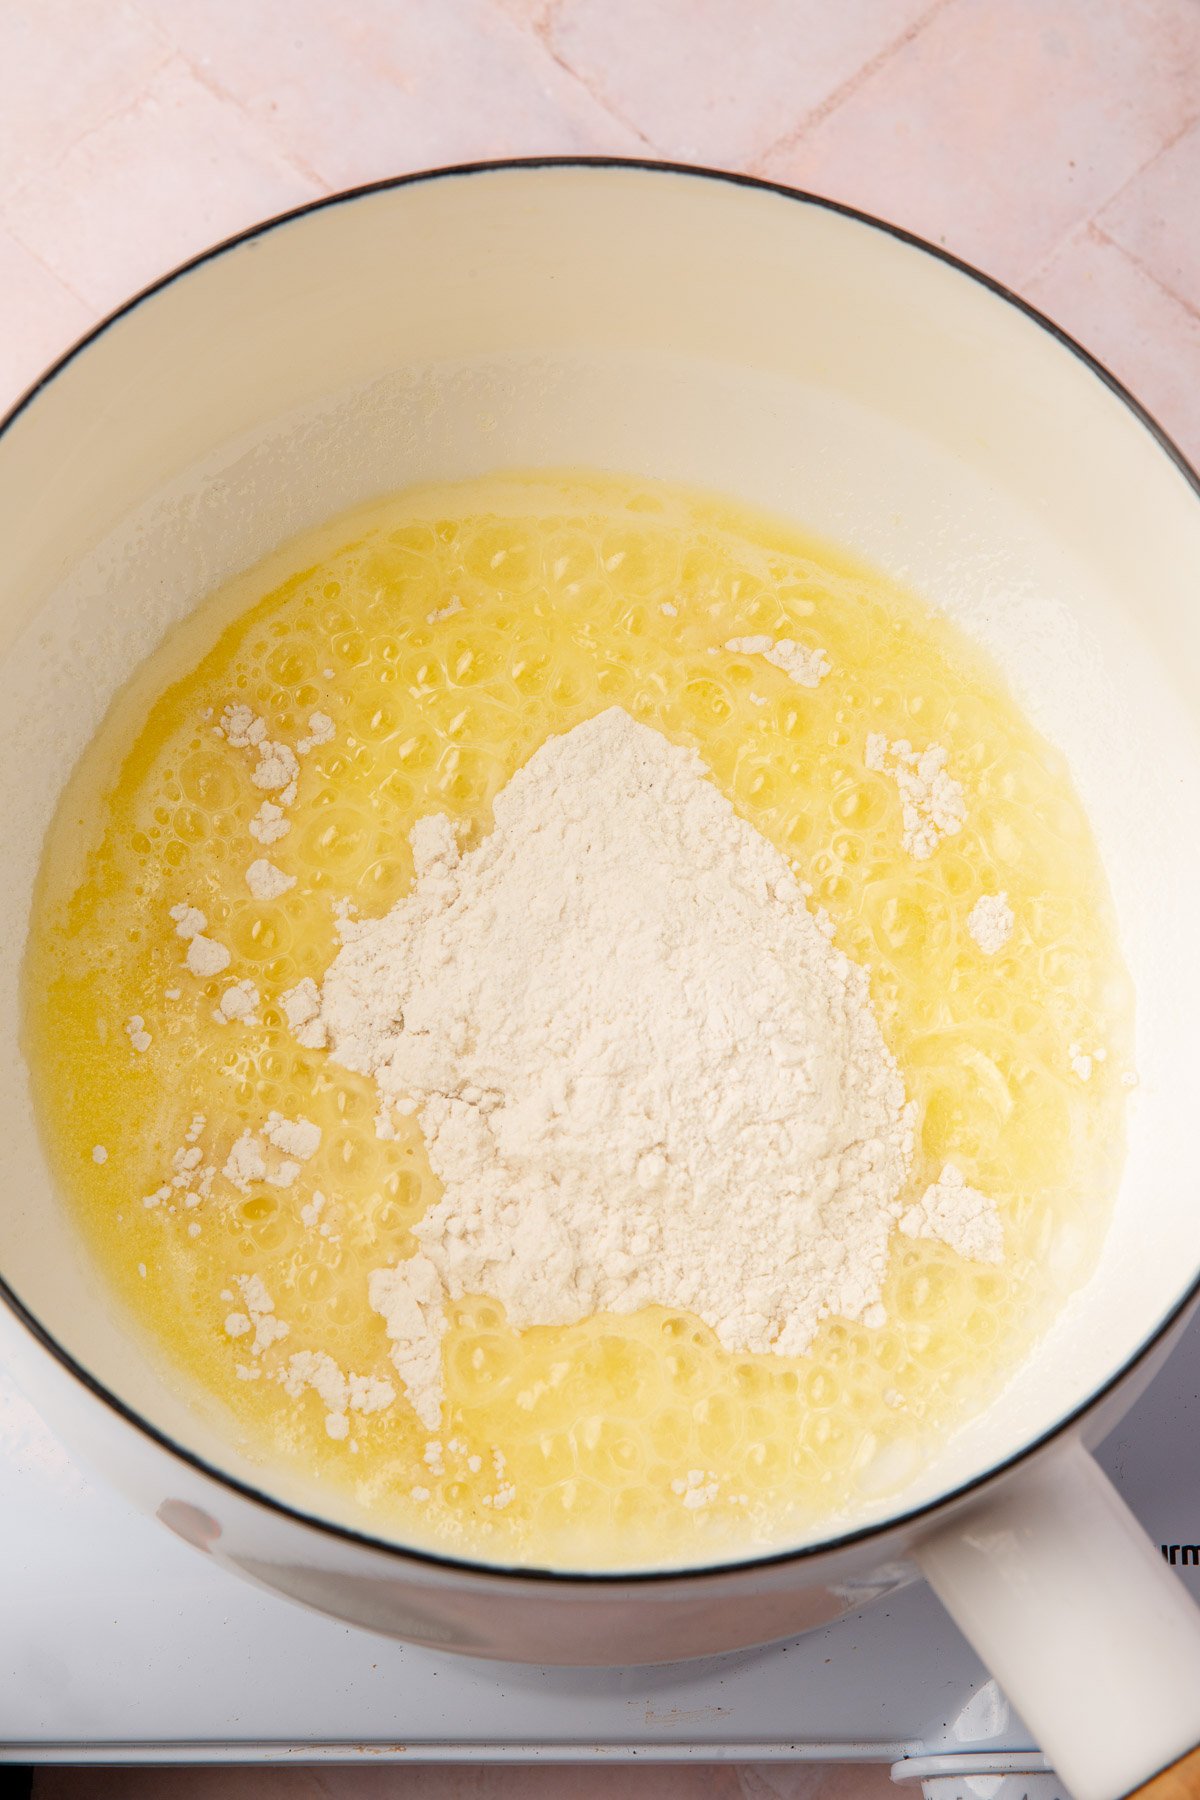
- Melt the butter: In a small or medium saucepan, melt the butter over low heat, stirring occasionally to prevent browning.
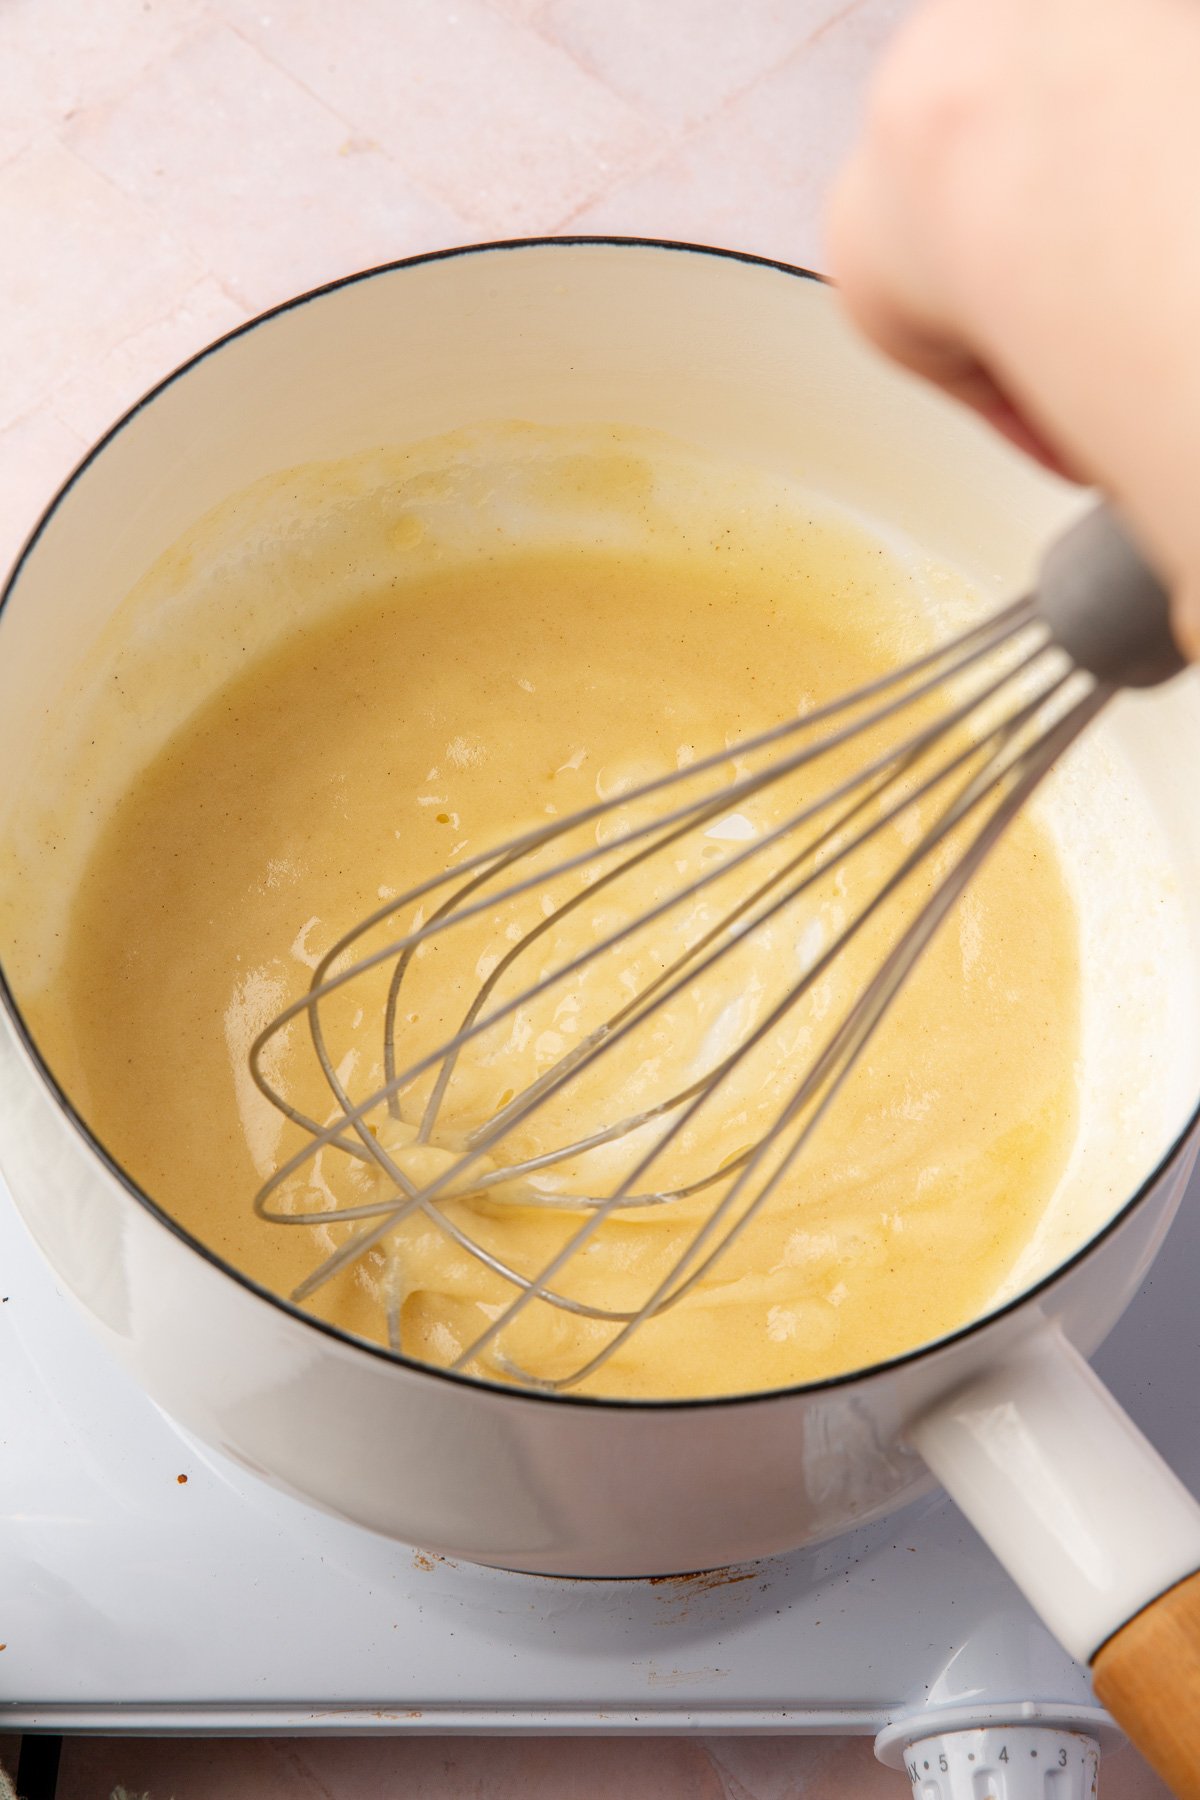
- Whisk in the flour: Gradually whisk in the gluten-free flour blend until fully combined and smooth — no lumps should remain.
- Cook the roux: Continue whisking over low heat for 2–3 minutes. The mixture will become glossy and start to smell lightly nutty.
- Choose your color: For a blond roux, cook for 2 to 3 minutes until light golden. This is best for creamy sauces, mac and cheese, and broccoli cheddar soup. For a brown roux, cook for 5 to 7 minutes until rich golden-brown. This is best for gravies and stews.
- Use immediately: Slowly whisk in milk, cream, or broth to create your sauce, or cool and store for later use.
Notes
- Yield: about ¾ cup roux (enough to thicken 2–3 cups of liquid)
- Gluten-Free Flour: I tested this recipe with Bob’s Red Mill 1-to-1 Gluten-Free Baking Flour (in the blue bag) since I always have that on hand.
- Storage: Cool completely and store in an airtight container in the refrigerator for up to 3 days. Reheat gently over low heat before using, whisking to smooth out any separation.
Nutrition
