
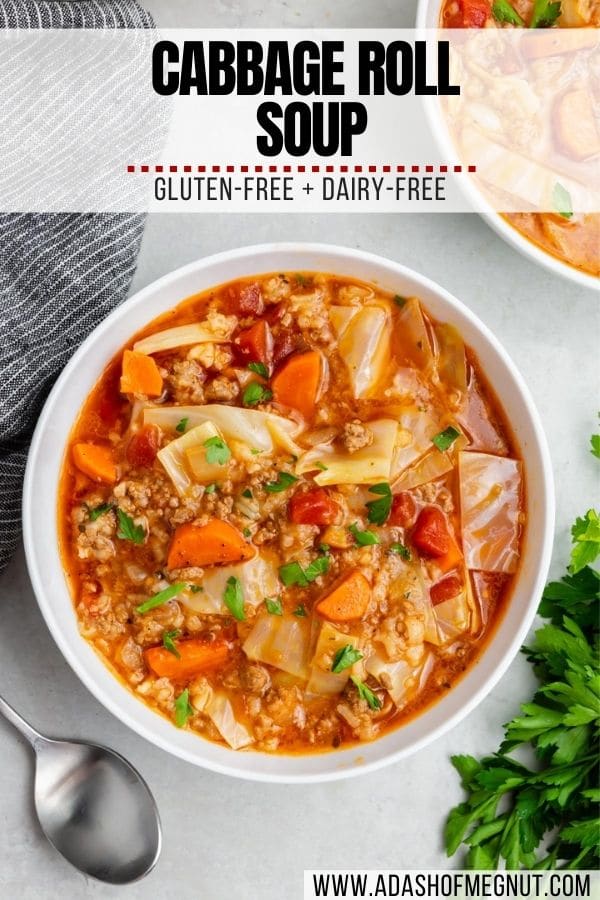
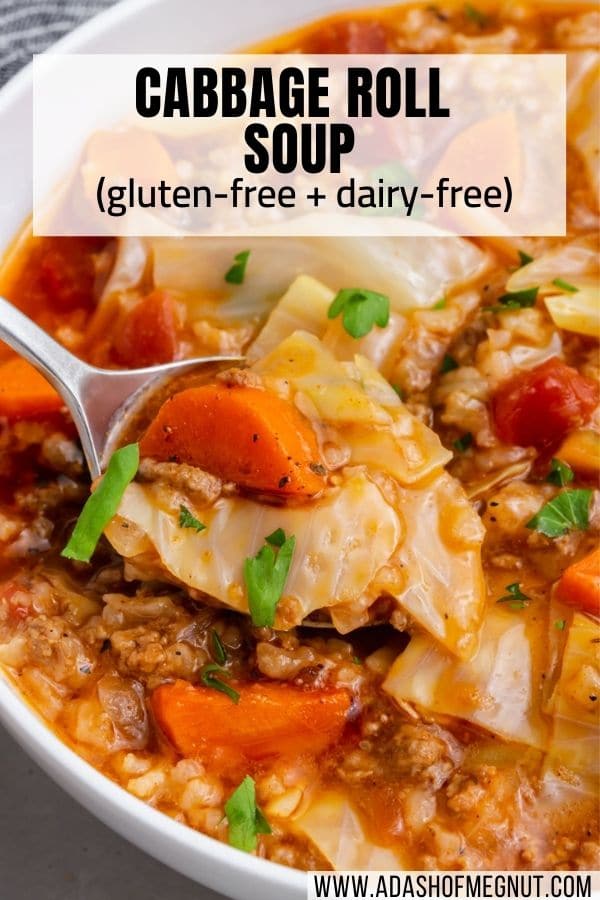
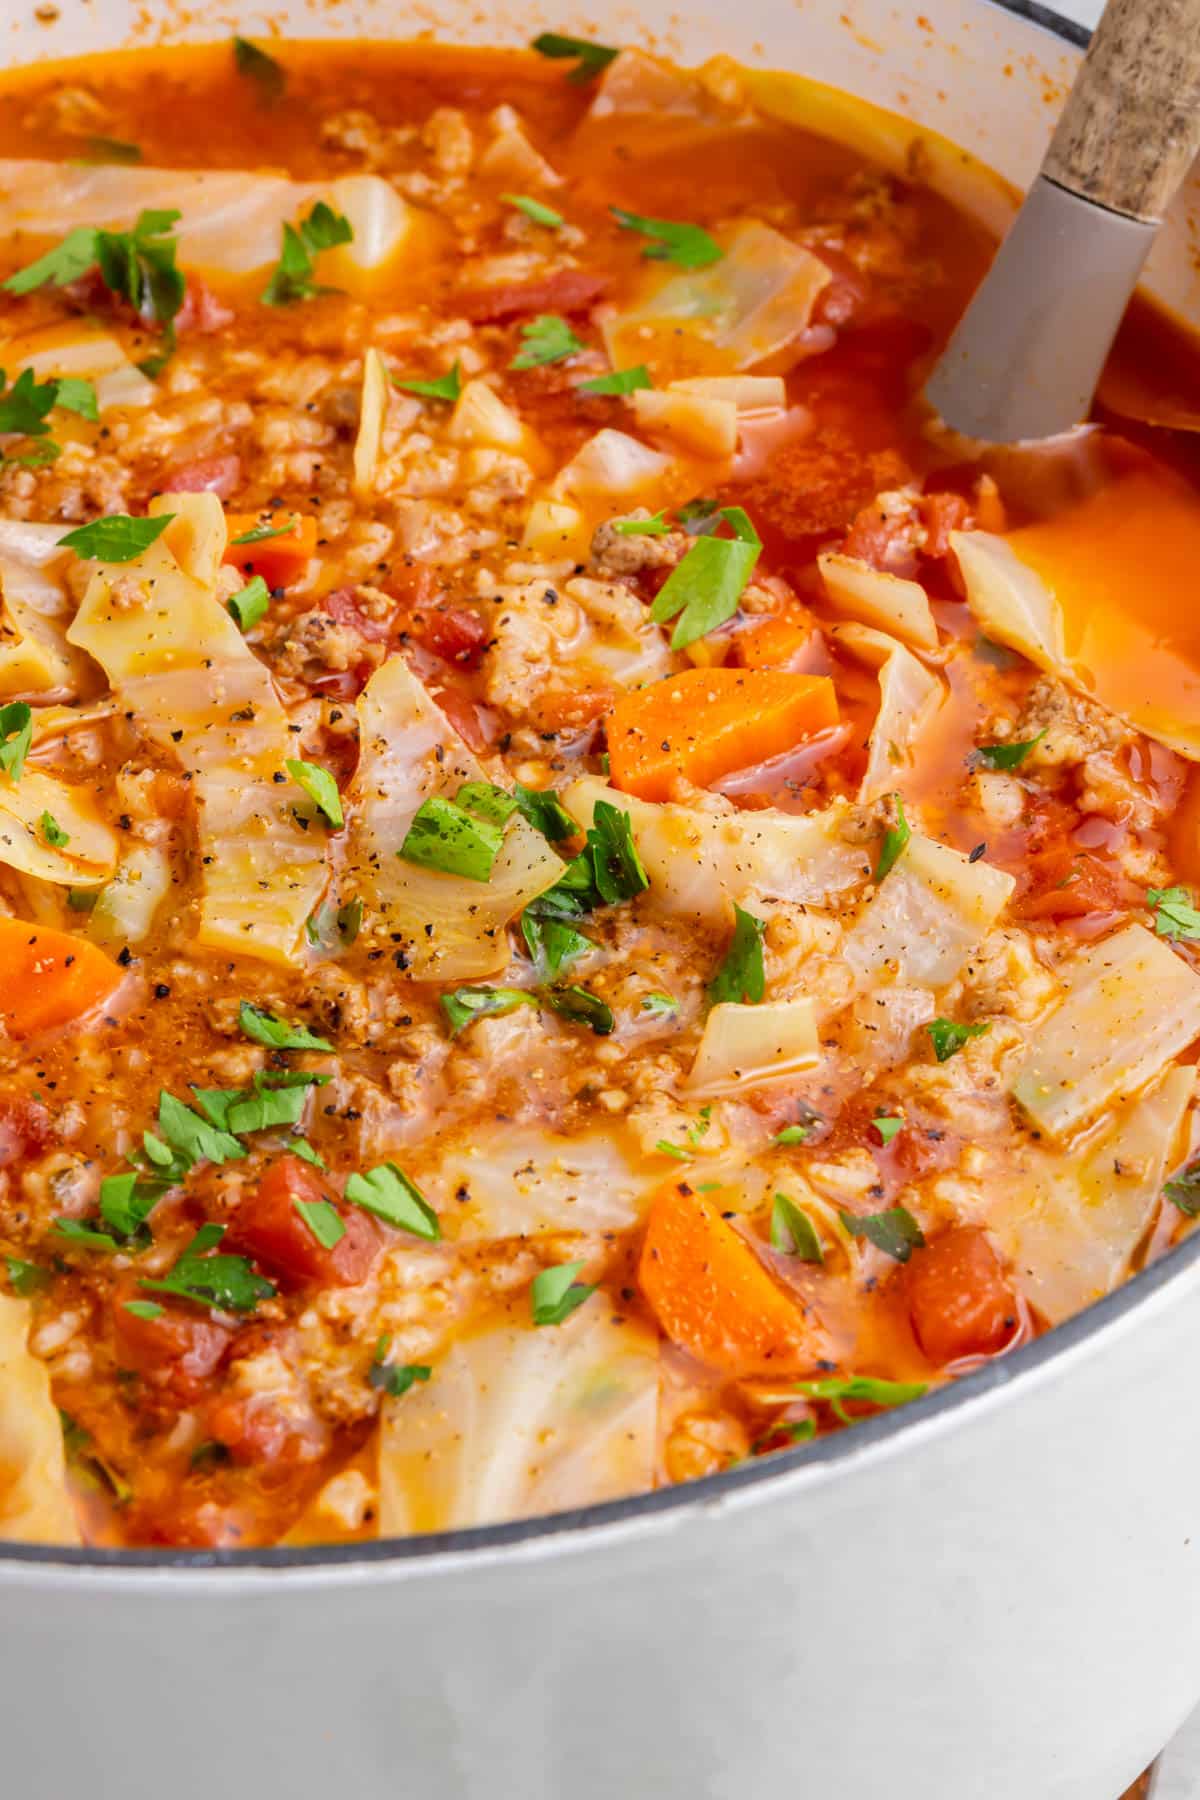
If you like cabbage rolls but don’t feel like rolling anything, this soup is the answer. Same ingredients, less effort, and it all comes together in one pot.
It’s naturally gluten-free, filling, and easy to make ahead, which is exactly why it’s been on repeat in my kitchen for years.
You’ll love this recipe because…
Searching for more gluten-free ground beef recipes? gluten-free meatballs / walking taco casserole / gluten-free shepherd’s pie
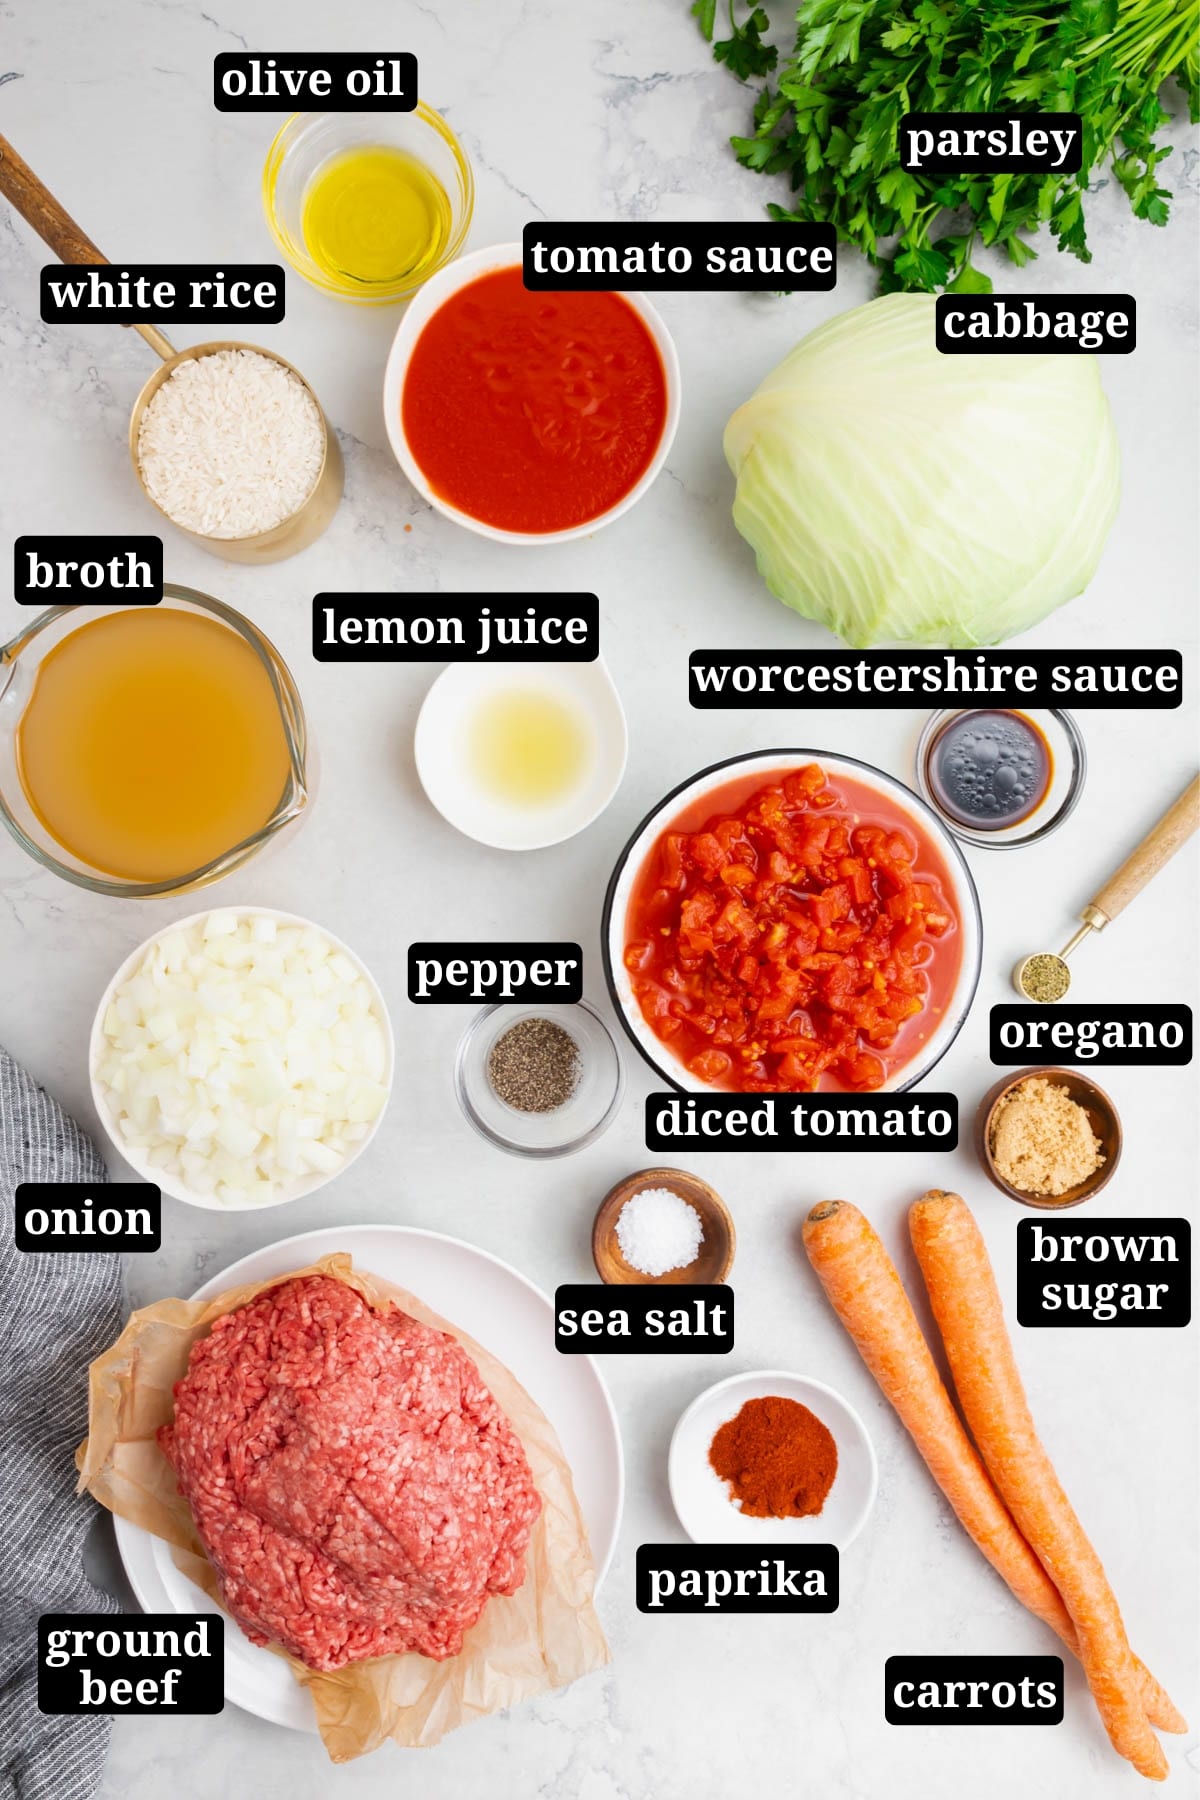
Ingredients
TIP
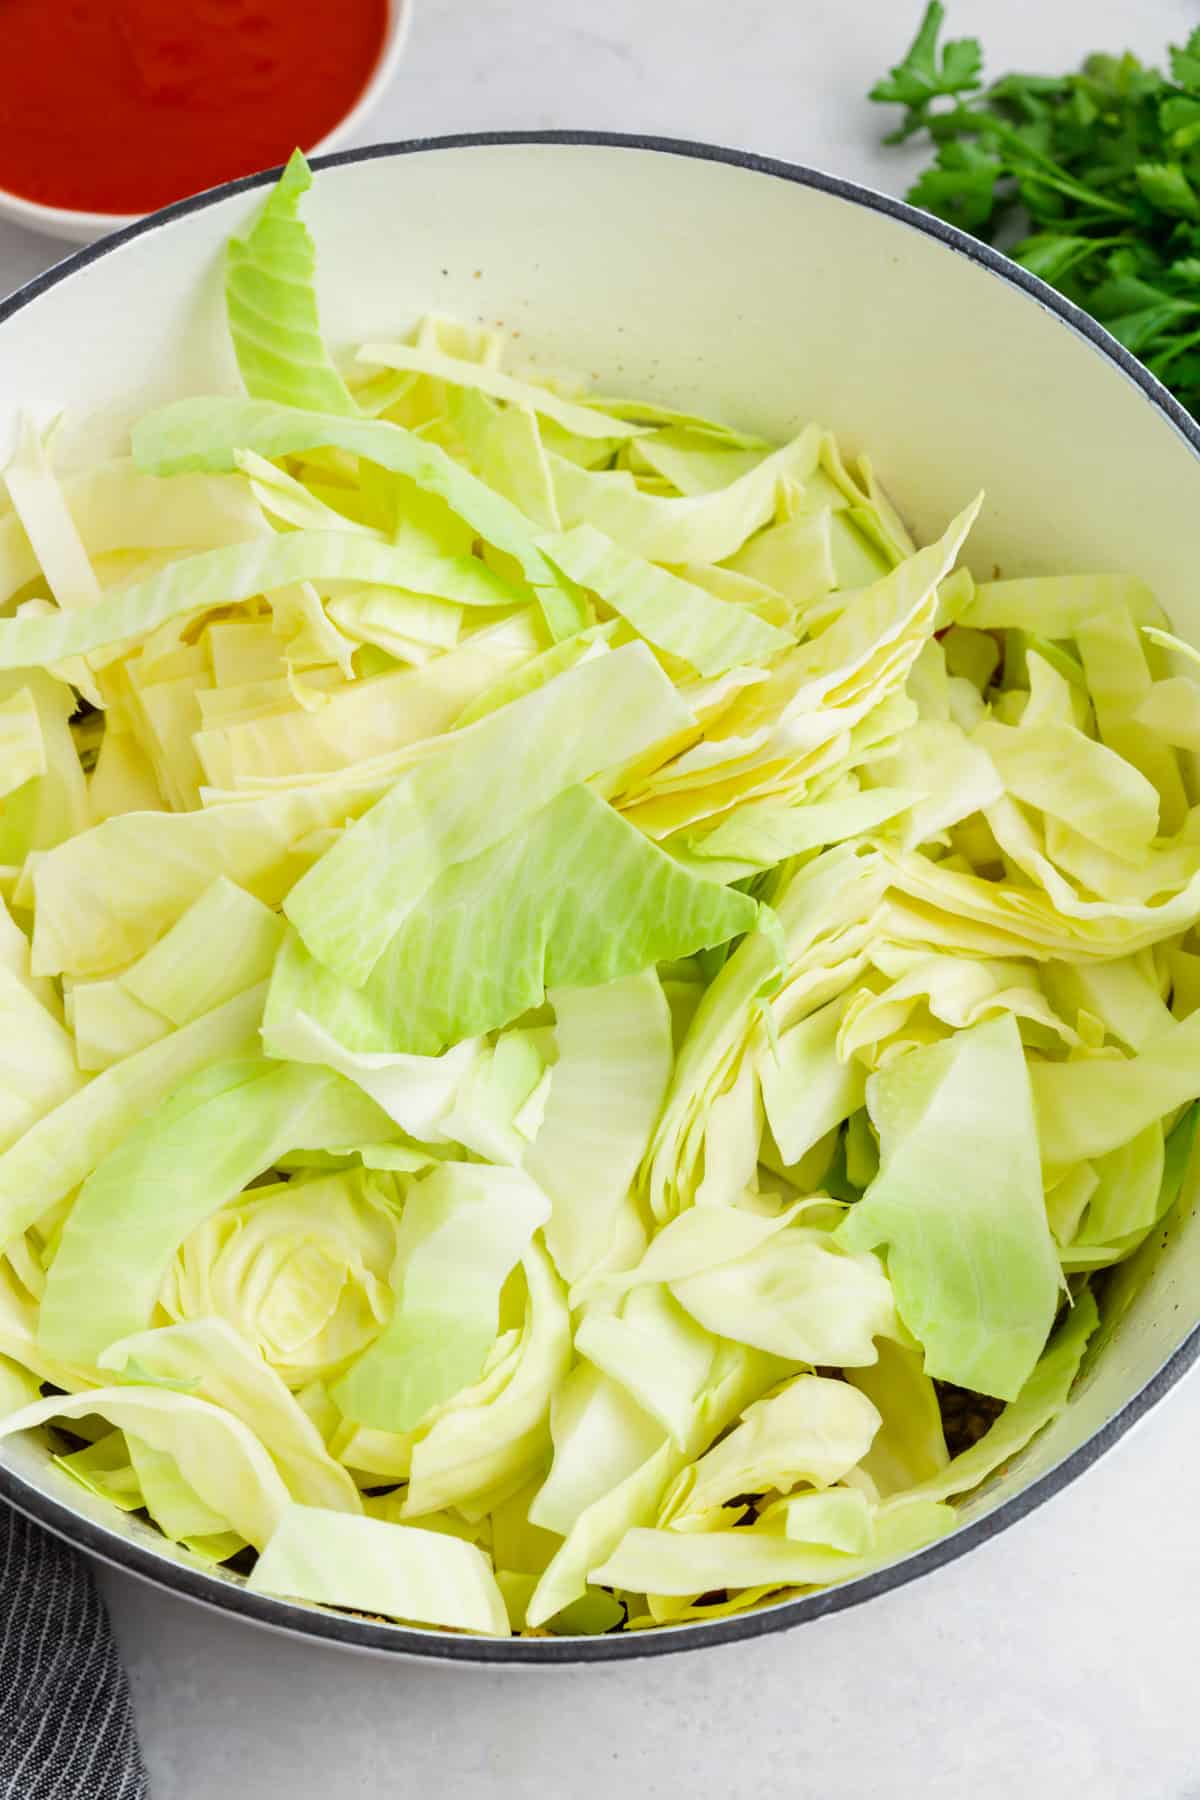
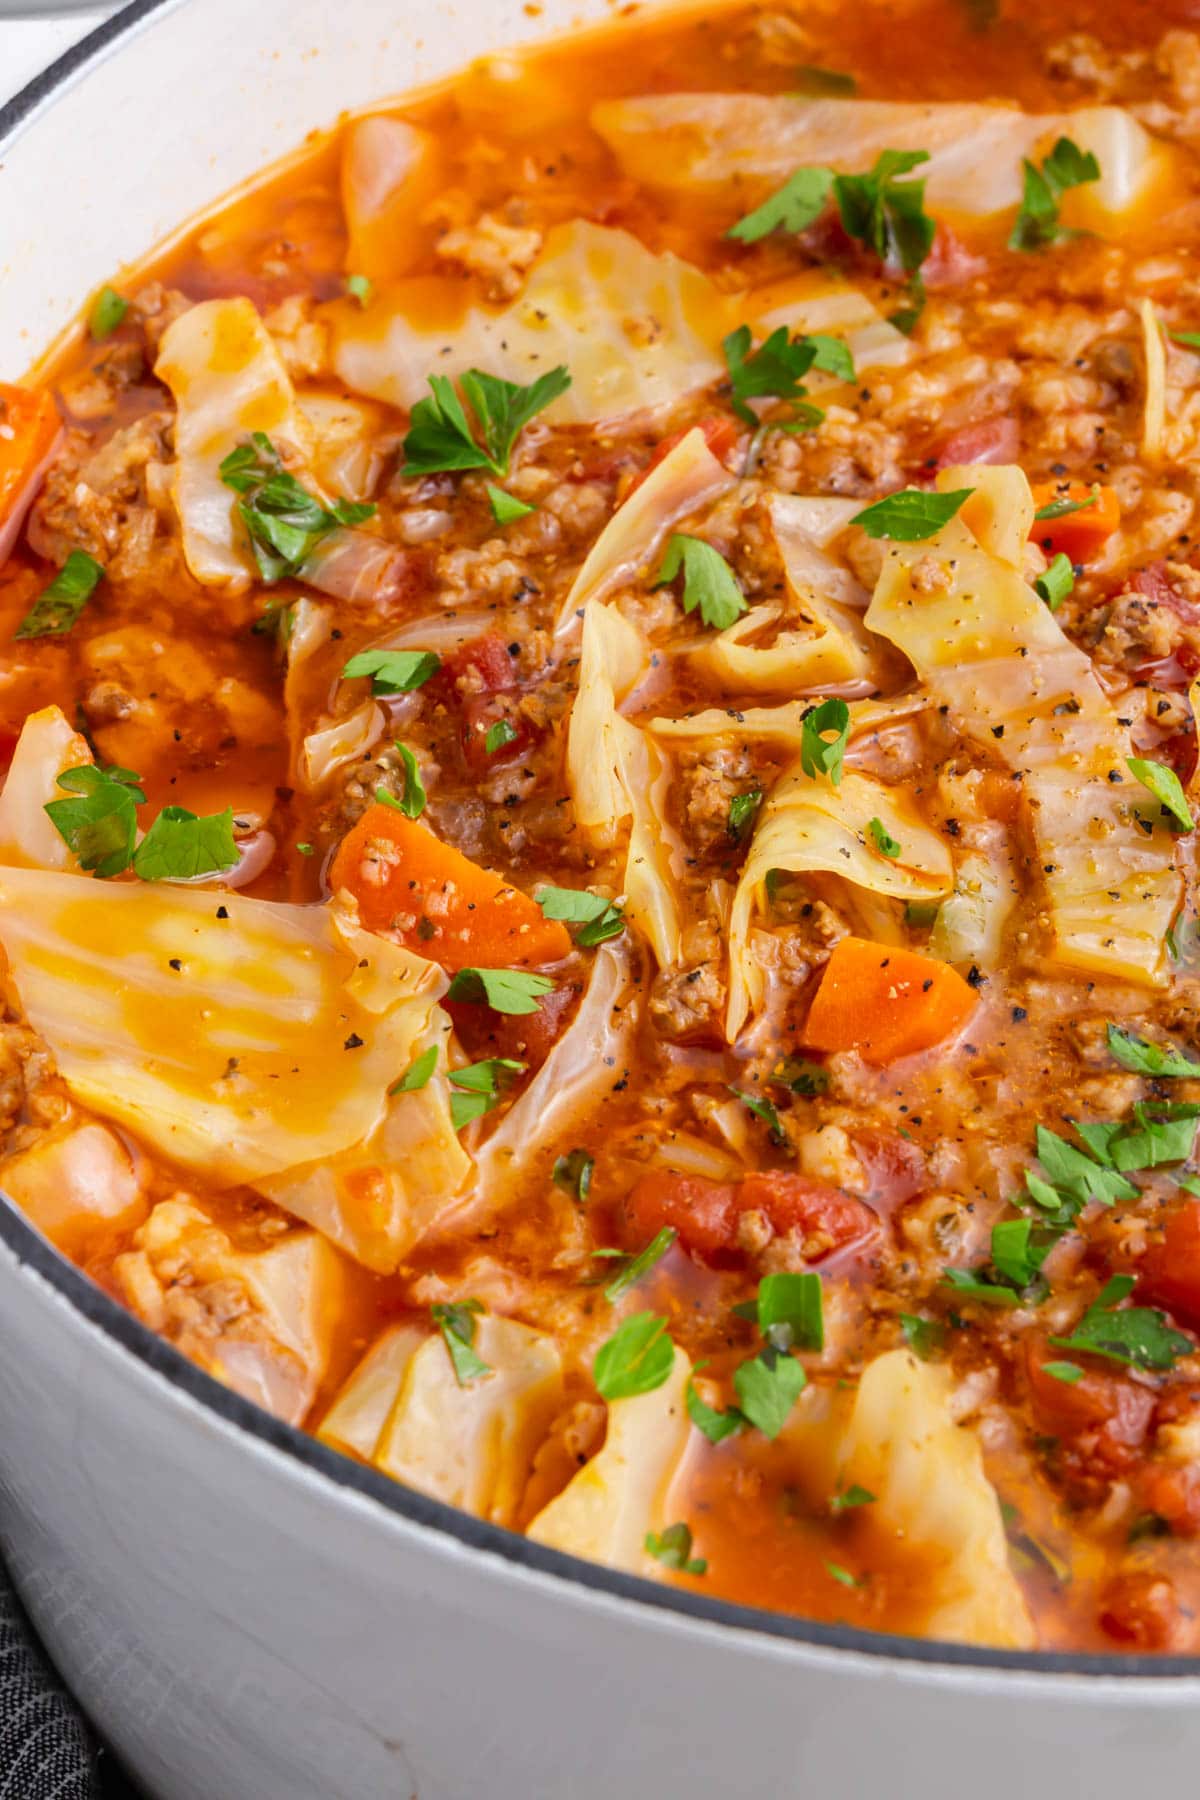
Cut the cabbage into spoon-sized pieces. Large chunks won’t soften evenly and can be awkward to eat. Aim for pieces that are easy to scoop up in one bite. I typically go for a chunky shred.
Ingredient Notes
- Ground beef: I typically use 85/15 for the best flavor, but 90/10 works too. You can also use ground pork, ground turkey, ground chicken or a combination of any of these meats in this recipe instead.
- Cabbage: Green cabbage is classic, but Napa or Savoy work in a pinch. Slice it into bite-sized pieces so it softens evenly.
- Rice: White rice works best here. It cooks faster and gives the soup that “stuffed cabbage roll” texture.
- Crushed tomatoes + tomato sauce: A mix adds both depth and brightness.
- Broth: Use chicken or beef stock, whatever you have on hand. Make sure it’s gluten-free if you’re not using homemade.
- Worcestershire sauce: Adds depth and umami to the broth. Not all brands are gluten-free, so check the label carefully. I typically use Lea & Perrins (in the U.S.), which is gluten-free as of this writing — but always verify, as formulations can change.
For the ingredient list with measurements, full instructions, printable recipe, and additional notes, please scroll down to the recipe card.

FAQs
Yes, ground turkey or chicken work well in this soup. You may want to add a tablespoon of olive oil when browning leaner ground meats to prevent sticking.
Yes, brown the ground beef and sauté the vegetables on the stovetop first, then transfer everything to a slow cooker. Cook on low for 6-8 hours or high for 3-4 hours. Add the rice during the last hour of cooking so it doesn’t get mushy.
Yes, but you’ll need to increase the simmer time to 50-60 minutes until the brown rice is tender. Brown rice takes longer to cook than white rice.
Expert Tips
Storage instructions
- Refrigerator: Store leftovers in an airtight container for up to 3–4 days. The flavors continue to develop as it sits.
- Reheating: Warm on the stovetop over medium heat, stirring occasionally. If the soup thickens in the fridge, add a splash of broth or water to adjust the consistency.
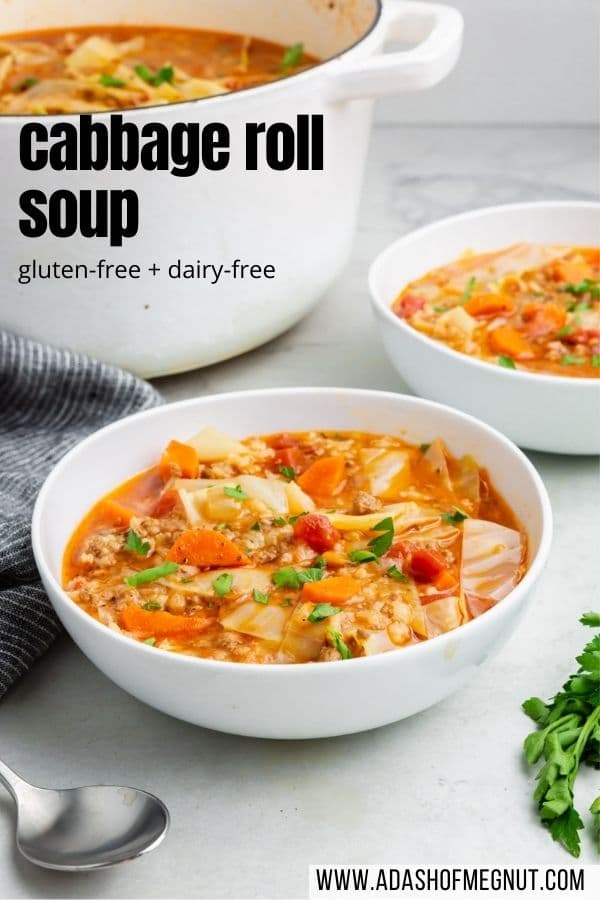
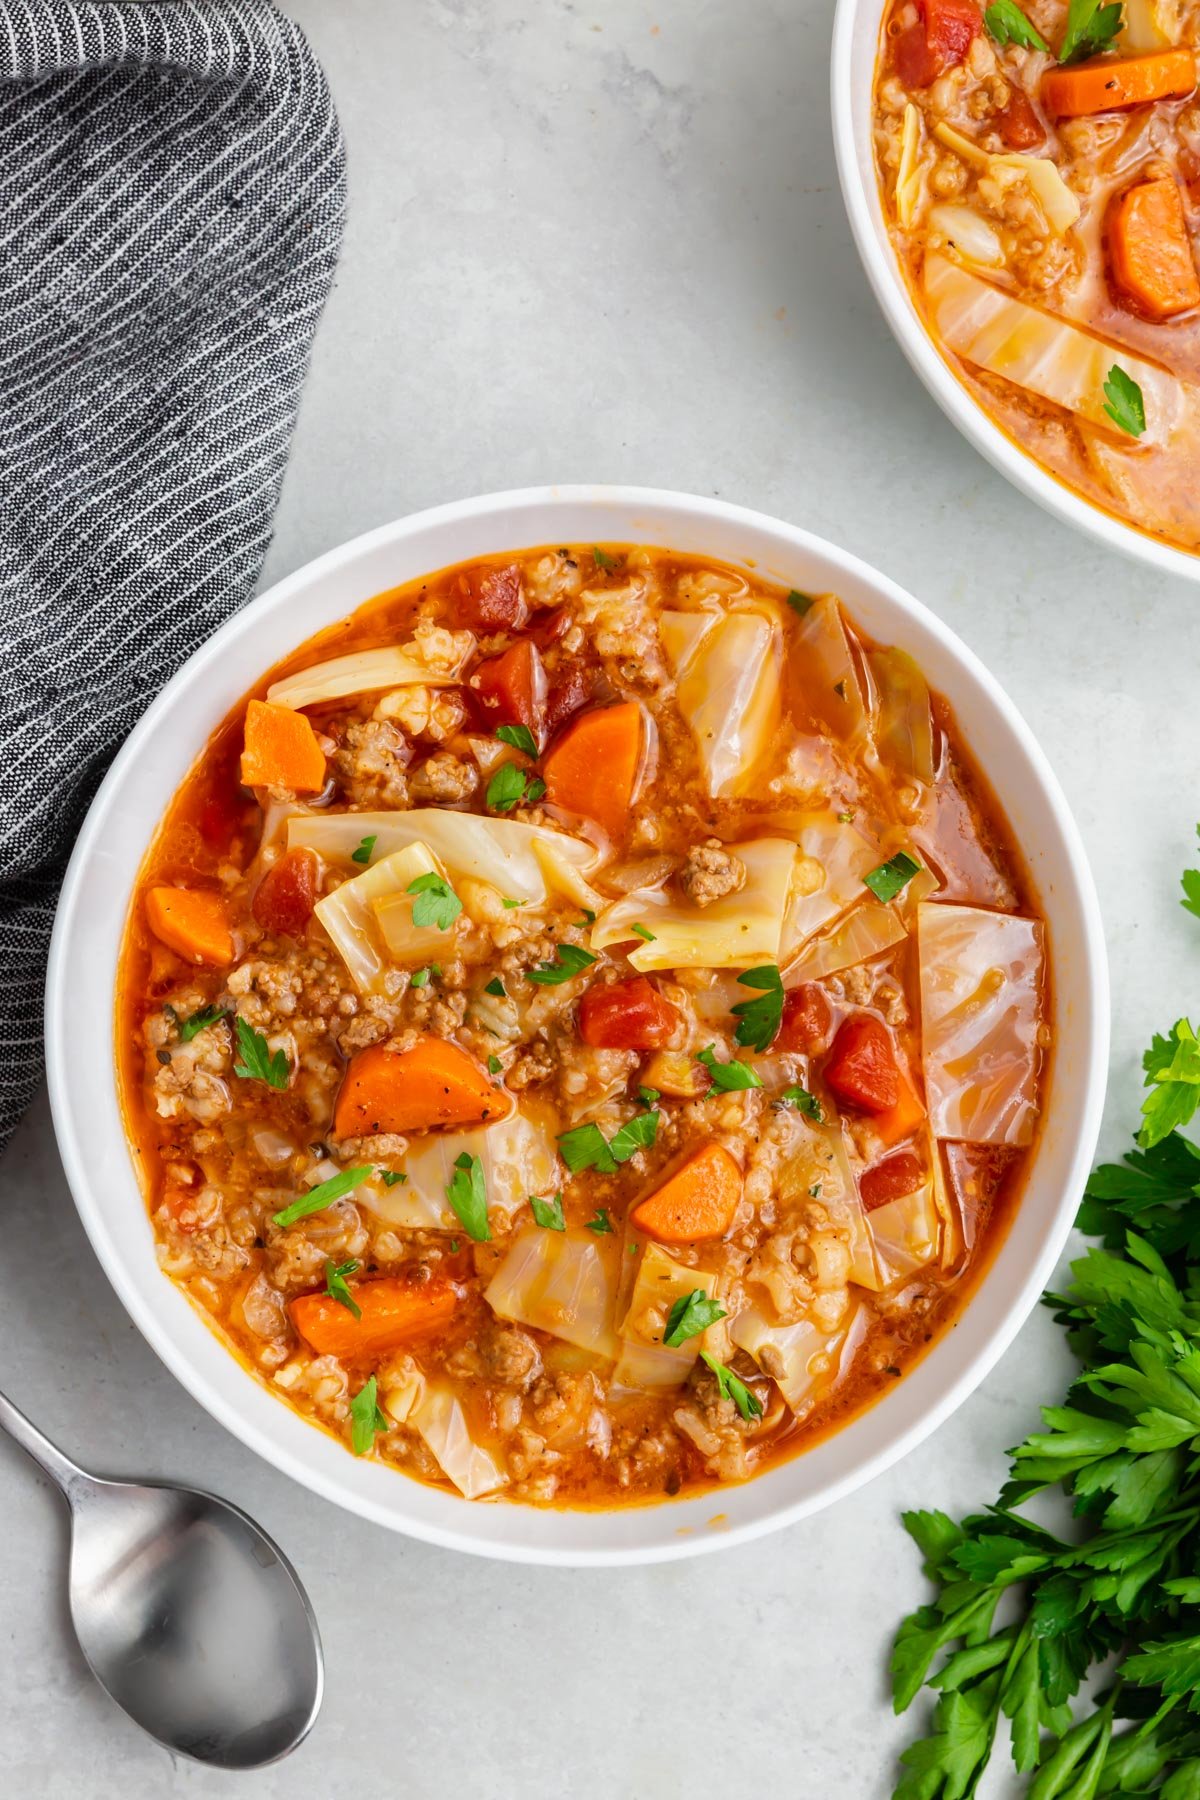
Serving suggestions
Serve this soup with crusty bread for dipping into the tomato broth. Gluten-free focaccia and gluten-free dinner rolls are both perfect for soaking up every last drop. Gluten-free cheddar rosemary biscuits add a savory, cheesy element, while gluten-free sweet potato cornbread muffins bring a subtle sweetness that balances the tangy tomato base. For something buttery and flaky, serve with gluten-free crescent rolls.
More gluten-free soups and stews


Did you make this recipe?
I’d love to know! Please rate it and leave a comment below. You can also share your pictures and tag @adashofmegnut on Instagram.
Cabbage Roll Soup
Ingredients
- 2 lbs ground beef
- 1 teaspoon kosher salt
- ½ teaspoon black pepper
- 1 tablespoon olive oil or avocado oil
- 2 cups yellow onion - diced (about 1 medium onion)
- 1 cup carrots - sliced or diced
- 2 cloves garlic - minced
- 1 lb green cabbage - chopped (about 1 medium head of cabbage)
- 30 oz diced tomatoes
- 8 oz tomato sauce
- 6 cups gluten-free beef broth - or gluten-free chicken broth
- 1 cup uncooked white rice
- 1 tablespoon gluten-free worcestershire sauce - I use Lea & Perrins which is labeled GF in the USA
- 1 tablespoon fresh lemon juice
- 1 tablespoon brown sugar
- 2 teaspoons paprika
- 1 teaspoon dried oregano
- ½ cup fresh parsley - chopped
**Use the toggle button above to turn the instruction photos on and off!
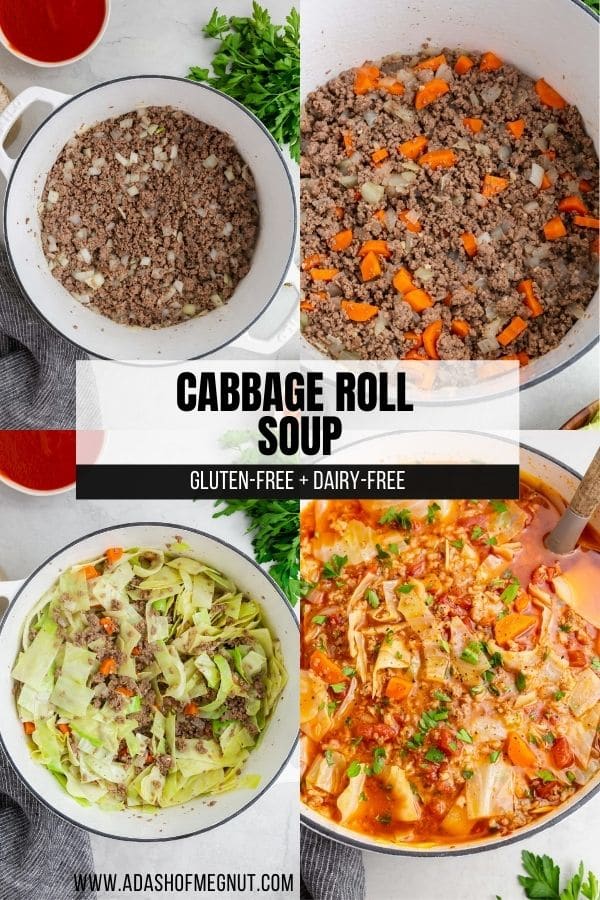
Instructions
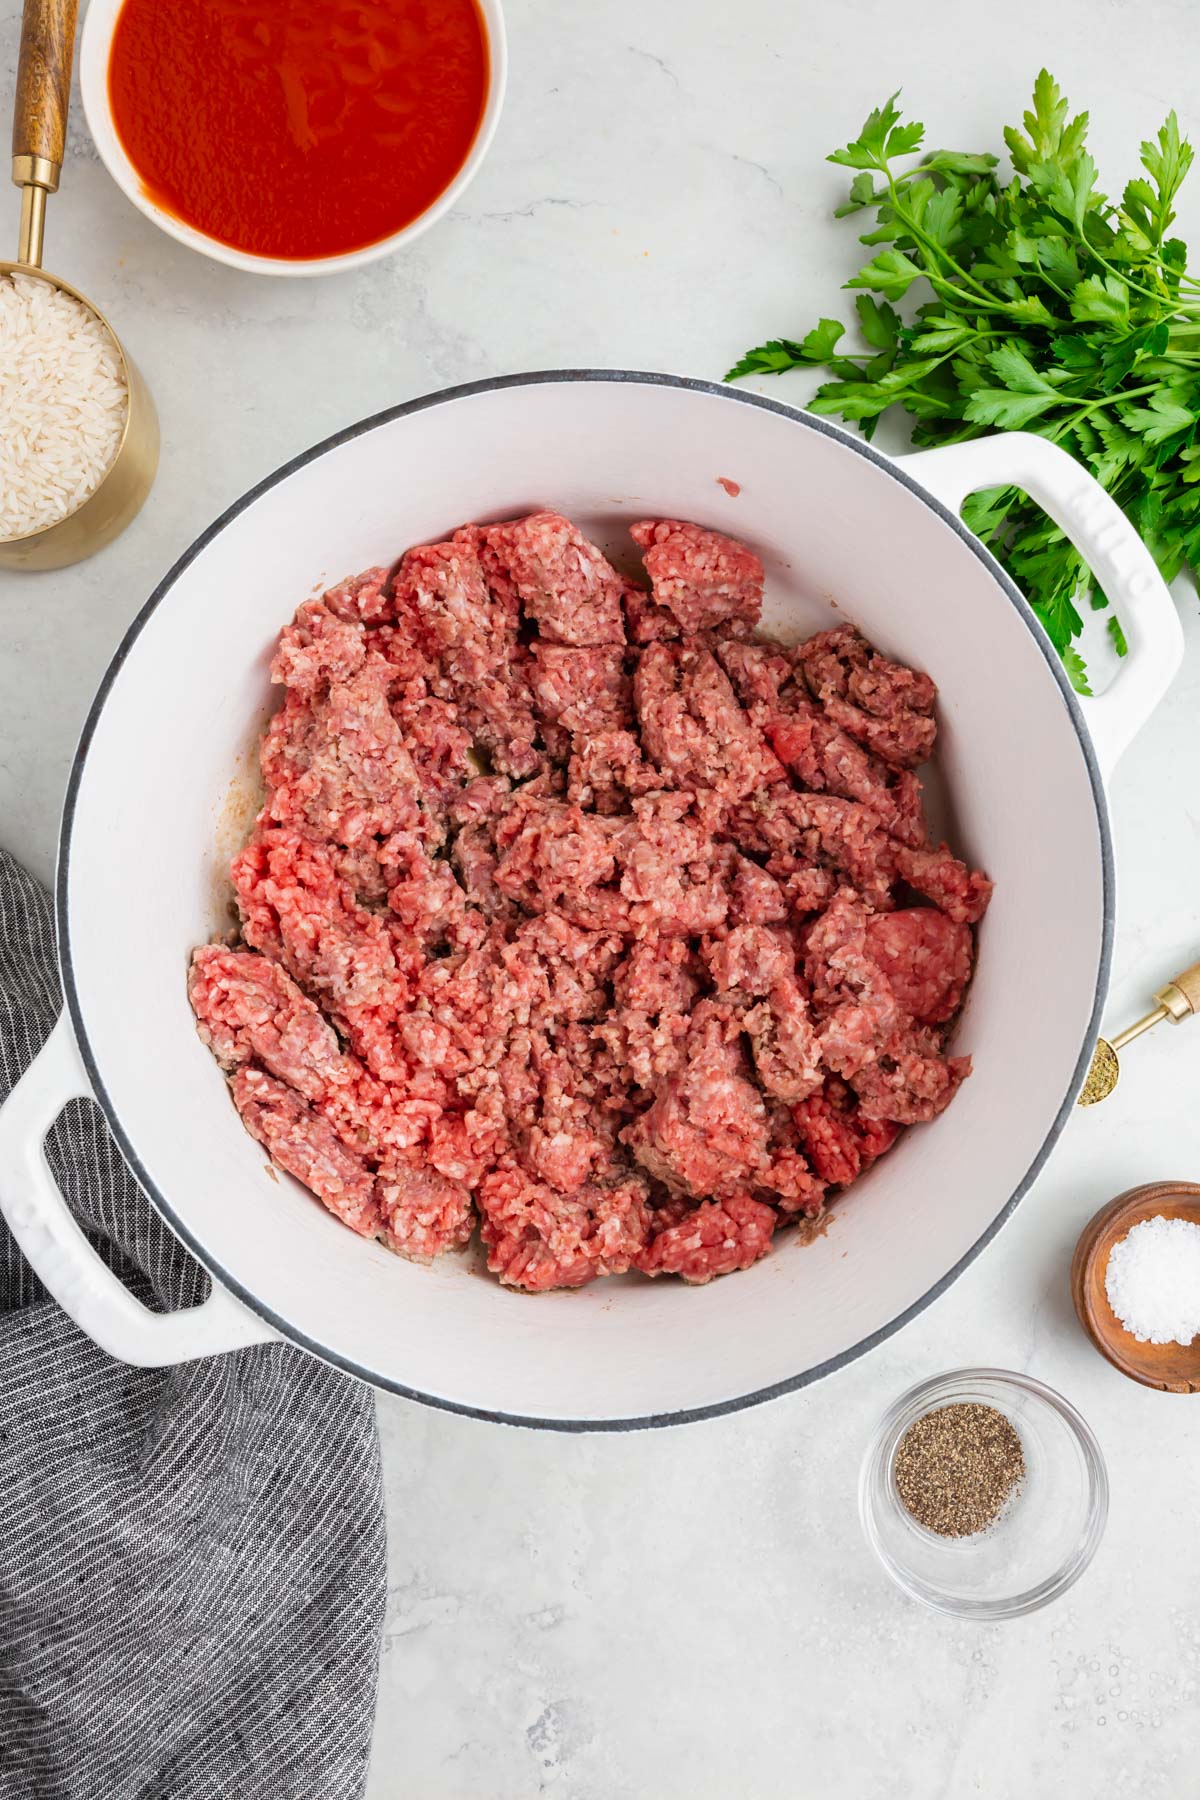
Cook the meat and vegetables:
- Preheat a large dutch oven over medium heat. Once heated, add 2 lbs ground beef and season with 1 teaspoon kosher salt and ½ teaspoon black pepper.
- Cook until the beef is browned, about 5-6 minutes, making sure to break up the meat with a spatula while it cooks.
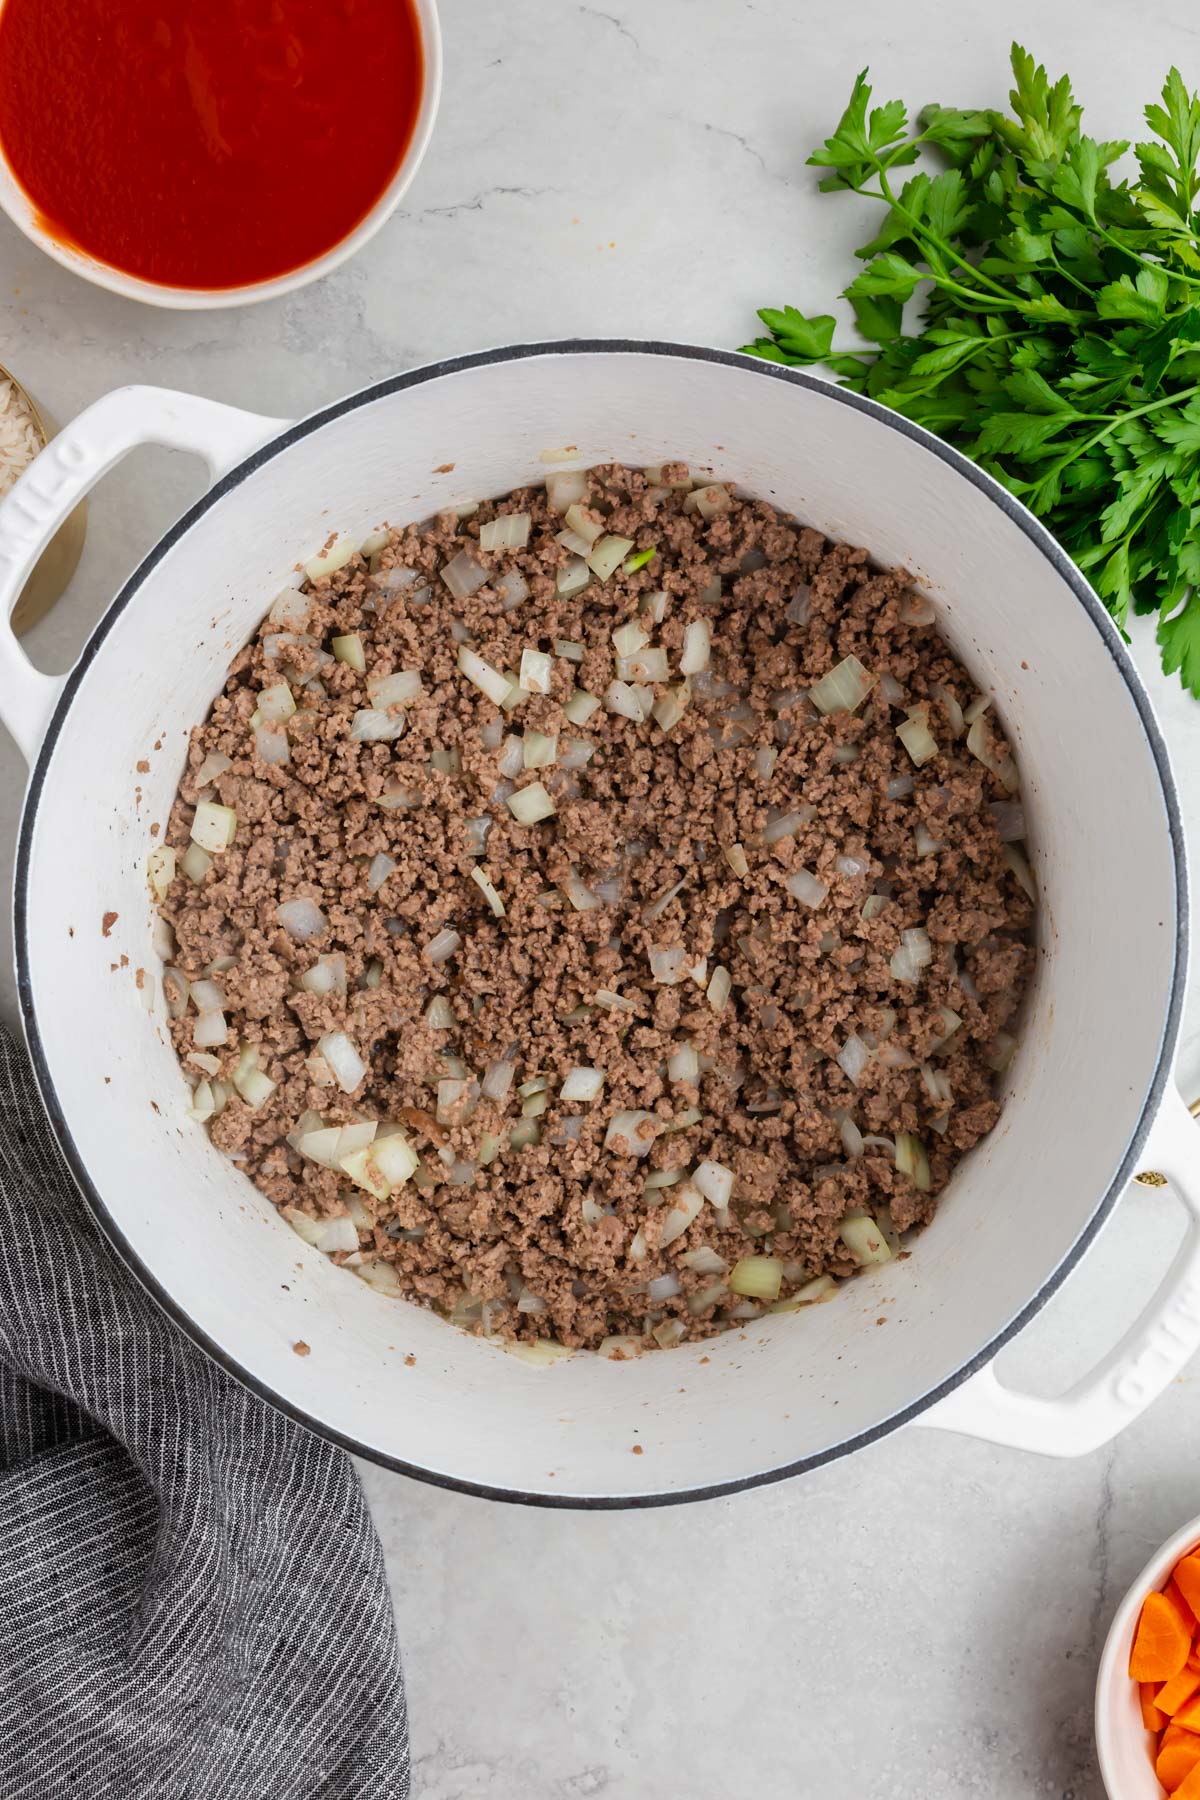
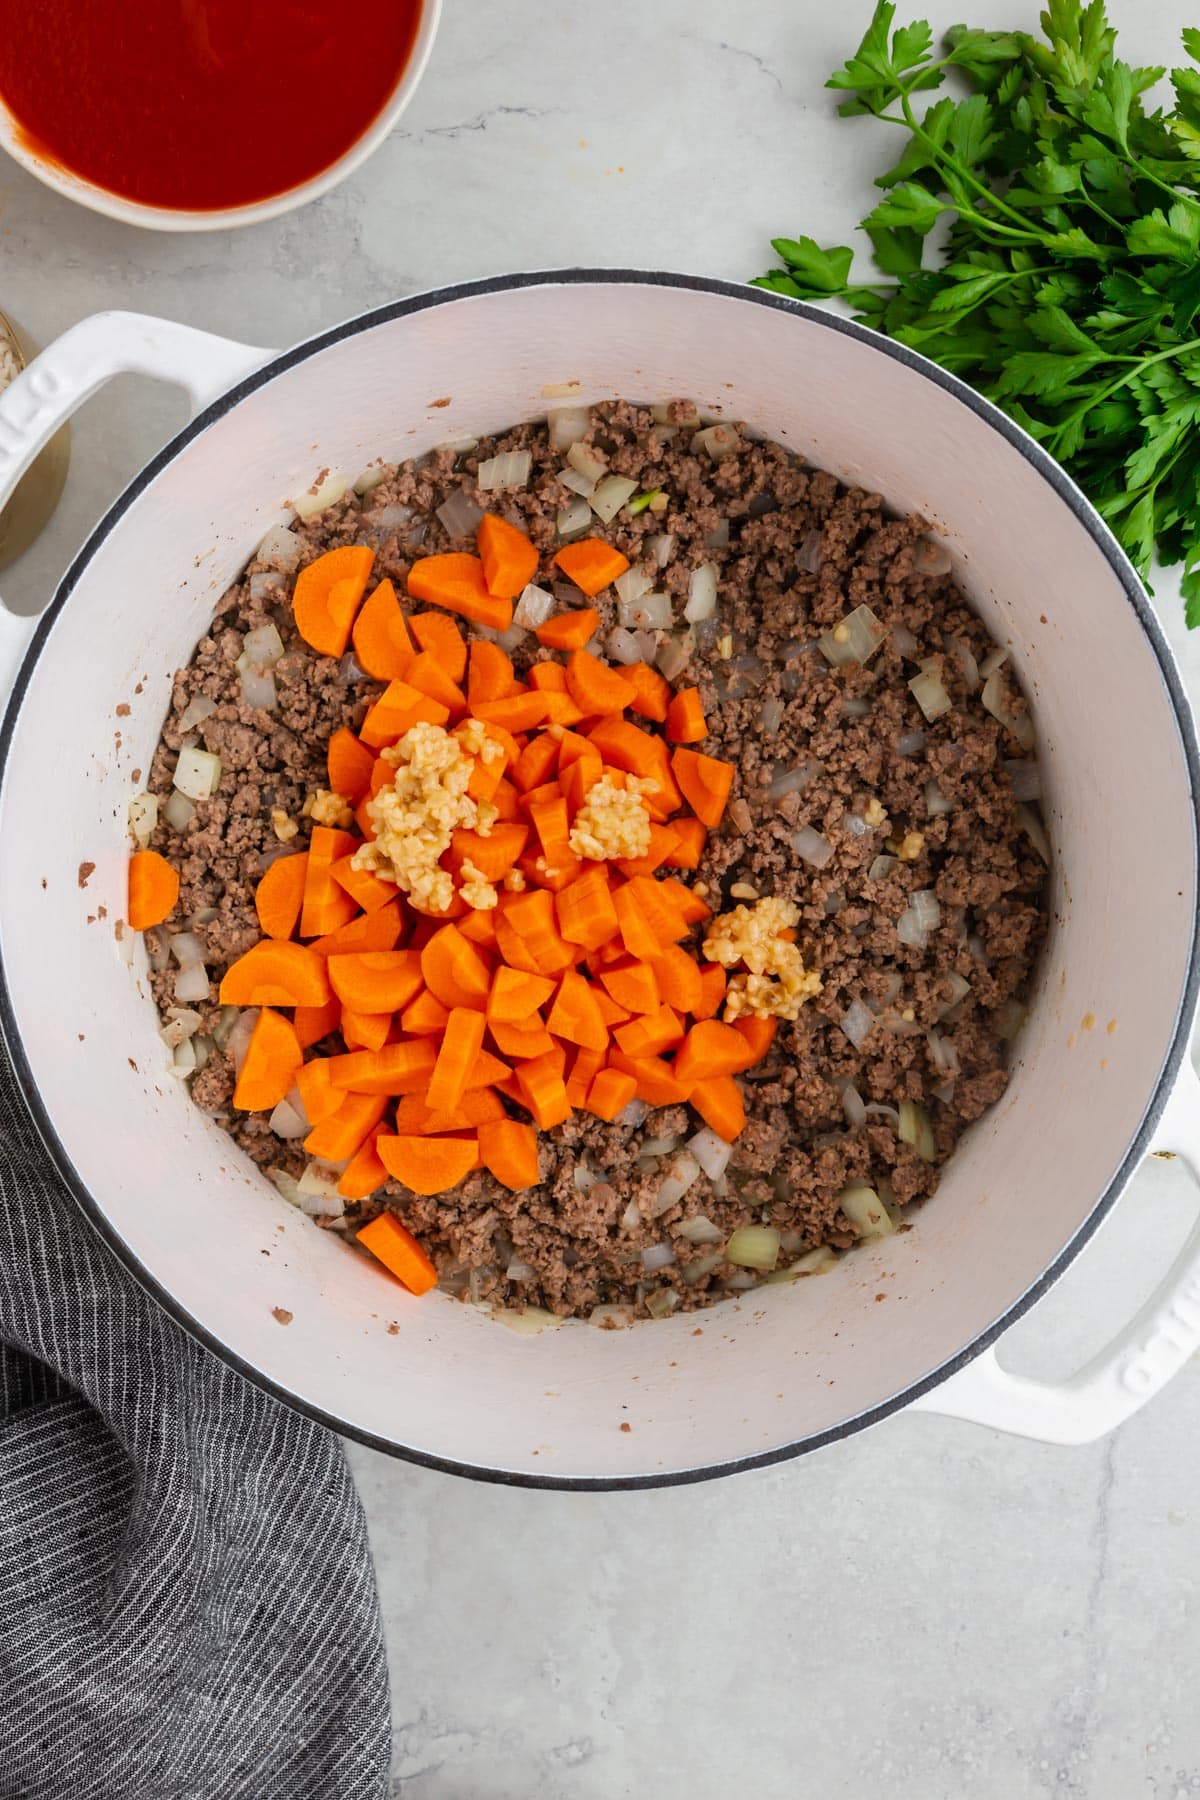
- Add 1 tablespoon olive oil or avocado oil and 2 cups yellow onion and stir to combine. Cook for 3-4 minutes.
- Add 1 cup carrots and 2 cloves garlic and cook an additional 2-3 minutes, stirring frequently to ensure the garlic does not burn.
- Stir in chopped 1 lb green cabbage and cook for a few minutes until it softens.
Simmer the soup:
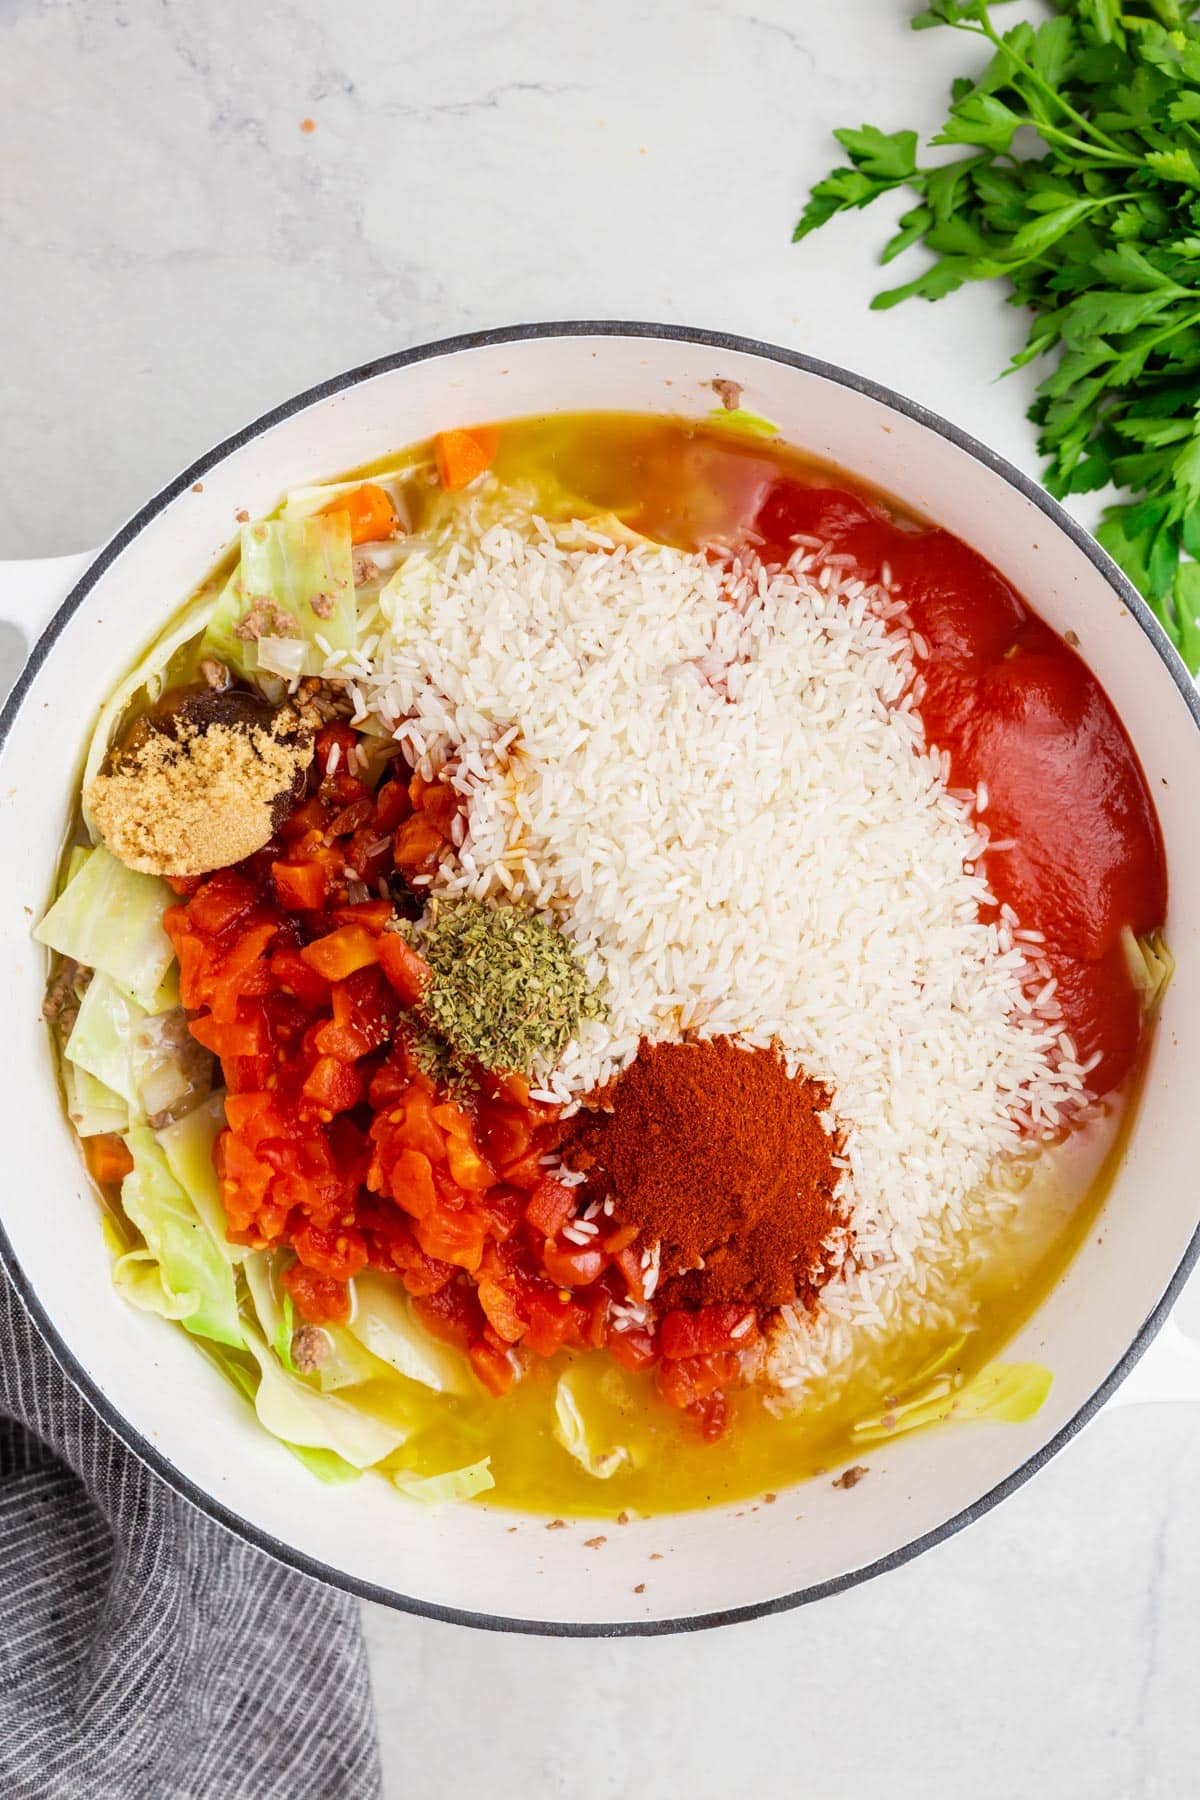
- Mix in 30 oz diced tomatoes, 8 oz tomato sauce, 6 cups gluten-free beef broth, 1 cup uncooked white rice, 1 tablespoon gluten-free worcestershire sauce, 1 tablespoon fresh lemon juice, 1 tablespoon brown sugar, 2 teaspoons paprika, and 1 teaspoon dried oregano. Stir to combine.
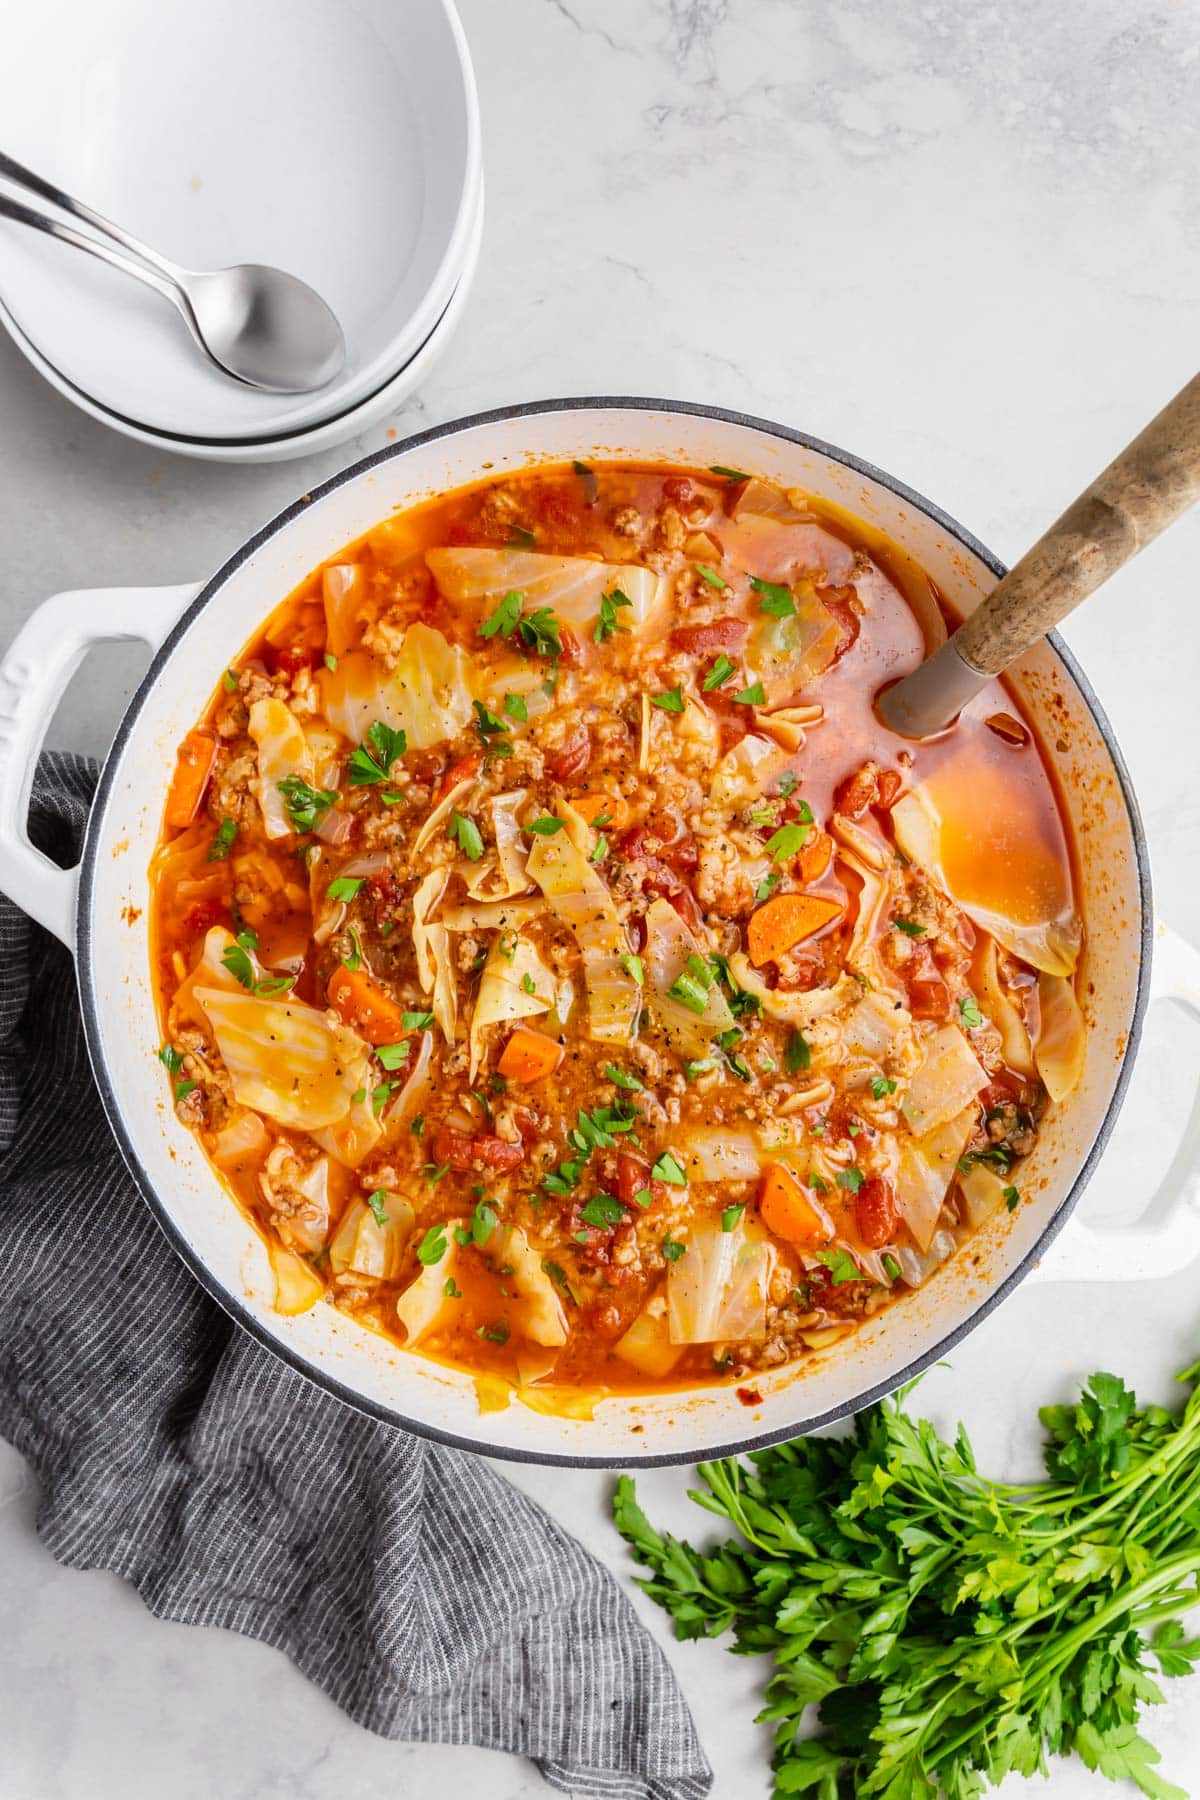
- Bring the soup to a boil. Then let simmer and cover with a lid.
- Cook for 30 minutes, or until the rice is tender.
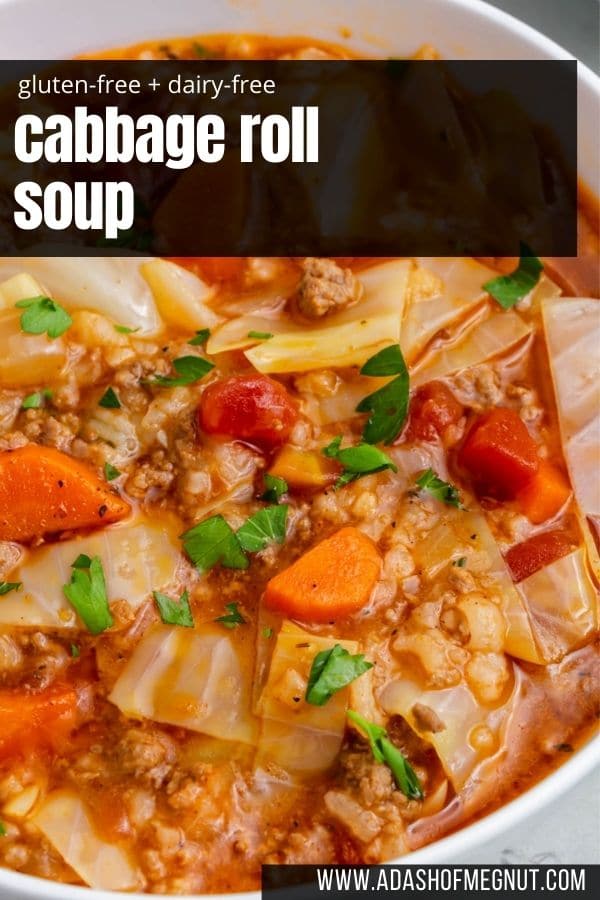
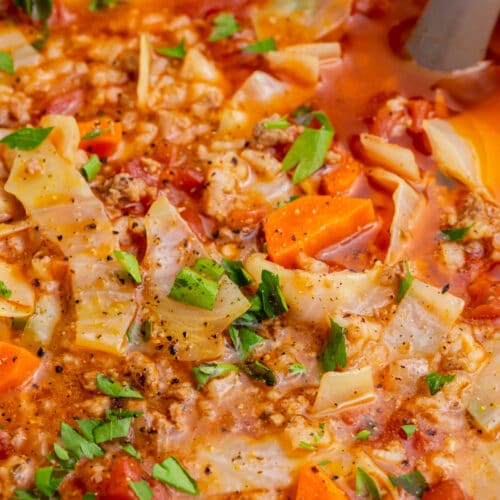
- Top with ½ cup fresh parsley before serving.
Video
Notes
- Check your broth: Many store-bought broths contain gluten, so be sure to check the ingredients and packaging to ensure it is gluten-free if needed.
- Worcestershire sauce: Not all brands of worcestershire sauce are gluten-free. If you are on a gluten-free diet or have celiac disease, Lea & Perrins brand is certified gluten-free.
- Make it in a slow cooker: Brown the beef and vegetables on the stovetop first, then transfer to a slow cooker. Cook on low for 6-8 hours or high for 3-4 hours. Add rice during the last hour.
- Storage: Store leftovers in an airtight container in the refrigerator for up to 3-4 days. Reheat on the stovetop, adding a splash of broth if needed.
Nutrition
Step-by-Step instructions
This cabbage roll soup is so easy to make on the stove top with just a few simple steps. The below photos with matching steps are not the full recipe, but are meant to help you see the recipe being made at various stages. Pay special attention to the size of the cabbage and carrots.
For the ingredient list with measurements, full instructions, printable recipe, and additional notes, please use the recipe card above.

Yum yum yum! Gorgeous photos.
Thank you so much Christine! And thanks for stopping by ?
This soup looks and sounds delicious. I love a warming soup during the cold months. Your pictures are beautiful. Thanks for sharing.
Thanks so much Kim!! Also I’m loving the new rebranding for you! Everything looks great!
I presume the beef is added back with the rice and simmered together.
What’s up to every body, it’s my first go to see of this
blog; this website contains remarkable and really fine stuff for visitors.