
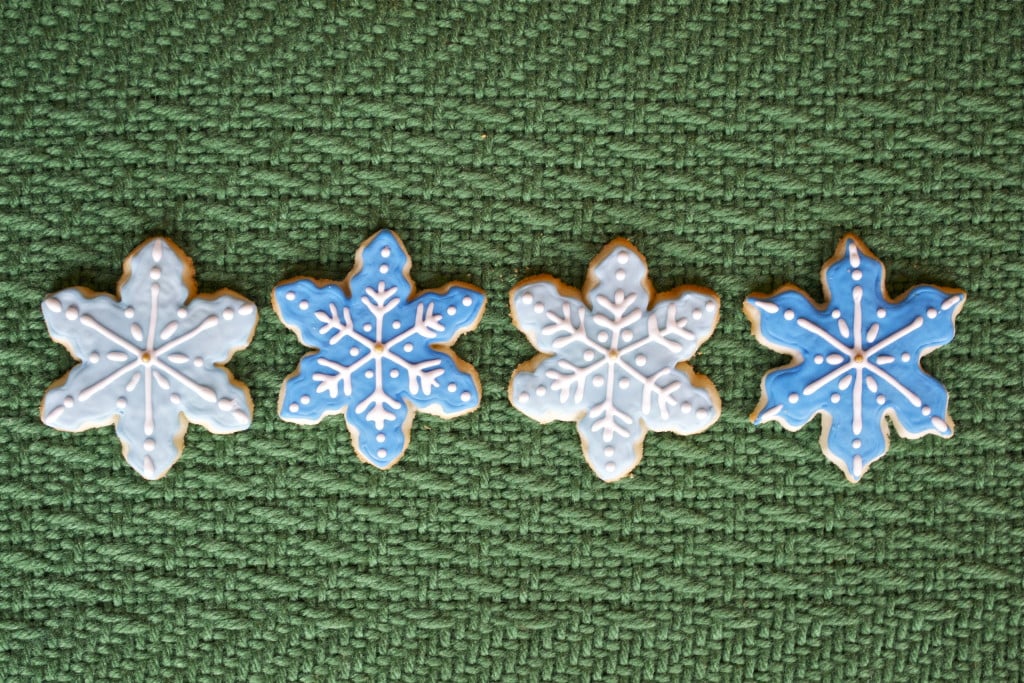
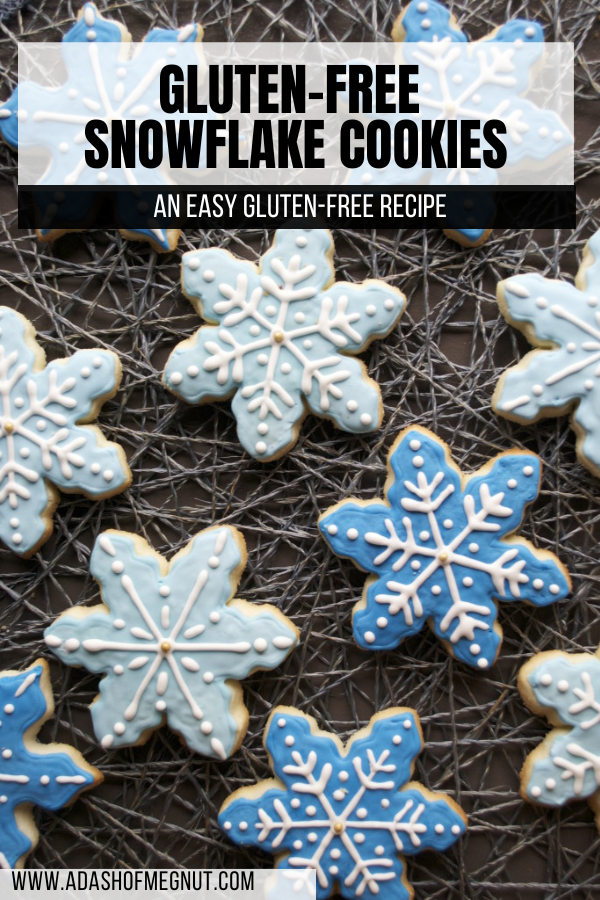
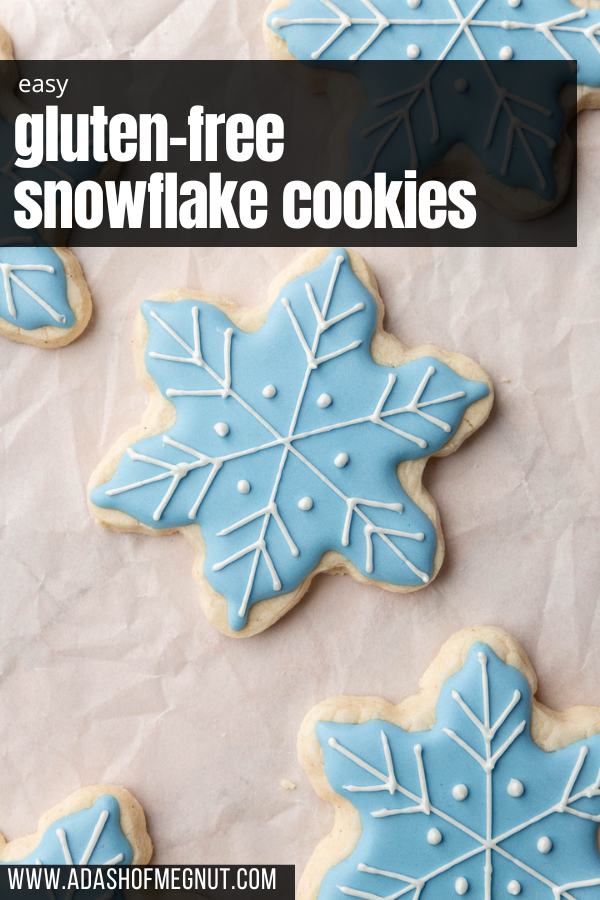
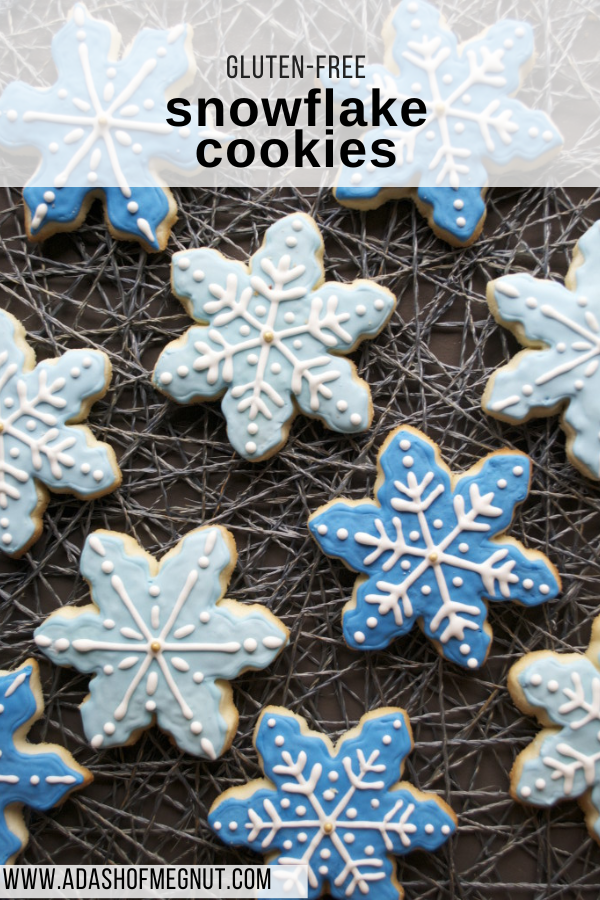
Create stunning gluten-free Snowflake Sugar Cookies with ease! This recipe delivers buttery, tender cookies, ideal for cutting into intricate snowflake designs.
Perfect for holiday baking, these cookies keep their shape brilliantly and are a joy to decorate with royal icing. Versatile and simple, the dough can be prepared ahead and even frozen. Whether for festive gatherings or a cozy winter treat, these cookies are sure to impress with their delightful snowflake shapes and delicious flavor.
Everyone always enjoys these cookies without even realizing they are gluten-free! Enjoy this winter wonderland without all the shoveling!
You’ll love these sugar cookies because:
Ingredients
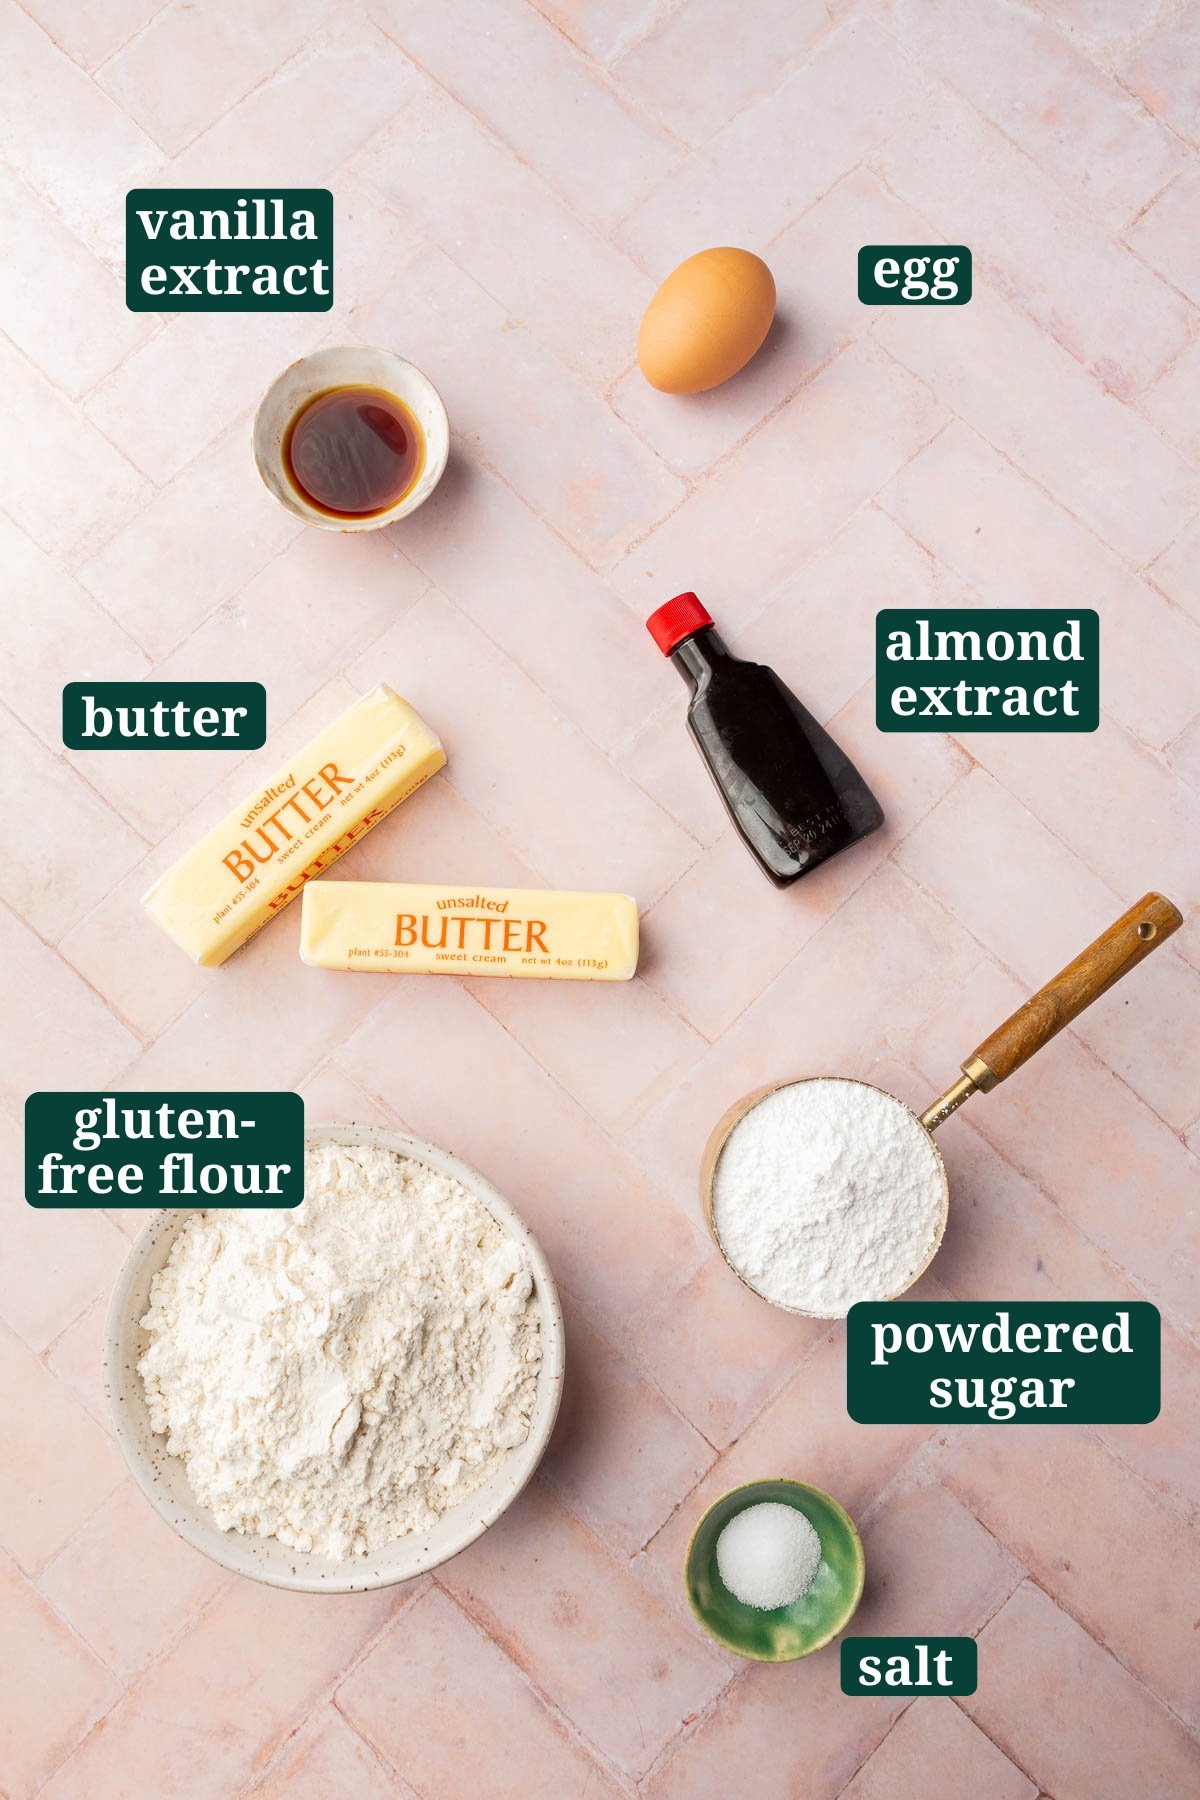
Ingredient Notes
- Unsalted Butter – Use high-quality, unsalted butter for better control over the saltiness of your cookies. Soften the butter at room temperature before using to ensure easy creaming with sugar.
- Powdered Sugar – Also known as confectioners’ sugar, it is fine and dissolves easily for a smooth texture. It’s used both in the cookie dough and icing. Avoid granulated sugar as it will alter the texture of the cookies and icing.
- Almond Extract – Adds a subtle nutty flavor to your cookies. If you’re allergic to nuts or prefer a different flavor, you can substitute with an equal amount of vanilla extract or other flavorings like lemon or orange extract.
- Pure Vanilla Extract – Opt for pure vanilla extract rather than imitation vanilla for a richer flavor. Vanilla enhances the overall taste of the cookies and icing.
- Salt – Salt balances the sweetness of the cookies. I like to use table salt for this recipe because of its fine crystals.
- Egg – Acts as a binder and helps to create a tender texture. Ensure the egg is at room temperature for better incorporation into the dough. I use a large egg, which is 50g.
- Gluten-Free Flour Blend – This recipe was tested with Bob’s Red Mill 1-to-1 Gluten-Free Baking Flour (in the blue bag), which already contains xanthan gum. I cannot verify that other brands of gluten-free flour will work in this recipe, as I have not tested them. For best results, weigh your gluten-free flour with a food scale.
- Meringue Powder – Used in royal icing for structure and stability. I like AmeriColor Meringue Powder in this recipe.
- Water – Adjust the quantity to get the desired consistency of the royal icing. Start with the minimum amount and add more as needed.
- AmeriColor Gel Food Coloring – Gel food coloring is preferred as it is more concentrated and won’t thin out the icing. Available in a variety of colors, allowing for creative decoration. I like the AmeriColor gel food colorings because they are gluten-free and they come in squeeze bottles so you can just squeeze a few drops of food coloring as needed. It’s much easier than the brands that have a twist-off top.

If your powdered sugar seems a bit clumpy, sift it before using to achieve a smoother consistency in your dough and icing. This step is especially crucial for the royal icing, as lumps can clog piping tips and affect the finished look of your decorated cookies.
Step-by-Step instructions
This snowflake sugar cookie is a very simple design that can be achieved by both cookie decorating beginners and more advanced decorators. The below steps are not meant to be the full recipe, but are there to help you see how to decorate the cookies.
For the ingredient list with measurements, full instructions, printable recipe, and additional notes, please scroll down to the recipe card.



Recipe FAQs
You’ll know the cookies are ready when their edges have a light golden-brown hue and the centers appear matte instead of glossy. Full browning is not necessary. Baking duration may differ slightly, so it’s advisable to monitor them closely, especially towards the end of baking.
Cookies often spread and lose their defined shapes if the dough hasn’t been chilled sufficiently or if the butter was overly softened. To prevent this, ensure the dough is adequately chilled as per the recipe instructions. Additionally, always use a cool or room temperature baking sheet for placing the dough.
These cookies can be kept in an airtight container at room temperature for up to two weeks after baking and cooling. For extended storage, freezing is an option. If you plan to freeze, it might be better to freeze them before decorating, as this can help prevent any bleeding of colors from the royal icing when thawing.
No, you can use your favorite buttercream frosting or even store-bought tub frosting for decorating sugar cookies. Add some festive sprinkles for extra decor!
expert tips

Storage instructions
Room temperature storage
Once your cookies have cooled down completely, store them in a sealed container at room temperature. They will remain fresh for approximately one week if they are plain. Decorated with royal icing, they can last for up to two weeks, as the icing acts as a preservative.
Freezer option
Both the unbaked dough and the baked cookies can be frozen.
- For Baked Cookies: Make sure they are fully cooled before freezing. Place them in a freezer-safe container or bag, using parchment paper to separate layers. They can be kept frozen for up to 3 months. While you can freeze both decorated and undecorated cookies, it’s often better to freeze them plain and decorate after thawing, close to the time you plan to serve them.
- For Cookie Dough: You have the option to freeze the entire batch of dough, shaped into a 1-inch thick disk, or to roll it out, cut it into shapes, and then freeze these shapes. If freezing individual shapes, place them on a baking sheet and freeze for about an hour before transferring to a freezer bag. This dough can be stored for up to three months. When ready to bake from frozen, you might need to add an extra 2-3 minutes to your baking time. If you’ve frozen a full batch of dough, let it thaw in the fridge until it’s pliable enough to roll out.
More Gluten Free Holiday Sugar Cookie Designs
- Gluten-Free Peppermint Candy Cane Sugar Cookies
- Reindeer and Ugly Sweater Sugar Cookies
- Chocolate Christmas Tree Sugar Cookies
- Snow Globe Ornament Sugar Cookies
- Gluten-Free Christmas Cookies

Gluten Free Snowflake Cookies
Ingredients
For the sugar cookies:
- 1 cup unsalted butter - softened (227g)
- 1 cup powdered sugar - 120g
- 1 teaspoon almond extract
- 2 teaspoons pure vanilla extract
- 1 teaspoon salt - 5g
- 1 egg - 50g
- 2 1/4 cups gluten-free flour blend - 315g
For the royal icing:
- 4 cups powdered sugar - 480g
- 3 tablespoons meringue powder - 20g
- 6-10 tablespoons water - 90-150g
- 1 teaspoon vanilla extract - or almond extract
- Americolor gel food coloring - for decorating
**Use the toggle button above to turn the instruction photos on and off!
Instructions
To make the cookies:
- Preheat the oven to 375°F (190°C). Line a baking sheet with parchment paper. Set aside.
- In a large bowl, cream butter and powdered sugar with an electric mixer for 2-3 minutes, until light and fluffy.
- Then, add egg, vanilla extract, almond extract, and salt; beat until smooth, about another minute.
- Gradually mix in the gluten-free flour blend, half a cup at a time, mixing until no more streaks of flour remain.
- Scoop the dough out onto a piece of parchment paper and pat into a circle about 1 inch thick. Chill the dough in the refrigerator for at least an hour to firm up for rolling.
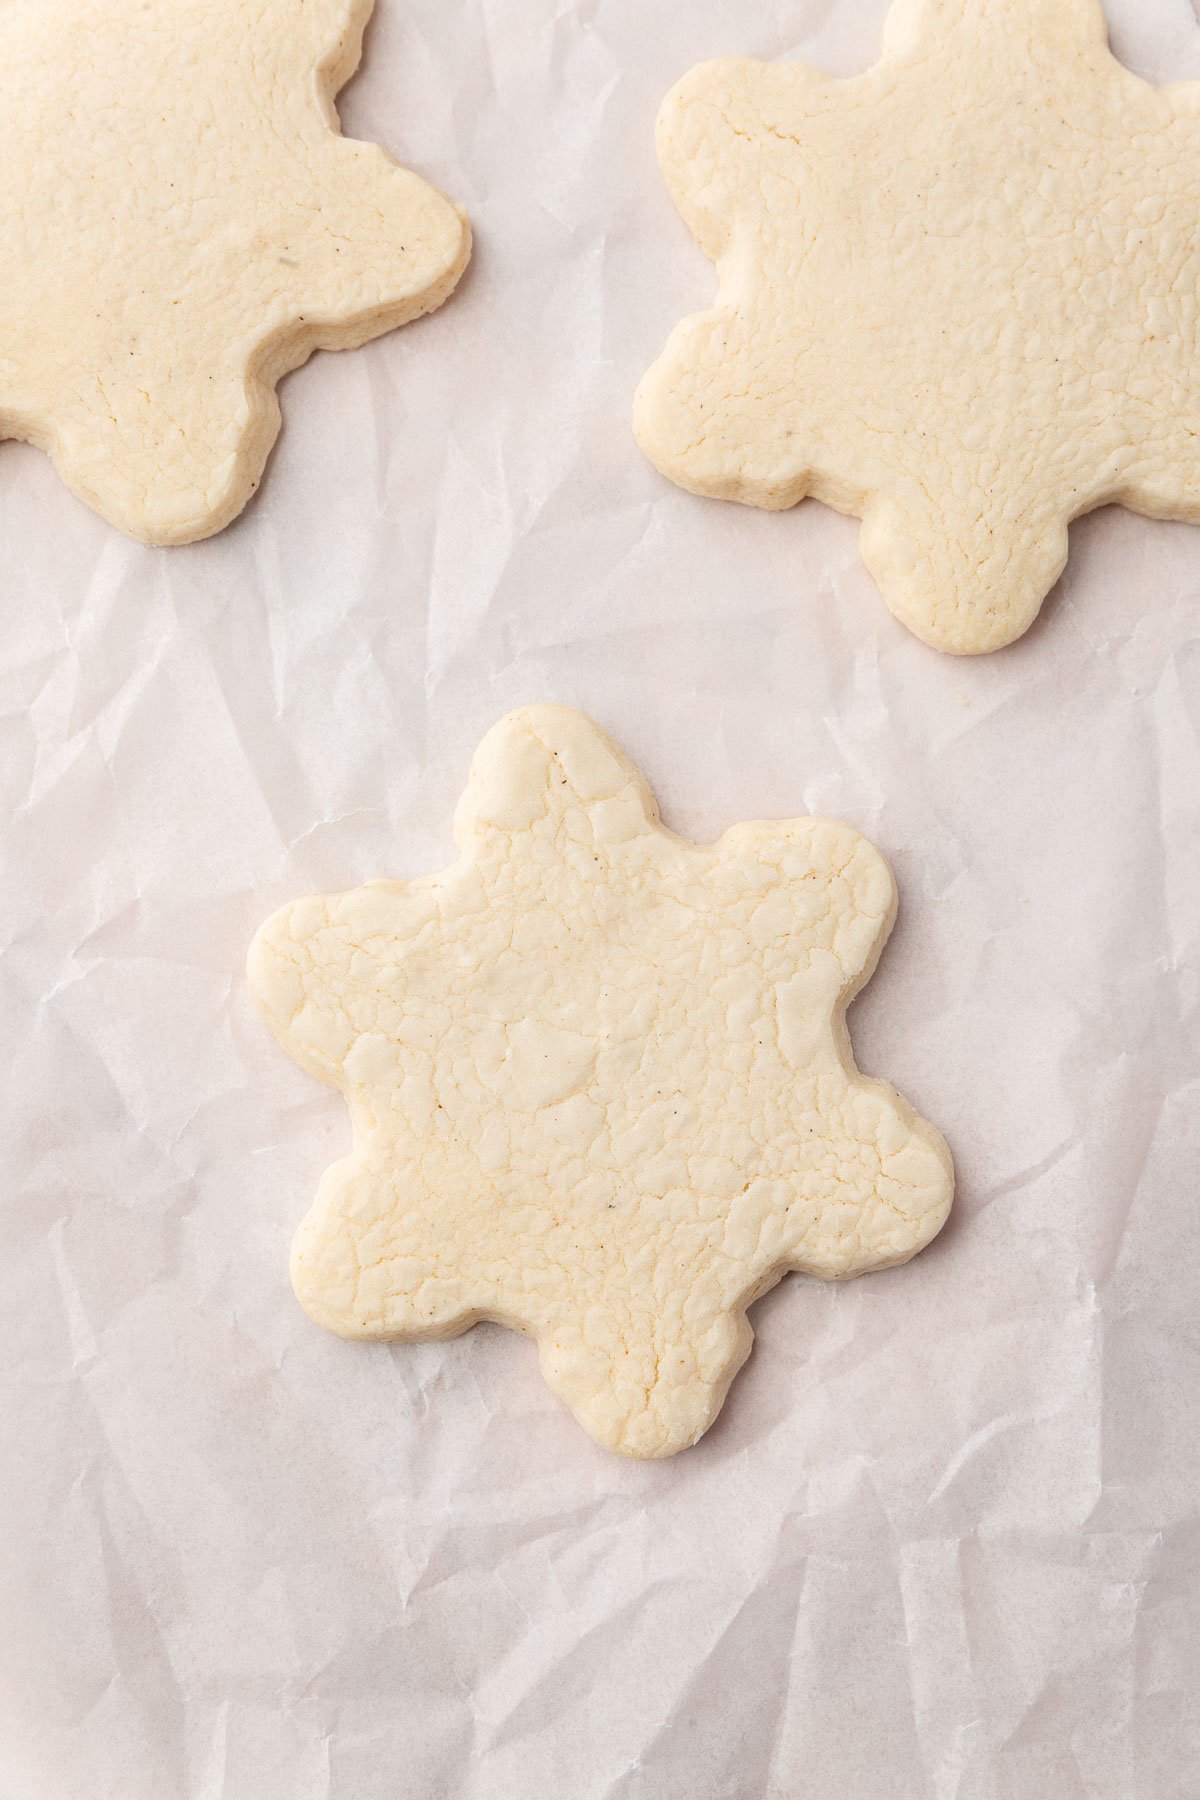
- Lightly dust your work surface and rolling pin with powdered sugar. Roll out the dough to 1/4 inch thickness and cut with cookie cutters.
- Place cookies on the prepared baking sheet, leaving 2 inches in between each cookie. If you really want the cookies to hold their shape when baking, you can freeze them for 10-15 minutes or refrigerate for another 30 minutes.
- Bake cookies at 375°F (190°C) for 8-10 minutes until they are lightly browned on the edges and the center of the cookie is matte and no longer shiny. The cookies will not be browned completely.
- Allow cookies to cool on the baking sheet for 5 minutes before transferring to a wire rack to finish cooling.
- Cool completely before frosting with royal icing as directed below.
To make the royal icing:
- In a bowl of an electric mixer fitted with the whisk attachment, combine the powdered sugar, meringue powder, 5 tablespoons of water, and vanilla extract.
- Mix for 1-2 minutes on low speed, scraping down the sides to make sure everything has been incorporated.
- Turn the speed to medium-high, and mix an additional 3-4 minutes until the ingredients are well blended, the volume has increased, and the icing is very white and thick. This is what I consider the base consistency.
- I usually add about 1 teaspoon more of water for a good outline icing (I use a 15-second rule, meaning if you drizzle the icing with a spoon or spatula over the bowl of icing it will melt back into the icing in 15 seconds. Depending on how thin your icing needs to be you can add anywhere from 1-4 more tablespoons of water, as needed. Go slowly as it’s easier to thin out your icing than it is to make it thicker again.
- Add gel food colorings a little at a time as needed to color the icing. Keep a wet paper towel over any icing that you are not currently working with to prevent a skin from forming over the top.
To decorate:
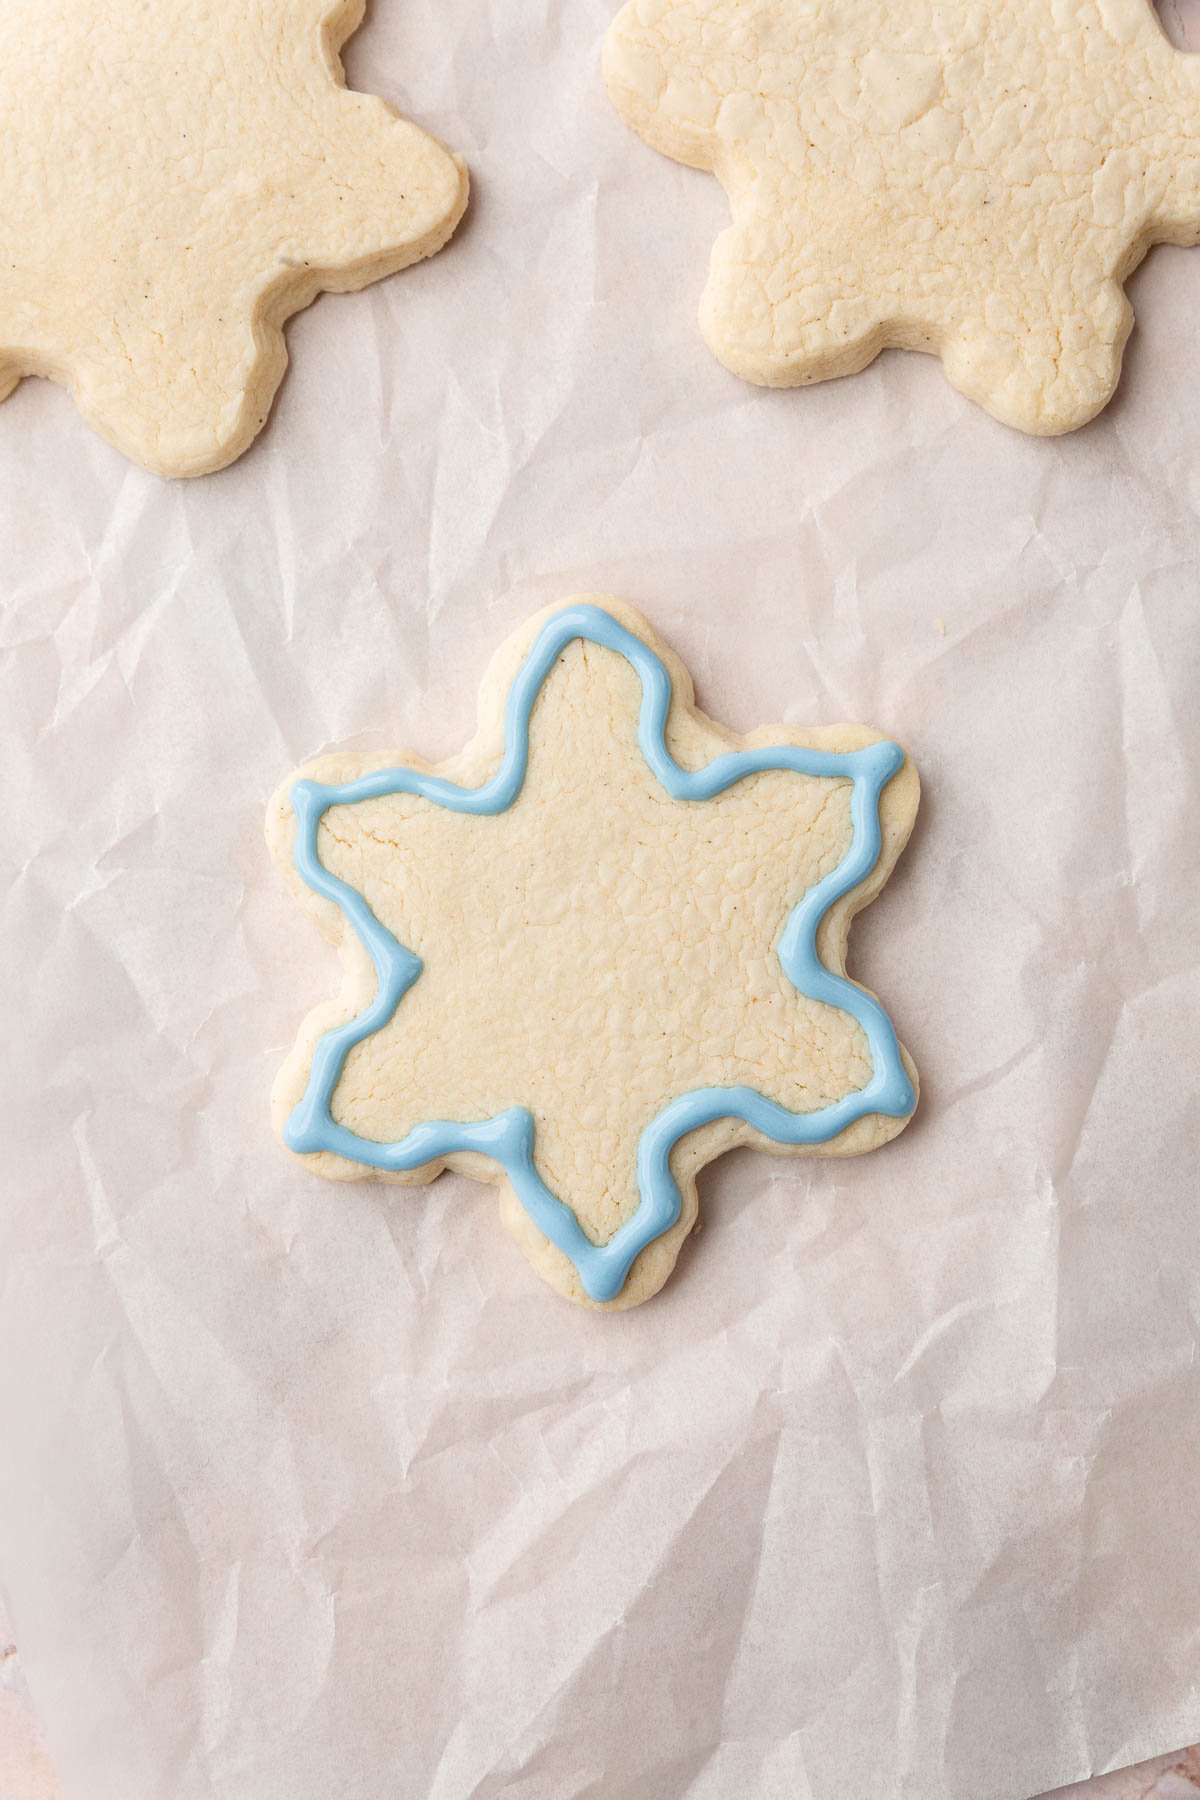
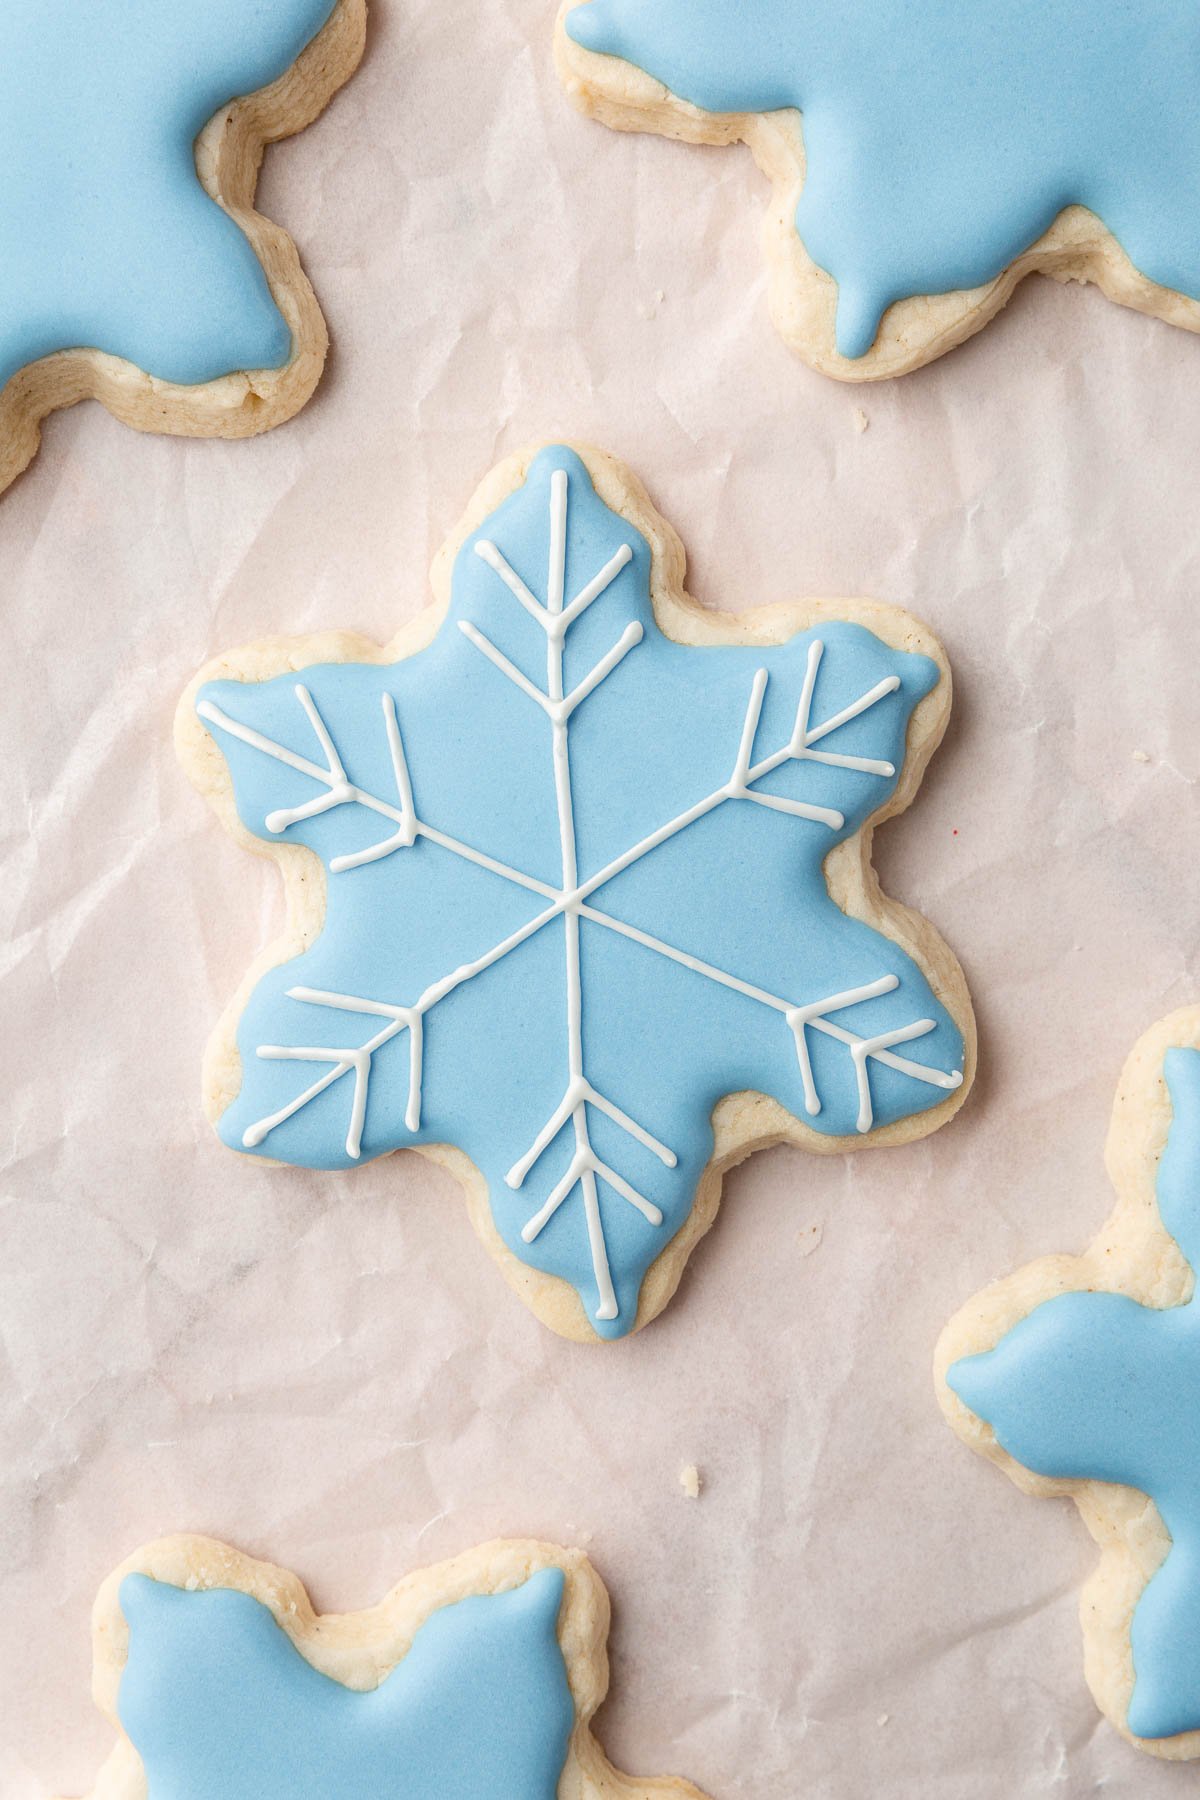
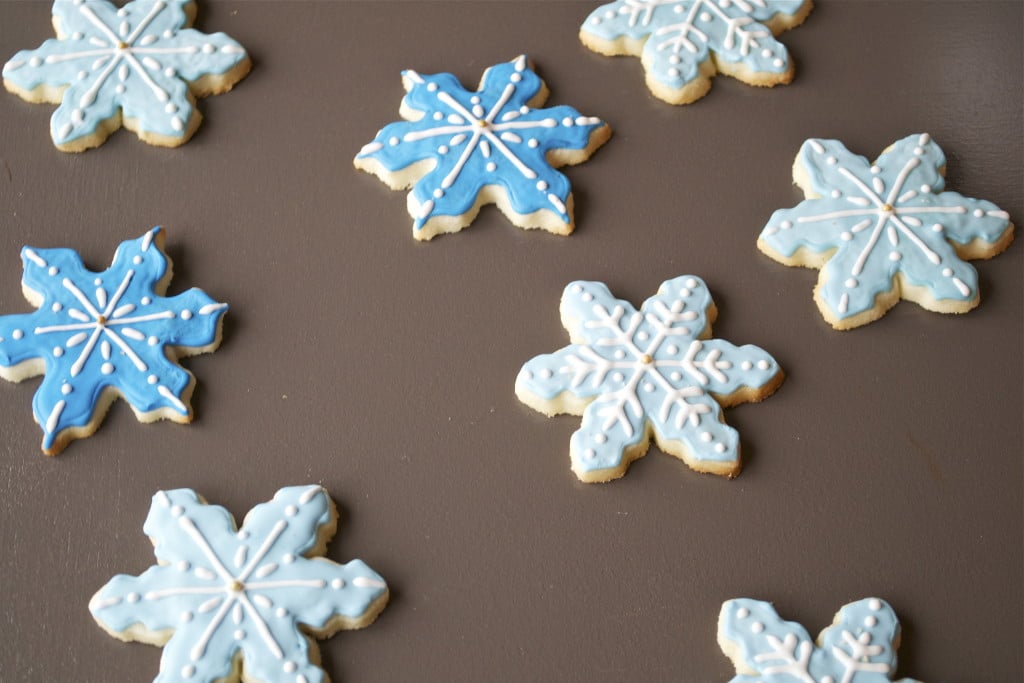
- Snowflake Outlining: Outline the snowflake cookies with 15-second light blue icing for a base shape.
- Filling: Fill in the center of the snowflake with the same blue icing and let it dry completely.
- Adding Details: Use 25-second white icing to draw straight lines across the snowflake, keeping the bag elevated for precision.
- Final Touches: Add ‘V’ shapes and dots with the same white icing to enhance the snowflake design. Allow complete drying before serving.
Notes
- I tested this recipe with Bob’s Red Mill 1-to-1 Gluten-Free Baking Flour in the blue bag, which already contains xanthan gum. You do not need to add xanthan gum to this recipe. I cannot verify that other flour blends will work in this recipe as I have not tested them.
- For best results, weigh your flour using a food scale. They are only about $10 and will help ensure that your cookies turn out perfectly every time. Scooping flour with a measuring cup can result in inconsistent measurements, which can affect the way your cookies turn out.
- Use powdered sugar to dust your surface and rolling pin. I like to use this instead of gluten-free flour, because I find the flour can easily make the cookies too dense and dry them out. The sugar just adds some extra sweetness. However, if you use too much, the tops of your cookies may crackle a little from the sugar. That’s okay – it’s just something to watch for.
- I like Americolor meringue powder, which is labeled as gluten-free.
Nutrition



These cookies look so beautiful!
Thank you so much!
Wow you are an artist! those snowflake cookies look incredible.
You are so sweet! Thank you Claudia!
These are so beautifully decorated!
Thank you so much Peggy!!