
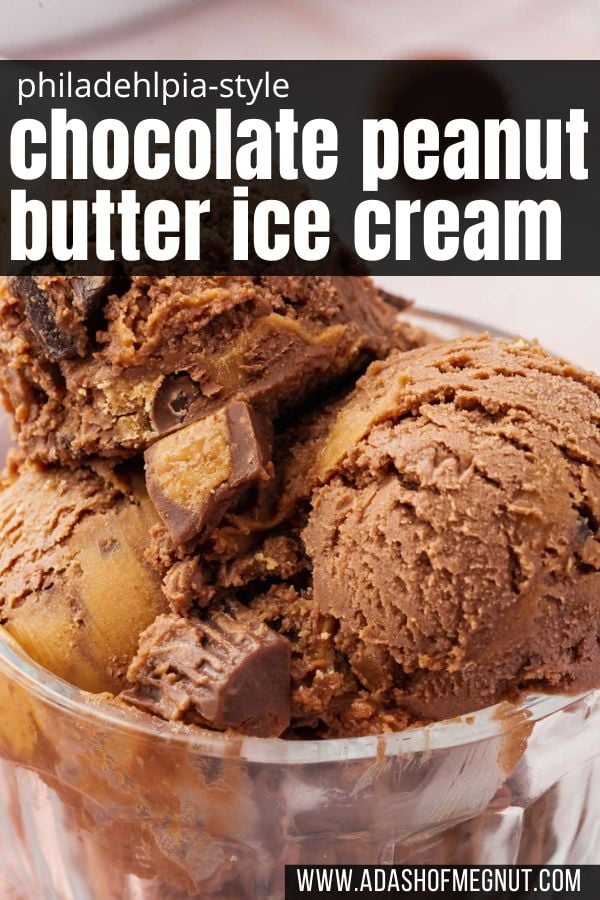
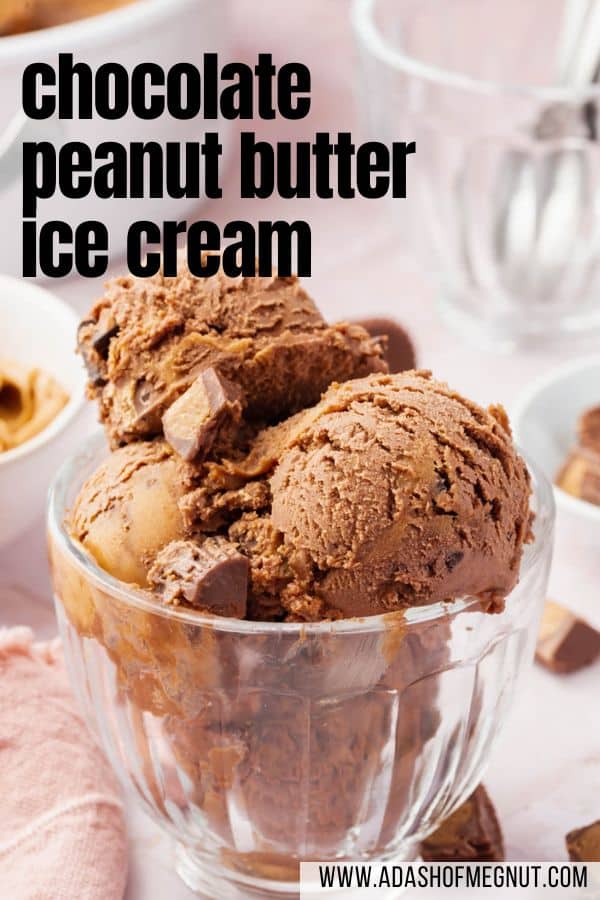
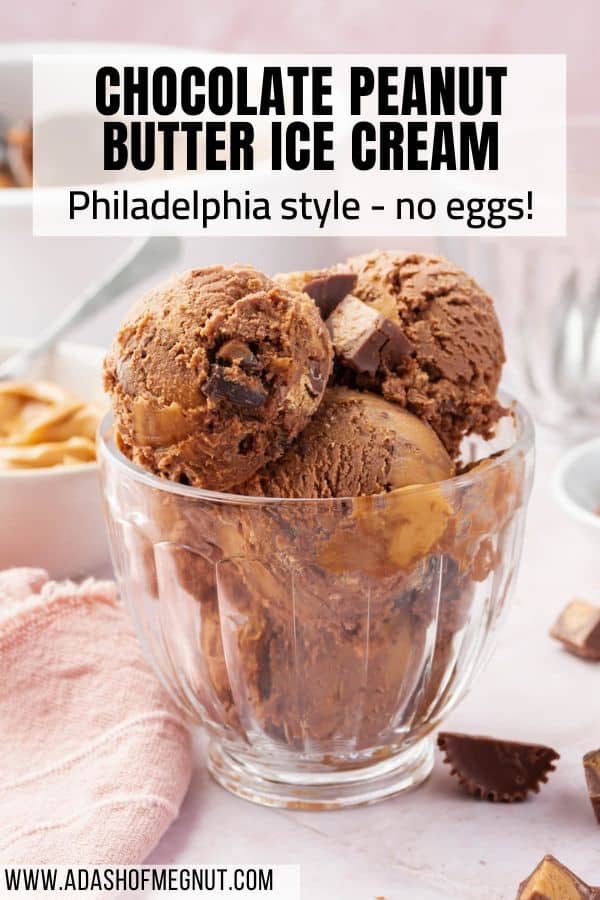
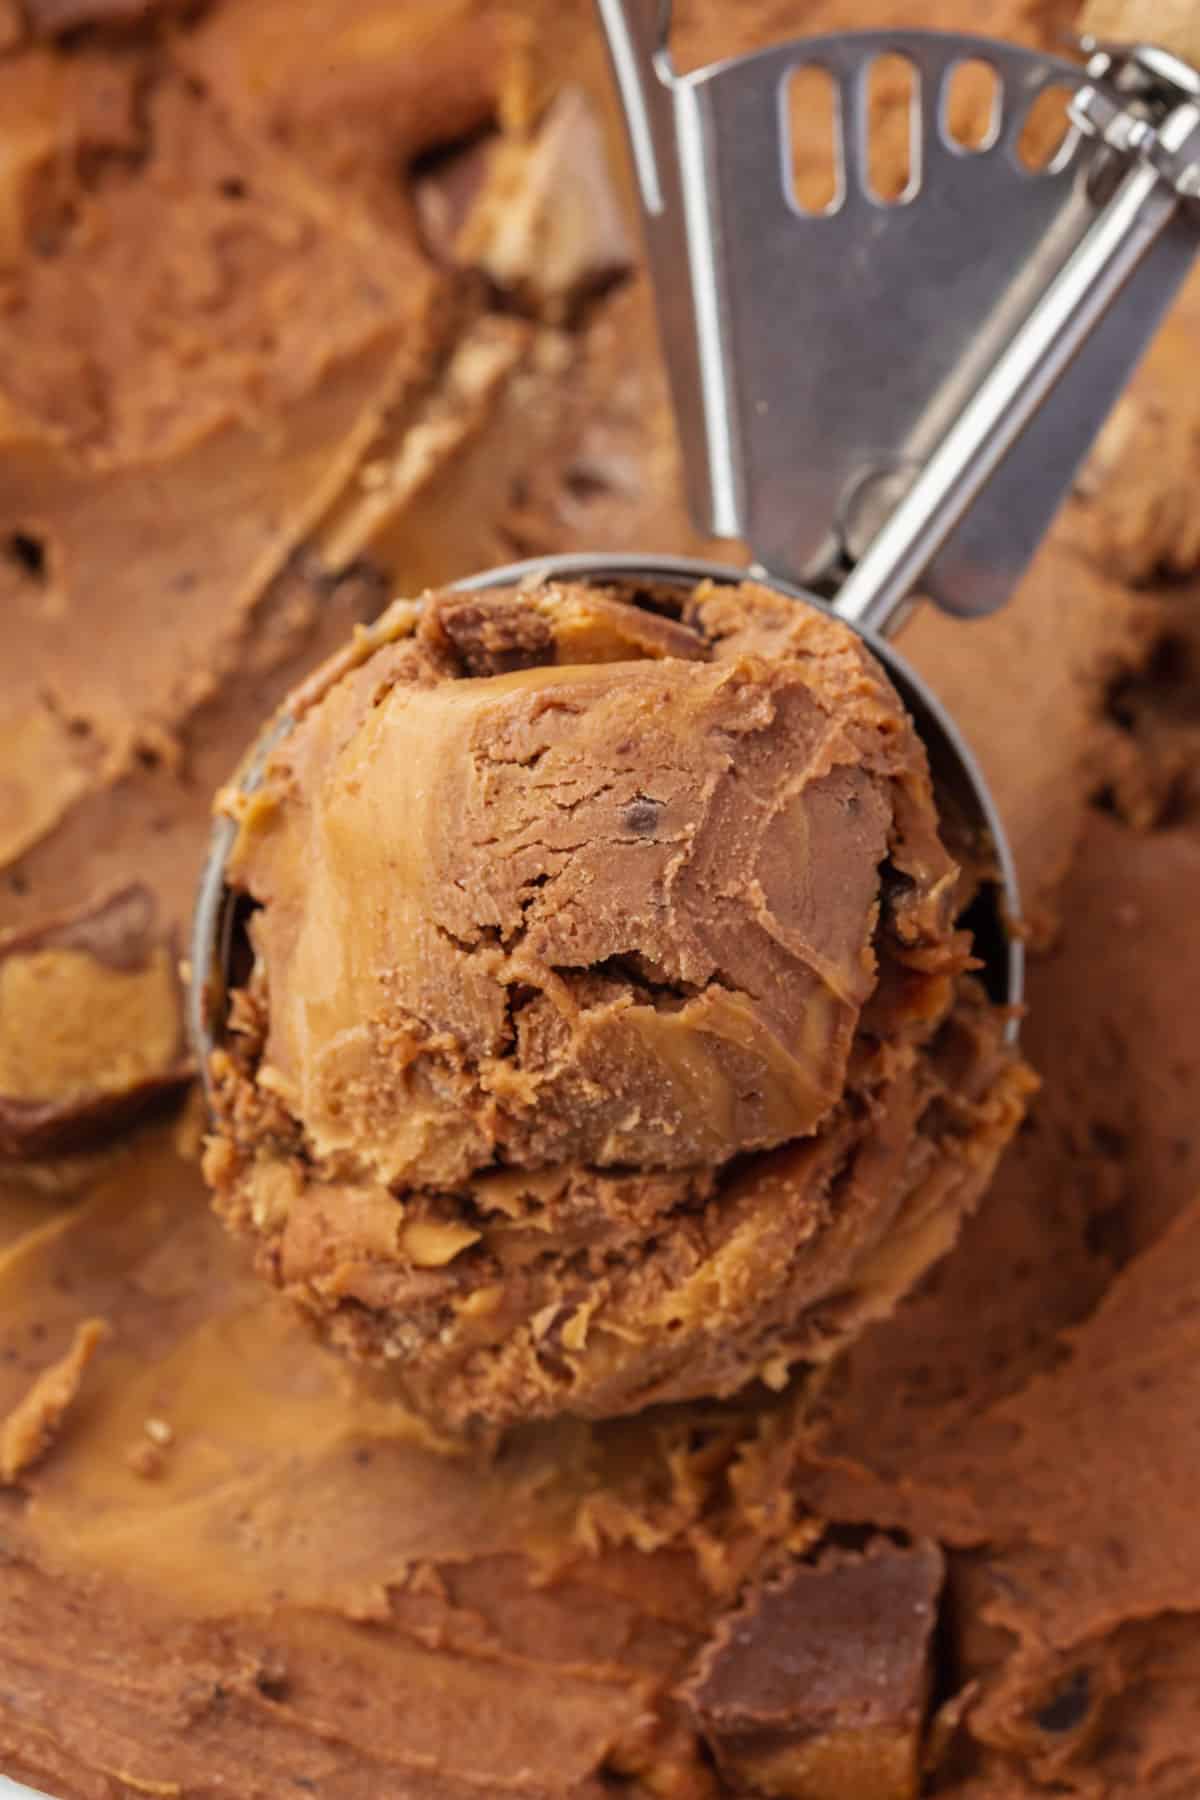
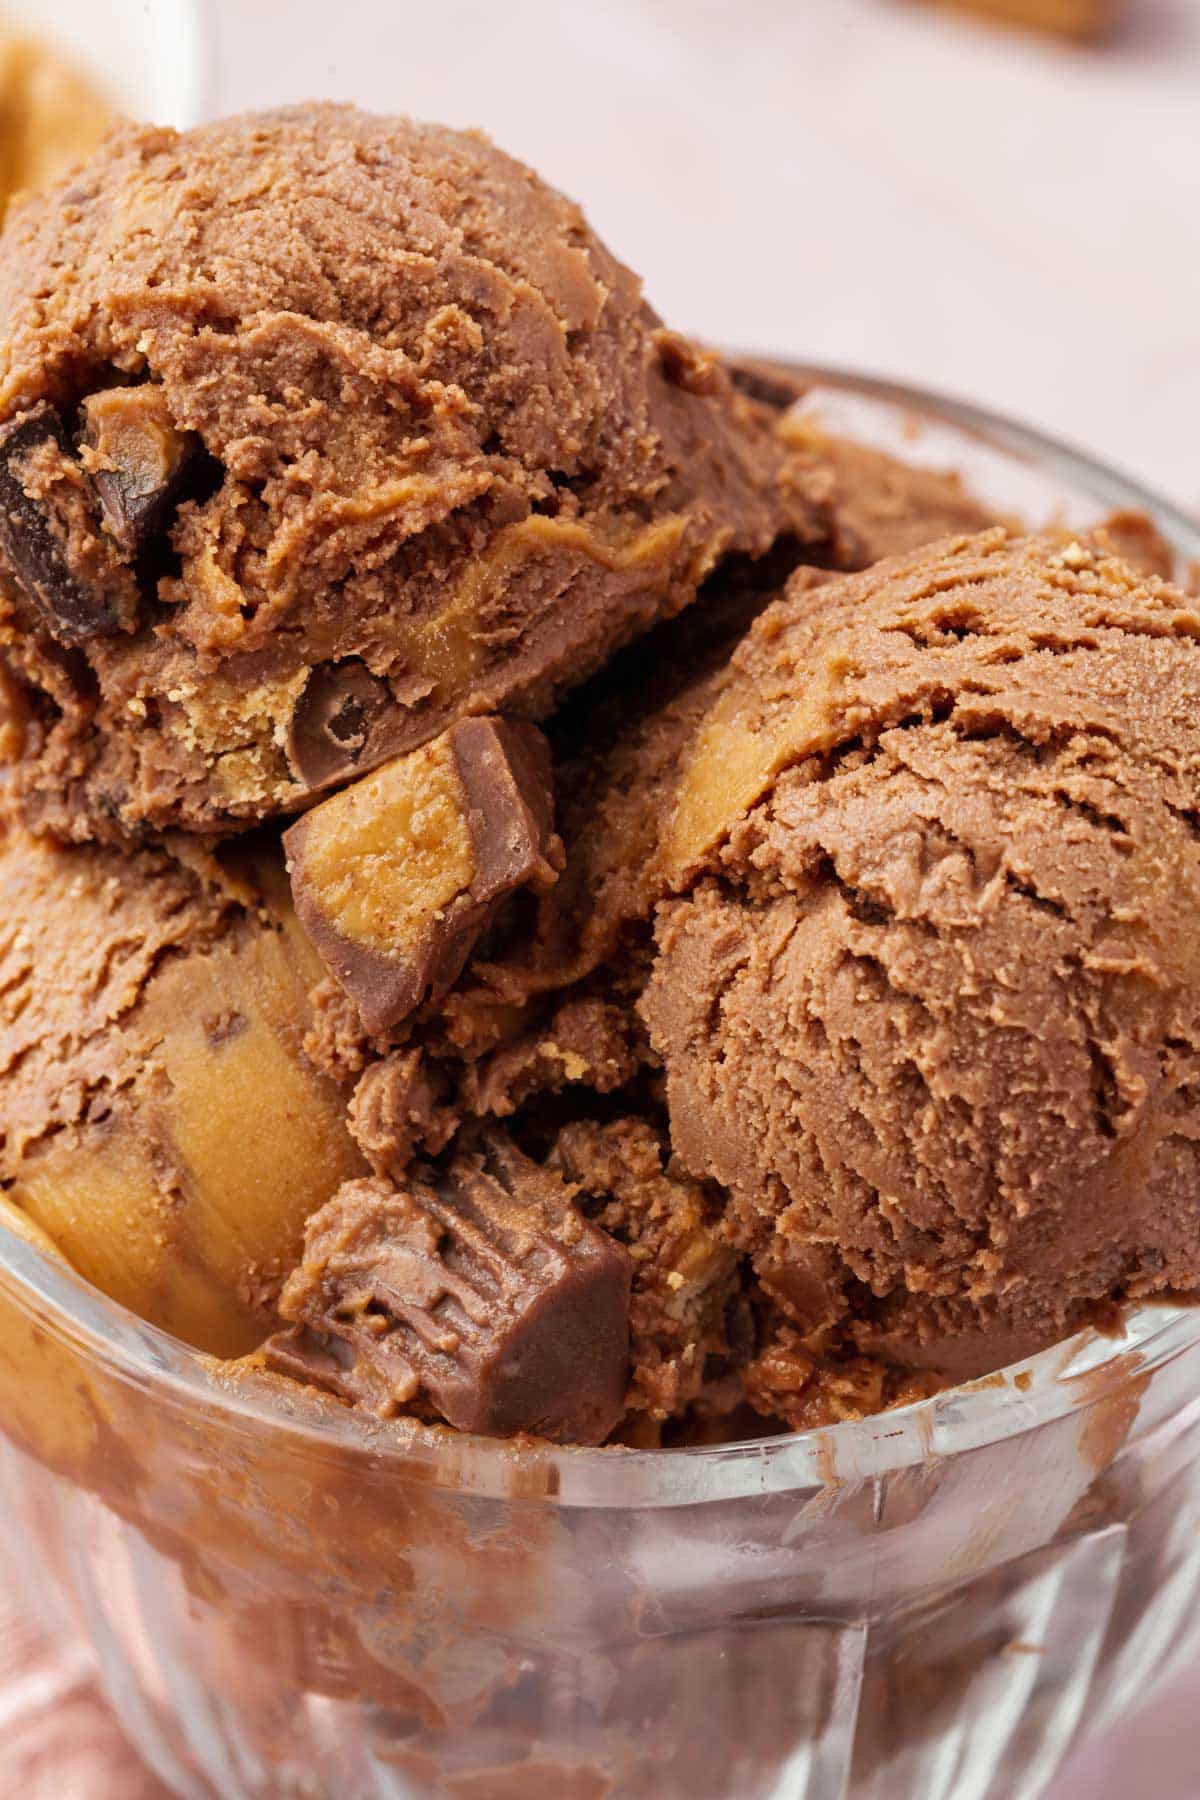
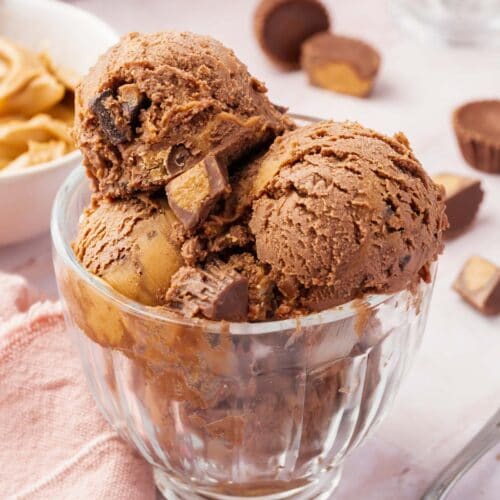
This homemade chocolate peanut butter ice cream has a rich chocolate base swirled with creamy peanut butter and loaded with chopped peanut butter cups. It’s made without eggs using a Philadelphia-style base, which means no custard and no tempering required.
I love making ice cream at home because you can create exactly the flavors you want and load it up with as many mix-ins as you like. This chocolate peanut butter version comes together in about 15 minutes of active prep, then just needs to chill and churn. The chocolate base is rich without being too sweet, and there’s peanut butter in every single bite.
Why You’ll Love this Recipe
Ingredients
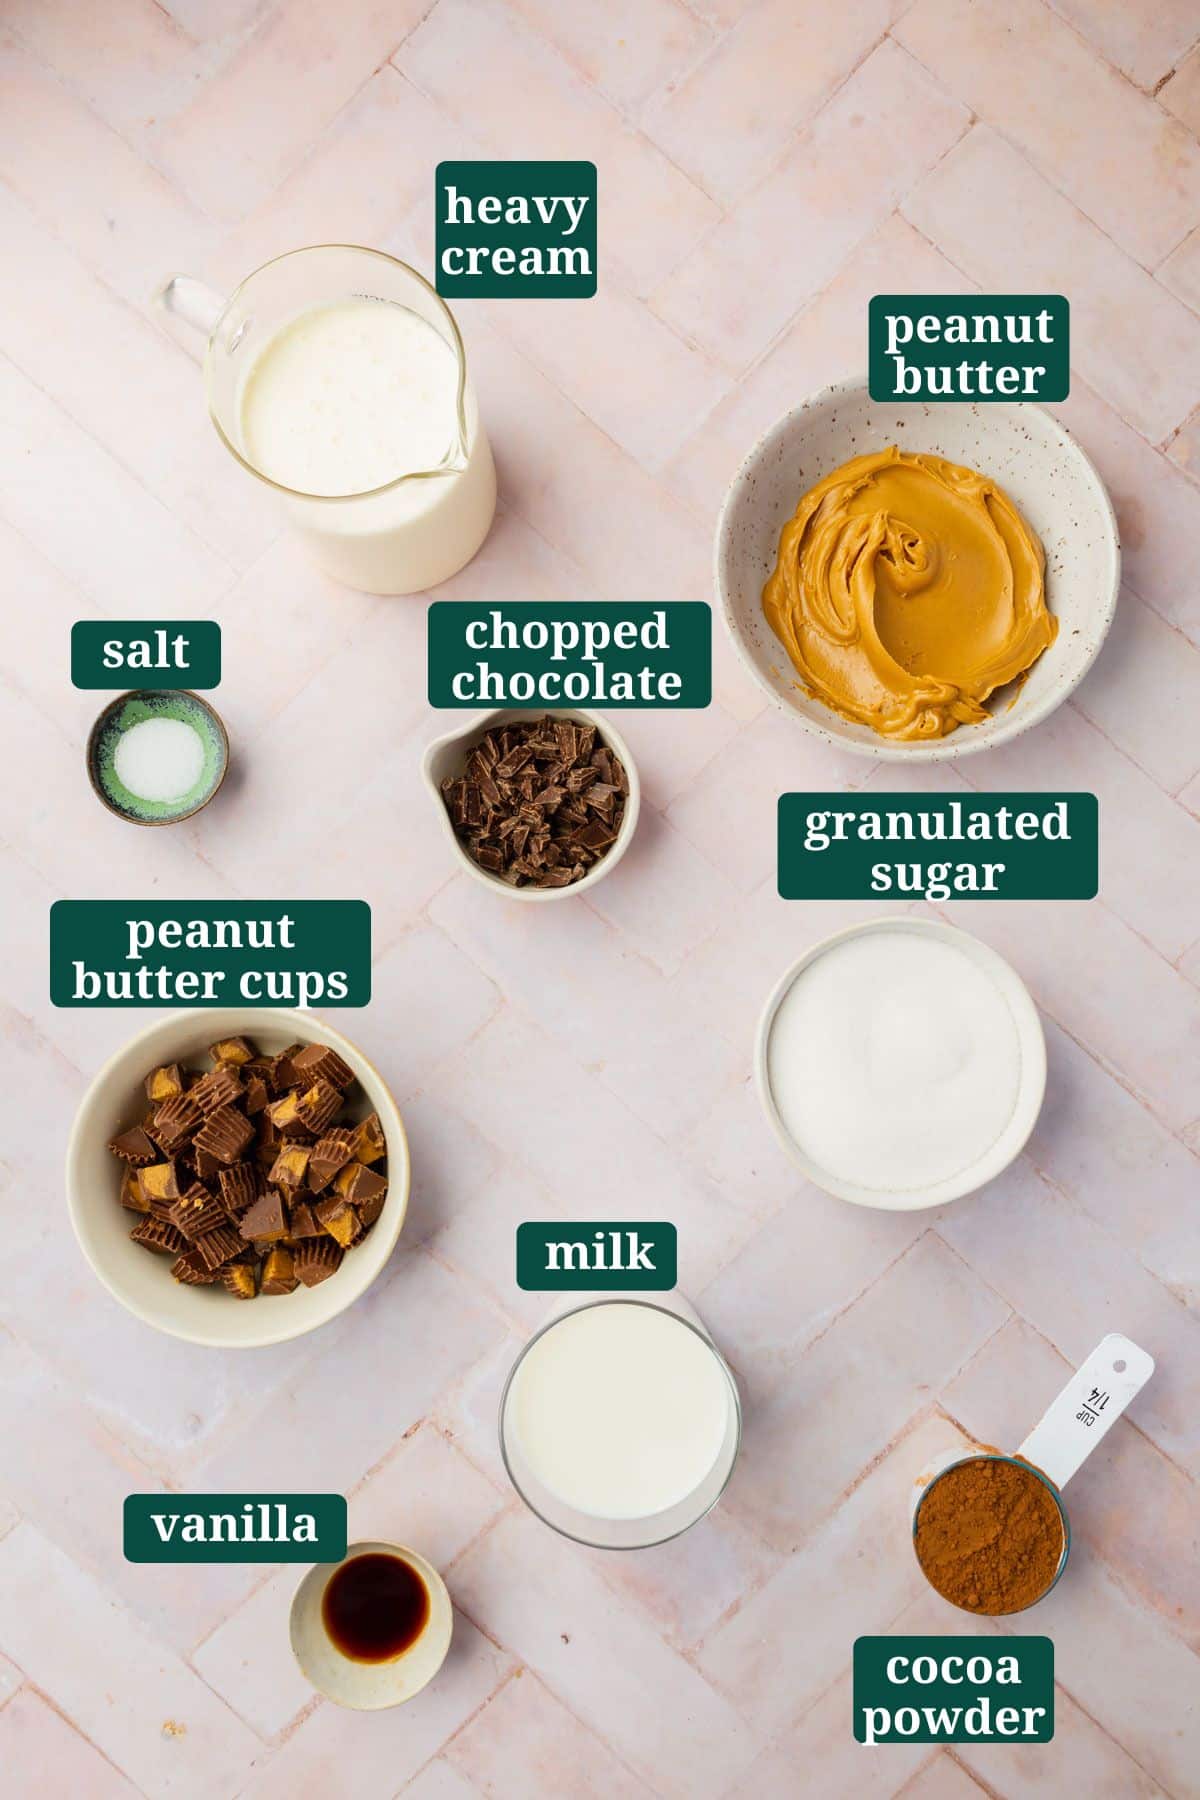
Ingredient Notes
- Heavy Cream and Whole Milk: This recipe uses a combination of heavy cream and whole milk to get the right fat content for creamy ice cream. Don’t substitute lower-fat milk or the texture won’t be as rich and smooth.
- Unsweetened Cocoa Powder: Use natural unsweetened cocoa powder, not Dutch-process. Natural cocoa powder has a more intense chocolate flavor that holds up well when mixed with peanut butter. I used Hershey’s.
- Peanut Butter: Use creamy peanut butter like Skippy or Jif. Natural peanut butter is much thinner and will make the ice cream base less thick and creamy. The oil separation in natural peanut butter also affects the texture of the final ice cream.
- Chopped Chocolate: You can use semi-sweet chocolate, dark chocolate, or milk chocolate for this. I used a chopped up chocolate bar because it melts really easily. Chocolate chips or chocolate chunks will take longer to melt, but will still work.
- Peanut Butter Cups: Classic Reese’s peanut butter cups are labeled gluten-free and work perfectly here. If you have celiac disease, always check the label to confirm they’re still gluten-free, as manufacturing practices can change. You can also use Justin’s peanut butter cups, but freeze them first since the filling is softer.
Tip
Don’t let the cream and milk boil. You want them to come just to a simmer with small bubbles forming around the edges of the pan. If the mixture boils, the cream and milk can curdle and the texture will be compromised.
Equipment
A Dash of Megnut is a participant in the Amazon Services LLC Associates Program, an affiliate advertising program designed to provide a means for us to earn fees by linking to Amazon.com and affiliated sites.
I’ve tested this recipe with both my Cuisinart ice cream maker and my Breville compressor ice cream maker. The Cuisinart ICE30BC is a 2 quart ice cream maker that churns ice cream using a cold ice cream bowl. You will need to freeze the bowl for at least 24 hours before churning, otherwise the ice cream will not solidify. I typically will churn the ice cream for about 25 minutes in this ice cream maker.
The Breville Smart Scoop BCI600XL Ice Cream Maker is a compression ice cream maker that has a built-in compressor to constantly cool the ice cream as it churns. You do not need to pre-chill the ice cream bowl for this machine, or any compression ice cream maker.
I’ve had my Cuisinart ice cream maker for over 12 years and it’s still working great, so that’s the one I will typically recommend you use and start with. The Breville compression ice cream maker is great if you are short on freezer space or are making multiple batches of ice cream in a day and can’t wait between churns for the bowl to freeze. However, it is much more of an investment.
Step-by-Step Instructions
If you haven’t made ice cream at home before and are looking for an easy recipe to start out with your ice cream maker, this chocolate peanut butter ice cream is a real treat!
For the ingredient list with measurements, full instructions, printable recipe, and additional notes, please scroll down to the recipe card.

Expert Tips
Expert Tips
Recipe FAQs
Classic and mini Reese’s peanut butter cups are labeled gluten-free. However, seasonal flavors are manufactured in a different facility and are not labeled gluten-free. Always check the label to confirm. You can also use Justin’s peanut butter cups, but freeze them first since the filling is softer.
This recipe uses heavy cream and whole milk for the proper fat content. Don’t substitute lower-fat milk or dairy-free alternatives, as the fat content is critical for creamy ice cream texture.
Beyond the peanut butter cups and chocolate chunks in this recipe, you can add chocolate chips, peanut butter chips, peanut butter nuggets, chopped gluten-free Oreos, toffee bits, or a chocolate fudge swirl. Add mix-ins in the last 2 minutes of churning.
Churn until the ice cream reaches a soft-serve consistency, usually 20-25 minutes in a Cuisinart-style maker. Compressor machines may take longer. The ice cream should be thick enough to hold its shape but still soft enough to scoop easily.
Storage Instructions
Make Ahead: Prepare the ice cream base up to 1 day in advance and store covered in the refrigerator. Churn when you’re ready to serve. The base needs at least 4 hours to chill completely before churning.
Freezer: Store churned ice cream in an airtight container with plastic wrap pressed directly on the surface to prevent ice crystals. The ice cream will keep for up to 2 weeks but is best within the first week. Let it sit at room temperature for 5-10 minutes before scooping for the best texture.
Preventing Ice Crystals: Always press plastic wrap directly on the surface of the ice cream before sealing the container. This prevents air from touching the ice cream and forming ice crystals during storage.
Serving Suggestions
Serve this chocolate peanut butter ice cream alongside warm desserts for the ultimate contrast. It’s perfect with Gluten-Free Brownies for a brownie sundae, or pair it with Gluten-Free Chocolate Cake topped with Peanut Butter Frosting for an over-the-top chocolate peanut butter dessert. For an easy treat, make ice cream sandwiches using Gluten-Free Chocolate Chip Cookies.
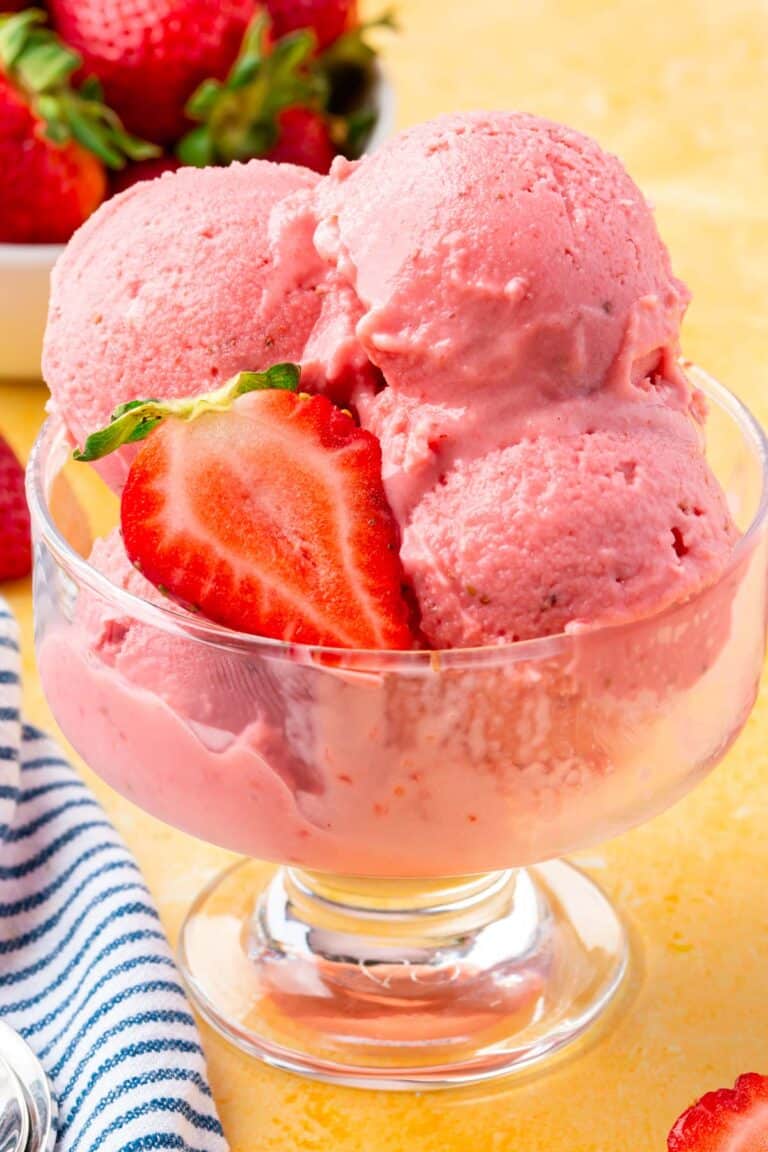
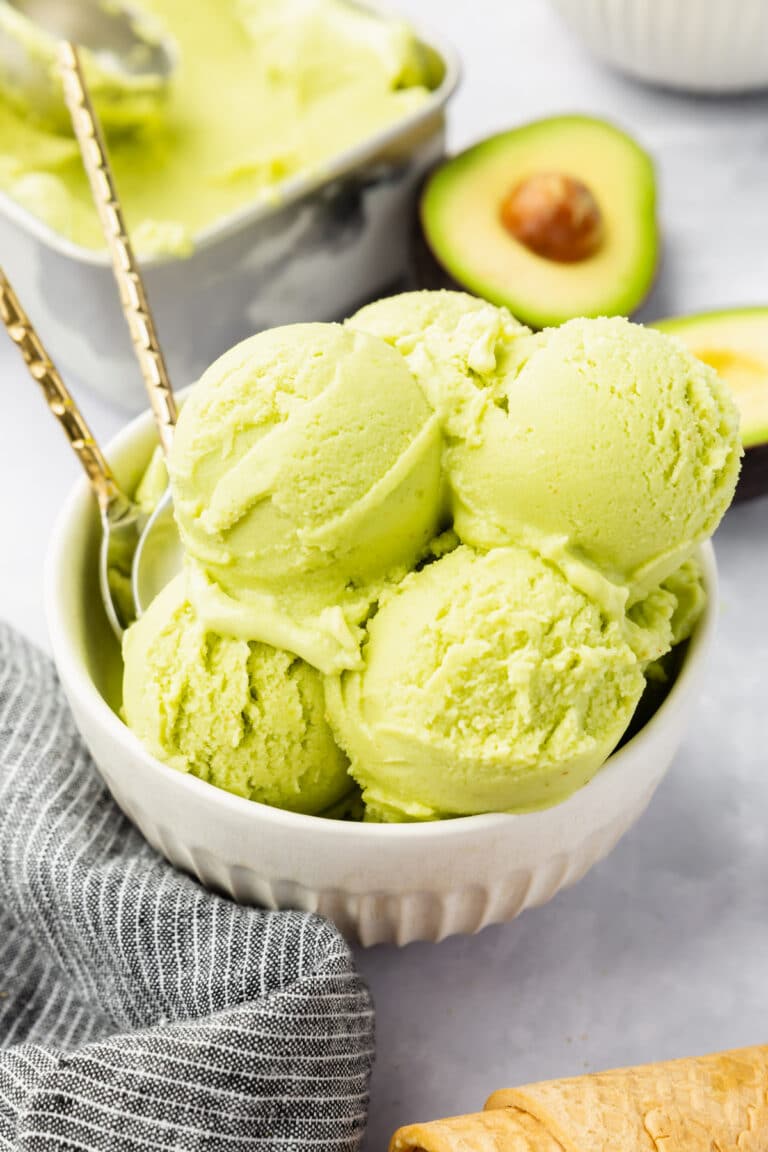
More gluten-free frozen treats to try

Did you make this recipe?
I’d love to know! Please rate it and leave a comment below. You can also share your pictures and tag @adashofmegnut on Instagram.
Chocolate Peanut Butter Ice Cream
Ingredients
For the ice cream base:
- 2 cups (476 g) heavy cream
- 1 cup (244 g) whole milk
- ¾ cup (150 g) granulated sugar
- ¼ cup (20 g) unsweetened cocoa powder
- ½ teaspoon salt
- ½ cup (125 g) creamy peanut butter
- 2 oz (58 g) semi-sweet chocolate - roughly chopped
- 1 teaspoon vanilla extract
For mix-ins and topping:
- 2 oz (58 g) semi-sweet chocolate - roughly chopped
- 1 cup (150 g) chopped peanut butter cups for mixing in - from about 17 mini peanut butter cups, divided
- ½ cup (125 g) creamy peanut butter
**Use the toggle button above to turn the instruction photos on and off!
Instructions
Prepare ice cream maker:
- Freeze the bowl (if using Cuisinart-style maker): If using an ice cream maker with a freezer bowl, freeze it for at least 24 hours until solid. You shouldn't hear water sloshing when you shake it. Skip this step if using a compressor ice cream maker.
Make the ice cream base:
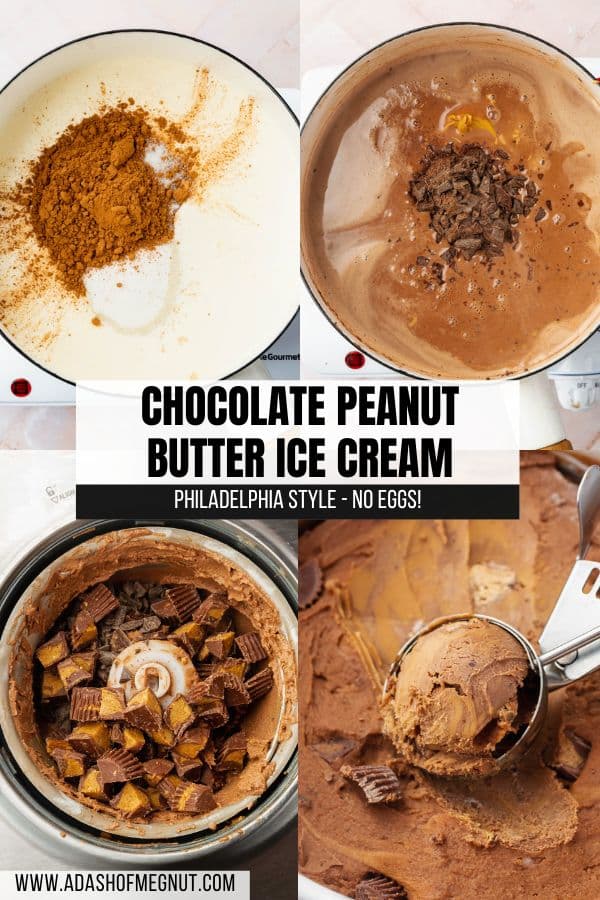
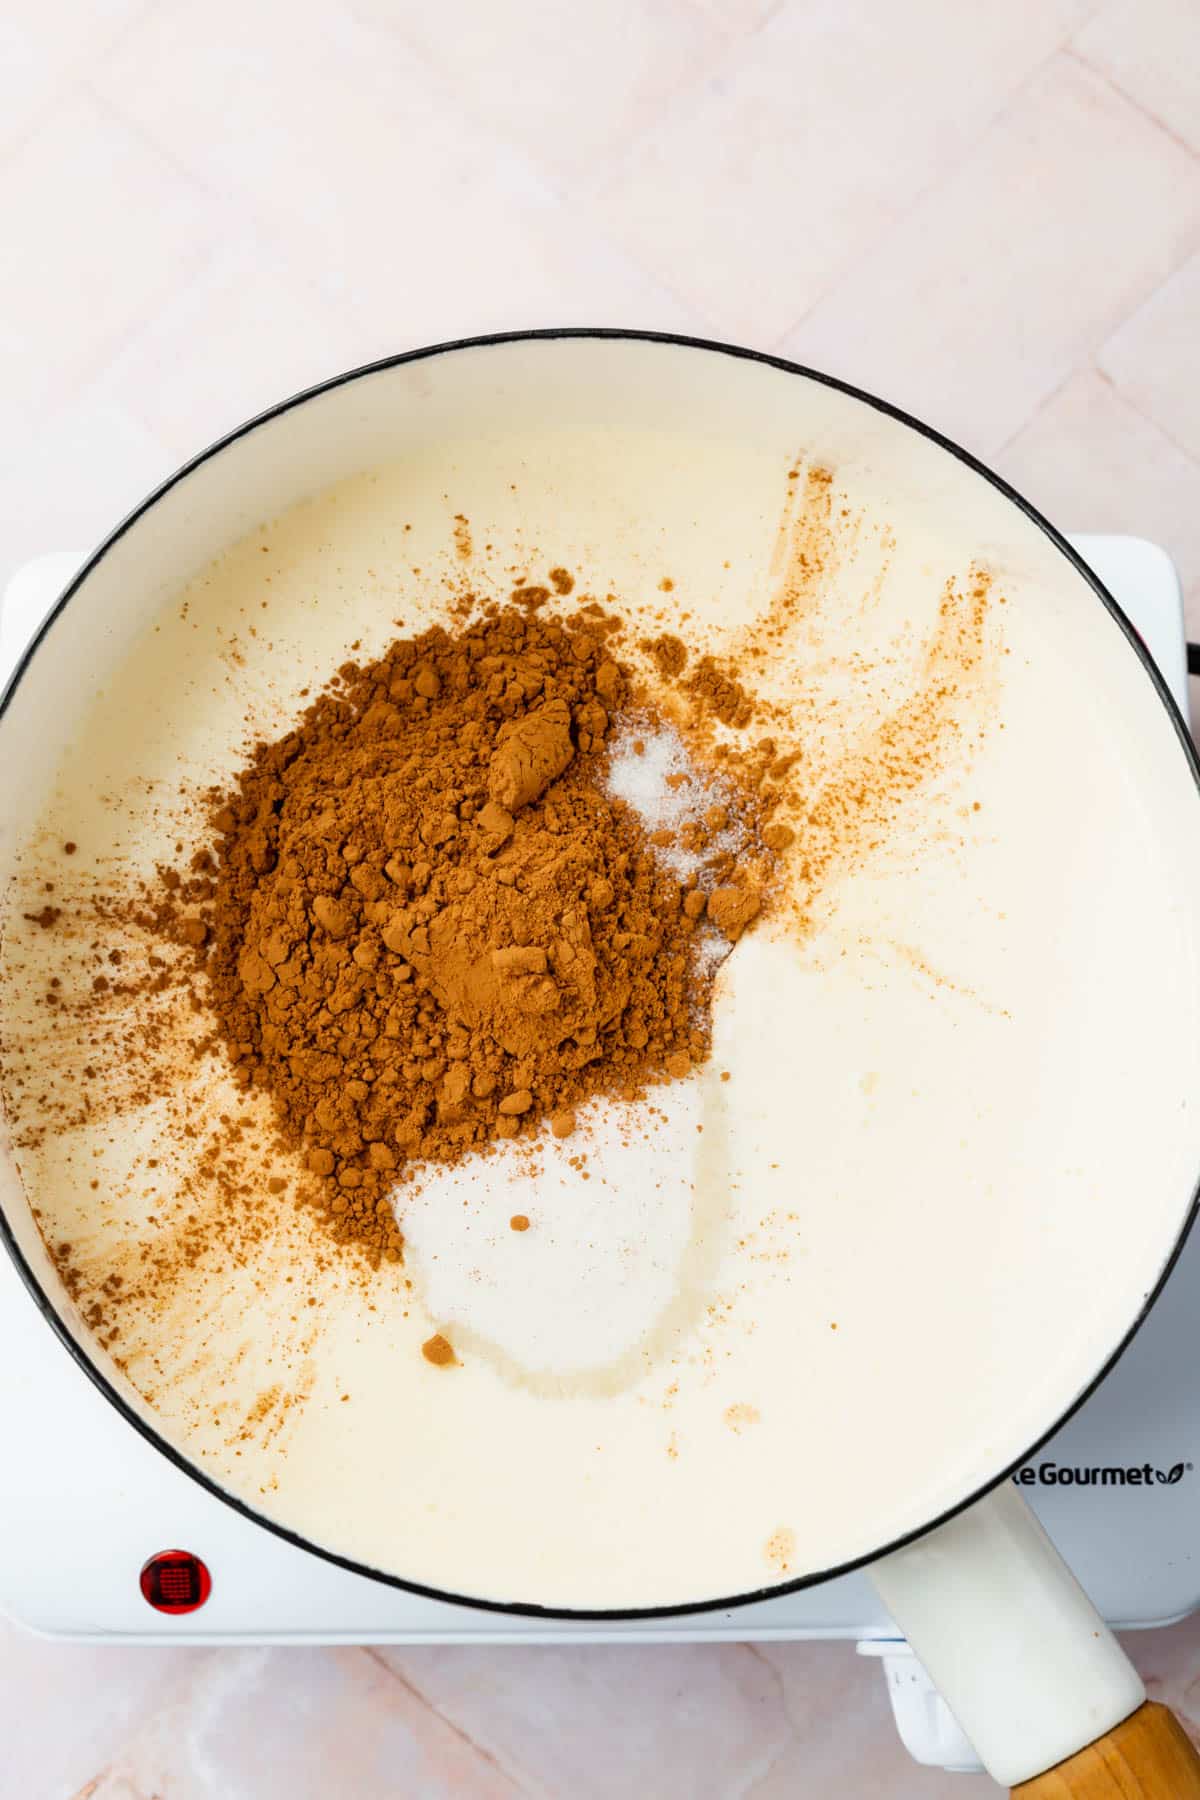
- Heat the dairy mixture: In a large saucepan over medium heat, whisk together 2 cups (476 g) heavy cream, 1 cup (244 g) whole milk, ¾ cup (150 g) granulated sugar, ¼ cup (20 g) unsweetened cocoa powder, and ½ teaspoon salt until combined.
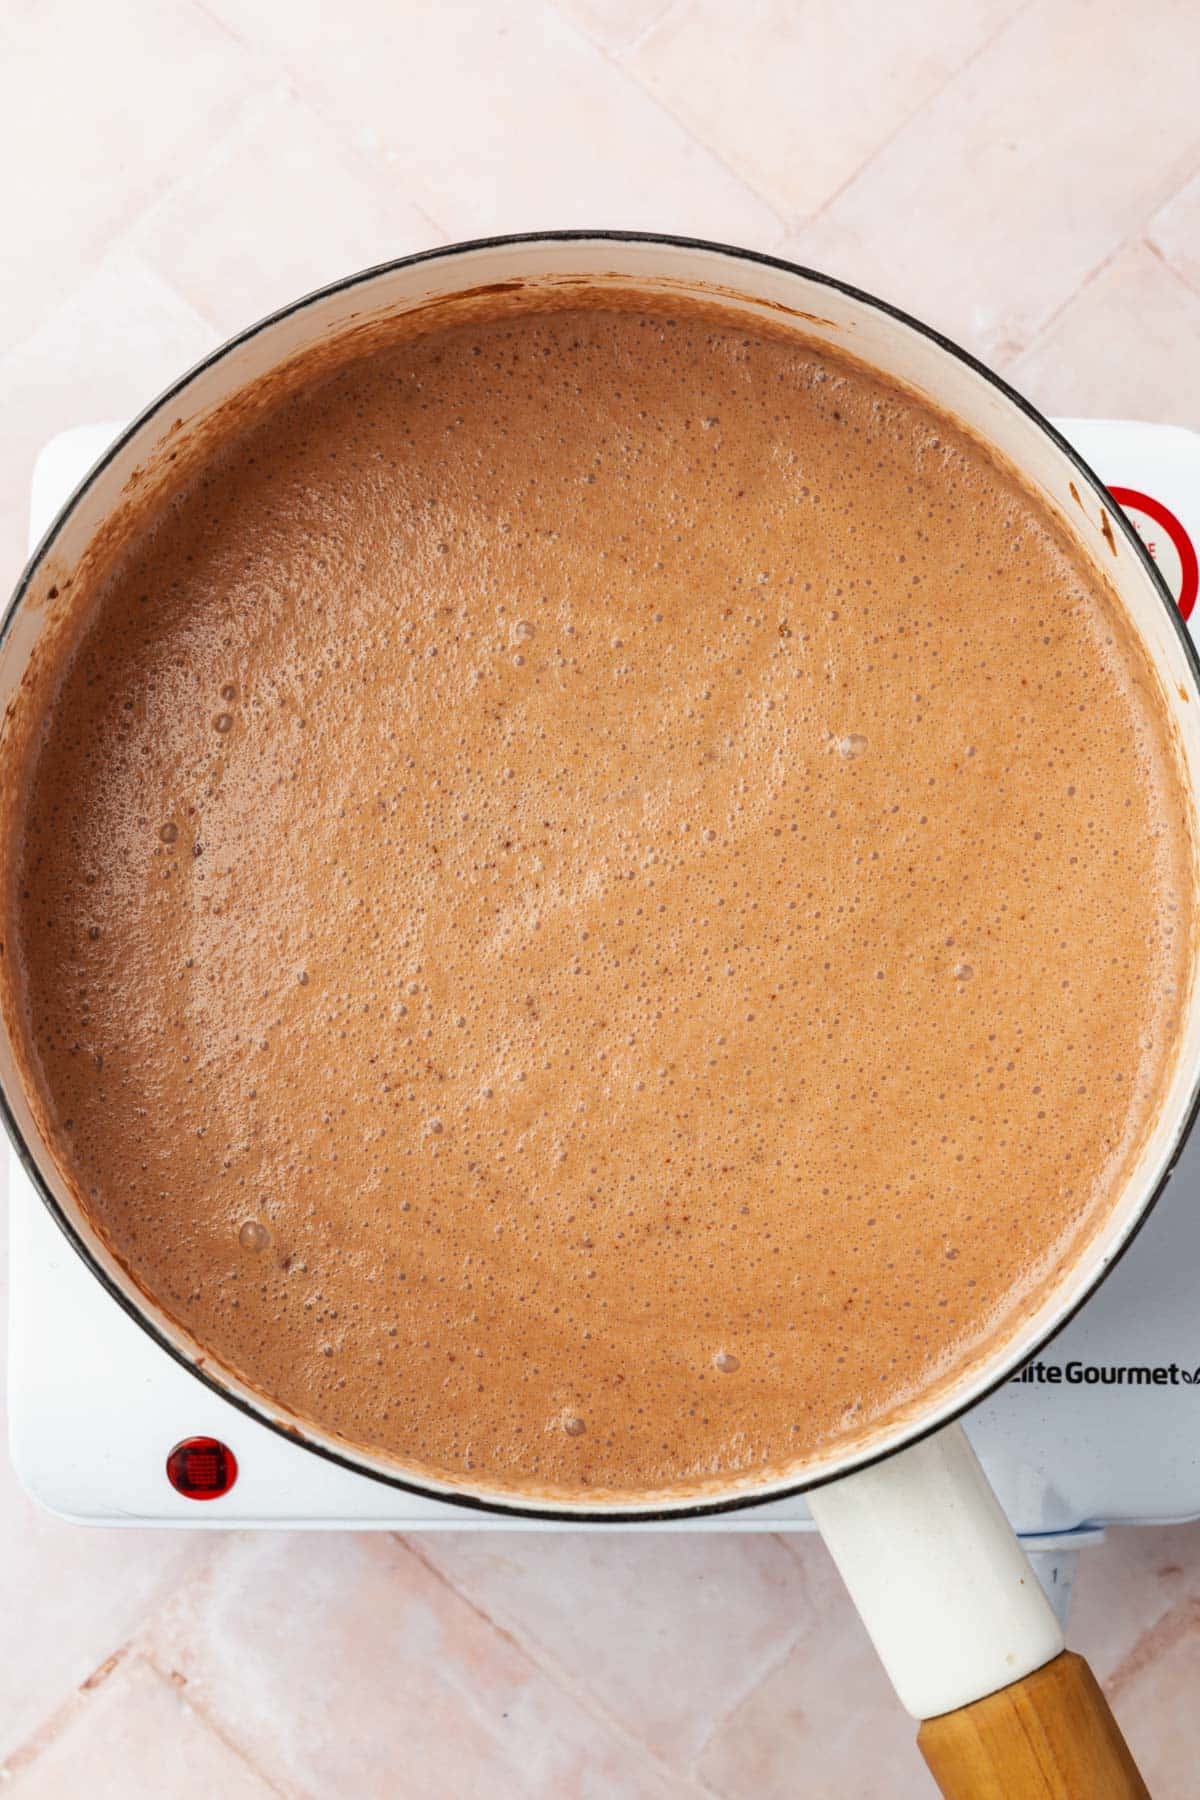
- Simmer: Bring the mixture to a simmer, watching for small bubbles to appear along the edges of the pot. Do not let it boil. This should take about 5 minutes.
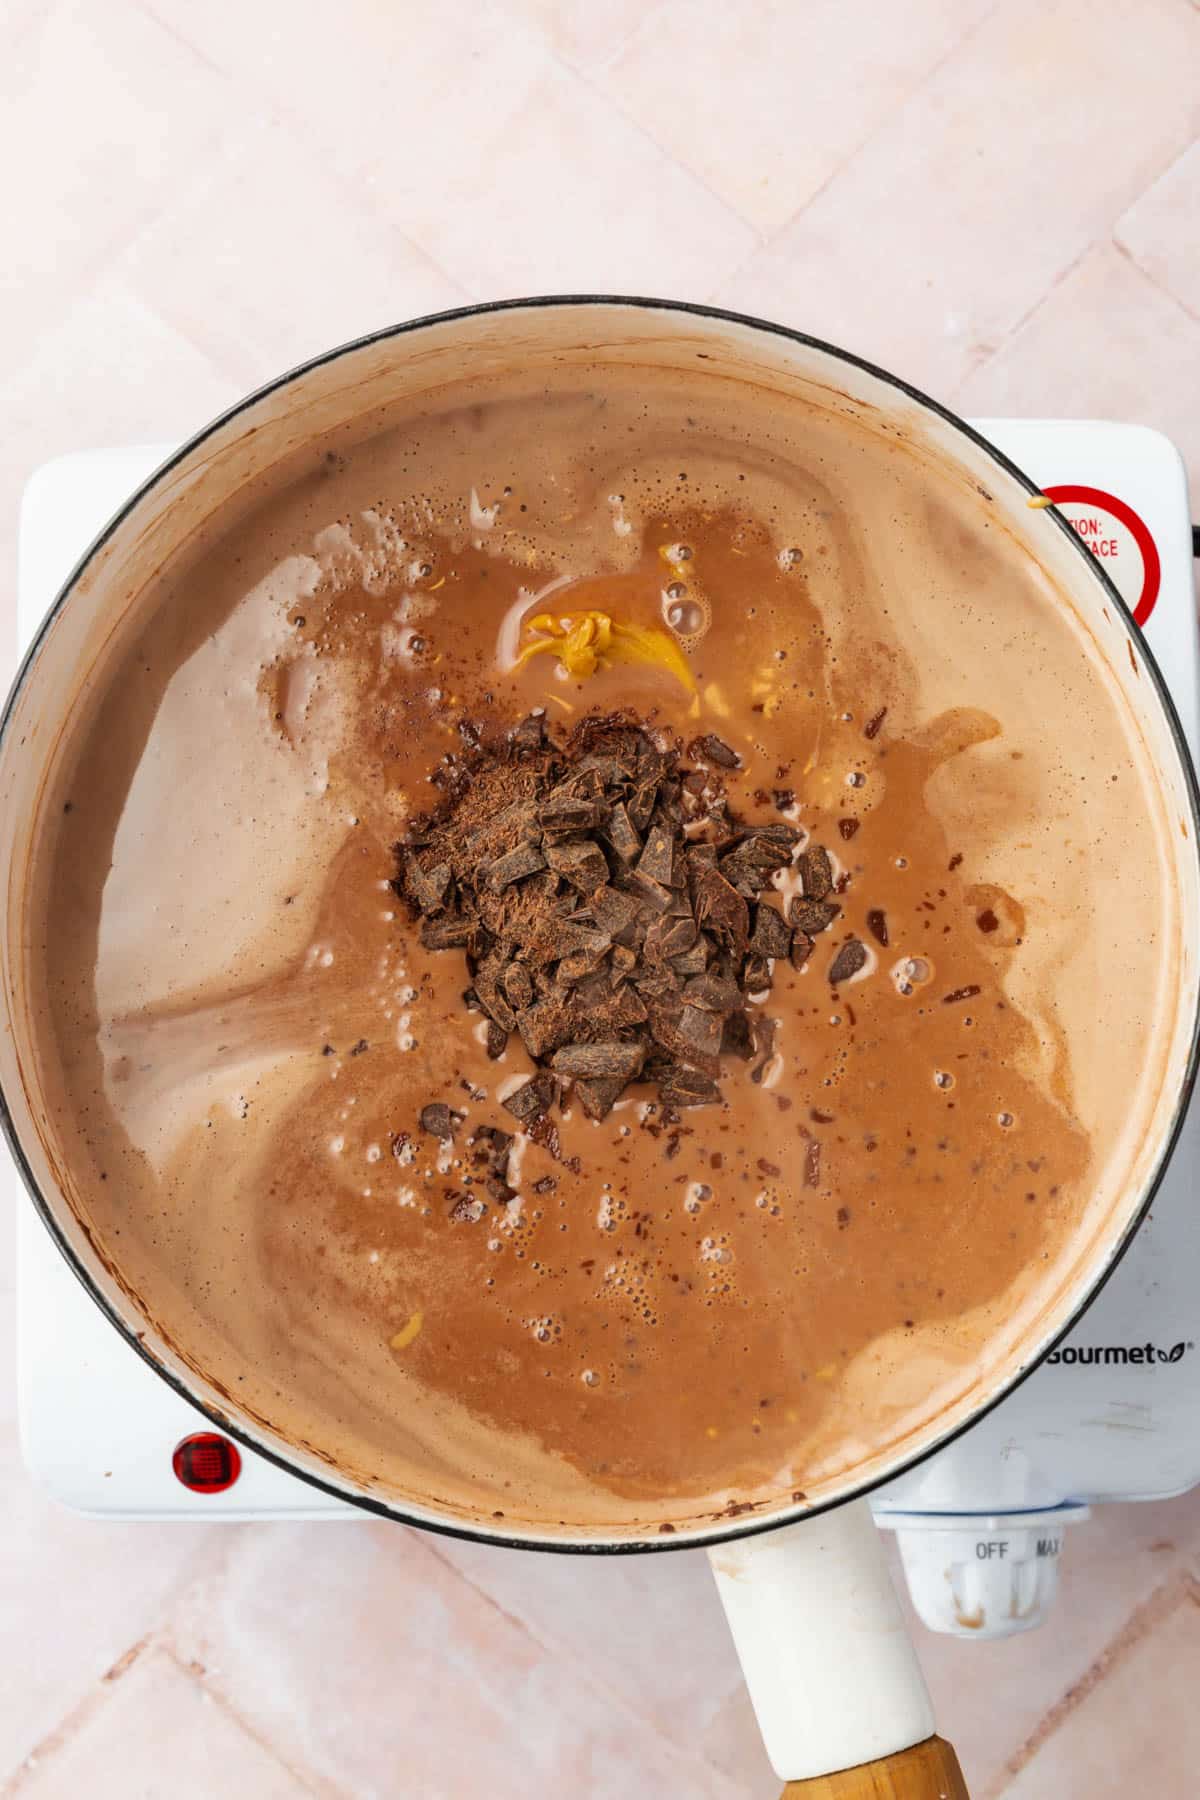
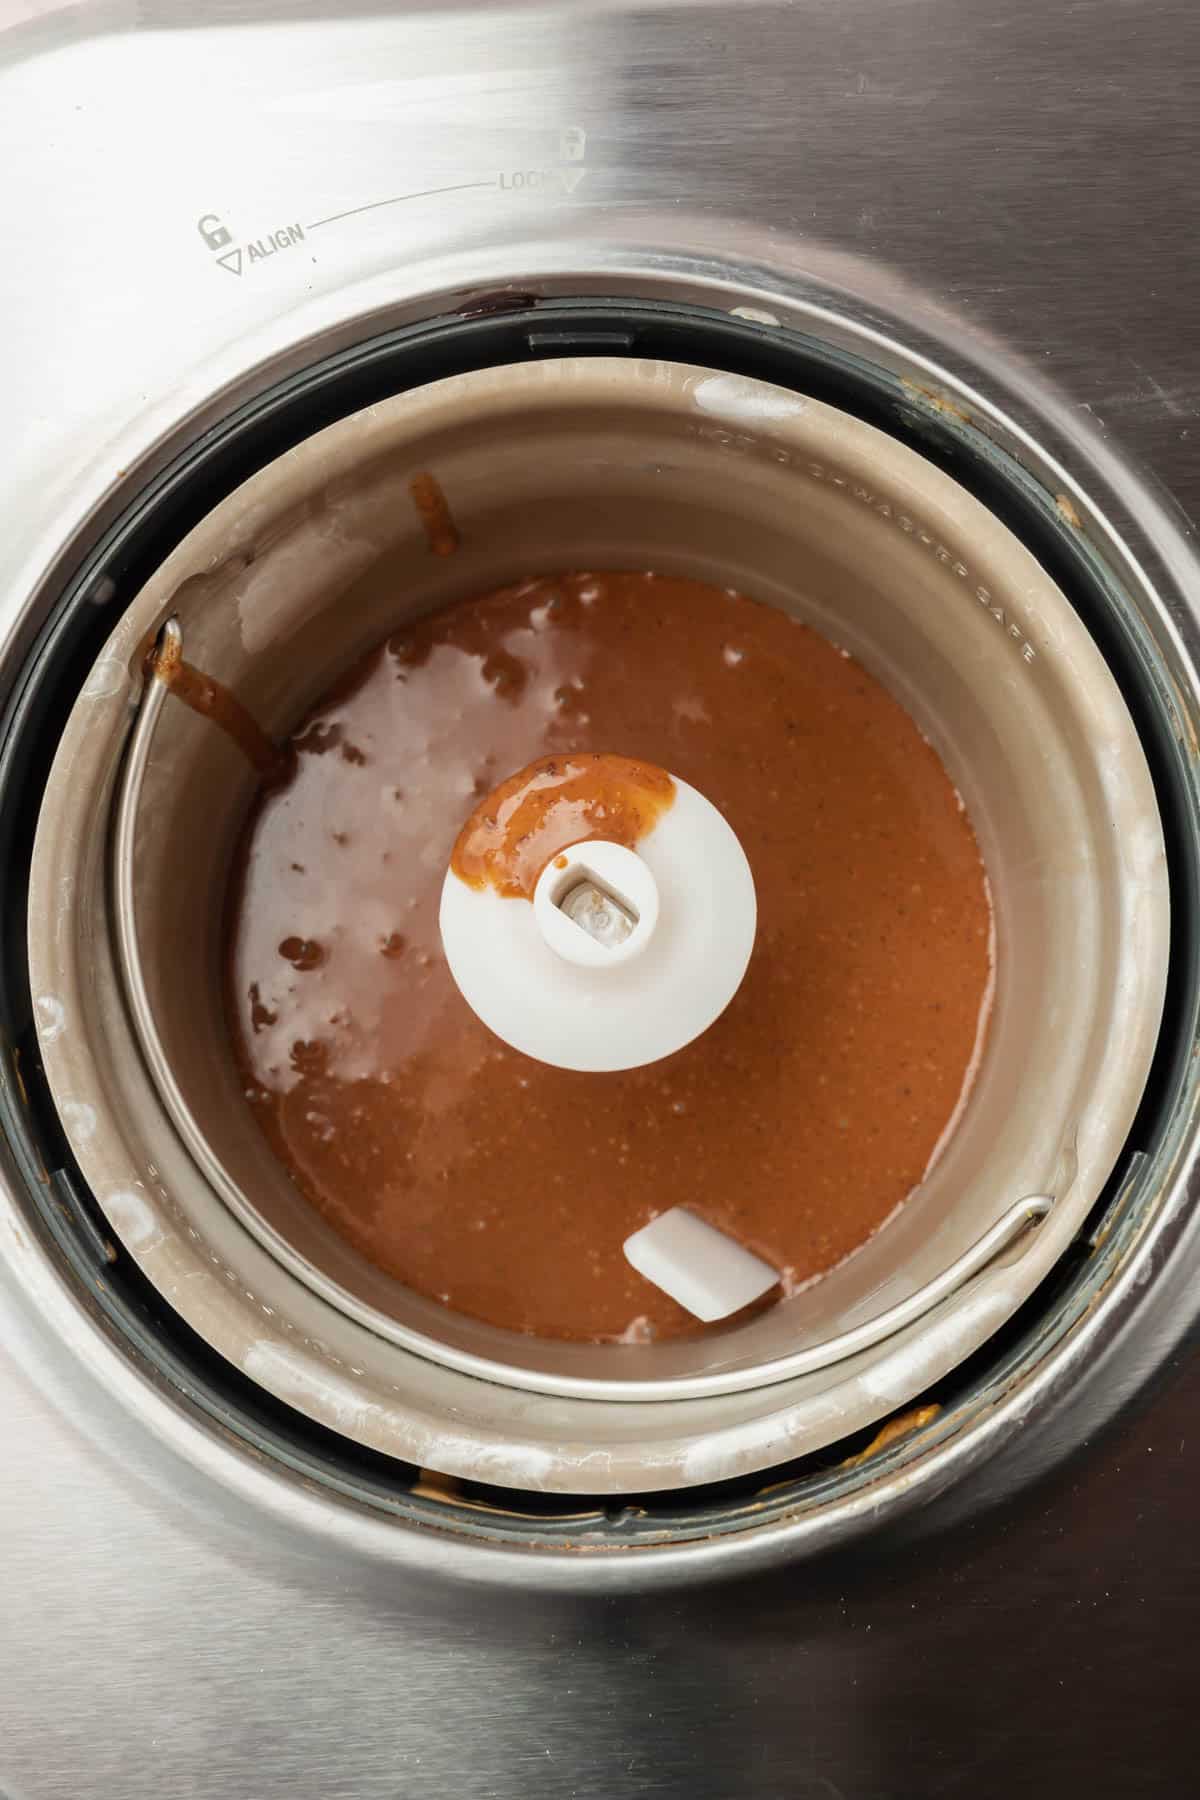
- Add chocolate and peanut butter: Once simmering, add ½ cup (125 g) creamy peanut butter and 2 oz (58 g) semi-sweet chocolate. Whisk until completely melted and smooth.
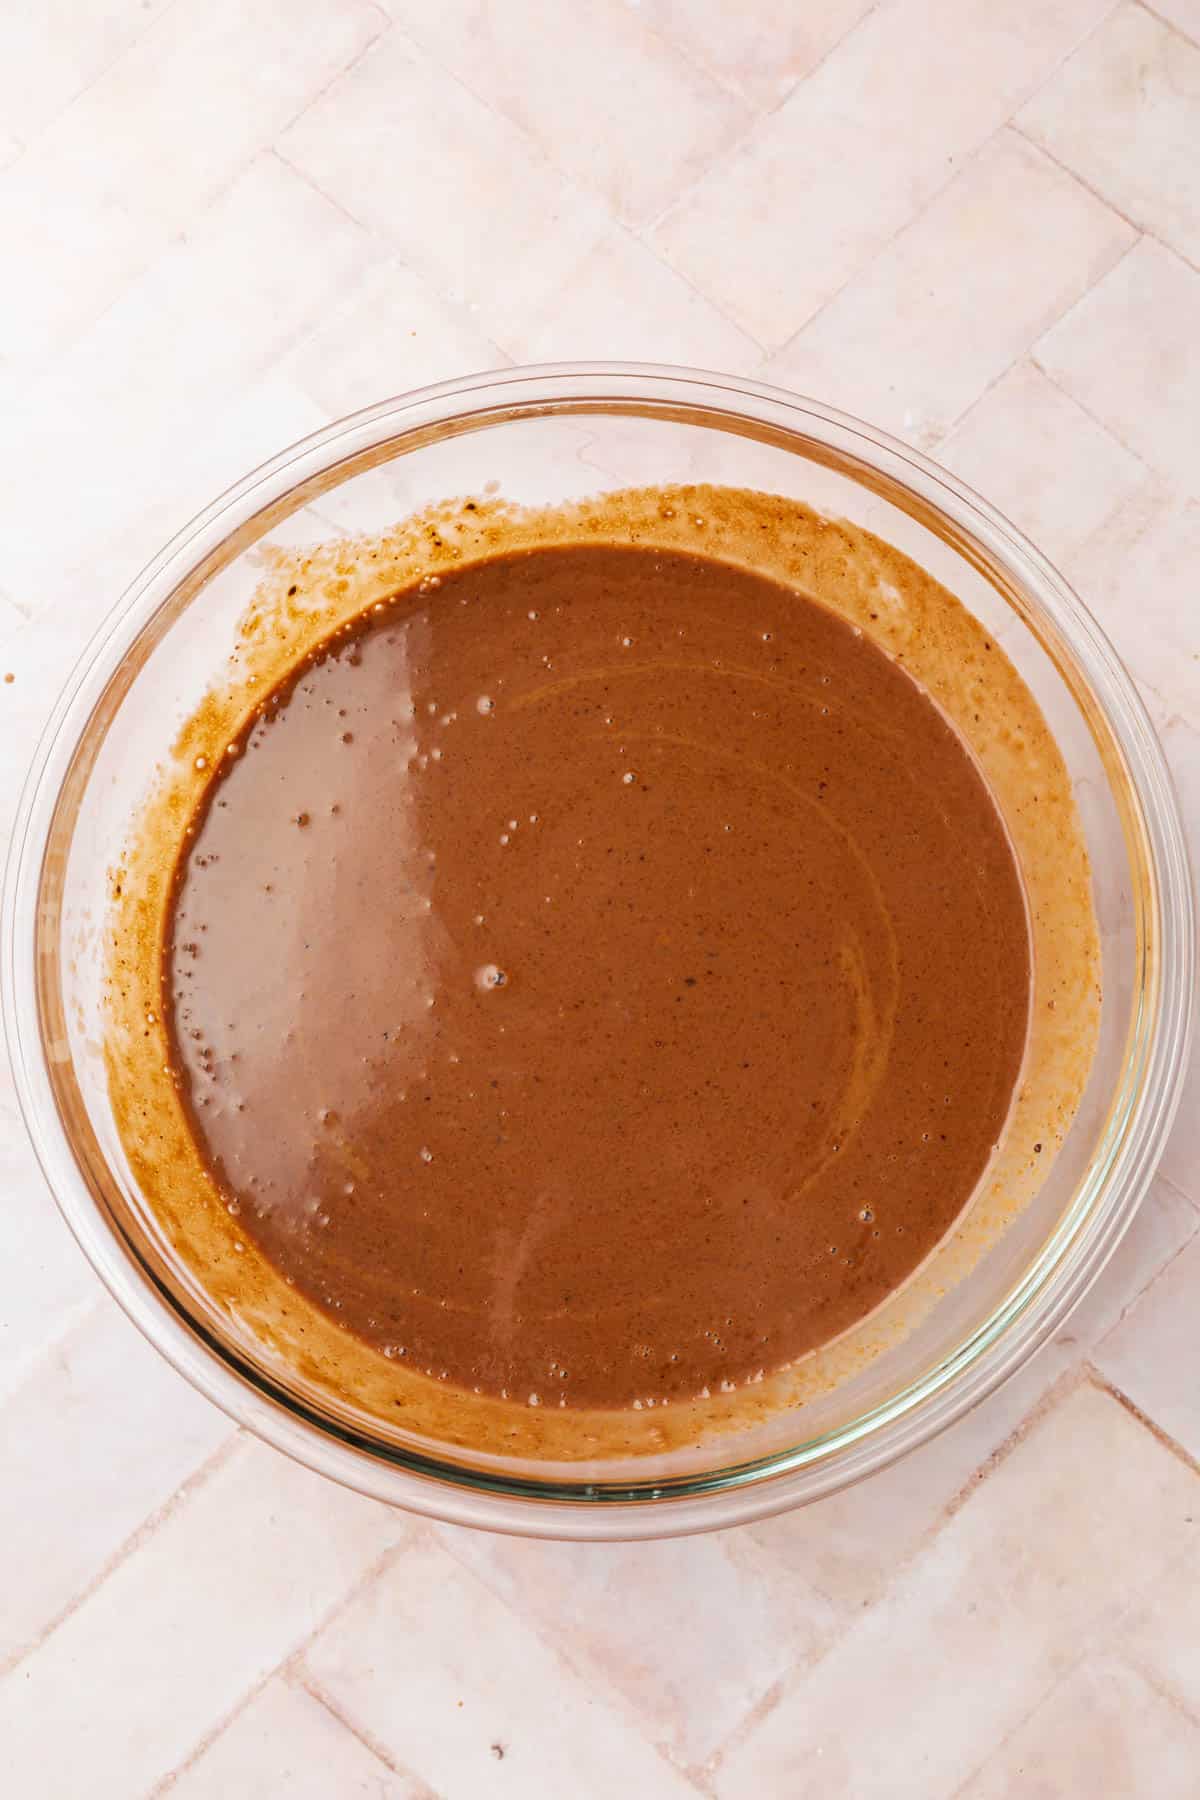
- Chill the base: Pour the mixture into a large glass bowl and stir in 1 teaspoon vanilla extract. Press plastic wrap directly onto the surface of the ice cream base to prevent a skin from forming. Refrigerate for at least 4 hours or overnight until completely cold.
Churn the ice cream:
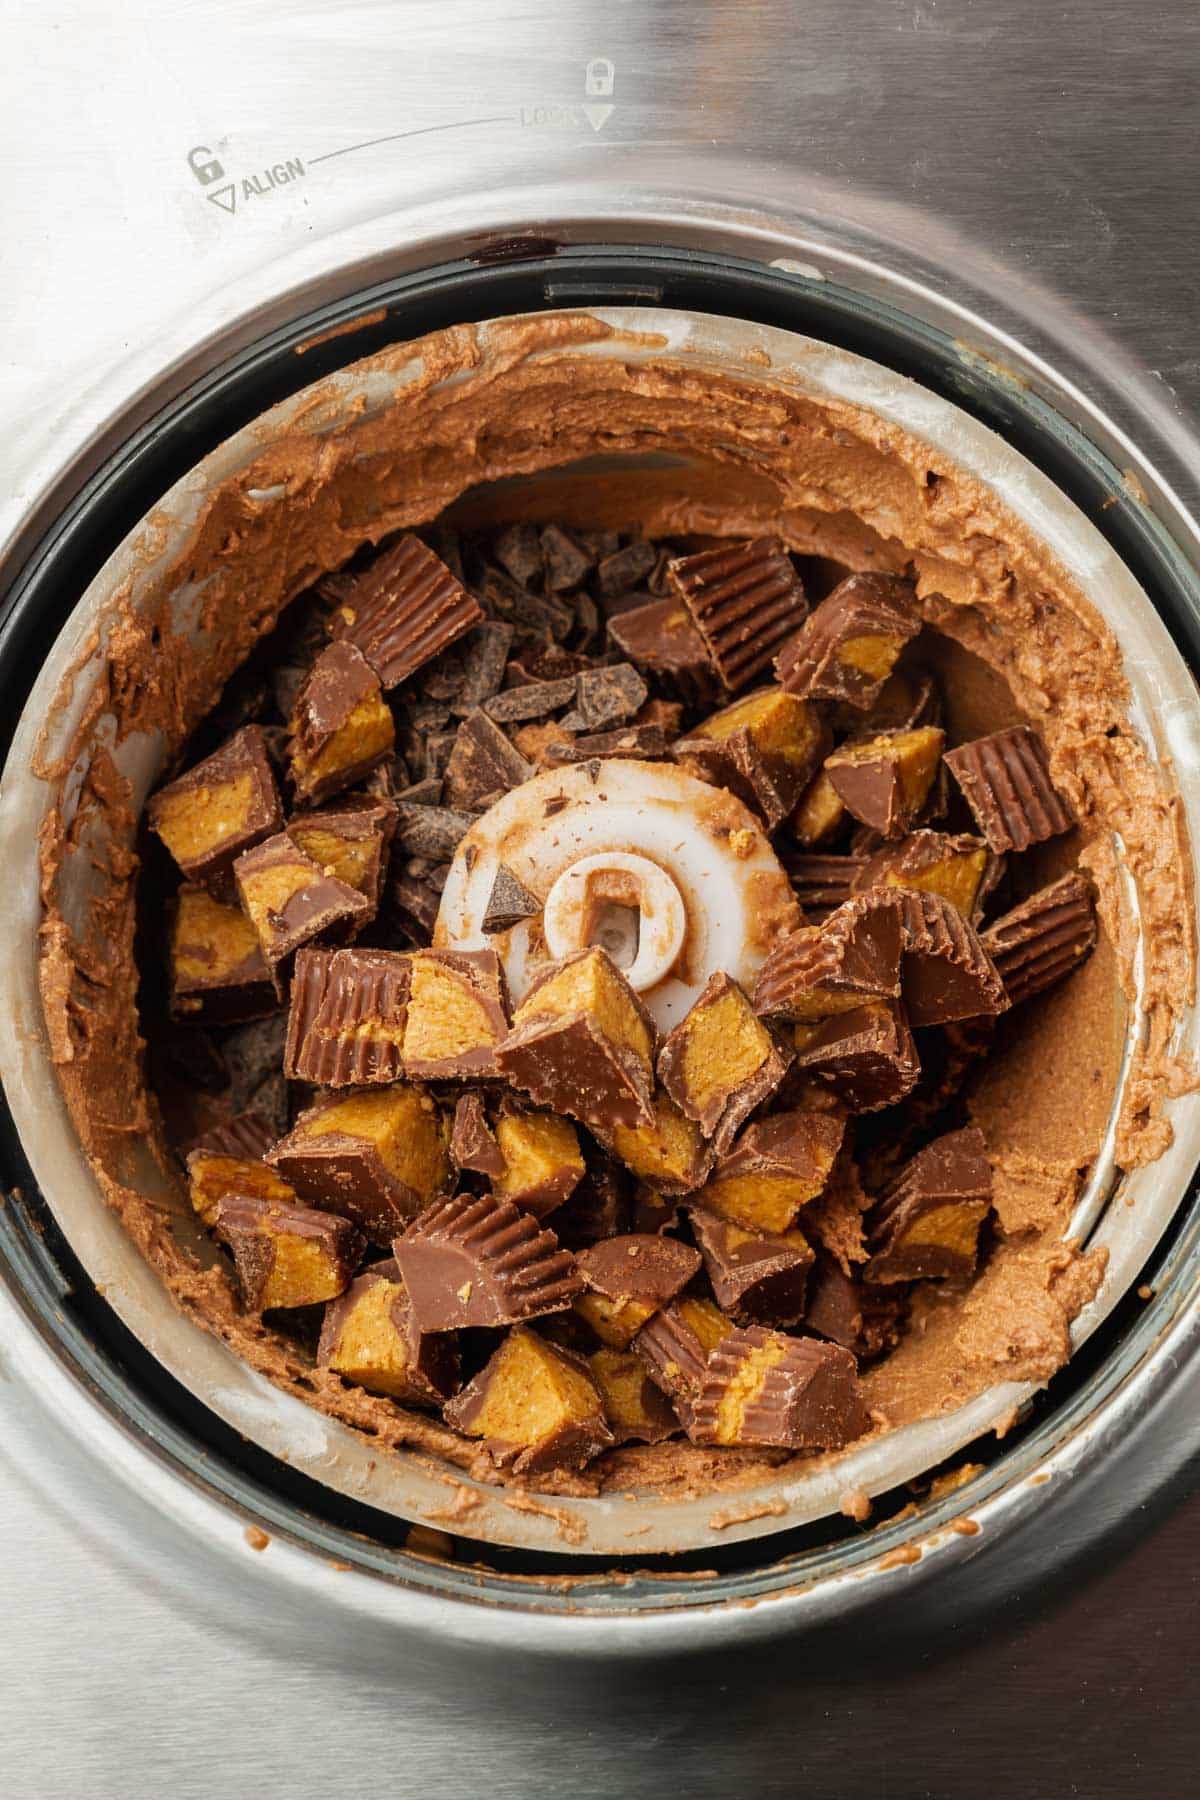
- Churn: Pour the chilled ice cream base into your ice cream maker. Churn for 20-25 minutes (Cuisinart-style) or until it reaches a soft-serve consistency. Compressor machines may take longer.
- Add mix-ins: In the last 2 minutes of churning, add the remaining 2 oz (58 g) semi-sweet chocolate and 0.75 cup (112.5 g) chopped peanut butter cups for mixing in. Reserve ¼ cup peanut butter cups for topping.
Assemble and freeze:
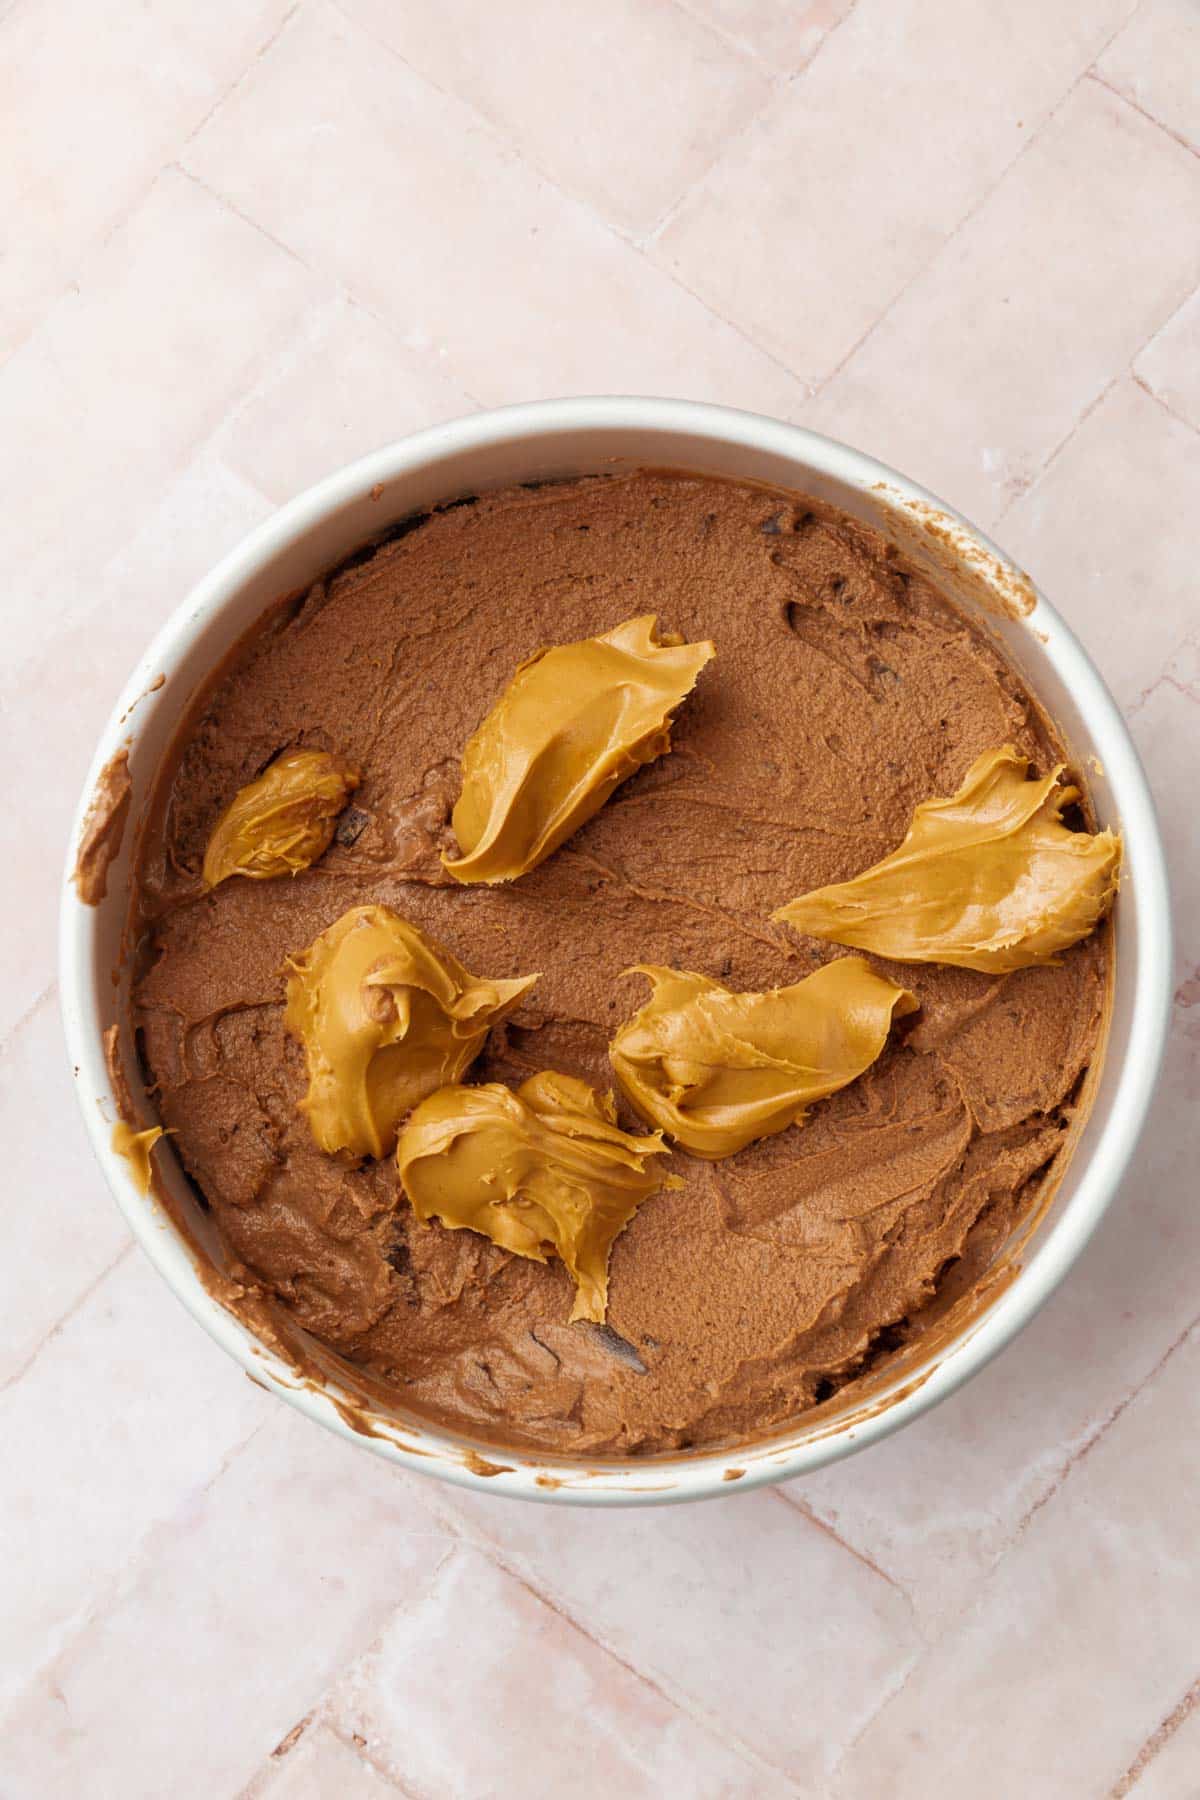
- Layer with peanut butter swirl: Spoon half of the churned ice cream into a loaf pan or freezer-safe container. Dollop 0.25 cup (62.5 g) creamy peanut butter and swirl with a knife. Add the remaining ice cream, dollop the remaining 0.25 cup (62.5 g) creamy peanut butter, and swirl again.
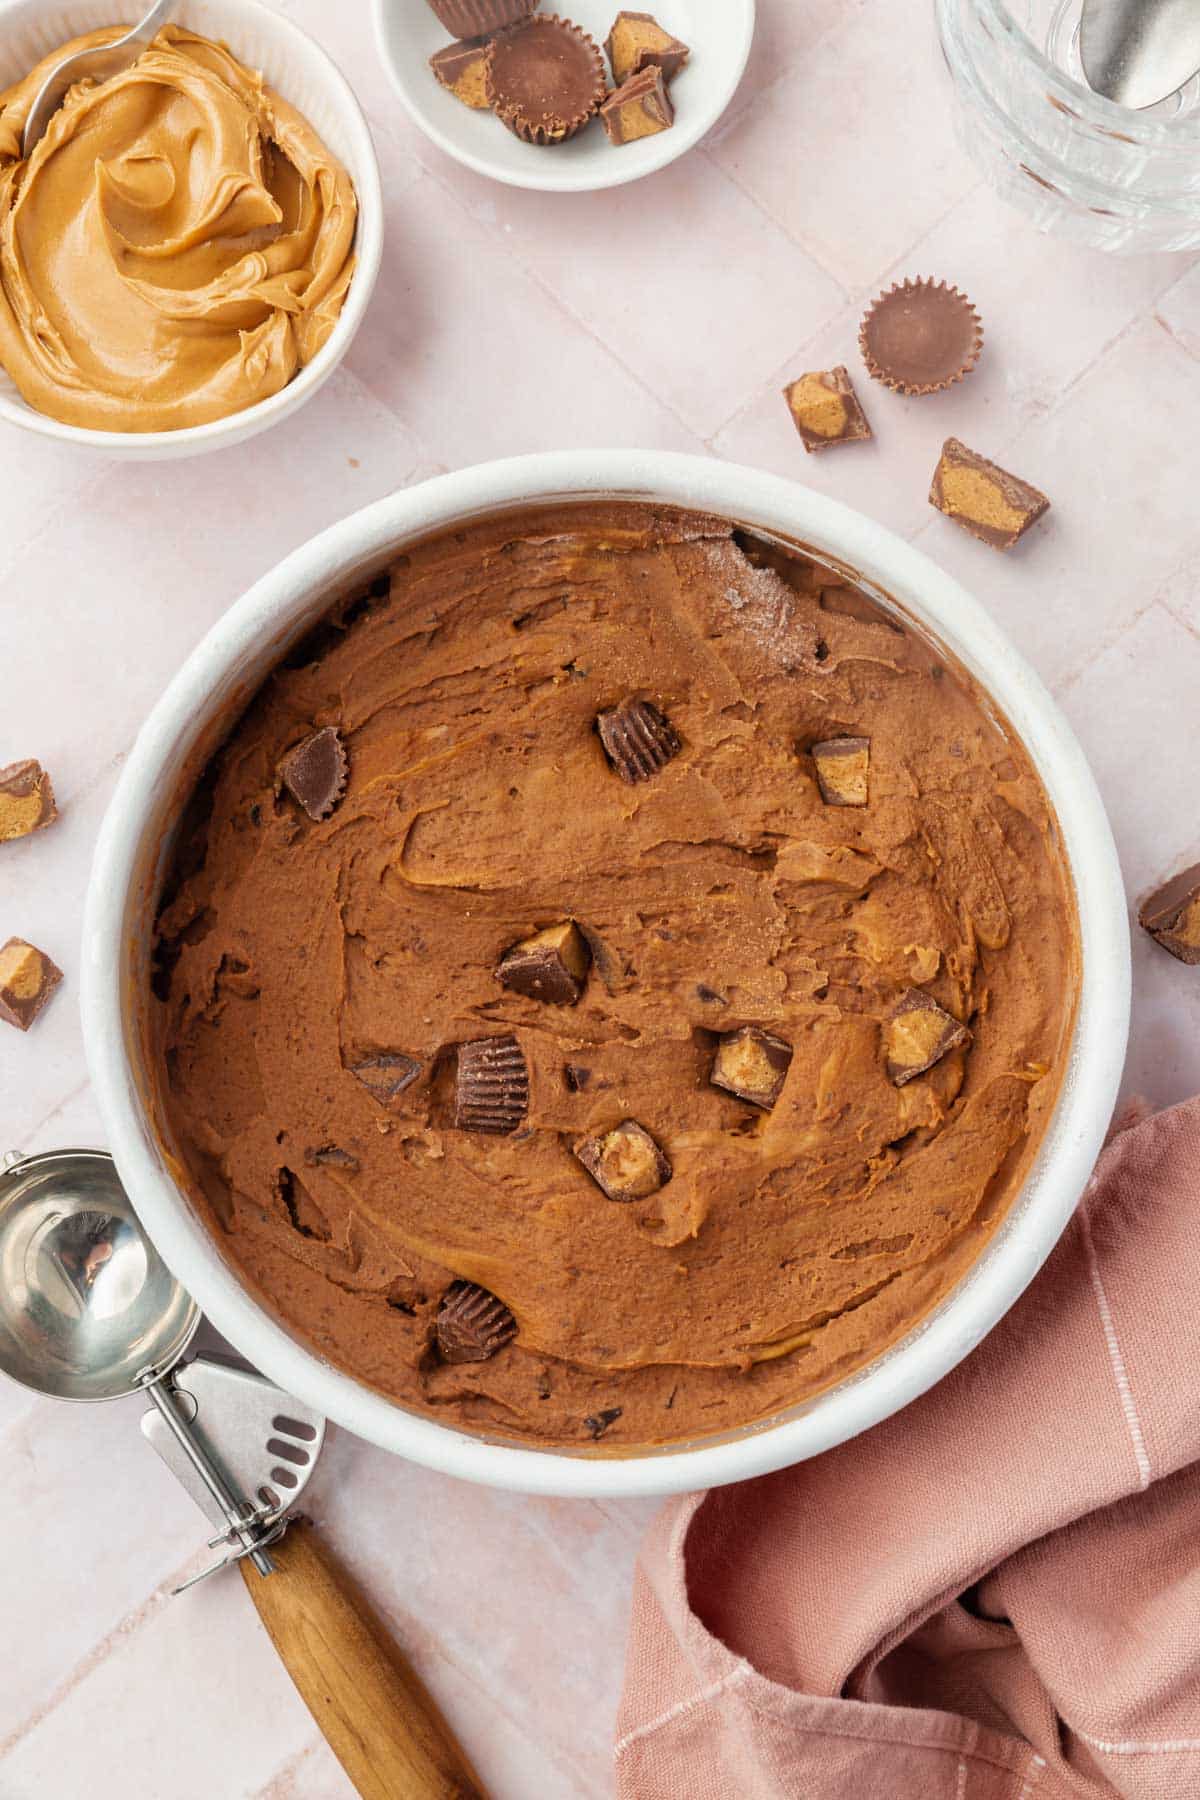
- Top and freeze: Press the reserved 0.25 cup (37.5 g) chopped peanut butter cups for mixing in into the surface of the ice cream. Cover with plastic wrap pressed directly on the surface, then seal with a lid. Freeze for at least 4 hours or until firm.
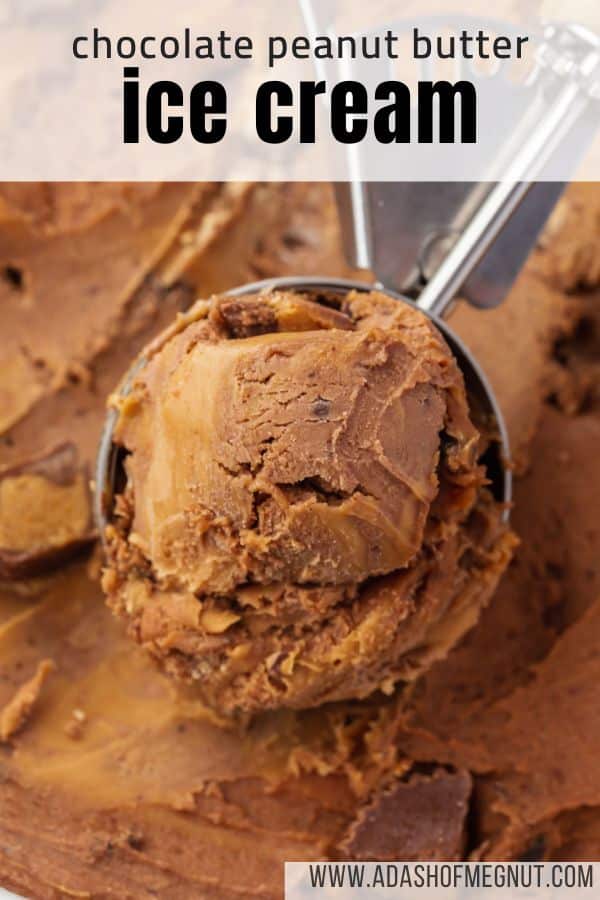
- Serve: Let the ice cream sit at room temperature for 5-10 minutes to soften slightly before scooping. Serve immediately.
Video
Notes
- Philadelphia-style: This ice cream has no eggs. You heat the cream and milk to melt the chocolate and peanut butter, but you don’t make a custard.
- Simmer, don’t boil: Bring the milk and cream just to a simmer with small bubbles around the edges (about 170°F). Don’t let it boil or the dairy can curdle.
- Chill completely: The base needs at least 4 hours in the refrigerator before churning. For faster chilling, use an ice bath to bring it to room temperature first, then refrigerate.
- Freeze the bowl: For Cuisinart-style ice cream makers, freeze the bowl for at least 24 hours. You shouldn’t hear water sloshing when you shake it.
- Prevent ice crystals: Press plastic wrap directly on the surface of the ice cream before sealing the container and freezing. This keeps air from forming ice crystals during storage.
So are you going to post the pictures of the cows?
when is the cow post coming!? haha its okay, there are plenty of camera phone pics on my blog… my camera is always dead or i am arriving somewhere with my dish and i remember it hasnt been photographed!
@claire
haha the cow post is coming when i get my charger this weekend! im going to have to make some dairy-riffic dessert to go along with my ridiculous amount of cow pictures haha
Haha, love the story about the cows! I was on a motorway once and there was a random cow on top of a bridge, just stood there, but I didn’t get my camera out in time 🙁 Love the ice cream too, peanut butter is the way to go! 🙂
cows!!!
you know i am all over this ice cream. it combines three of my favorite things!
Hello Megan,
This is the best chocolate ice cream that I have found that does not include eggs. I am so happy that I found this because I believe that this is as good as Baskin Robins Chocolate Peanut Butter ice cream.
I’m so glad you like it, Annette!! It’s my favorite ice cream 🙂