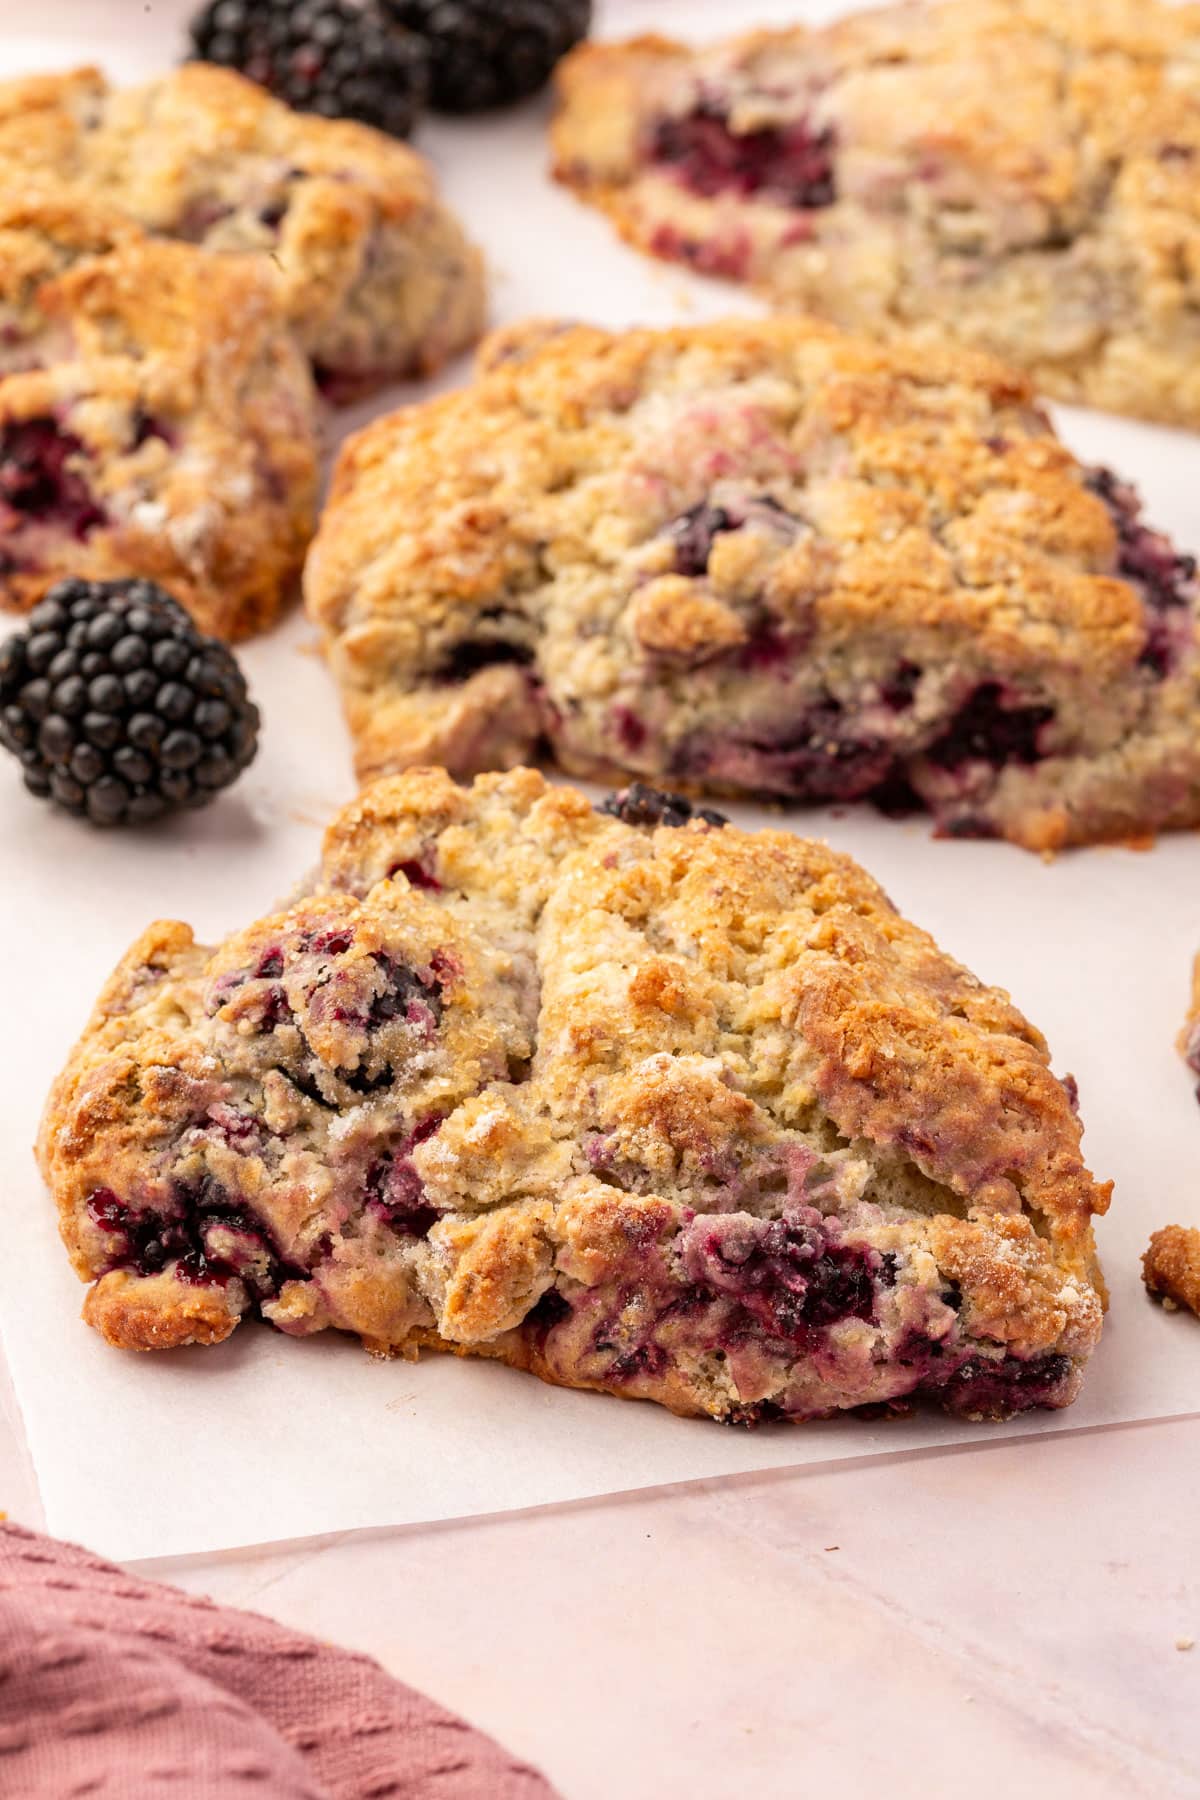
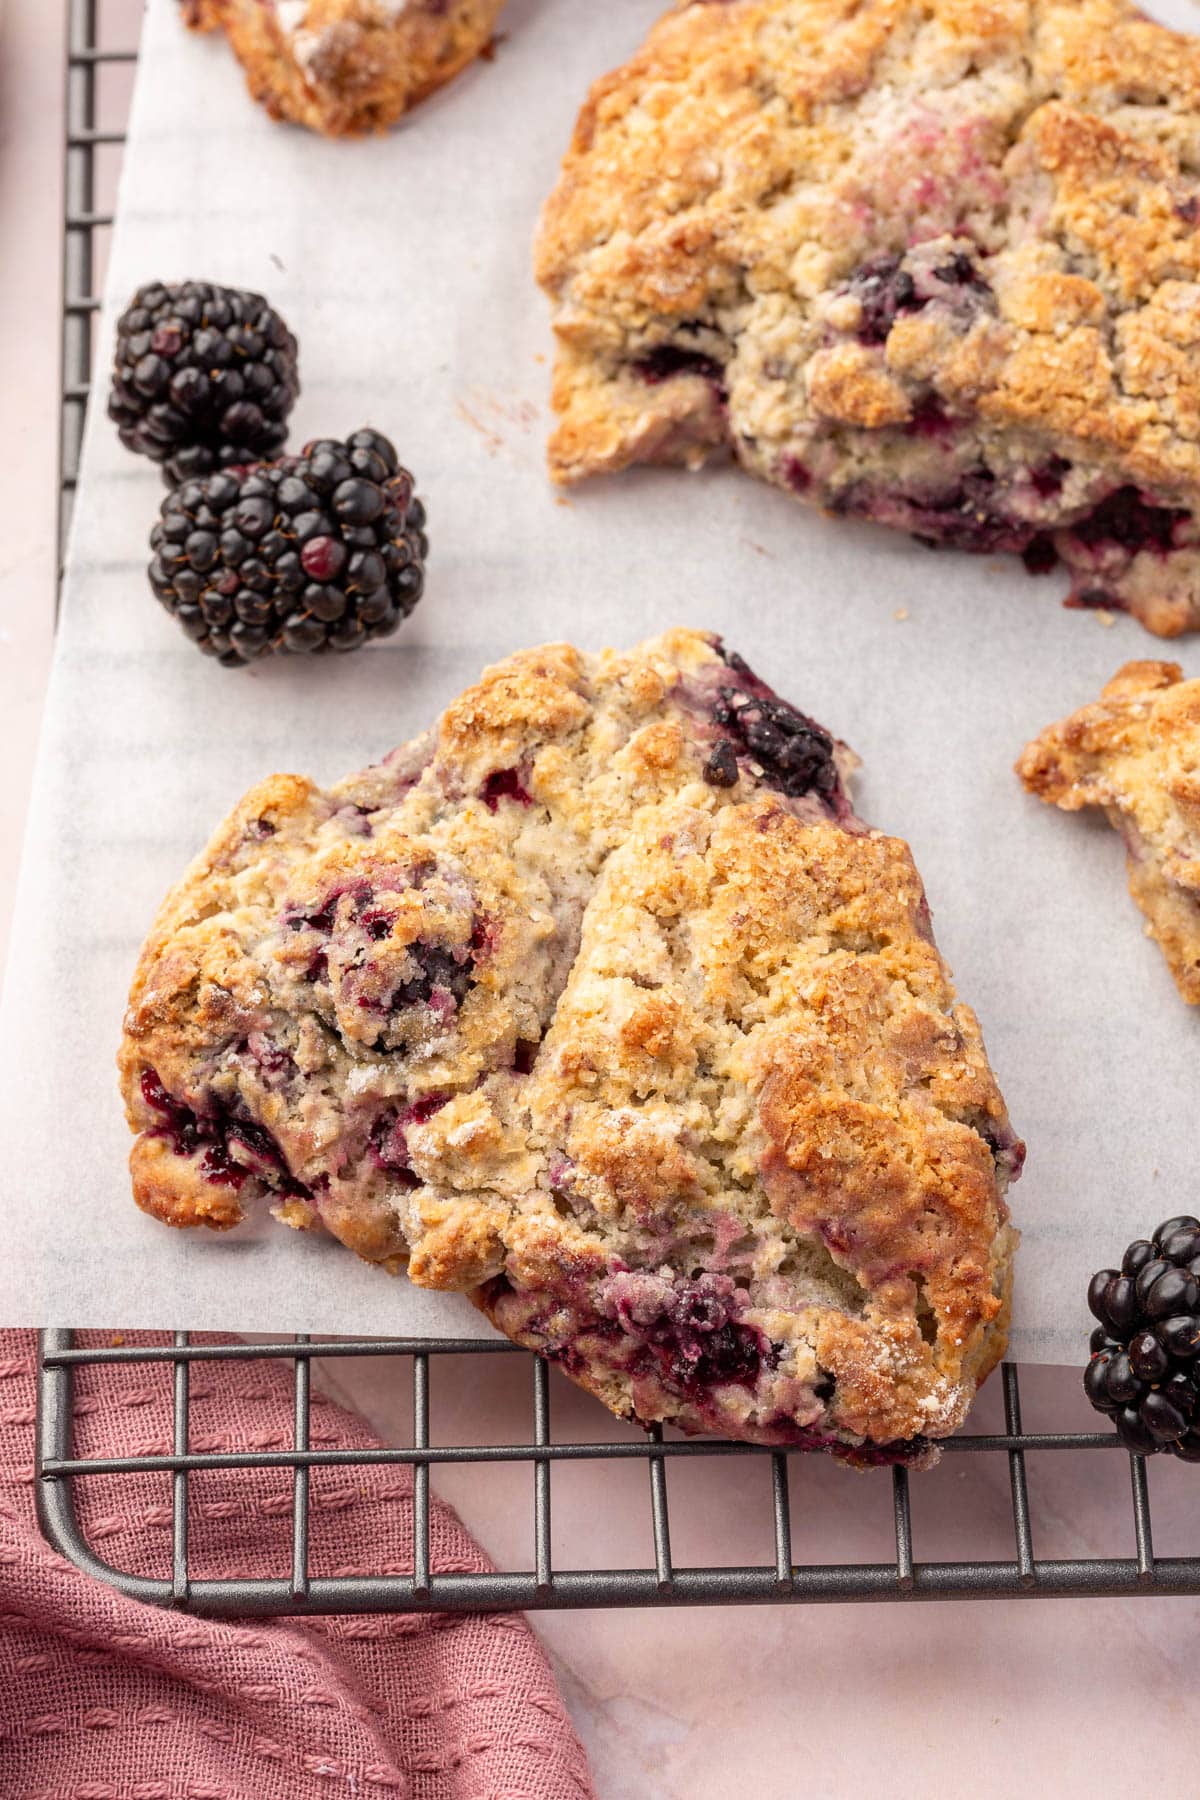
These gluten-free blackberry scones are such a great breakfast treat! Made with fresh blackberries, these scones are slightly sweet and a little tart. The perfect combination.
Made with a gluten-free flour blend, blackberry scones are flaky and tender, but not at all dry thanks to the richness added from a single egg.
Enjoy these delicious gluten-free blackberry scones on their own or with your favorite jam or butter spread! Don’t forget to serve with a cup of coffee!
You’ll love this recipe because:
Ingredients
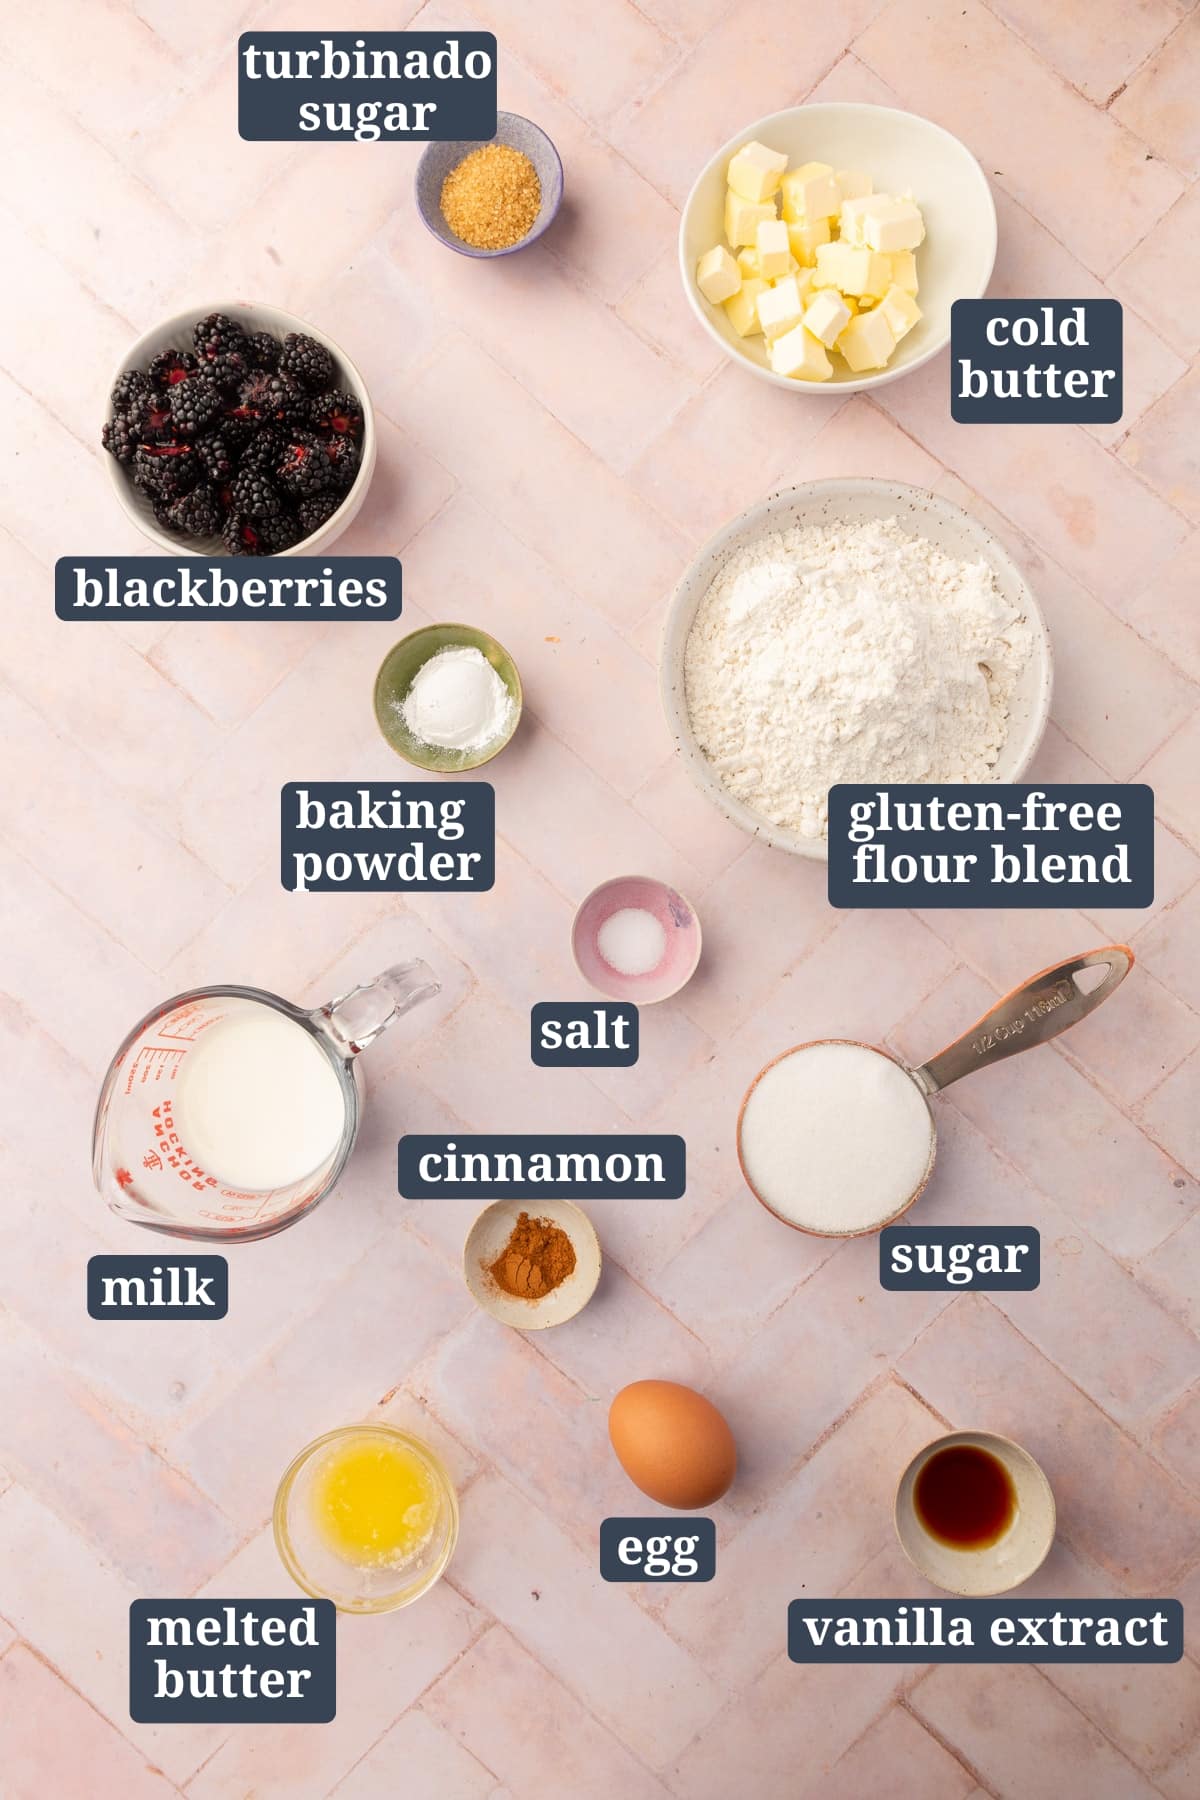
Ingredient Notes
- Gluten-free flour blend – I tested this recipe using Bob’s Red Mill 1-to-1 Gluten-Free Baking Flour in the blue bag. This is a gluten-free flour blend that is made of brown rice flour, white rice flour, sorghum flour, tapioca flour, potato starch and xanthan gum. I cannot guarantee that other brands of gluten-free flour blends work in this recipe as I have not tested them.
- Xanthan gum – Xanthan gum is often added to gluten-free flour blends to help improve their texture and elasticity. As mentioned above, Bob’s Red Mill 1-to-1 Gluten-Free Baking Flour already contains xanthan gum so you will not need to add it. If your gluten-free flour blend doesn’t already contain xanthan gum, you can add 1/4 teaspoon to the recipe to help your scones hold together better.
- Blackberries – Fresh blackberries are the star of this recipe, but you can also use frozen blackberries if it’s not blackberry season or if fresh ones aren’t available. No need to thaw the blackberries for using, in fact they’ll blend into the scone dough easier without the juices seeping into the dough. I typically like to cut my fresh blackberries into 2-3 pieces because I like there to be more blackberries throughout the scones. However, if you’re using frozen blackberries, you may not be able to do cut the blackberries so you can just add them whole into the recipe.
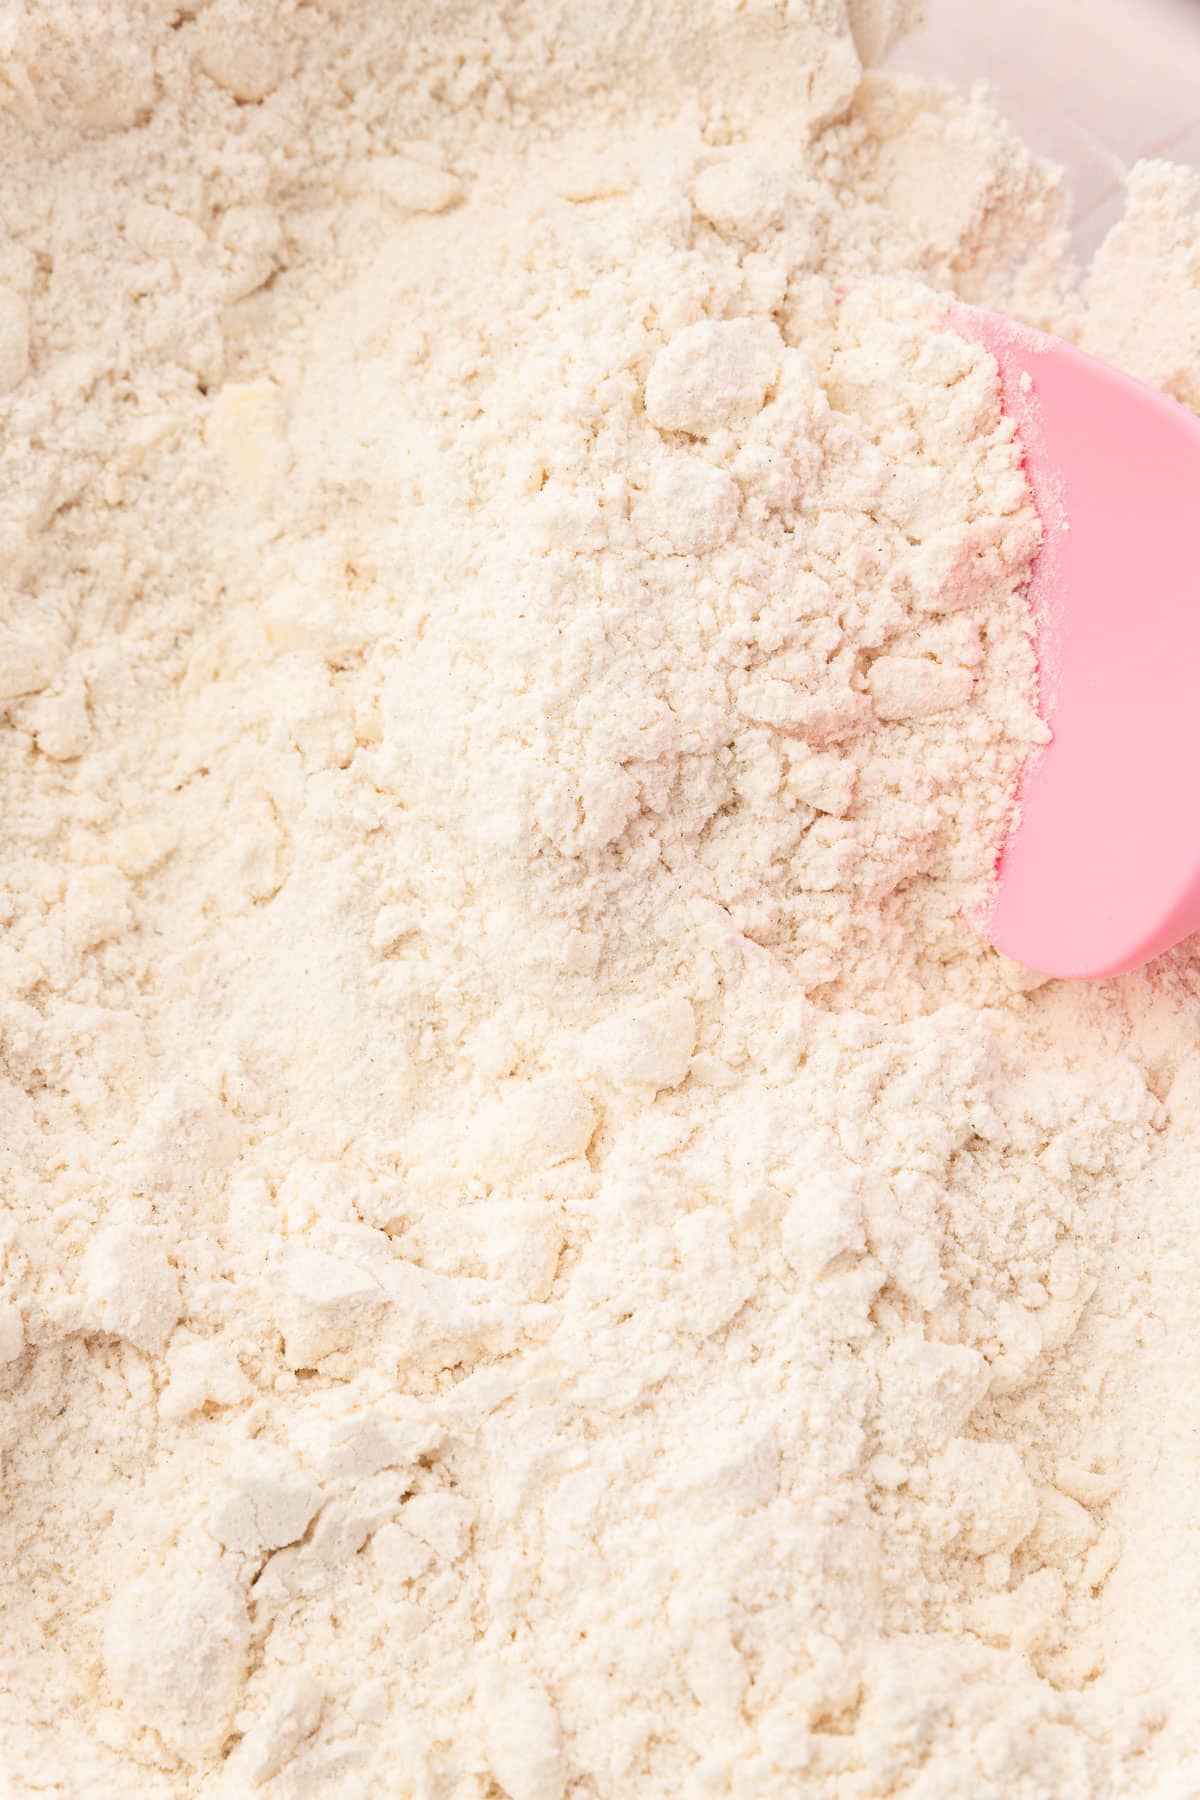
- Butter – Cold, unsalted butter is best for making scones, as it helps create the flaky, buttery texture that’s characteristic of scones. Cube the butter into ¼-inch square pieces and freeze it for about 10 minutes before using. This makes sure it’s really cold without being too hard to work into the dry ingredients. The butter should end up being about the size of a pea when cut into the dry ingredients.
- Milk – I prefer to use whole milk for this recipe, but you can also use buttermilk or almond milk, too. I like whole milk because it’s something I always have on hand, whereas I don’t always have buttermilk in the house. I’ve also used unsweetened almond milk when I make this recipe dairy-free. The result isn’t quite as fluffy as the whole milk, but still delicious!
- Egg – One large egg adds some richness to the scone. I’ve also made this recipe without egg, so if you have an egg intolerance that’s okay! Without the egg, the scones are a little more crumbly and not as rich. You will probably need to increase the milk by 2-3 tablespoons if you do not use the egg. Start with the lowest amount of milk in the recipe and then add a tablespoon more at a time until you can mix the dough together.
- Melted butter – To give the scones that golden hue on top and to help the turbinado sugar adhere to the dough, I like to use melted butter. A tablespoon is all you need and you most likely won’t use the whole amount. You could also use egg wash or buttermilk if you prefer.
- Turbinado sugar – When sprinkled on top of scones before baking, turbinado sugar adds a delicious crunchy texture and a subtle sweetness to the scones. Using turbinado sugar on top of scones is also a great alternative to traditional granulated sugar, which can melt and create a sticky mess on top of the scones during baking. Turbinado sugar mostly holds its shape when heated in the oven.

When making gluten-free scones, it’s important to measure your gluten-free flour blend properly. Using too much flour will result in a very dense scone. The easiest way to do this is by using a food scale and measuring the flour in grams, as provided in the recipe.
If you must use a measuring cup, spoon the flour into the measuring cup and level it off with a flat surface. Never scoop the measuring cup directly into the bag of flour, which will pack too much flour into the measuring cup.
Step-by-Step instructions
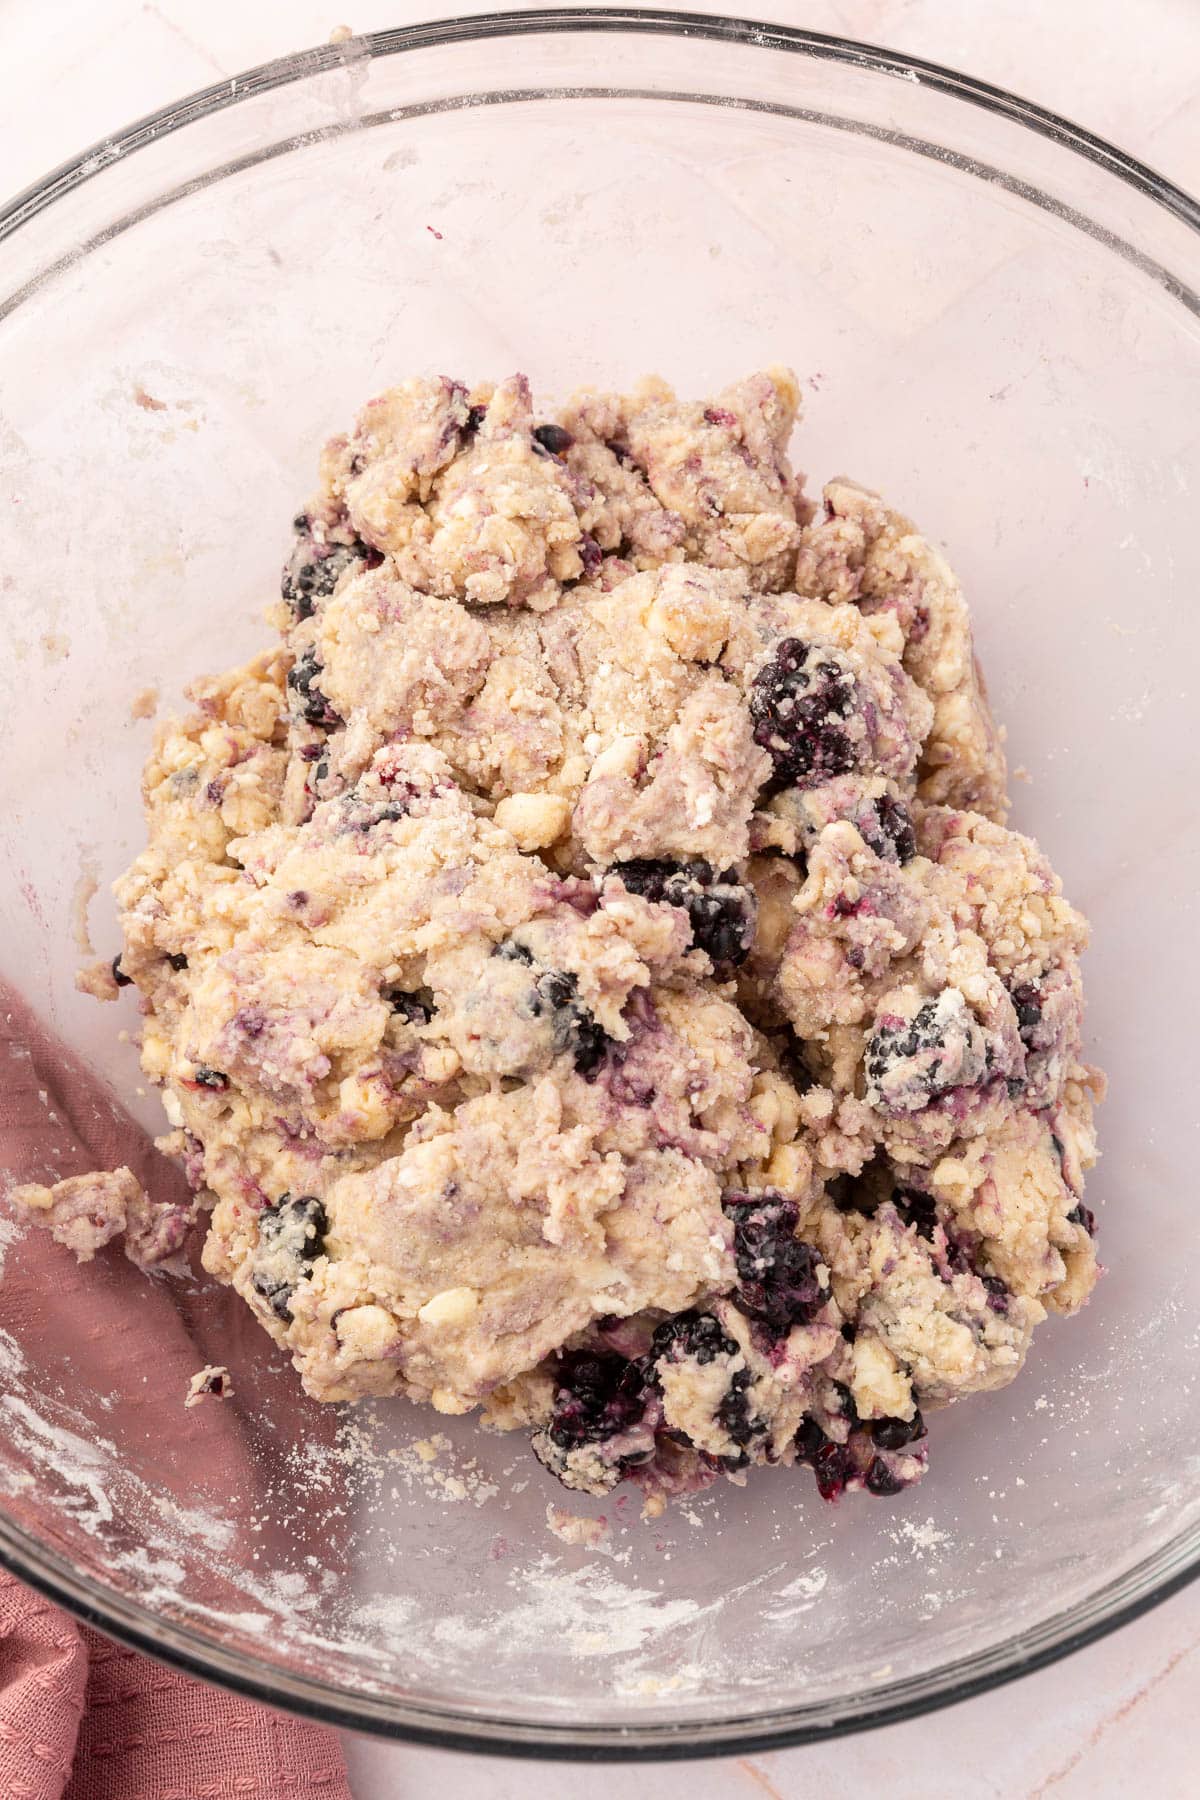
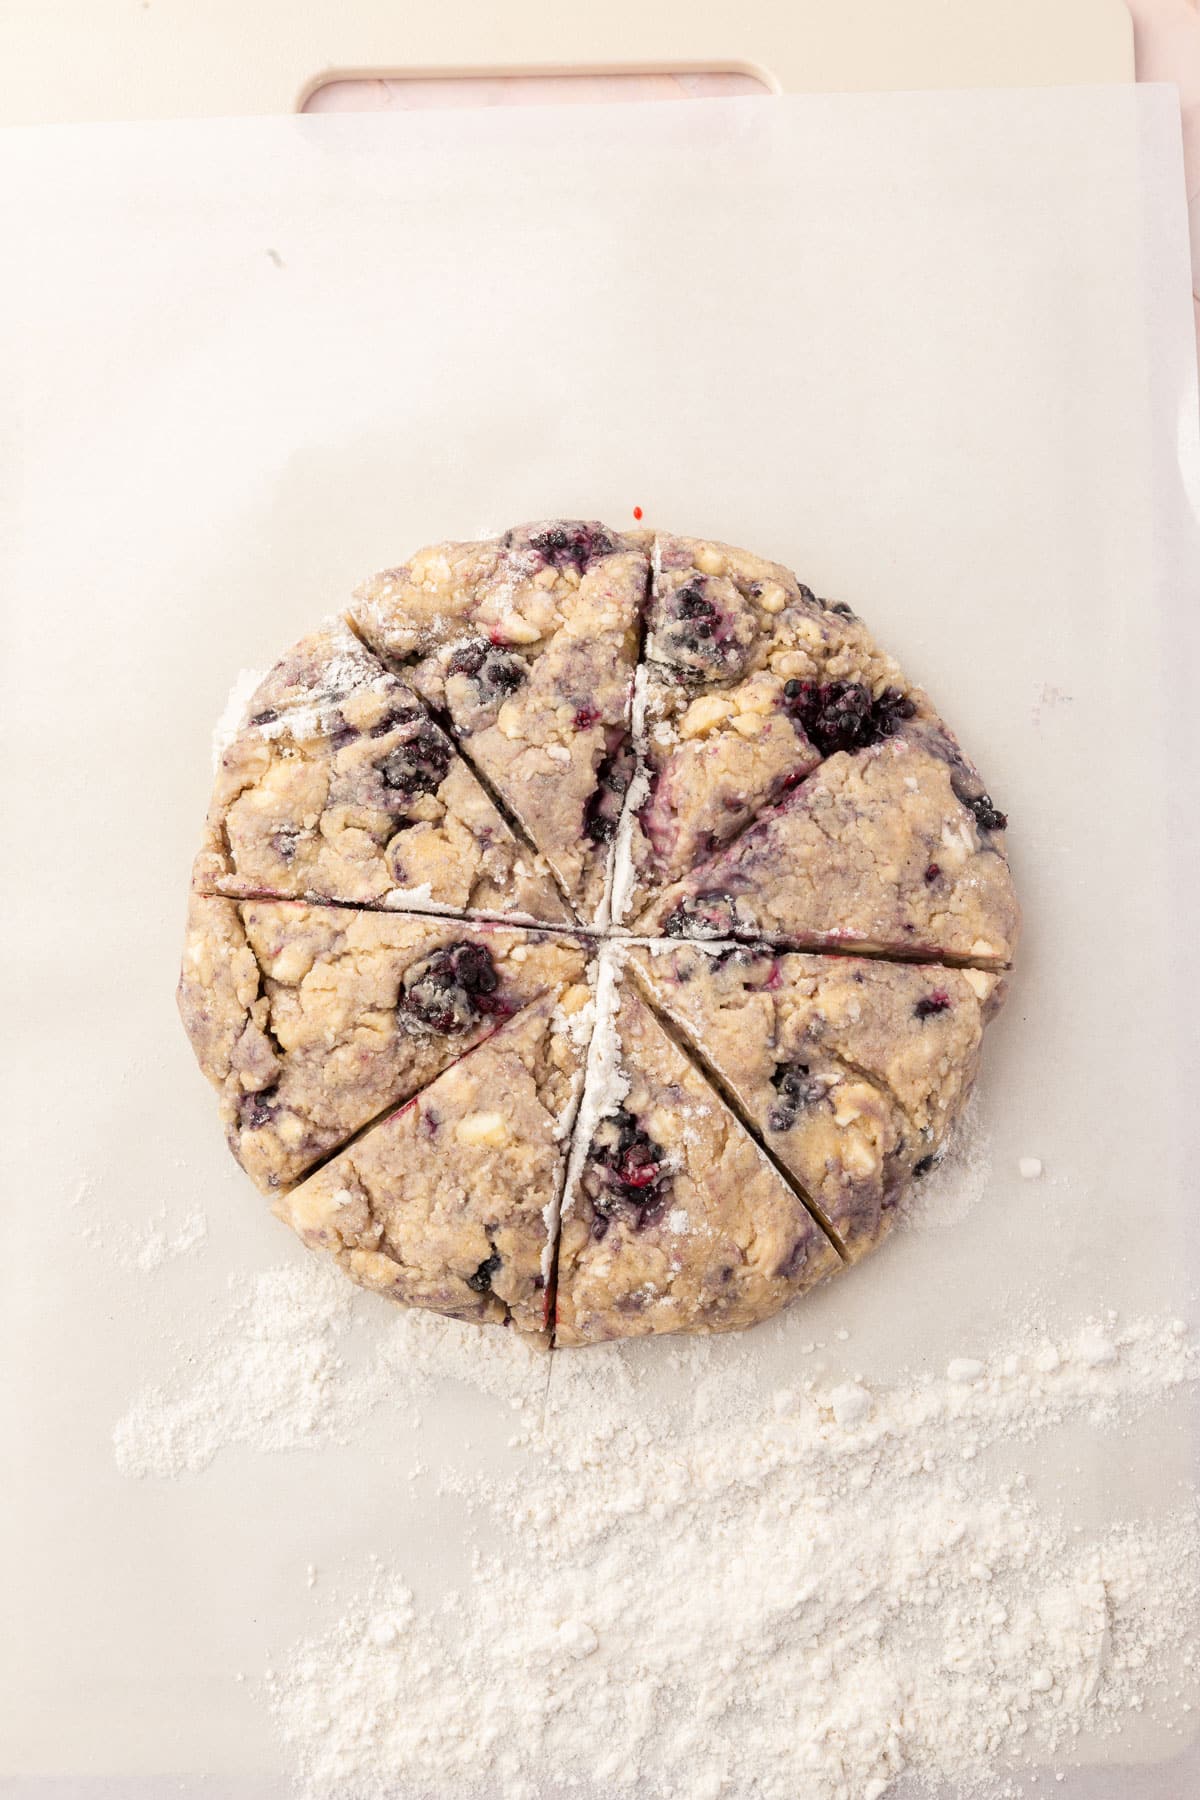
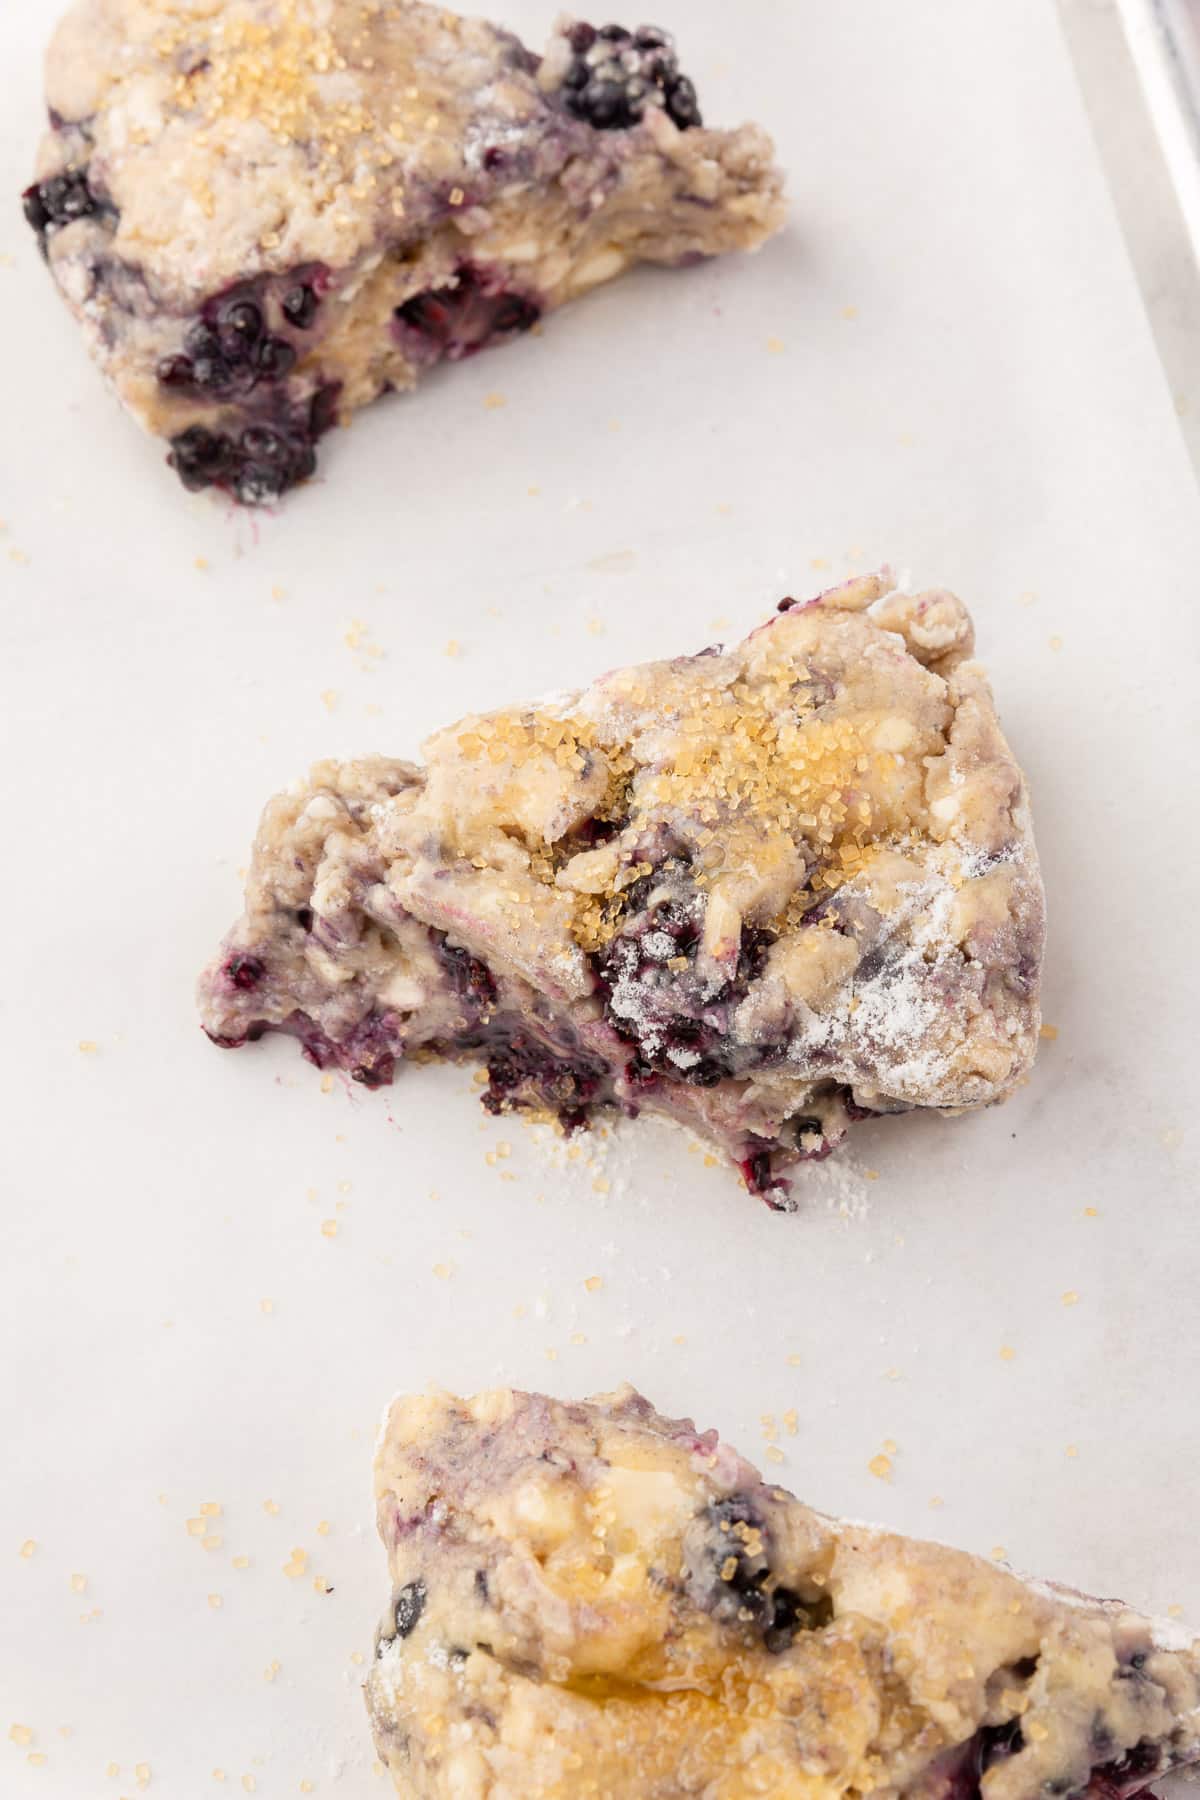
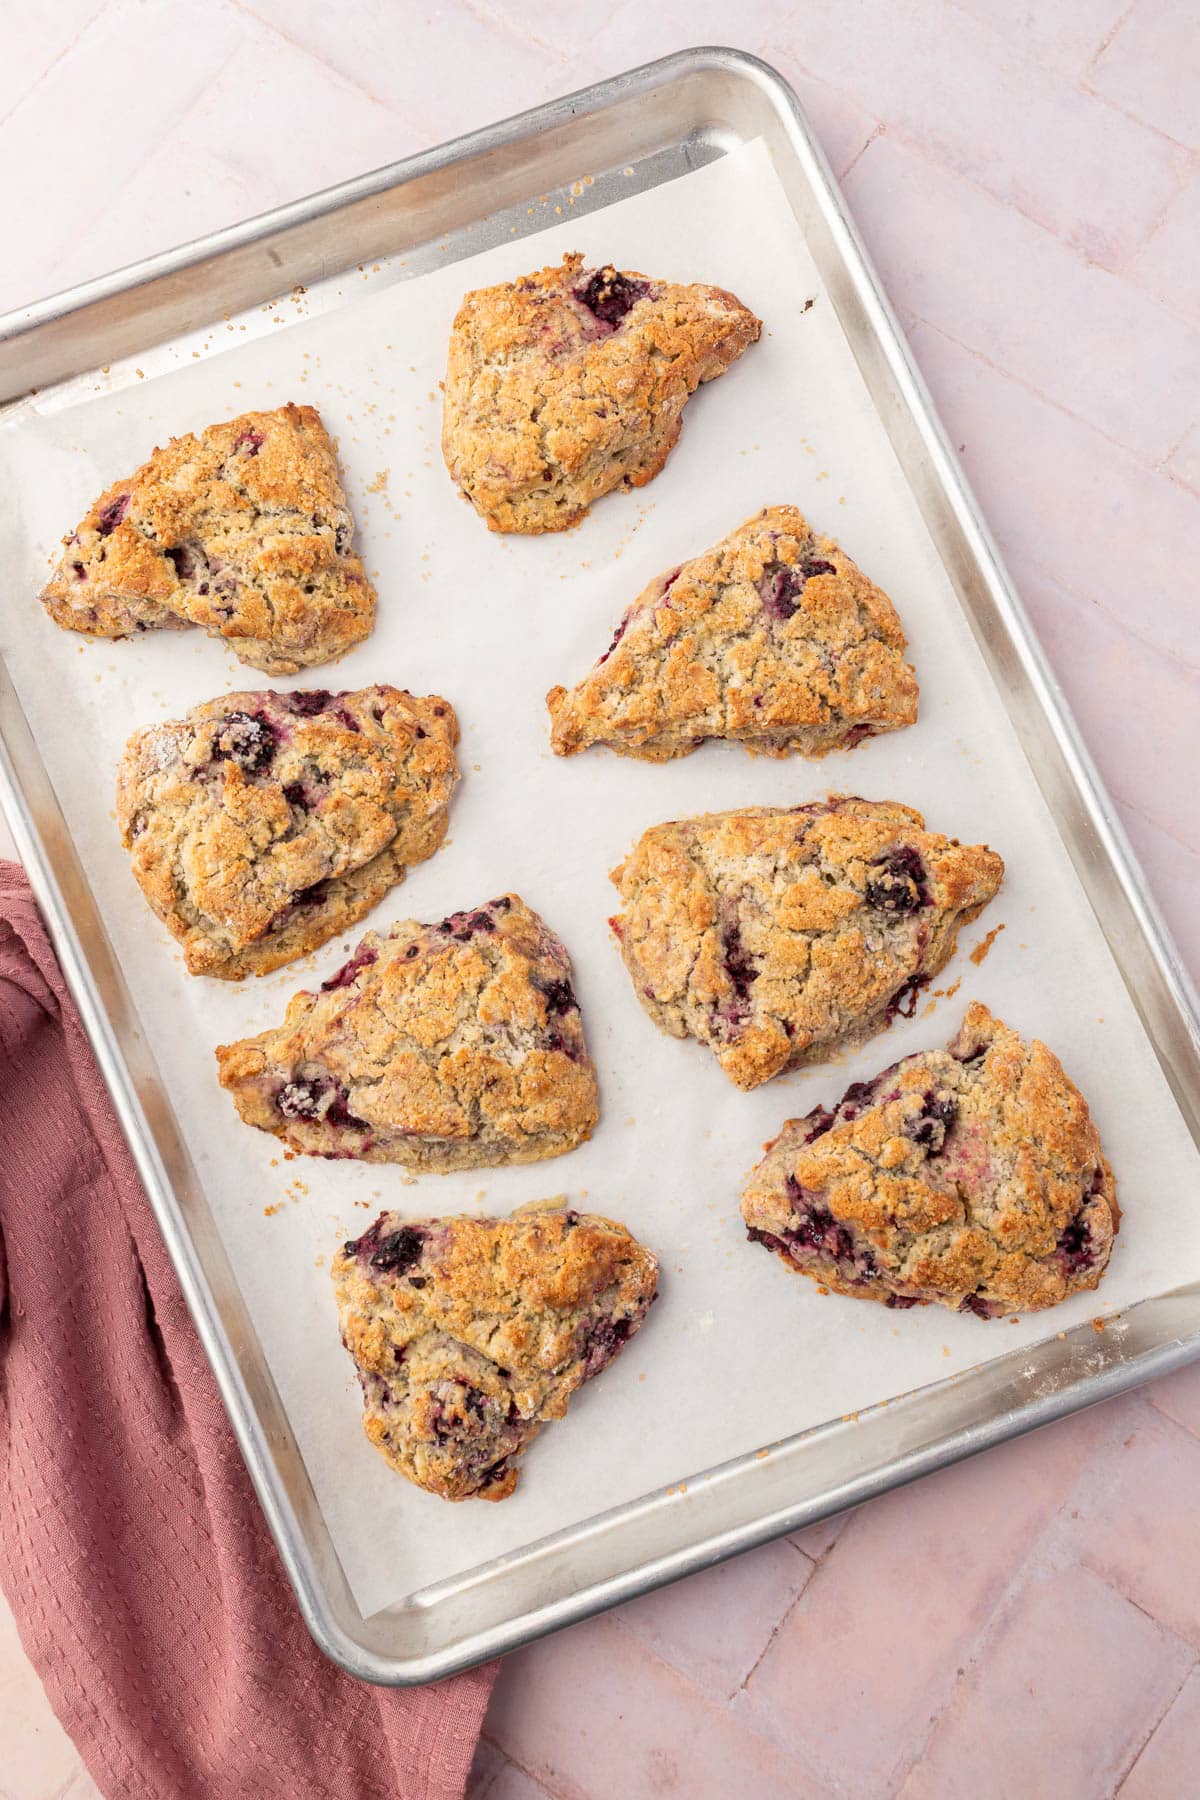
These gluten-free blackberry muffins are so easy to make with a few simple ingredients. The basic method is to cut the butter into the dry ingredients, add the blackberries, and then pour in the web ingredients. Then, just slice into wedges and then bake in the oven until golden brown.
For the ingredient list with measurements, full instructions, printable recipe, and additional notes, please scroll down to the recipe card.
Recipe FAQs
Yes, you can substitute other types of fruit for blackberries in your scone recipe. Blueberries, raspberries, strawberries, or a combination of these fruits work well in scones.
To prevent your scones from becoming dry, make sure not to over mix your dough, and avoid overbaking your scones. The scone dough does not need to be smooth, it should be scraggly. Mix the dough together just until there is no more loose flour on the bottom of the bowl.
While scones and biscuits are similar in appearance and texture, there are a few key differences between the two. Scones are typically slightly sweeter than biscuits, and may contain fruit or other flavorings. Additionally, scones are often served with jam, clotted cream, or other accompaniments, while biscuits are often served with savory dishes. Further, scones typically contain an egg and biscuits do not. However, I often make scones without an egg and you will sometimes find recipes omitting the egg as well.
hints & tips
Storage instructions
- Storage: Blackberry scones can be stored in an airtight container at room temperature for up to 2-3 days.
- Freezer Option: For longer storage, you can freeze them in an airtight container or a resealable plastic bag for up to 2-3 months.
- Defrost: Let frozen scones sit out at room temperature for about an hour, until they are soft in the center again.
Serving suggestions
- Hash Brown Egg Cups
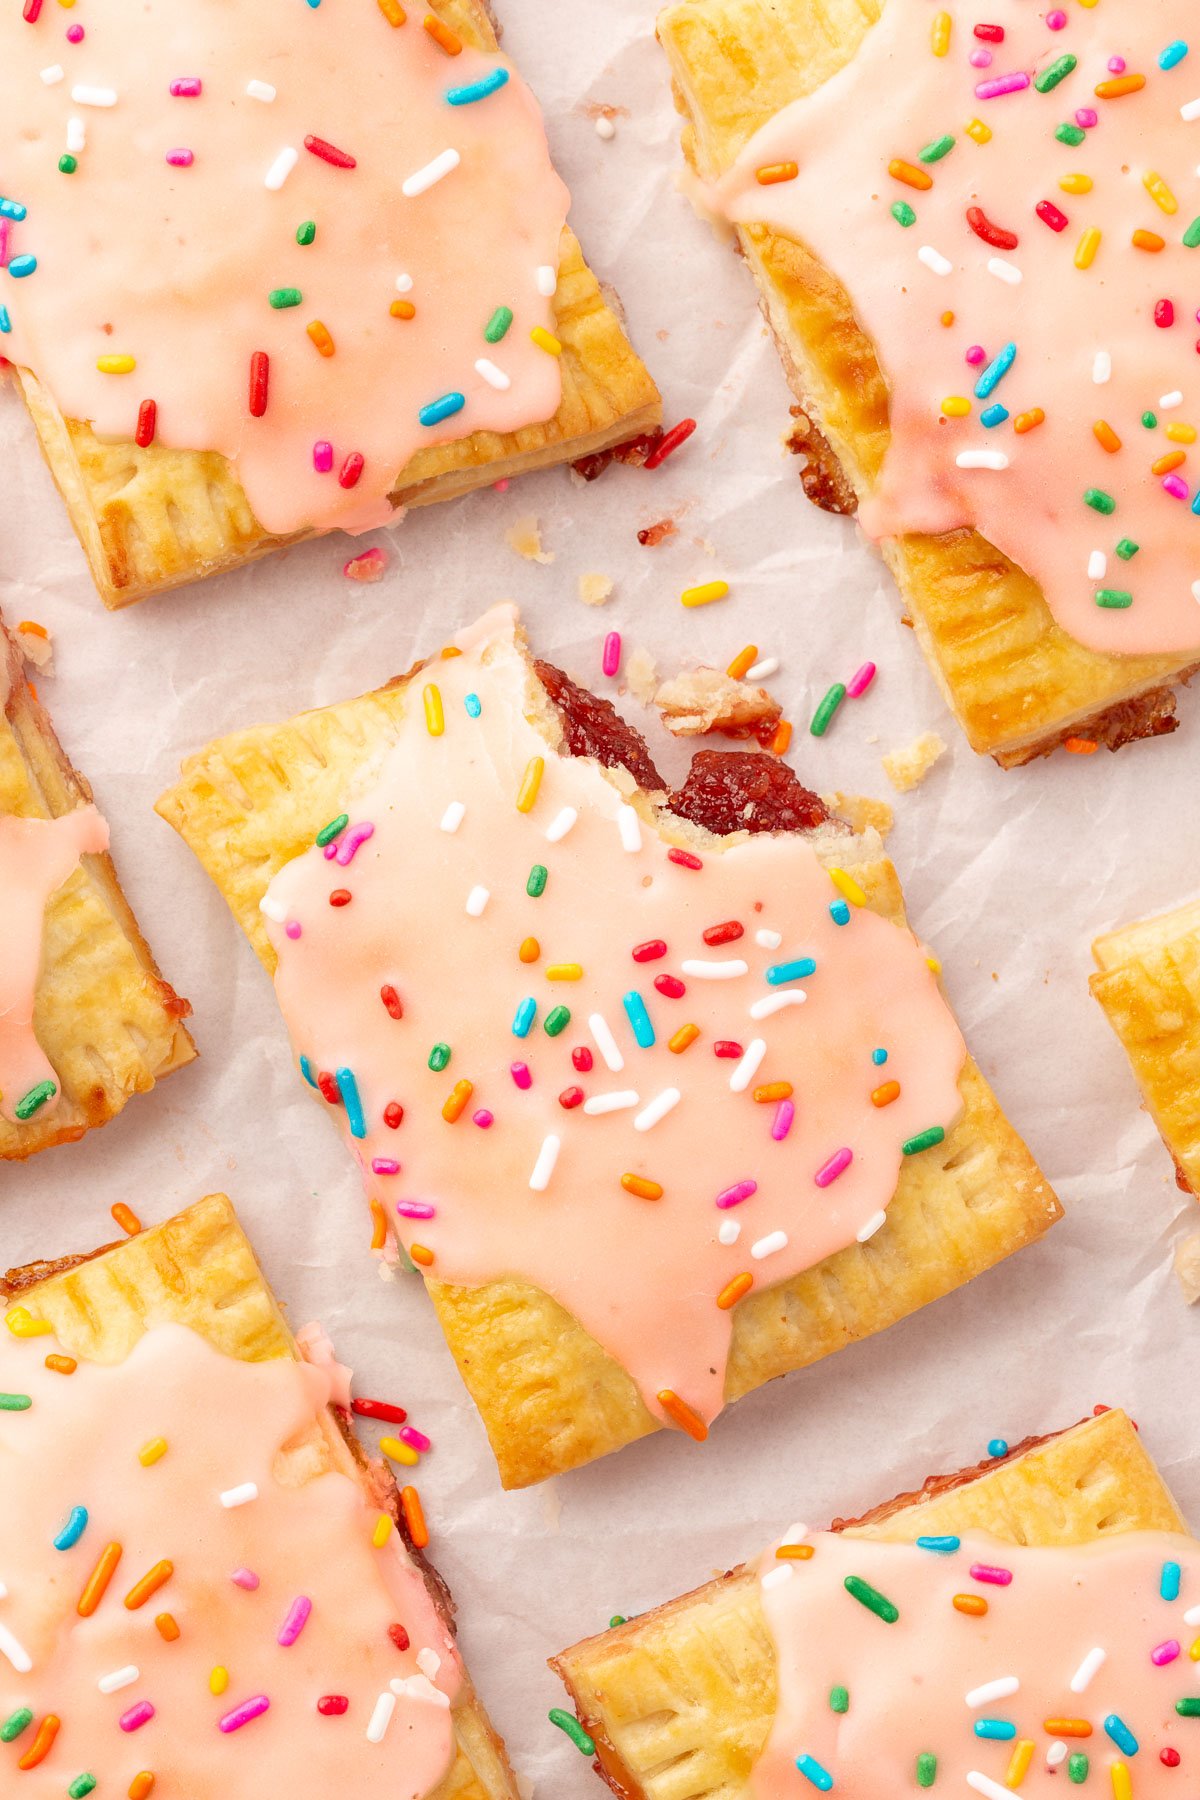
- Gluten Free Giant Strawberry Pop Tart
- Gluten-Free Vegan Baked Chocolate Sprinkle Donuts
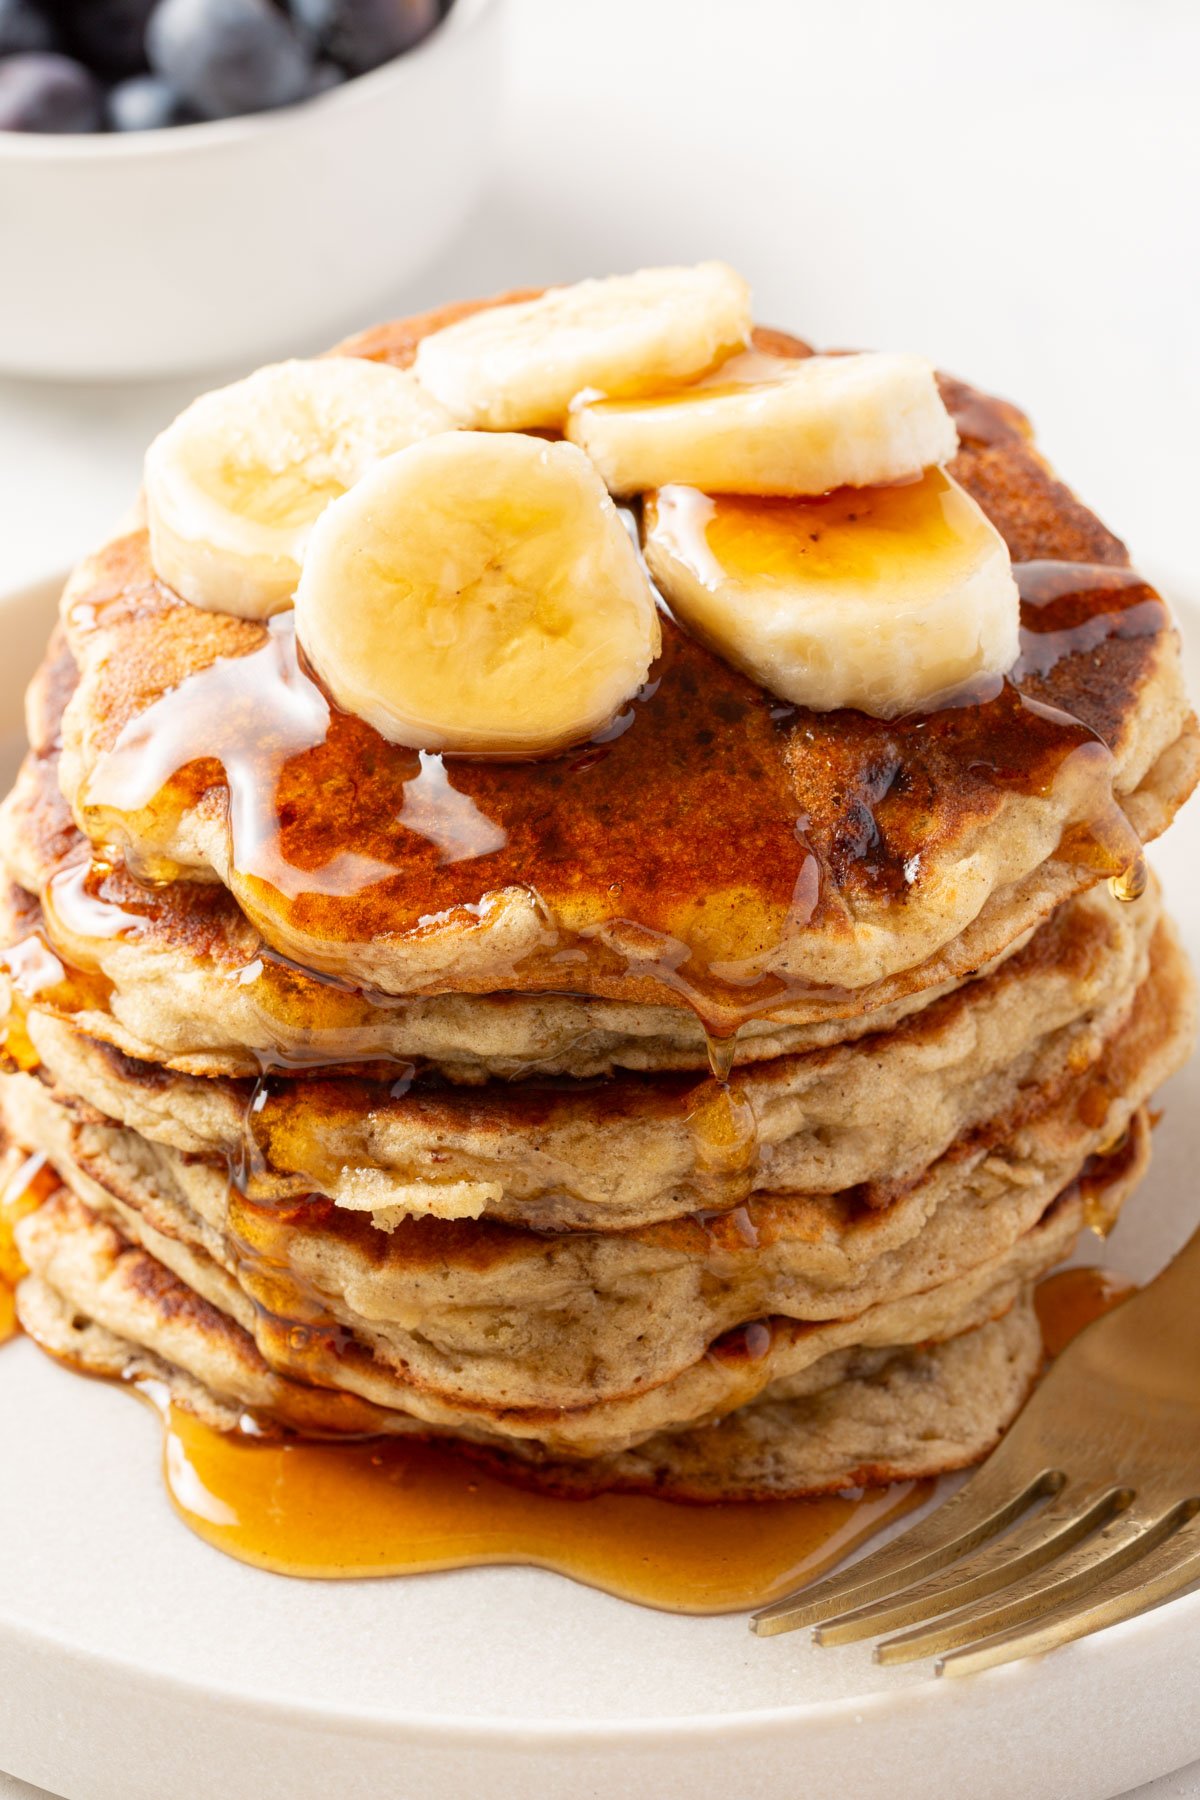
- Gluten-Free Chocolate Peanut Butter Banana Muffins
More gluten-free breakfast recipes to try
Did you make this recipe?
I’d love to know! Please rate it and leave a comment below. You can also share your pictures and tag @adashofmegnut on Instagram.

Gluten-Free Blackberry Scones
Ingredients
- 2 cups gluten-free flour blend - 288g (I used Bob's Red Mill 1-to-1 Gluten-Free Baking Flour)
- 1/2 cup granulated sugar - 100g
- 1 tablespoon baking powder
- 1/2 teaspoon ground cinnamon
- 1/2 teaspoon salt
- 6 tablespoons unsalted butter - cold and cubed (85g)
- 1/3 – 1/2 cup whole milk
- 1 large egg - 50g
- 1 teaspoon vanilla extract
- 1 pint fresh blackberries - cut in half (6 oz, 170g, about 1 1/2 cups total)
- 1 tablespoon melted butter
- 2 teaspoons turbinado sugar
**Use the toggle button above to turn the instruction photos on and off!
Instructions
- Preheat your oven to 425°F (218°C). Line a baking sheet with parchment paper. Set aside.
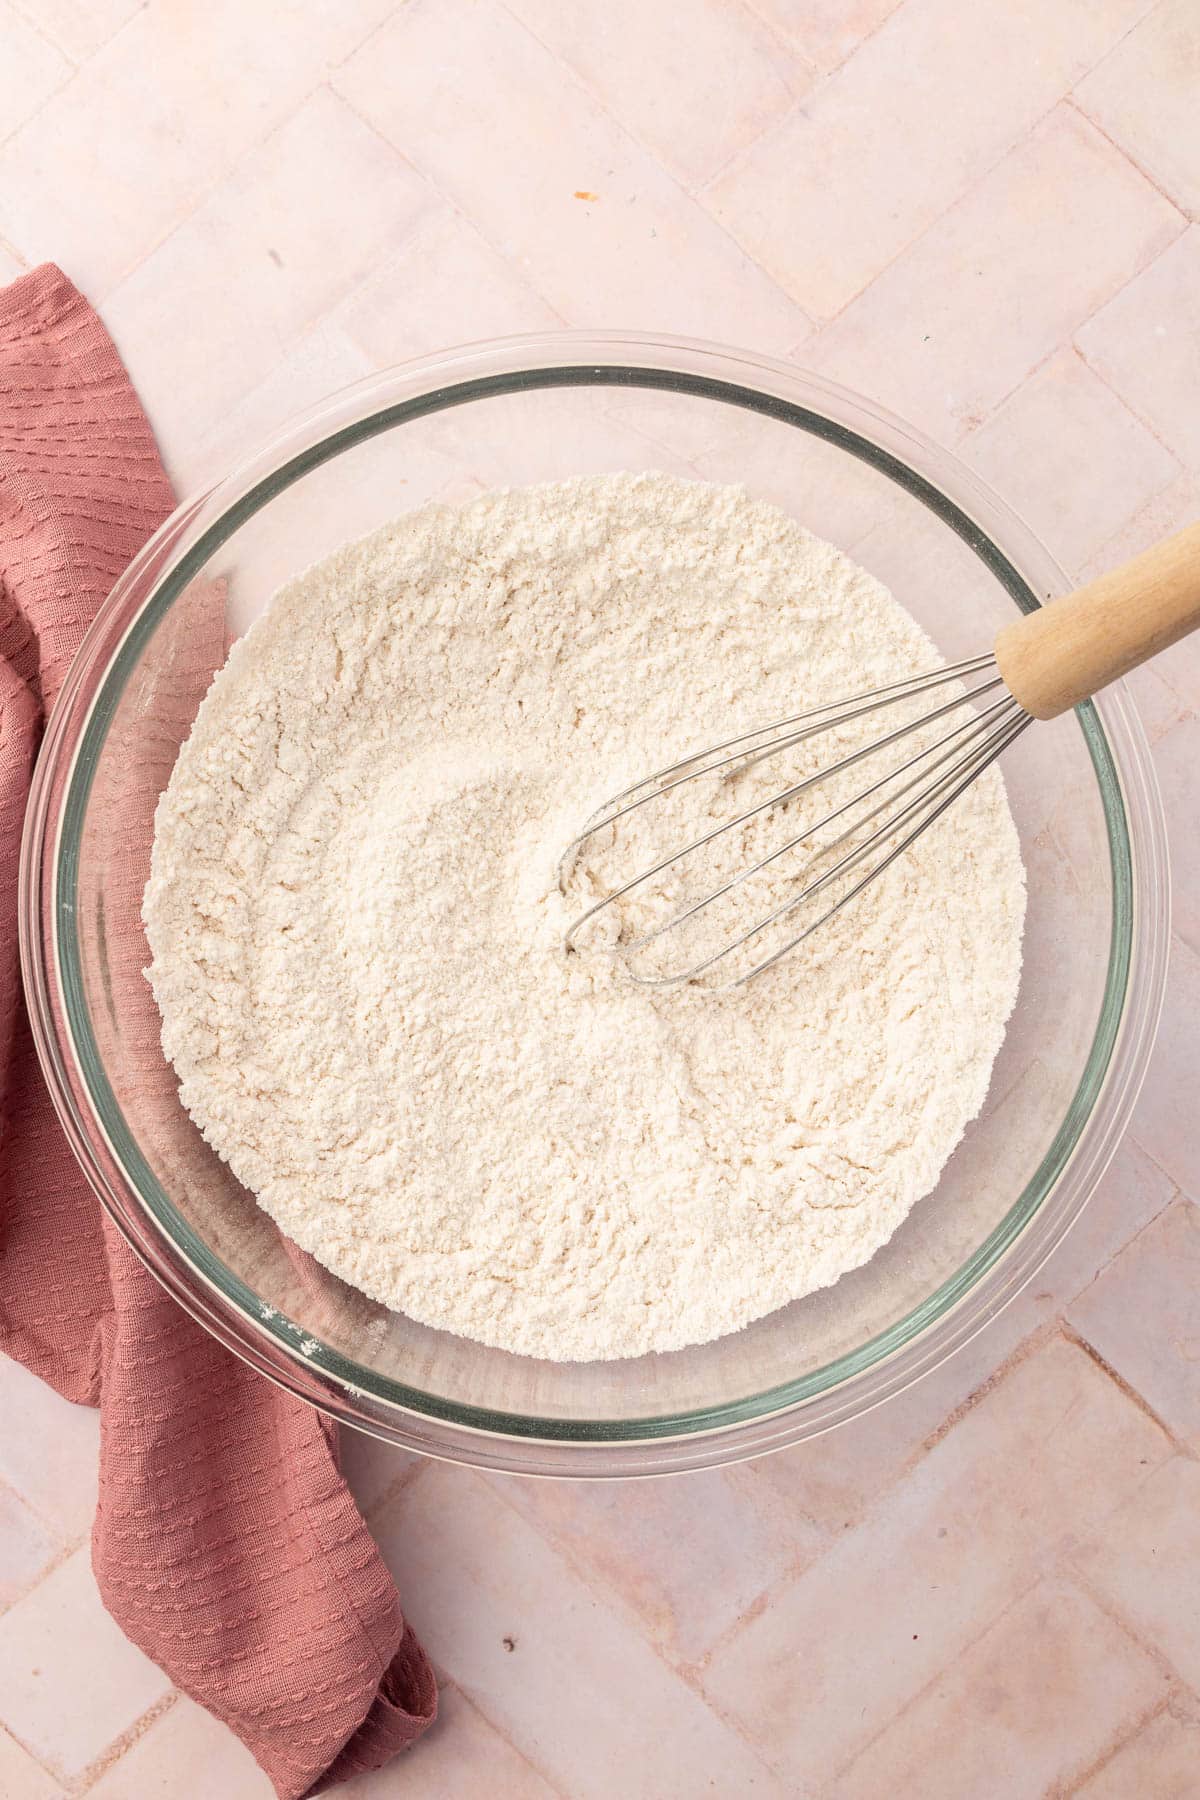
- In a large mixing bowl, whisk together the gluten-free flour blend, granulated sugar, baking powder, ground cinnamon and salt.
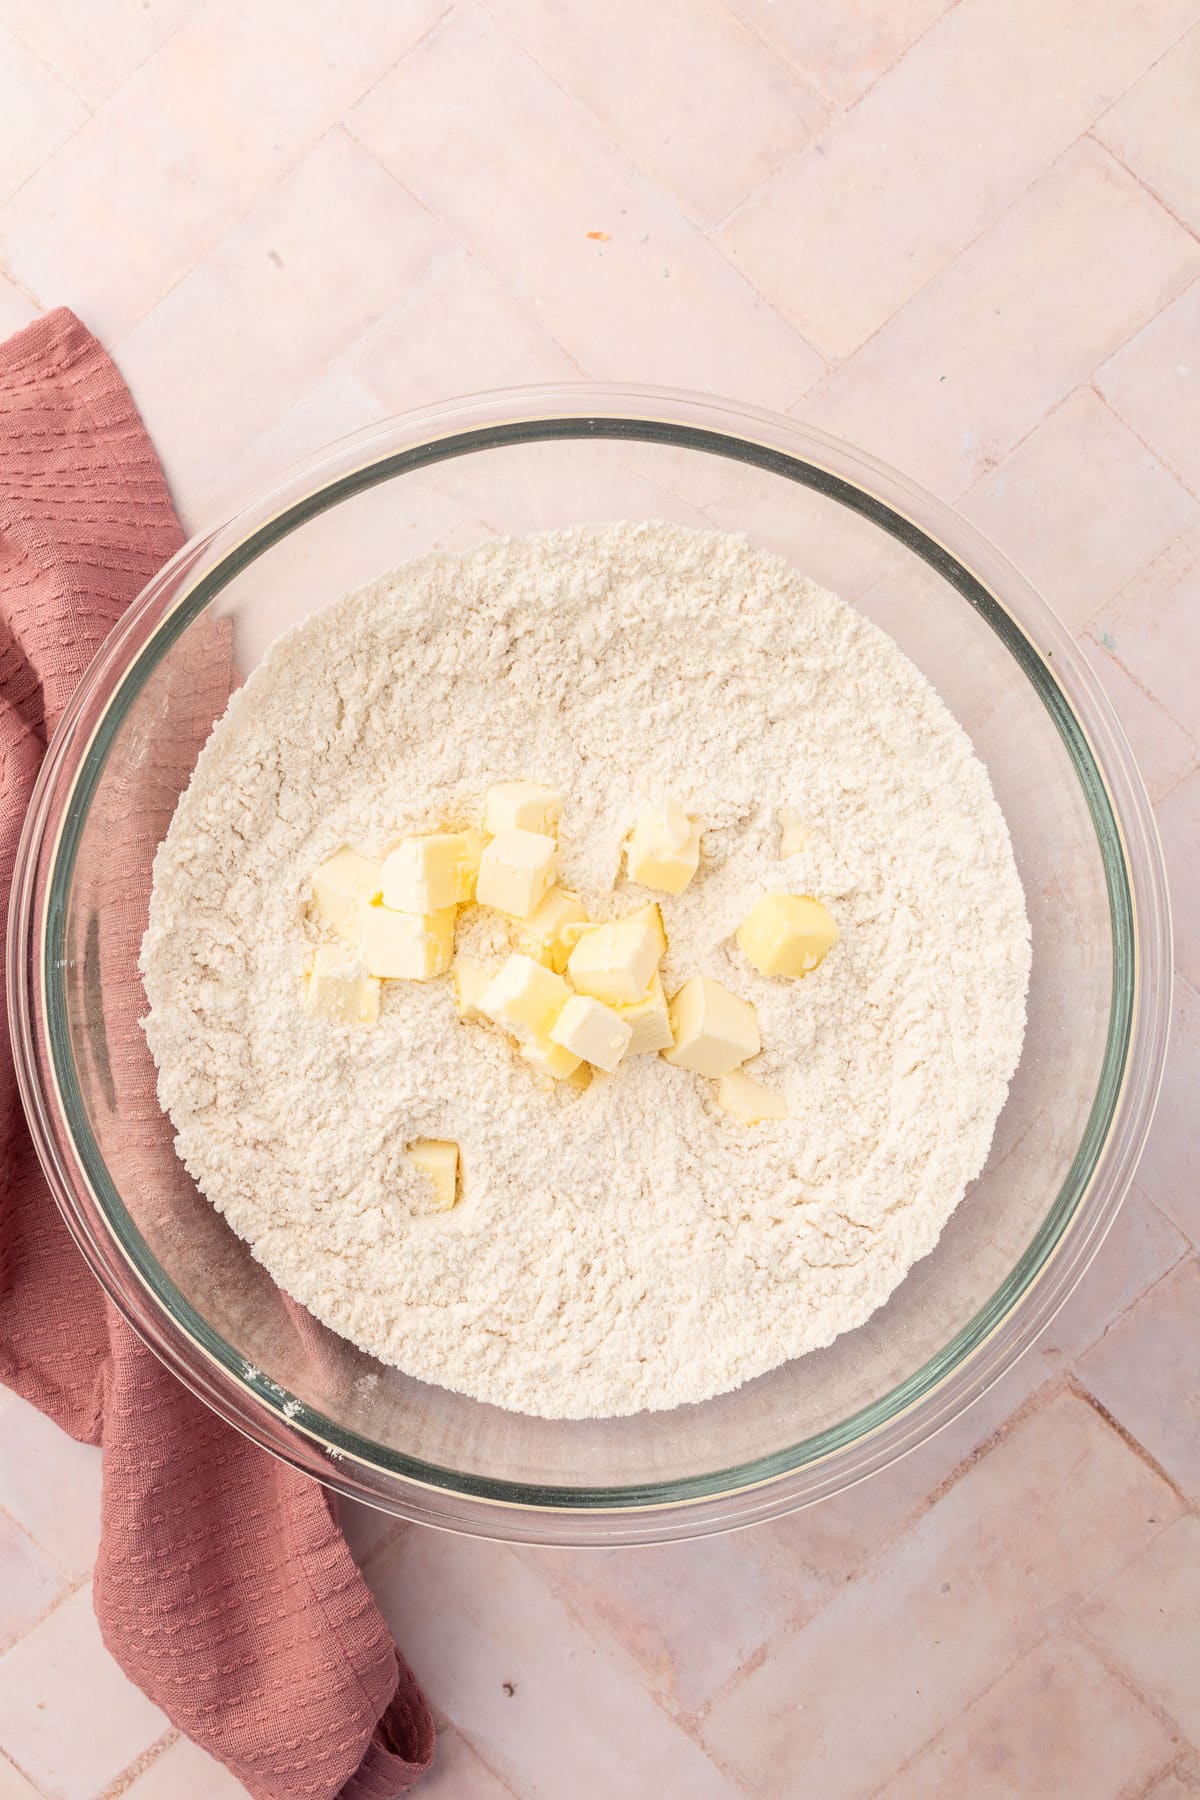
- Using a pastry cutter or your two knives, cut the cold butter into the flour mixture until the mixture is crumbly and the butter is about the size of peas.
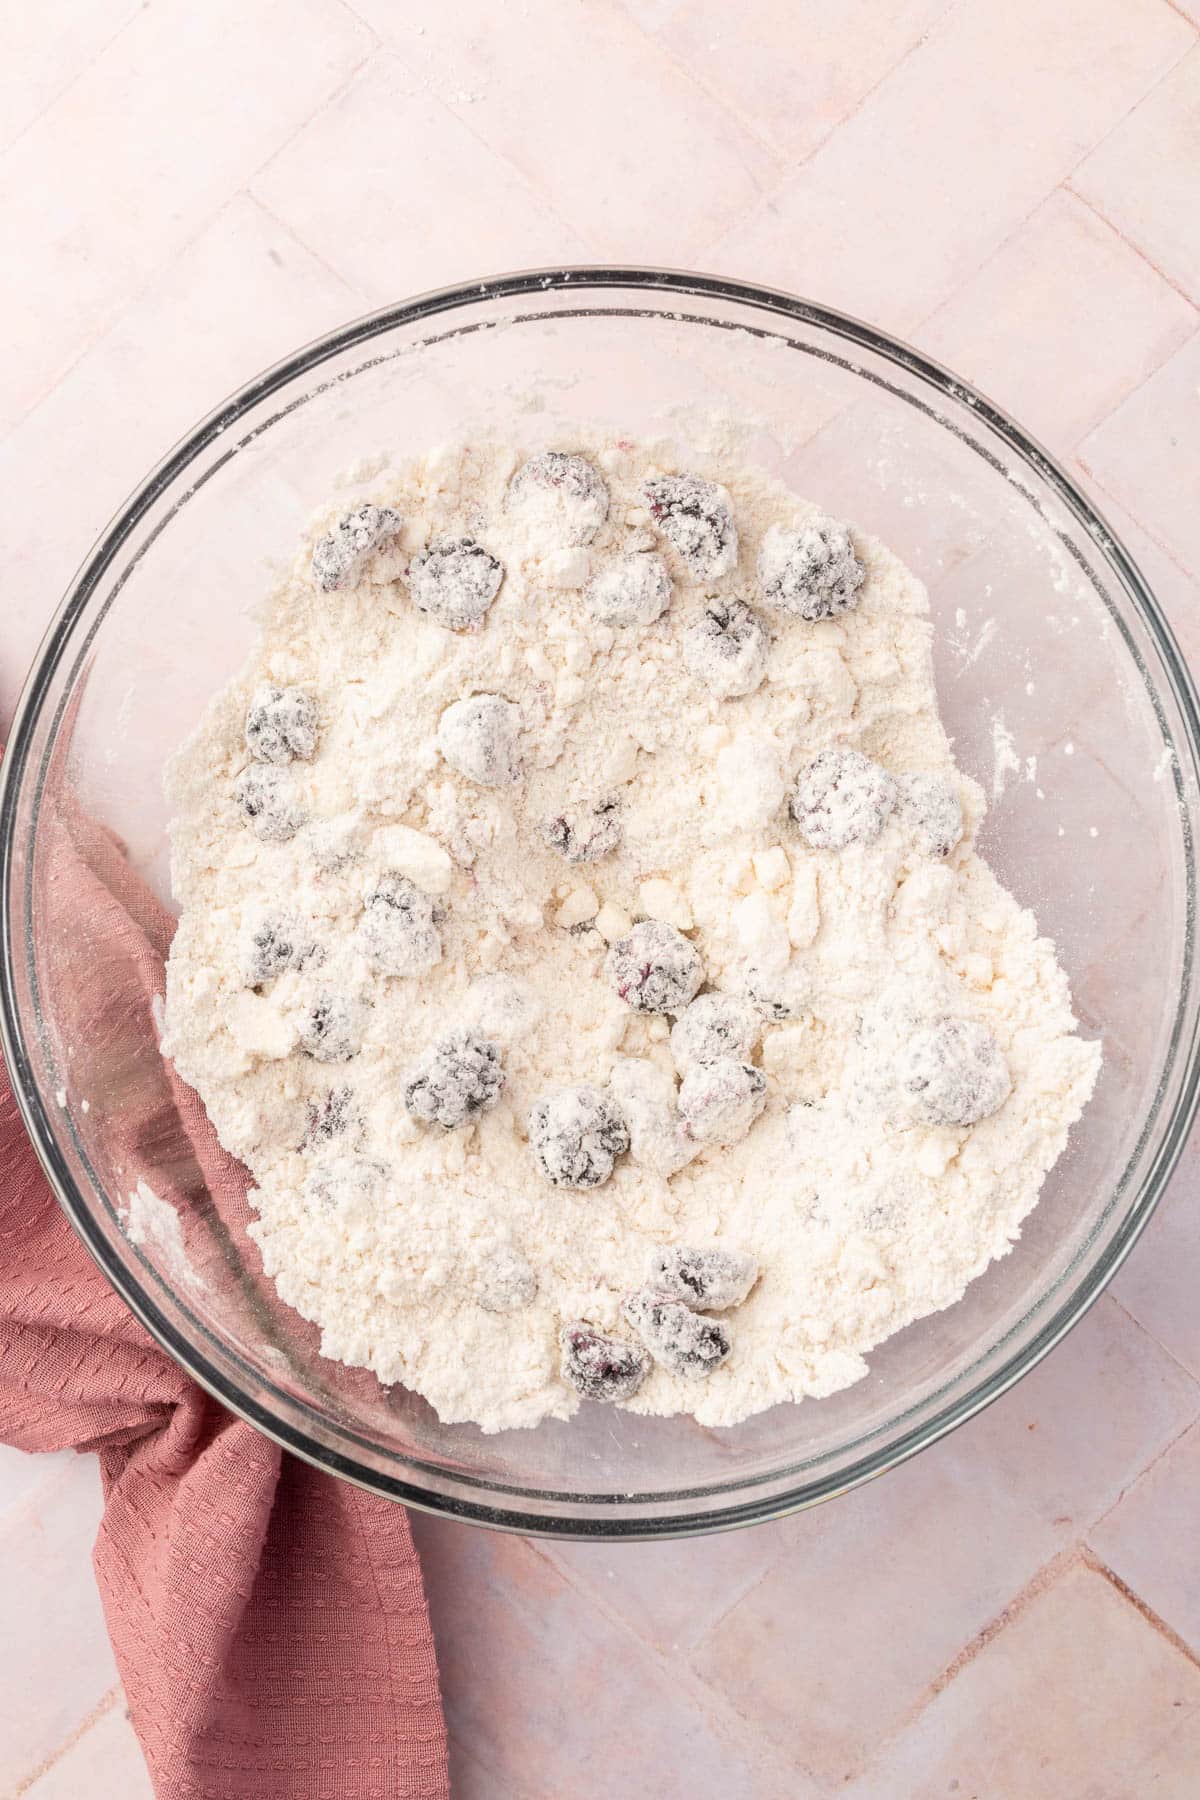
- Add the fresh chopped blackberries to the flour mixture, and toss until they are coated with the flour mixture.
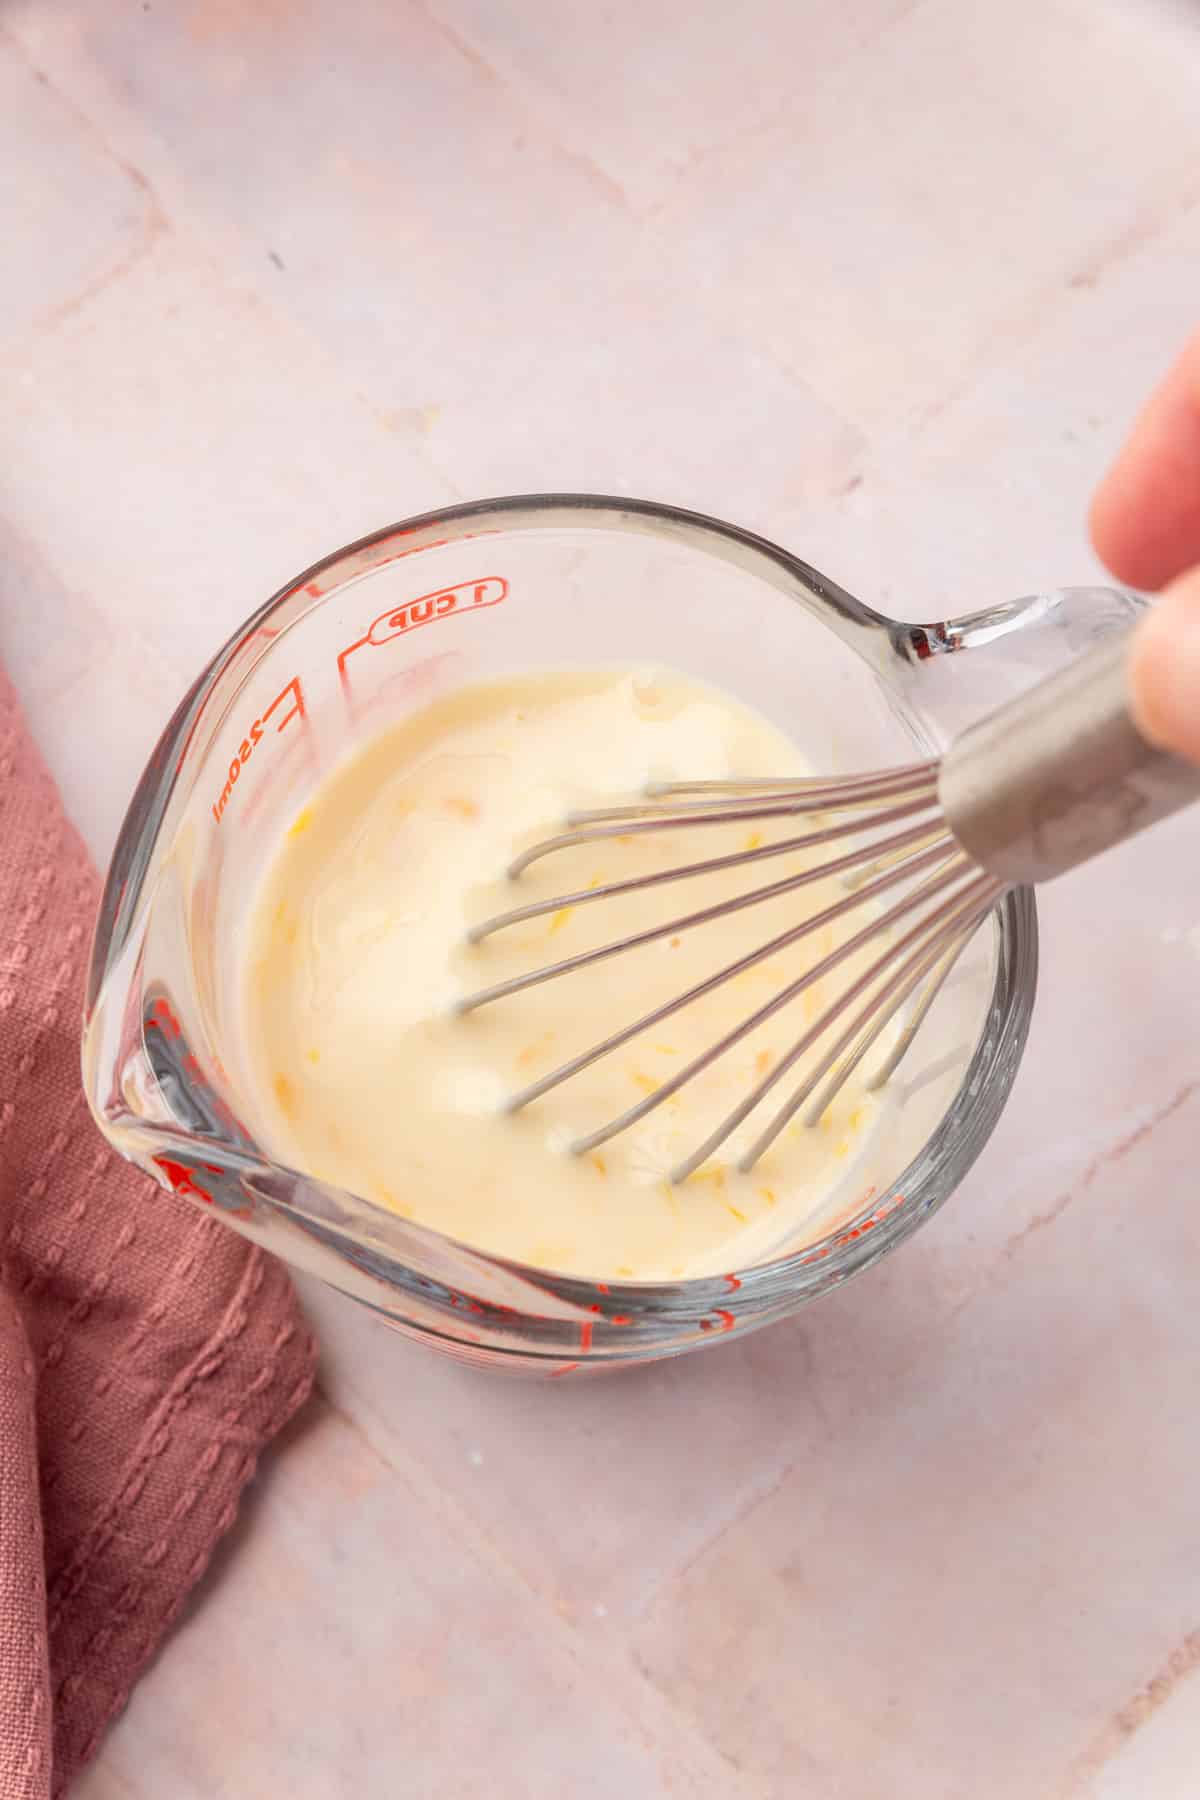
- In a separate small mixing bowl, whisk together 1/3 cup of the milk, the egg, and the vanilla extract.
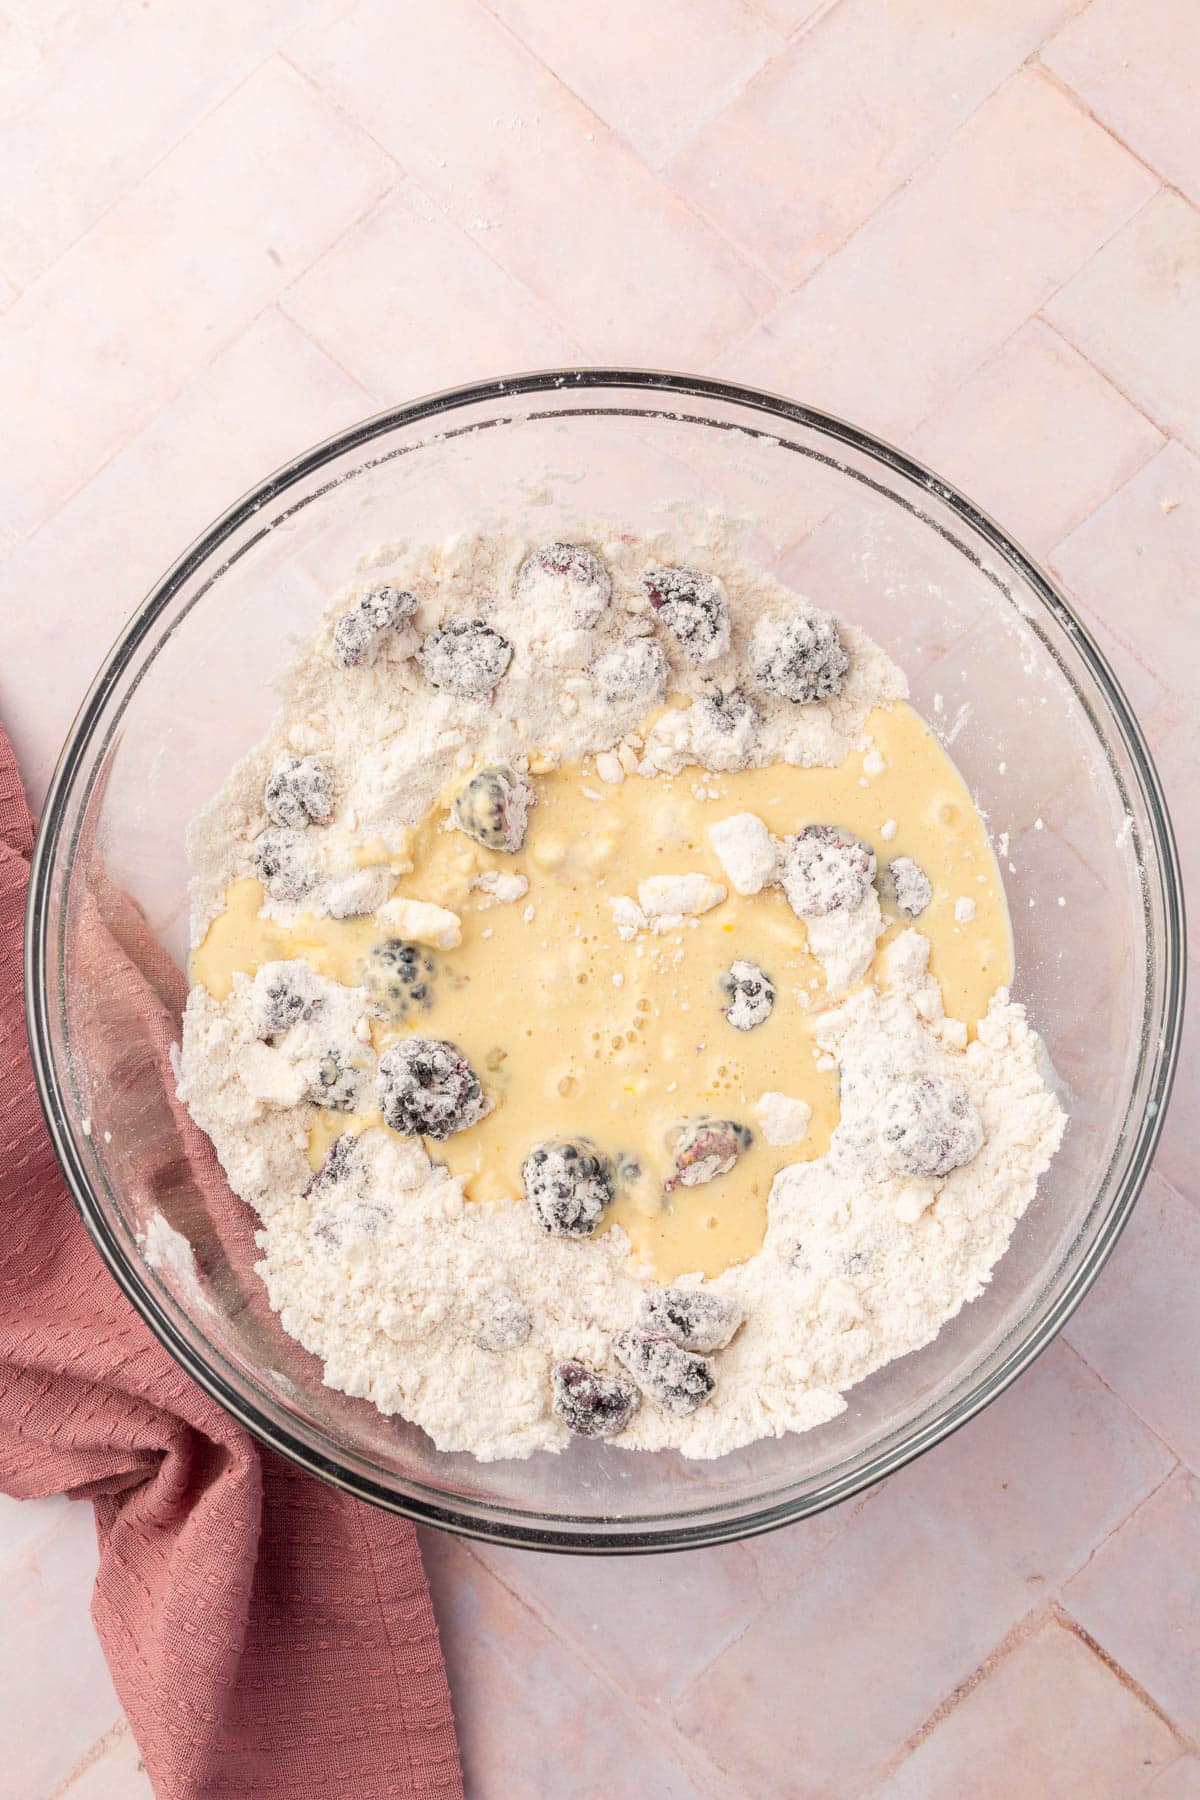
- Pour the milk/egg mixture into the gluten-free flour mixture, and stir to combine. If the dough is still too dry, add more milk, a tablespoon at a time. Do not add too much milk, you should just be able to mix it all together with no more loose flour on the bottom of the bowl. Try not to overwork the dough or the blackberries will bleed into the dough and the scones will turn out dense.
- Turn the dough out onto a lightly floured surface and shape it into a circle that is about 1.5 inches thick, and 6-inches wide. Scones do not rise very much so you want to make sure that the dough is tall.
- Cut the circle into 8 equal wedges.
- Transfer the wedges to the prepared baking sheet, leaving about 2 inches of space between them.
- Brush the tops of the scones with the melted butter and sprinkle with turbinado sugar.
- Bake the scones in the preheated oven for 18-20 minutes, or until they are golden brown and a toothpick inserted into the center comes out clean.
- Remove the scones from the oven and allow them to cool for at least 10 minutes before serving.
Notes
- This recipe was tested with Bob’s Red Mill 1-to-1 Gluten-Free Baking Flour in the blue bag. I cannot guarantee that other flour blends work as I have not tested them.
- Bob’s Red Mill 1-to-1 Gluten-Free Baking flour already contains xanthan gum, so you will not need to add it to this recipe. If you are using a different gluten-free flour blend that does not contain xanthan gum, you will need to add it. I recommend using 1/2 teaspoon xanthan gum.
- For best results, measure your gluten-free flour by using a food scale and using the metric measurements provided in the recipe. A food scale is only about $10 and will provide you with very accurate results. Gluten-free ingredients are expensive, so making sure that your measurements are as accurate as possible is very important so you can have great results in your gluten-free baking.
- If you have celiac disease or are on a gluten-free diet, always be sure to double check your ingredients to ensure that they are gluten-free and that manufacturing practices have not changed.




I was lucky enough to eat these Blackberry scones that Megan shared with me. They are super delicious…and great to know they are healthy. And the study abroad story to go with them is truly memorable!
Yay! So glad you liked them!
These are darling! I used to love scones and simply don’t them anymore because I will eat the whole batch!
Thanks Anna! I will say I ate wayyyyy too many. I think they would freeze well so next time I’ll try that so I can enjoy a nice treat every once in awhile!
I think I need to make these stat!
Thanks Jessica! I hope you do 🙂 let me know how they turn out!
Super cute tea time dish!
Kari
http://www.sweetteasweetie.com
Thanks Kari! I agree! These would be perfect with a cup of tea 🙂
I have a major weakness for scones with coffee. I tend to create epic failures when I attempt baking, so this is super impressive in my book! Thanks for linking up on Tuesday!
Kim
http://peeledwellness.com
Thanks so much Kim! I love linking up with your party on Tuesdays! 🙂
These look amazing. i made scones with a gf baking mix and they turned out well, but I would like to try these. Thanks for posting.
Thanks Janice! Let me know how they turn out if you try them 🙂 they’ve become a favorite in my house!
This is a wonderful gluten free scone recipe. They were perfectly tender and flaky as stated. I added the zest of one lemon to the recipe. Once the scones were cool I made a lemon glaze with lemon juice, zest, and powdered sugar. They don’t need it but we do love a glaze at my house. I’m keeping this as my go to scone recipe!
I’m so glad you enjoyed it, Joy! Thanks for coming back to leave a review. Your lemon additions sound great! I’ll have to do that next time!