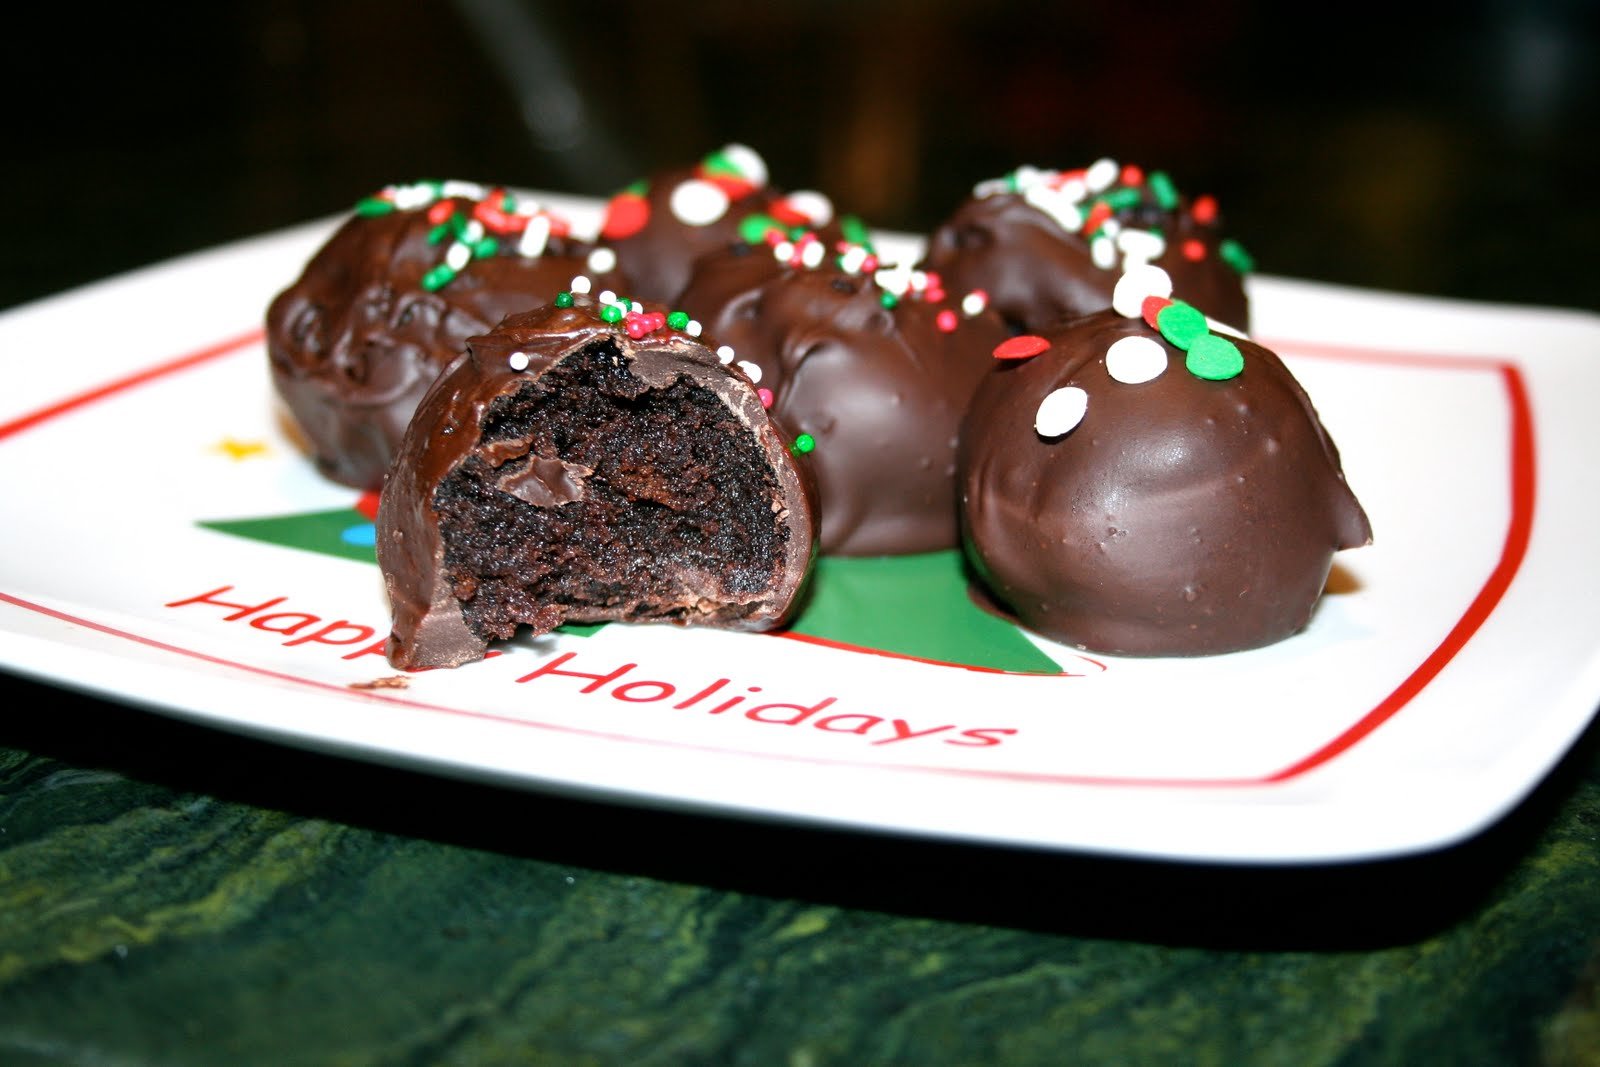
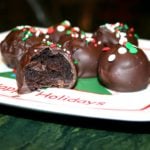
These gluten-free chocolate cake balls are rich, chocolatey, and incredibly easy to make with just a box of gluten-free cake mix, frosting, and melted chocolate. They’re perfect for holidays, parties, or anytime you want a bite-sized dessert that looks impressive but takes minimal effort.
I make these all the time because you can mix and match cake and frosting flavors to create endless variations. If you want to turn them into cake pops, just insert lollipop sticks before dipping them in chocolate. Either way, they’re always a hit.
Why You’ll Love this Recipe
Ingredient Notes
- Gluten-Free Cake Mix: Use any brand of gluten-free chocolate cake mix you like. I use King Arthur Gluten-Free Chocolate Cake Mix or Bob’s Red Mill. Follow the package directions for baking and use whatever the box calls for (usually eggs, oil, and water or milk).
- Frosting: Use store-bought chocolate frosting or vanilla frosting for this recipe. You can also use homemade Chocolate Cream Cheese Frosting if you prefer. Start with less frosting and add more as needed – too much makes the balls greasy and soft.
- Chocolate for Coating: Use chocolate candy melts or chocolate almond bark. These melt smoothly and harden quickly with a nice shell. You can also use chocolate chips with a tablespoon of coconut oil added to thin them out, but candy melts work better.
- Toppings: Sprinkles, chopped nuts, crushed candy canes, mini chocolate chips, or leave them plain. Add toppings while the chocolate coating is still wet so they stick.
- Lollipop Sticks (for Cake Pops): If you want to make cake pops instead of cake balls, you’ll need 4-inch lollipop sticks. Dip the tip of each stick in melted chocolate before inserting it into the cake ball – this acts like glue and keeps the ball from falling off.
Tip
Don’t add too much frosting. Start with about 3/4 of the can and mix it into the crumbled cake. Add more only if needed. The mixture should hold together when rolled into a ball but not feel greasy or overly wet.
Recipe FAQs
Yes! You can use any flavor of gluten-free cake mix you like. Vanilla, yellow, red velvet, and funfetti all work great. We don’t get much variety in terms of gluten-free cake mixes at the grocery store, but mix and match cake and frosting flavors to create different combinations based on what you can find.
This usually means there’s not enough frosting to bind the cake crumbs together. Add more frosting 1 tablespoon at a time until the mixture holds together when squeezed into a ball.
For cake pops, always dip the tip of the stick in melted chocolate before inserting it into the cake ball. This acts as glue. Also make sure the balls are well chilled before dipping and don’t tap too hard to remove excess chocolate.
Yes, but add 1 tablespoon of coconut oil or vegetable oil per cup of chocolate chips to thin them out. Chocolate chips don’t melt as smoothly as candy melts and can be thicker and harder to work with.
Expert Tips
Storage instructions
Make Ahead: Bake the cake up to 1 day in advance and store at room temperature. Shape the cake balls up to 2 days ahead and refrigerate until ready to dip.
Room Temperature: Store dipped cake balls in an airtight container at room temperature for up to 3 days. They’re fine to sit out at parties for several hours.
Refrigerator: Store in an airtight container for up to 1 week. Let them sit at room temperature for 10-15 minutes before serving for the best texture.
Freezer: Freeze dipped cake balls in a single layer on a baking sheet until solid, then transfer to a freezer bag or container for up to 3 months. Thaw in the refrigerator overnight or at room temperature for 1-2 hours.
Serving suggestions
These chocolate cake balls are perfect on their own, but they also make a great addition to a dessert spread. Serve them alongside Gluten-Free Brownies and Gluten-Free Chocolate Chip Cookies for a chocolate lover’s dream table. They’re also great with Gluten-Free Sugar Cookies for color and variety at holiday parties.
More gluten-free cake recipes
Did you make this recipe?
I’d love to know! Please rate it and leave a comment below. You can also share your pictures and tag @adashofmegnut on Instagram.
Gluten-Free Chocolate Cake Balls
Equipment
- 24 lollipop sticks 4-inch, optional for cake pops version
Ingredients
- 1 gluten free box cake mix - cook as directed on back of the box
- 1 cup chocolate frosting - from one 16 oz can
- 16 oz chocolate bark - or chocolate candy metls, check label to ensure gluten-free
- gluten-free sprinkles, chopped nuts, or other toppings - optional
**Use the toggle button above to turn the instruction photos on and off!
Instructions
Make the cake:
- Bake the cake: Prepare 1 gluten free box cake mix according to package directions. Bake in a 9×13-inch pan or as directed on the box. Let the cake cool completely at room temperature or refrigerate for faster cooling. For best results, bake the cake the night before.
Shape the cake balls:
- Crumble the cake: Once the cake is completely cool, crumble it into fine crumbs in a large bowl using your hands or a food processor. Break up any large chunks until you have fine, even crumbs.
- Add frosting: Add ¾ cup of the 1 cup chocolate frosting to the crumbled cake. Mix with your hands or a spoon until well combined. The mixture should hold together when squeezed into a ball. If it's too crumbly, add more frosting 1 tablespoon at a time.
- Roll into balls: Scoop about a heaping tablespoon of the mixture and roll it into a smooth ball between your palms. Each ball should be about 1 inch in diameter. Place the balls on a baking sheet lined with parchment paper.
- Chill: Refrigerate the cake balls for at least 2 hours or freeze for 30 minutes until very firm. Cold balls are much easier to dip in chocolate.
Dip in chocolate:
- Melt the chocolate: Place 16 oz chocolate bark in a tall, narrow microwave-safe container. Microwave in 30-second intervals, stirring between each interval, until smooth and melted. If the chocolate is too thick, stir in 1 tablespoon of coconut oil.
- Dip the balls (for cake balls): Using a fork or dipping tool, dip each chilled cake ball into the melted chocolate, turning to coat completely. Tap the fork gently on the edge of the container to remove excess chocolate. Place on parchment paper.
- Add toppings: Immediately sprinkle with gluten-free sprinkles, chopped nuts, or other toppings, if using, before the chocolate sets.
For cake pops variation:
- Insert sticks: Dip the tip of a lollipop stick about ½ inch into the melted chocolate, then insert it halfway into a chilled cake ball. Let the chocolate set for 2-3 minutes.
- Dip the pops: Holding the stick, dip the cake ball into the melted chocolate, turning to coat. Tap the stick gently against the container edge to remove excess chocolate. Stand the stick upright in a foam block or lay flat on parchment paper to dry.
Finish:
- Let chocolate set: Allow the chocolate coating to harden completely at room temperature, about 30 minutes. If you're in a hurry, refrigerate for 10-15 minutes.
- Serve: Serve cake balls or pops at room temperature for the best flavor and texture.
Notes
- Gluten-free cake mix: Use any brand you like. King Arthur is one of my favorites. Follow the package directions for baking.
- Frosting amount: Start with ¾ cup and add more if needed. Too much frosting makes the balls greasy and soft. The mixture should hold together but not feel wet.
- Keeping cake pops upright: Use a foam block, empty egg carton, or poke holes in a cardboard box to hold cake pops upright while chocolate sets.
- Flavors: Mix and match cake and frosting flavors. Try gluten-free vanilla cake with chocolate frosting, or gluten-free chocolate cake with vanilla frosting.
- Storage: Store in airtight container at room temperature for 3 days, refrigerator for 1 week, or freezer for 3 months.
I had one of these and they are amazing! The cake was very moist and delicious, perfect for a sweets fix!