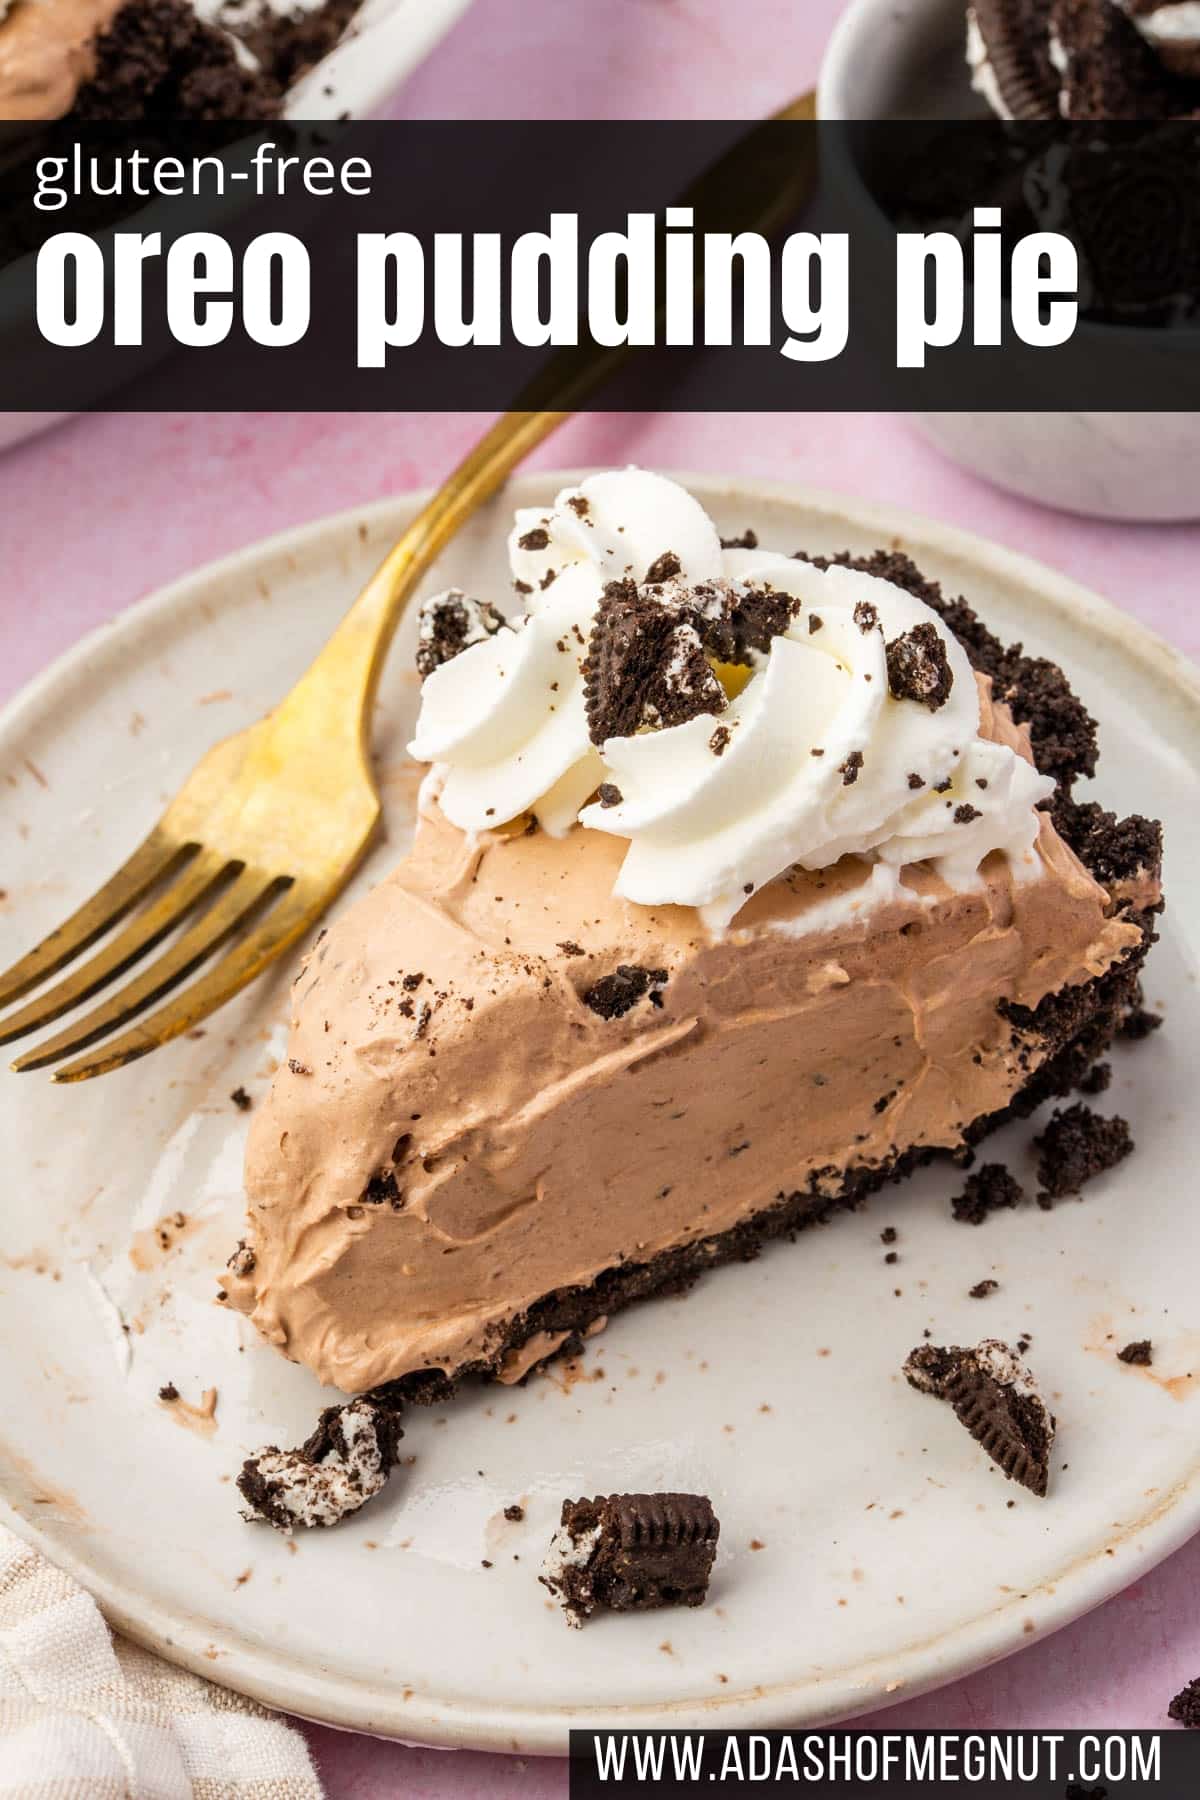
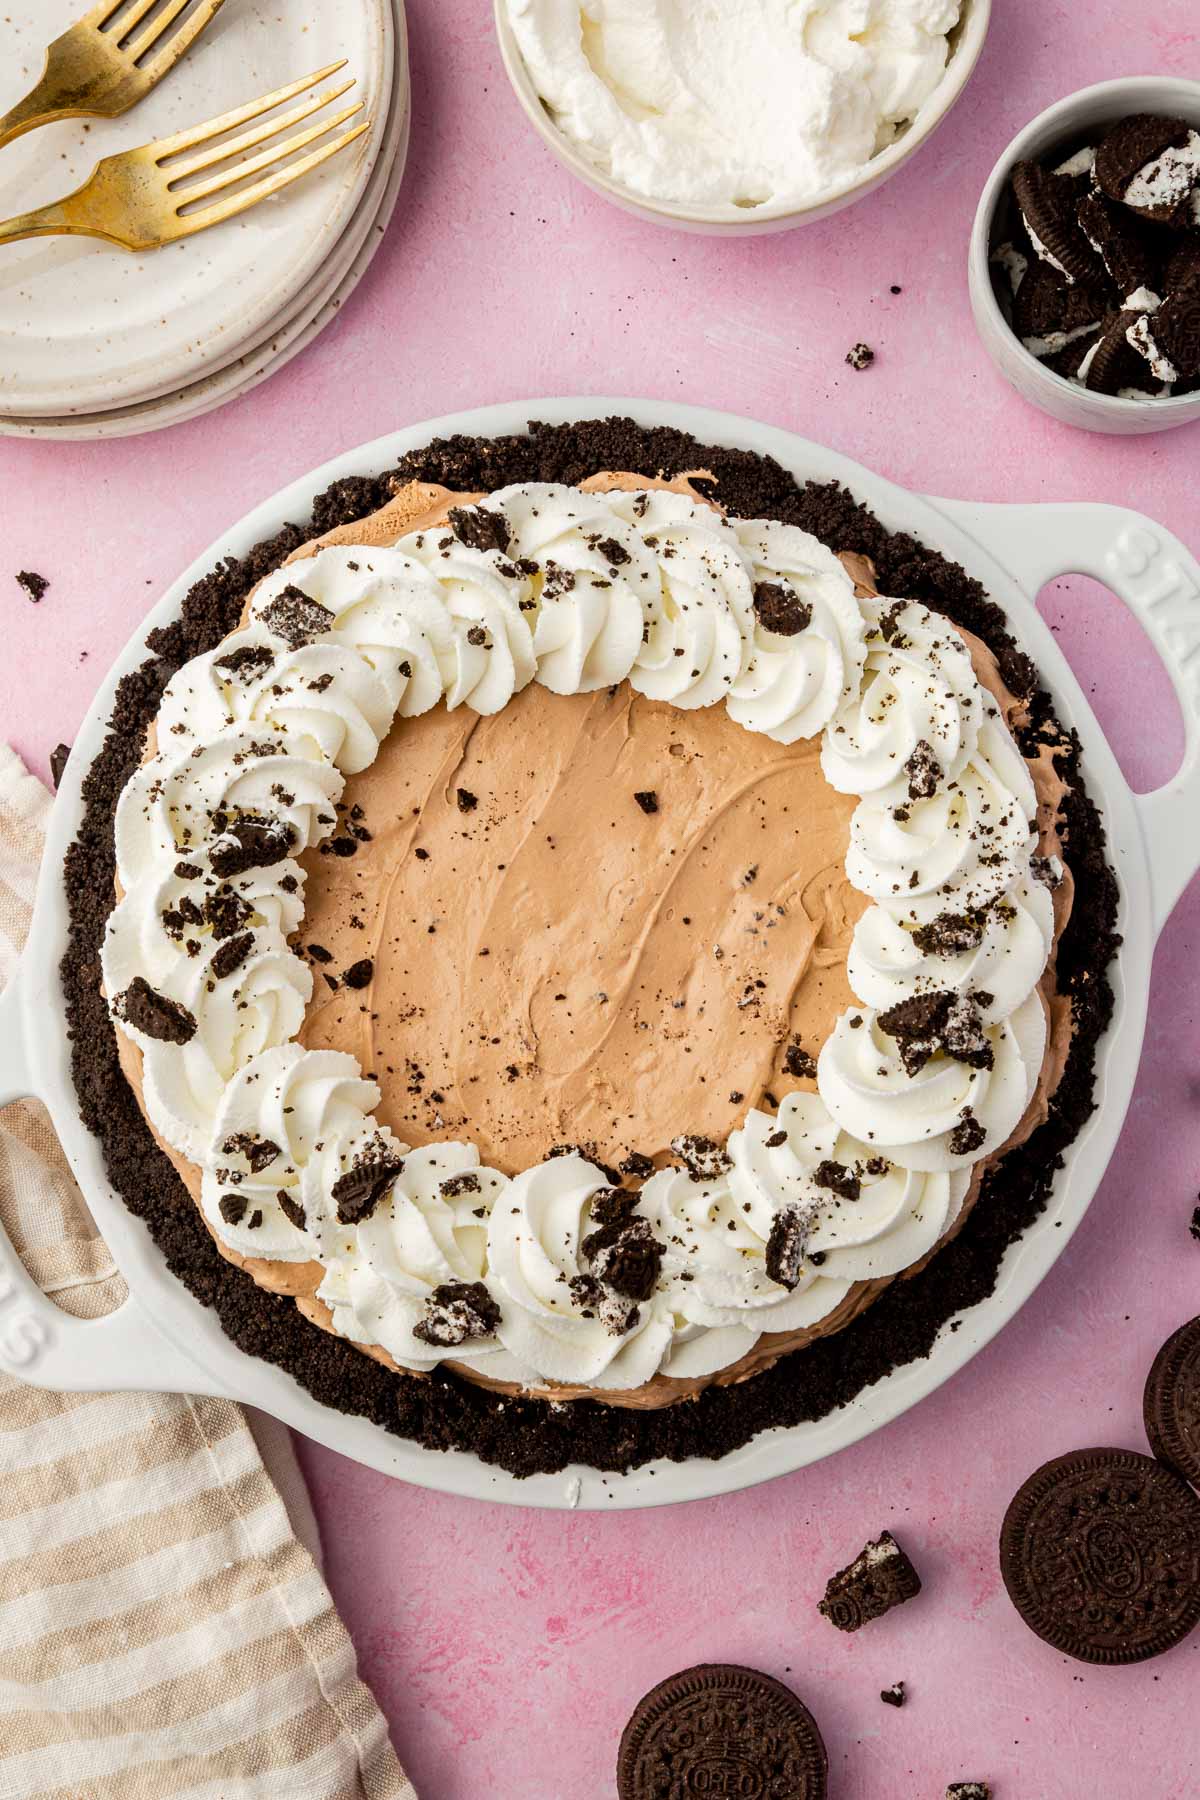
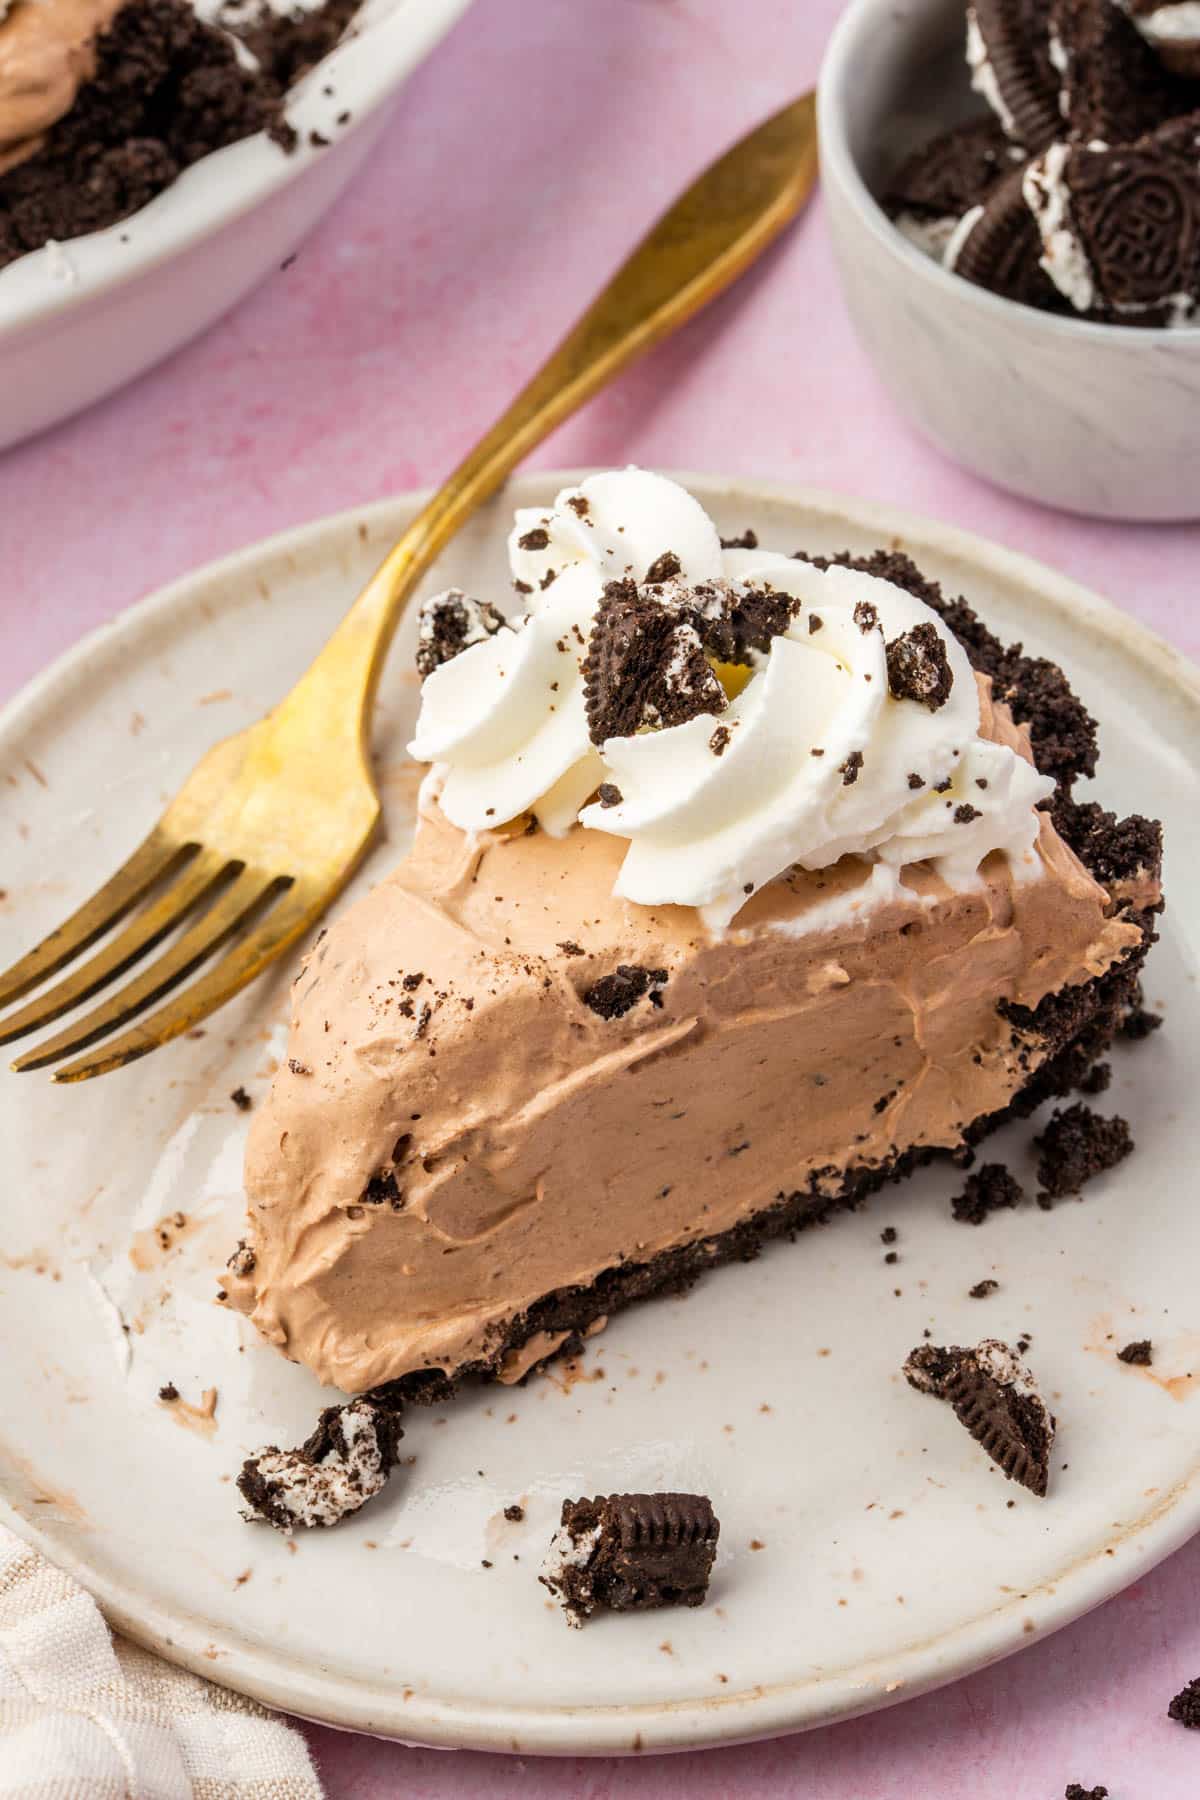
This gluten-free Oreo pudding pie is no-bake and takes about 10 minutes to put together. Homemade Oreo crust, chocolate pudding filling with cream cheese, and whipped cream on top. It needs a few hours in the fridge to set, so it’s a good one to make the day before.
While it’s delicious as is, you can customize your chocolate Oreo pie by adding your favorite toppings, like whipped cream, crushed Oreos, chocolate shavings, sprinkles, or even some fresh fruit.
Why You’ll Love This Recipe
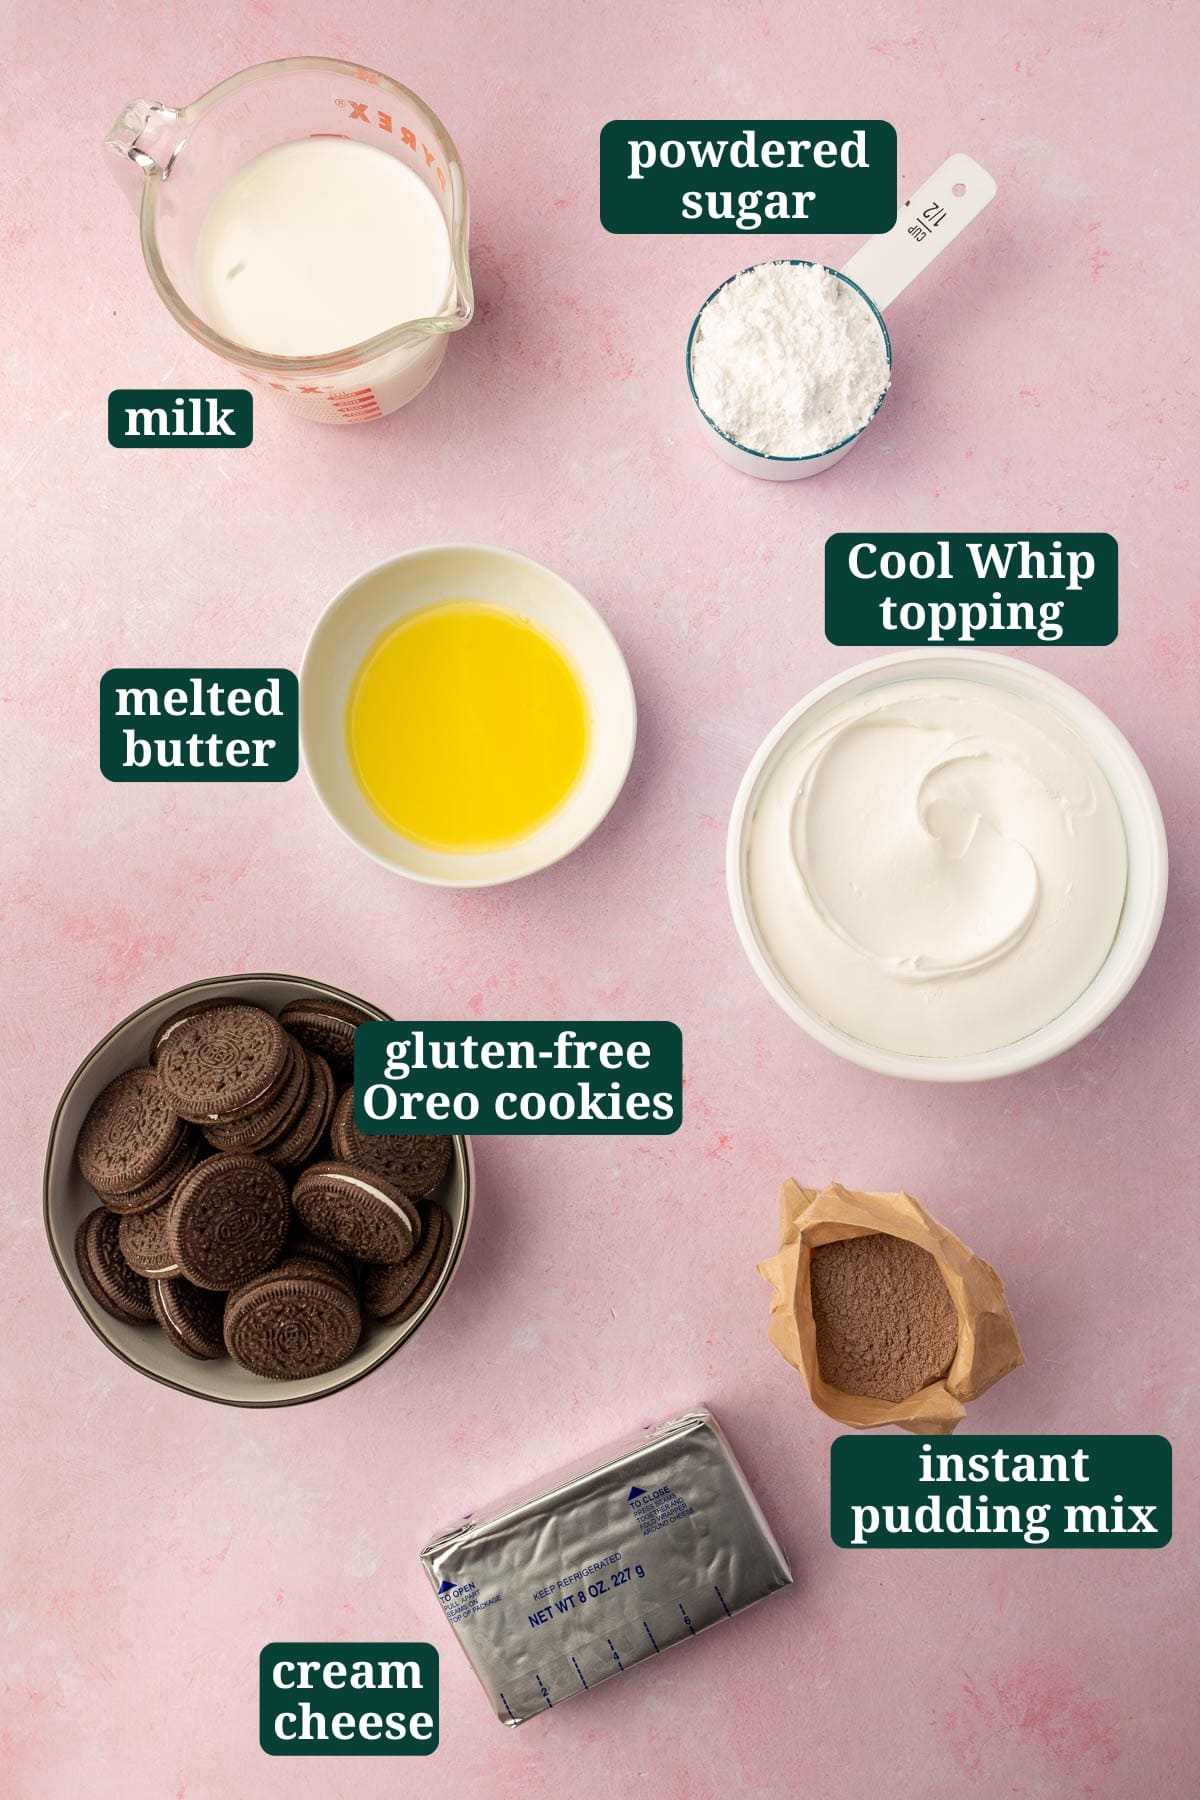
Ingredient Notes
- Gluten-Free Oreos – Use regular gluten-free Oreos, not double stuffed. Leave the cream filling in when you process them for the crust. If you can’t have oats (gluten-free Oreos contain oats), then try a gluten-free chocolate sandwich cookie that uses rice flour instead. There are few on the market that are sold at local grocery stores.
- Melted Butter – Unsalted, melted and slightly cooled before adding to the crumbs.
- Cream Cheese – Full fat, softened to room temperature. If you need to speed this up, place the wrapped block in a bowl of warm water for 5 minutes.
- Powdered Sugar – This sweetens and thickens the filling. Granulated sugar won’t work here.
- Cold Milk – Typically instant pudding calls for 2 cups of cold milk (any type will work), but we’re going to use only 1 cup so that the pie filling stays really thick. I used whole milk, but 2% or even skim milk will work in this recipe.
- Chocolate Instant Pudding Mix – Use a 3.5 oz package. Make sure it’s instant, not stovetop. Check that it’s gluten-free before buying.
- Cool Whip – Use thawed Cool Whip from the freezer section. If you substitute fresh whipped cream it will work but won’t hold its shape as well.
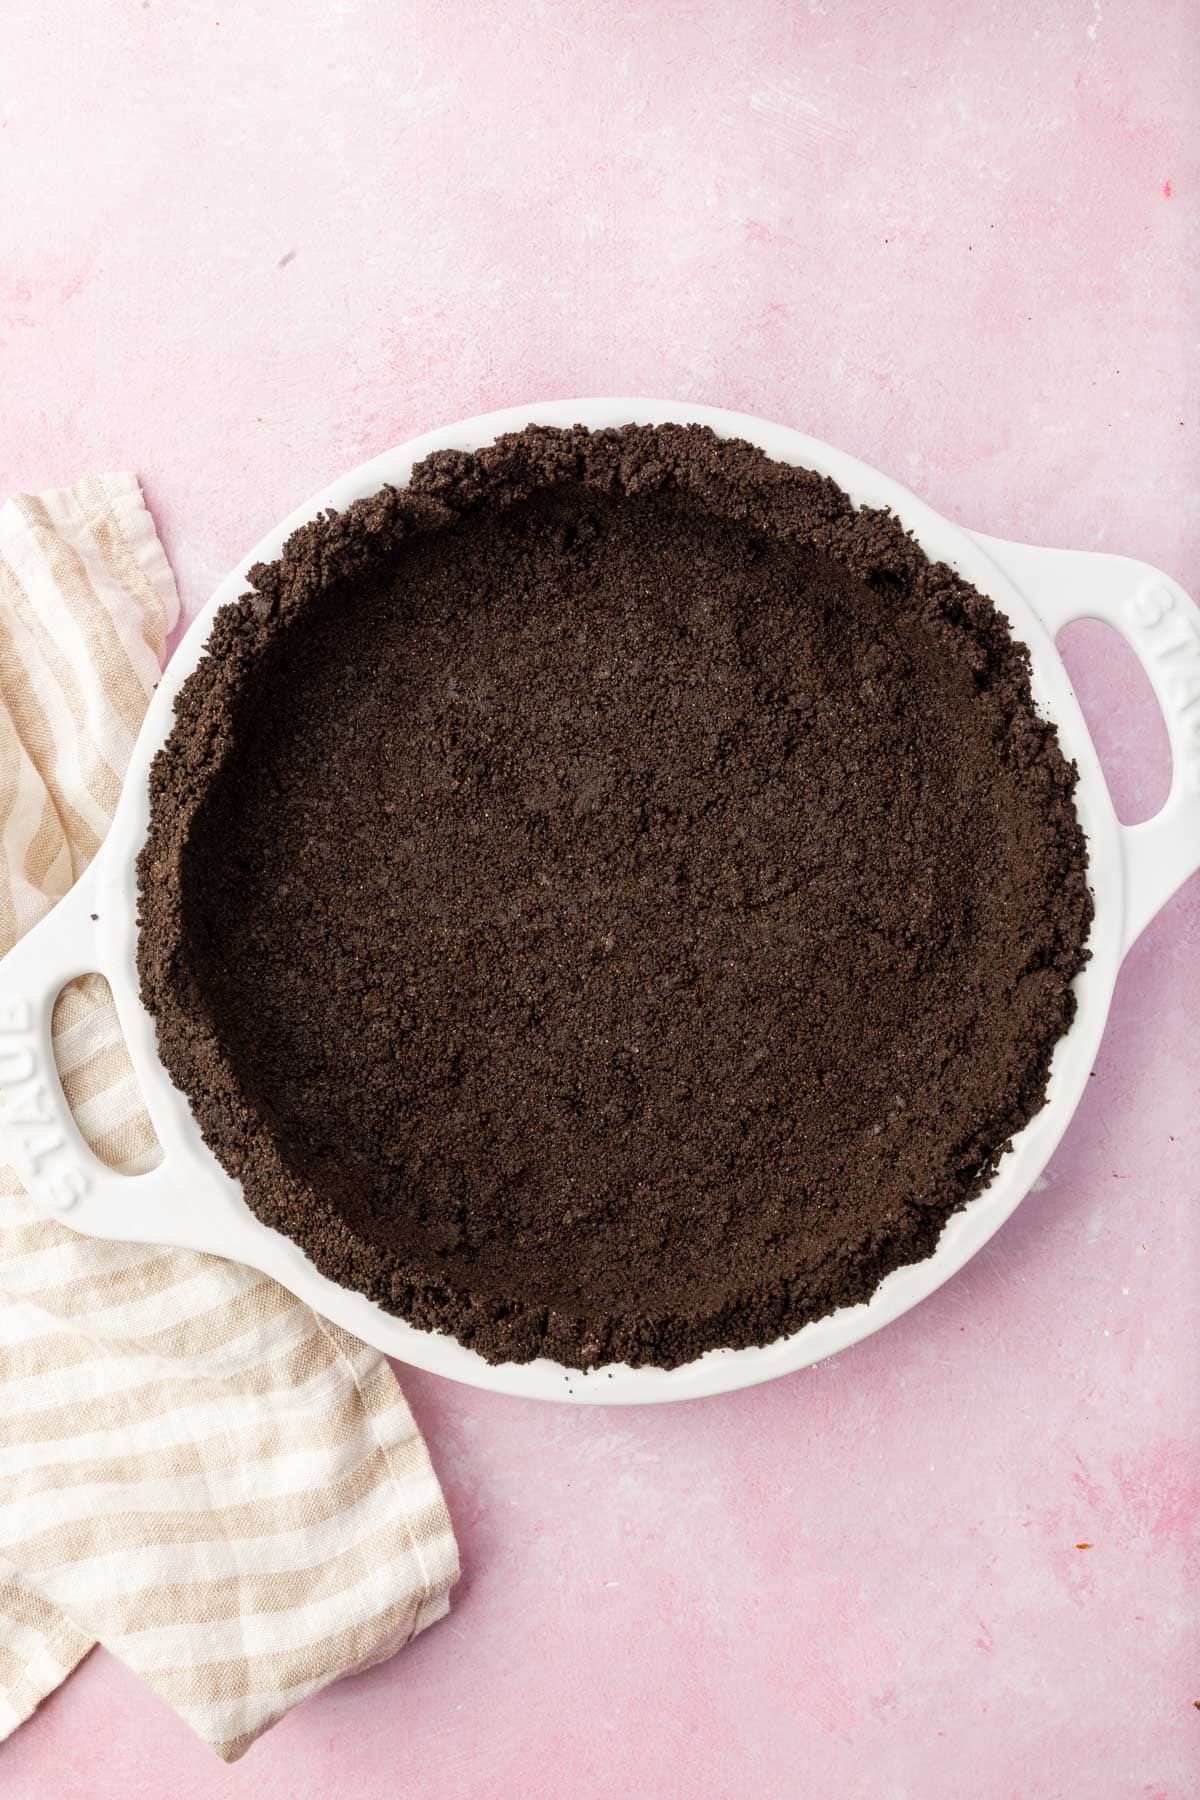
Press the crust while it’s still warm
The Oreo crumb mixture is easiest to press into the pan right after mixing, before the butter sets. Use the bottom of a measuring cup to pack it firmly up the sides. Once it’s pressed in, refrigerate for at least 30 minutes before adding the filling so it holds its shape when you slice.
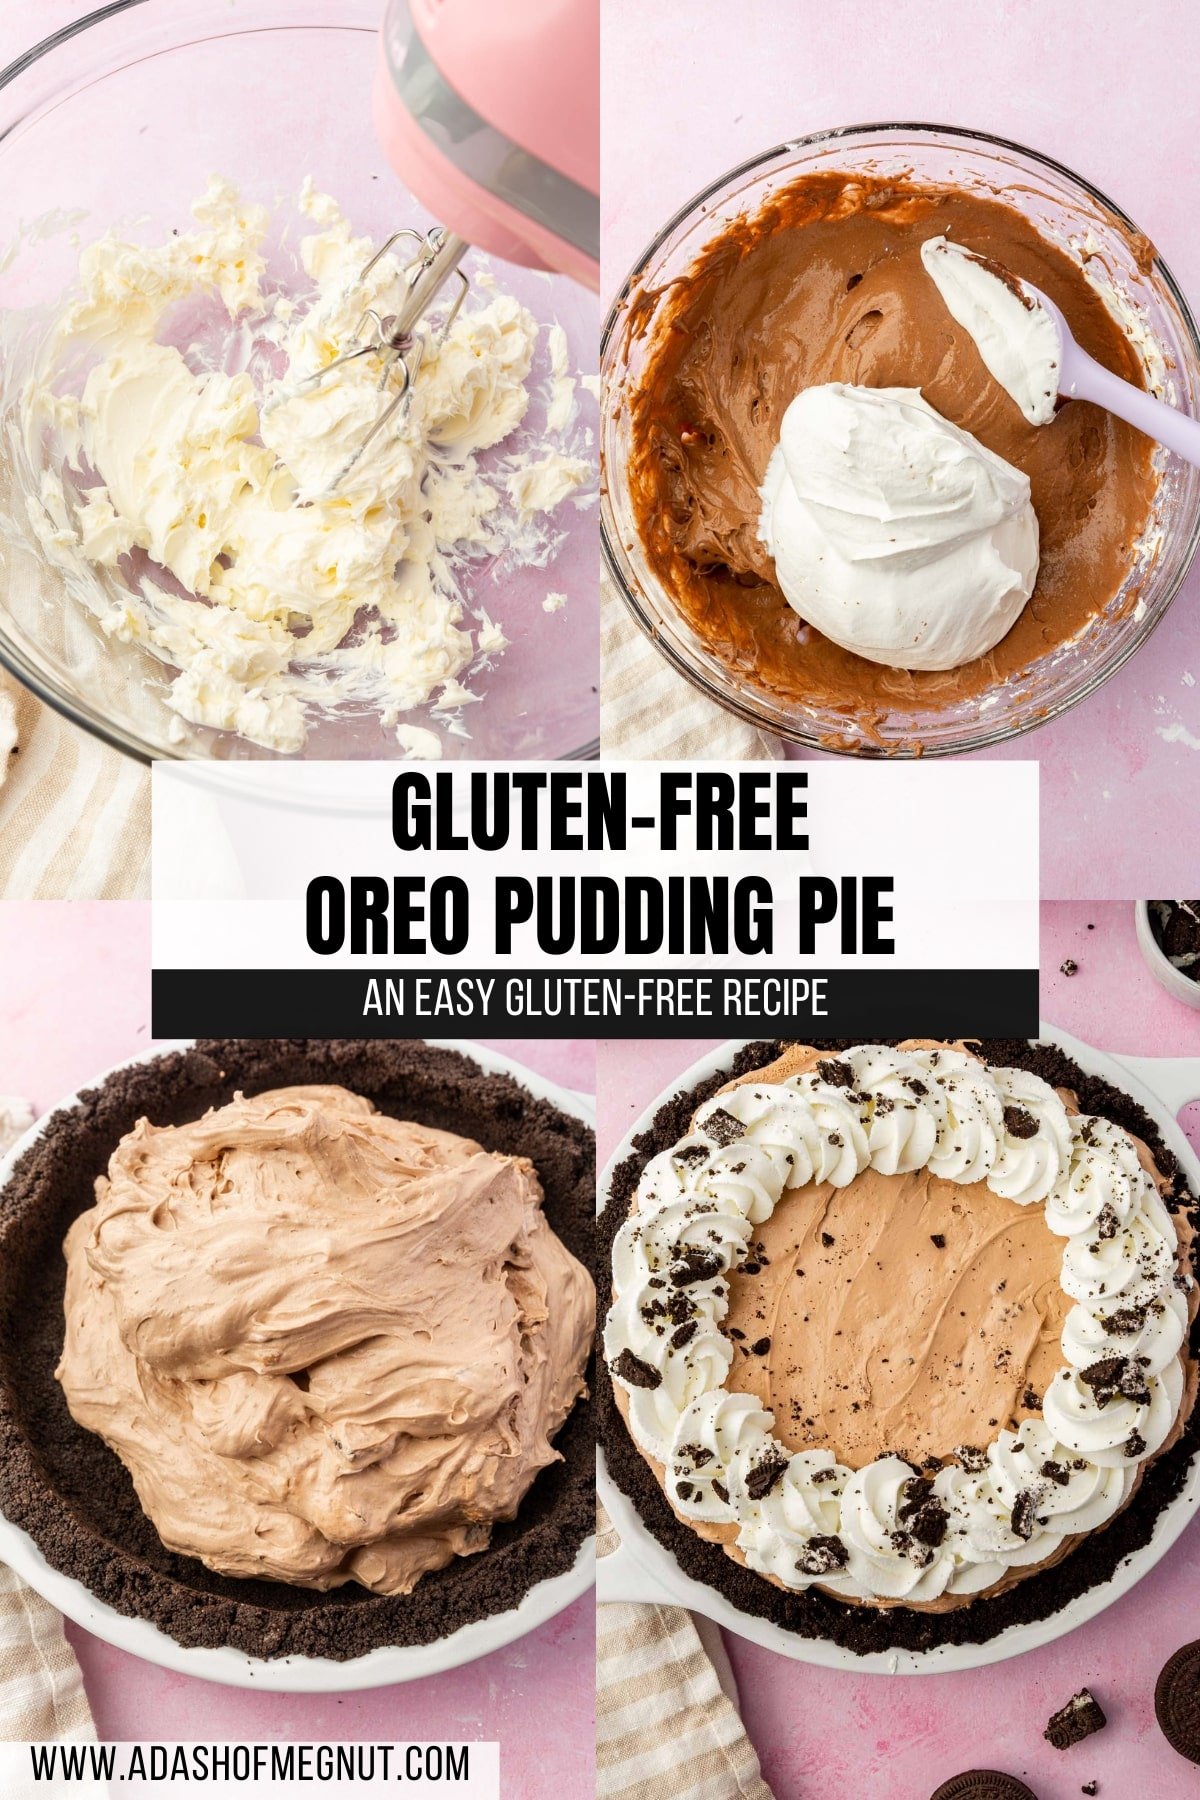
Step-by-Step Instructions
This gluten free Oreo pie is very simple to make with minimal hands-on time! The below photos and matching steps are meant to show you the recipe in various stages to help you make this Oreo pudding pie perfectly every time.
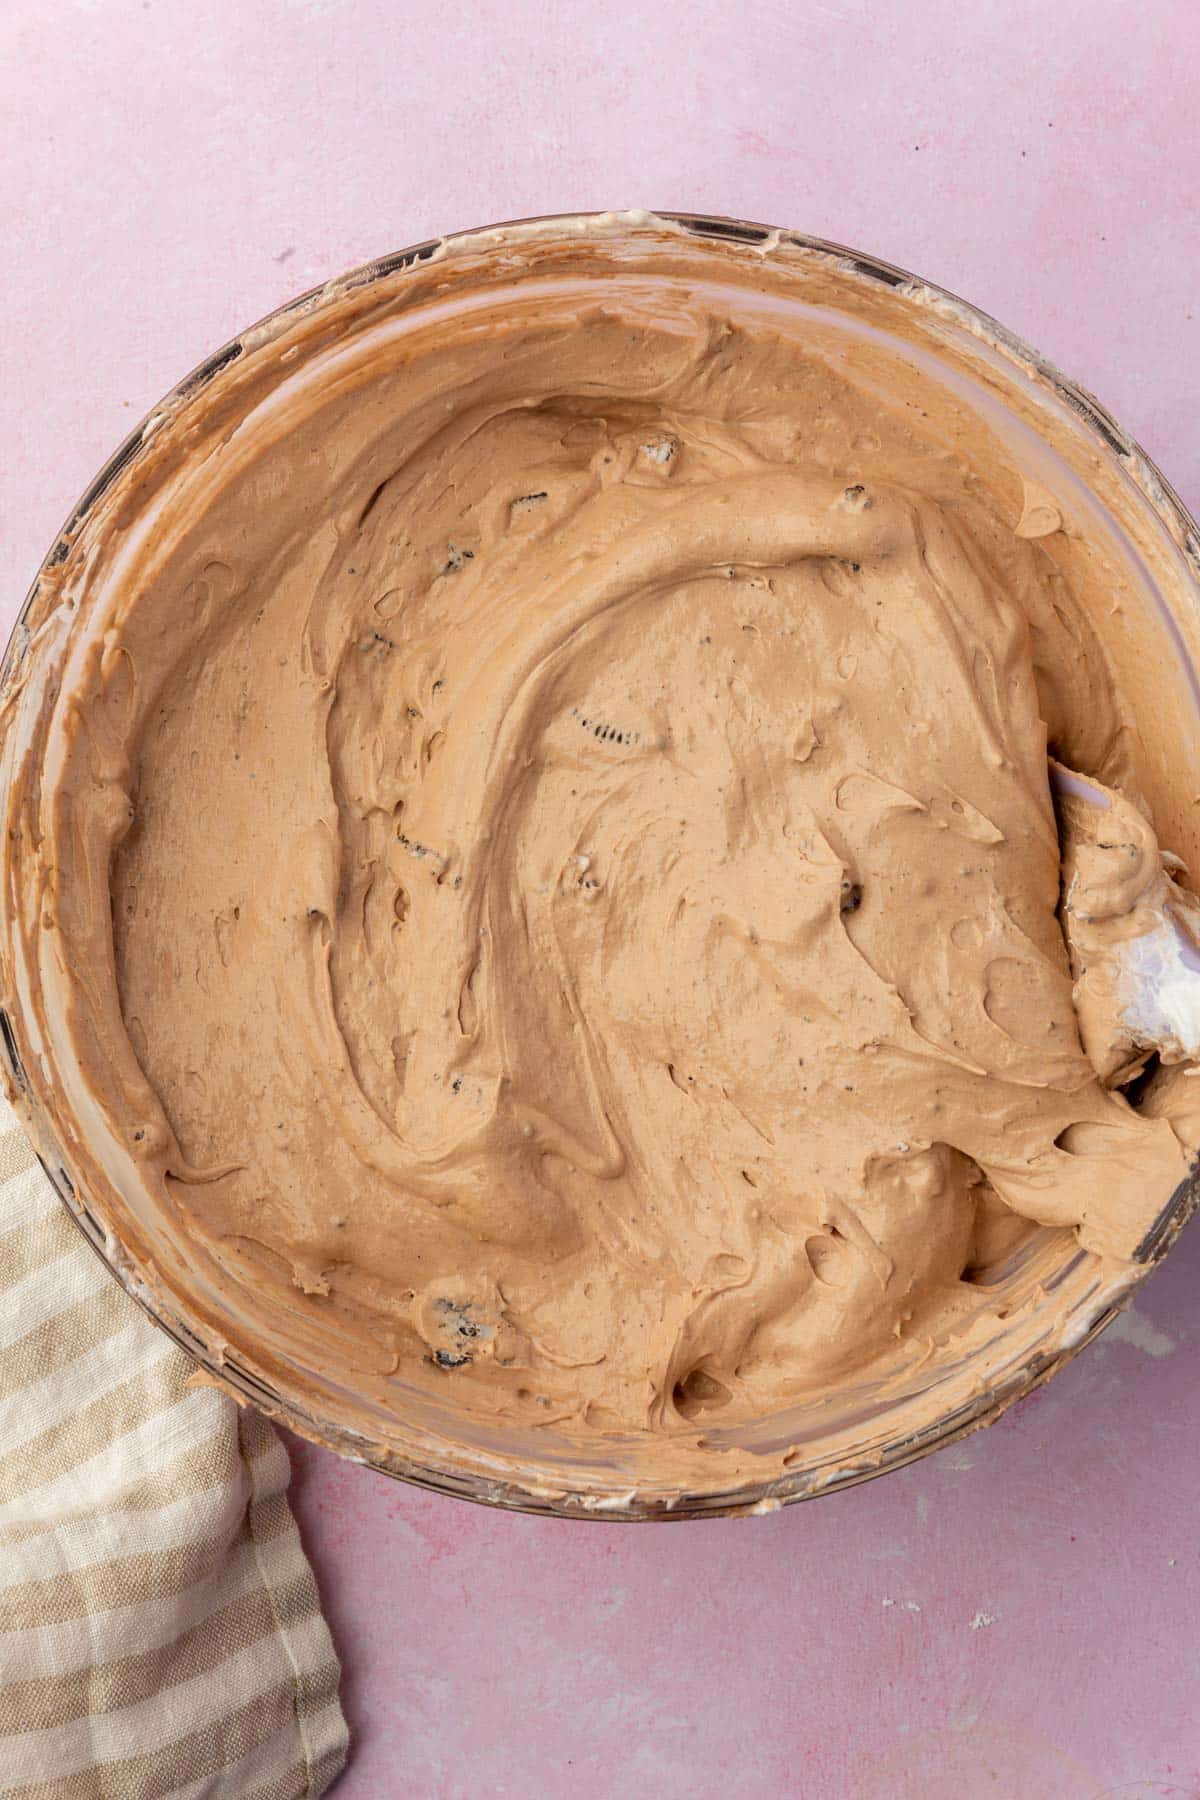
Pay special attention to the thickness of the Oreo cookie crust, the consistency of the creamy chocolate pudding, and the texture of the pie filling once it’s mixed together with the Cool Whip.
For the ingredient list with measurements, full instructions, printable recipe, and additional notes, please scroll down to the recipe card.
Recipe FAQs
Yes. The flavor will be different but the recipe works the same way.
Yes, use any gluten-free cookie for the crust or a gluten-free graham cracker instead.
Expert Tips
Storage Instructions
- Storage: Store leftover pie in the refrigerator covered for up to 3-4 days. The crust will start to get a bit softer, but will still taste delicious!
- Freezer Option: You can freeze this oreo pudding pie for up to a month. The freezer does change the texture some, so I recommend only letting it thaw for about 15 minutes and eating it from frozen as a frozen Oreo pie. Don’t add the whipped cream decoration until you’re ready to serve and eat.
Serving Suggestions
If you want to try another no-bake pie with the same Oreo crust, my gluten-free Oreo peanut butter pie is the next one to make. It has a peanut butter and cream cheese filling topped with Reese’s peanut butter cups. And if you ever want to use this crust as a base for something else, my gluten-free Oreo pie crust post walks through the full method with tips for different pan sizes.
Gluten-Free Oreo Pudding Pie
Ingredients
For the gluten-free homemade Oreo crust:
- 24 (250 g) gluten-free Oreos - approximately 9 oz of a 13oz package
- 4 tablespoons (56 g) unsalted butter - melted and slightly cooled
For the pudding filling:
- 8 oz (227 g) cream cheese - softened to room temperature
- ½ cup (60 g) powdered sugar
- 1 cup (240 g) cold whole milk
- 3.5 oz (99 g) package instant chocolate pudding mix - make sure it's gluten-free
- 8 oz (227 g) Cool Whip - thawed
- 1 cup (85 g) roughly chopped gluten-free Oreos - about 8-10 gluten-free Oreos (3 oz – this is the remaining Oreos from the same package we used in the crust)
For decorating:
- 1 cup homemade whipped cream - optional
- additional crushed gluten-free Oreos - optional
**Use the toggle button above to turn the instruction photos on and off!
Instructions
For the Crust:
- Add 24 (250 g) gluten-free Oreos to a food processor and process until fine crumbs form.
- Transfer the crumbs to a bowl and add 4 tablespoons (56 g) unsalted butter that has been melted and slightly cooled. Stir until combined.
- Press the mixture into a greased 9-inch pie plate, using the bottom of a measuring cup to pack it firmly across the bottom and up the sides.
- Refrigerate for at least 30 minutes to firm up, or bake at 350°F for 10 minutes for a firmer crust. Cool completely before filling.
For the Filling:
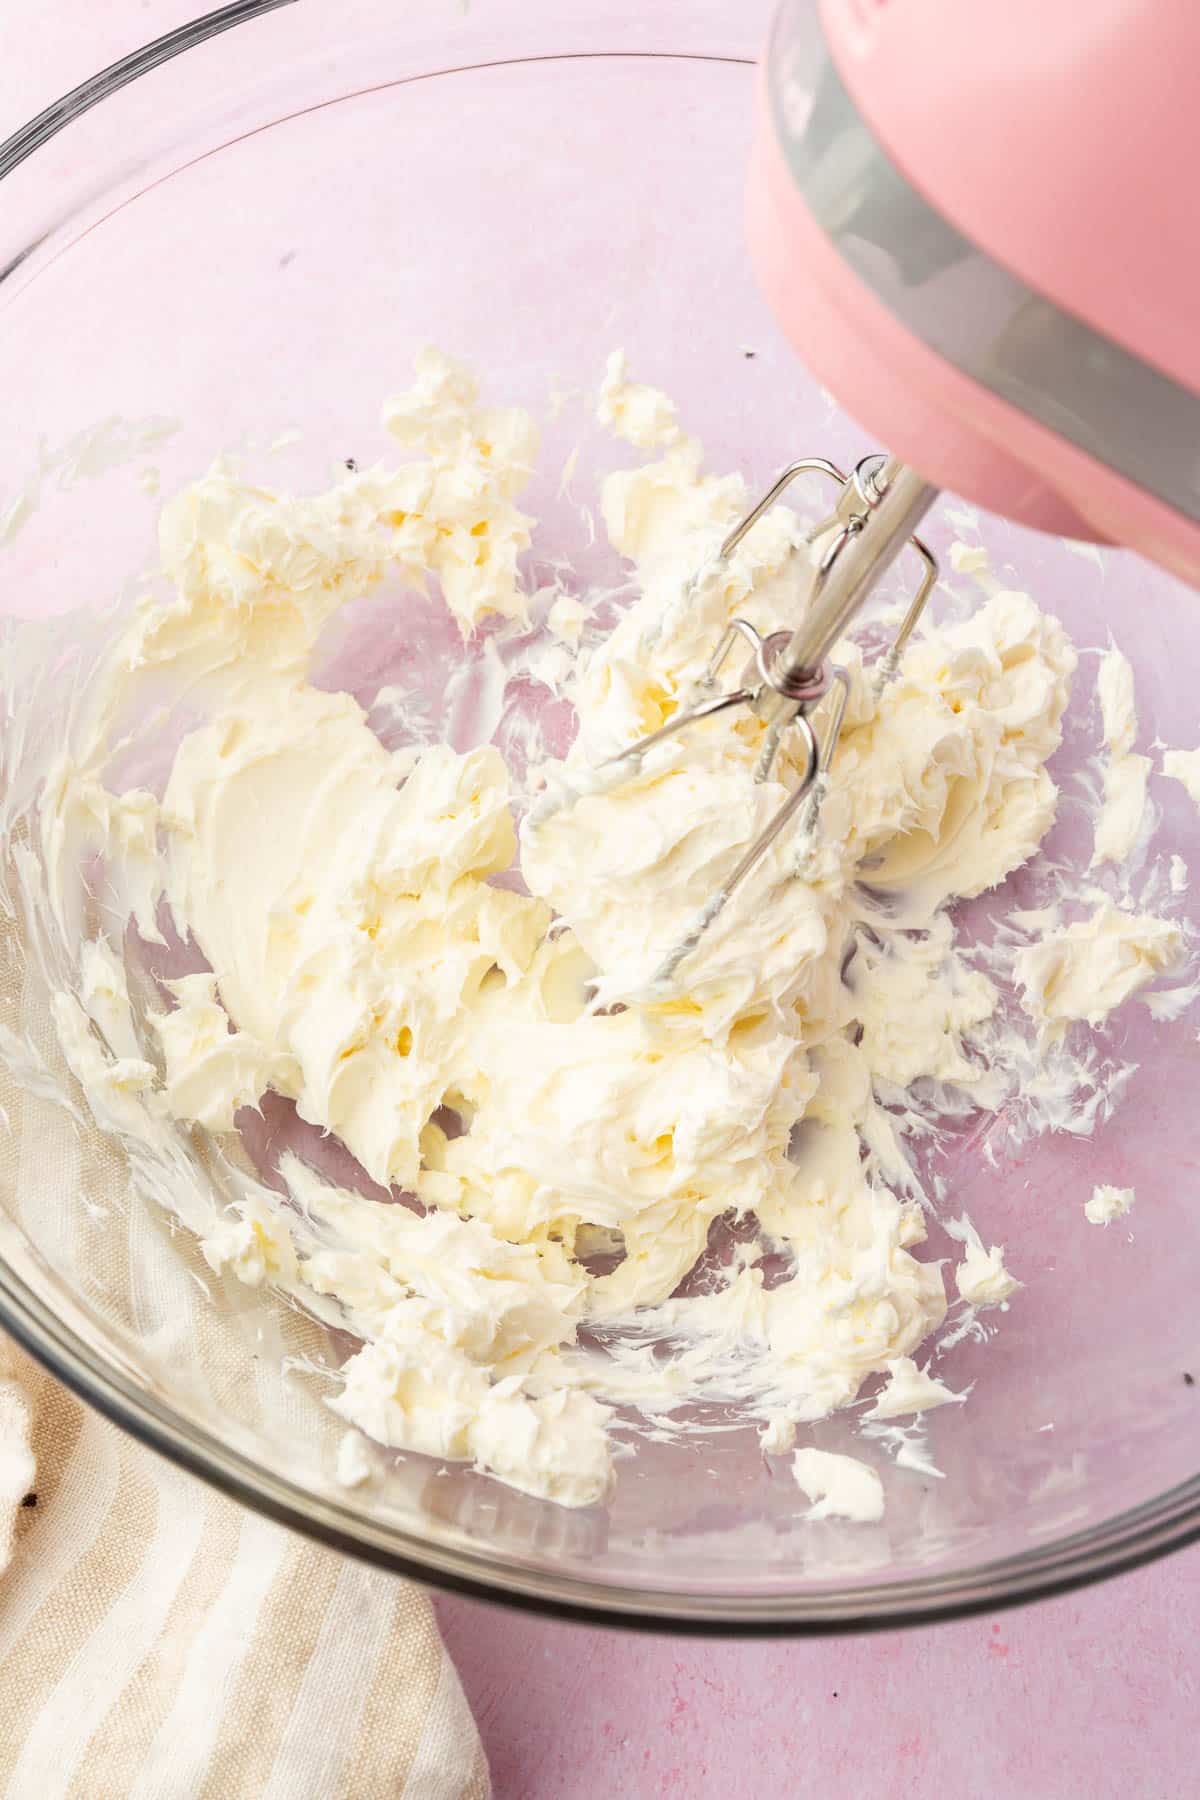
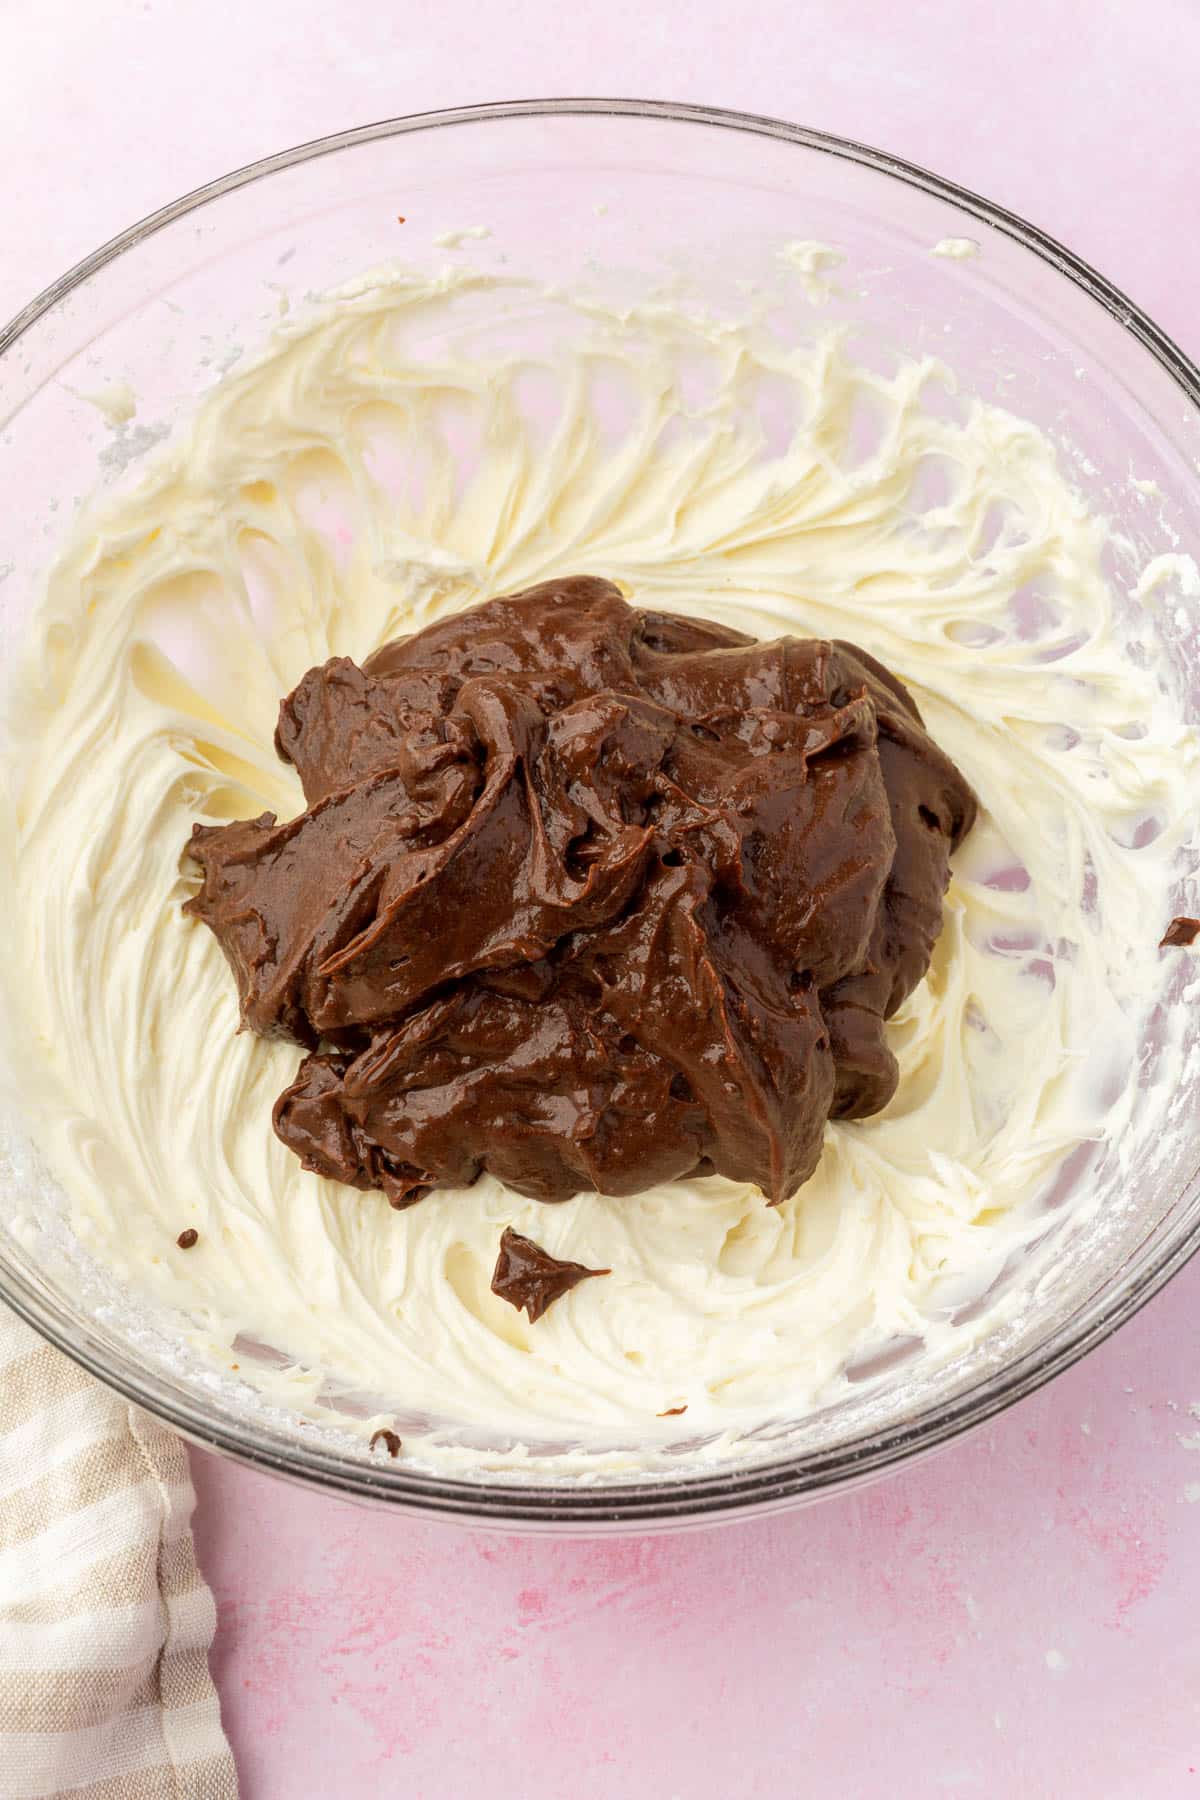
- In a large bowl, beat 8 oz (227 g) cream cheese and ½ cup (60 g) powdered sugar with an electric mixer until smooth.
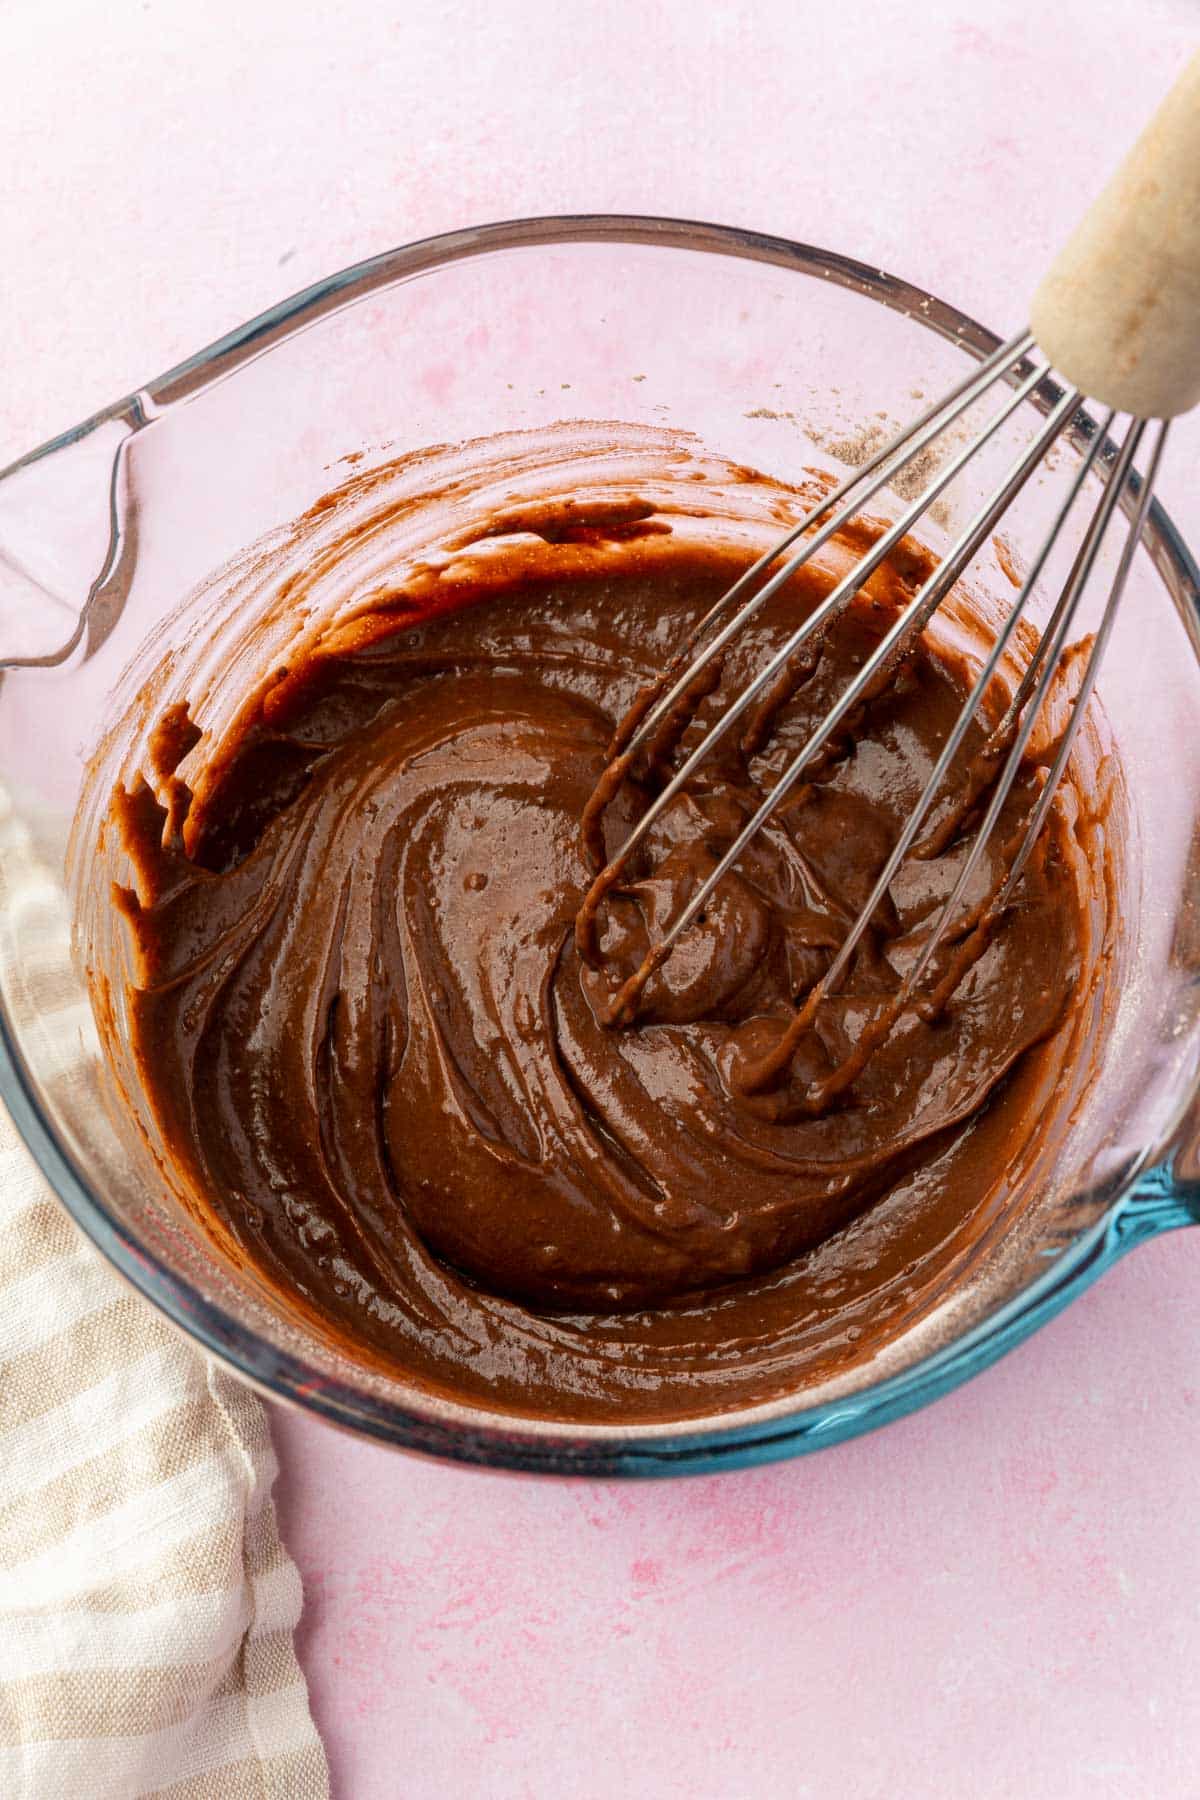
- In a separate bowl or large measuring cup, whisk together 1 cup (240 g) cold whole milk and 3.5 oz (99 g) package instant chocolate pudding mix until thickened.
- Add the pudding mixture to the cream cheese mixture and mix until smooth.
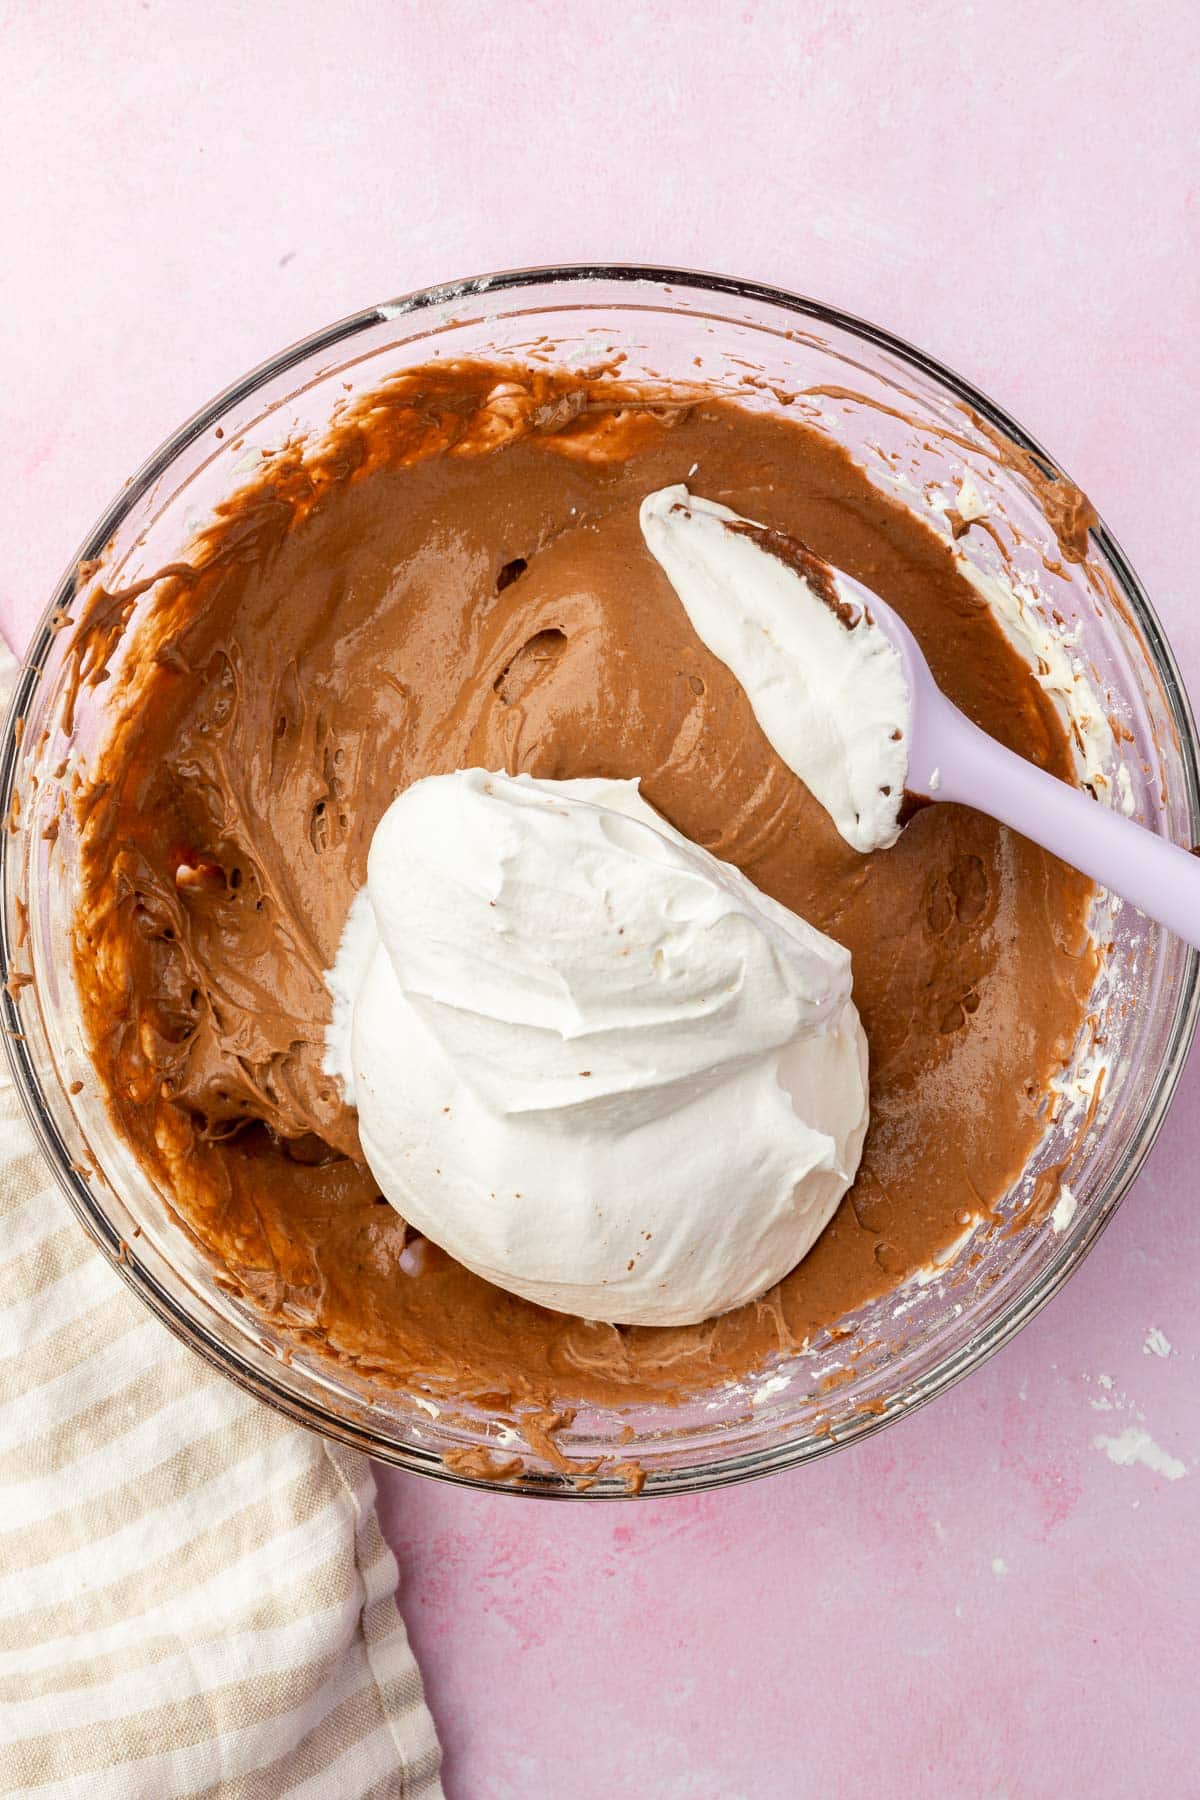
- Fold in 8 oz (227 g) Cool Whip until just combined, then fold in 1 cup (85 g) roughly chopped gluten-free Oreos.
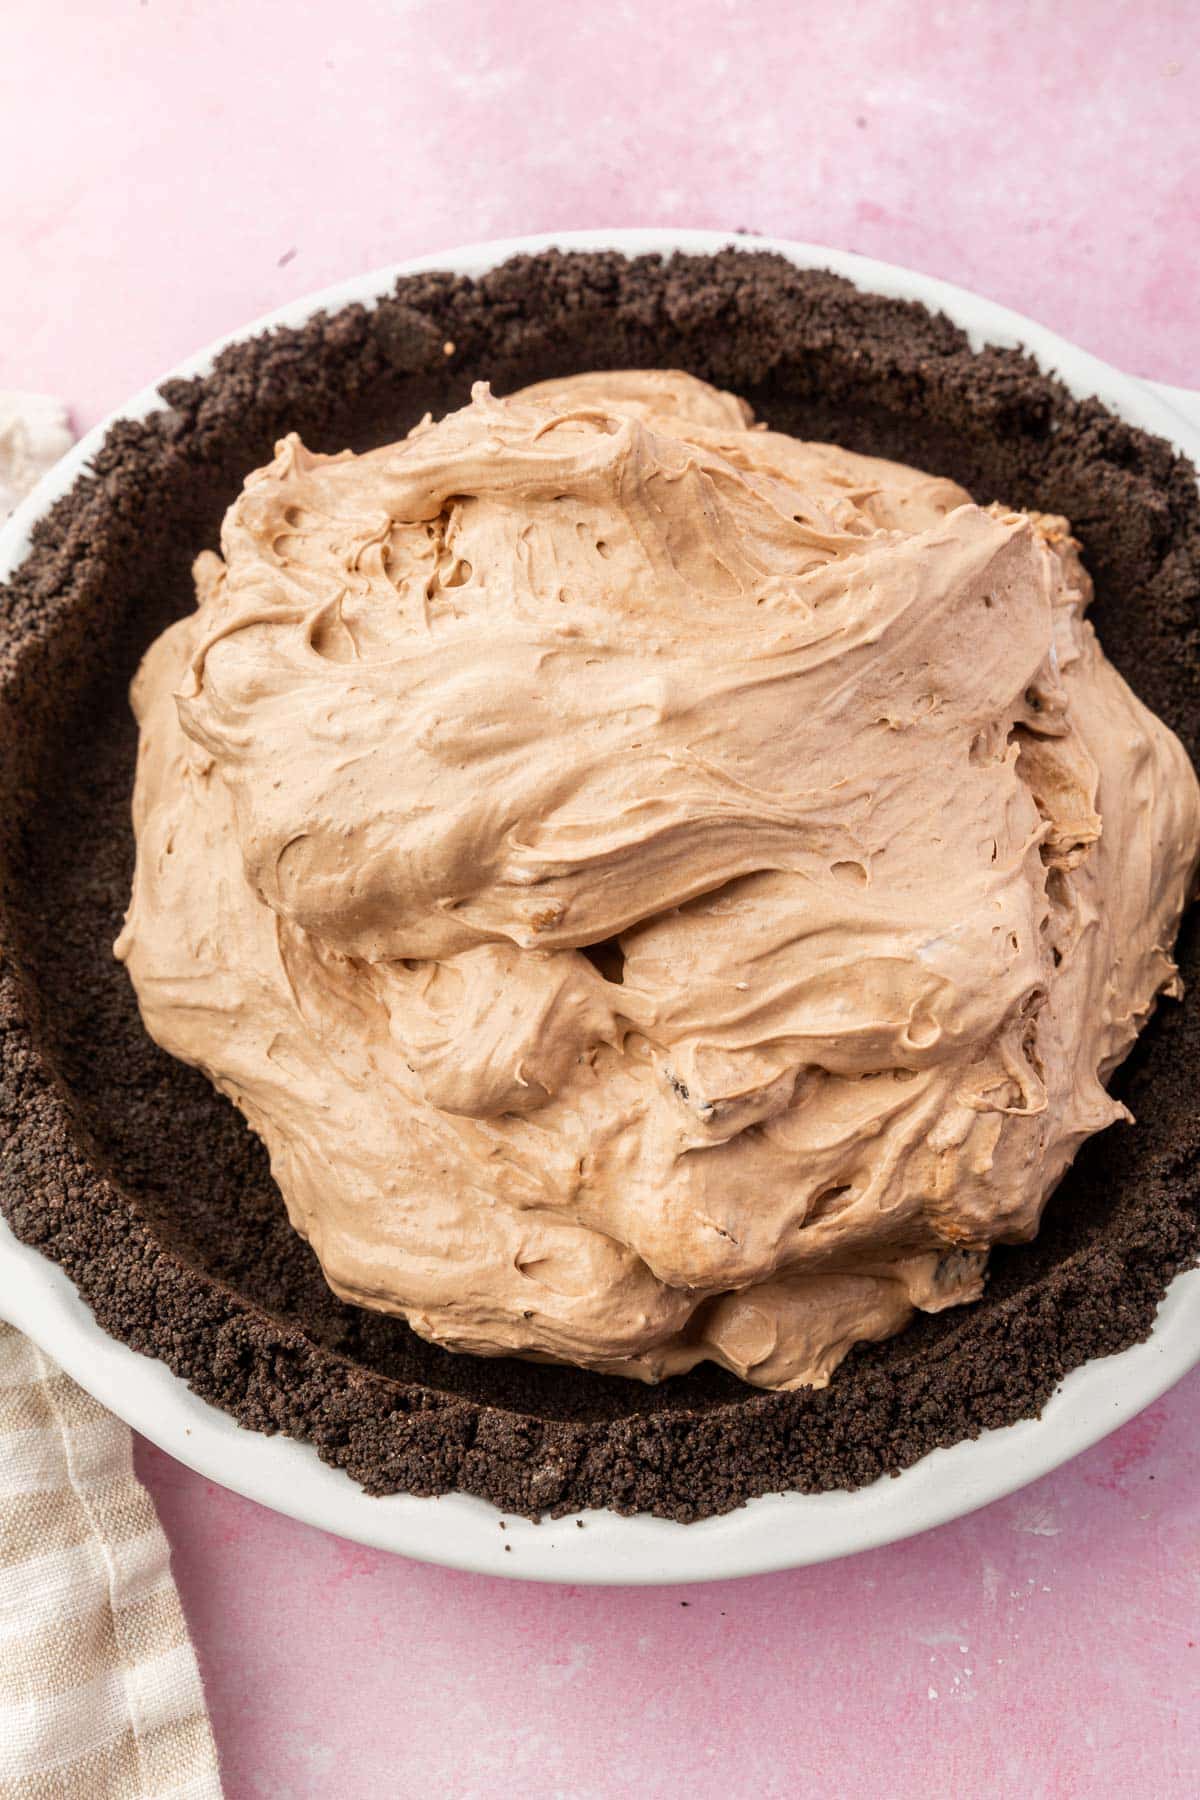
Assemble and Chill:
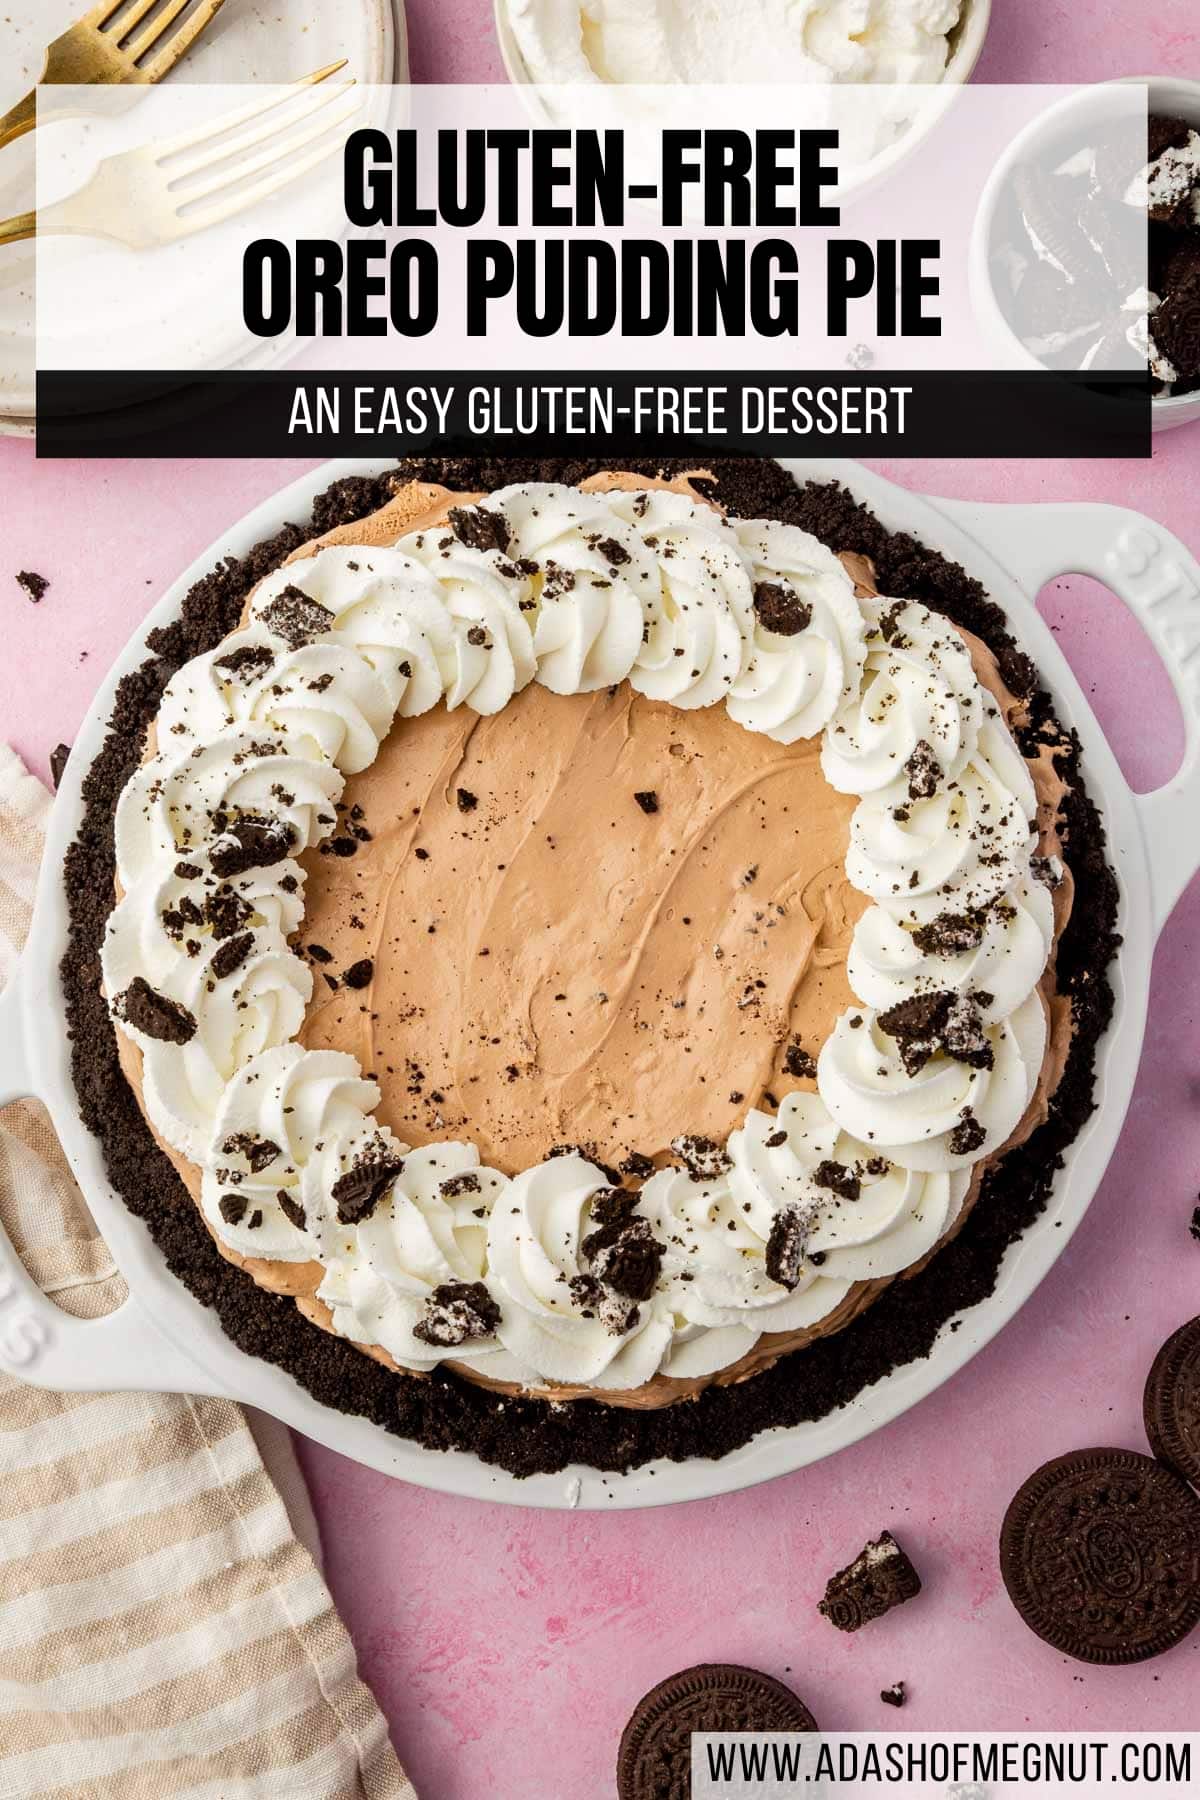
- Spoon the filling into the prepared crust and spread into an even layer.
- Refrigerate for at least 3 hours or overnight until set.
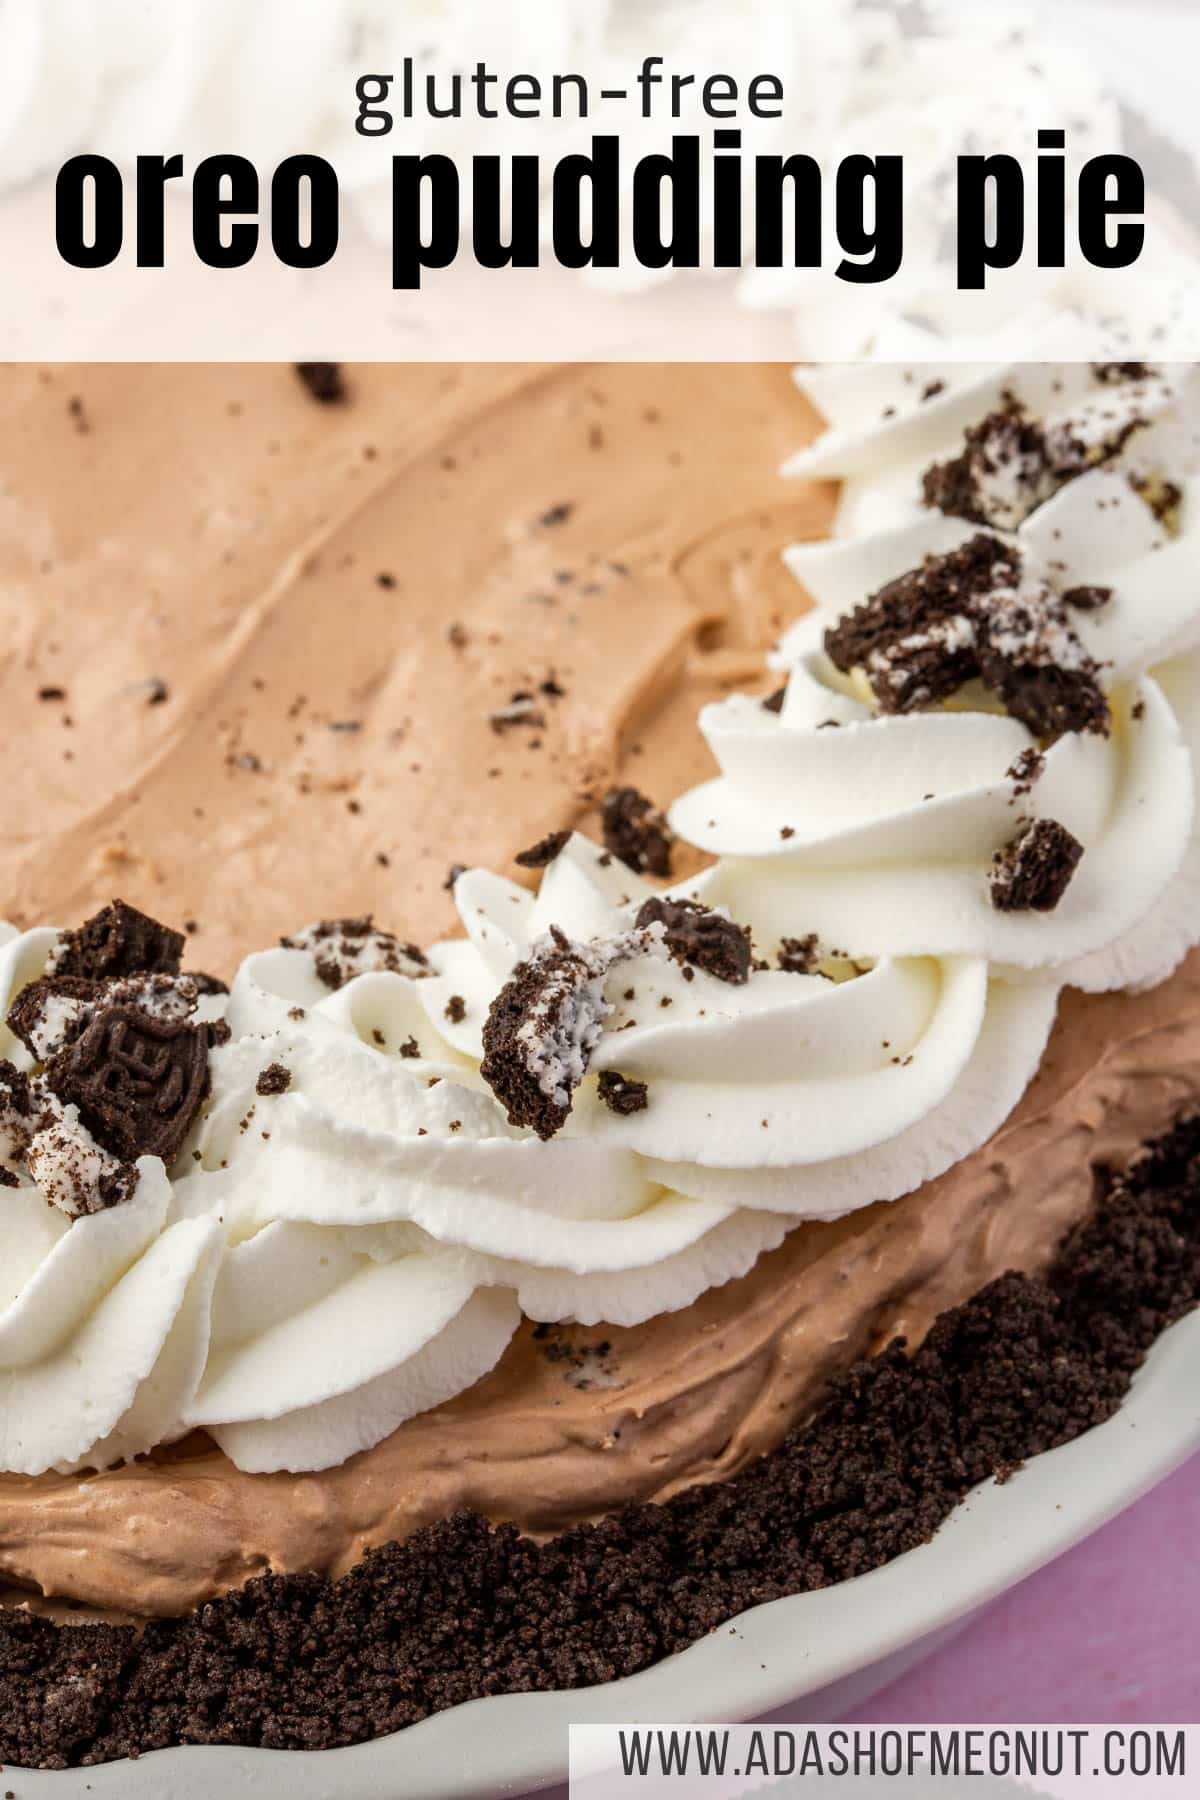
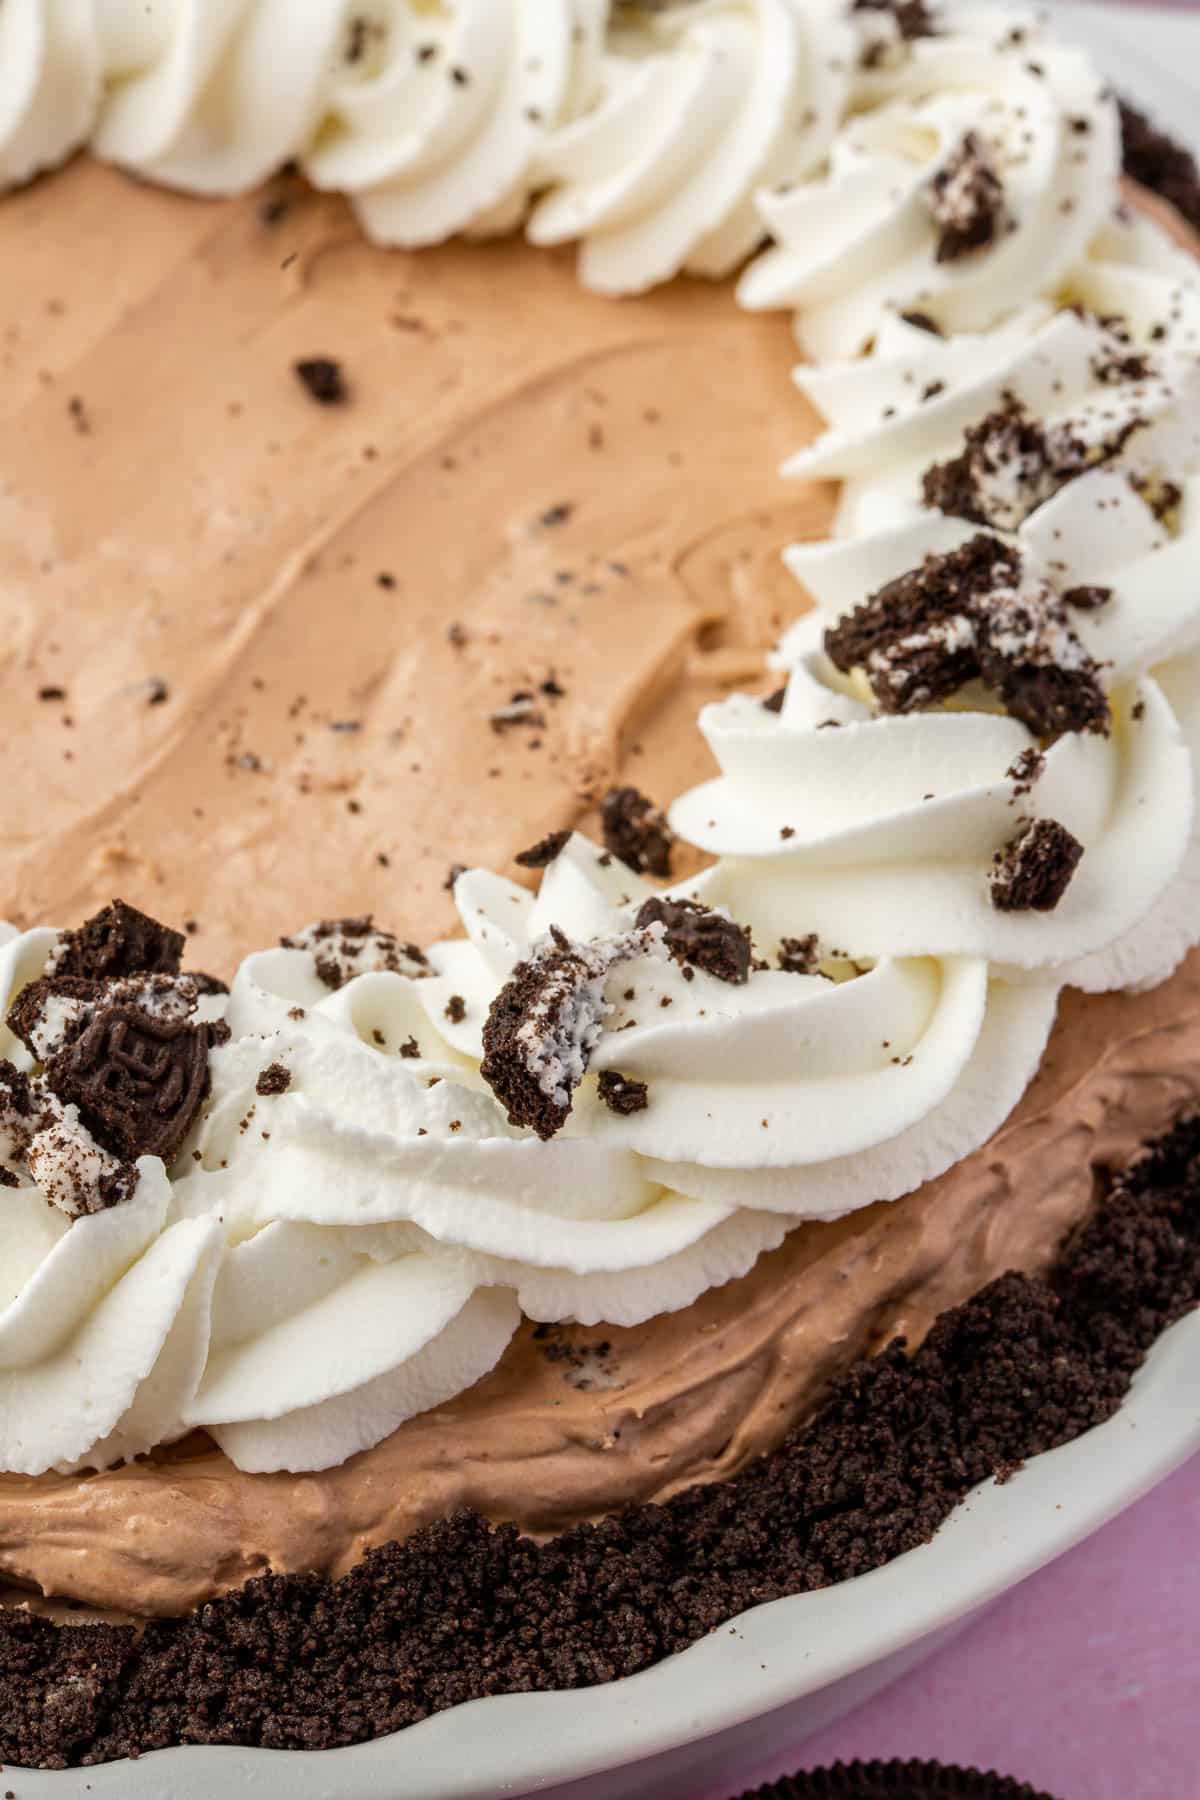
- Top with 1 cup homemade whipped cream and additional crushed gluten-free Oreos before serving, if desired.
Notes
- Oreos: One 12 oz package of gluten-free Oreos has 33 cookies. Use 24 for the crust and the remaining 9 for the filling. If you want to add additional Oreos to the top for decoration, you’ll need to pick up a 2nd package of Oreos.
- Pudding mix: Use instant pudding, not stovetop. Check that your brand is gluten-free before buying.
- Cool Whip: Thaw in the refrigerator before using. Fresh whipped cream works as a substitute but the filling will be softer and harder to slice.
- Make-ahead: The filling needs at least 3 hours to set.
wow. this looks delicious. I’m sad we’re not at home anymore so I can test all of these!!!
I think we need a picture of Megan and Nikki to show that you two haven’t turned into butter balls.