
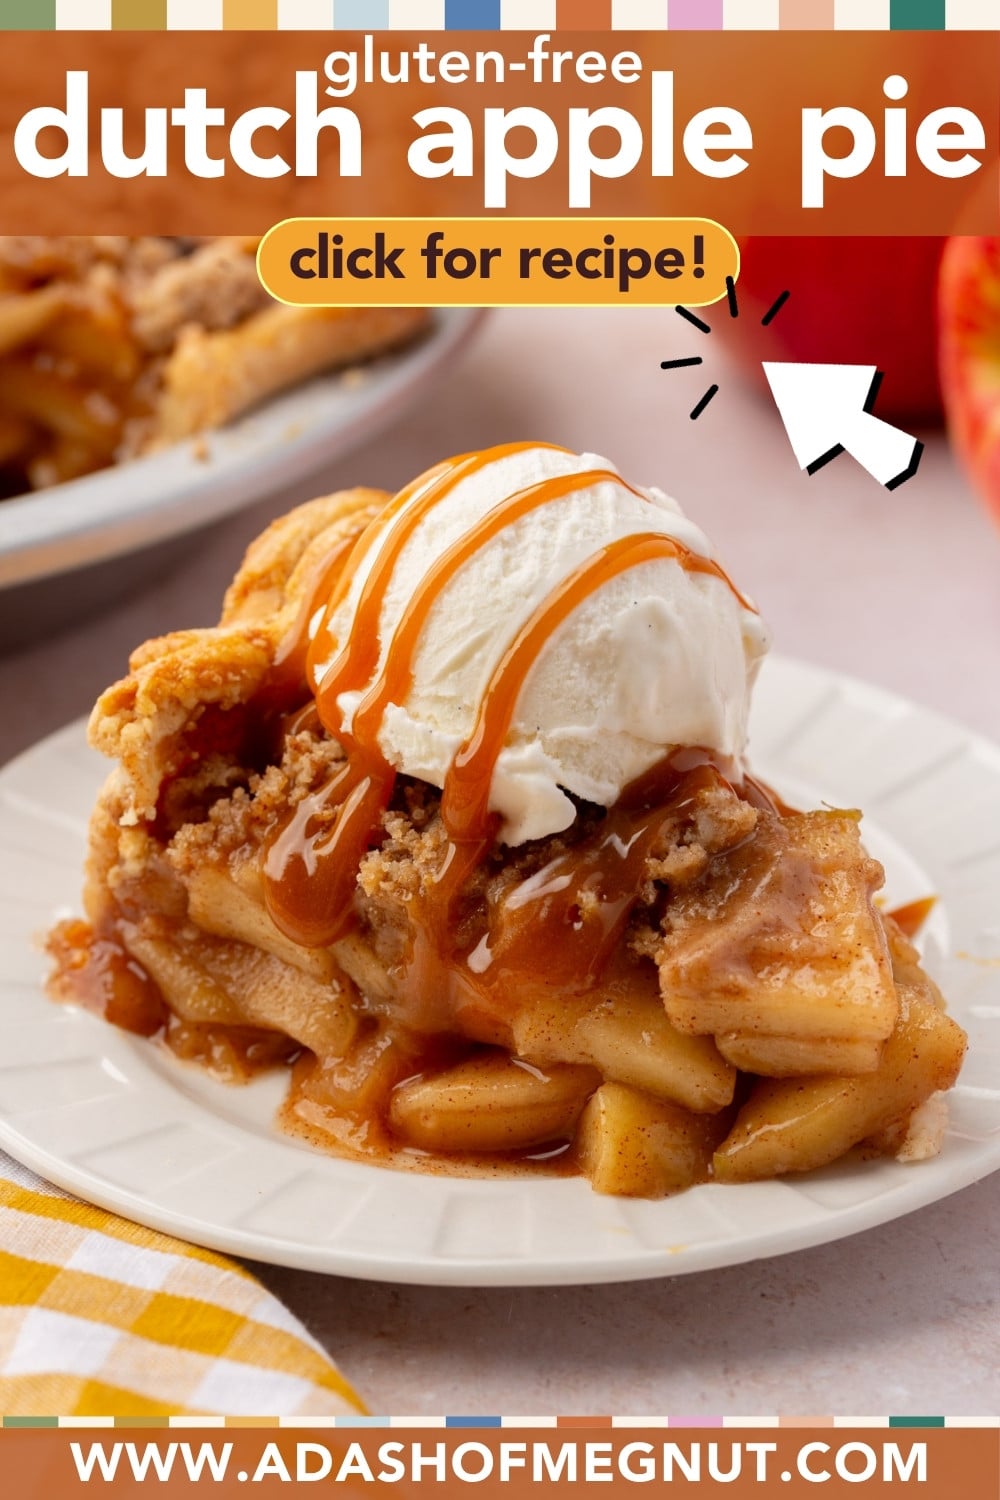
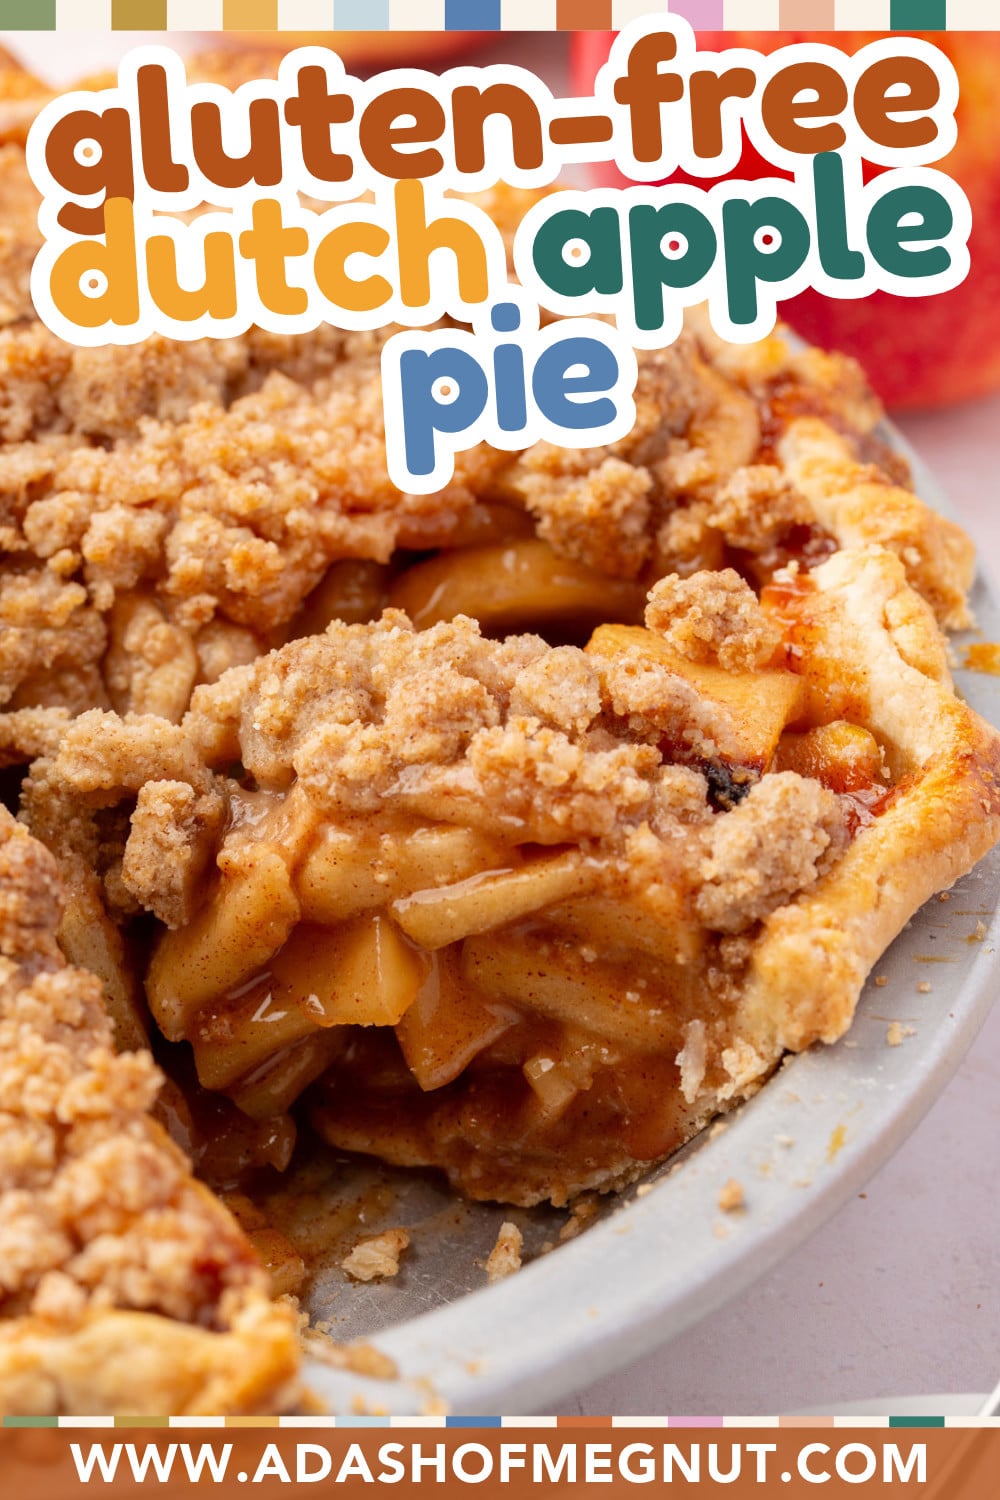
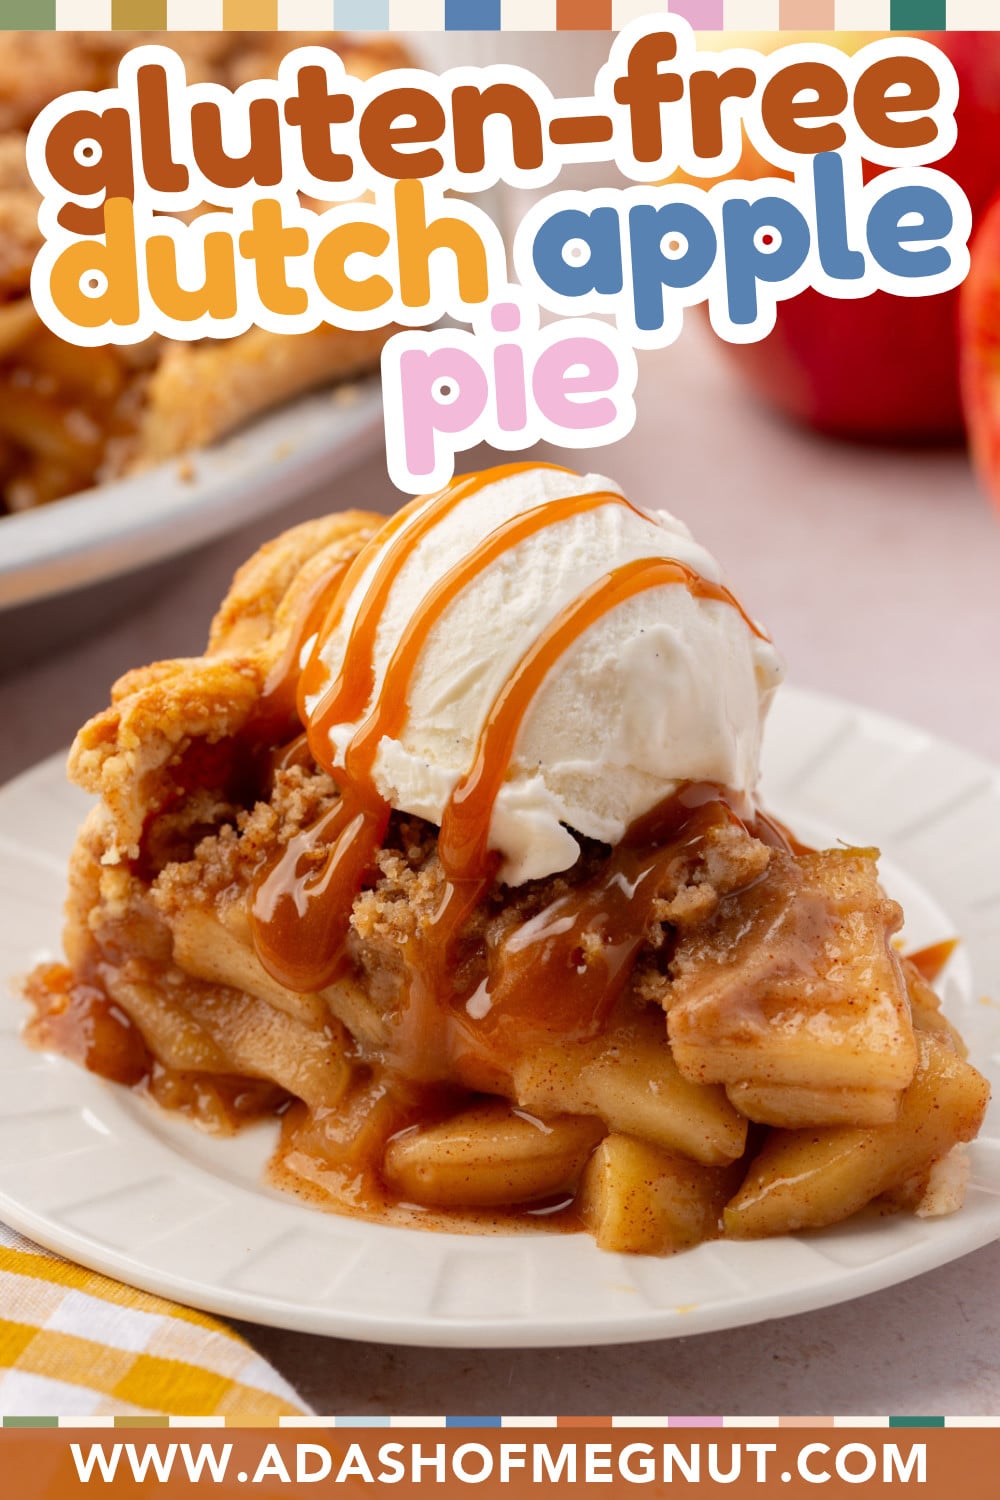
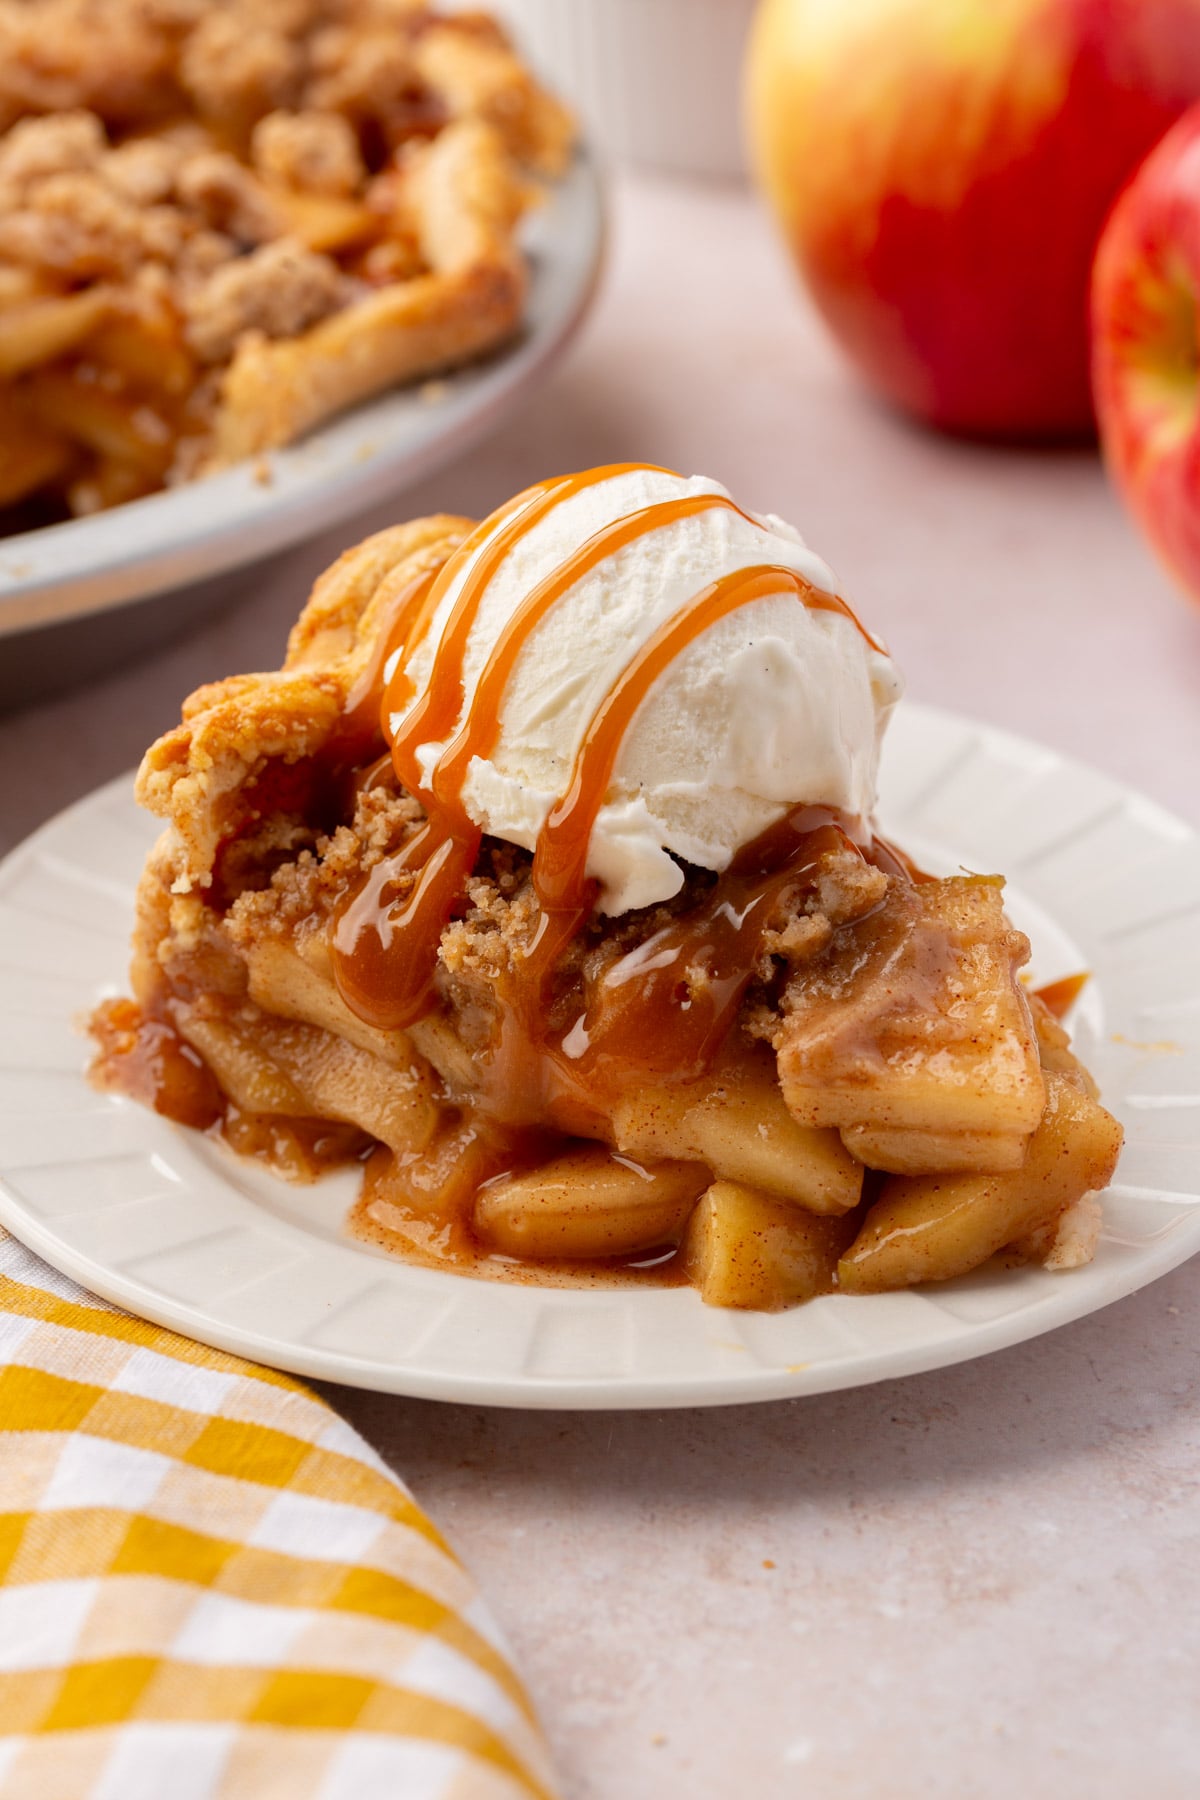
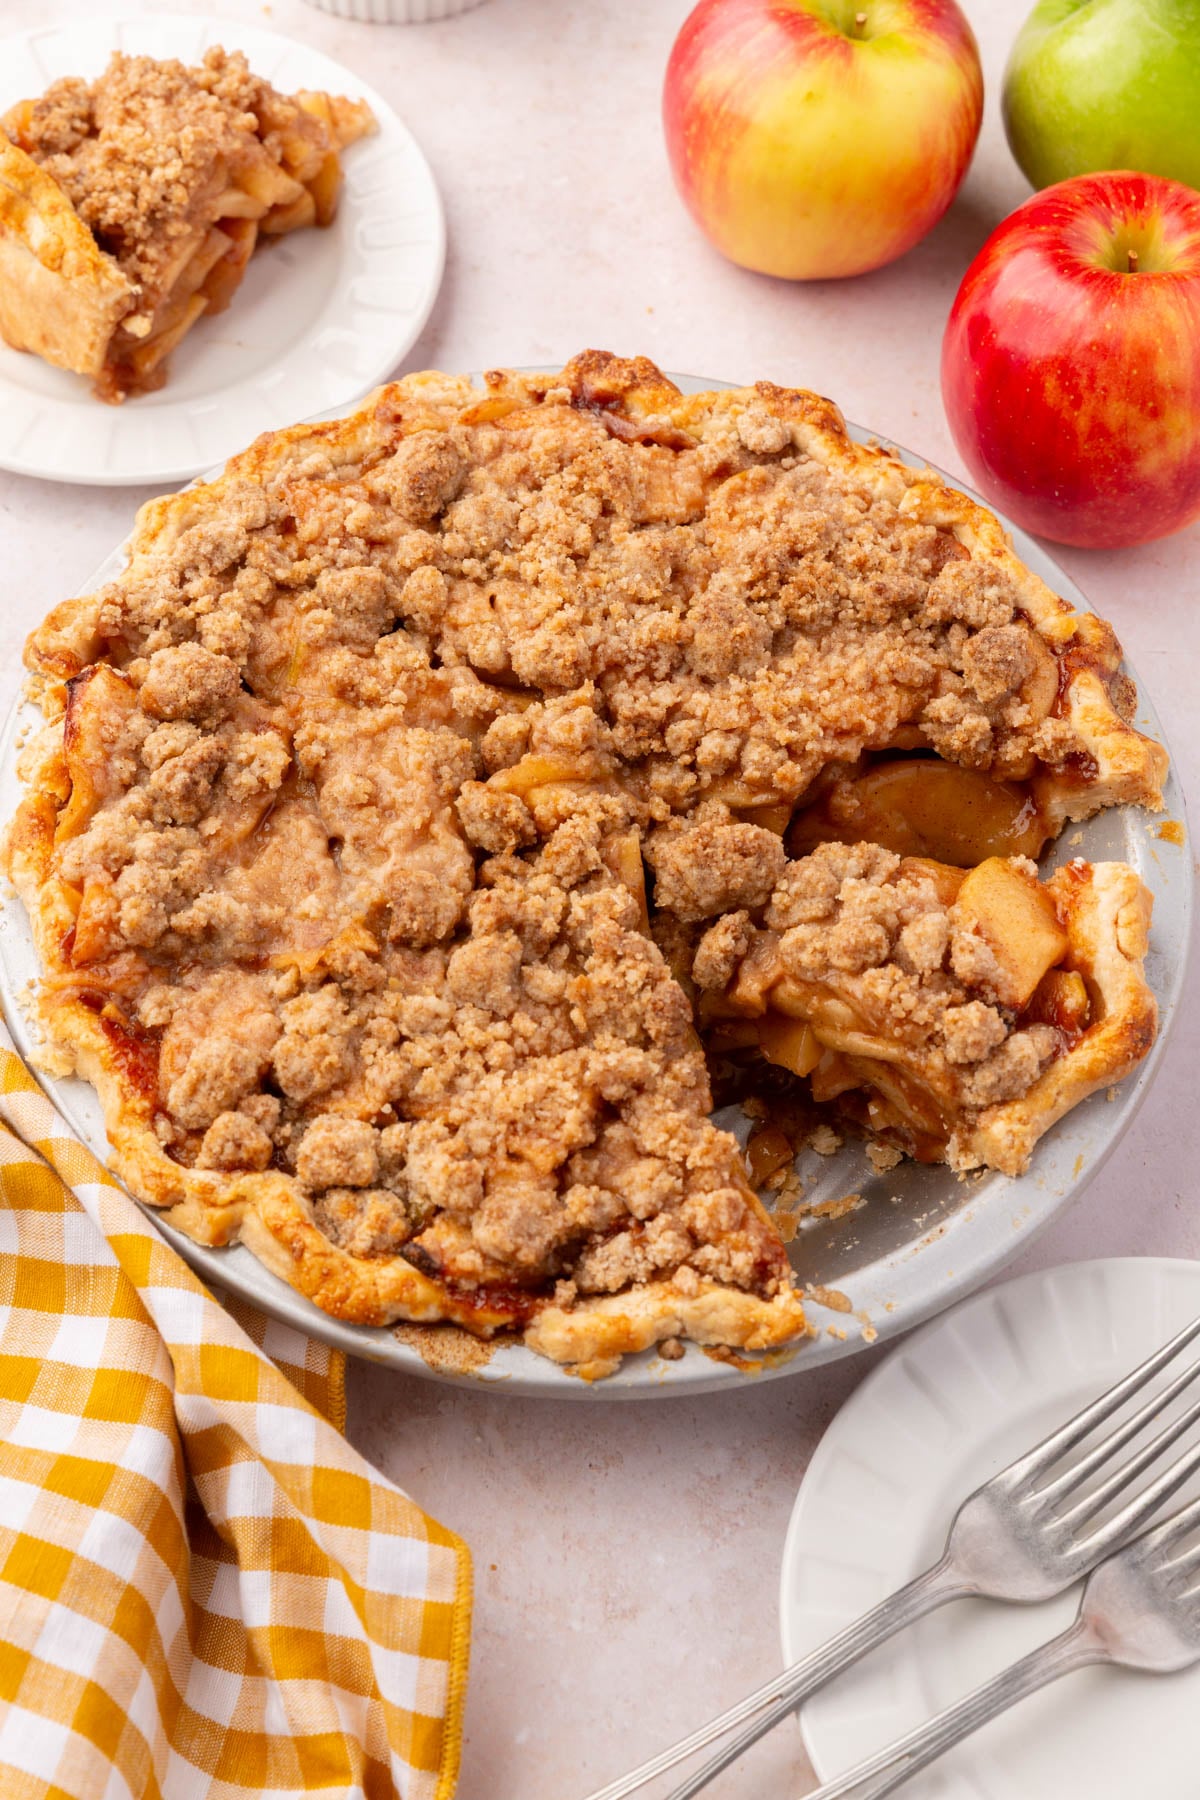
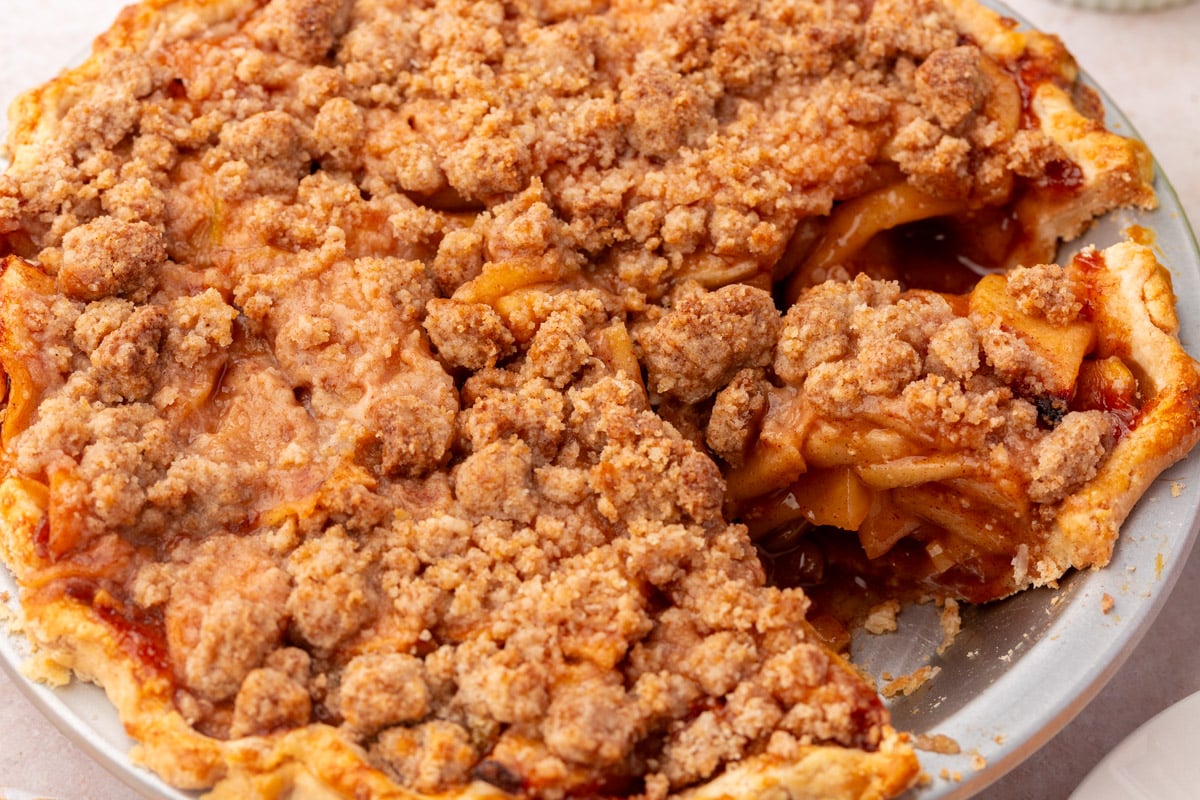
This gluten-free Dutch apple pie has a flaky homemade crust, a thick layer of cinnamon-spiced Granny Smith and Pink Lady apples, and a buttery brown sugar streusel baked until golden. Instead of a second crust on top, you get a crumbly topping that makes it part apple pie, part apple crisp.
The crust is my homemade gluten-free pie crust, and the streusel is the same one from my gluten-free peach crumble pie. The apples get precooked on the stove before they go into the crust, which deepens their flavor, gives you a jammier filling, and lets you pack in a full 3 pounds of apples.
Why You’ll Love This Recipe
More gluten-free pies to try: gluten-free peach crumble pie / gluten-free blueberry pie / gluten-free pumpkin pie
Ingredient Notes:
- Gluten-Free Pie Crust – I use my homemade gluten-free pie crust for the flakiest results. You only need half the recipe, so I make the full batch and freeze the second disk for later. A store-bought gluten-free crust works if you’re short on time.
- Apples – I use a combination of Granny Smith and Pink Lady apples. Granny Smiths bring tartness and hold their shape, while Pink Ladies add sweetness and stay firm when cooked. You’ll need about 4⅓ pounds (1,962 g) of whole apples to get 3 pounds (1,359 g) once they’re peeled, cored, and sliced ¼ inch thick. Weighing them after prepping is the most accurate way to get the right amount of filling.
- Brown Sugar and Granulated Sugar – Light brown sugar gives the filling a caramel flavor, and a little granulated sugar keeps it from tasting heavy.
- Cornstarch – Whisked with cold water into a slurry, it thickens the apple juices on the stove into a glossy, jammy filling.
- Gluten-Free Flour – I used Cup4Cup Multipurpose Flour for both the crust and the streusel. It’s what I use for all of my pie crusts. For the streusel, Bob’s Red Mill 1-to-1 Gluten-Free Baking Flour works too, and since it’s a bit more affordable, it’s usually what I reach for.
- Melted Butter – Make sure the butter for the streusel is melted but not hot. If it’s too hot, it melts the sugars and gives you a greasy topping instead of a crumbly one.
Making changes to a recipe can result in recipe failure. Any substitutions listed below are simple changes that I believe will work in this recipe, but results are not guaranteed.
Weigh the Apples After Peeling and Coring
Apples vary a lot in size, and you lose more to peels and cores than you’d think. In my test, about 4⅓ pounds of whole apples gave me 3 pounds once they were prepped, so more than a quarter of the weight went in the trash. Weighing after peeling and coring is the only way to know you have the right amount of filling for a deep-dish pie.
Why I Precook the Apple Filling
Most apple pies go into the oven with raw apples tossed in sugar and spices. For this one, I cook the filling on the stove first.
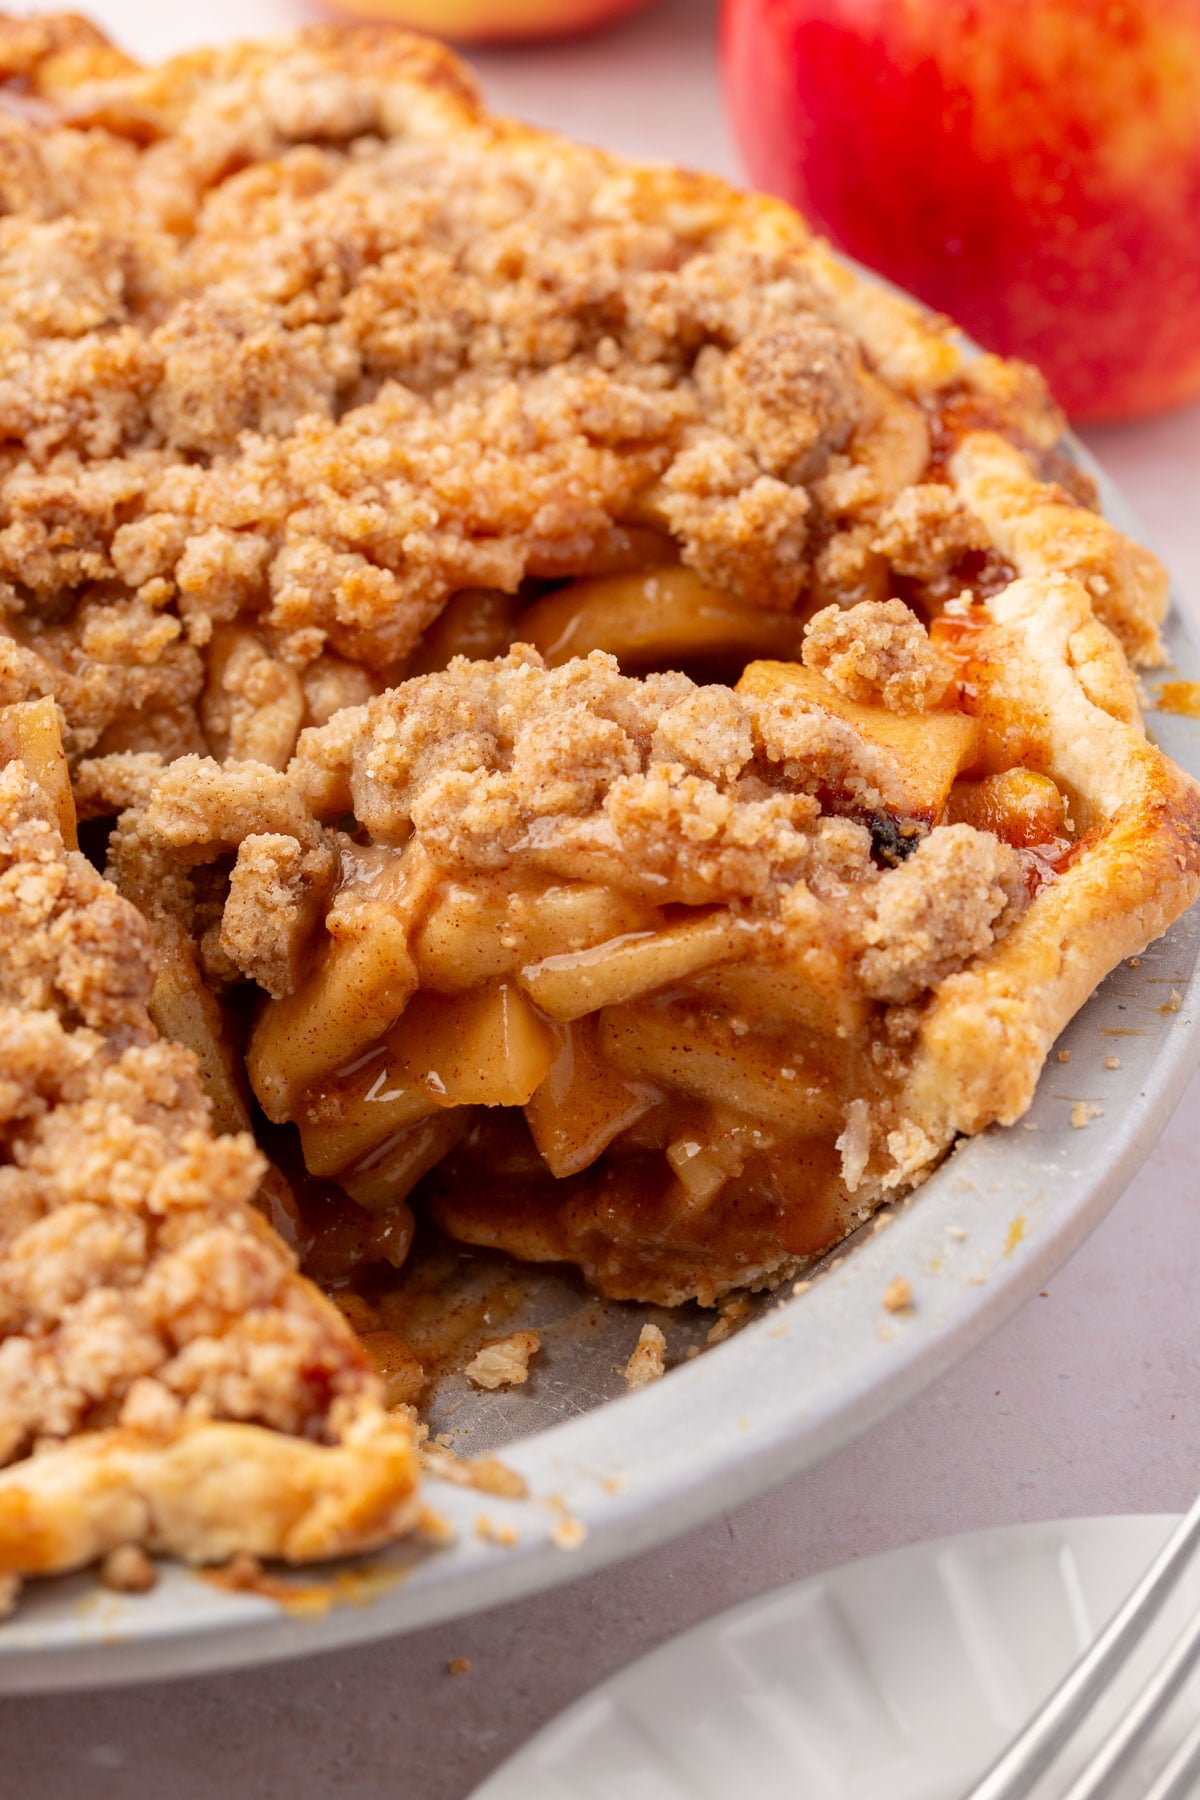
Simmering the apples with brown sugar, lemon juice, and cinnamon gives them a head start on flavor, and the filling turns out jammier than it does with raw apples. The apples also cook down a bit, which means you can pack more of them into the crust. Cook them just until a fork goes through a slice with a little resistance. They’ll keep softening in the oven.
Then a cornstarch slurry goes in, and the juices come back to a bubble for about a minute until they turn glossy and thick. Let the filling cool completely before it goes into the crust, because warm filling melts the butter in the dough. And use a Dutch oven or a large, wide pot. Three pounds of sliced apples take up a lot of room.
Recipe FAQs
A Dutch apple pie is an apple pie with a crumbly streusel topping instead of a top crust. It’s also called an apple crumble pie or apple crumb pie.
I like a combination of Granny Smith and Pink Lady. The Granny Smiths keep the filling tangy, the Pink Ladies add sweetness, and both hold their shape after cooking.
Usually it was sliced too soon. Give the pie at least 3 hours to cool so the filling can set.
Megan’s Tips
Storage Instructions
Storing: Keep the cooled pie covered in the refrigerator for up to 4 days. Let slices come to room temperature before serving, or warm them in the microwave for 20 to 30 seconds.
Freezing: Let the pie cool completely, freeze it uncovered for 30 minutes to firm up, then wrap it tightly and store it in a freezer-safe bag for up to 2 months. Thaw overnight in the refrigerator and reheat in a 350°F oven until warmed through.
Make Ahead: The pie dough can be made up to 3 days ahead, and the apple filling and streusel can be made ahead and refrigerated until you’re ready to assemble. A cold filling may need a few extra minutes in the oven.
Serving Suggestions
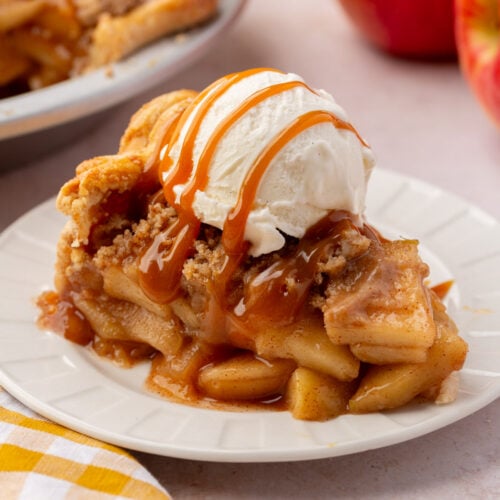
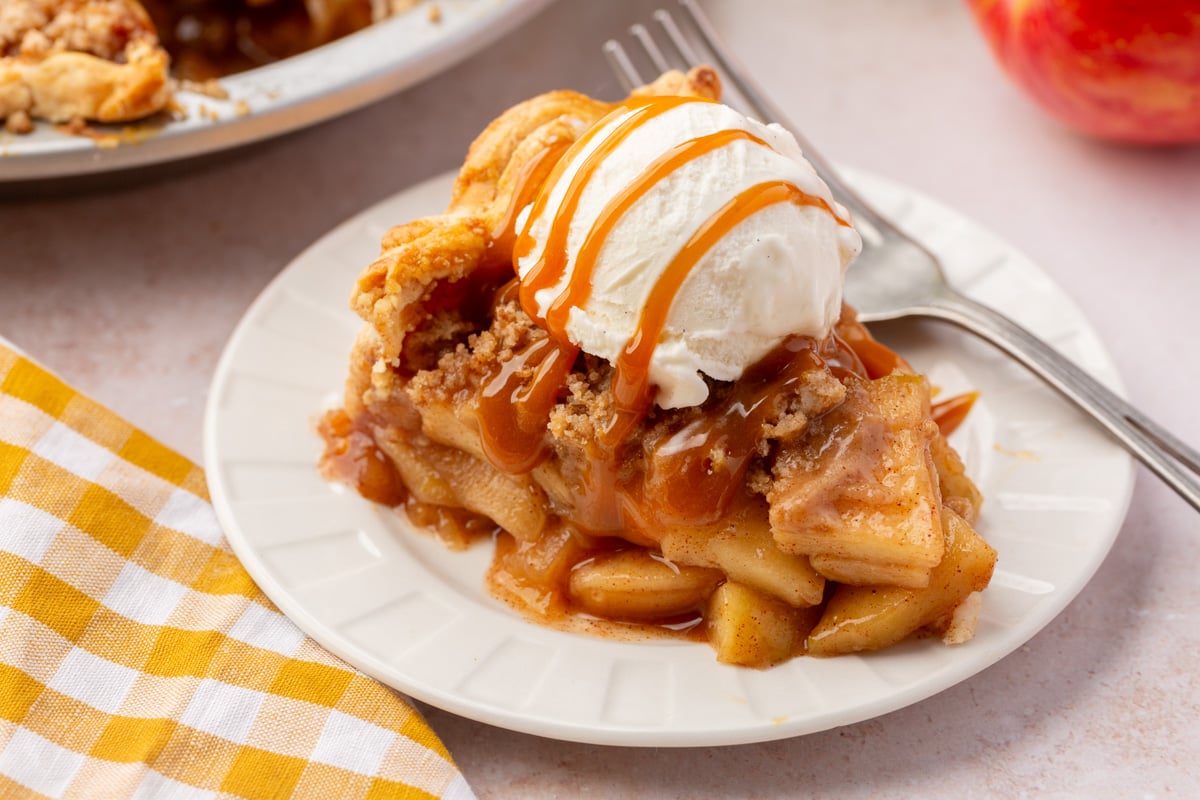
This pie is best slightly warm or at room temperature with a scoop of vanilla ice cream and a drizzle of caramel sauce. A dollop of whipped cream works too.
For a full Thanksgiving dessert table, I set it out next to my Gluten-Free Pumpkin Pie with Graham Cracker Crust, so there’s a fruit pie and a custard pie to choose from. If you still have apples left over, my Gluten-Free Apple Crisp skips the crust entirely, and my Gluten-Free Caramel Apple Cheesecake Bars are an easy make-ahead dessert for a crowd.
Gluten-Free Dutch Apple Pie
Ingredients
For the Crust:
- Homemade Gluten-Free Pie Crust - half batch, enough for one bottom crust. I use Cup4Cup Multipurpose Flour
For the Apple Filling:
- 3 pounds (1359 g) apples - I used a combination of Granny Smith and Pink Lady. Weighed after peeling and coring, sliced ¼ inch thick (from about 4⅓ pounds whole apples)
- ½ cup (100 g) light brown sugar
- ¼ cup (50 g) granulated sugar
- 2 tablespoons (30 g) lemon juice
- 2 teaspoons ground cinnamon
- ¼ teaspoon ground nutmeg
- ¼ teaspoon fine salt
- 2 tablespoons (16 g) cornstarch
- 2 tablespoons (30 g) cold water
For the Gluten-Free Streusel Topping:
- ½ cup (70 g) gluten-free flour blend - I used Cup4Cup Multipurpose Flour. Bob's Red Mill 1-to-1 Gluten-Free Baking Flour also works.
- ¼ cup (50 g) granulated sugar
- ¼ cup (50 g) brown sugar
- ½ teaspoon ground cinnamon
- ¼ teaspoon salt
- 4 tablespoons (56 g) unsalted butter - melted and cooled
**Use the toggle button above to turn the instruction photos on and off!
Instructions
Make the Crust:
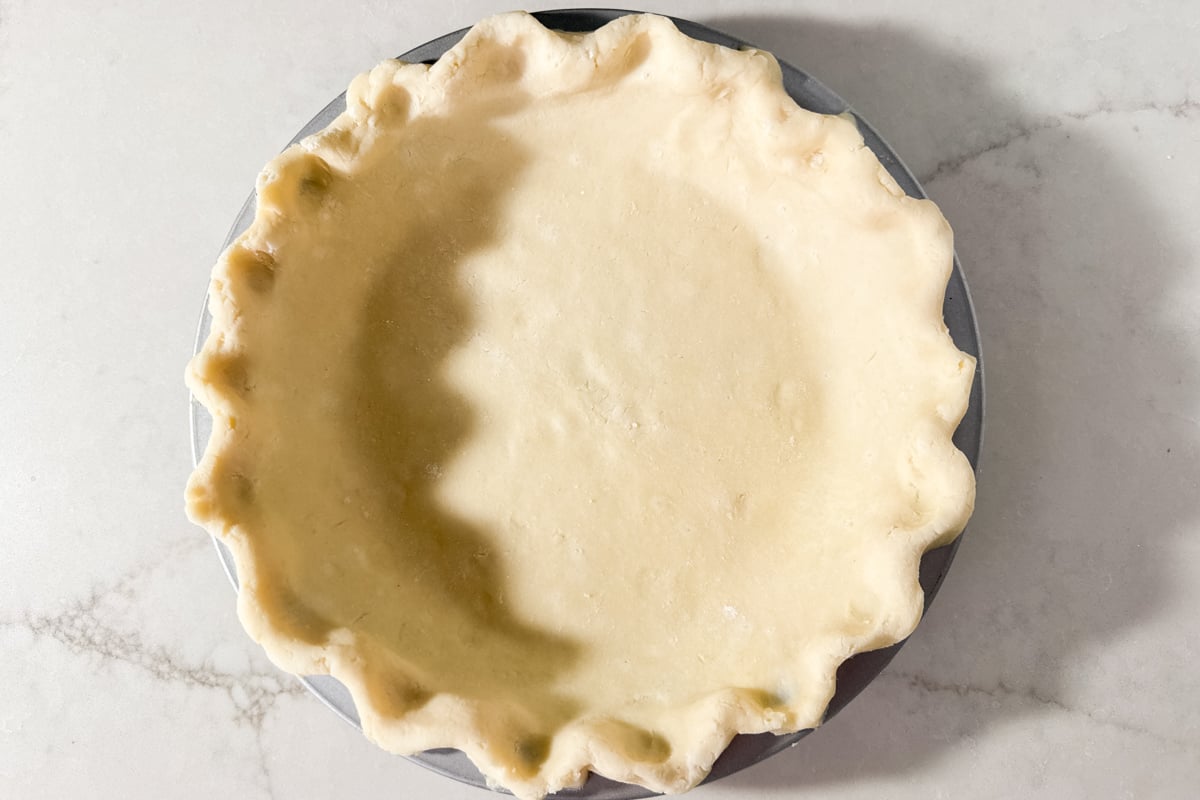
- Prepare a half batch of my Homemade Gluten-Free Pie Crust. Roll out the dough and fit it into a 9-inch deep-dish pie plate. Trim and crimp the edges. Refrigerate while you prepare the filling.

Cook the Apple Filling:
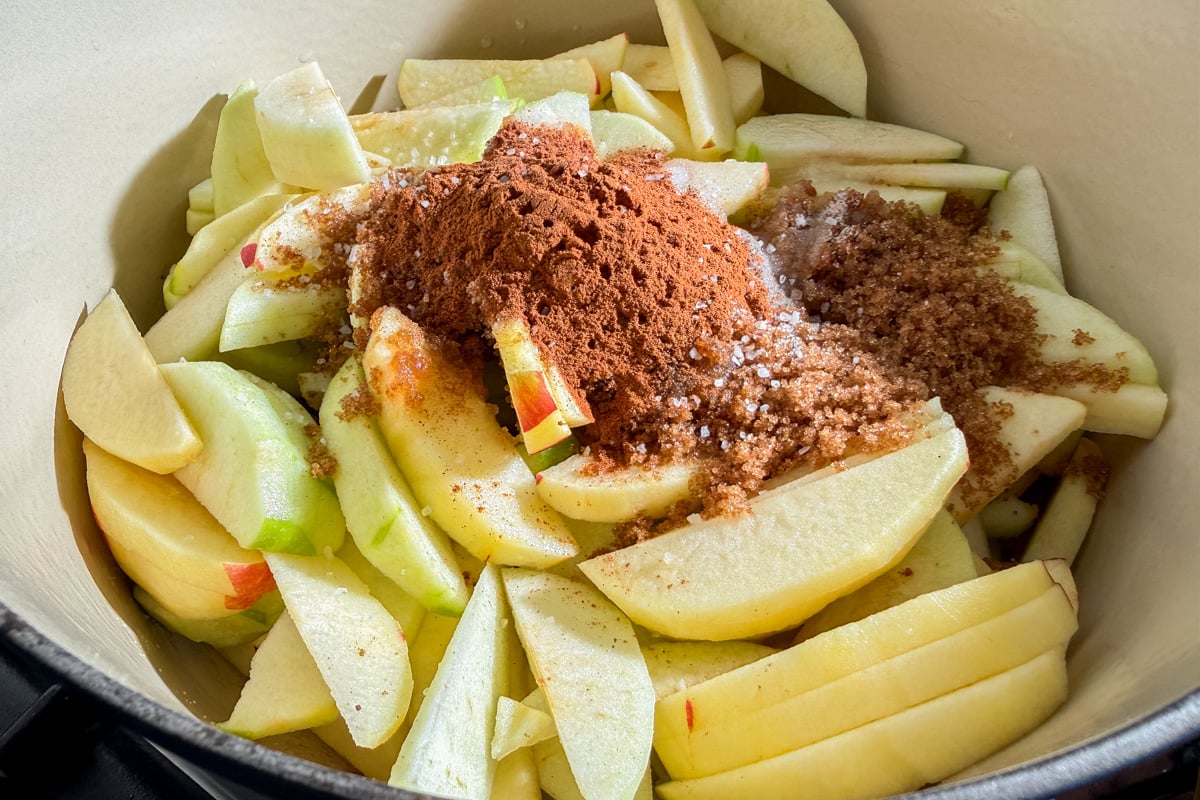
- Place the 3 pounds (1359 g) apples (sliced), ½ cup (100 g) light brown sugar, ¼ cup (50 g) granulated sugar, 2 tablespoons (30 g) lemon juice, 2 teaspoons ground cinnamon, ¼ teaspoon ground nutmeg, and ¼ teaspoon fine salt in a Dutch oven.
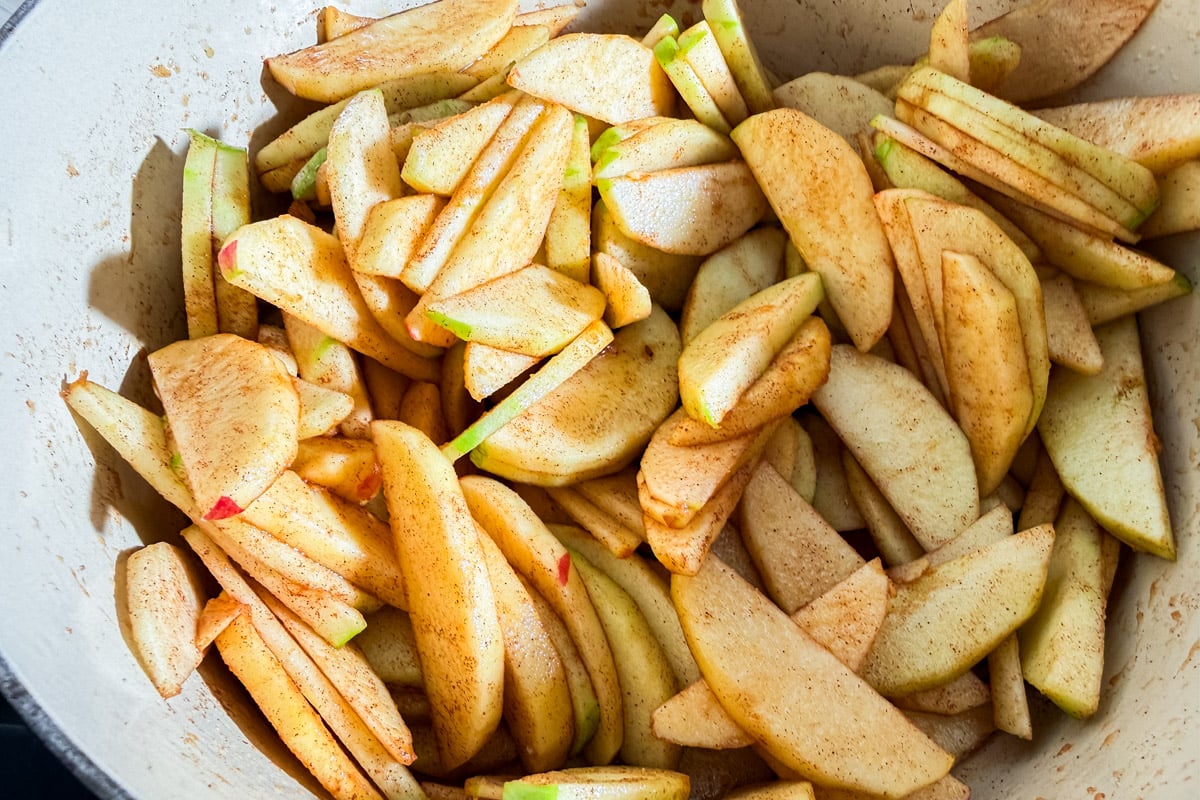
- Cook over medium heat, stirring gently and regularly, until the apples are nearly tender and a fork goes through a slice with just a little resistance, about 10-12 minutes.
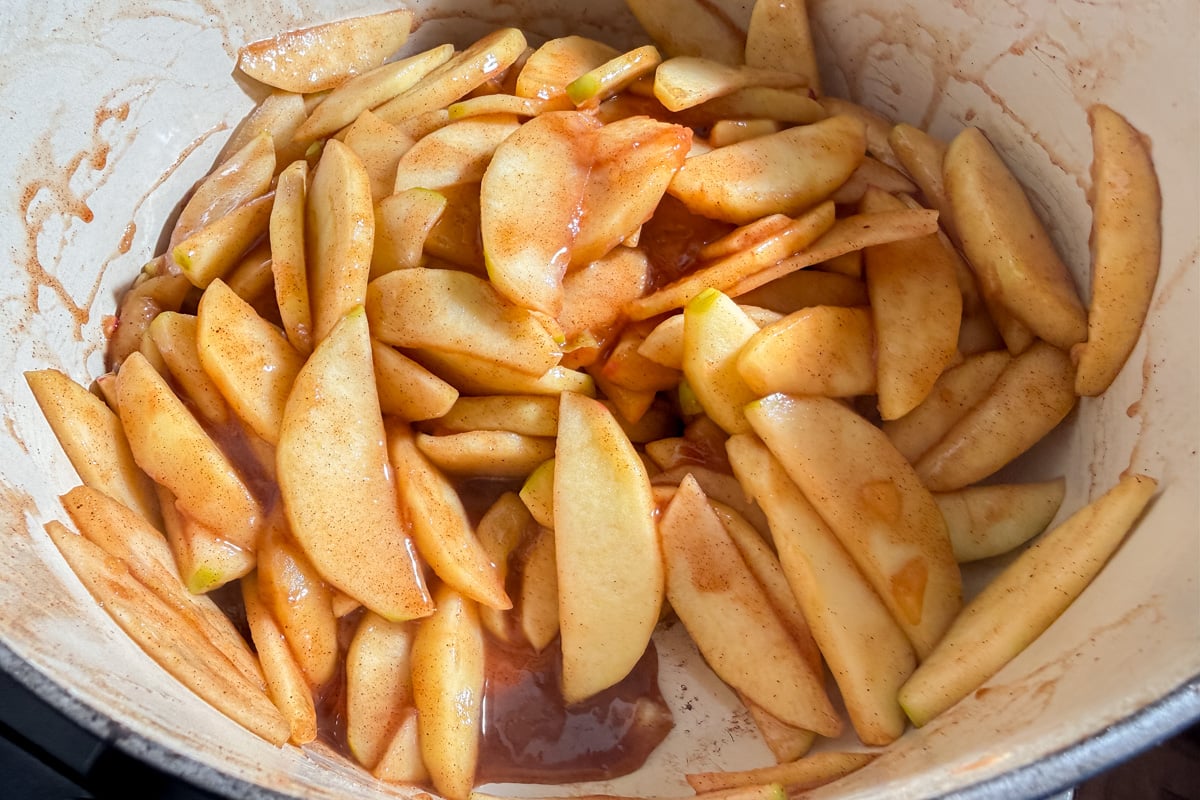
- Whisk 2 tablespoons (16 g) cornstarch and 2 tablespoons (30 g) cold water together until smooth. Stir the slurry again immediately before pouring it into the apples. Stir gently and bring the juices back to a bubble. Cook for about 1 minute, until glossy and thickened enough to coat the apples.
- Transfer the filling to a shallow dish and cool completely. Cover and refrigerate if assembling the pie a few hours later.
Make the Streusel:
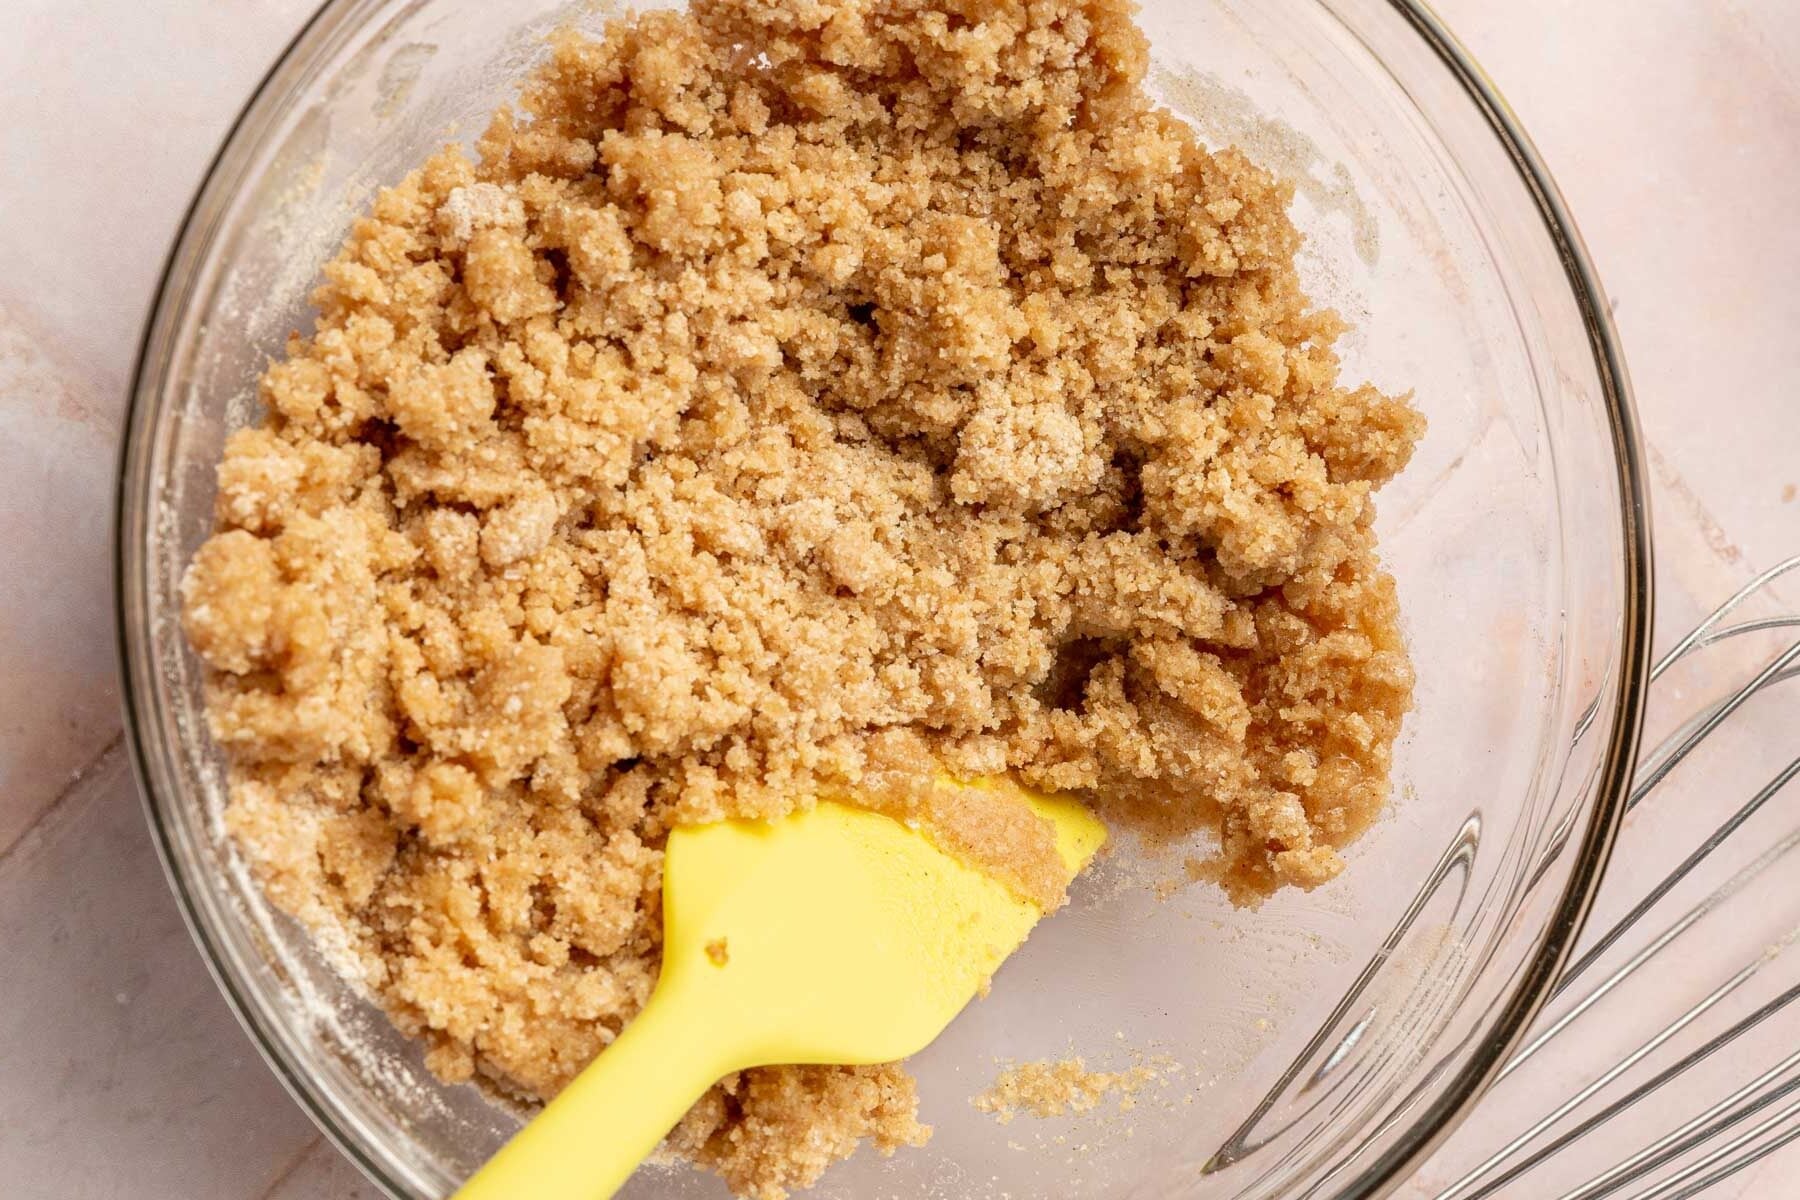
- Mix ½ cup (70 g) gluten-free flour blend, ¼ cup (50 g) granulated sugar, ¼ cup (50 g) brown sugar, ½ teaspoon ground cinnamon, and ¼ teaspoon salt in a bowl. Stir in the melted, cooled 4 tablespoons (56 g) unsalted butter until crumbly, squeezing some of the mixture into larger clumps. Refrigerate until ready to use.

Assemble and Bake:
- Preheat the oven to 400°F with a rimmed baking sheet on the lower-third rack.
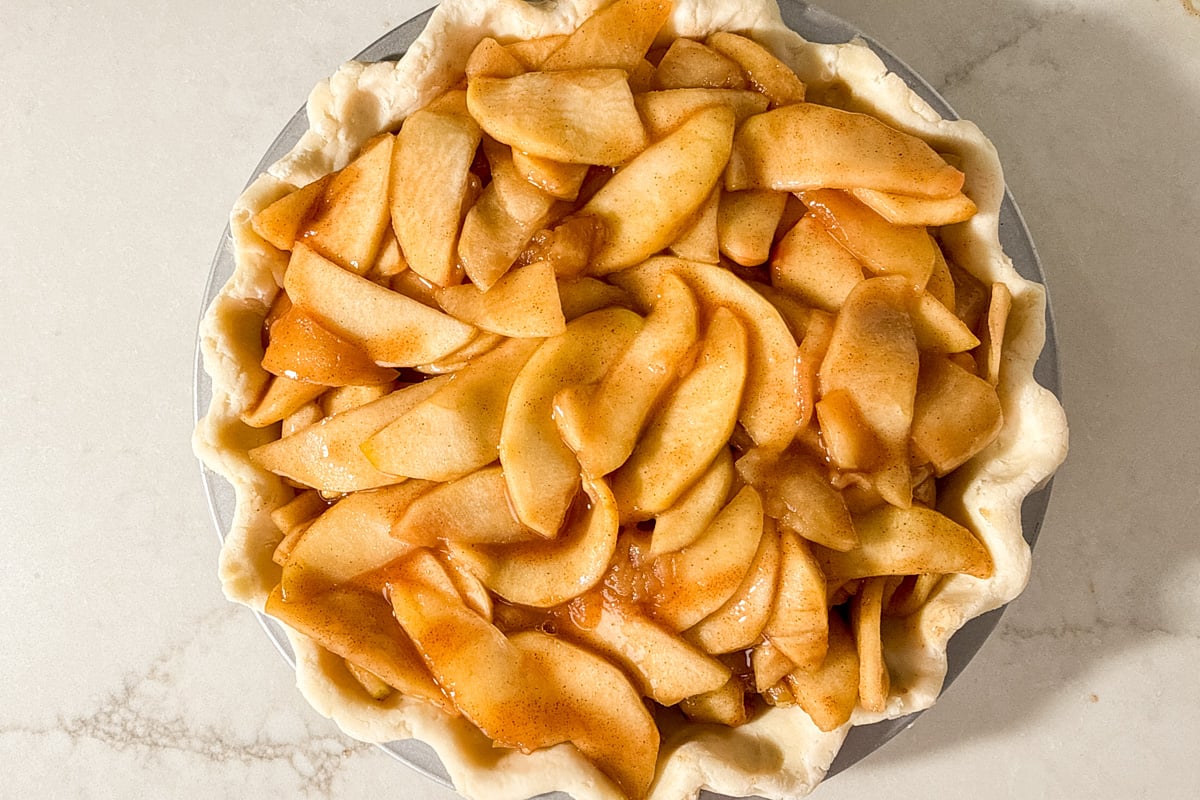
- Spoon the cooled apple filling into the chilled crust, including all of the thickened juices.
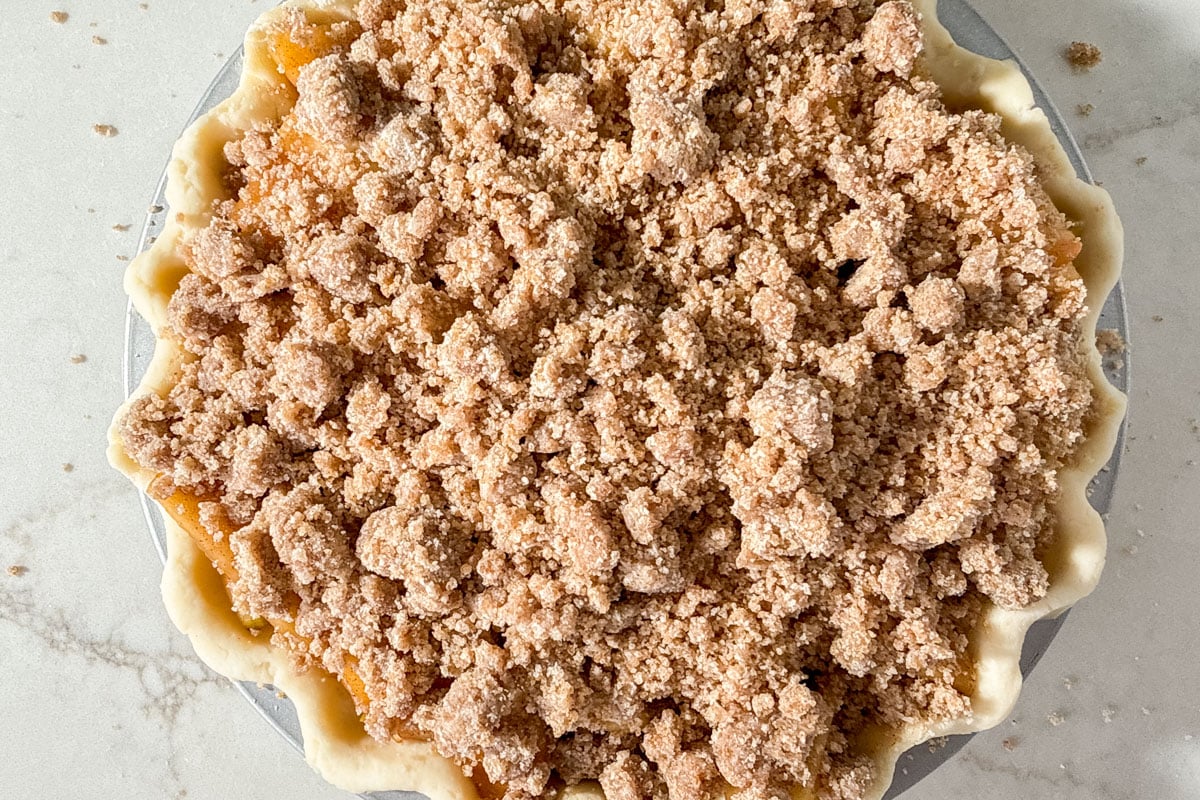
- Scatter the streusel evenly over the top.
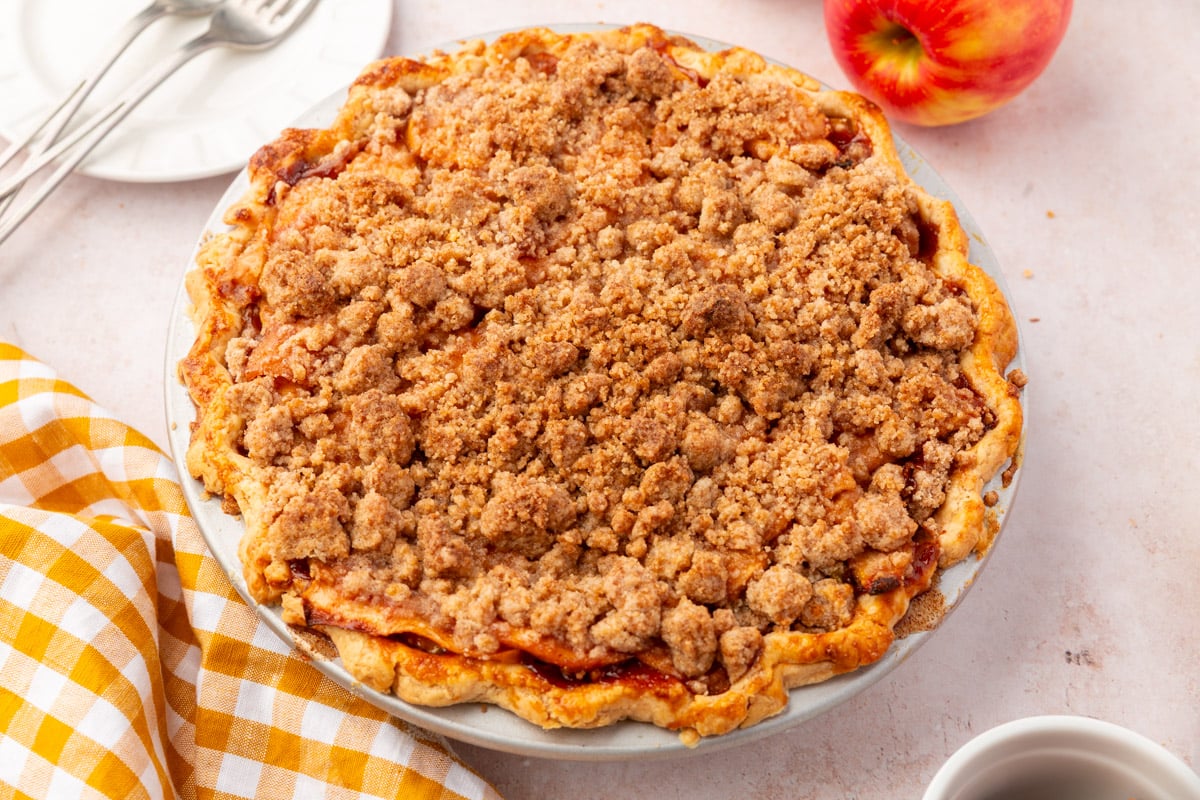
- Place the pie on the hot baking sheet and bake for 20 minutes at 400°F. Reduce the oven to 375°F and bake for about 25 to 35 minutes more, until the crust and streusel are golden and the filling bubbles through gaps near the center. Loosely tent with foil if the topping browns too early. Refrigerated filling may need additional time.
- Let the pie cool for at least 3 hours before slicing.
Notes
- Pie Crust: This recipe uses half a batch of my homemade gluten-free pie crust. I always make the full batch and freeze the second disk for another pie. If you are short on time, a store-bought gluten-free crust works too.
- Weighing the Apples: Weigh the apples after peeling and coring. About 4⅓ pounds (1,962 g) of whole apples gave me 3 pounds (1,359 g) of prepared apples.
- Pot Size: Use a Dutch oven or large, wide pot. There are a lot of apples!
- Make Ahead: The apple filling and streusel can be made ahead and refrigerated until you are ready to assemble the pie. A cold filling may need a few extra minutes in the oven.
- Storage: Store leftover pie covered in the refrigerator for up to 4 days.
