


If you can’t find canned pumpkin on the shelf, or if you’ve just got a pie pumpkin sitting on the counter, it’s easy to make your own pumpkin puree at home. All you need is a pumpkin, an oven, and a blender or food processor.
Homemade pumpkin puree also gives you more control than canned. You can blend it as smooth or as coarse as you like, and a few key steps keep it from turning out watery or gritty, which is the most common complaint with canned.

Picking the Right Pumpkin
Use a sugar pie pumpkin for this, not a carving pumpkin. Carving pumpkins are bred to look good and carve easily, not to taste good. They tend to be more watery and gritty. Sugar pie pumpkins are smaller, usually under 6 pounds, sweeter, and have more flesh relative to their size.
Roast Your Pumpkin
Roasted dries out the pumpkin’s moisture instead of adding more to it, the way steaming or boiling does. That’s what gives this puree a thicker texture and better flavor.

Expert Tips
Recipe FAQs
Yes, as long as the can version is labeled 100% pumpkin, not pumpkin pie filling, both work the same way in recipes.
It keeps in the refrigerator for up to 5 days in a sealed container, or in the freezer for up to 3 months. Freeze it in 1-cup portions so you can thaw just what a recipe calls for.
Recipes to Make with Your Pumpkin Puree
I always make a double batch of this pumpkin puree around this time of year because I use it in so many things. My gluten-free pumpkin pie with graham cracker crust is a classic choice since that’s basically what this puree was made for.
Lately, I’ve been folding it into pumpkin crème brûlée for something a little fancier, or stirring it into pumpkin apple cider turkey chili when I want something savory for dinner instead of another dessert.
My pumpkin mushroom risotto is probably the most unexpected use, but adds a nice, subtle sweetness that works really well with the mushrooms.

How to Make Pumpkin Puree
Equipment
- Food Processor
- Oven
Ingredients
- 1 sugar pie pumpkin - about 3lbs
**Use the toggle button above to turn the instruction photos on and off!
Instructions
- Preheat oven to 400°F. Line a baking sheet with parchment paper.
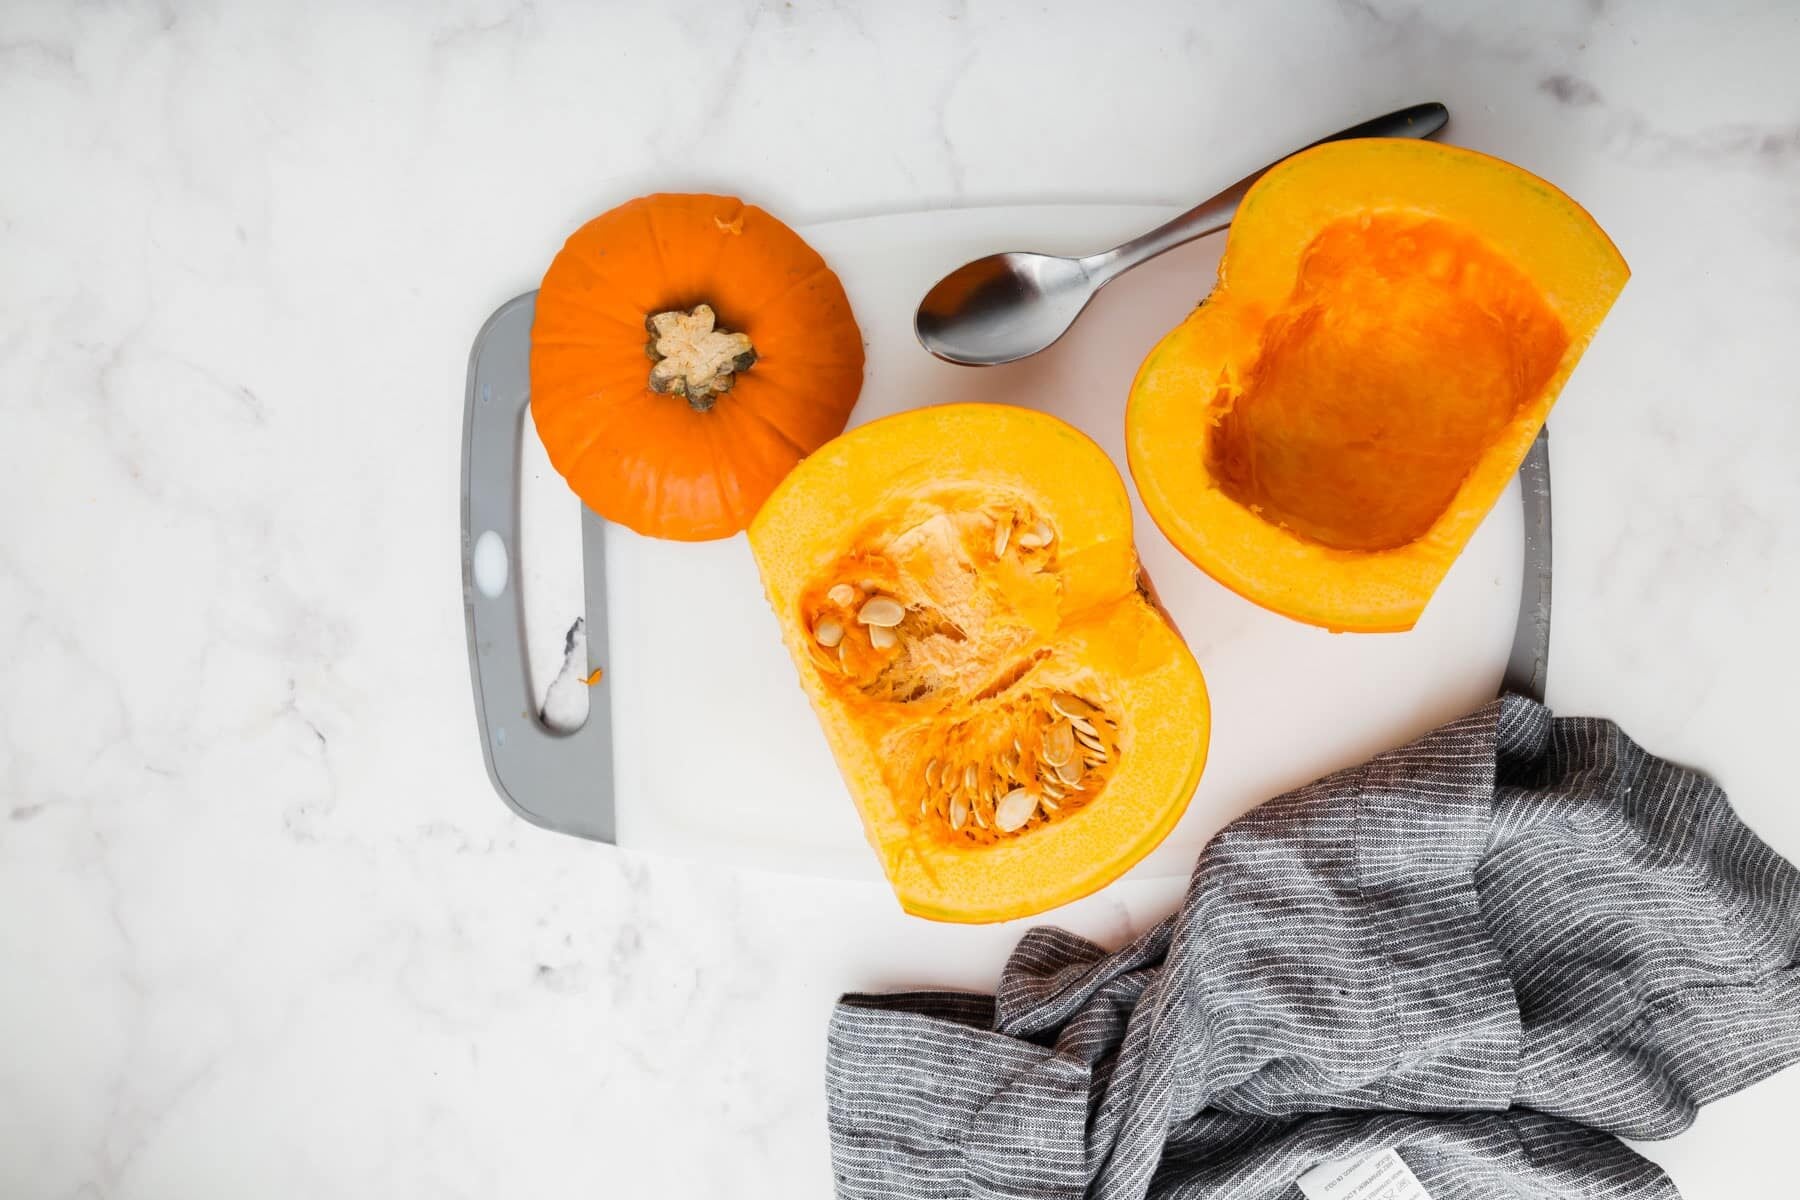
- Slice the top off 1 sugar pie pumpkin, about 2 inches below the stem to create. flat, stable surface. Discard the top.
- Stand the pumpkin flat side down on a cutting board and slice it in half from top to bottom.

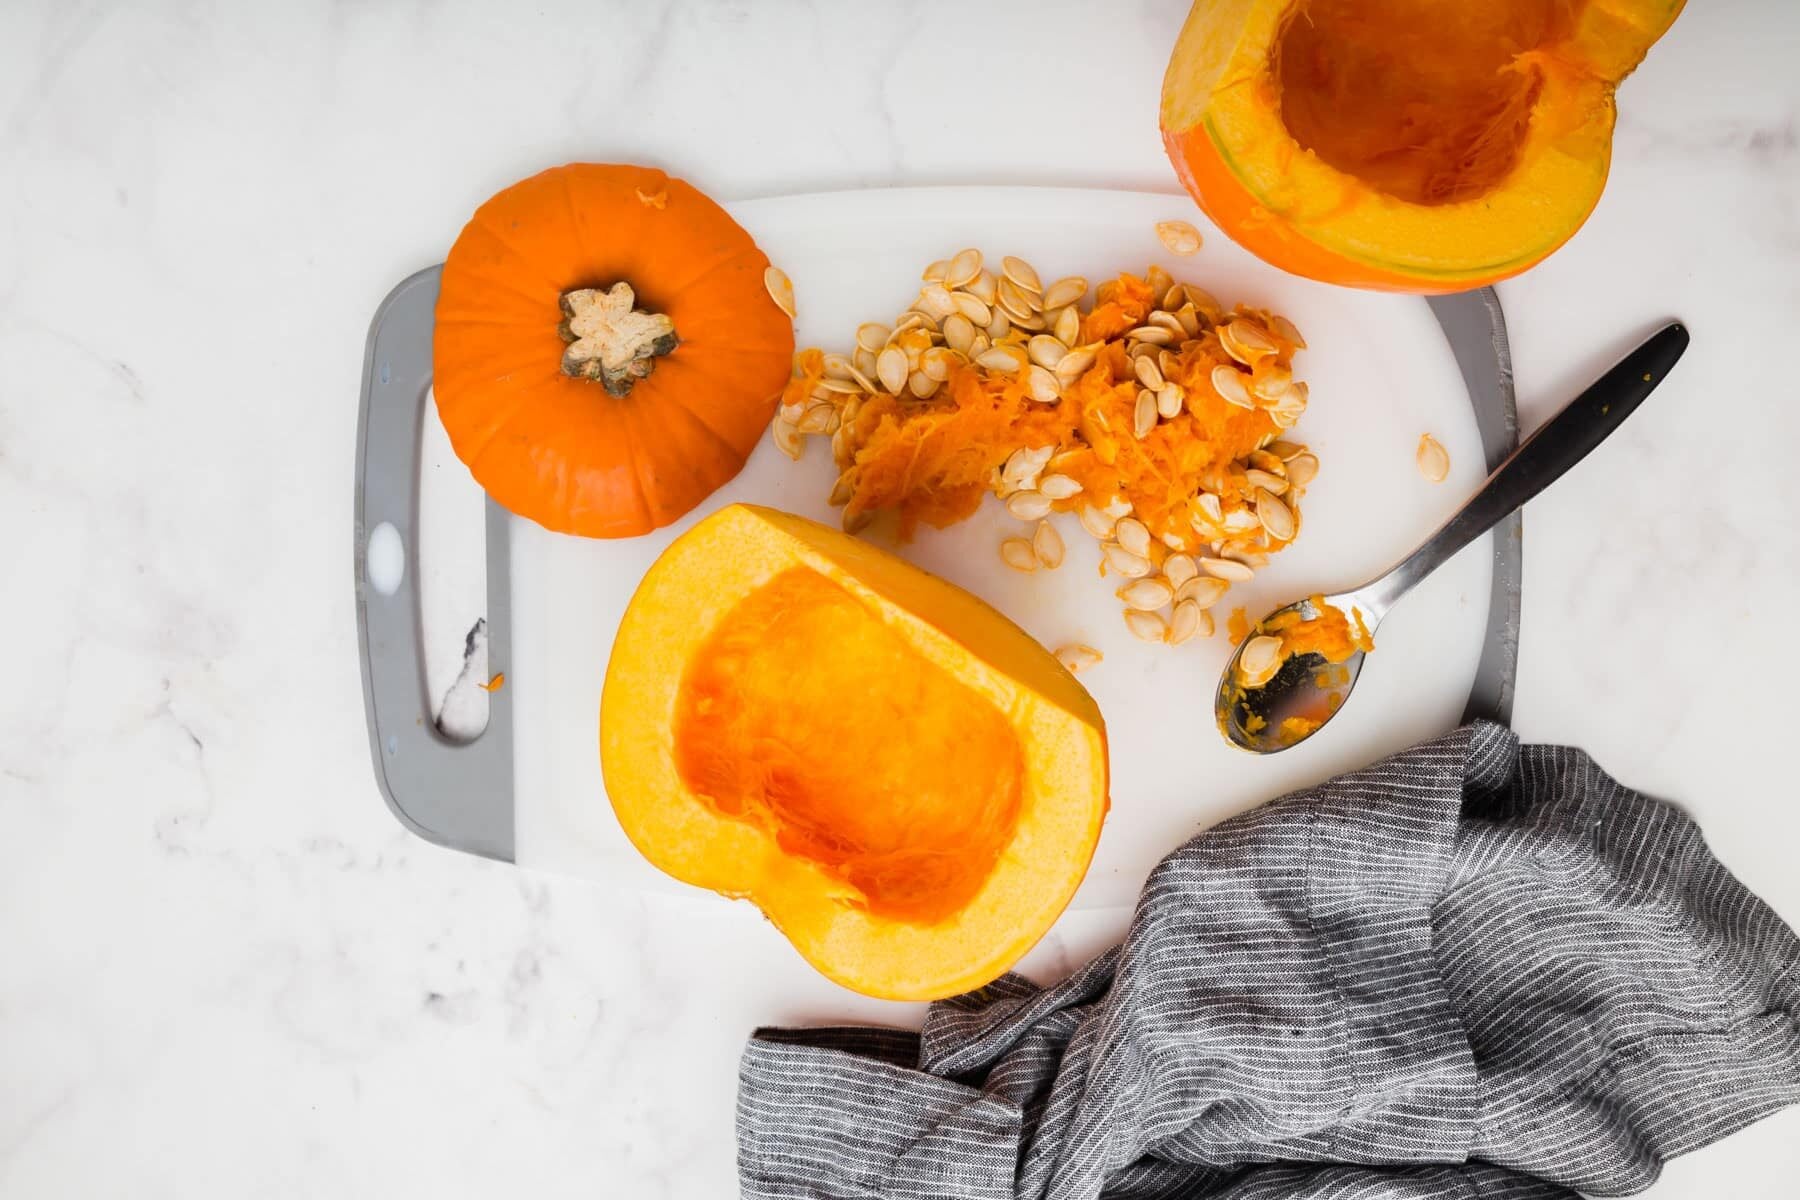
- Scoop out the seeds and stringy pulp with a spoon. Discard or save the seeds to roast separately.
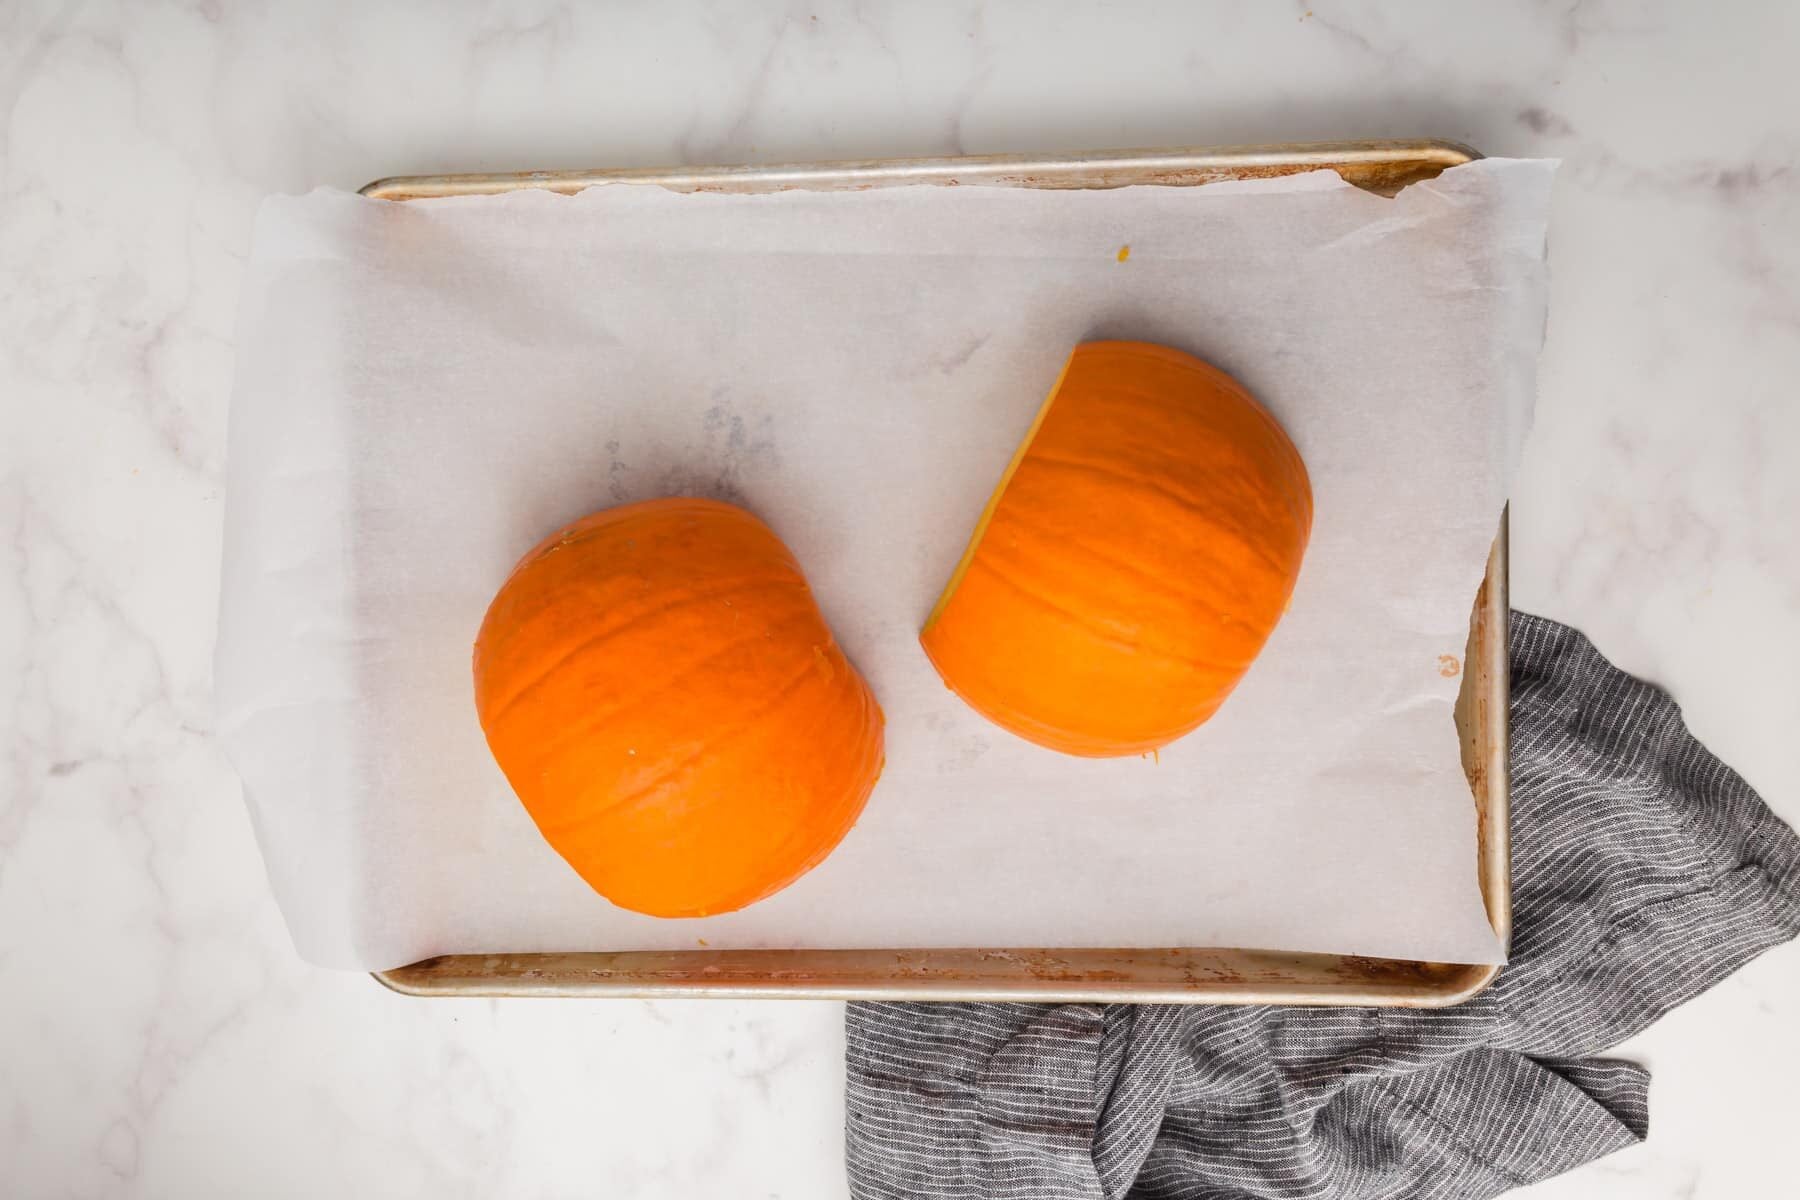
- Place the pumpkin halves, cut side down, on the prepared baking sheet.
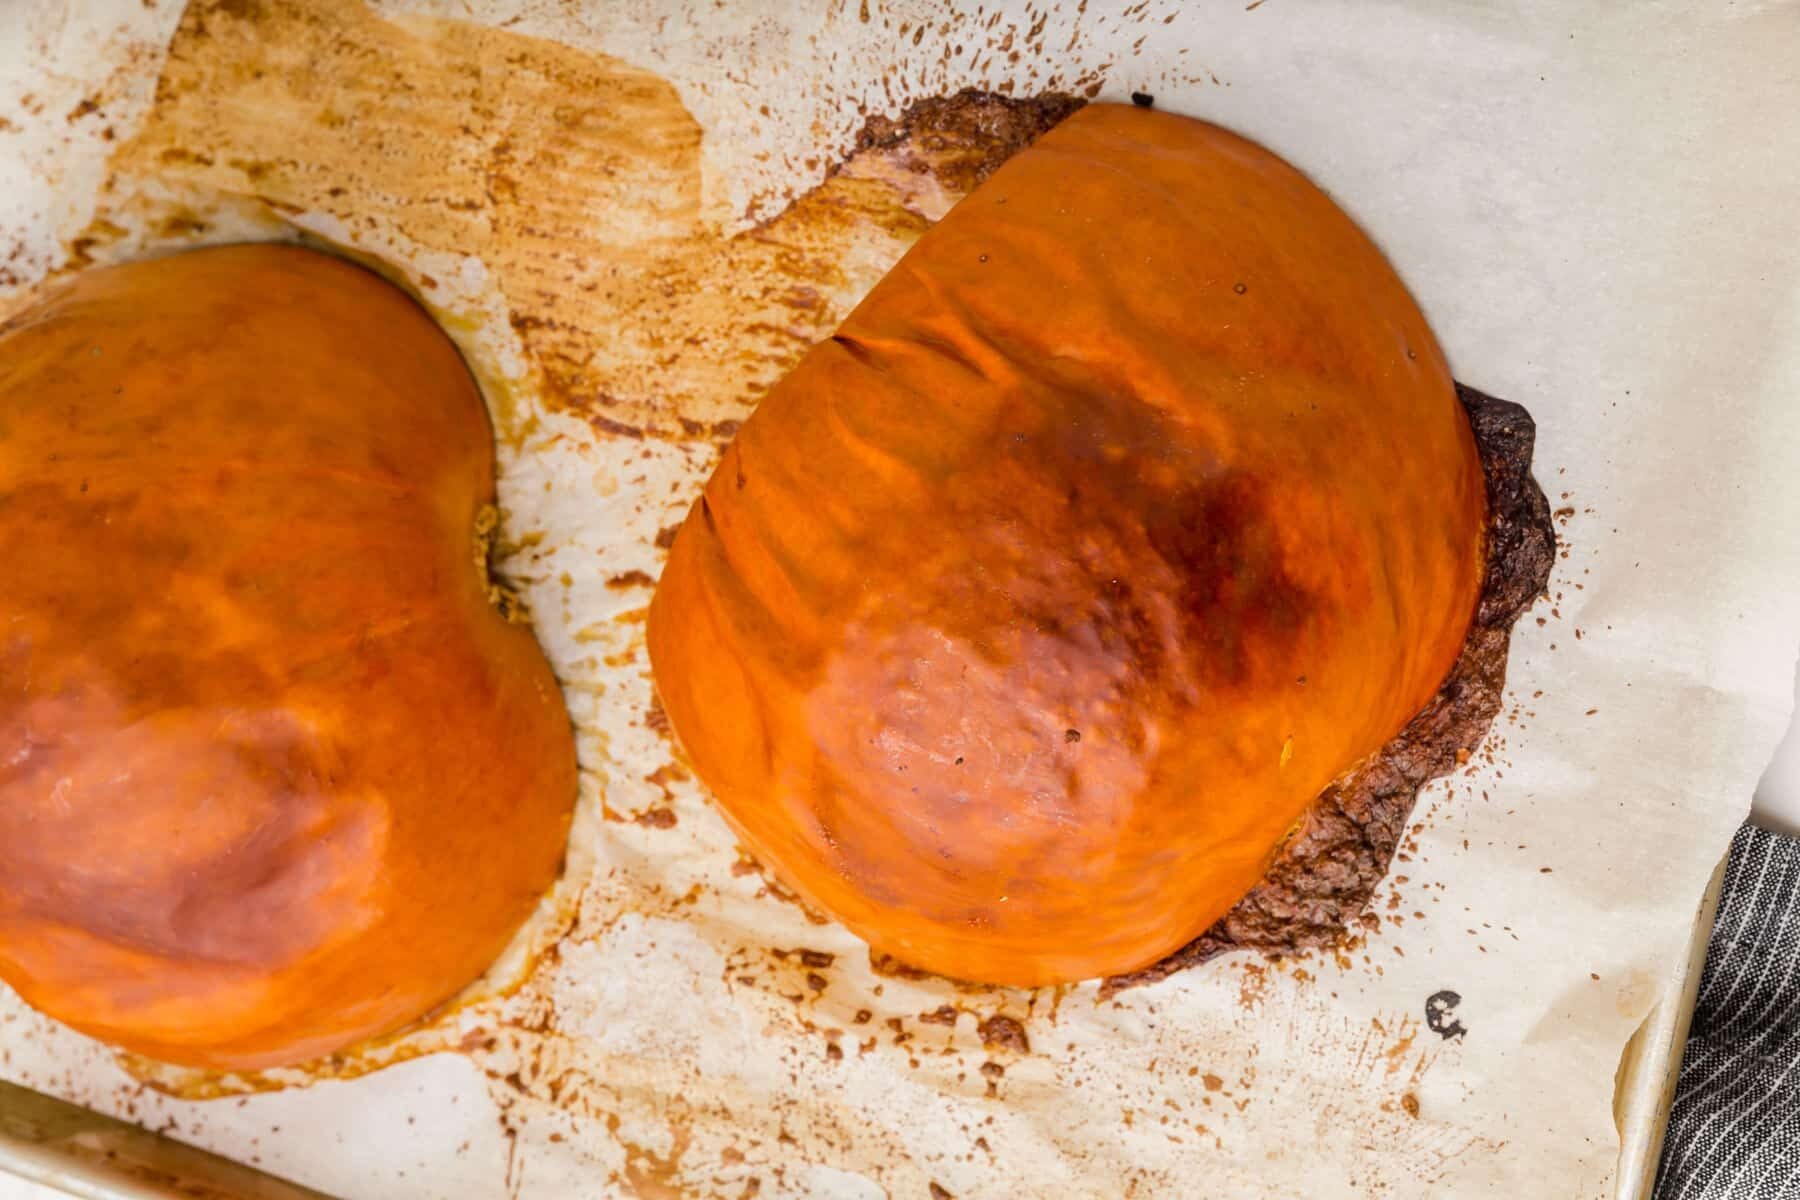
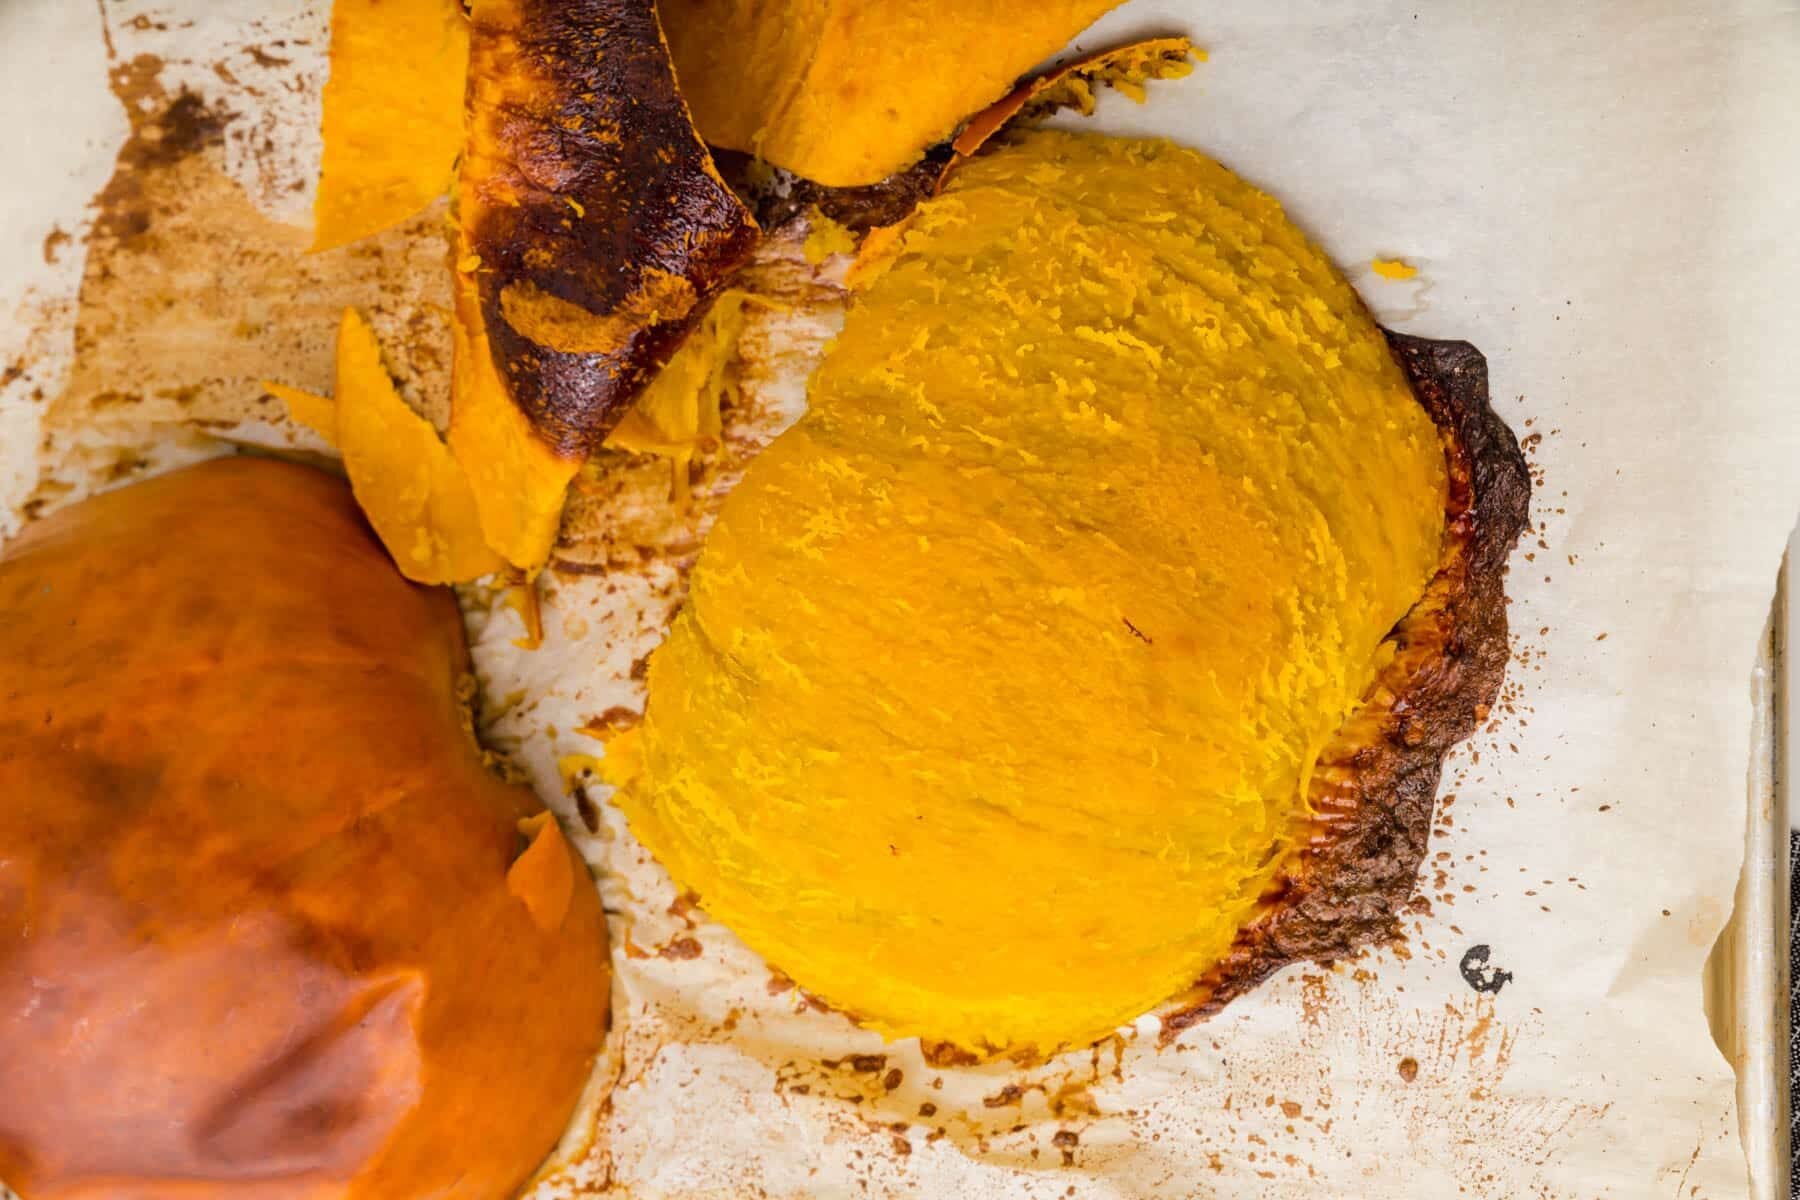
- Roast at 400°F for 40-50 minutes until the skin starts to pull away from the flesh and the center begins to collapse slightly.
- Let the pumpkin cool until it's safe to handle. Then peel away the skin starting from one of the cut edges and discard it.
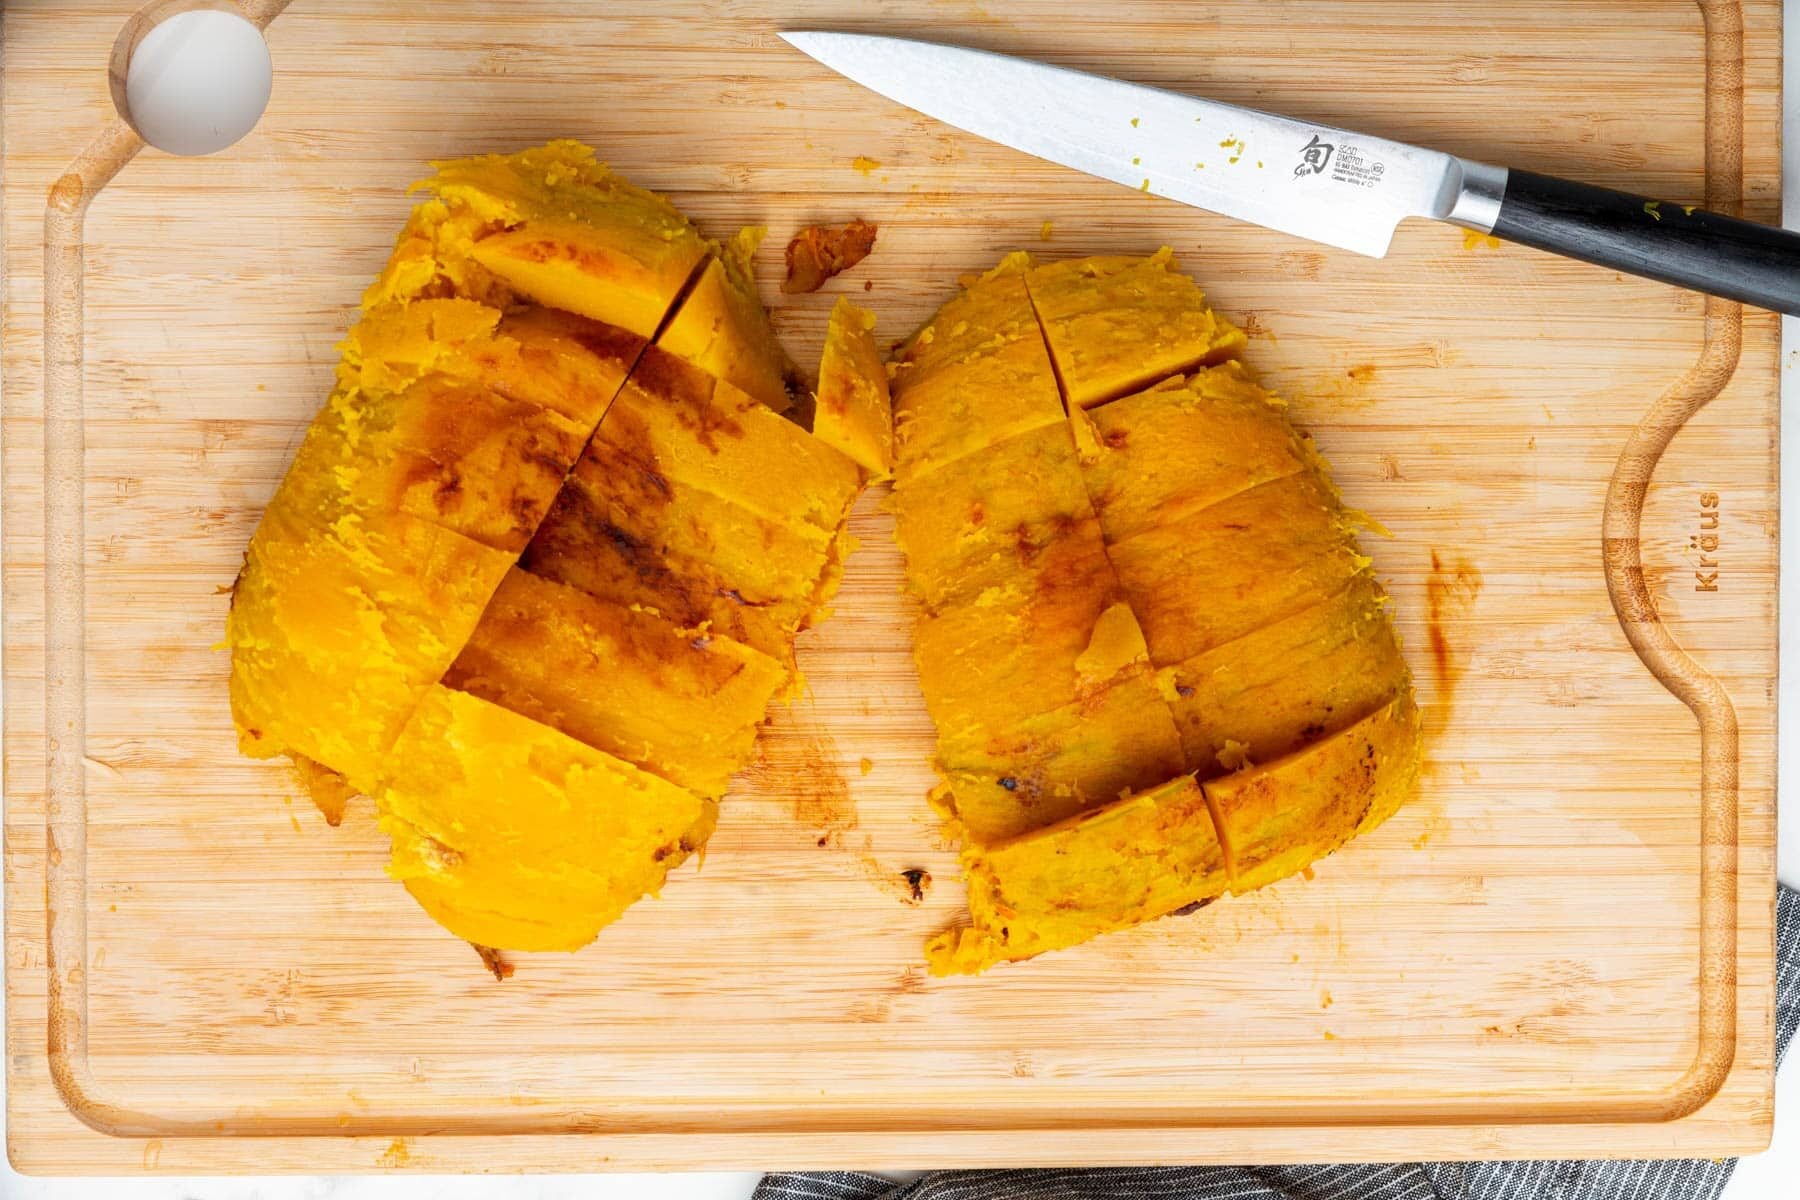
- Cut the flesh in a chunk.
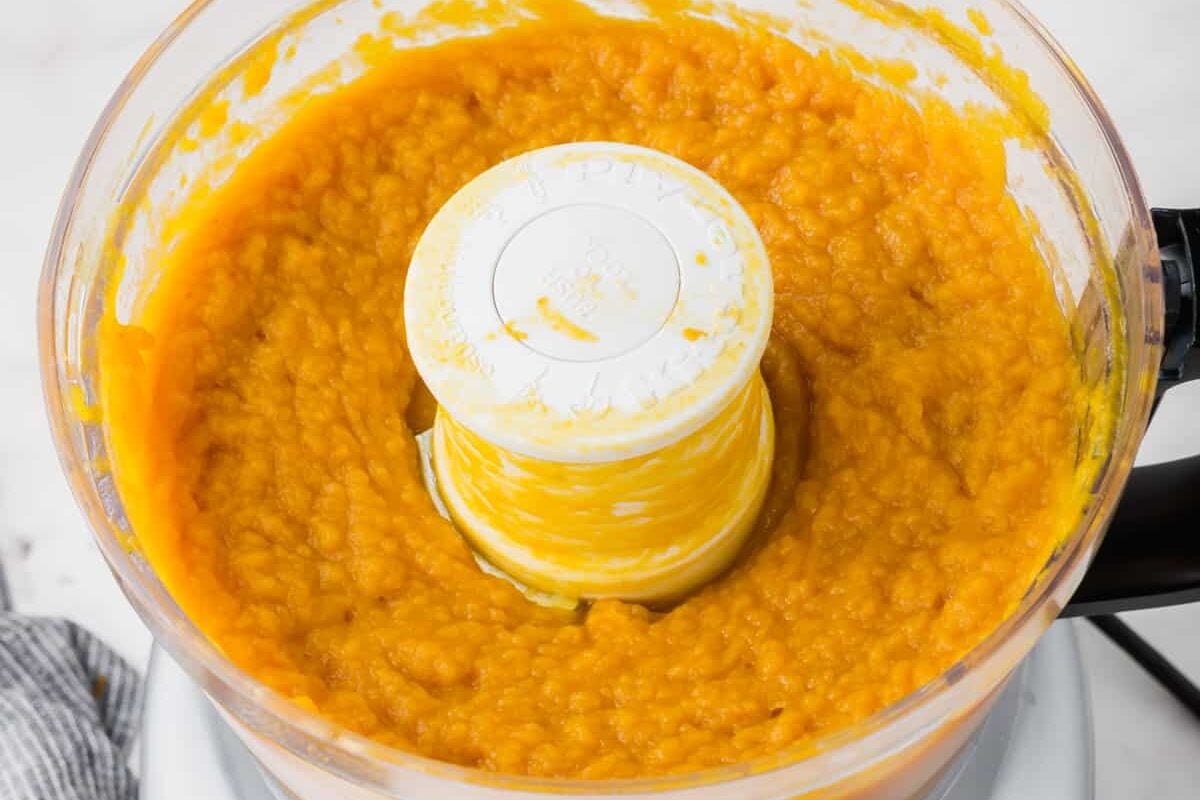
- Add the chunks to a food processor and blend until smooth, scraping down the sides as needed.

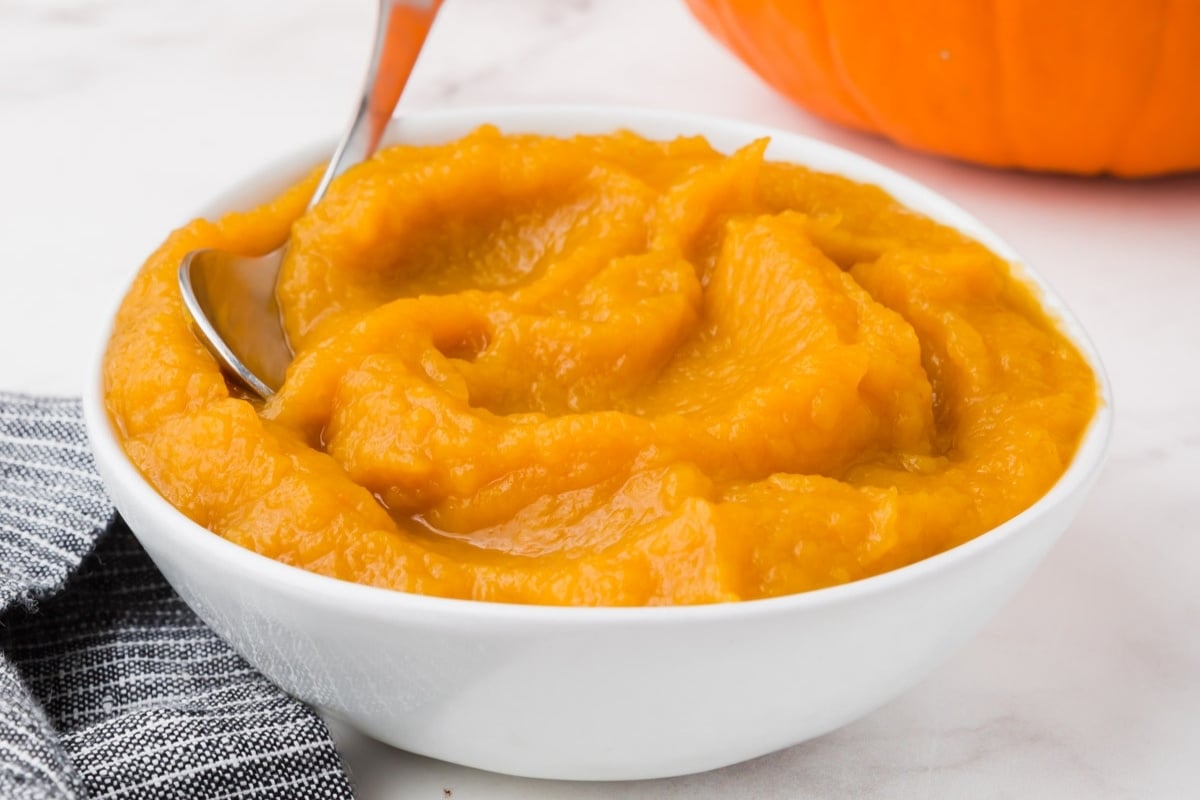
- Use it right away, or store in an airtight container in the refrigerator, or freeze for later.
Video
Notes
- Pumpkin Type: Use a small pie pumpkin for this recipe, which also may be called sugar pumpkins or baking pumpkins at your local store or farmers’ market. Do not use large carving pumpkins that you would make jack-o-lanterns out of. It will not make a flavorful pumpkin puree.
- Storage: Store your homemade pumpkin puree in an airtight container in the refrigerator and use within 5 days. Alternatively, you can freeze your pumpkin puree in freezer safe bags. I like to freeze the puree in 1 cup portions which is what is used in a lot of my recipes. Just thaw and use!
- Yield: My sugar pumpkin was about 3lbs and made 3 cups of pumpkin puree.
