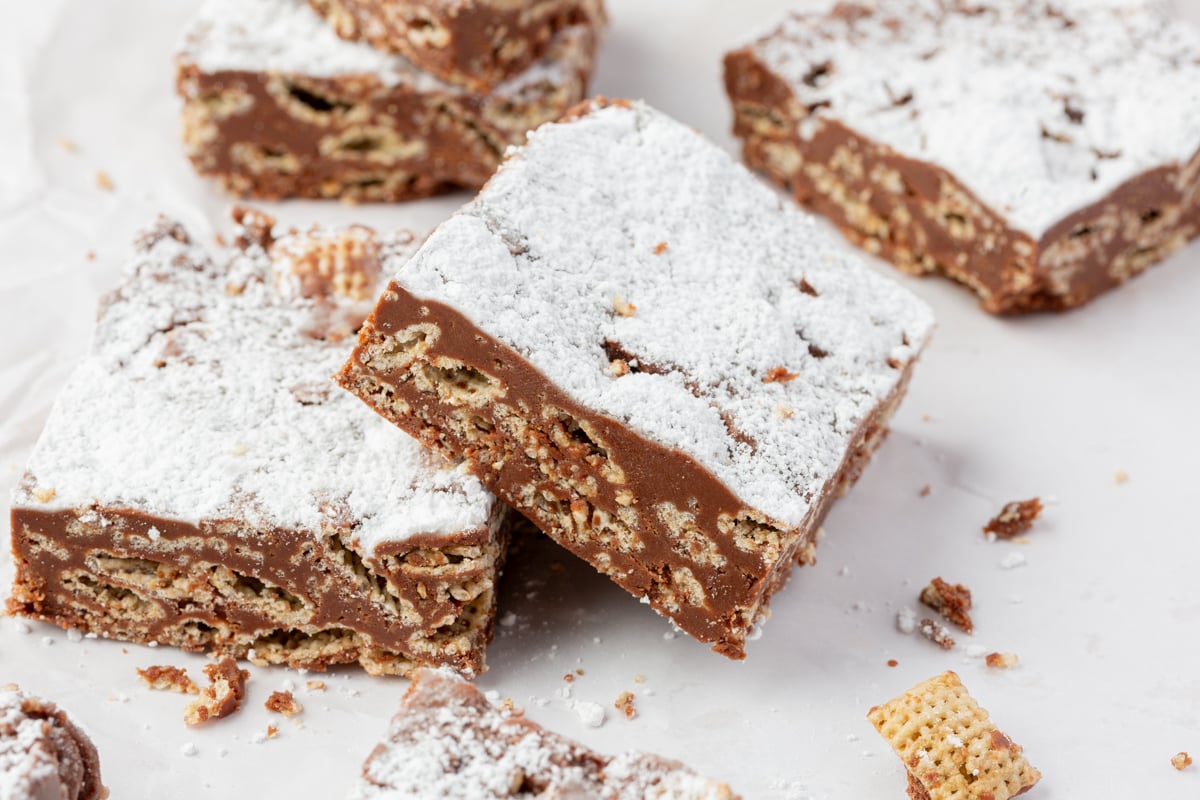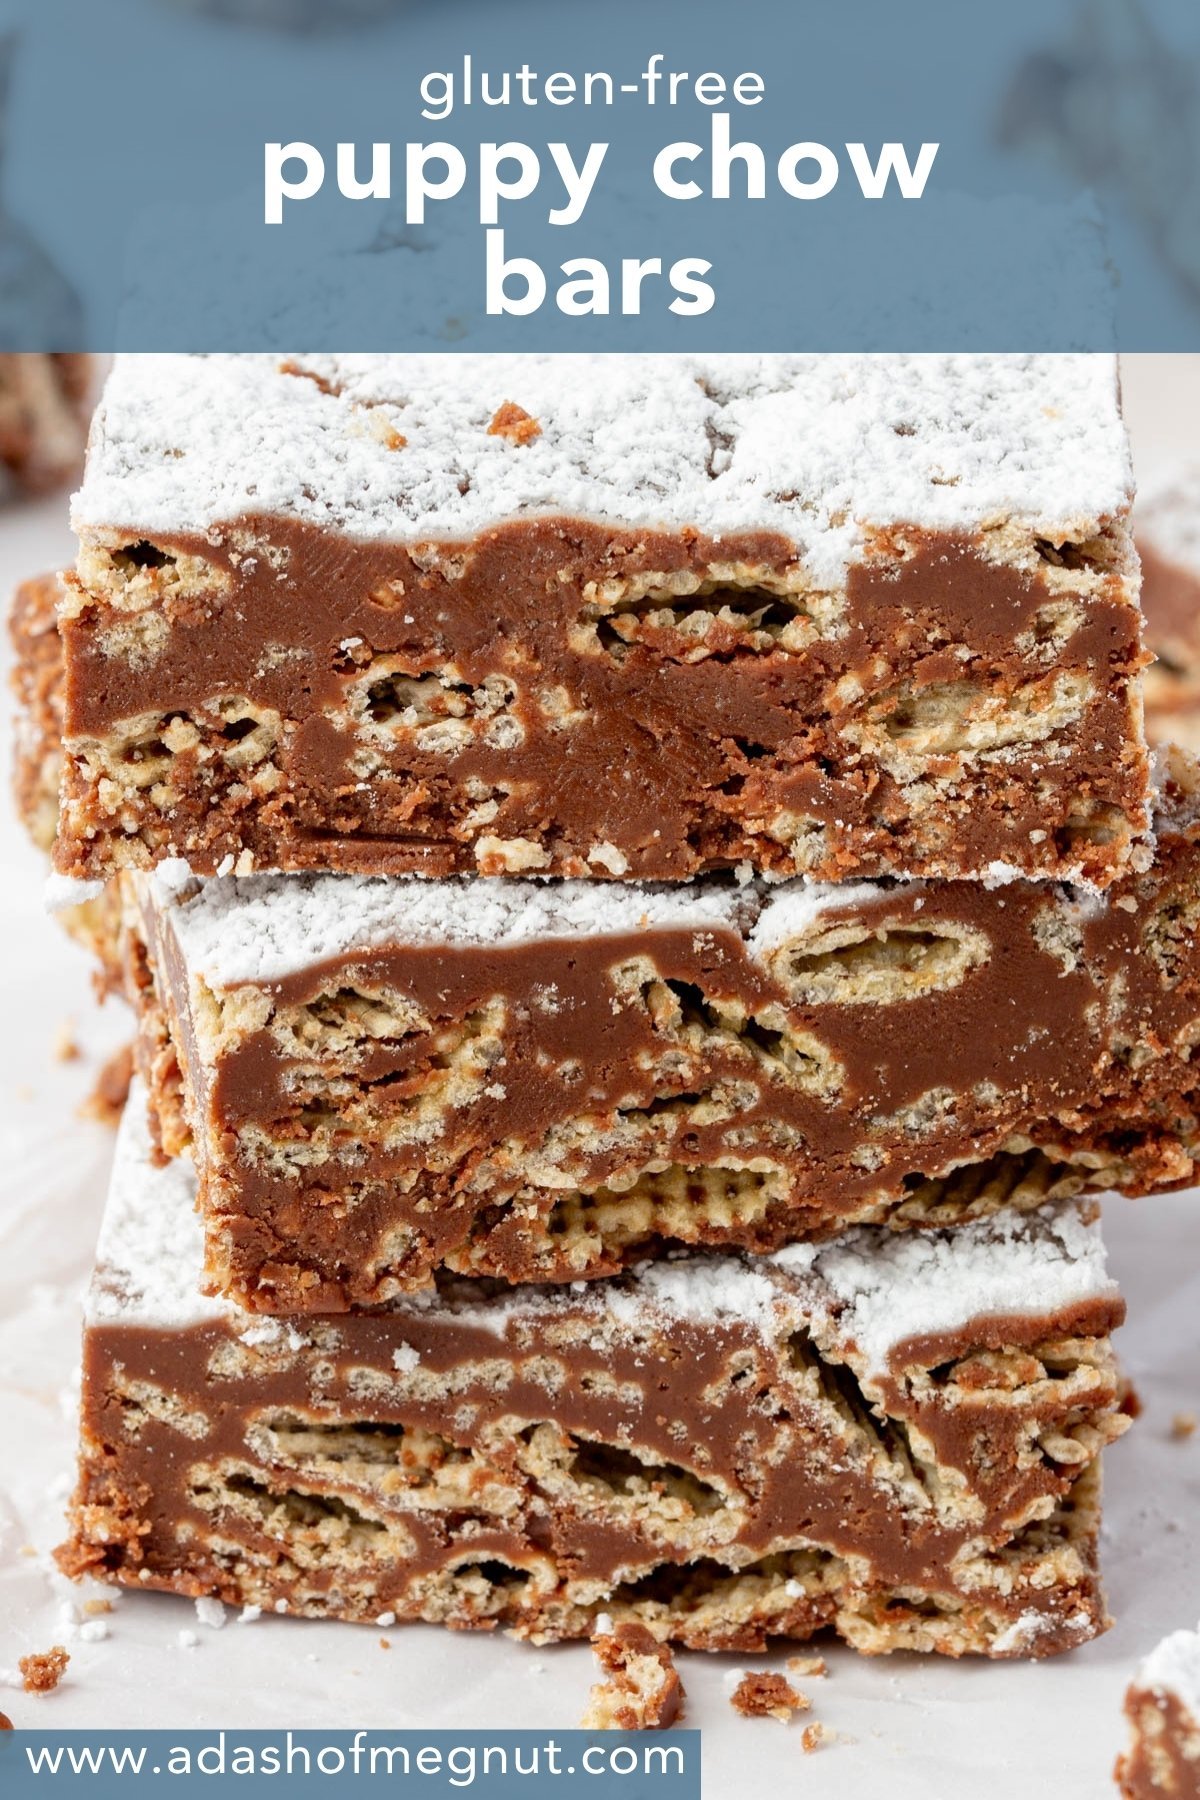
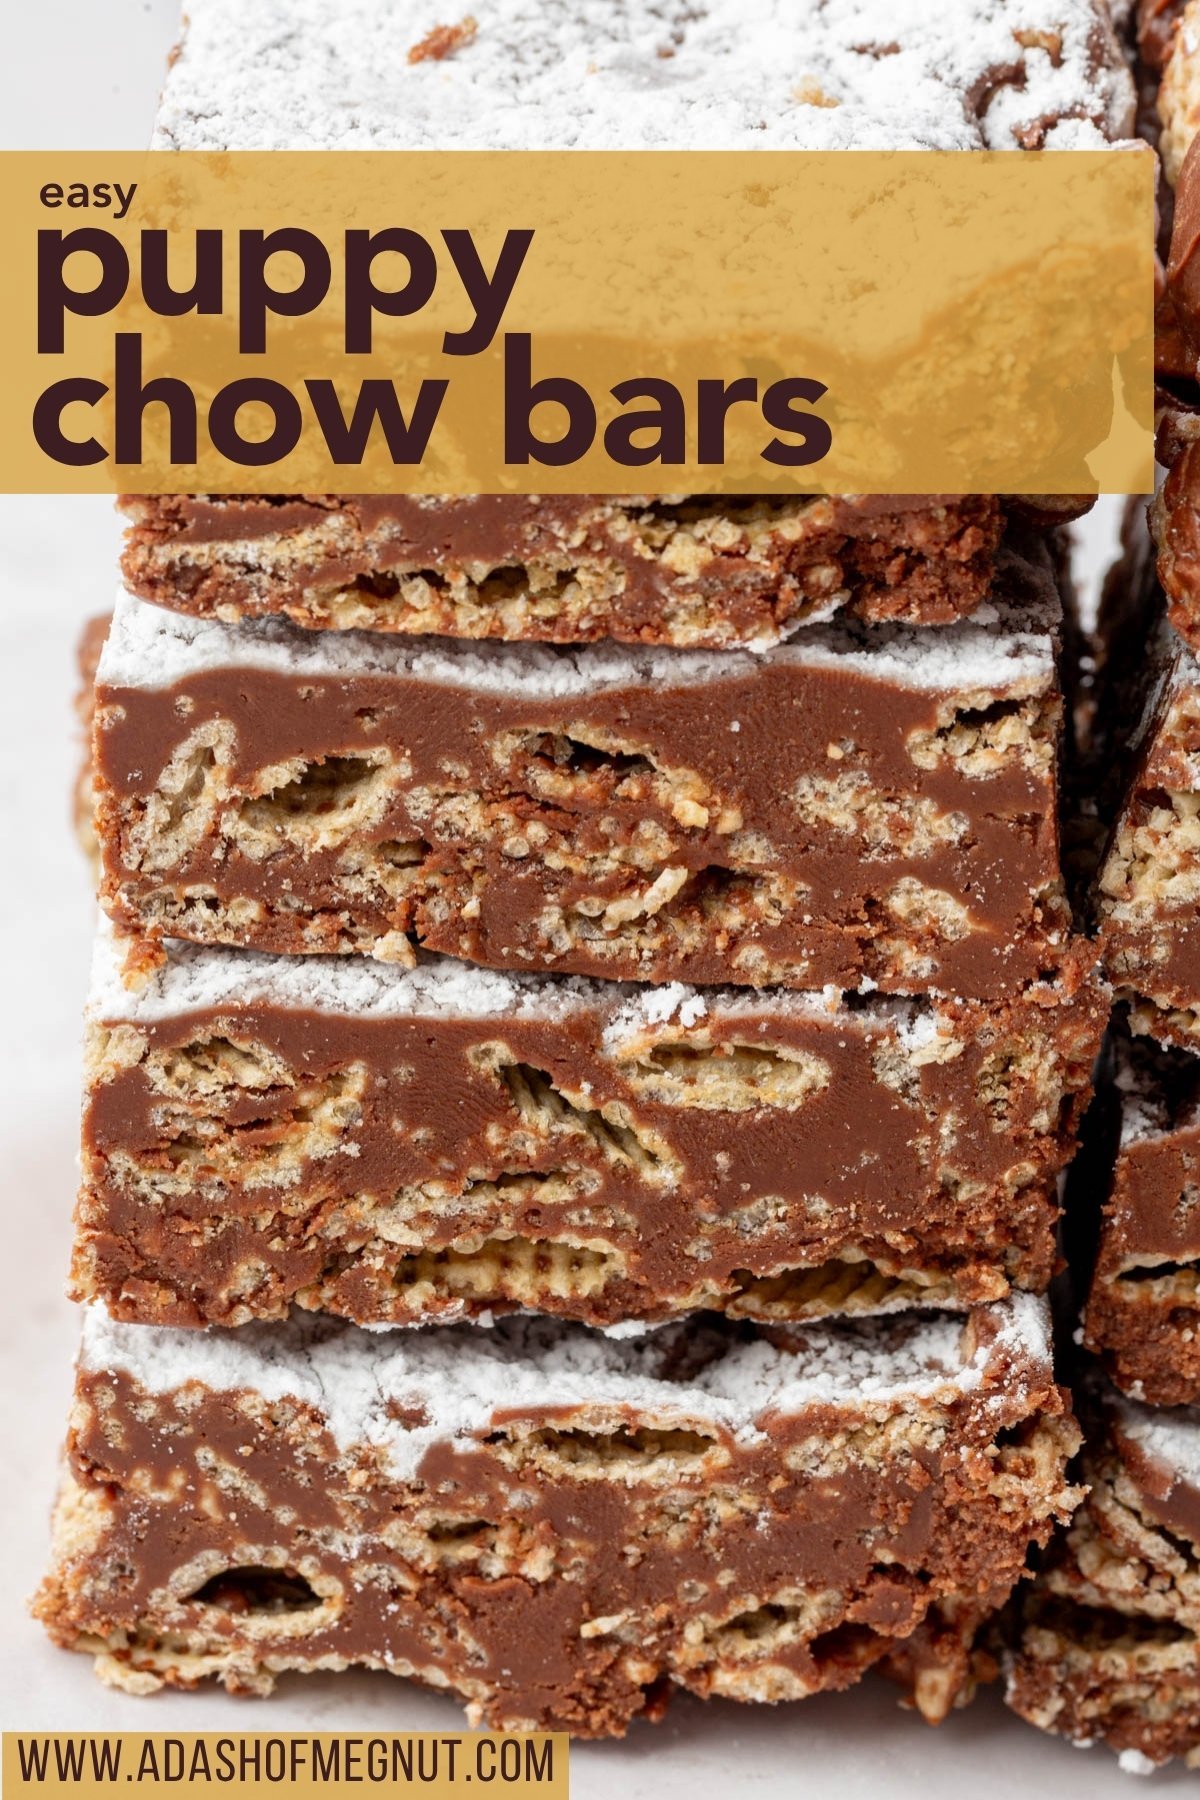
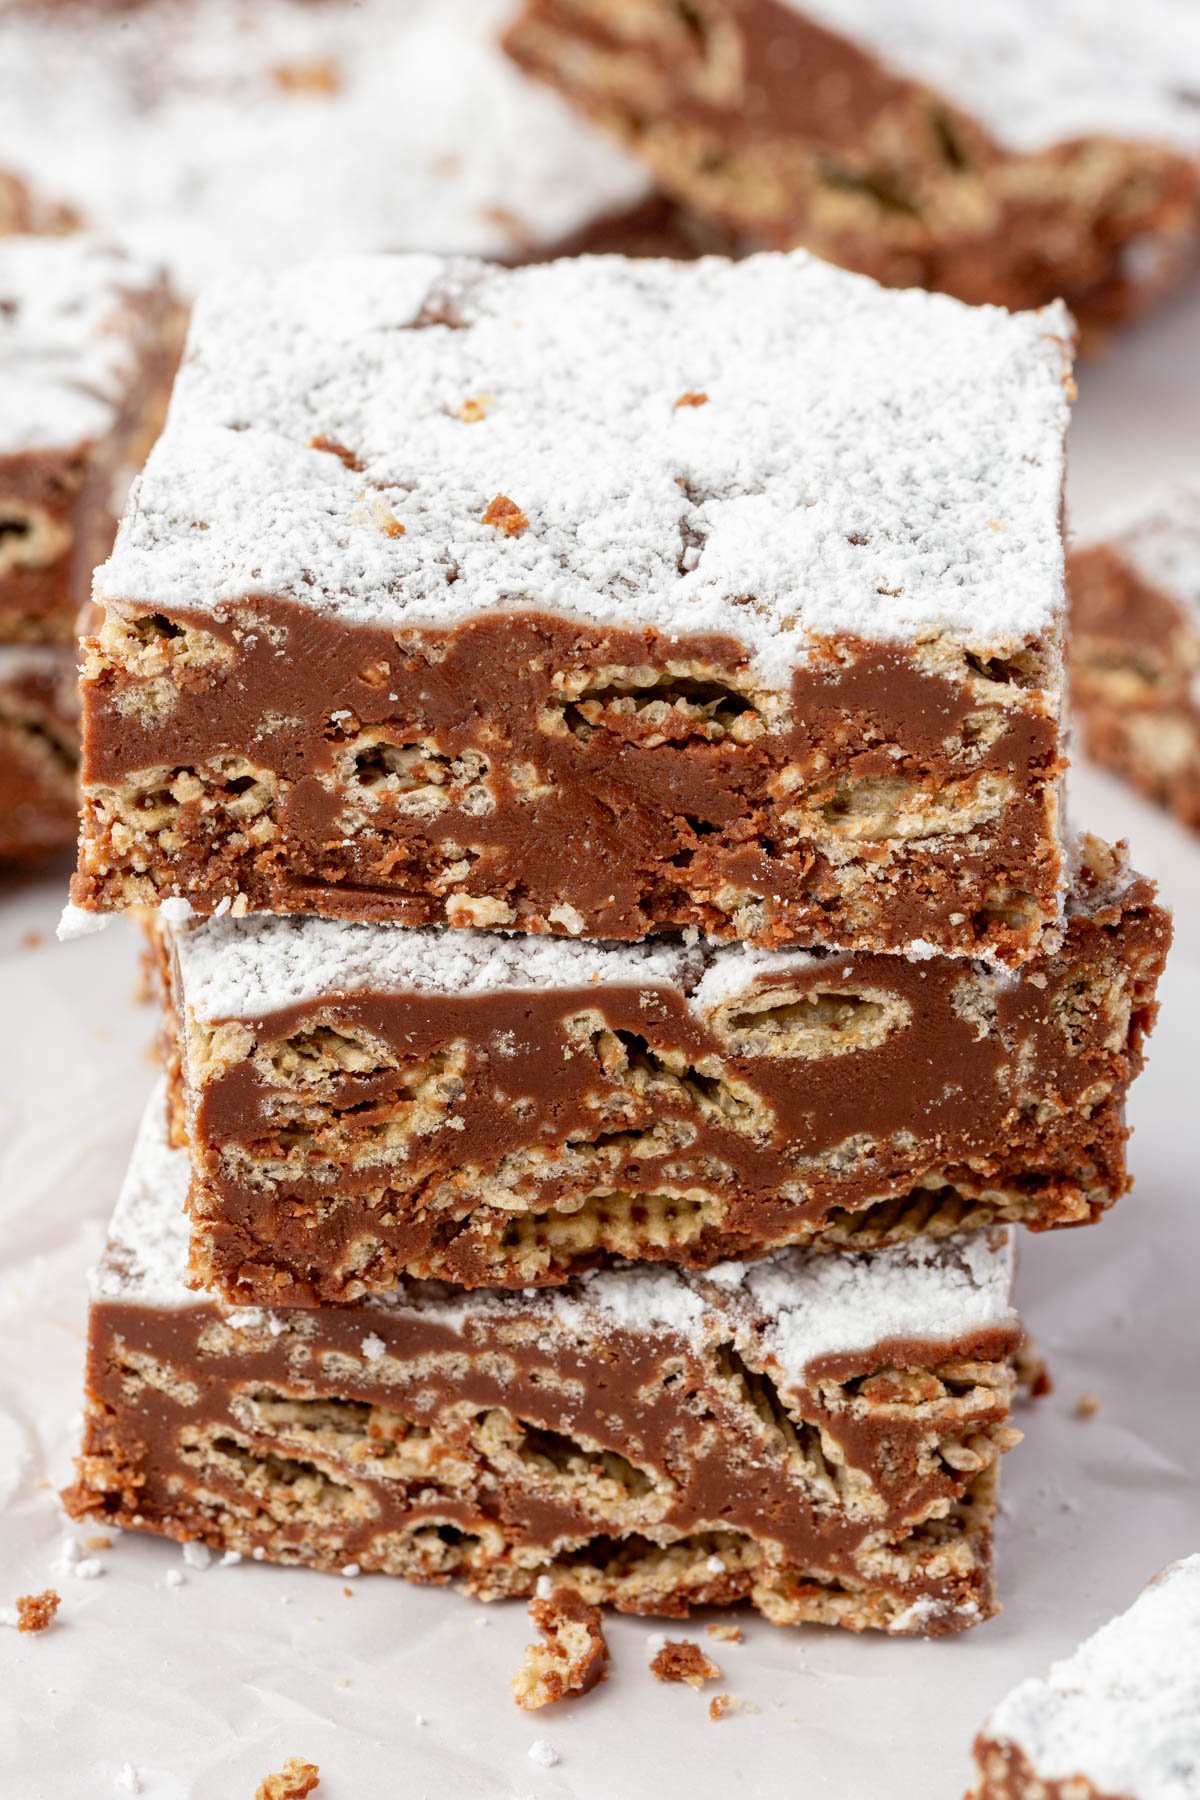
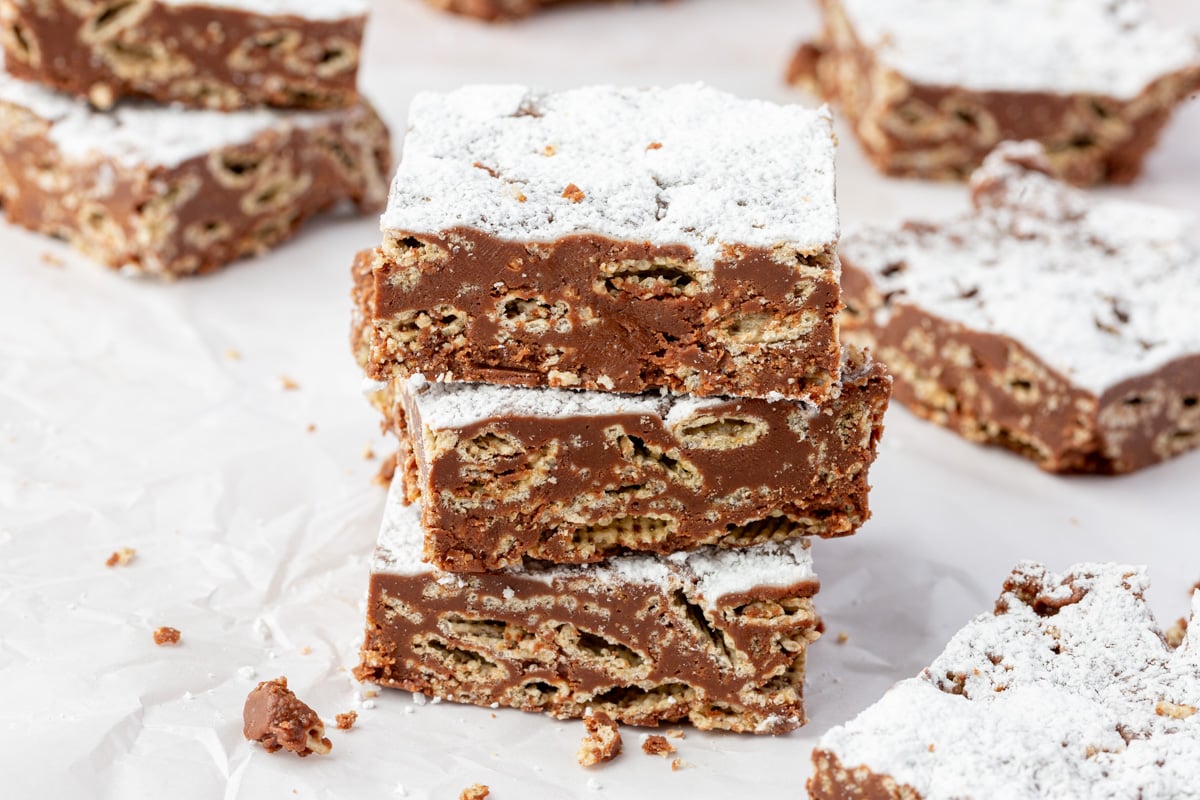
These puppy chow bars (also known as muddy buddy bars) are the no-mess, crowd-pleasing version of the nostalgic treat you loved as a kid — but in bar form!
Made with rice Chex, peanut butter, chocolate, and a dusting of powdered sugar, they’re a breeze to make and easier to serve than classic muddy buddies. No handfuls. No powdered sugar trails. Just slice-and-serve
Why You’ll Love this Recipe
Want the classic version instead of bars? Try my original muddy buddy (puppy chow) recipe here.
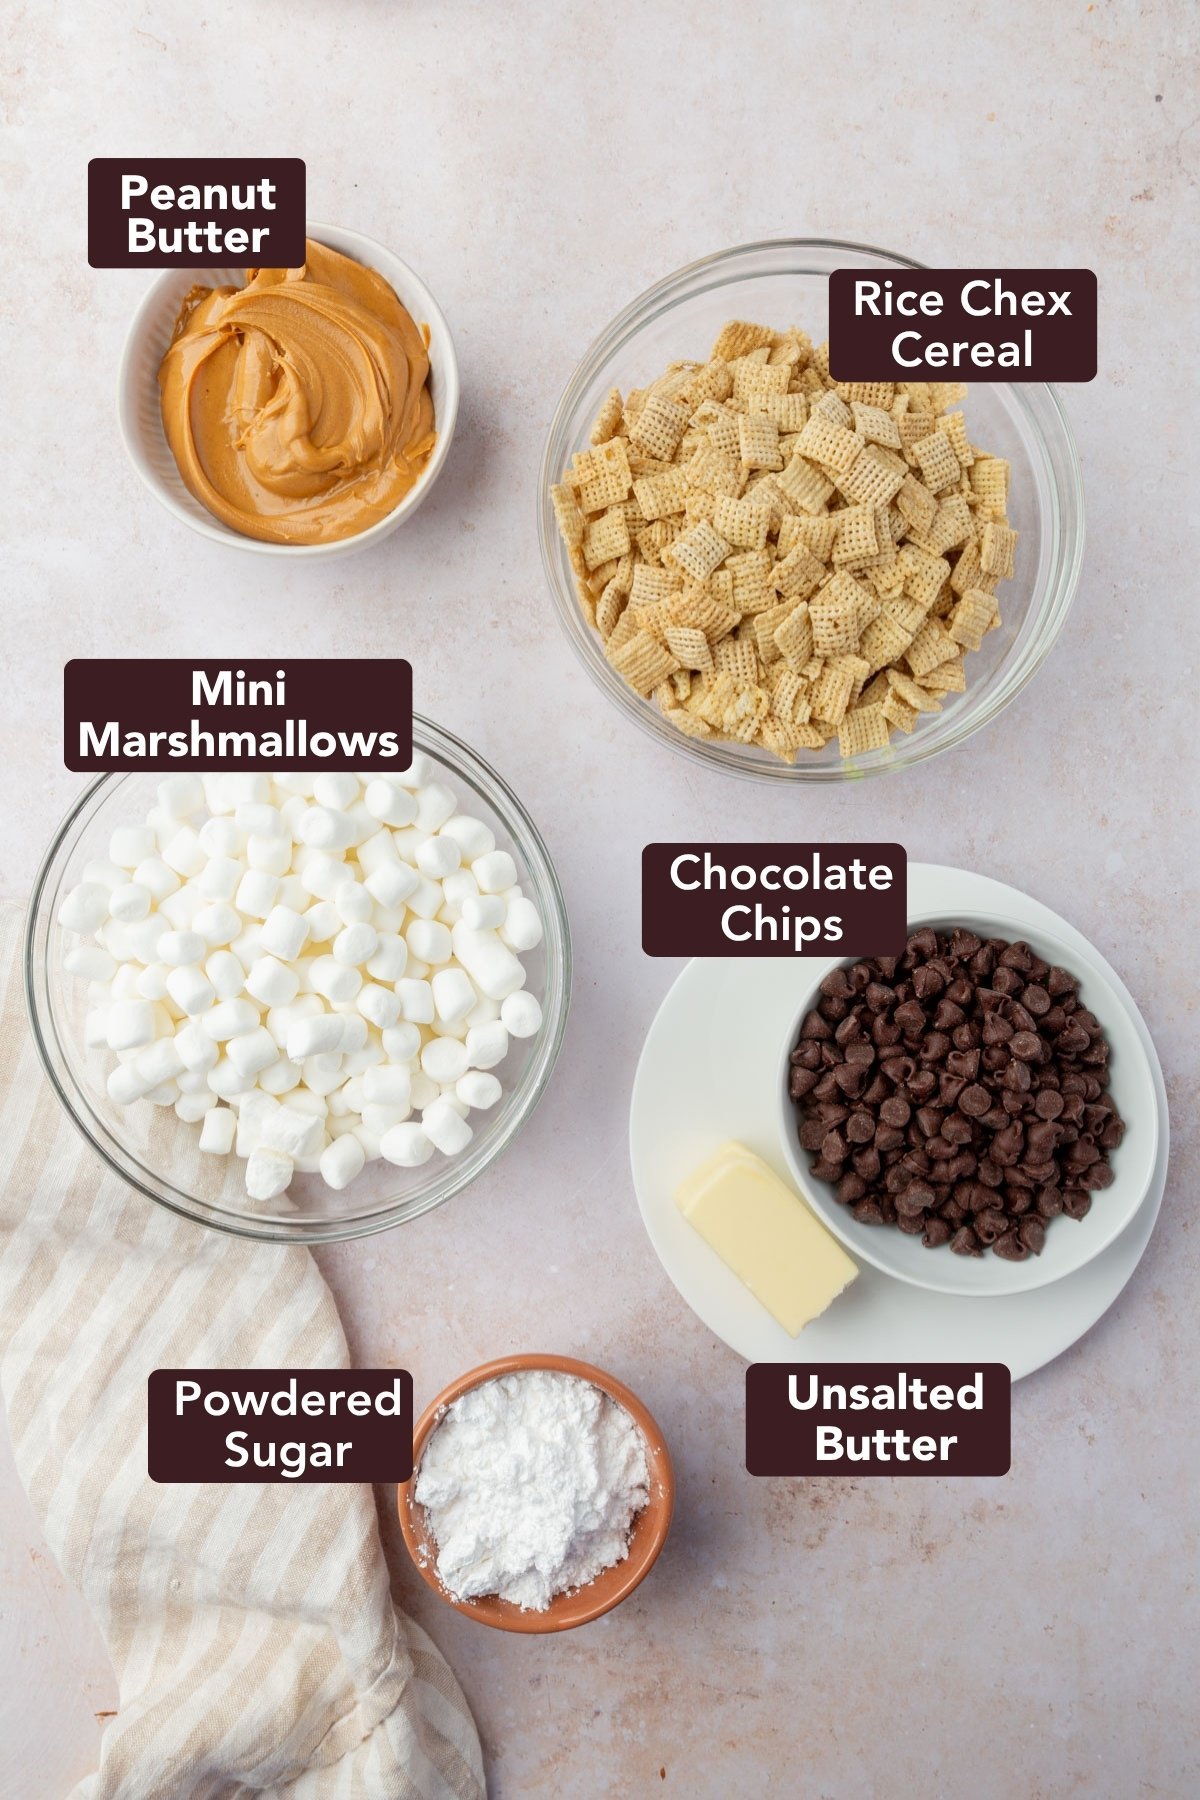
Ingredients
Hosting Shortcut!
These muddy buddy bars are fully no-bake! You’ll just melt everything in the microwave, fold in cereal, and chill until firm. Perfect for summer parties, last-minute treats, or baking with kids.
Ingredient Notes
- Rice Chex cereal – This recipe uses Rice Chex, which is naturally gluten-free. That said, always check the box to confirm it’s labeled “gluten-free,” to make sure you have the correct product.
- Semi-sweet chocolate chips – I like semi-sweet for that classic muddy buddy flavor, but feel free to use milk or dark chocolate if that’s your preference.
- Creamy peanut butter – Stick with classic creamy peanut butter (like Jif or Skippy). Natural peanut butter with just peanuts + salt can work, but it tends to separate and may give you a greasier texture.
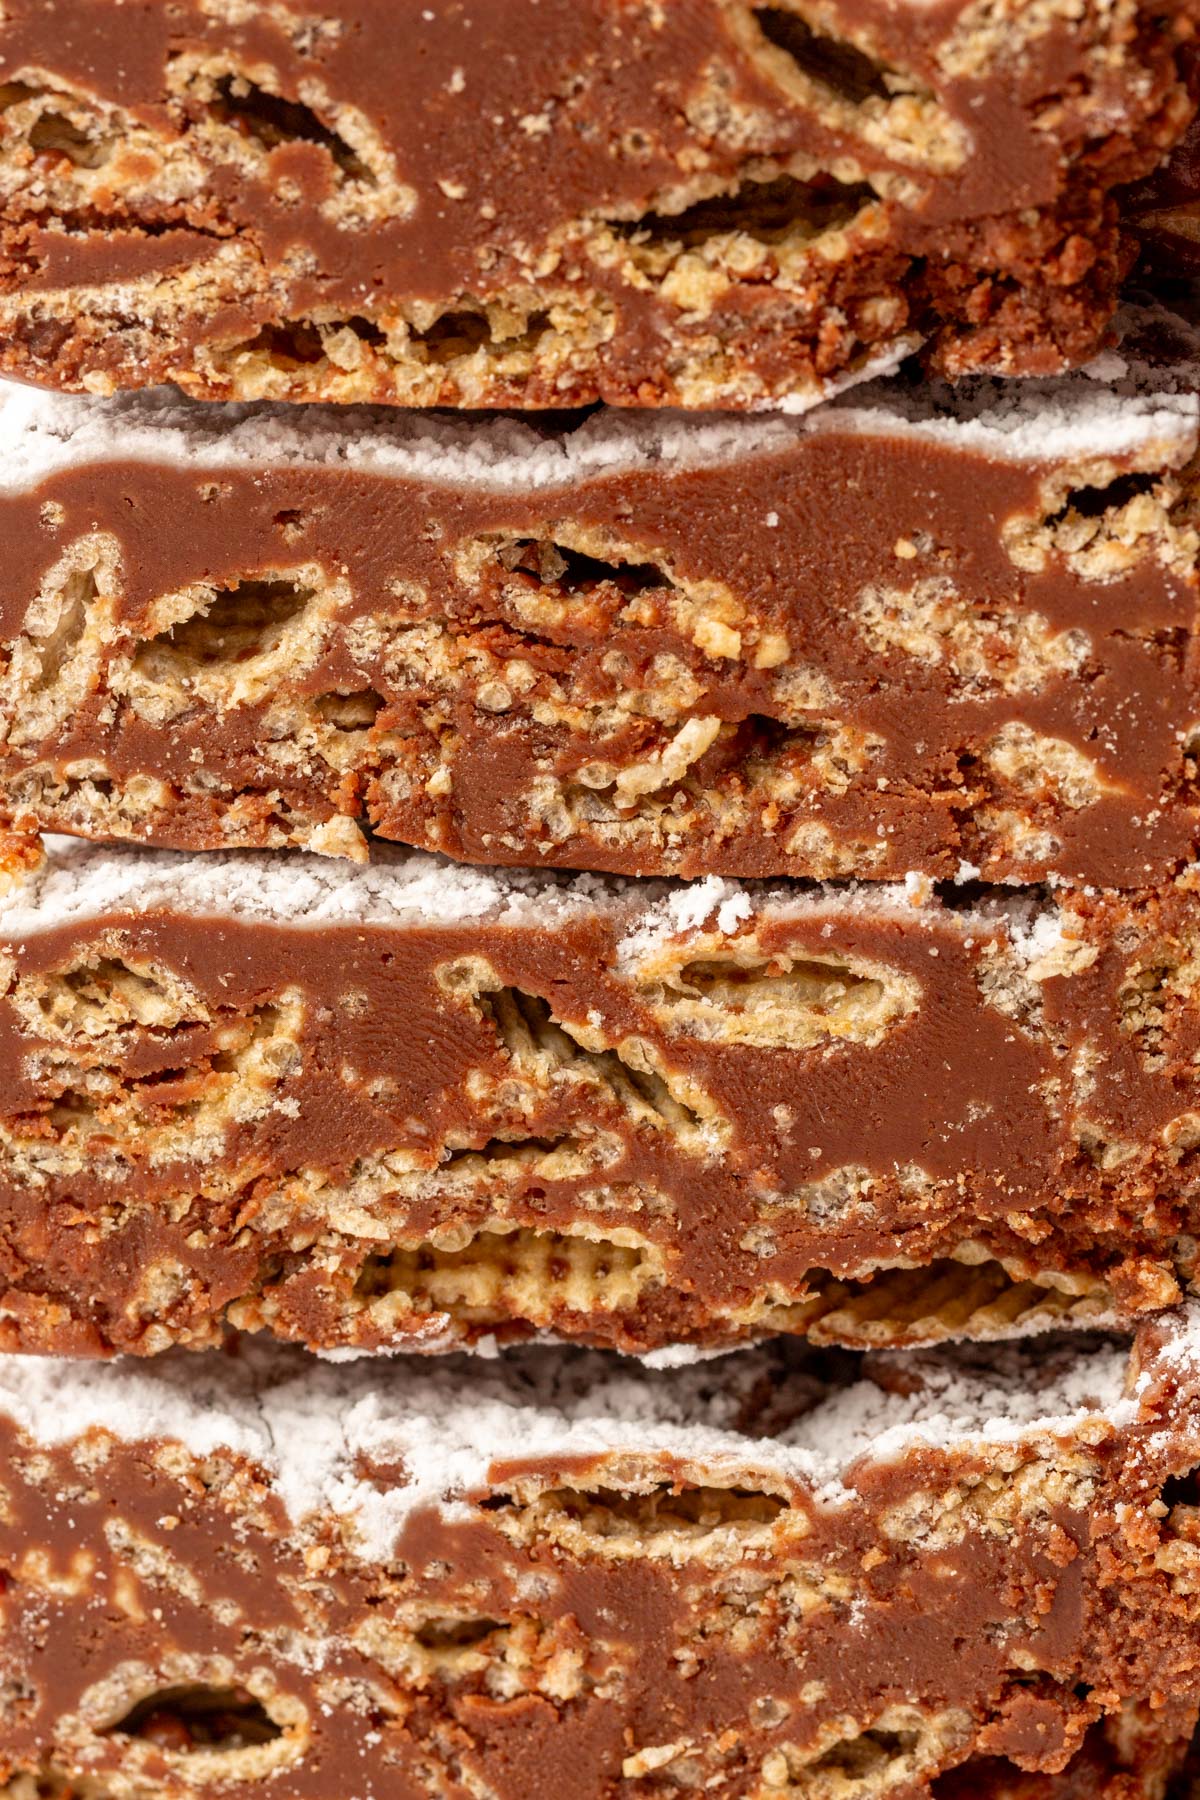
- Mini marshmallows – I tested multiple versions of these bars – some with marshmallow and some without. The marshmallow batches gave the bars a slightly chewier, more cohesive texture that holds together better for slicing. No ooey-gooey pull like my gluten-free rice krispies treats, but just enough softness to make a difference.
- Powdered sugar – Go as light or heavy as you like. A light dusting adds the iconic muddy buddy finish without overdoing it. But, feel free to slice and dip each square into powdered sugar if you prefer!
How to Make Muddy Buddy Bars
For the ingredient list with measurements, full instructions, printable recipe, and additional notes, please scroll down to the recipe card.
Expert Tips
Storage instructions
Refrigerator
Store the bars in an airtight container in the refrigerator for up to 1 week. They’re fine at room temperature too for a few days, but I like them better straight from the refrigerator.
Freezer
These bars freeze beautifully! Once chilled and sliced, wrap each bar individually in plastic wrap or place parchment between layers. Store in a freezer-safe bag or container for up to 1 month. Let thaw at room temperature for 15–20 minutes before serving.
Make-Ahead Tip
If you’re hosting a party, these no-bake bars are a great option to prep a day or two in advance. They actually slice even more cleanly once fully chilled, making them a dream for hosting or gifting.
Serving suggestions
These muddy buddy bars shine on dessert trays, snack boards, or wrapped as edible gifts. I love serving them slightly chilled for a firmer bite, but they hold up beautifully at room temp — perfect for parties, potlucks, or holiday tins.
Style tip: Dust with a fresh layer of powdered sugar just before serving for that classic muddy buddy look.
More gluten-free bars to try
Did you make this recipe?
I’d love to know! Please rate it and leave a comment below. You can also share your pictures and tag @adashofmegnut on Instagram.
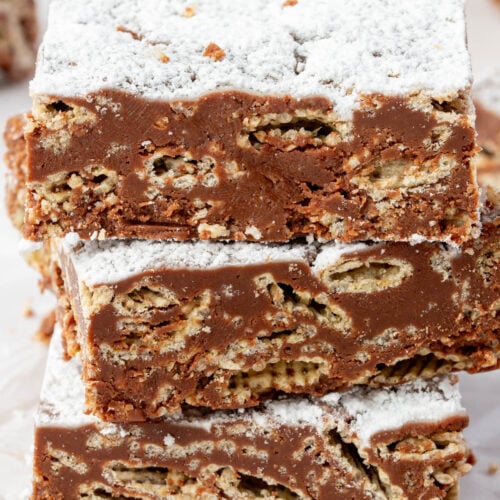
Gluten-Free Puppy Chow Bars
Ingredients
- 4 cups Rice Chex cereal - 120g
- ¼ cup unsalted butter - ½ stick (57g)
- 1 cup semi-sweet chocolate chips - 170g
- ¾ cup creamy peanut butter - 192g
- 5 oz mini marshmallows - 140g
- ¼ cup powdered sugar - 30g
**Use the toggle button above to turn the instruction photos on and off!
Instructions
- Pour 4 cups Rice Chex cereal into a large mixing bowl and set aside.
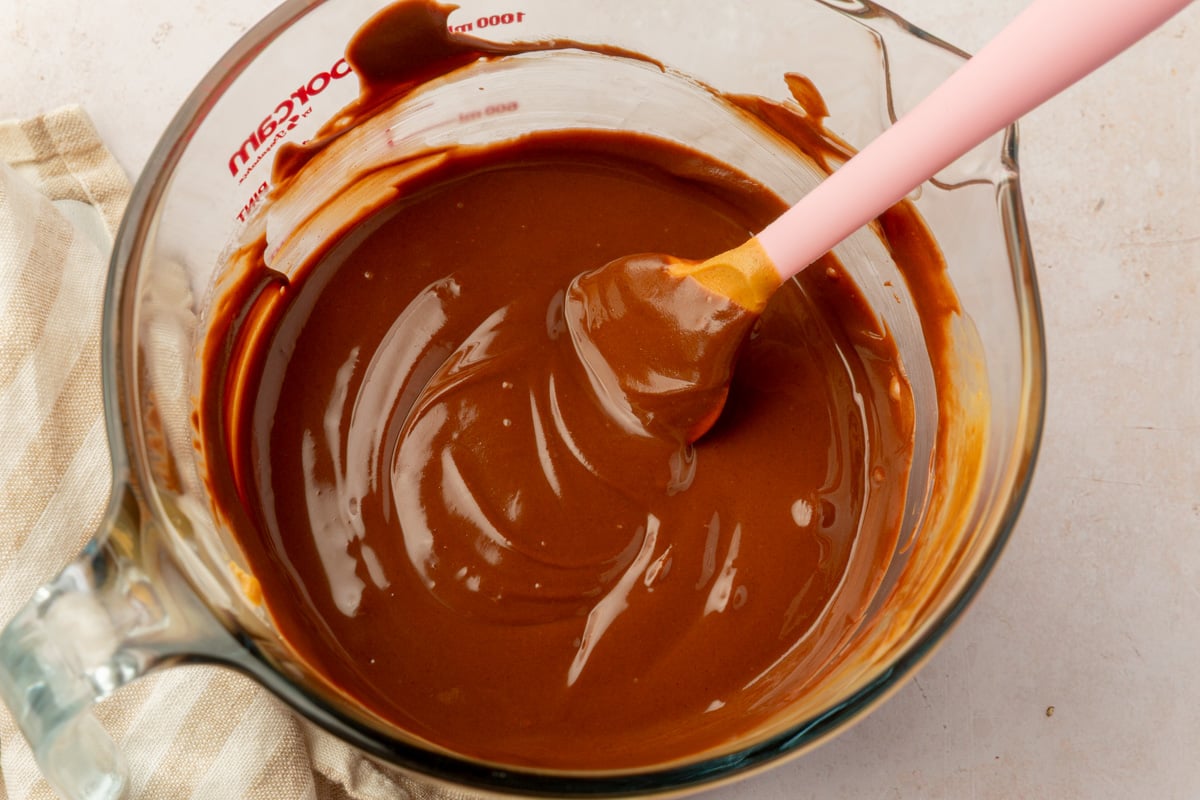
- In a microwave-safe bowl, add ¼ cup unsalted butter, 1 cup semi-sweet chocolate chips, and ¾ cup creamy peanut butter. Microwave at 50% power in 30-second intervals for 1½ to 2 minutes, stirring between each interval, until smooth and melted.
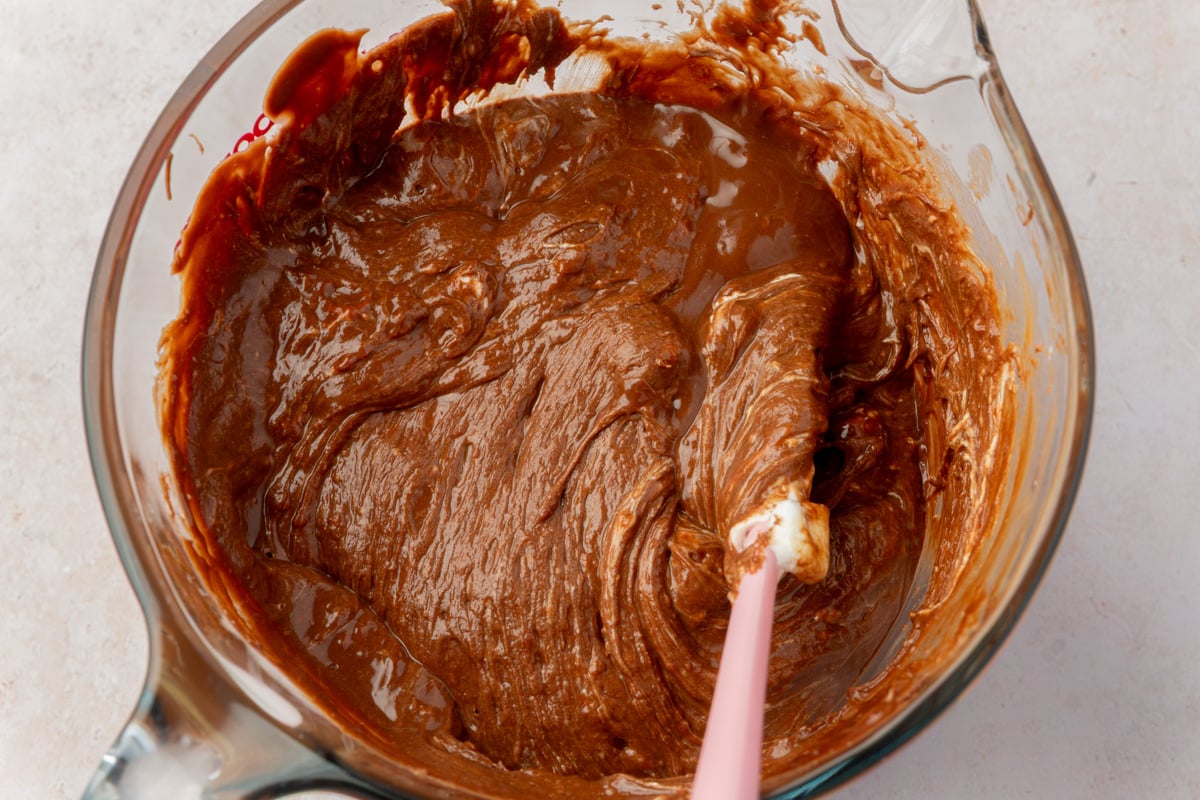
- Add 5 oz mini marshmallows to the warm mixture and microwave again for 30 seconds. Stir until the marshmallows are completely melted and the mixture is thick and glossy.
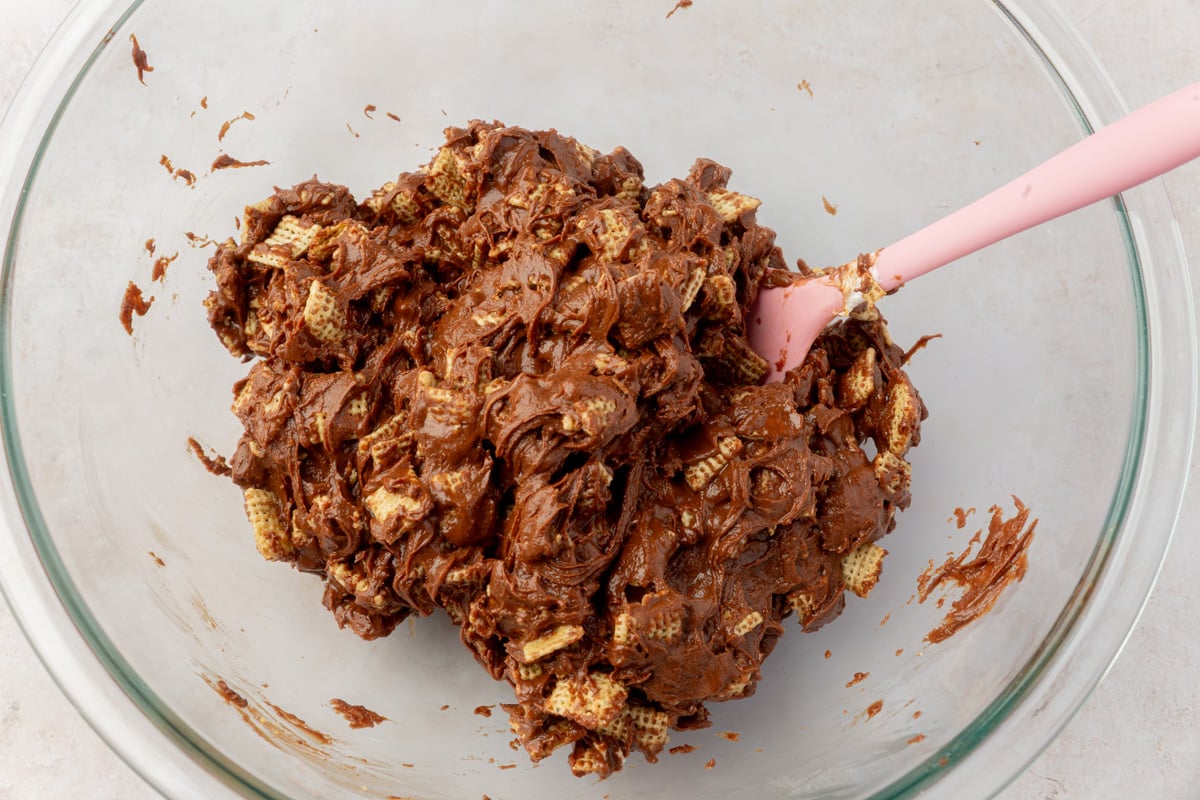
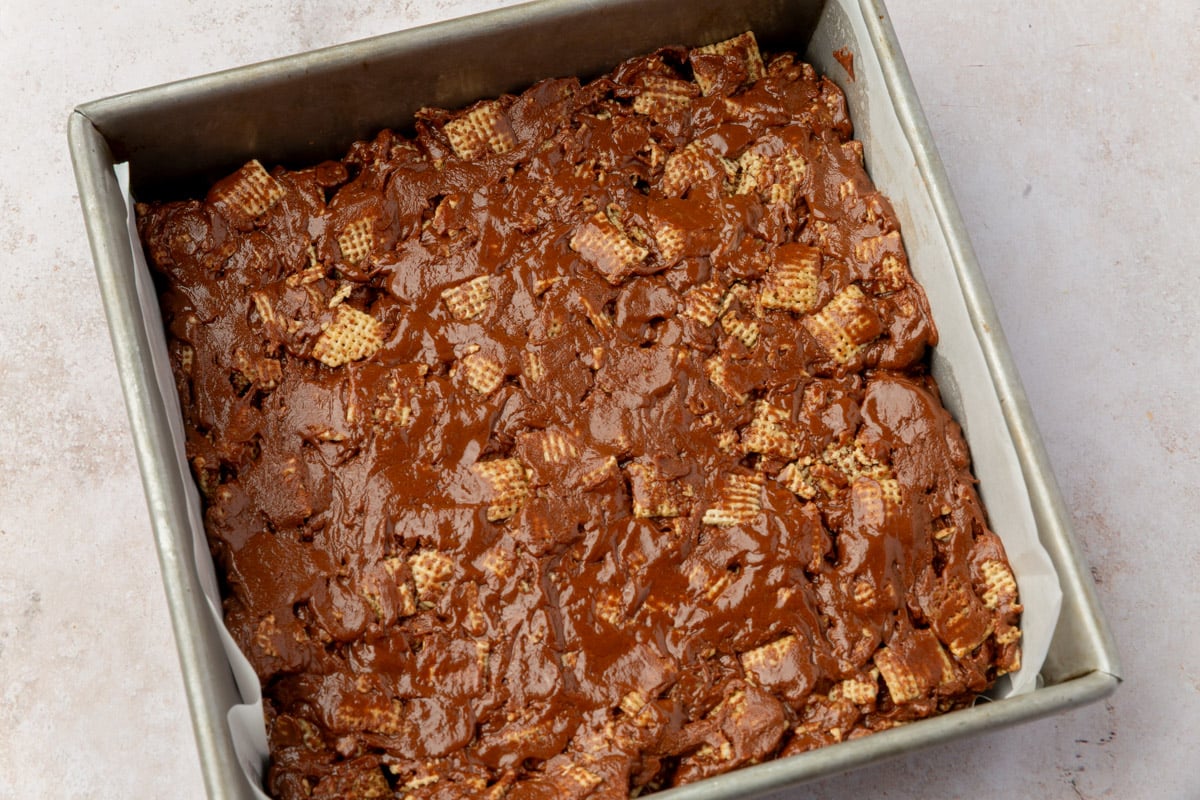
- Immediately pour the mixture over the Rice Chex cereal. Gently fold everything together with a spatula until the cereal is evenly coated, being careful not to crush it.
- Spoon the coated cereal into an 8×8-inch baking dish lined with parchment paper, leaving a slight overhang. Press the mixture into an even layer using a greased spatula.
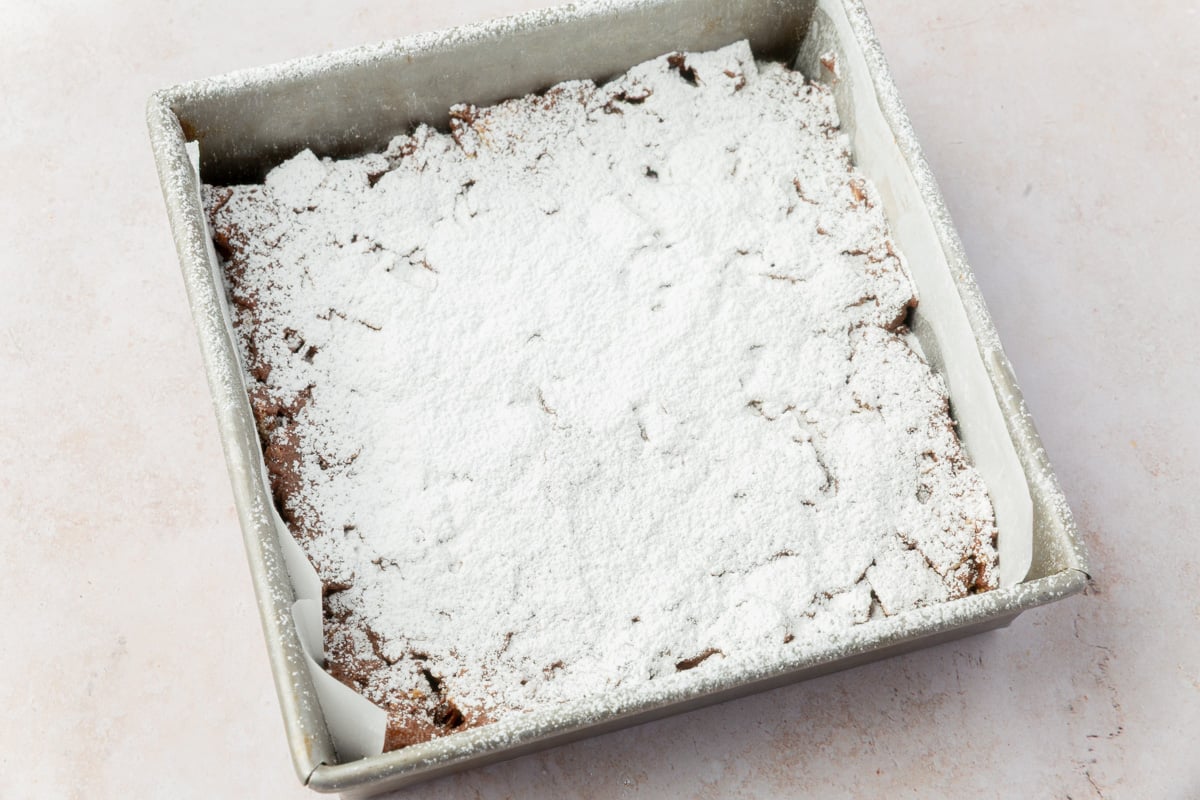
- Dust the top with ¼ cup powdered sugar.
- Refrigerate for at least 1 hour, or until firm. Use the overhang to remove the bars from the pan. Slice into squares or rectangles and serve immediately, or toss the bars in extra powdered sugar just before serving if desired.
Notes
- Gluten-Free Note: Rice Chex is naturally gluten-free, but always double check the label—especially if you’re using an off-brand, since ingredients can change. Avoid Wheat Chex (which contains gluten), and steer clear of cereal blends that don’t clearly list gluten-free status if you’re serving someone with celiac.
- Serving Size Note: This recipe makes 9 larger bars when cut into even squares, and the nutrition information is based on that portion. You can easily cut the squares in half for smaller servings or slice each into two triangles for a fun presentation—giving you 18 bars total.
- Storage: Store bars in an airtight container at room temperature for 2-3 days or in the refrigerator for up to 1 week. Bars can also be frozen for up to 1 month—just let them sit at room temp for 15–20 minutes before serving.
Nutrition