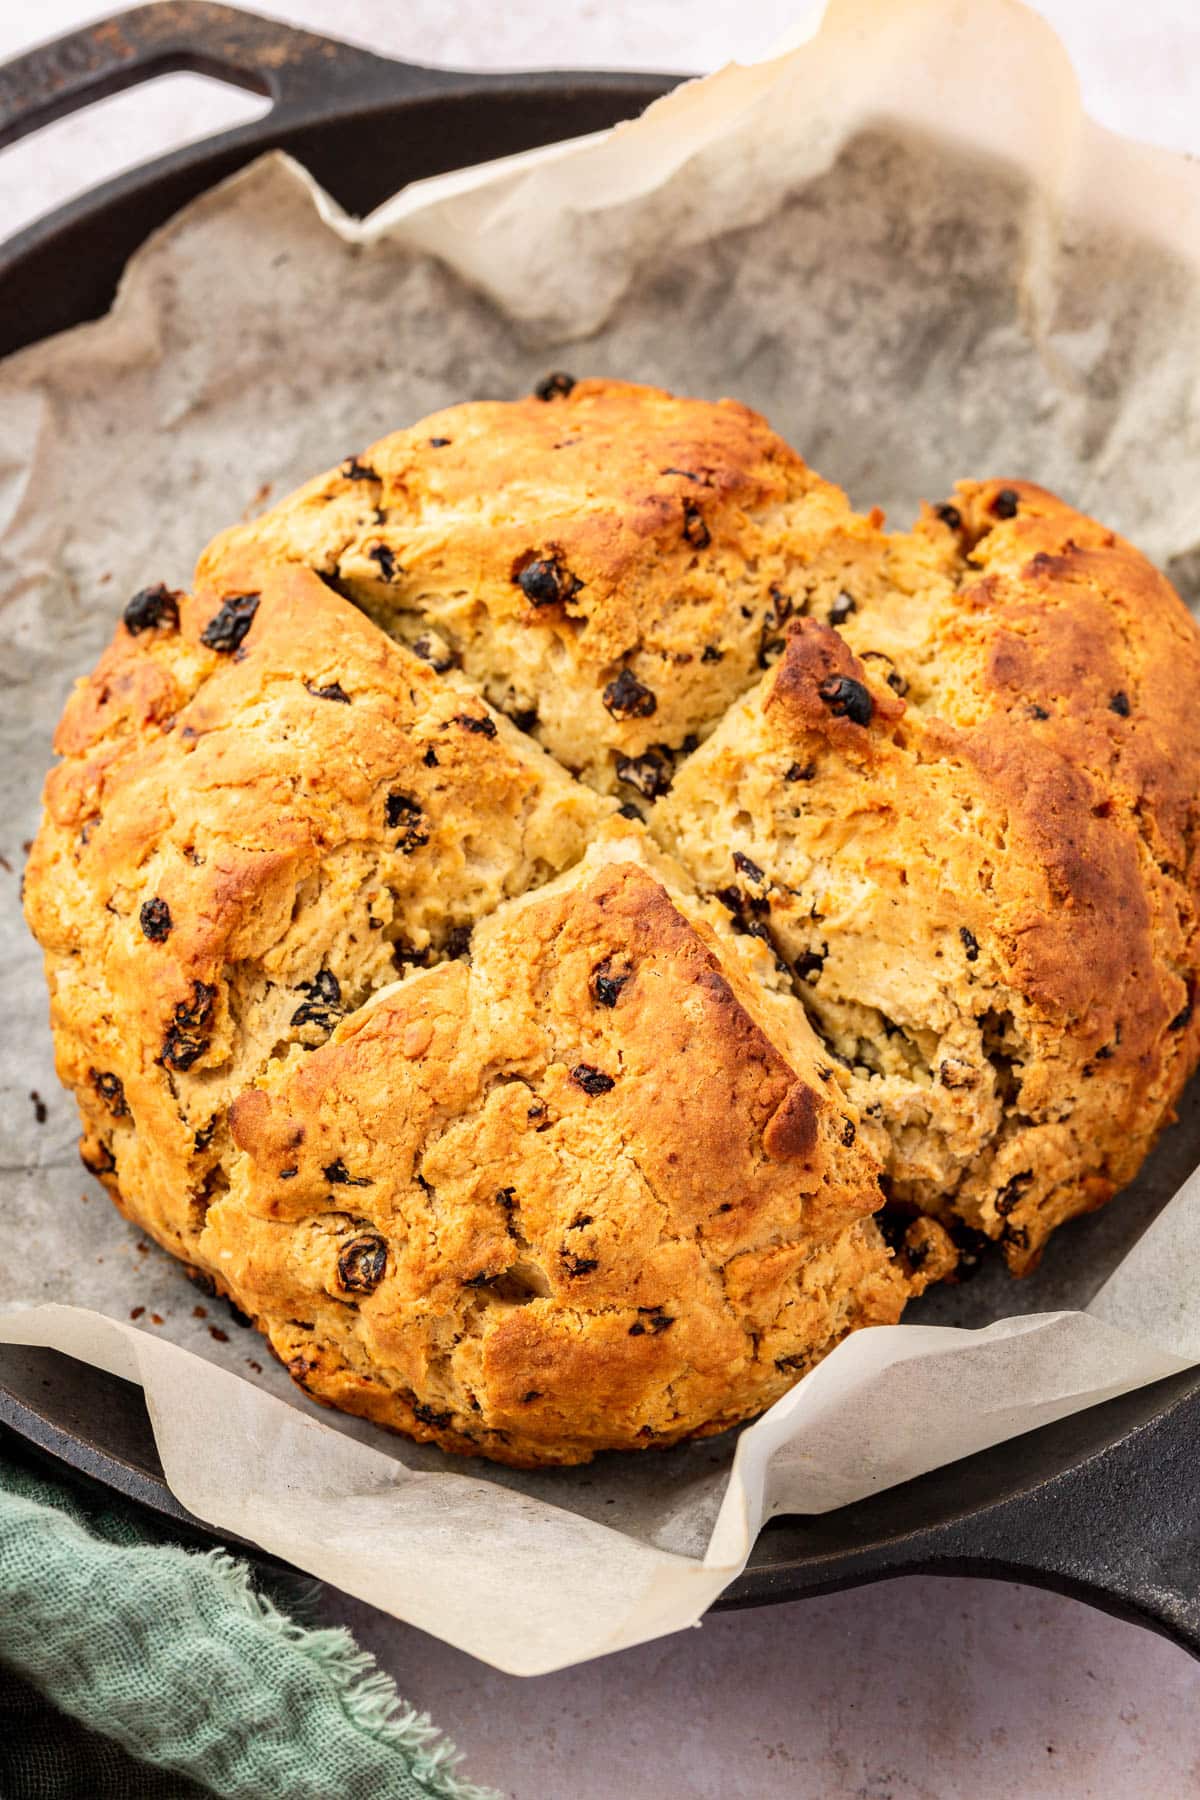
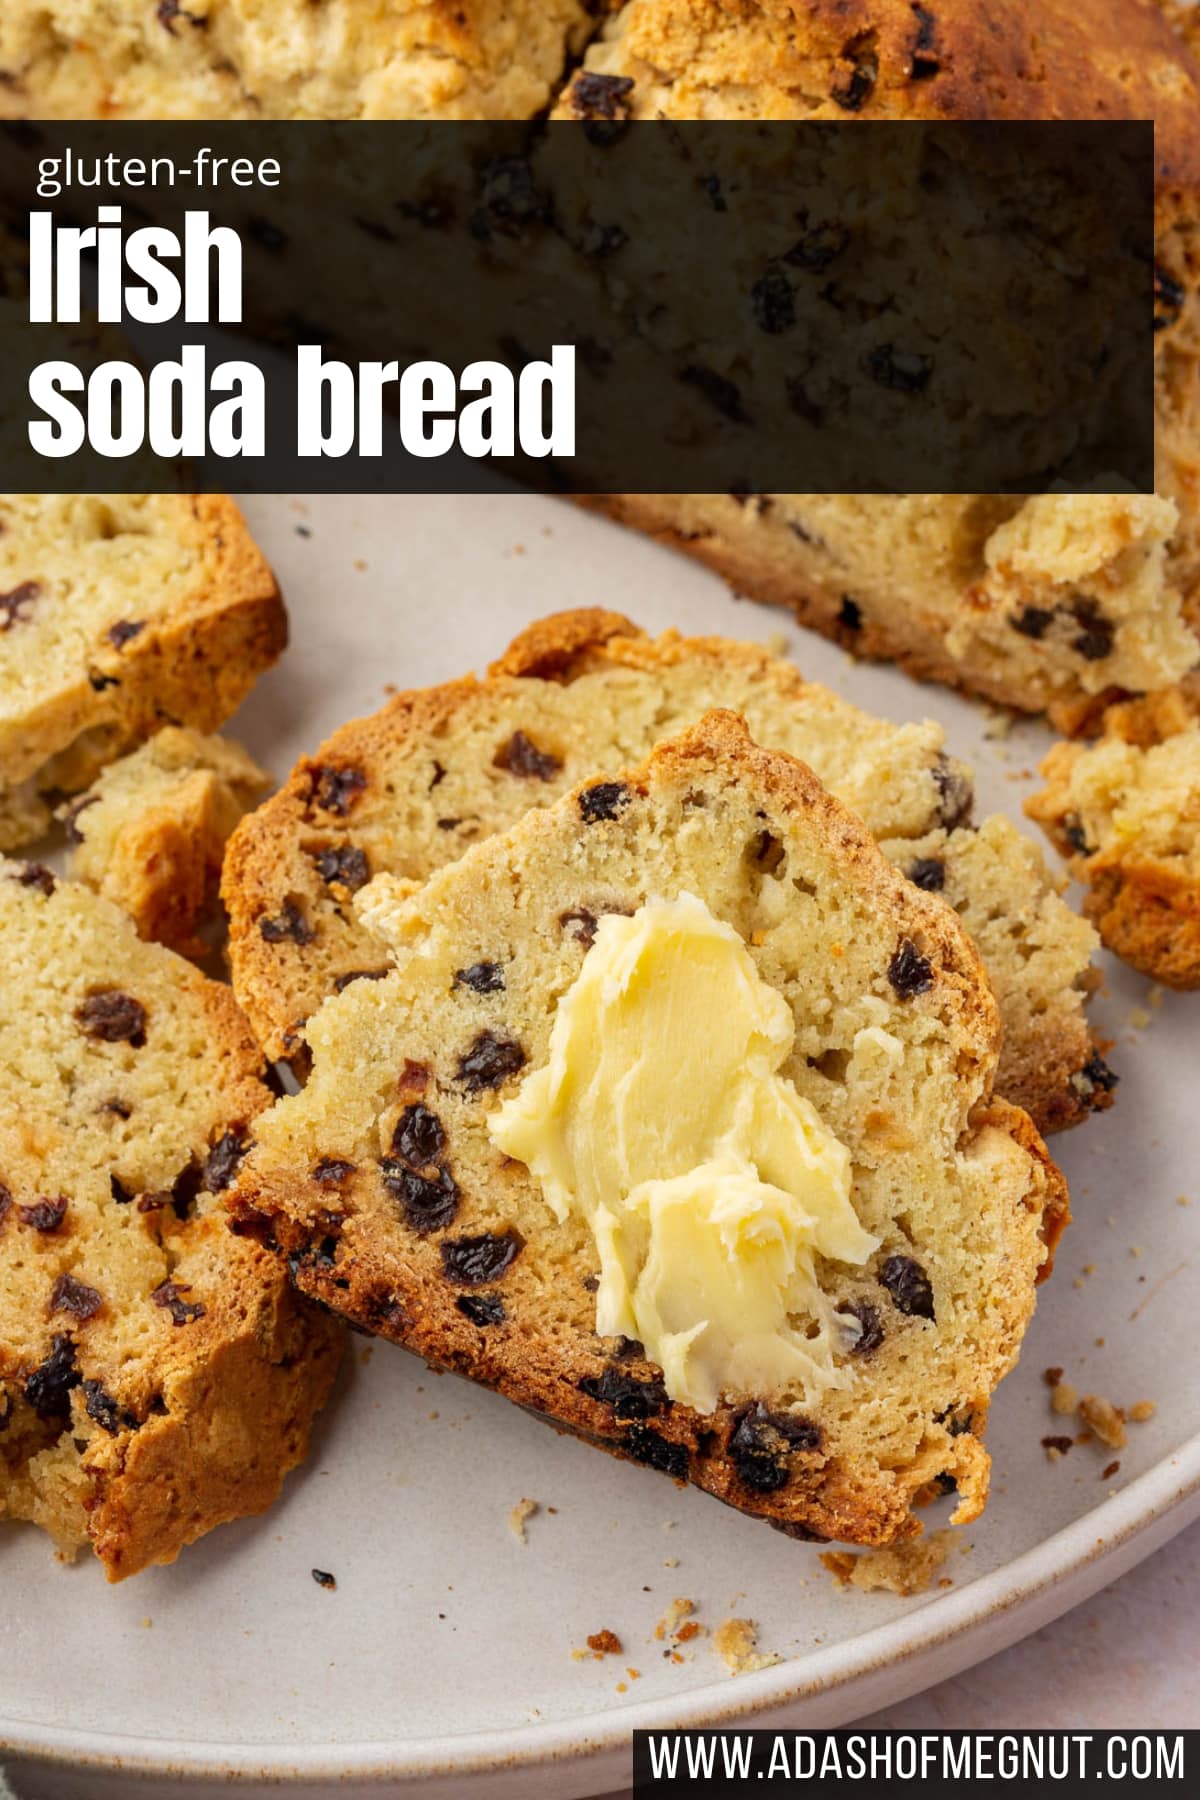
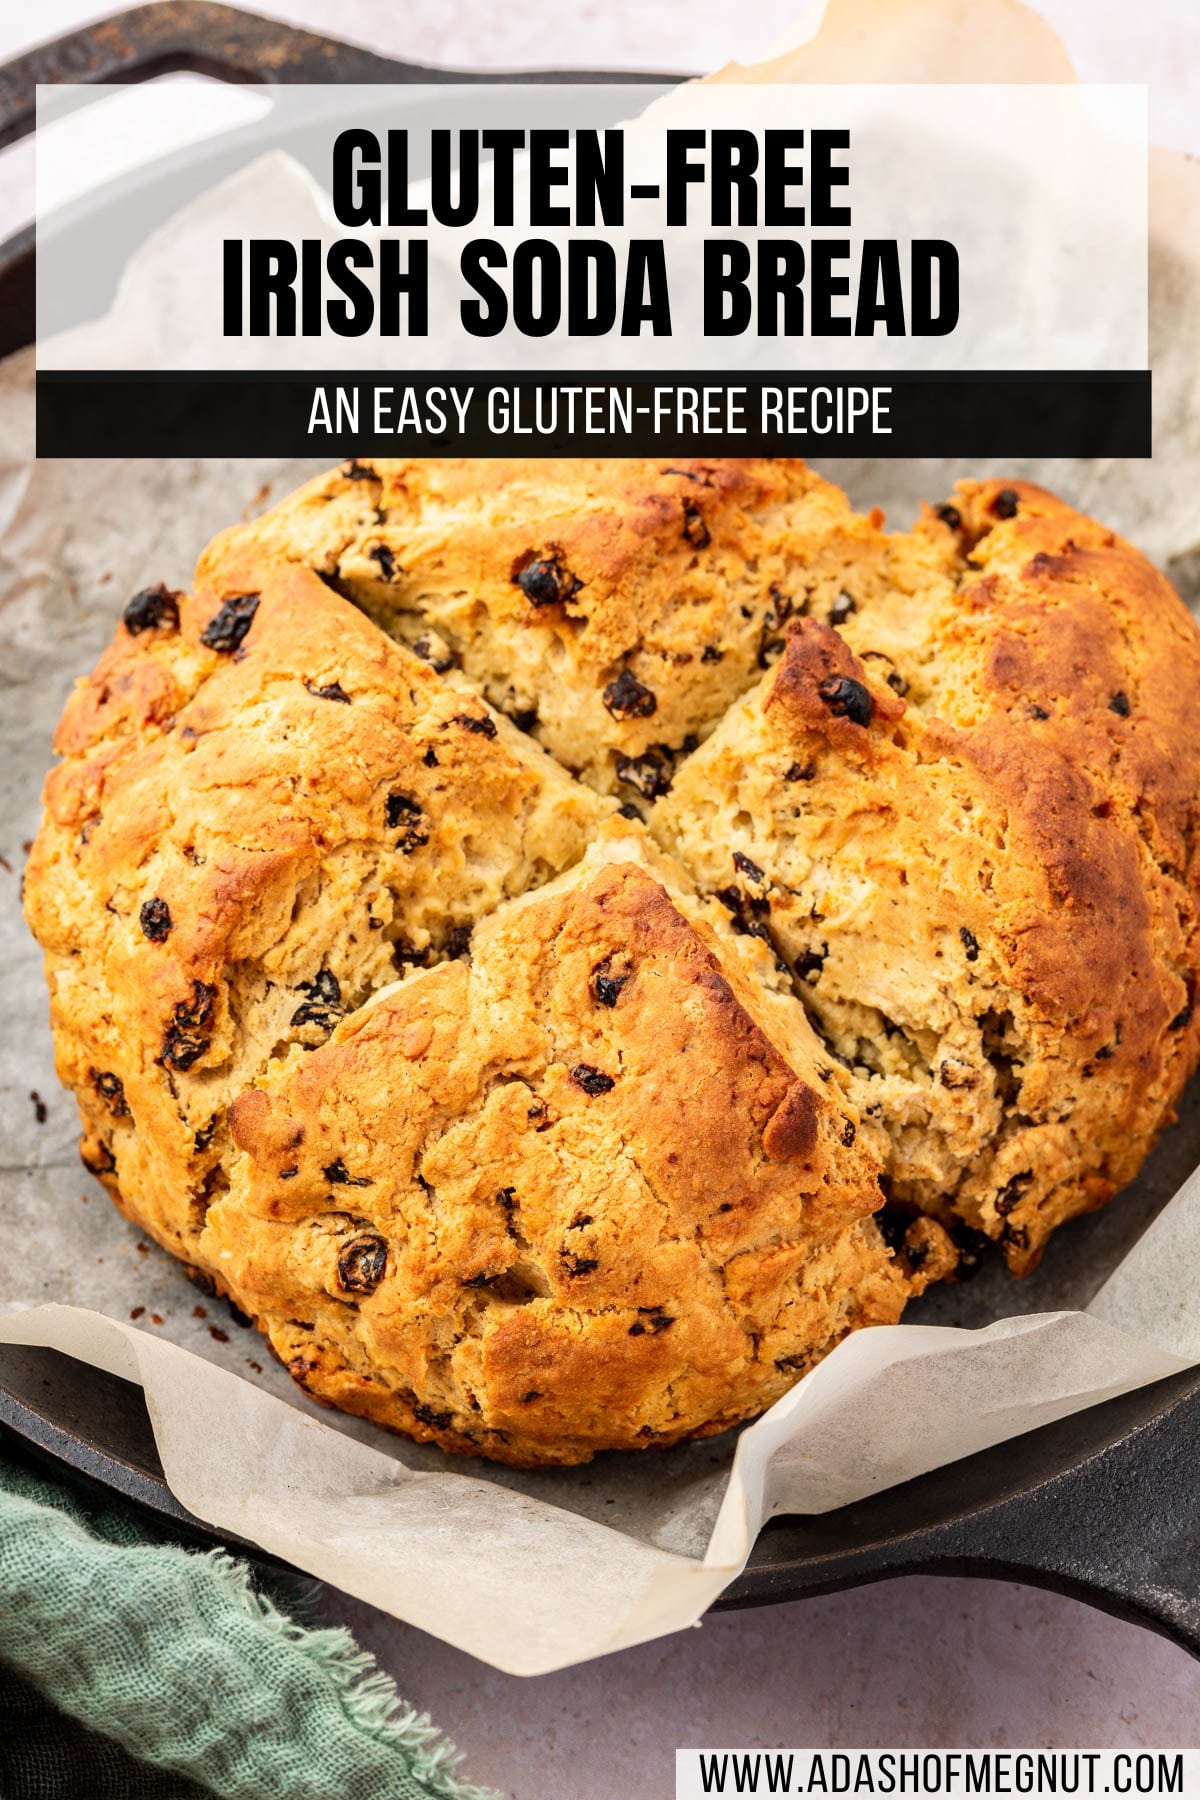
This gluten-free Irish soda bread recipe delivers all the classic taste and texture of traditional Irish soda bread without any of the gluten. Its subtle sweetness and delicate texture make it perfect for snacking or as a side dish at your next gathering.
If you haven’t had Irish soda bread before, it’s a traditional Irish quick bread made with flour, baking soda, and buttermilk or sour milk. It’s tender and hearty, all at the same time. It’s leavened with baking soda (and baking powder in our case) instead of yeast, which is what leavens traditional breads. It has a subtle sweetness that pairs perfectly with butter or jam.
This recipe is a take on my grandma’s Irish soda bread with currants in it. While currants are not typical in Ireland, they are common in Irish-American households. My grandpa came to the US from Ireland in his early 20’s and if he says currants are okay in Irish soda bread, I’m going with it!
You’ll love this recipe because:
Ingredients
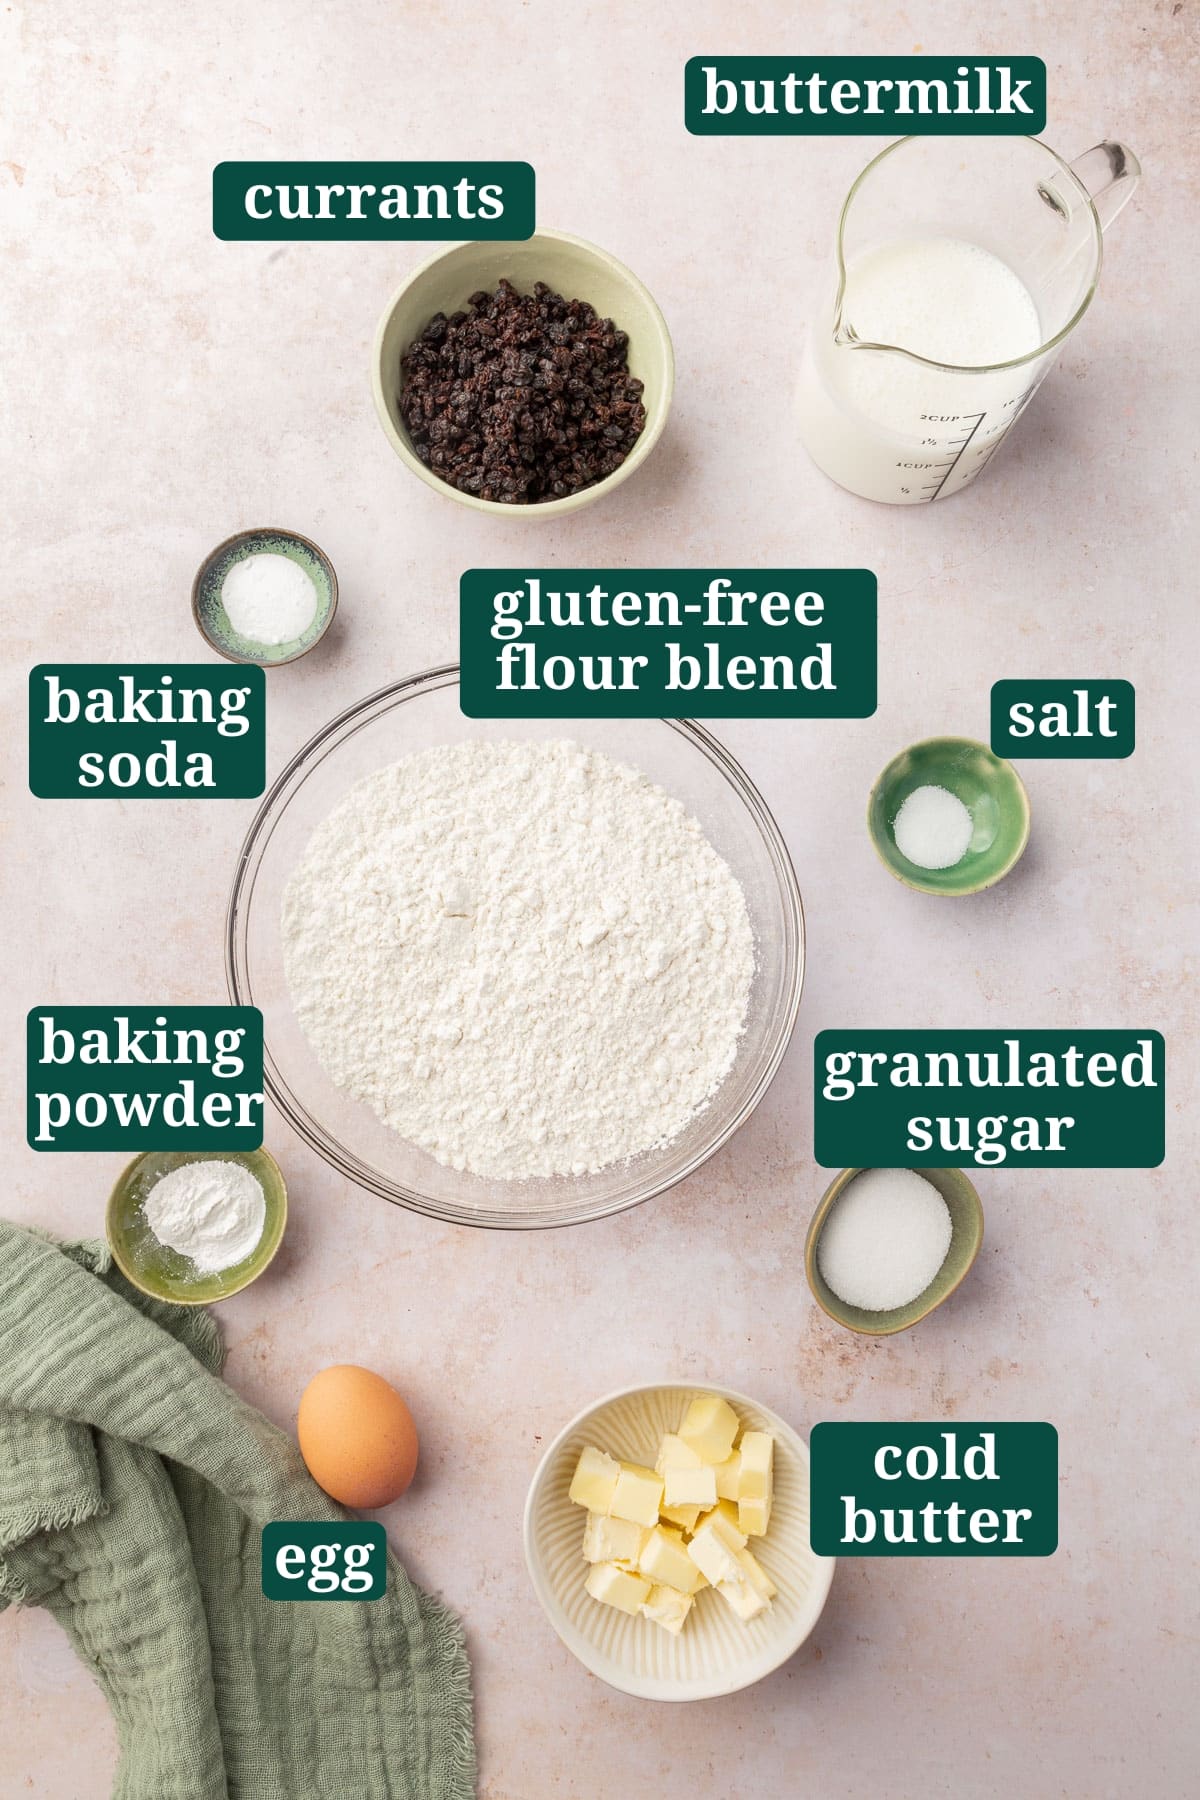
Ingredient Notes
- Gluten-free flour blend – I have tested this recipe with Bob’s Red Mill 1-to-1 Gluten-Free Baking Flour (in the blue bag). This blend is made of white rice flour, sorghum flour, potato starch, tapioca flour, and brown rice flour. Plus, it already contains xanthan gum so you don’t have to worry about adding it yourself! I have not tested other gluten-free flour blends in this recipe, so I cannot guarantee that they work.
- Granulated sugar – I tested this recipe both with and without the sugar, and I think that the versions I made with just a bit of sugar had better texture. You won’t really taste the sugar too much as it’s only a few tablespoons. You could omit it if you would really like to, however.
- Baking powder – Traditionally, soda bread is just leavened with baking soda. However, during my tests I found that too much baking soda resulted in a bitter taste. Instead, I opted to include baking powder to give the soda bread plenty of lift and a superior texture, without the bitter aftertaste.
- Baking soda – It can’t be soda bread without the baking soda! Combining baking soda with an acidic ingredient, like the buttermilk in this recipe, will give the baking soda plenty of rise.
- Unsalted butter – Just a few cubes of cold unsalted butter makes the soda bread really tender and adds in some much welcomed flavor to the bread.
- Egg – While traditional soda bread only contains four ingredients – flour, baking soda, salt, and buttermilk – additions like butter and egg definitely improved the texture. My first test was the most basic, traditional method with 4 ingredients and it was amazing to see the stark difference between the loaf with an added egg. The loaf with egg was lighter, with a better crumb. The loaf without egg was dense and gummy along the bottom of the bread. For gluten-free recipes especially, the extra egg is essential and not to be skipped.
- Buttermilk – While you could use a buttermilk substitute, such as milk or dairy-free milk combined with a tablespoon of apple cider vinegar in a pinch, I highly recommend using buttermilk in this recipe. It’s thick, a little tangy, and gives soda bread its classic flavor.
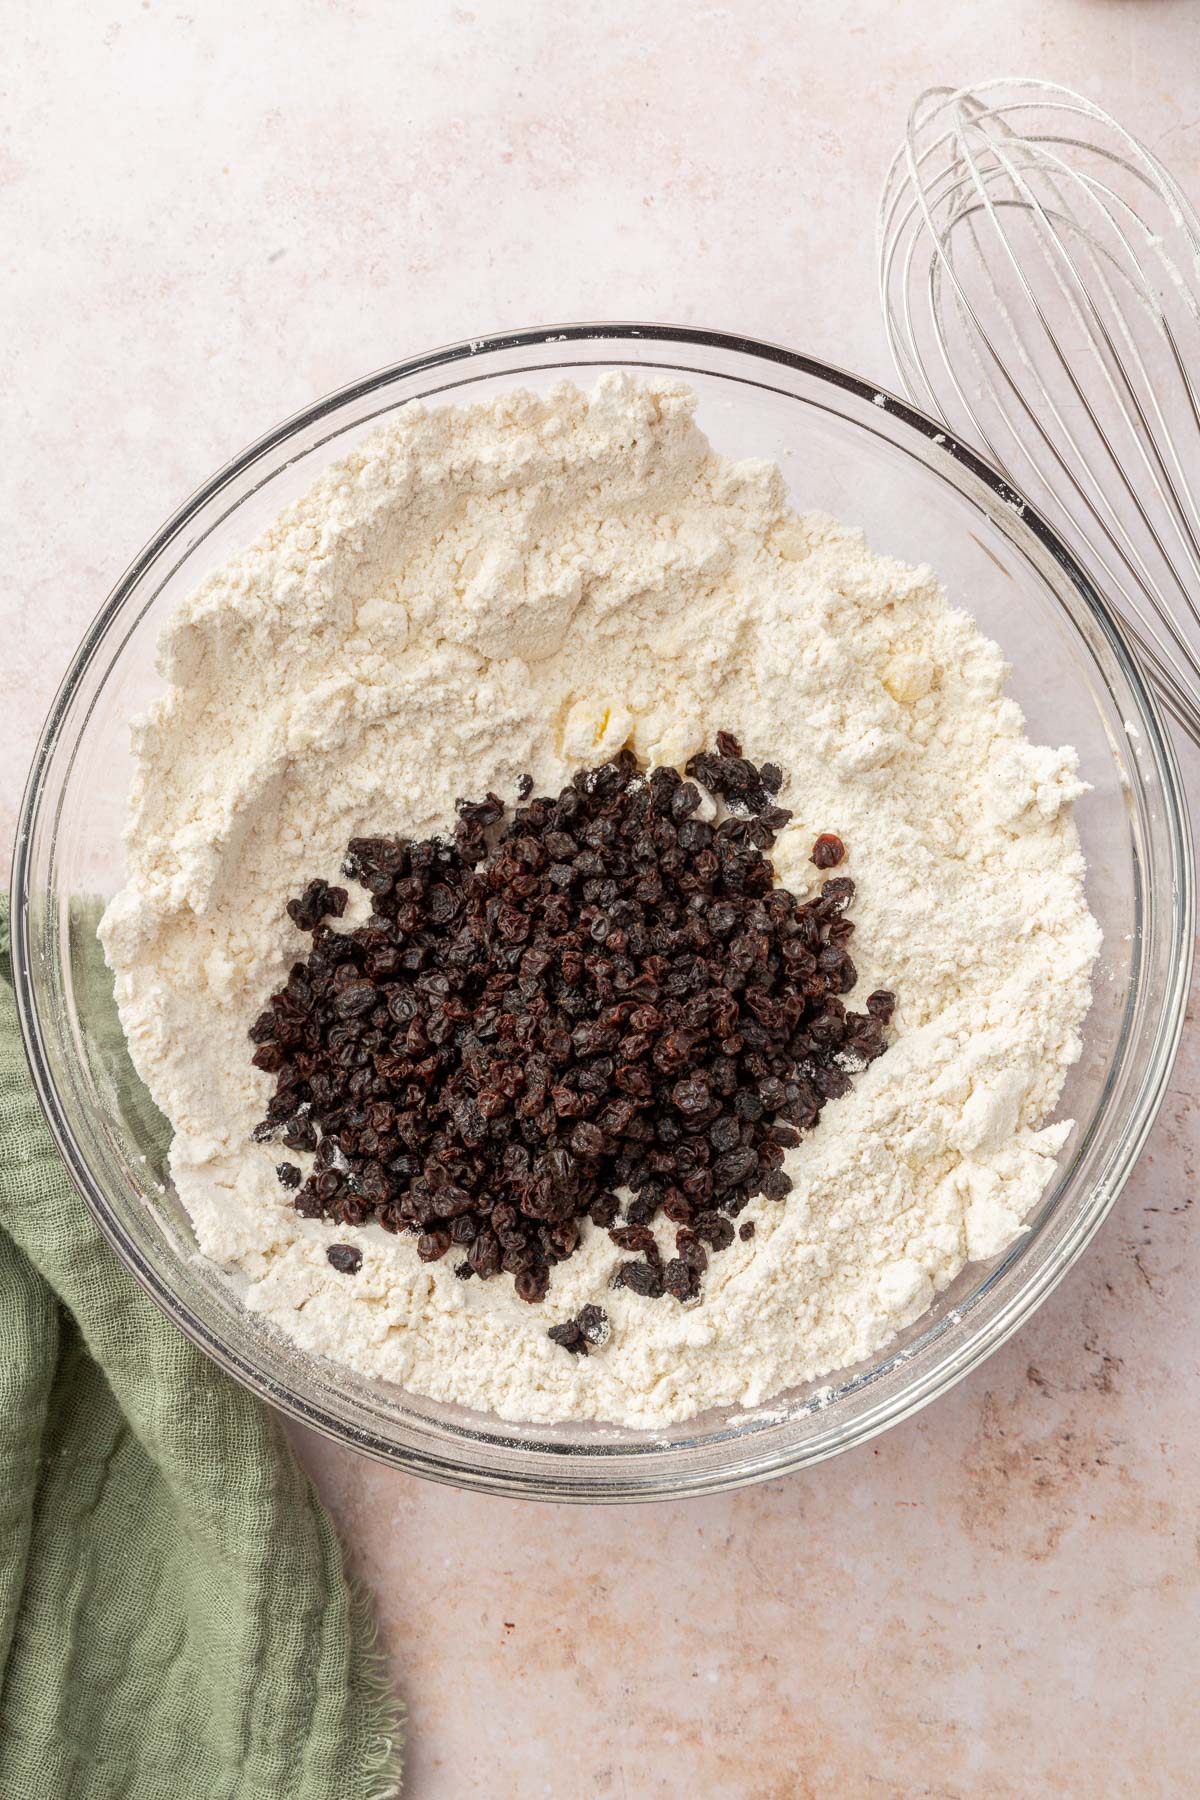
- Currants – While not traditional, currants are typically added to American versions of Irish soda bread. You could use regular currants or golden currants. Some also prefer raisins instead. Other welcome additions are caraway seeds or fresh herbs.

When it comes to making Irish soda bread, one of the most important things is to use cold ingredients – this helps ensure that the rising action of the quick bread has maximum effect. So make sure all your ingredients are cold (buttermilk in particular!), and you’ll be sure to get a light and fluffy result every time!
Step-by-Step instructions
Paragraph saying how easy this is to make, just follow the steps and scroll down to the recipe card for more information, tips and tricks and the printable recipe.
For the ingredient list with measurements, full instructions, printable recipe, and additional notes, please scroll down to the recipe card.

Recipe FAQs
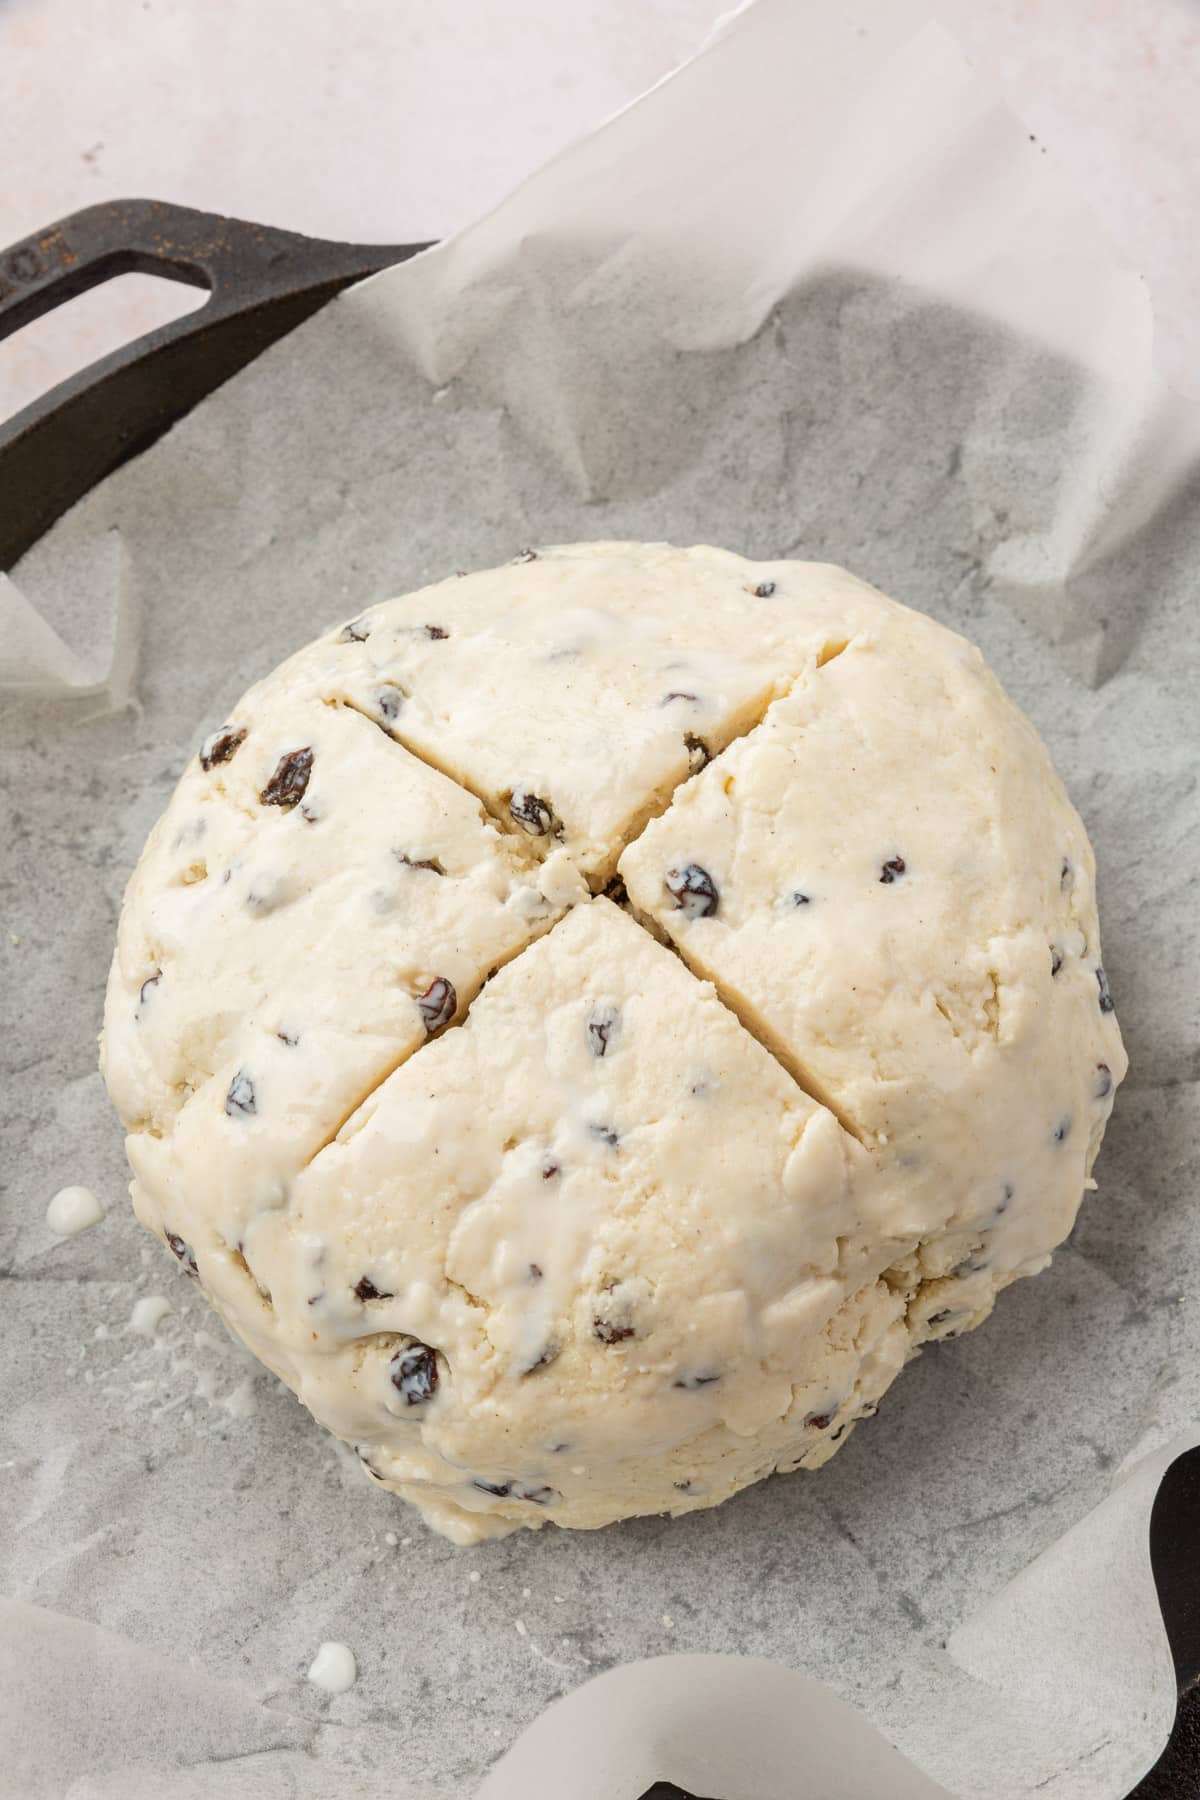
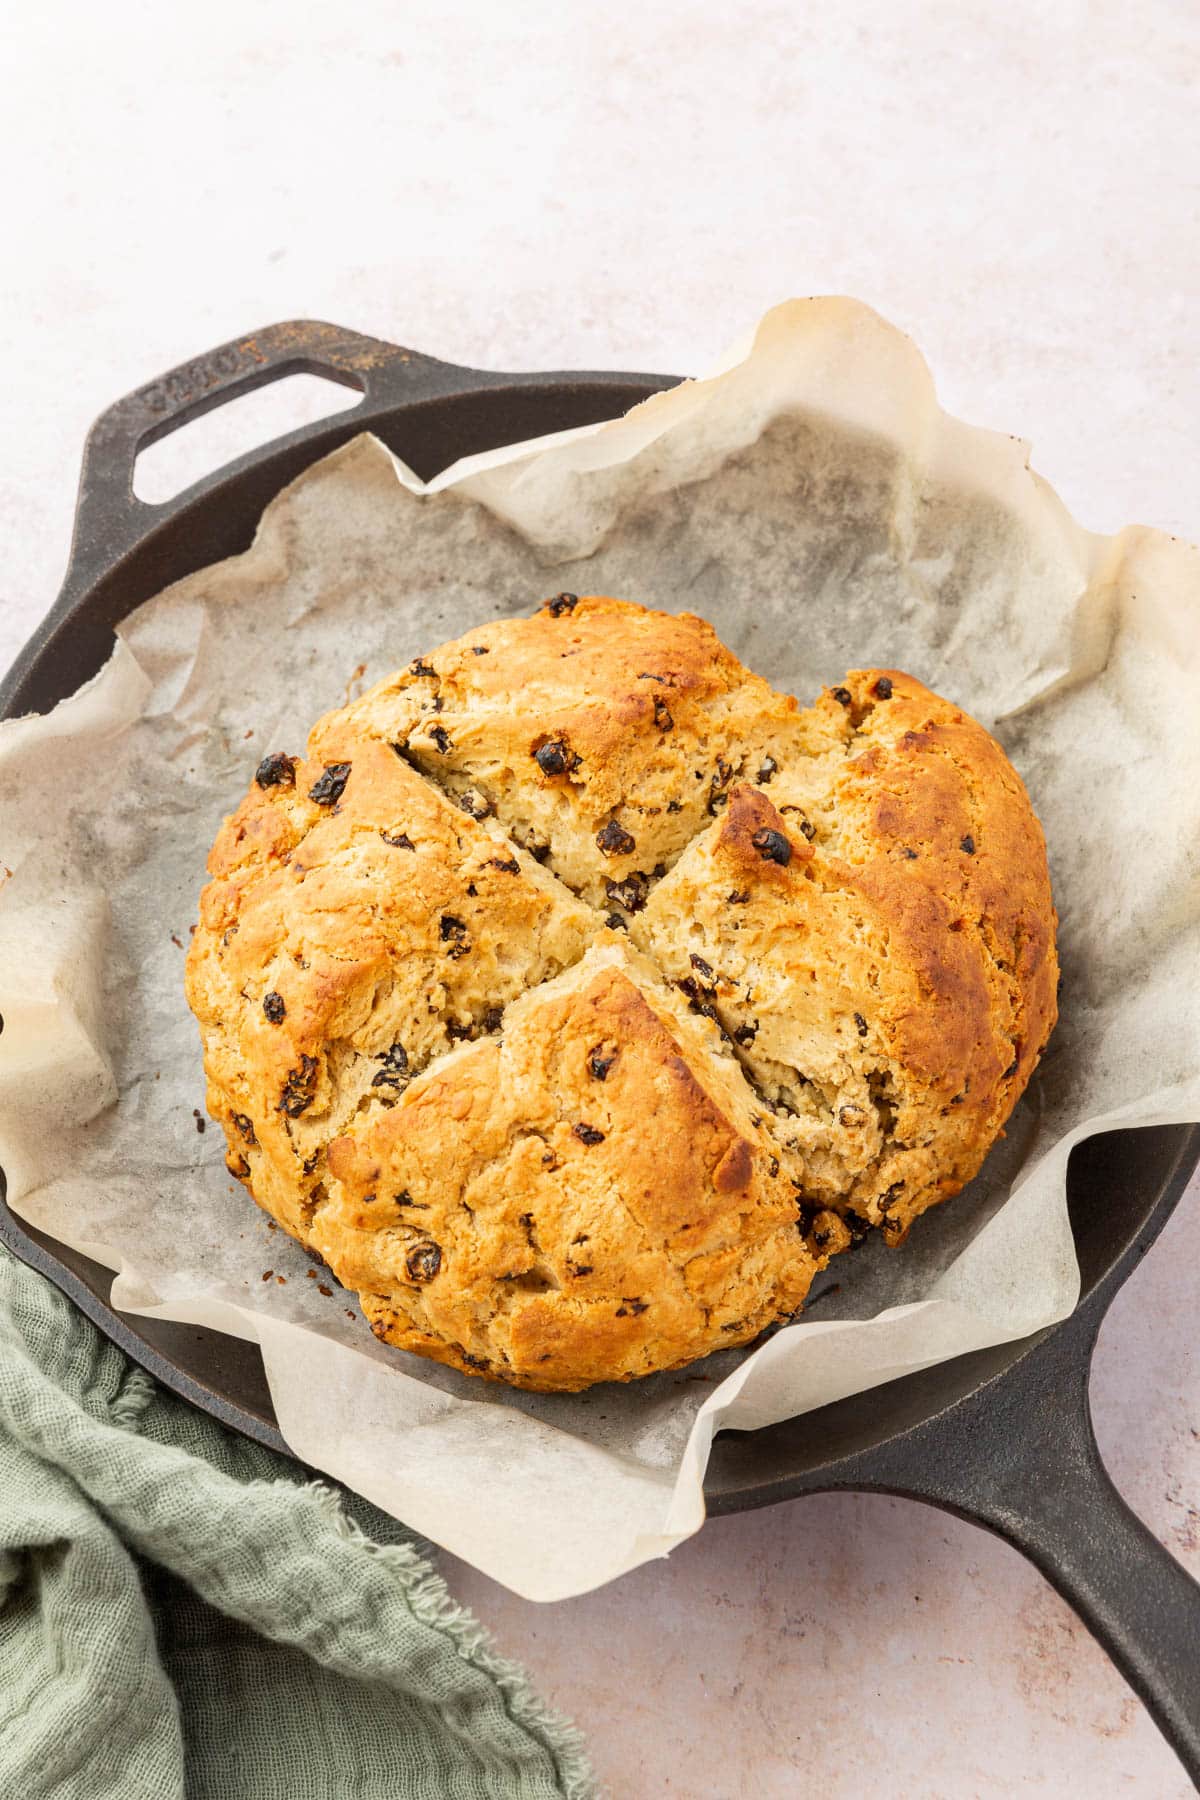
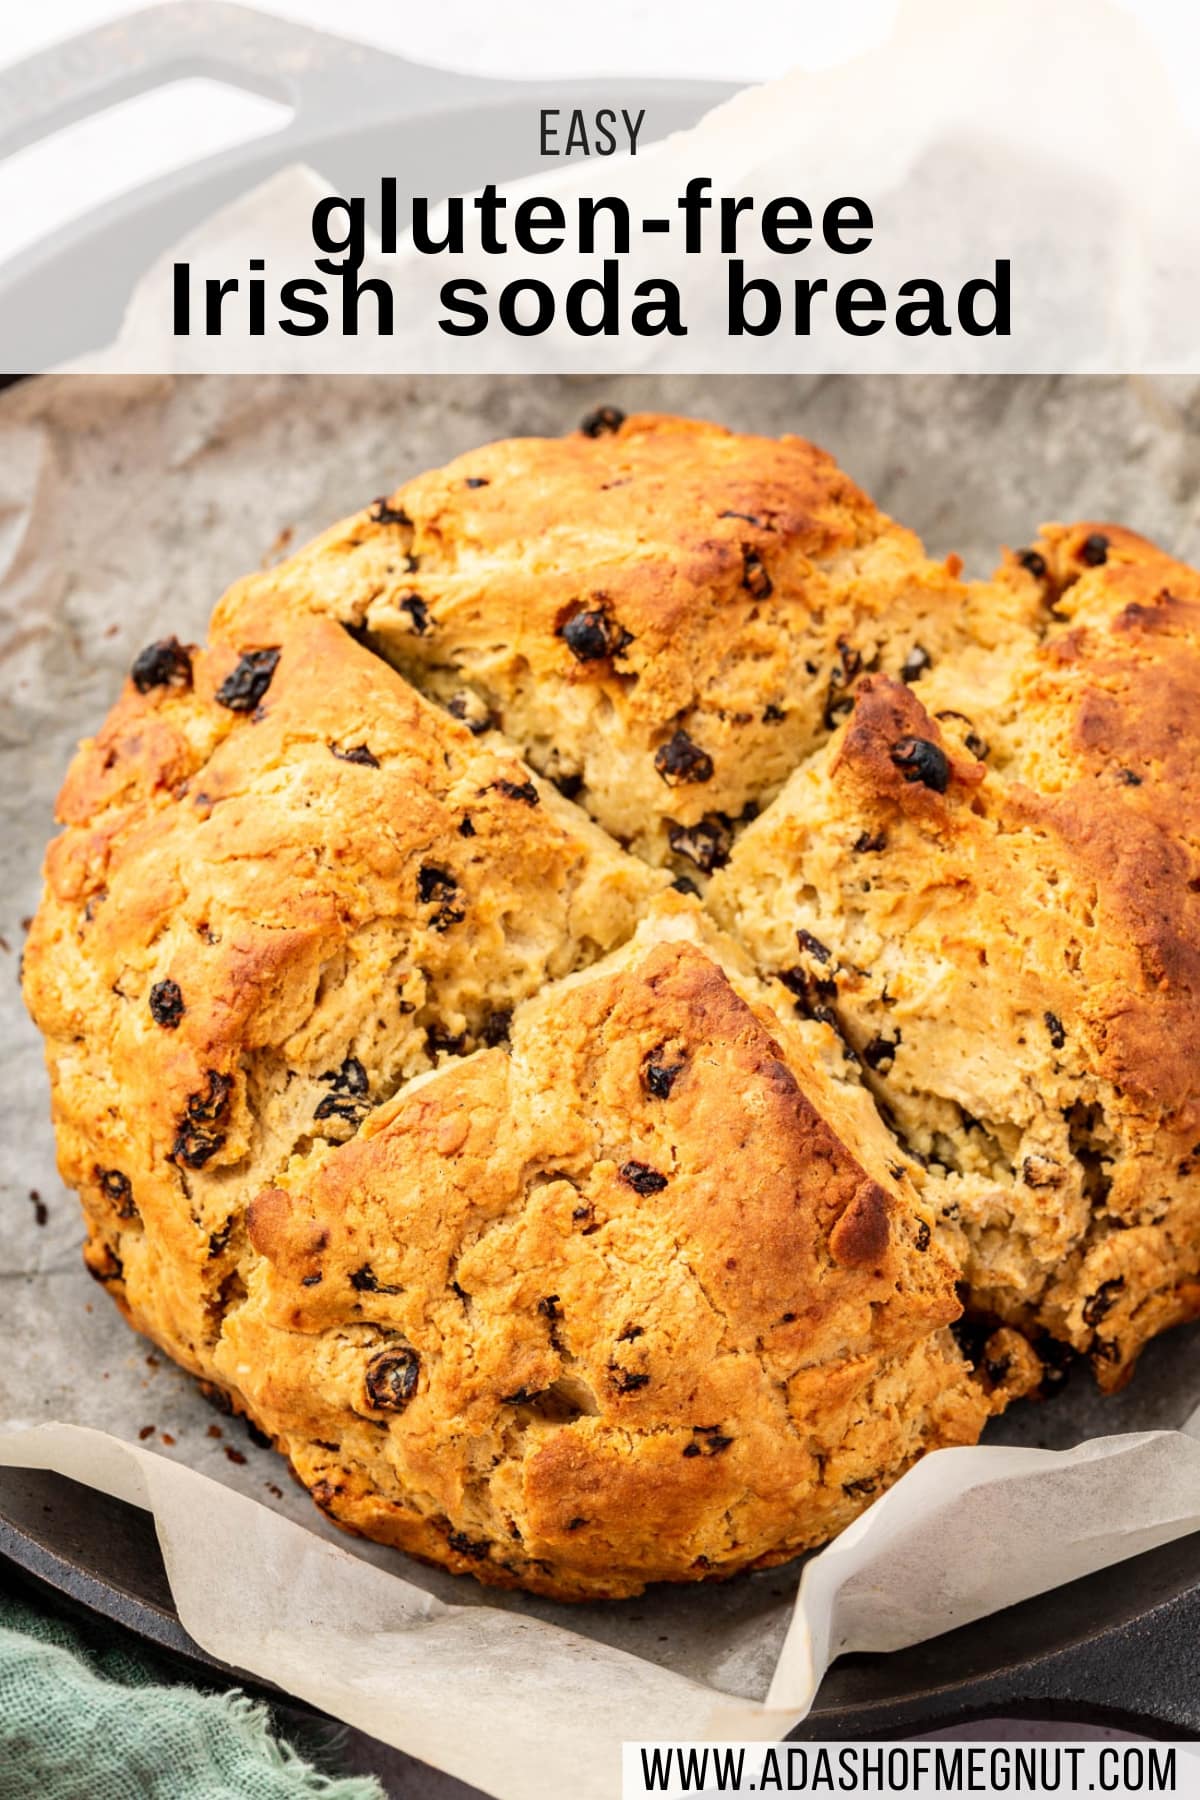
You may see some people say to score an “X” on top of your Irish soda bread, but it’s actually a cross! It’s said that the cross is made to “keep the devil out” and bless the Irish soda bread. Scientifically, it also allows the bread to bake evenly, so you don’t end up with a gummy center. Don’t forget to cross your bread!
You want to use a gluten-free flour blend that is meant to be substituted for all-purpose flour in a 1:1 ratio. Remember, this ratio is based on weight, not volume. I have tested this recipe with Bob’s Red Mill 1-to-1 Gluten-Free Baking Flour (in the blue bag) so I can only recommend that flour. If you use another gluten-free flour blend, I cannot guarantee that your recipe will turn out.
Yes, xanthan gum provides elasticity, structure, and strength in gluten-free baking so it’s very necessary, especially in bread recipes. Bob’s Red Mill 1-to-1 Gluten-Free Baking Flour Blend already contains xanthan gum in it, so you will not need to add it to the recipe.
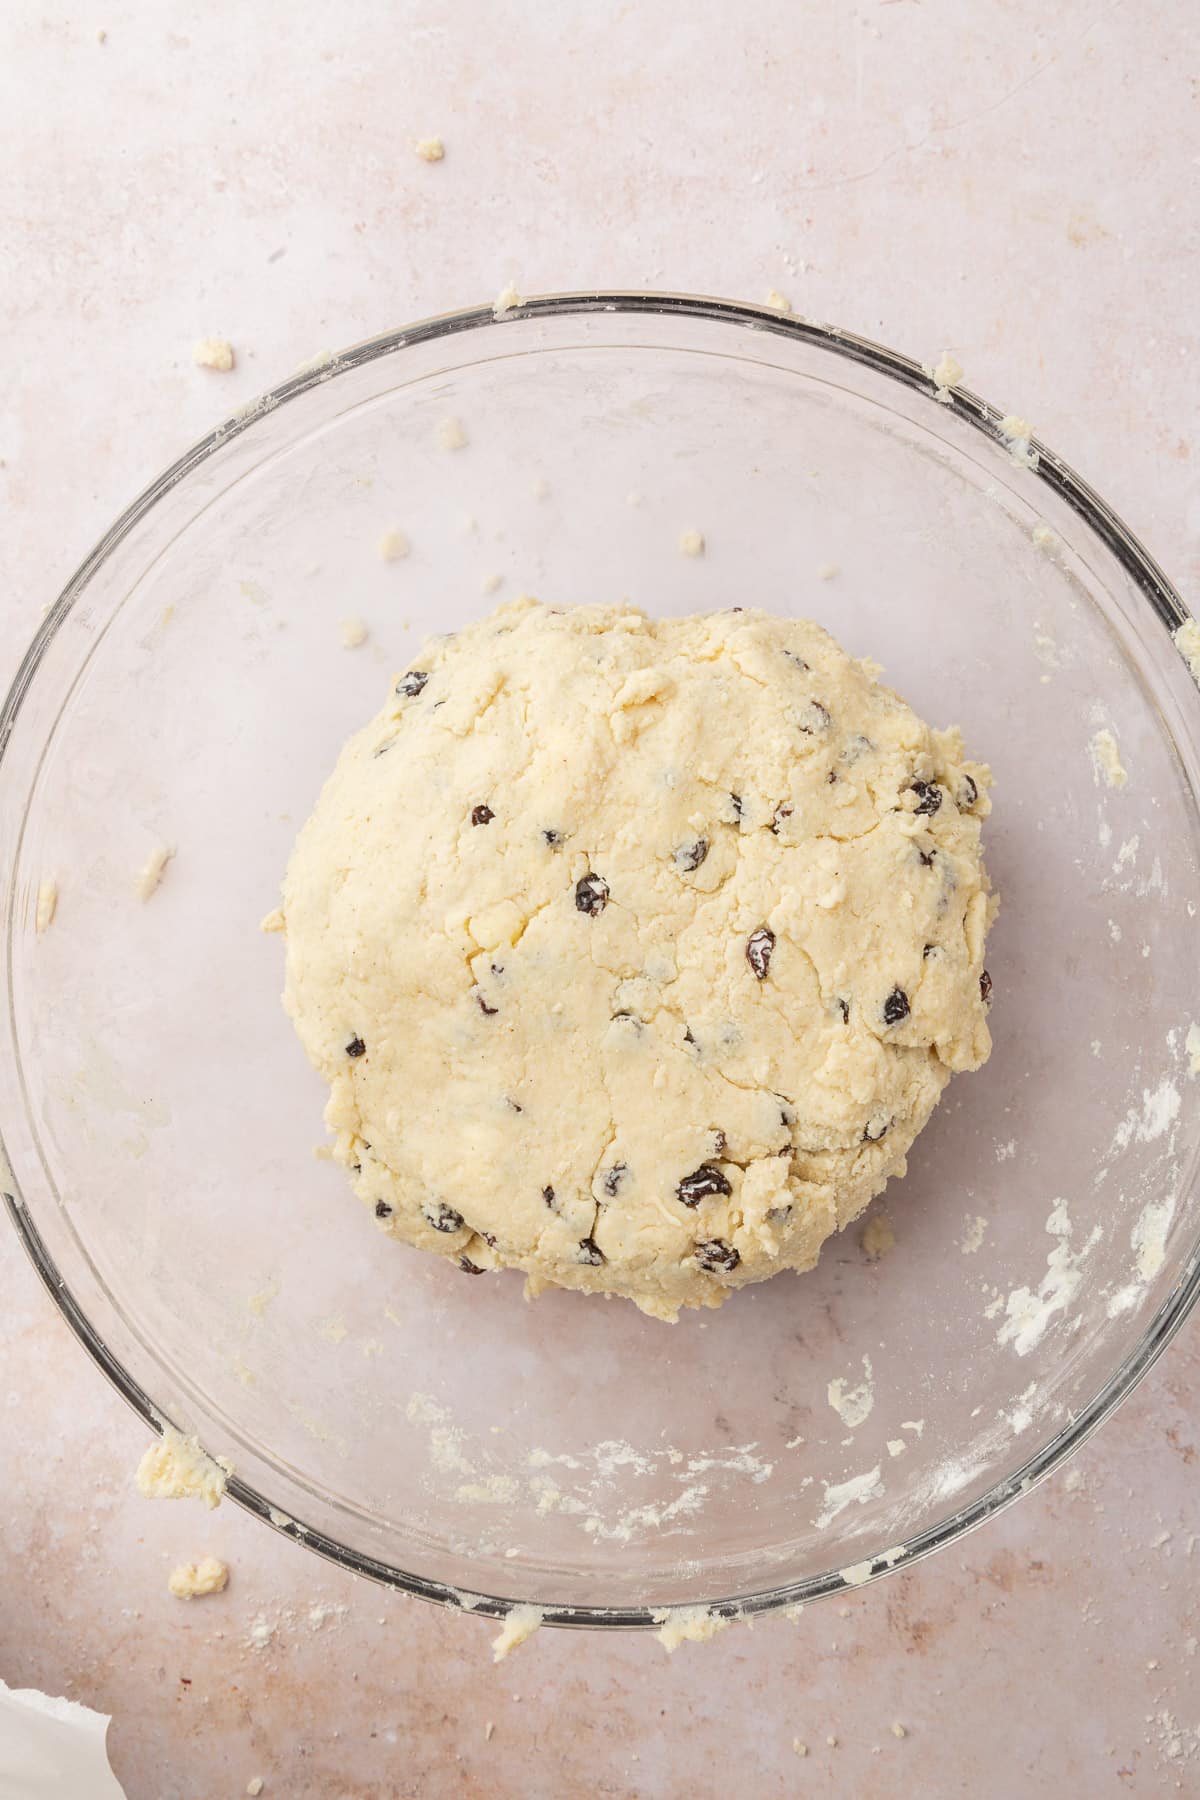
No, gluten free Irish soda bread, like most gluten-free breads, don’t need to be kneaded at all. Since there is no gluten, there is no need to stretch and develop the gluten strands… because there are none. For this recipe, all you need to do is shape the dough into a scraggly disk. It does not (and should not) be super smooth. Overmixing the dough will make for a denser crumb, so the less handling of this dough, the better.
You can know that your Irish soda bread is done baking when the top and bottom of the loaf are golden brown and a toothpick inserted into the center comes out clean. Additionally, the cross that you cut into the loaf should no longer look wet. You can also tap the bottom of the Irish soda bread – if it sounds hollow, it’s done!
hints & tips
Storage instructions
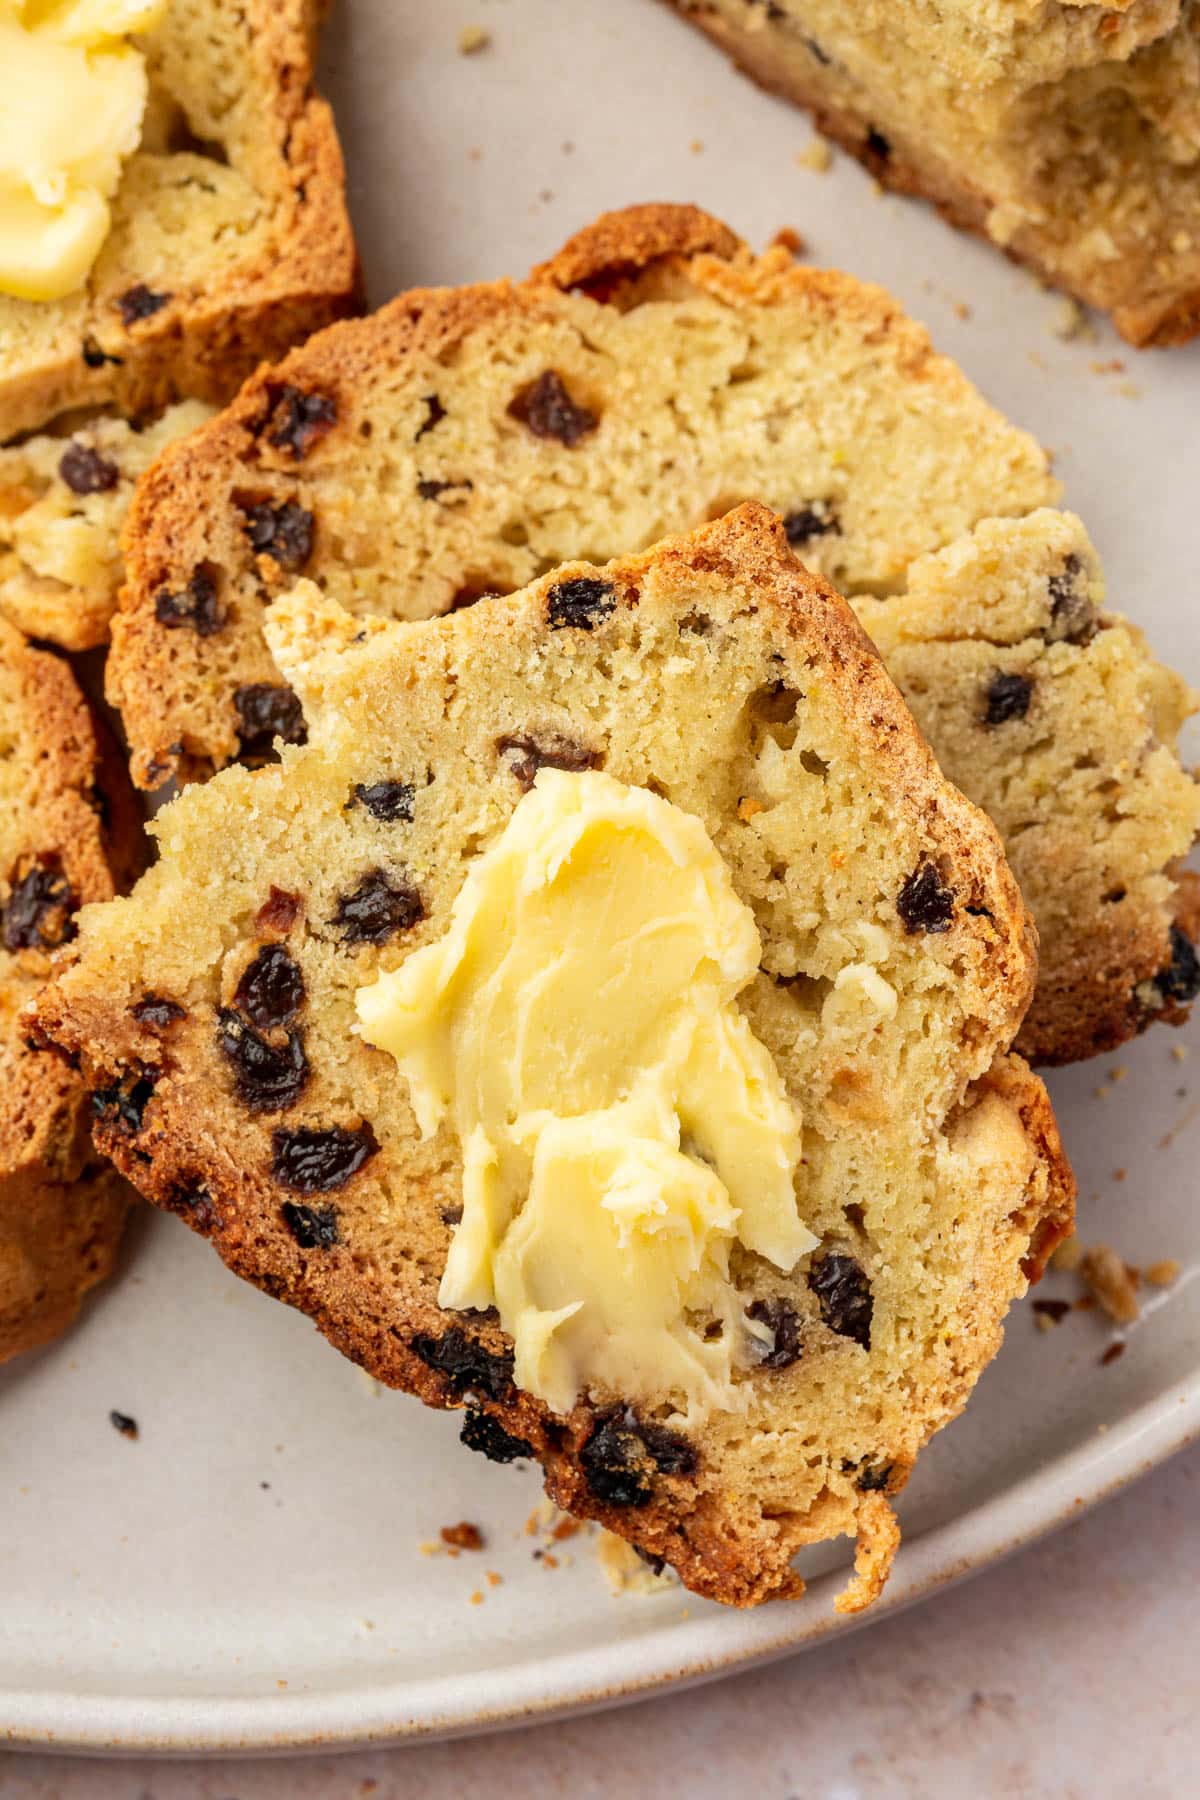
- Storage: Irish soda bread is really best within the first 48 hours of baking. Wrap leftovers in an airtight container and leave at room temperature.
- Freezer Option: I love to freeze leftover Irish soda bread. Slice the bread and place the slices on a baking sheet lined with parchment paper. Flash freeze for an hour. Once frozen solid, add to a freezer-safe container or bag and freeze for up to 3 months. You can place frozen slices directly in the toaster or leave them at room temperature for about an hour to defrost.
More delicious gluten-free breads to try
Did you make this recipe?
I’d love to know! Please rate it and leave a comment below. You can also share your pictures and tag @adashofmegnut on Instagram.
Gluten-Free Irish Soda Bread
Ingredients
- 3 cups gluten-free flour blend - 430g, I used Bob’s Red Mill 1-to-1 Gluten-Free Baking Flour
- 2 tablespoons granulated sugar
- 3/4 teaspoon kosher salt
- 2 teaspoons baking powder
- 1 teaspoon baking soda
- 4 tbsp butter - cold and cubed (57g)
- 1 ¼ to 1 1/2 cups buttermilk - 290-360g
- 1 large egg - 50g
- 3/4 cup dried currants or golden raisins - 113g
- 1 tablespoon buttermilk - for brushing on top
**Use the toggle button above to turn the instruction photos on and off!
Instructions
- Preheat the oven to 400F. Line a 8-10 inch cast iron skillet with parchment paper.
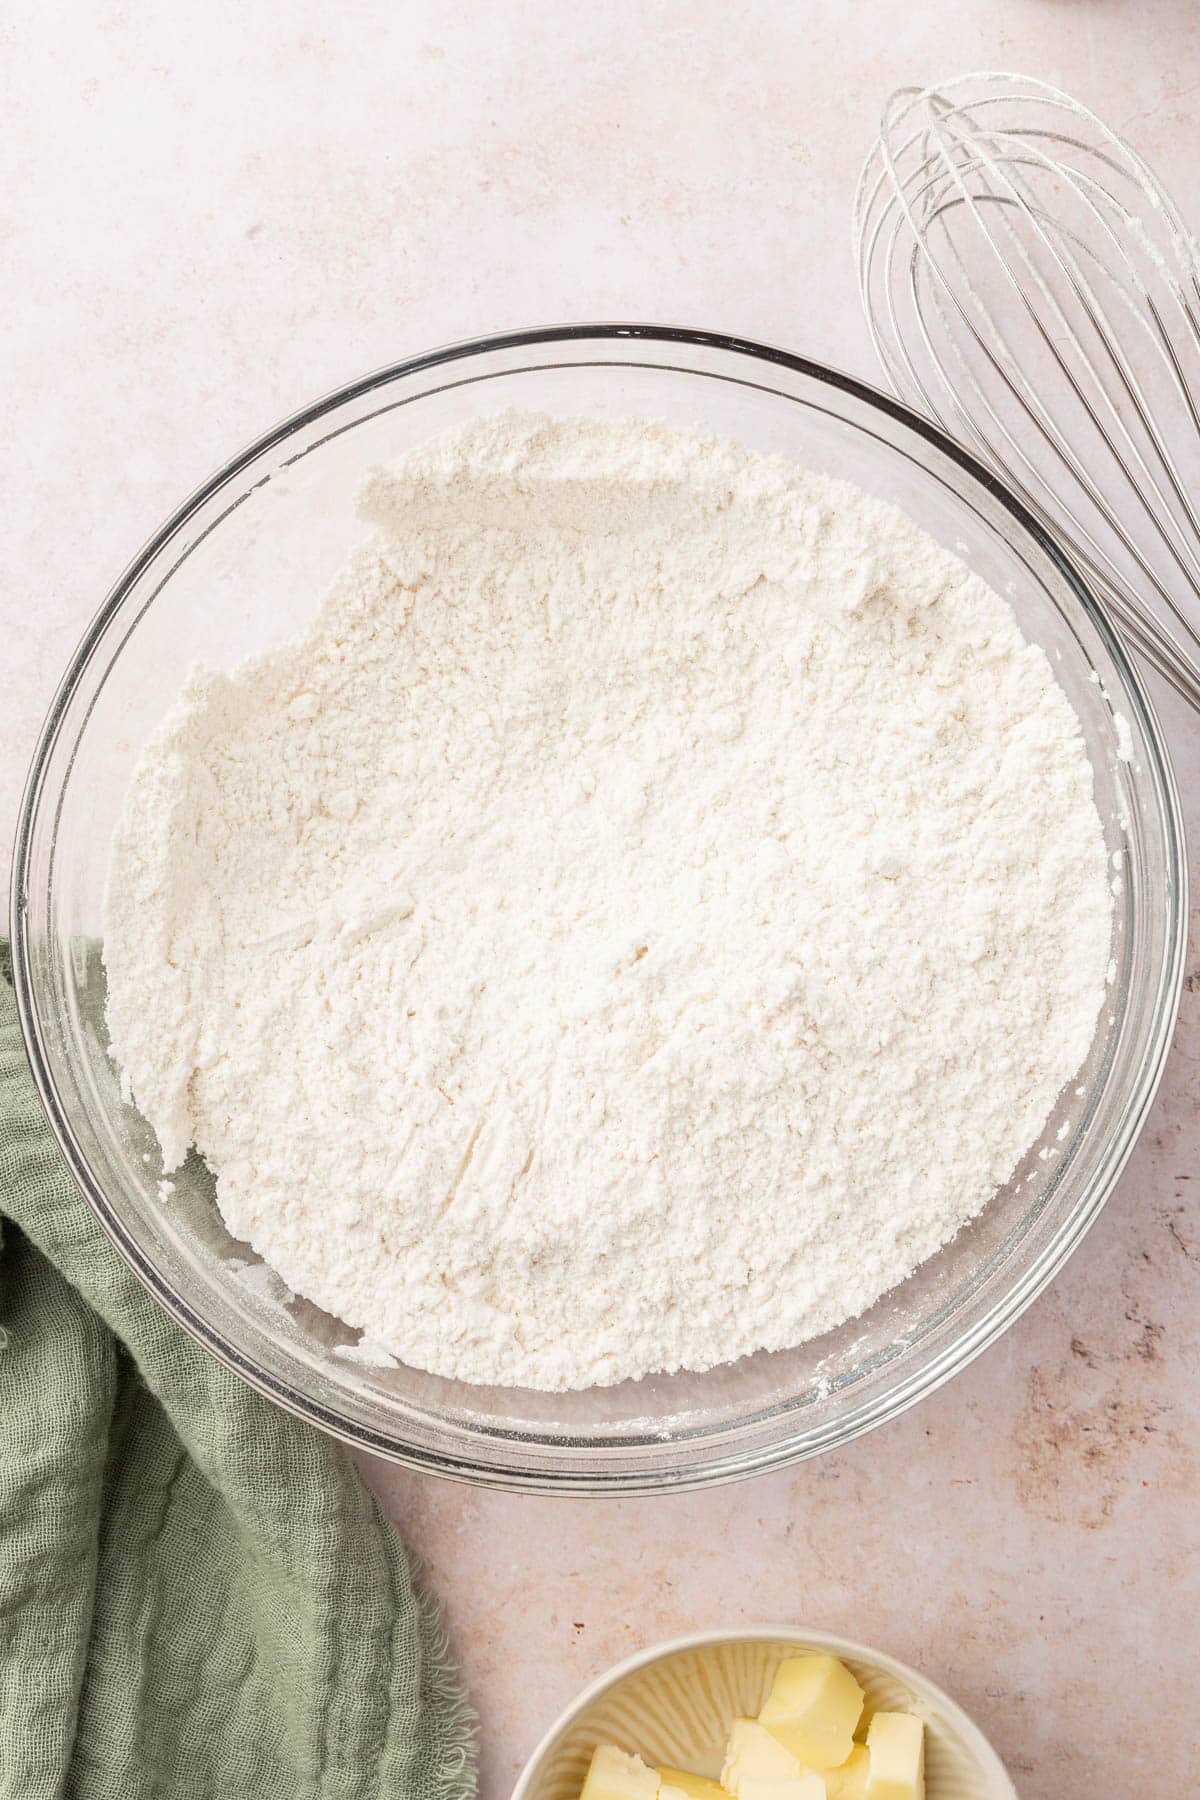
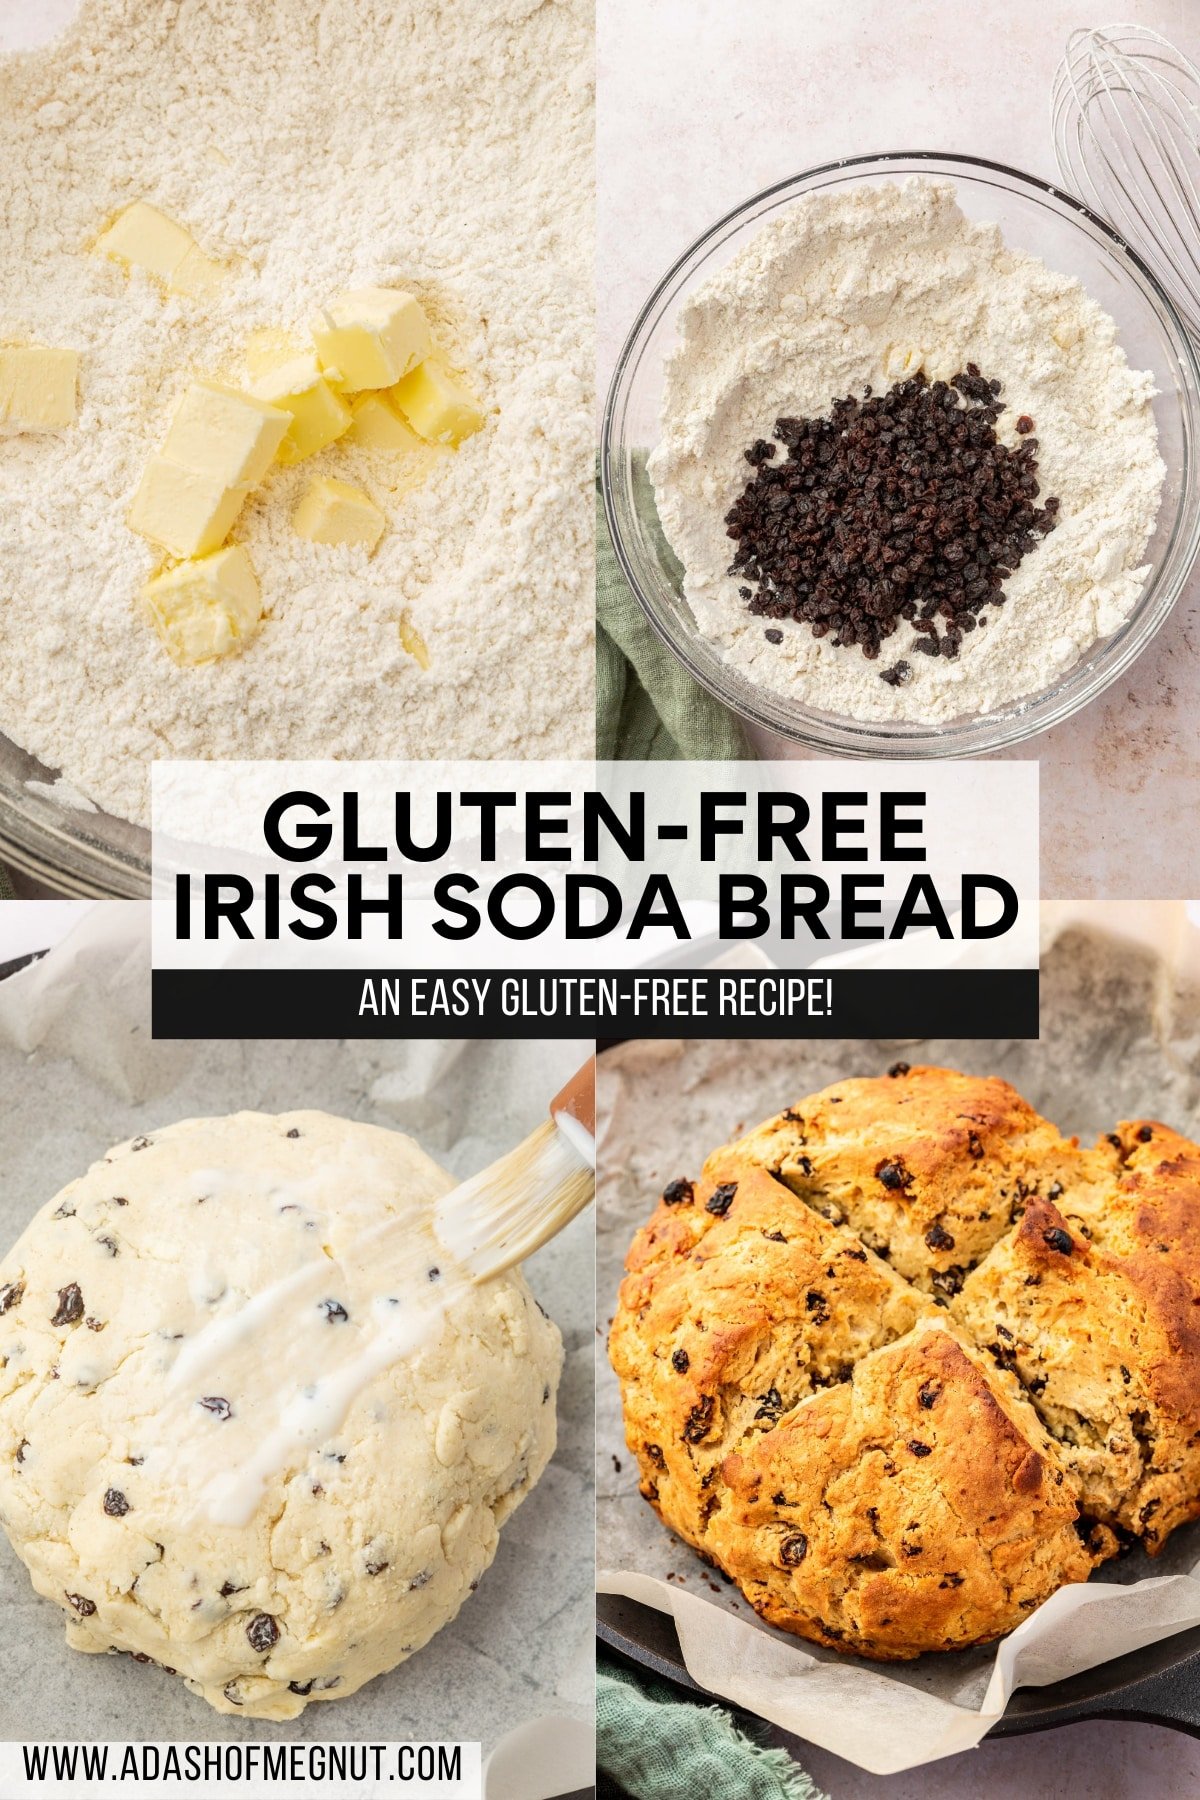
- In a large mixing bowl, add the gluten-free flour blend, granulated sugar, kosher salt, baking powder and baking soda. Whisk until combined.
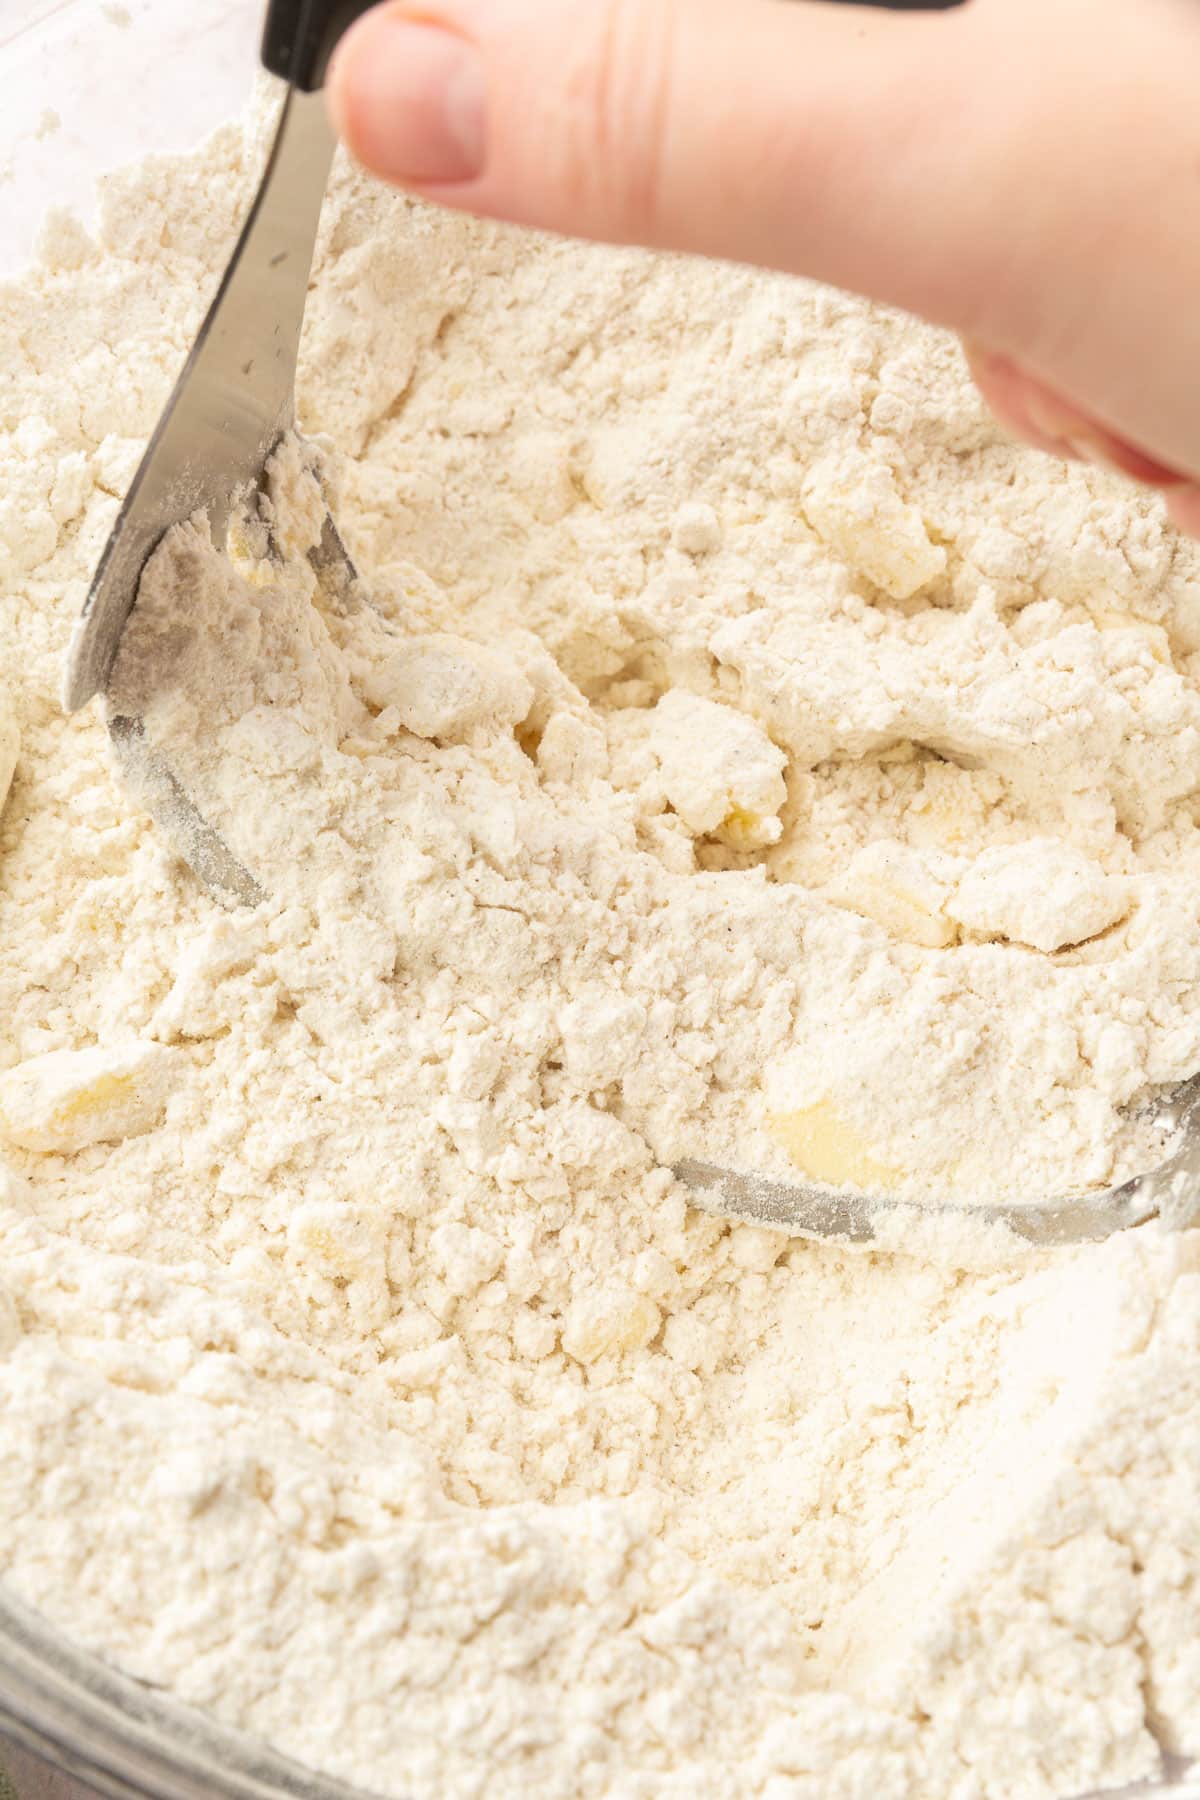
- Add the cold butter to the dry ingredients and mix with a pastry cutter or two knives to cut it into the dry ingredients.
- Stir in the currants until evenly distributed.
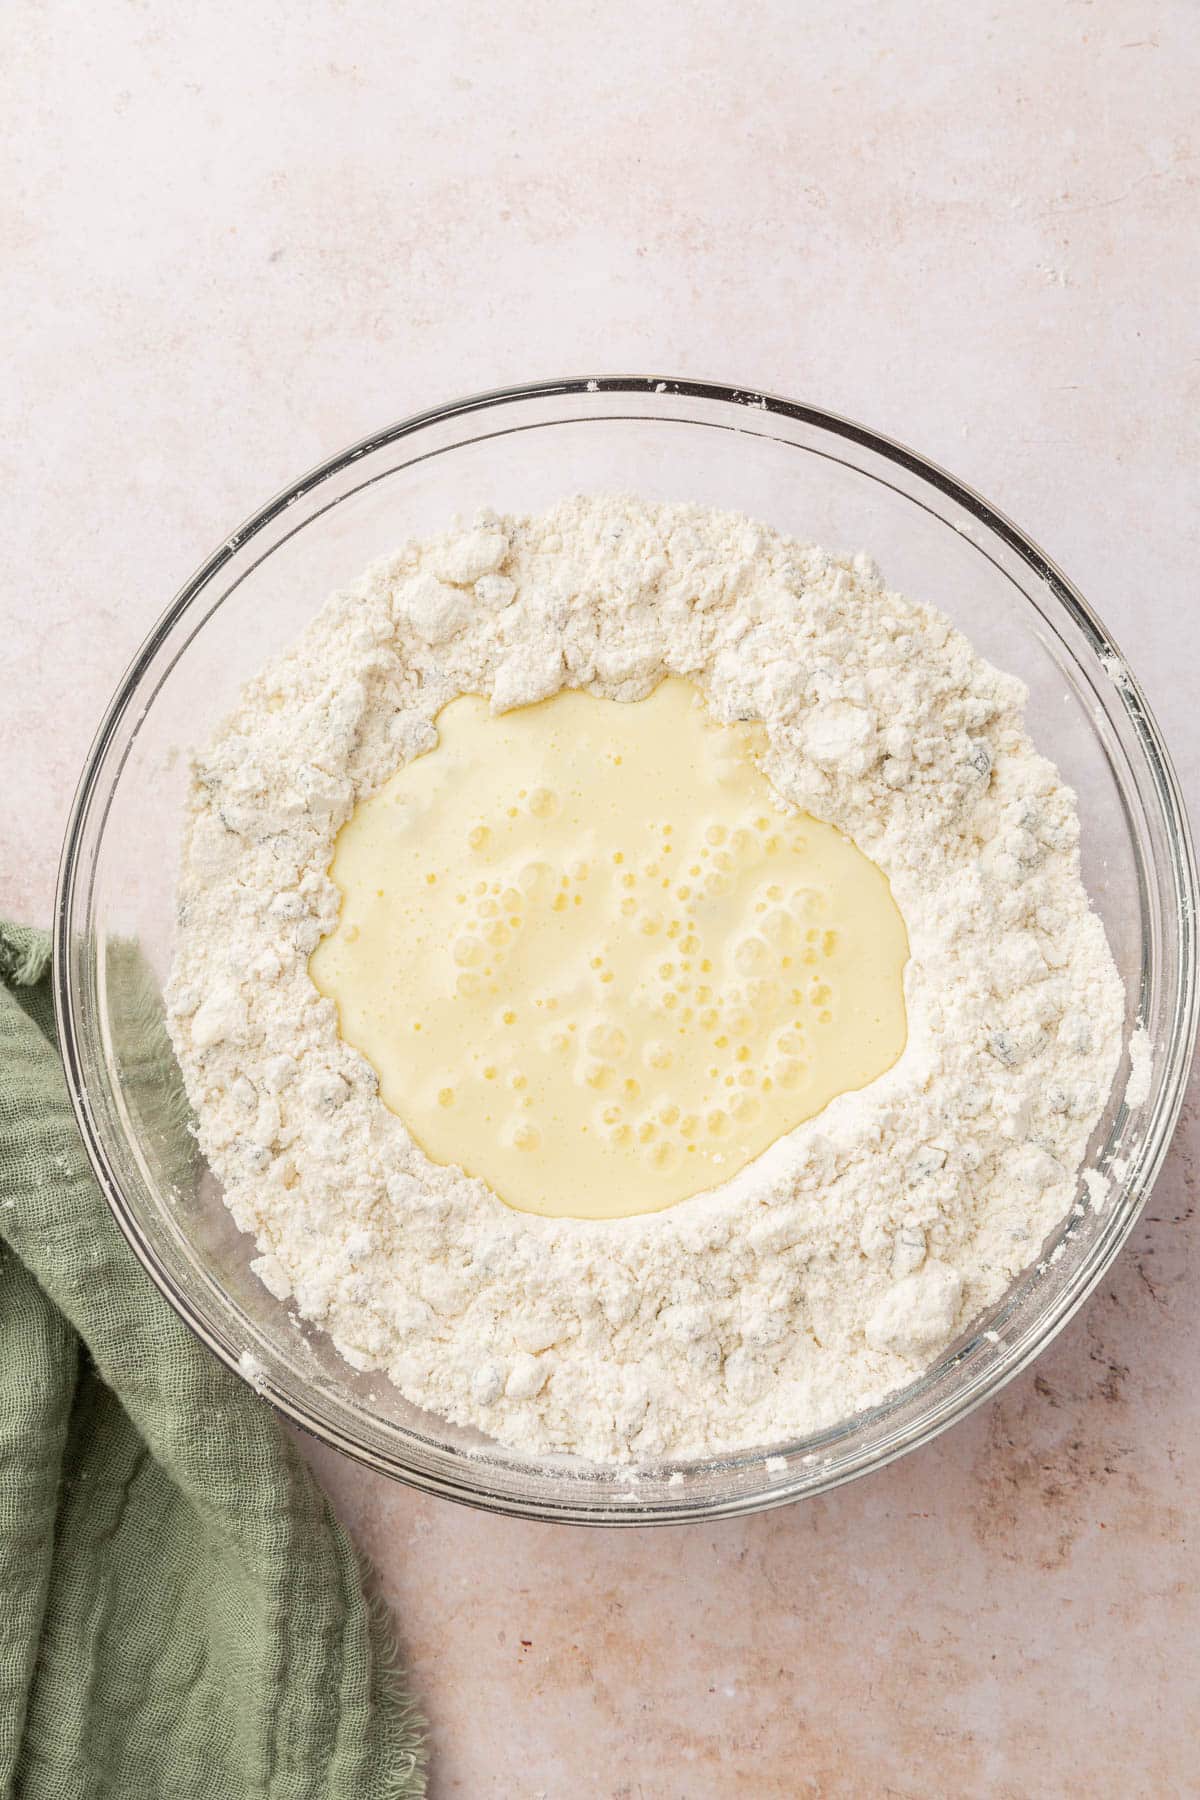
- In a measuring cup add 1 ¼ cups of buttermilk and an egg to a bowl or measuring cup. Whisk until combined.
- Make a well in the center of the dry ingredients and add the buttermilk mixture.
- Mix with a spatula until the dough comes together. If the dough is still too dry, add additional buttermilk by the tablespoon (up to an additional ¼ cup) to get the dough to combine together into a disk.
- Form into a disk about 6-inches in diameter. Don’t worry if the disk is scraggly or not smooth.
- Transfer the disk to the prepared cast iron pan or a baking sheet. Brush the disk with a tablespoon of buttermilk.
- Use a knife to cut a deep cross or “X” into the top of the dough.
- Bake at 400F for 30-40 minutes, until golden brown and a toothpick or skewer inserted into the center comes out clean.
- Let cool for about 10 minutes on the pan before removing to a wire rack to continue cooling.
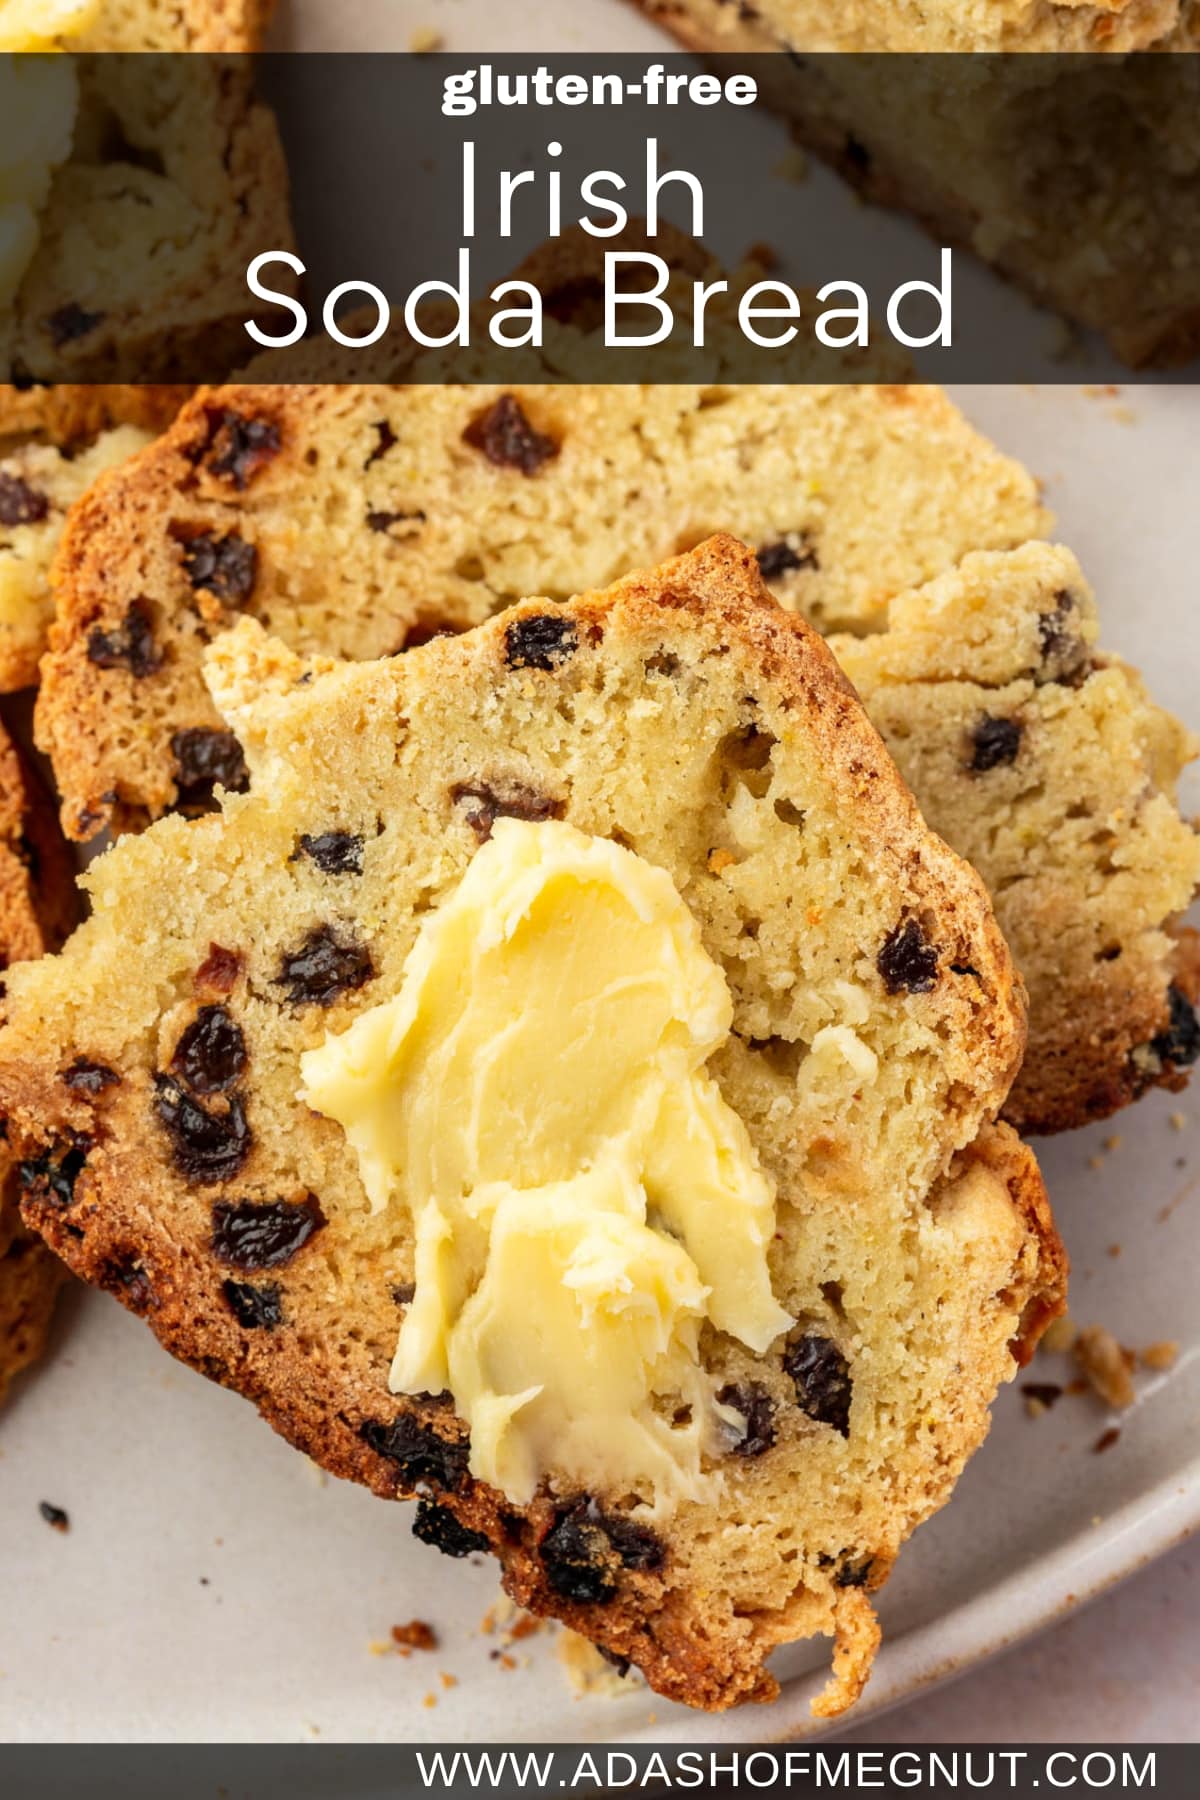
- Allow to finish cooling completely. Slice and serve warm with Irish butter.
Notes
- The amount of buttermilk listed in the ingredients is 1 1/4 to 1 1/2 cups of buttermilk. Start with just 1 1/4 cups of buttermilk to begin with. If you need some more moisture to make your dough form together into a disk, add an additional tablespoon. Do not add more than 1/4 cup of buttermilk to the dough as it will end up really dense. Just add enough buttermilk so that the dough can form together. See the process shots and video to see what your dough should look like.
- If you have celiac disease or are on a gluten-free diet, always be sure to double check ingredients to ensure they are gluten-free and that manufacturing practices have not changed.
- This recipe was tested with Bob’s Red Mill 1-to-1 Gluten-Free Baking Flour. This blend already contains xanthan gum. I cannot verify that other brands of gluten-free flour blend will work in this recipe as I have not tested them.
- For best results, weigh your gluten-free flour. I’ve found that scooping flour into measuring cups can vary in the amount of flour drastically depending on the way you scoop it. Using a food scale is the most accurate way and will ensure your bread turns out great every time.
i am too scared to make bread! this looks amazing though!
This bread should work really well in Brown Bread Ice-Cream–the one I use has oats in it, too!
Thanks for sharing this! I’ve been triyng bread for a while, but can never get it quite right so I give up and try a month or two later. I’ve decided part of my problem (not all of it…yesterday I forgot the salt!) is my pans so I want to find some nice bread pans. I like yours! So can I ask where you got them and how much they were? 🙂
Hi Keona, for this recipe I actually didn’t use bread pans. I just put it in a baking sheet so that it would look more rustic. However, when I do use bread pans, I got one from my mom’s kitchen that’s very old and that’s my favorite. The other one I got from Marshall’s for under $10. I wish I knew where my mom got her bread pan that I like so much though! Bread tends to bake up better in that pan for some reason!
Thanks for posting this recipe!! It’s an excellent bread I’ve been making since 1973 – when I found Myrtle Allen’s recipe in Beard On Bread. Beard’s version doesn’t have any white flour and more salt(too much salt really). I sometimes use honey instead of molasses if that’s what I have on hand.
I’m glad more people will be able to try this recipe!
Thanks Rajesh!
Just made this recipe with a few modifications. Because I have salted butter, I omitted a half teaspoon of salt in the recipe. I used Costco GF flour, and I baked it for 45 minutes, taking it out with a 190 degree internal temperature. Worked just fine.
I need to omit the Buttermilk since I’m lactose intolerant! Any suggestions?
Hi Linda, You can use unsweetened almond milk or cashew milk mixed with 1 tablespoon of apple cider vinegar. Let that mixture sit for about 5 minutes before using. Hope this helps!
Thank you so much for this recipe! I made it last night and it was delicious!! It was super easy to make!
Thanks, Marilyn! I’m so glad you enjoyed it and I appreciate you so much for coming back to review it!