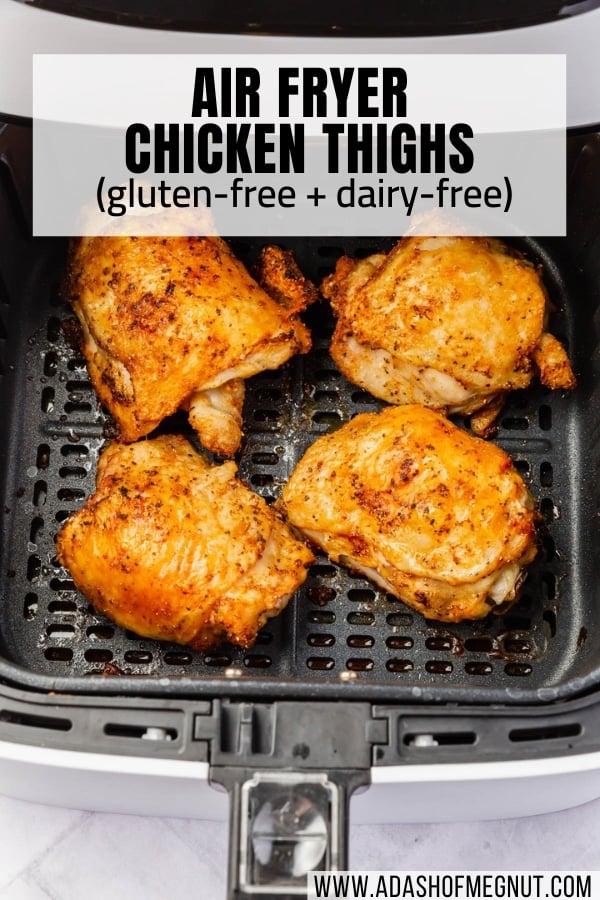
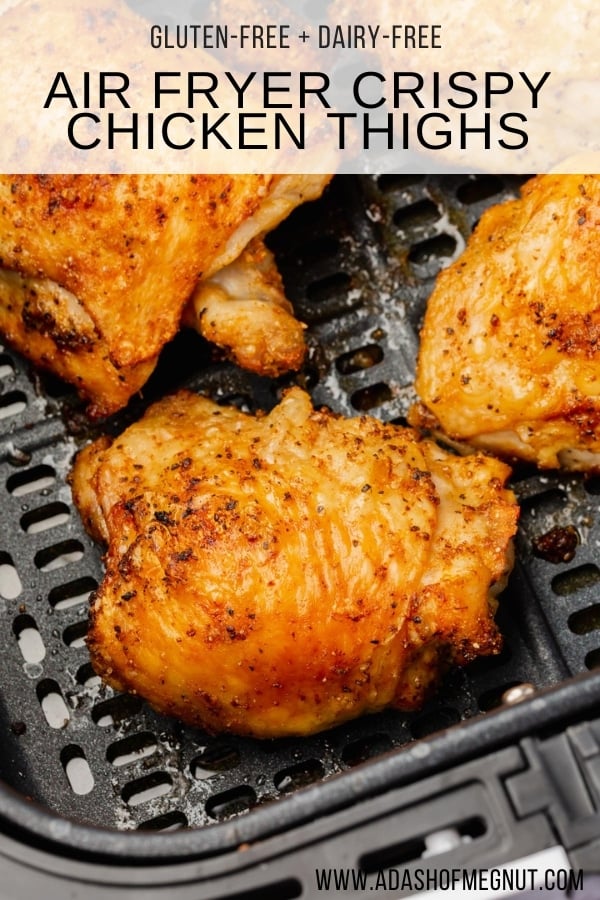
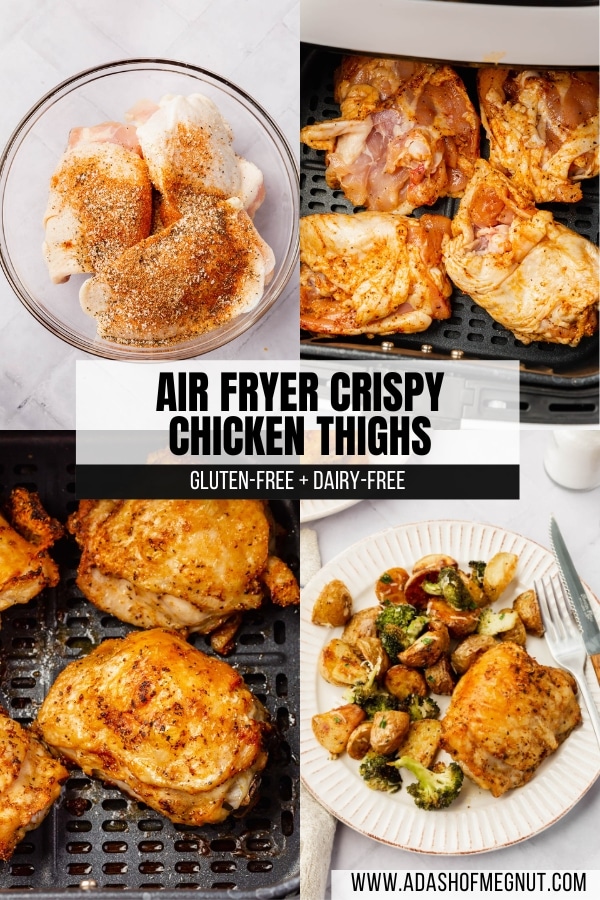
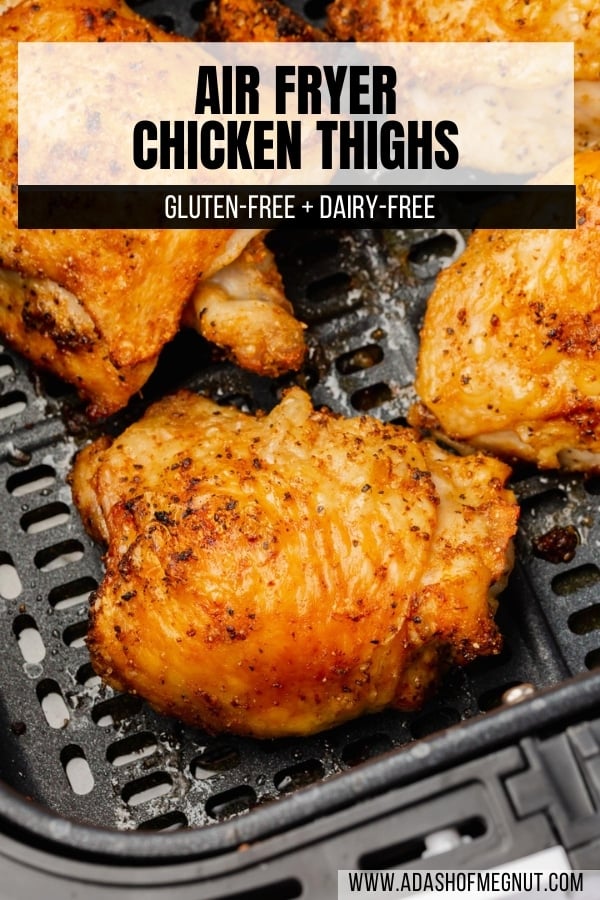
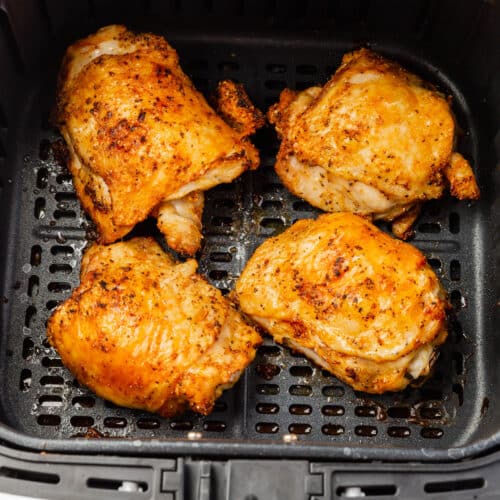
These crispy air fryer chicken thighs are so easy and turn out perfect every time. Bone-in, skin-on chicken thighs get incredibly juicy on the inside with crispy, golden skin on the outside. No need to preheat your oven or turn on the stovetop. Just season, air fry for 20 minutes, and dinner is done.
I’ve always loved roasting chicken thighs in my cast iron skillet for guests, but I don’t always want to heat up my whole oven for a weeknight dinner. This air fryer version gives me the same crispy skin and juicy meat in half the time. Plus, leftovers reheat beautifully in the air fryer in just 5 minutes, making this recipe perfect for meal prep.
Why You’ll Love this Recipe
Ingredients

Ingredient Notes
- Chicken thighs – Use bone-in, skin-on chicken thighs for the crispiest, most flavorful results. The bone keeps the meat incredibly juicy, and the skin gets golden and crispy in the air fryer. You can use boneless skinless chicken thighs if needed, but they won’t be as crispy. Start checking them at 14 minutes and cook until they reach 165°F internal temperature.
- Olive oil – I like the flavor of extra-virgin olive oil, but any neutral oil works. Avocado oil is great for higher heat cooking, or use melted coconut oil if you don’t mind a subtle coconut flavor.
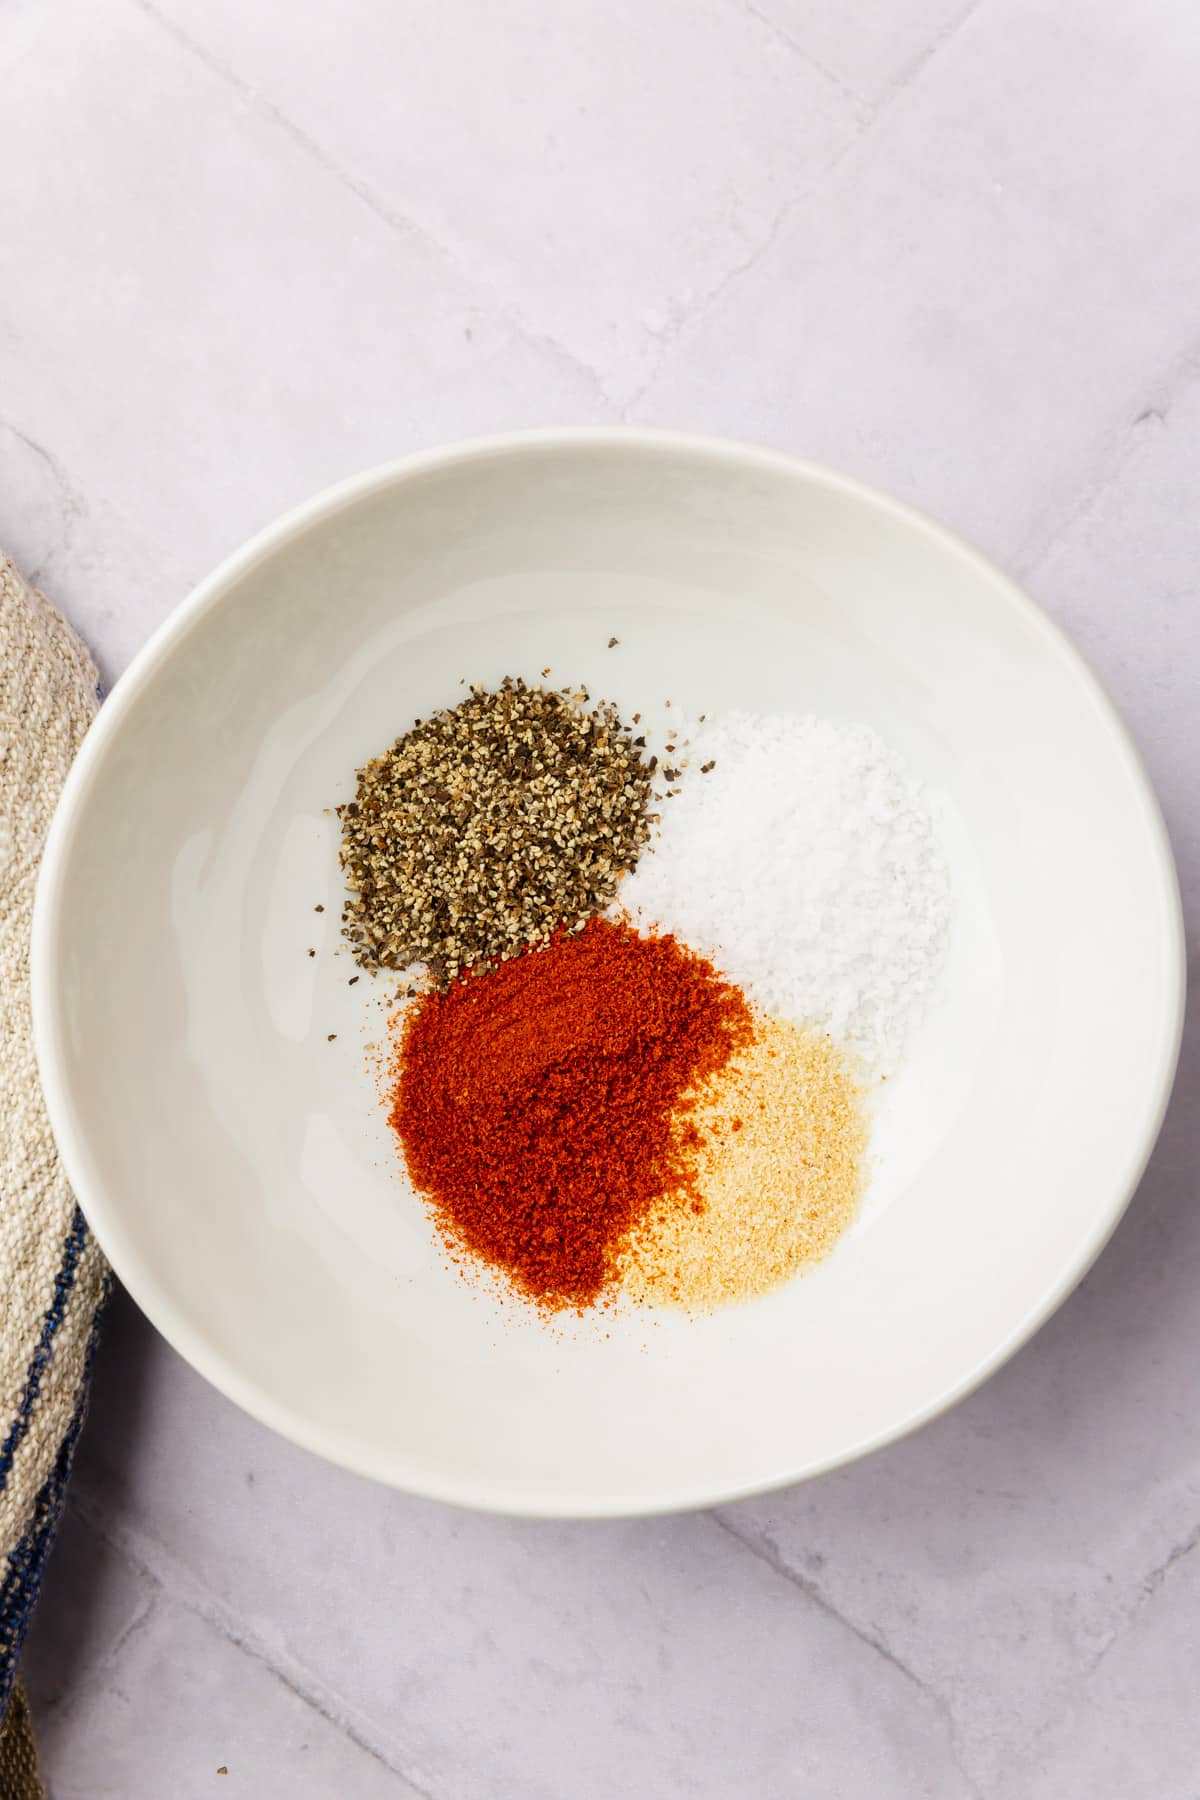
- Spices – This basic blend of garlic powder, paprika, salt, and pepper is my go-to, but feel free to customize. Add onion powder and Italian seasoning if you want, or use cajun seasoning for heat. You can also finish with fresh herbs like parsley or thyme, or squeeze fresh lemon juice over the chicken after cooking.
Cook in Batches
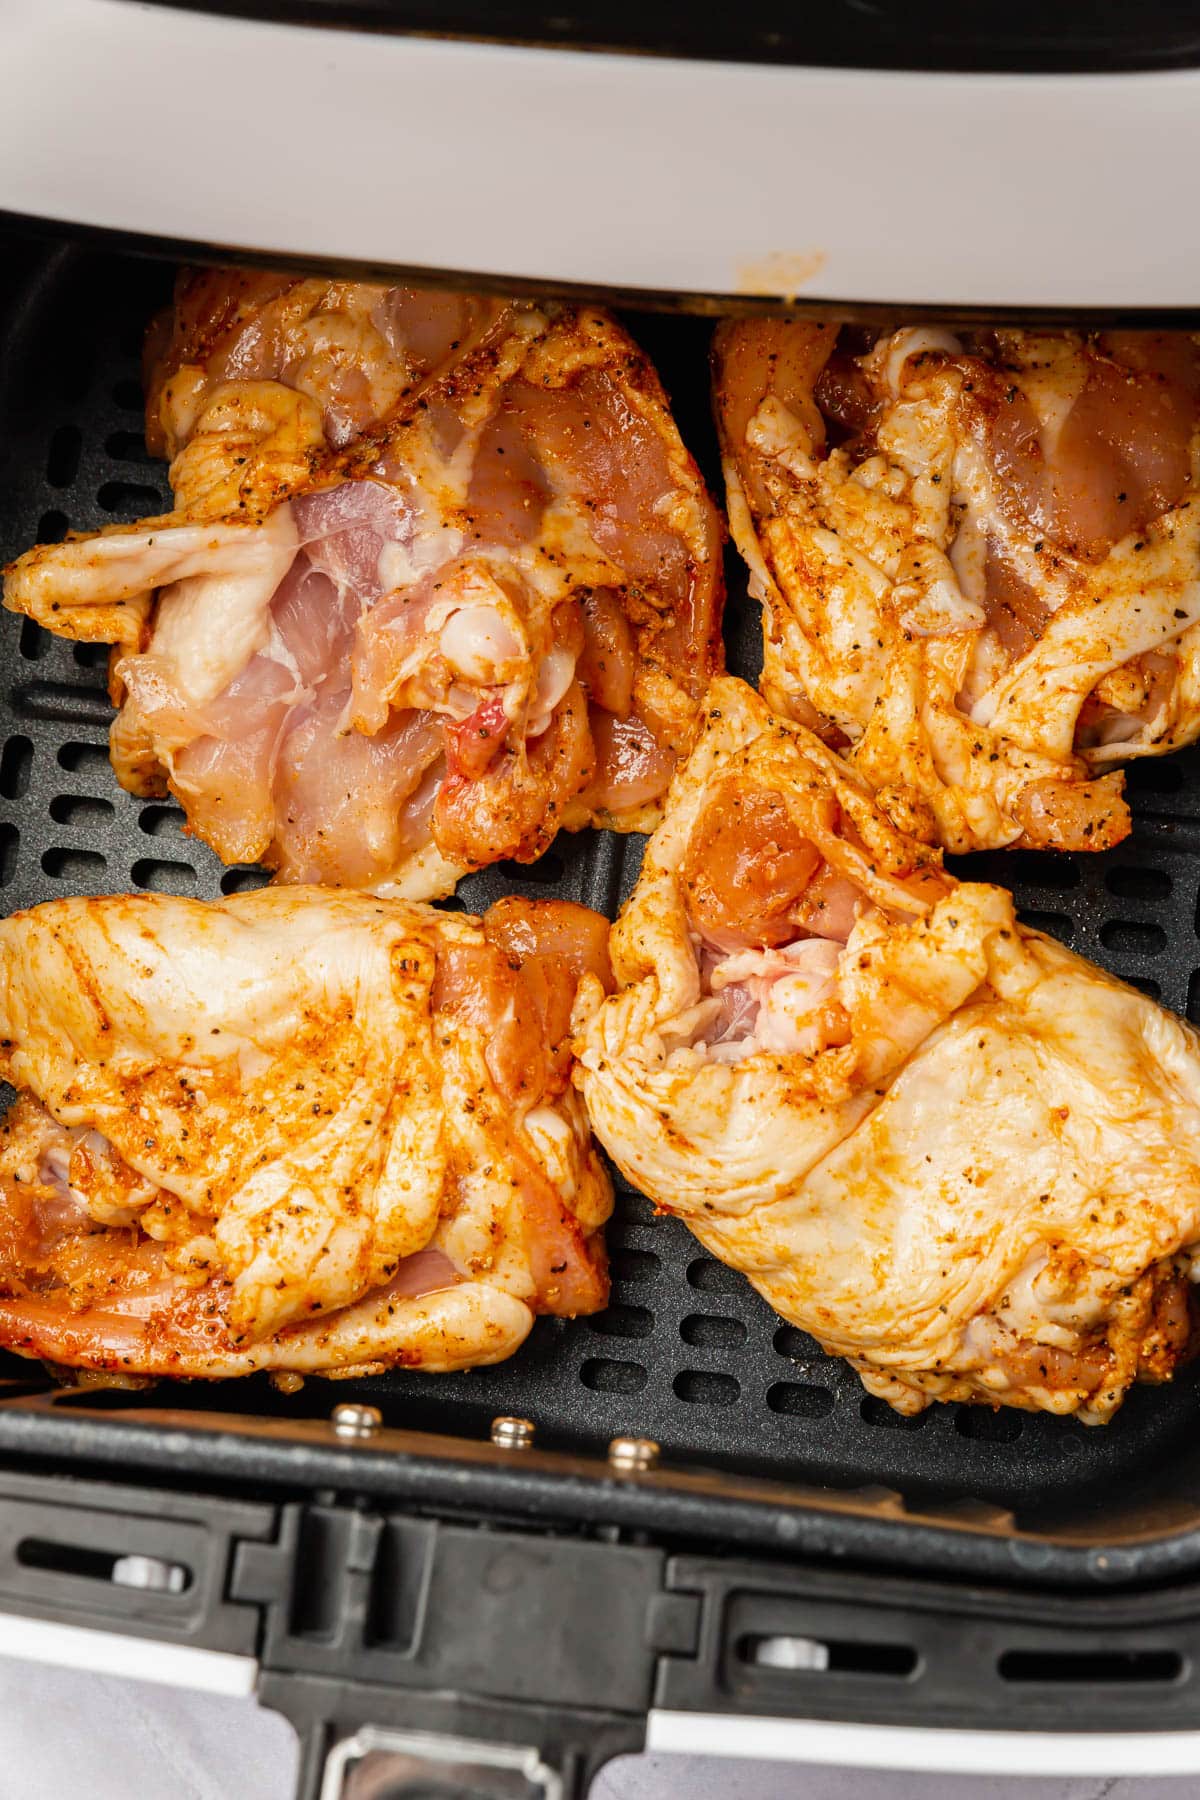
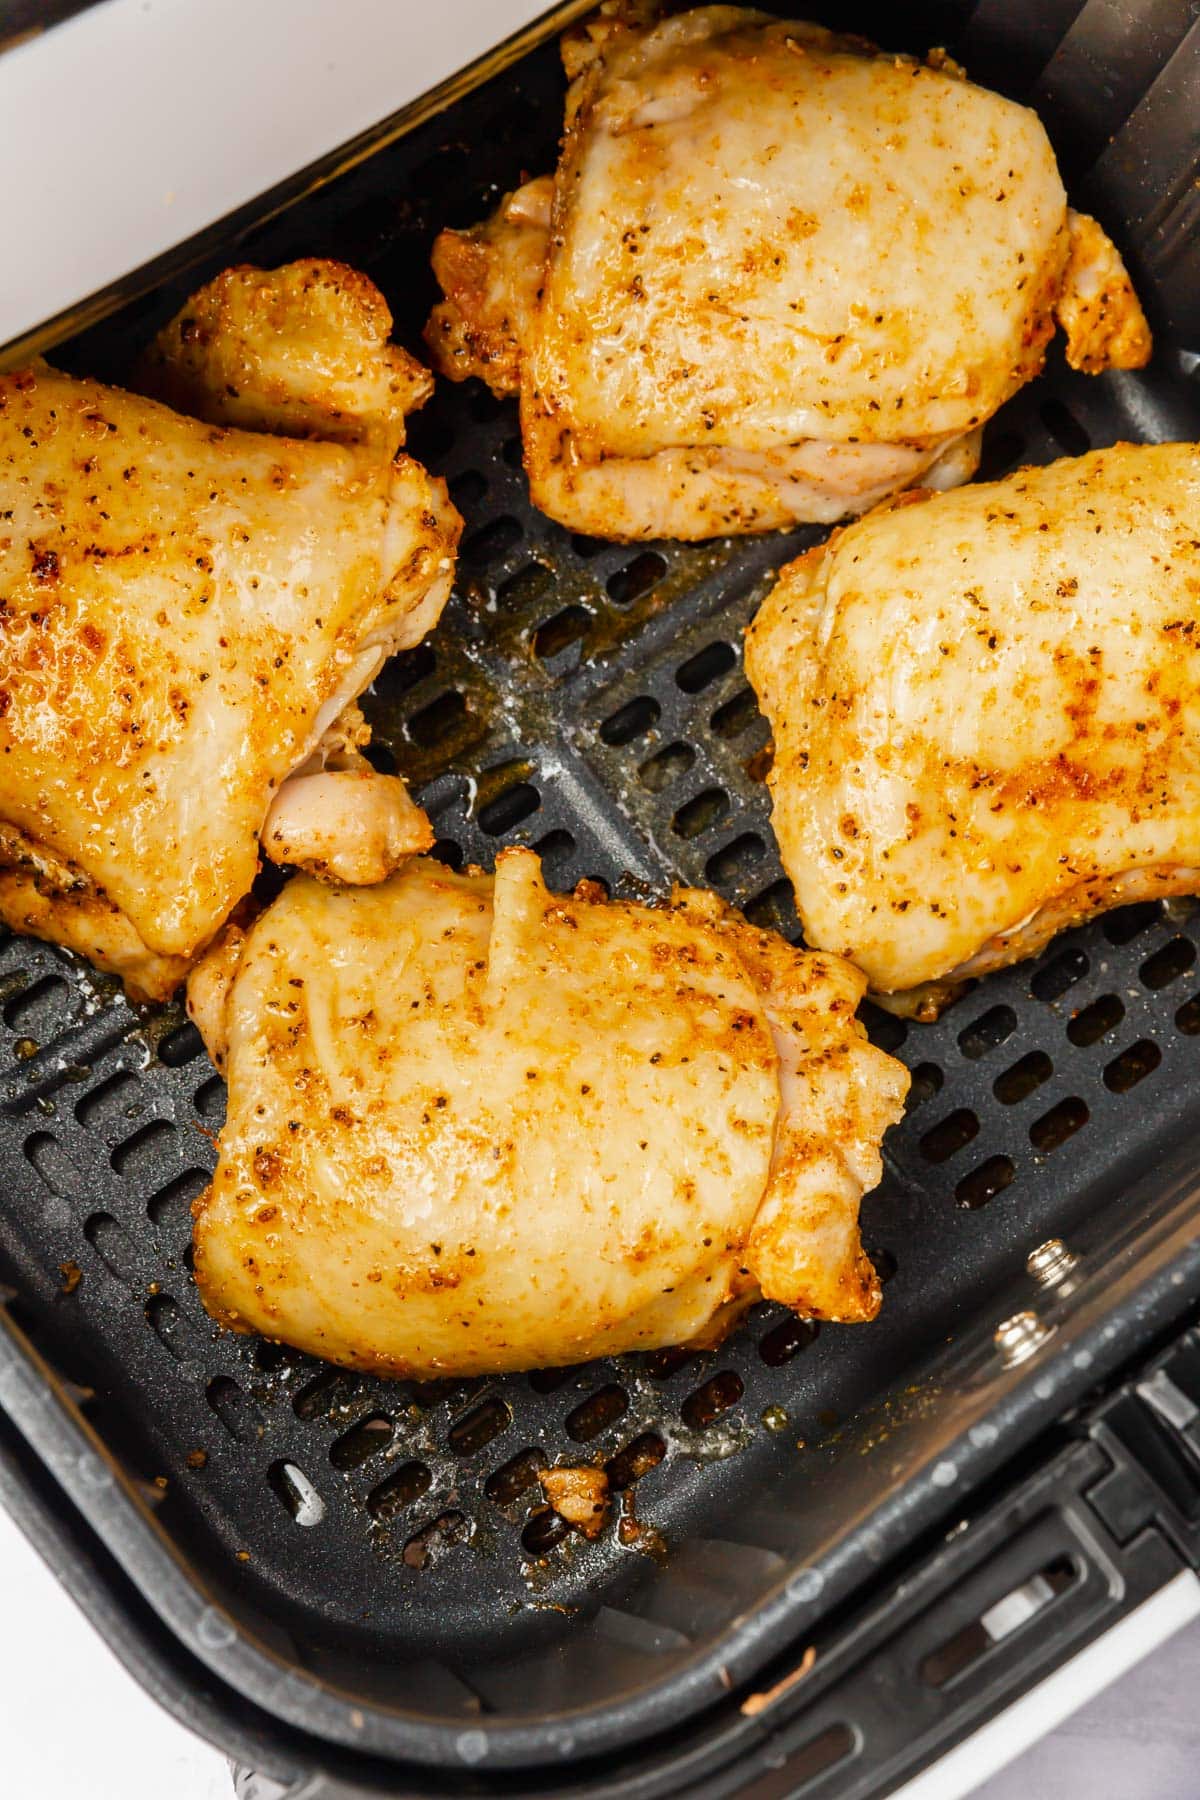
Don’t overcrowd your air fryer basket. Chicken thighs need space for air to circulate and get crispy. Cook 4 thighs at a time in a single layer. If you need to cook more, keep the first batch warm in a 200°F oven while you cook the second batch.
Step-by-Step instructions
This crispy air fryer chicken thighs recipe is so easy to make with just 6 simple ingredients and minimal prep time. Follow the step-by-step photos below with matching instructions to help you make the recipe perfectly every time.
For the ingredient list with measurements, full instructions, printable recipe, and additional notes, please scroll down to the recipe card.
Recipe FAQs
No, you don’t need to preheat for this recipe. The chicken thighs get crispy skin even without preheating because you flip them halfway through. If your air fryer model requires preheating, heat it for about 5 minutes at 400°F before adding the chicken.
Yes, I have many times but the results will be different. Boneless skinless chicken thighs won’t get crispy like bone-in, skin-on thighs. They’ll also cook faster, so start checking the internal temperature at 15 minutes. I like to cook boneless thighs with taco seasoning and oil and then use them in tacos.
No, don’t stack them. Arrange chicken thighs in a single layer with space between each piece. Overcrowding prevents the air from circulating, which means the skin won’t get crispy.
Expert Tips
Storage instructions
- Storage: Store leftover chicken thighs in an airtight container in the refrigerator for up to 3-4 days.
- Reheat: You can reheat leftover chicken thighs in the air fryer to get the skin crispy again! Place the chicken thighs in the air fryer, skin side up. Air fry at 400F for about 5-8 minutes, until the chicken is hot and the skin is crispy. Serve immediately.
Serving suggestions
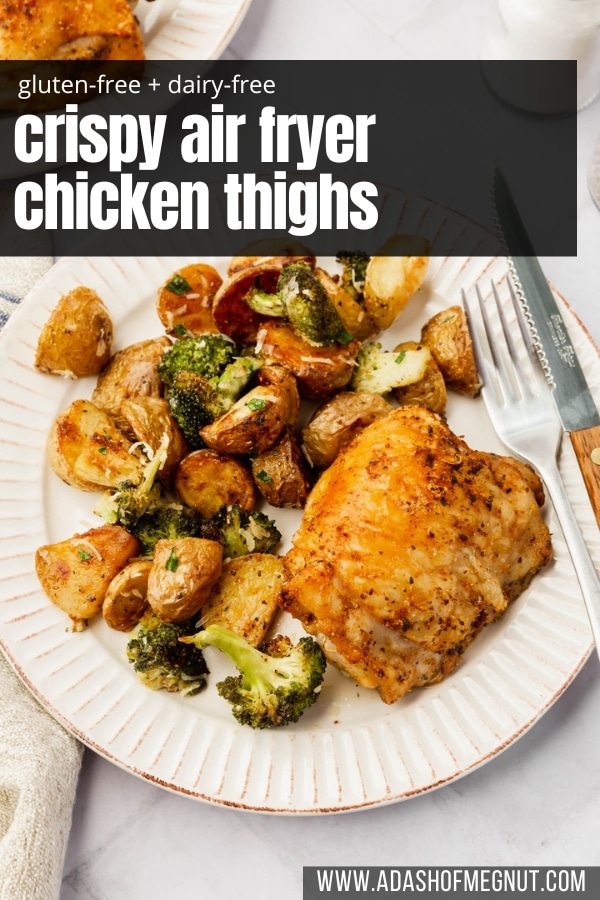
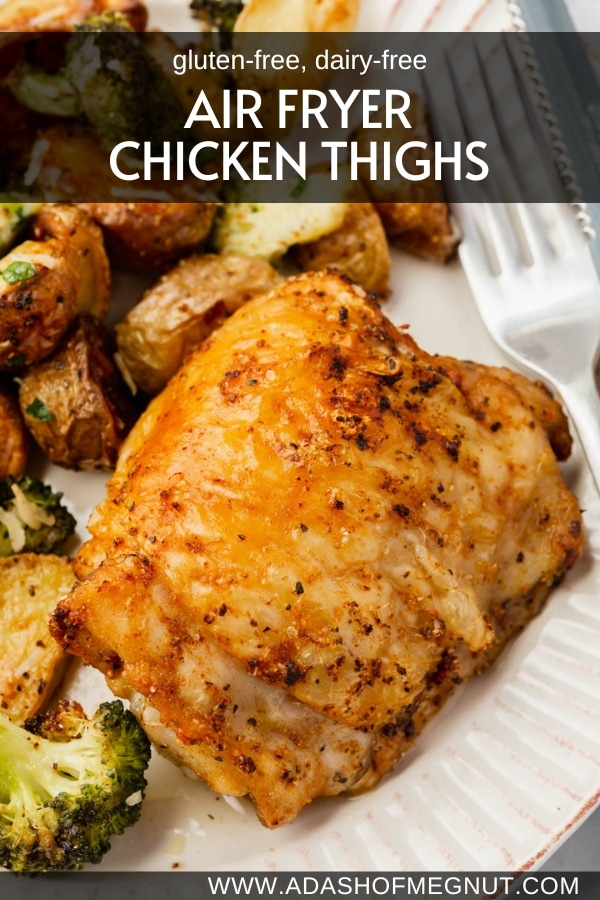
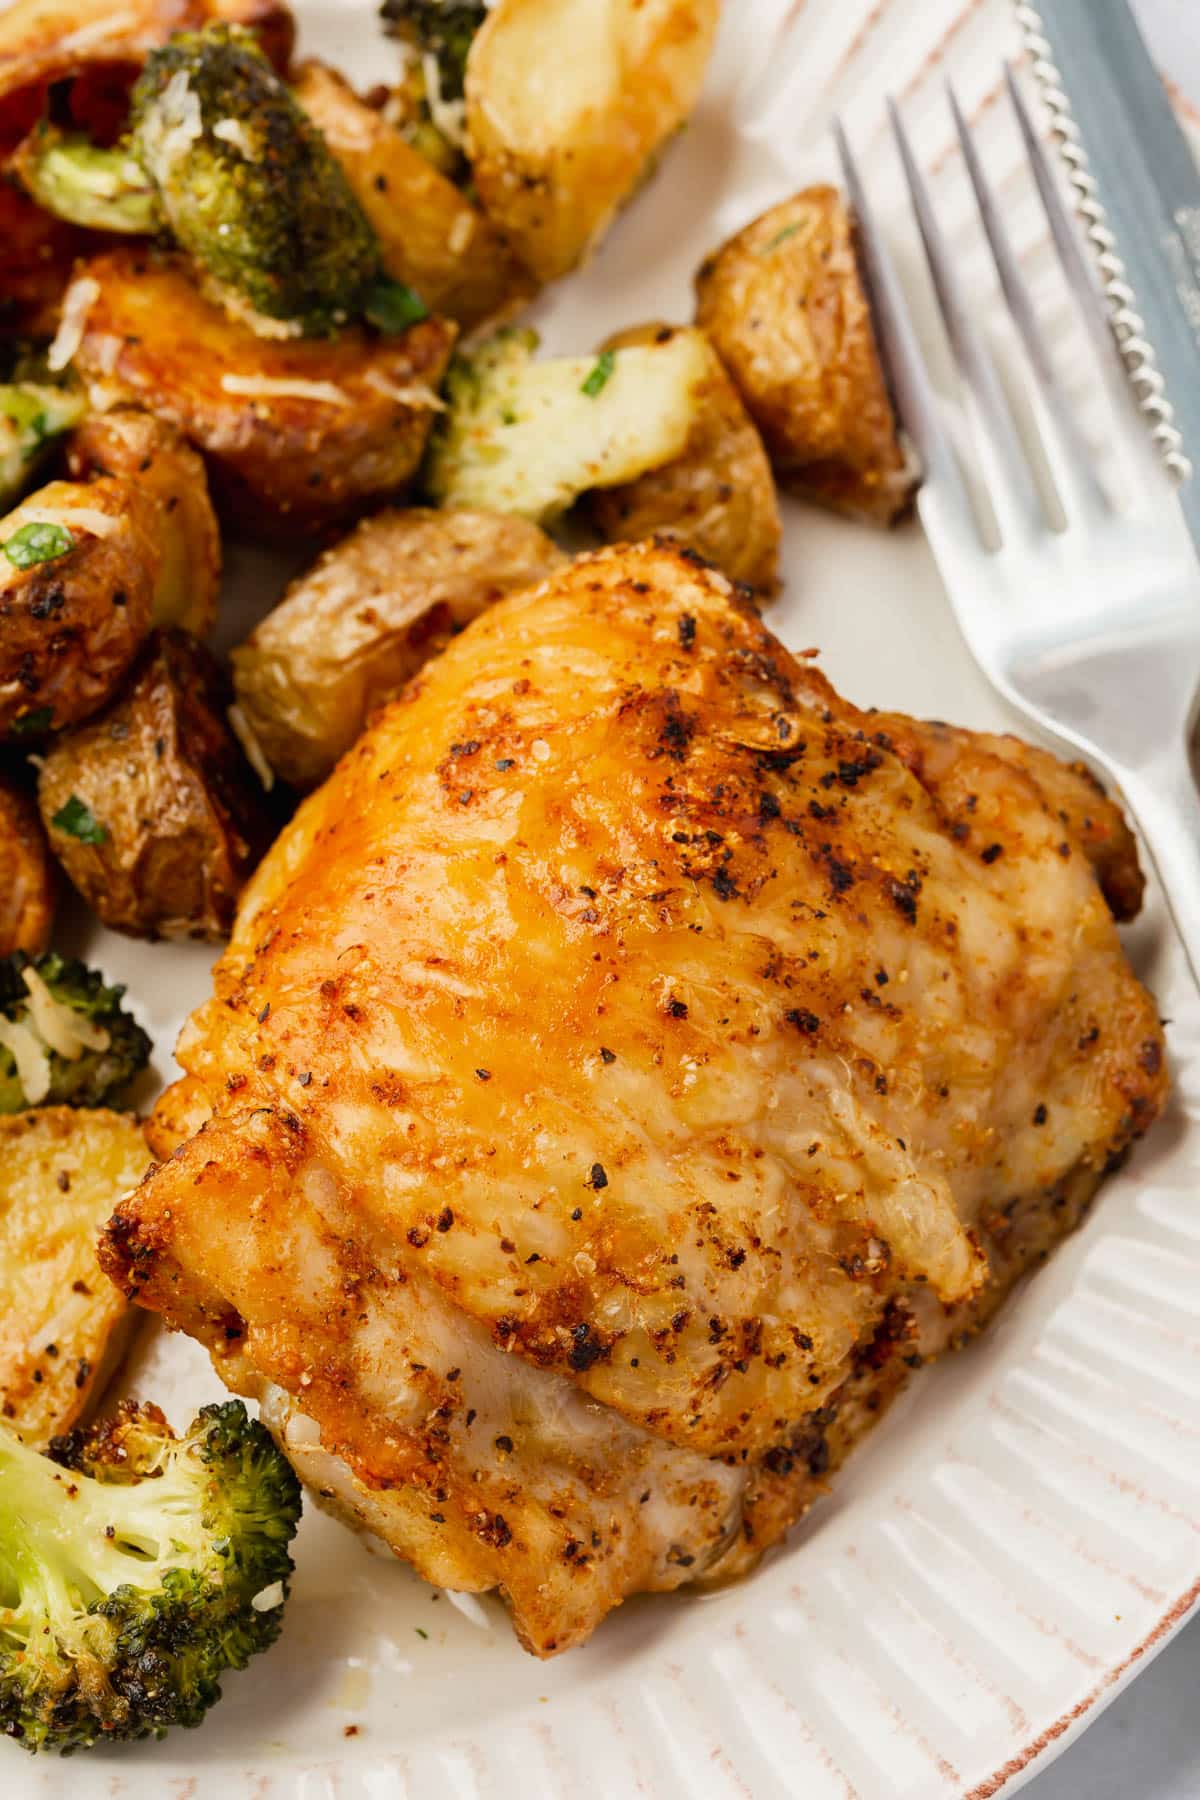
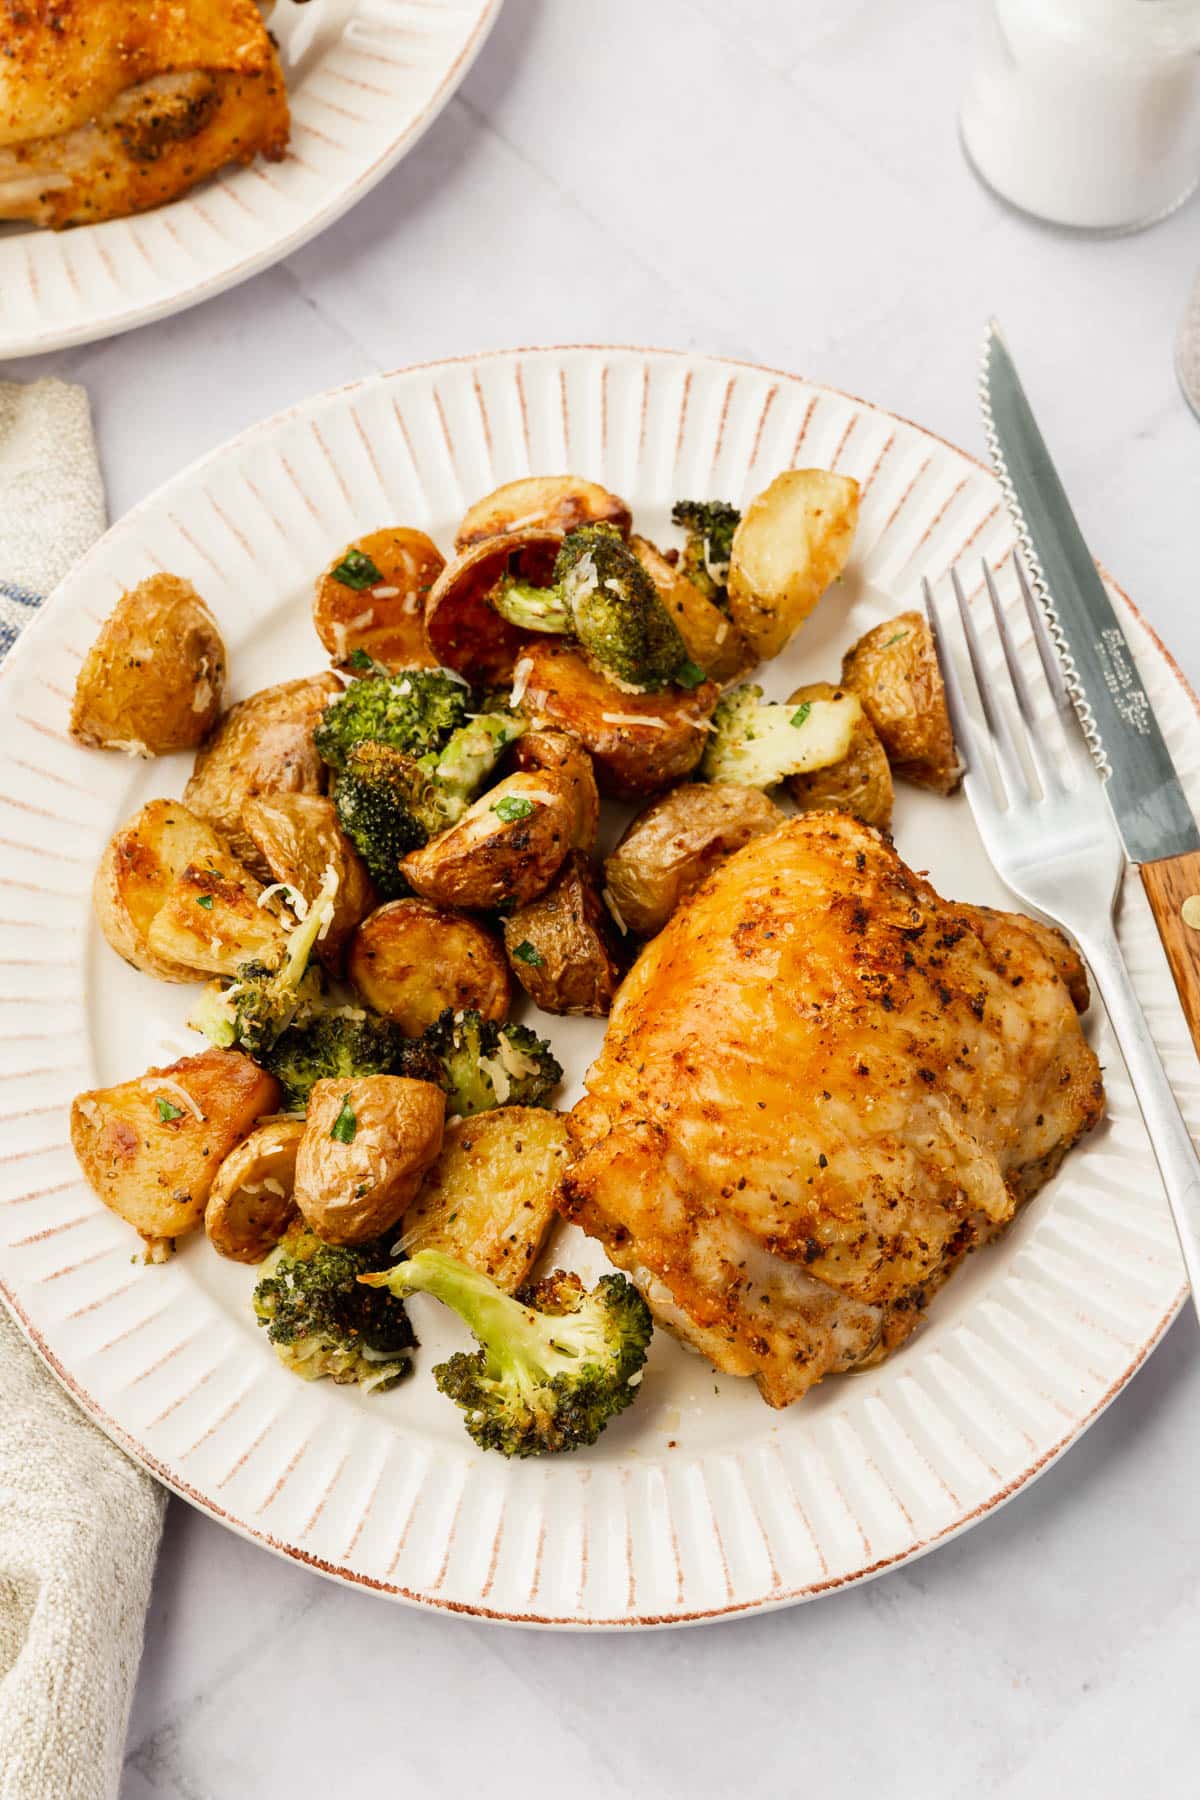
This air fryer chicken thigh recipe is perfect for easy weeknight dinners or meal prep. It pairs well with so many sides.
Try it with Roasted Broccoli and Potatoes, Twice Baked Mashed Potatoes, or Instant Pot Lemon Risotto. It’s also delicious on top of Roasted Acorn Squash Fall Salad or served with Gluten-Free Garlic Bread and a simple green salad. For an easy weeknight, pair it with steamed vegetables and rice.
More gluten-free chicken recipes to try


Did you make this recipe?
I’d love to know! Please rate it and leave a comment below. You can also share your pictures and tag @adashofmegnut on Instagram.
Crispy Air Fryer Chicken Thighs
Ingredients
For the seasoning:
- ½ teaspoon garlic powder
- ½ teaspoon kosher salt
- ½ teaspoon ground black pepper
- ½ teaspoon paprika
For the chicken:
- 2 lbs bone-in skin-on chicken thighs - about 4 total
- 1 tablespoon olive oil
**Use the toggle button above to turn the instruction photos on and off!
Instructions
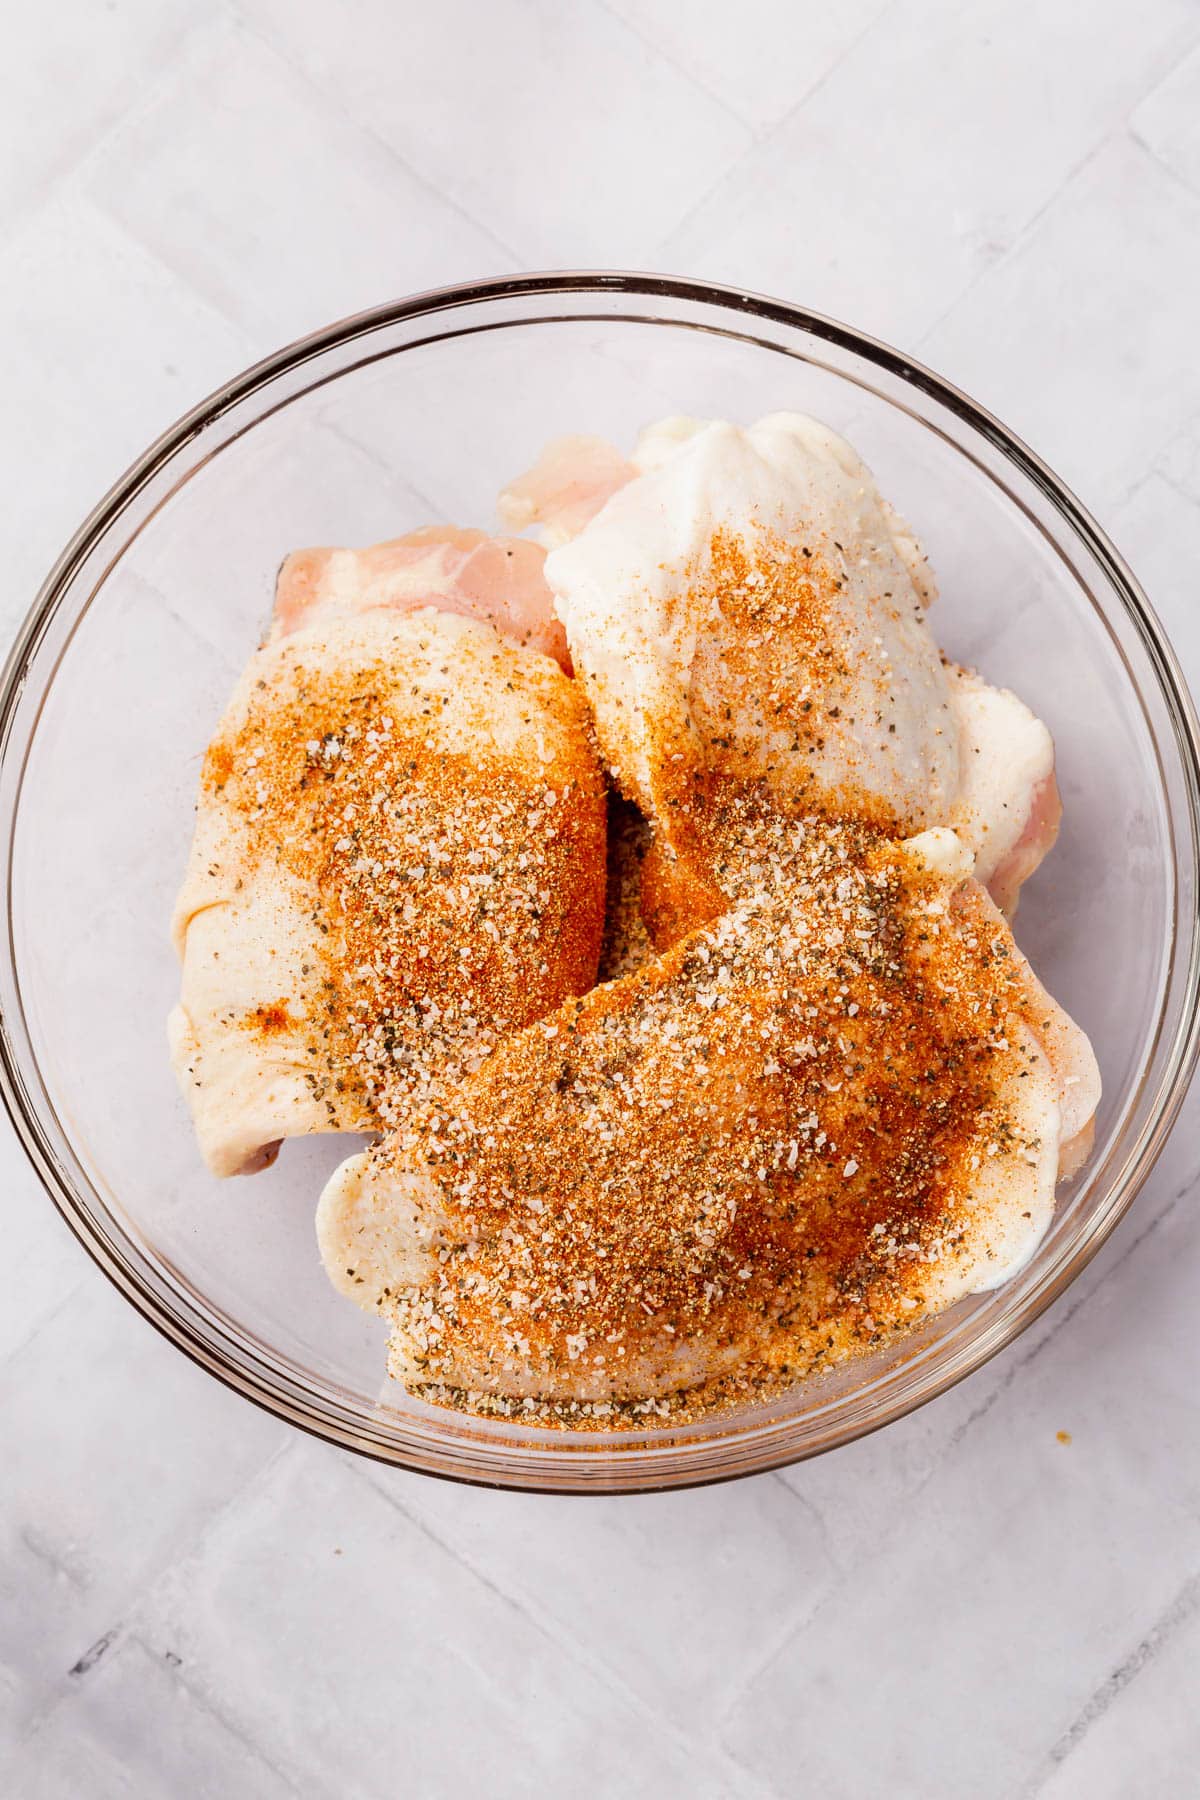
- Add ½ teaspoon garlic powder, ½ teaspoon kosher salt, ½ teaspoon ground black pepper, and ½ teaspoon paprika to a small bowl. Whisk until combined.
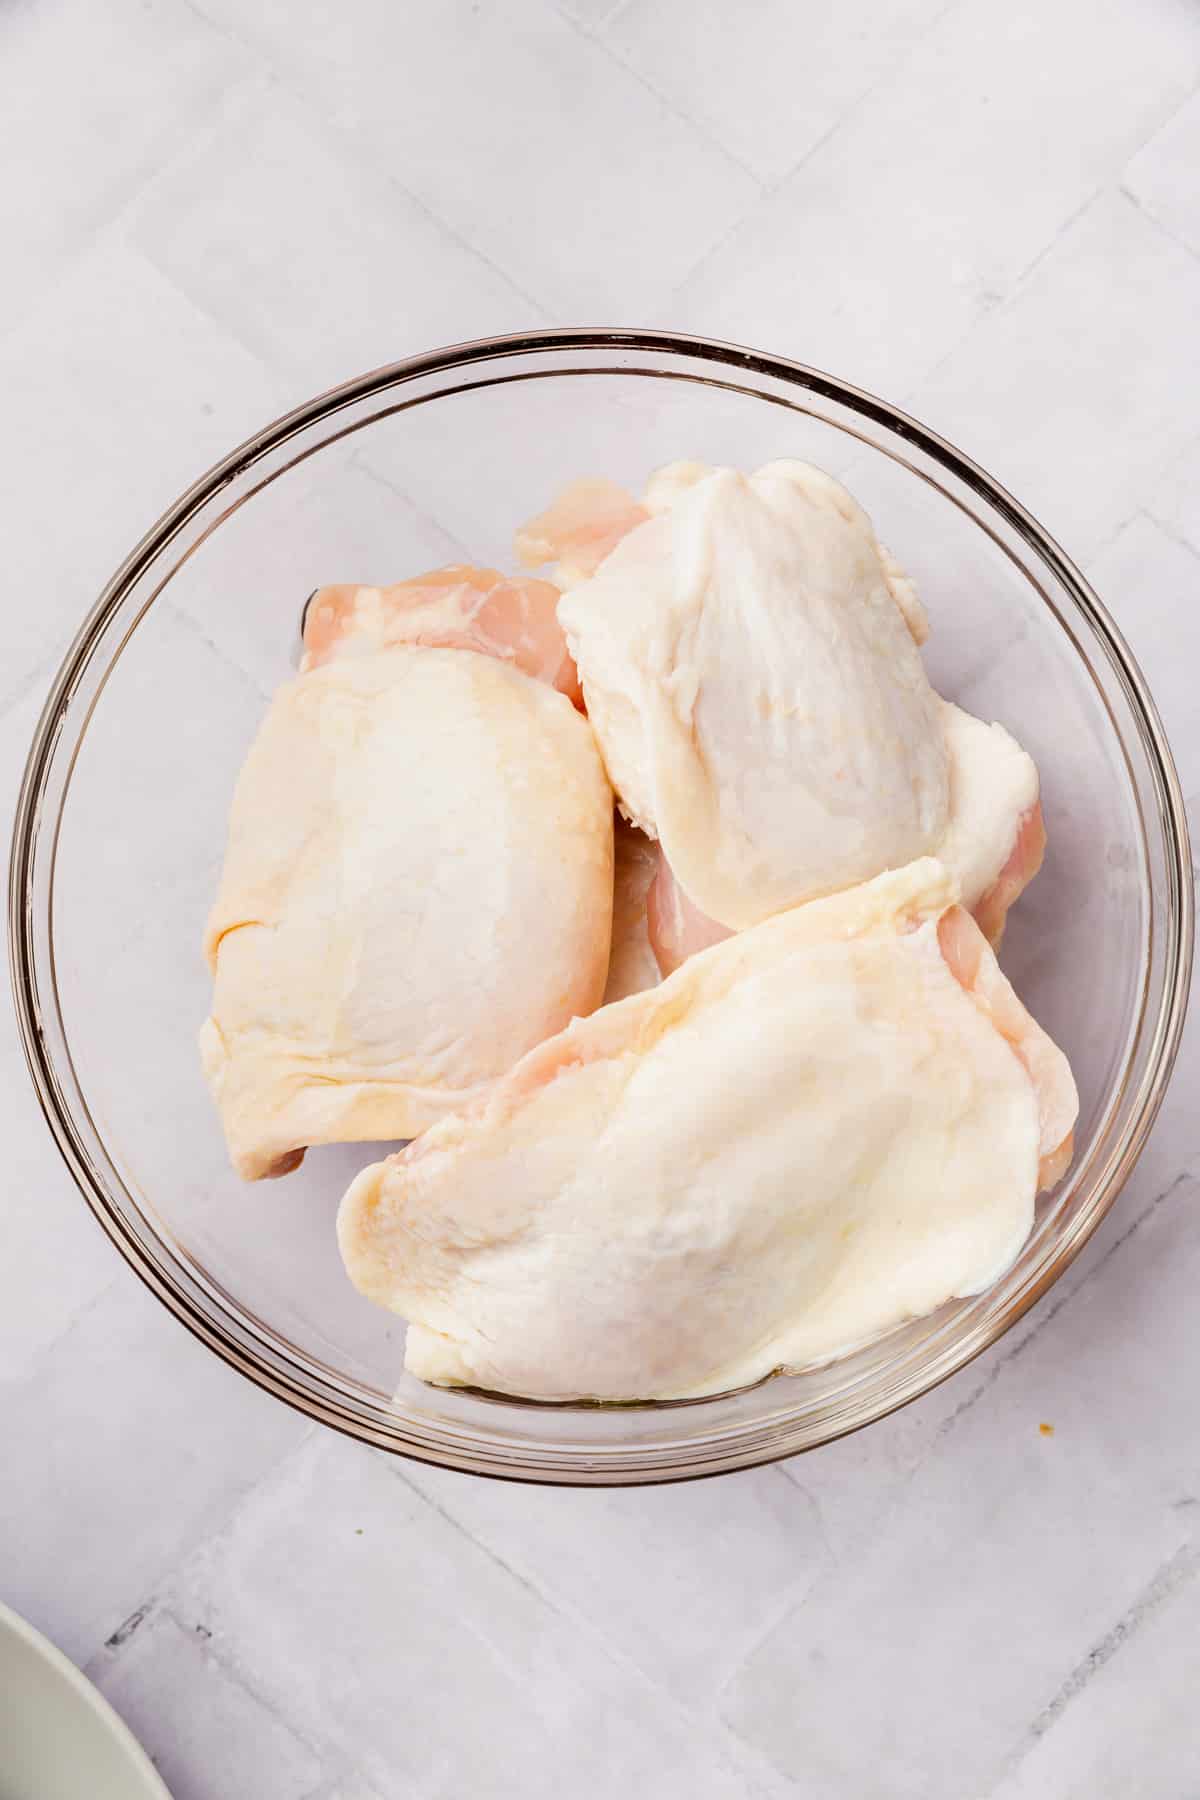
- Add 2 lbs bone-in skin-on chicken thighs to a large mixing bowl and drizzle with 1 tablespoon olive oil.
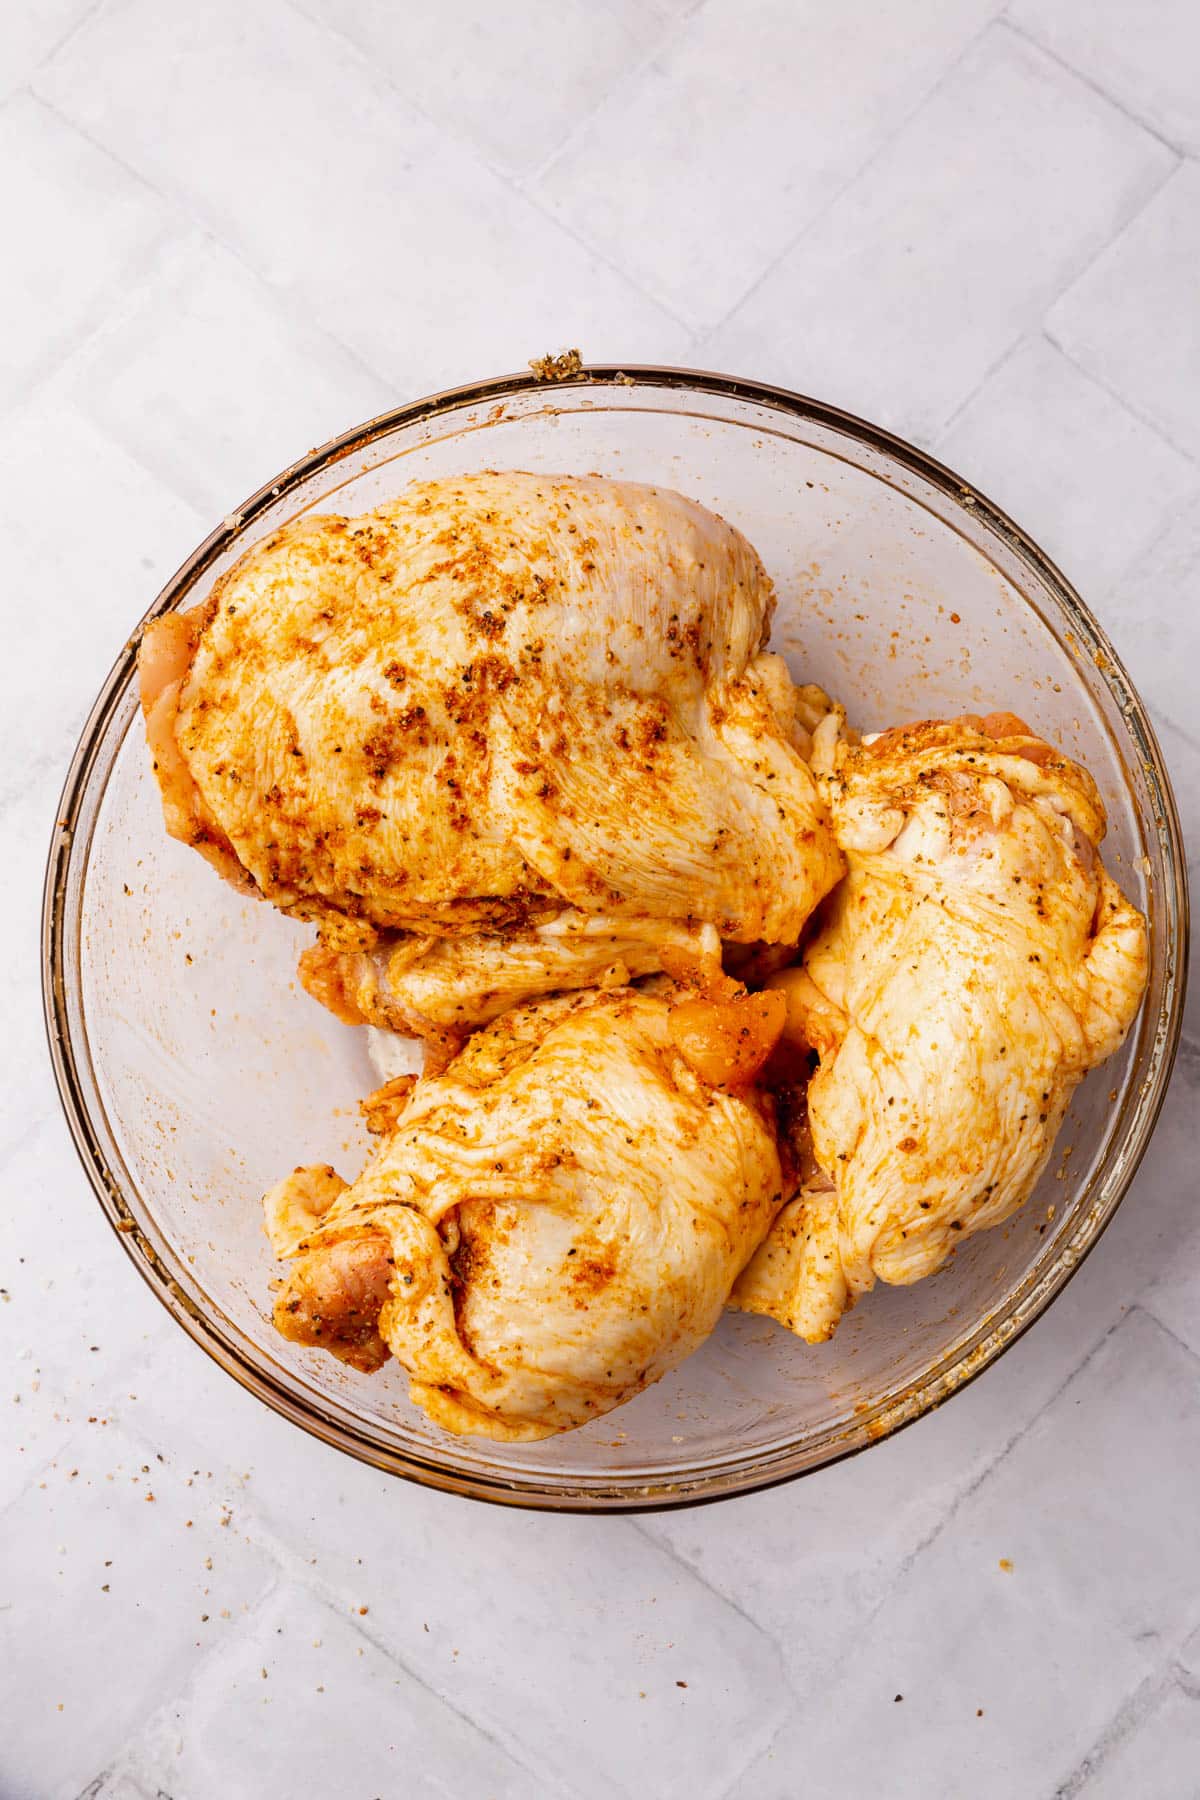
- Sprinkle the spice blend over the chicken and toss until the chicken is completely coated.
- Place the chicken thighs skin-side down in the air fryer basket in a single layer.
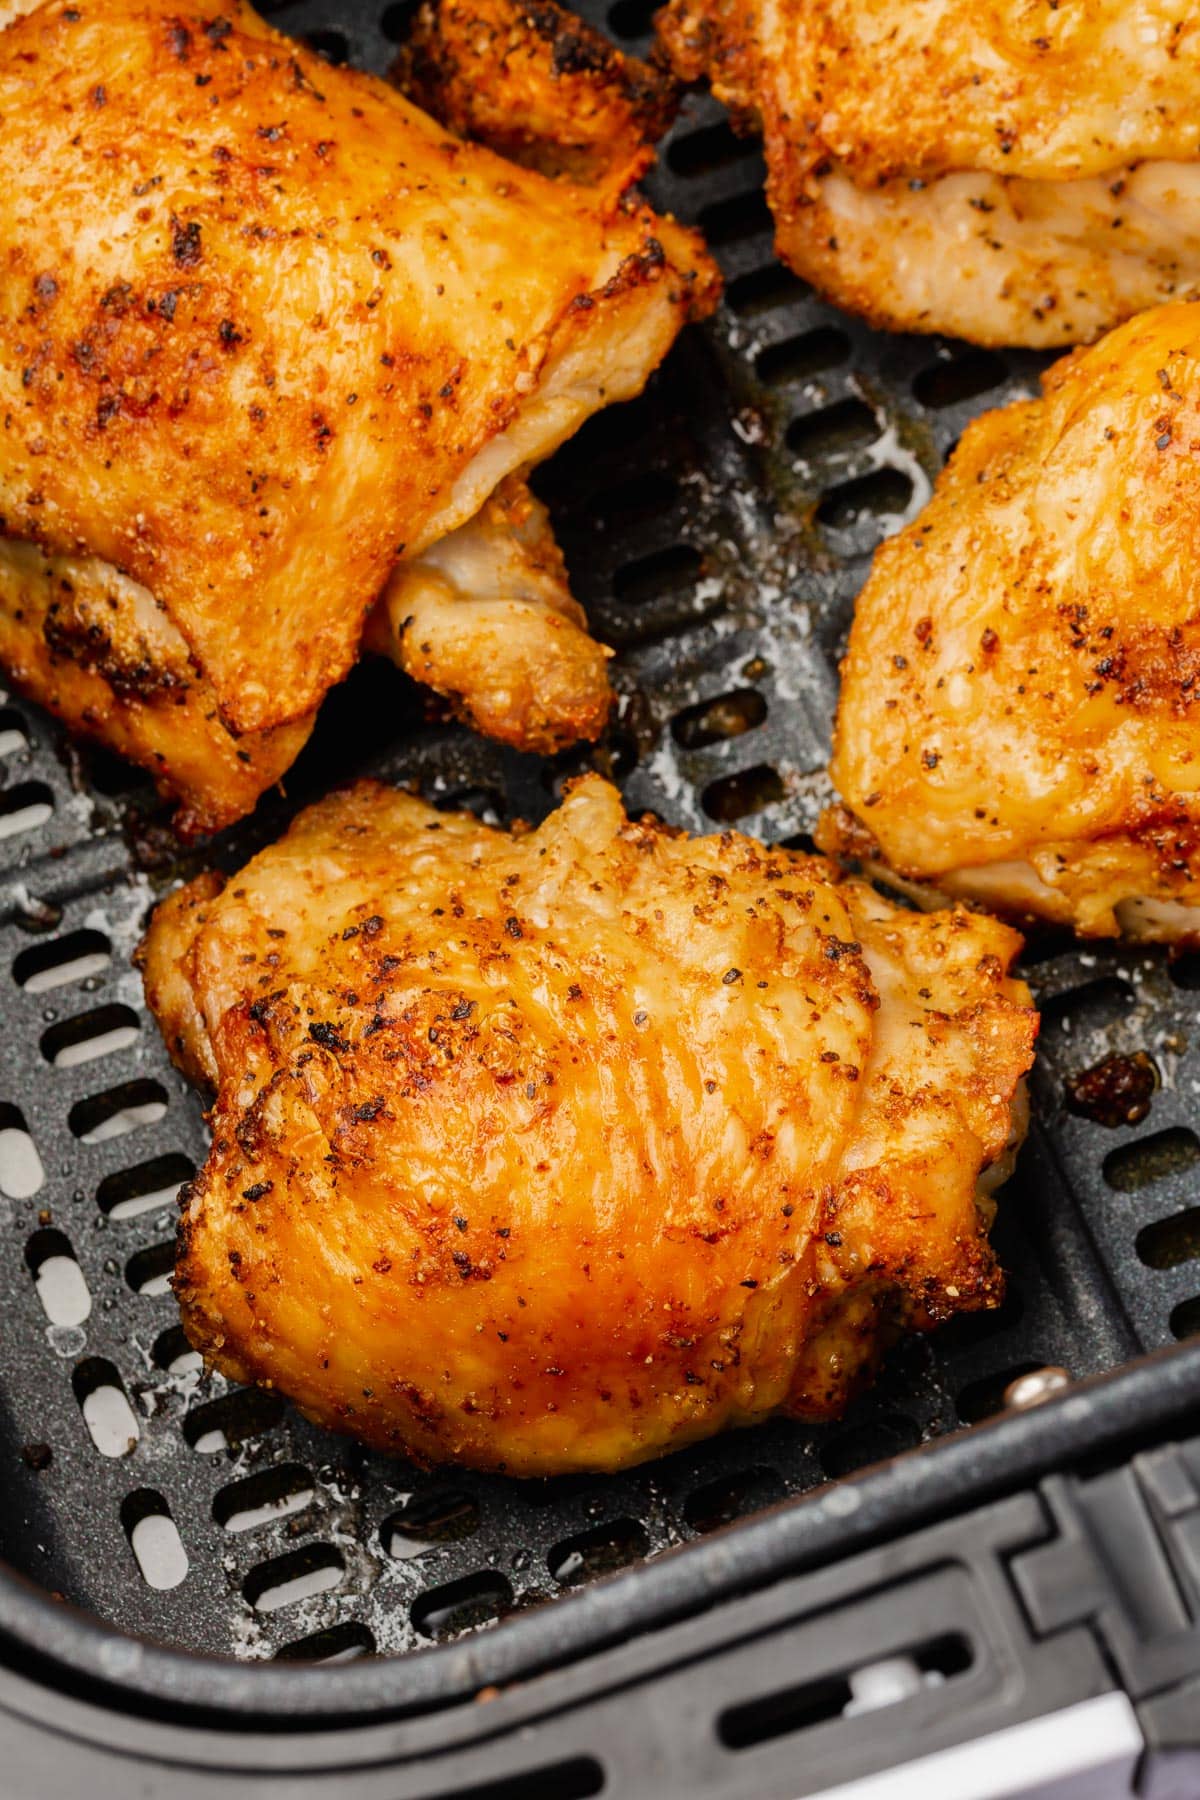
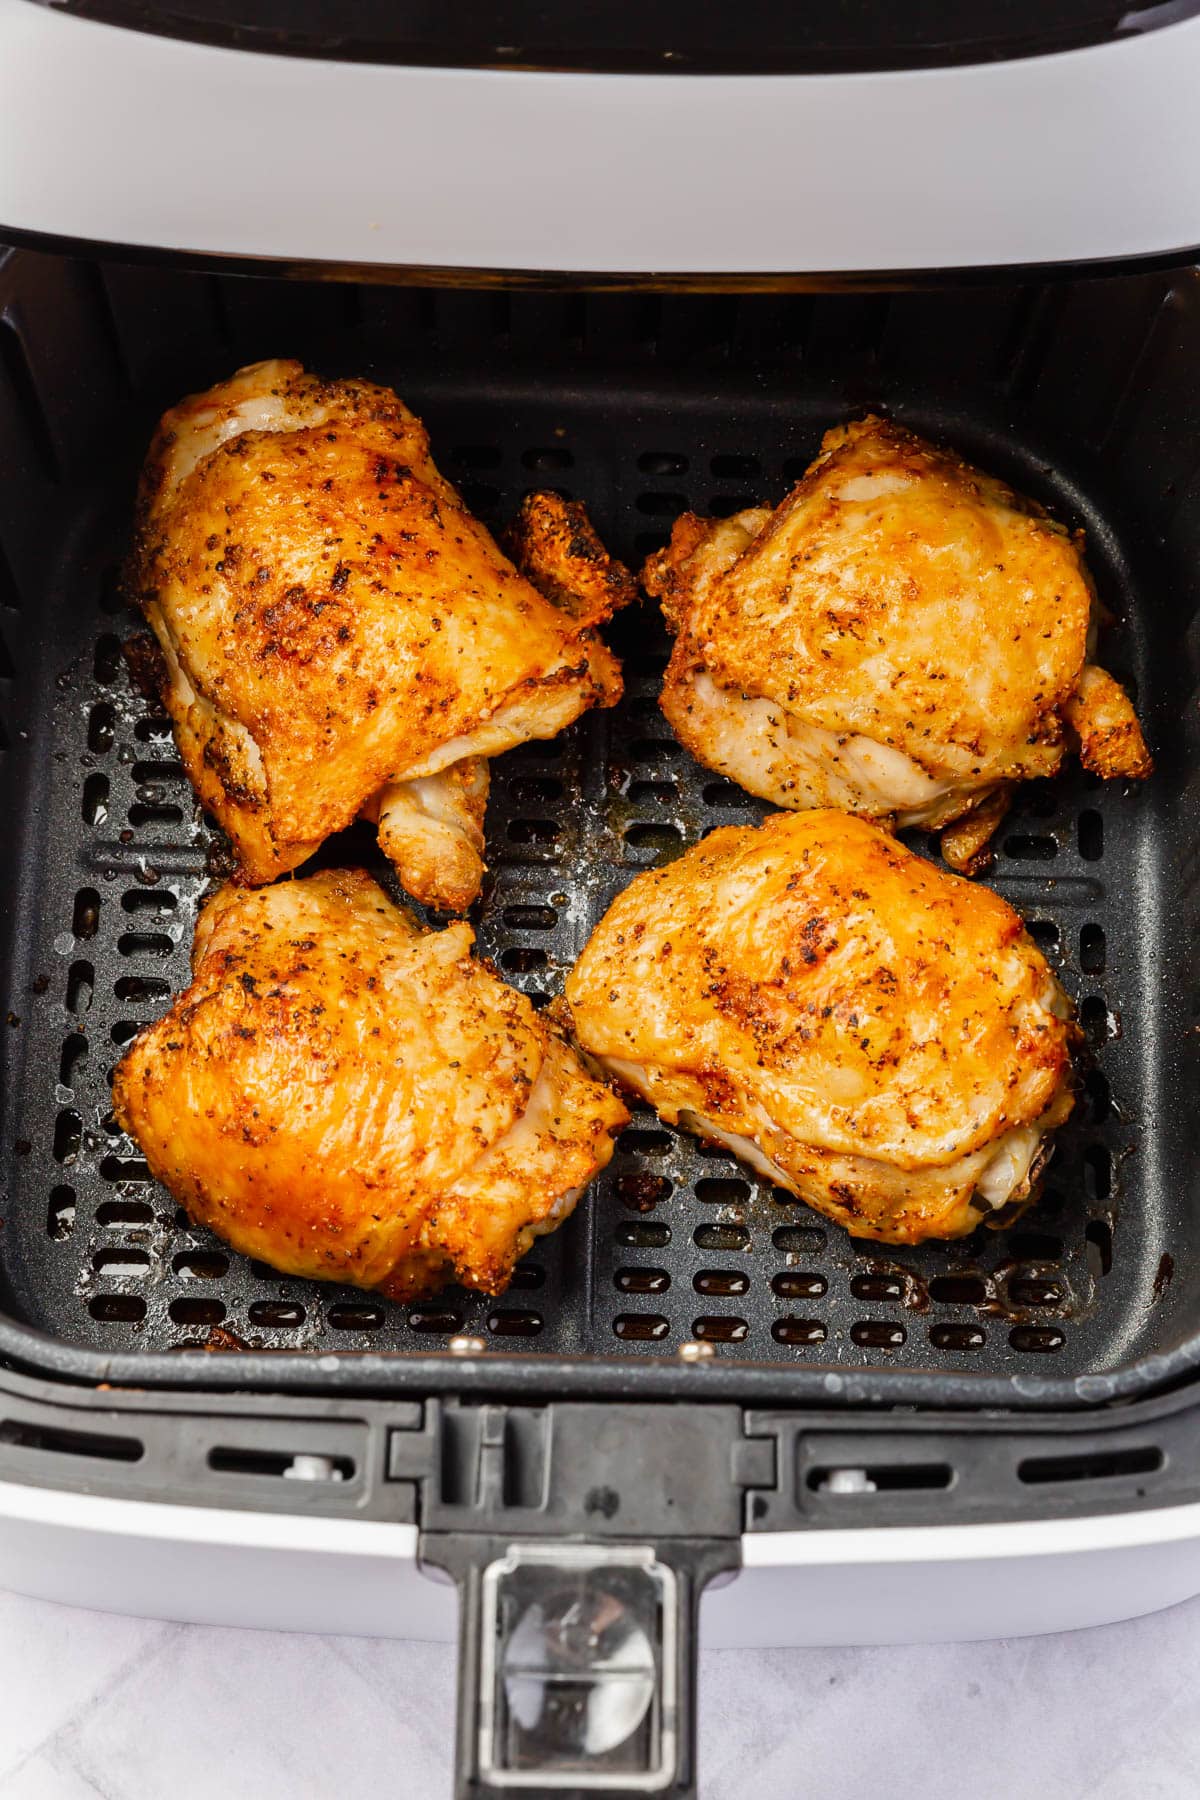
- Air fry at 400°F for 18-20 minutes, flipping halfway through. The chicken is done when it reaches an internal temperature of 165°F in the thickest part (without touching the bone) and the skin is golden and crispy.
- Serve immediately.
Notes
- Air Fryer: I used my Cosori Air Fryer Max XL 5.8QT (affilliate) for this recipe. Different air fryer models may have slightly different cook times.
- Naturally gluten-free: This recipe is naturally gluten-free. Just double-check your spice blends to ensure they don’t contain gluten or fillers
- Chicken thigh size matters: My chicken thighs were about 1/2 lb each. If yours are smaller, flip after 7 minutes and start checking the internal temperature at 14 minutes. If they’re larger, they may need an extra 2-3 minutes.
- Don’t skip the thermometer: Always use an instant-read thermometer to check doneness. Insert it into the thickest part of the thigh without touching the bone. It should read 165°F.
- Storage: Store leftovers in an airtight container in the refrigerator for up to 3-4 days. Reheat in the air fryer at 400°F for 5-8 minutes skin-side up until hot and crispy.
Nutrition

This is our go-to recipe.
So glad you liked this recipe, AKH! It’s a favorite in my house, too!
Tried for the first time. Delicious!
I’m glad you liked it, Jan! It’s one of my go-to’s for an easy dinner!