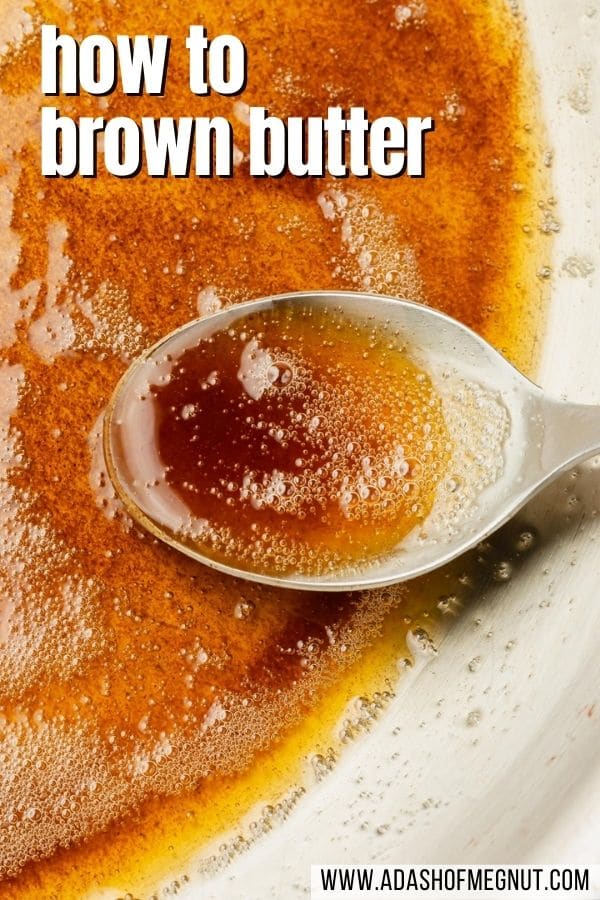
Learn how to make brown butter with this simple, step-by-step guide. Includes photos, tips, and common mistakes to avoid so you get it right every time!
Have you ever browned butter before? Brown butter adds a rich, nutty flavor to any dish that uses butter.
Brown butter is also known as beurre noisette in French cuisine and is a common sauce used in both sweet and savory dishes. Beurre noisette translates to “hazelnut butter” in French, which makes sense since brown butter is simply regular butter that has been browned in a skillet so that the milk solids toast and take on a nutty flavor.
While it may sound complicated to make, this brown butter recipe is actually quite simple to prepare! All you need is a stick of butter and a little patience to make brown butter at home.
Trust me, brown butter will add so much flavor to your soups, sauces and baking!
Ingredients
Ingredient Notes
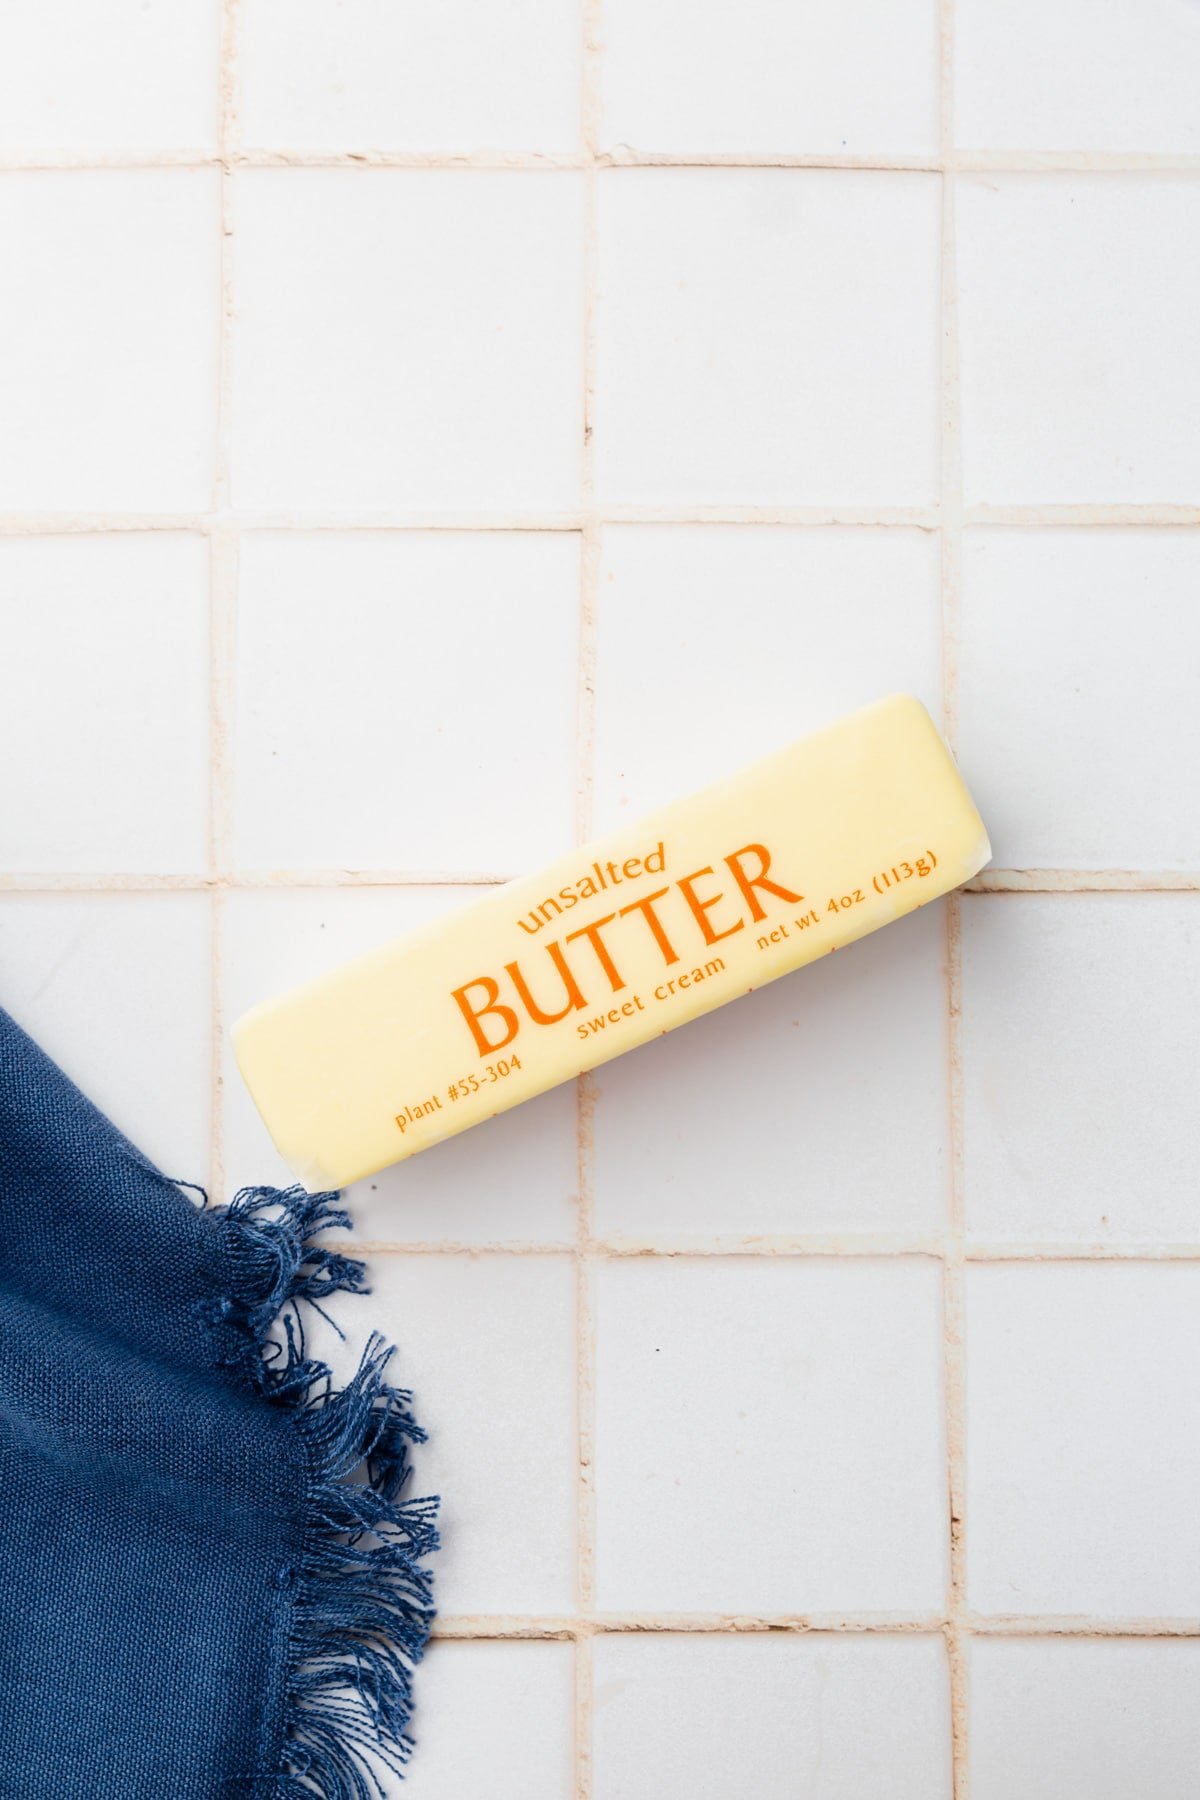
All you need for this recipe is a stick of unsalted butter. The butter should be softened at room temperature and cut into small pieces.
You could use salted butter if you prefer. I like to use unsalted because then I can monitor how much salt I’m adding to the recipe after. I find it more versatile to use unsalted for many recipes. I’m more likely to use salted butter when I’m browning butter for savory recipes, such as a sauce for pasta or to toss with vegetables.
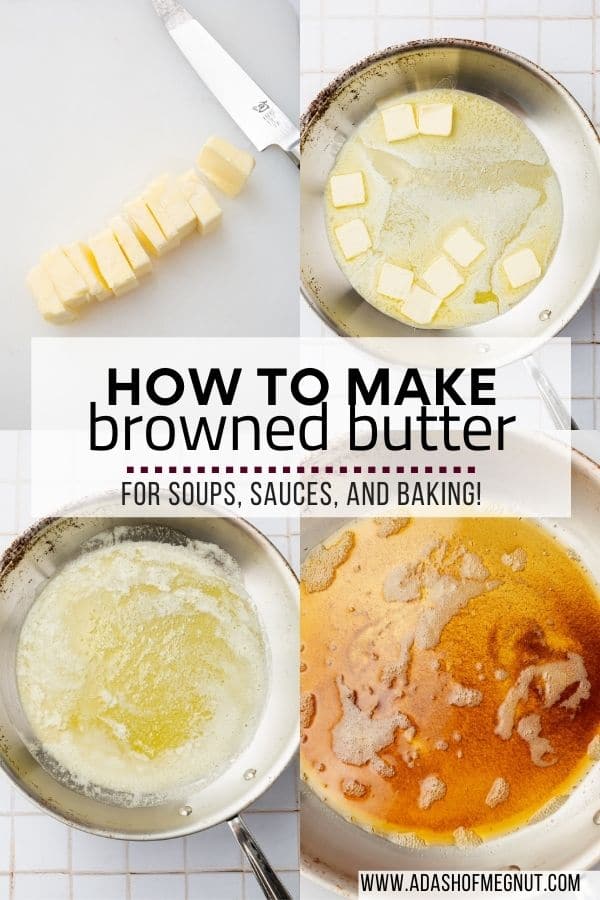
Step-by-Step instructions
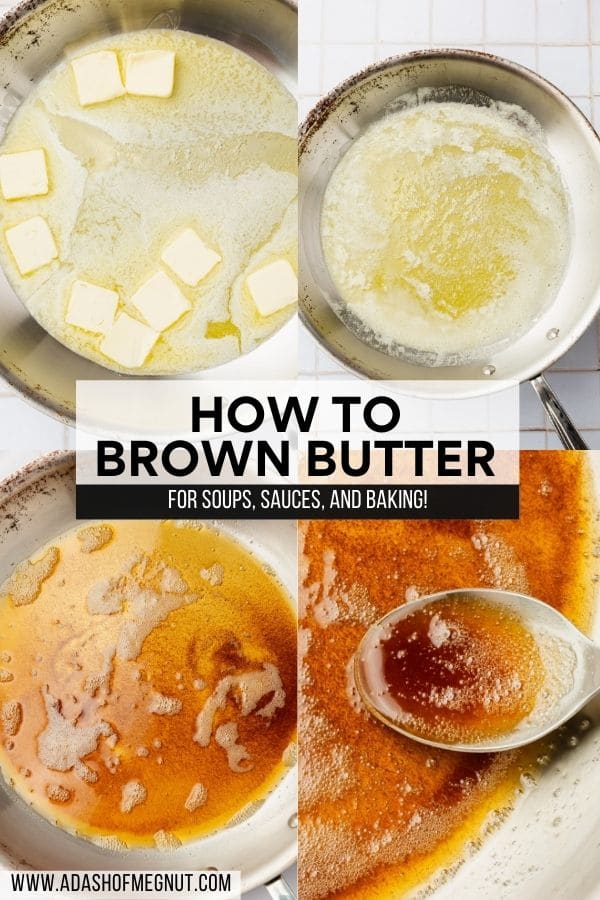
It is so easy to make brown butter in a skillet! Just follow these step-by-step instructions to make it at home. Each photo is numbered to correspond with the steps. For more tips and a printable recipe, scroll down to the recipe card.
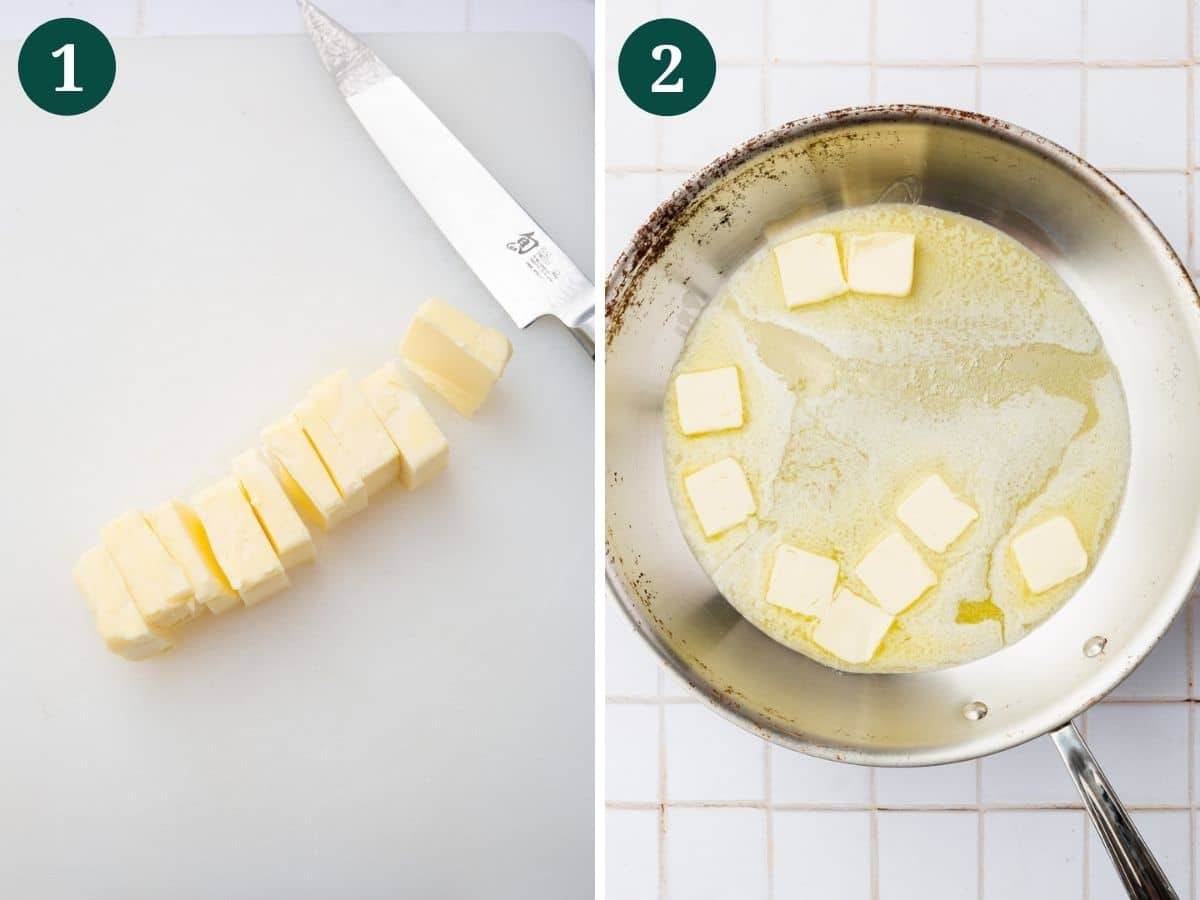
- Cut the unsalted butter into small pieces.
2. Heat a medium skillet over low to medium heat. Place the pieces of butter into the skillet.
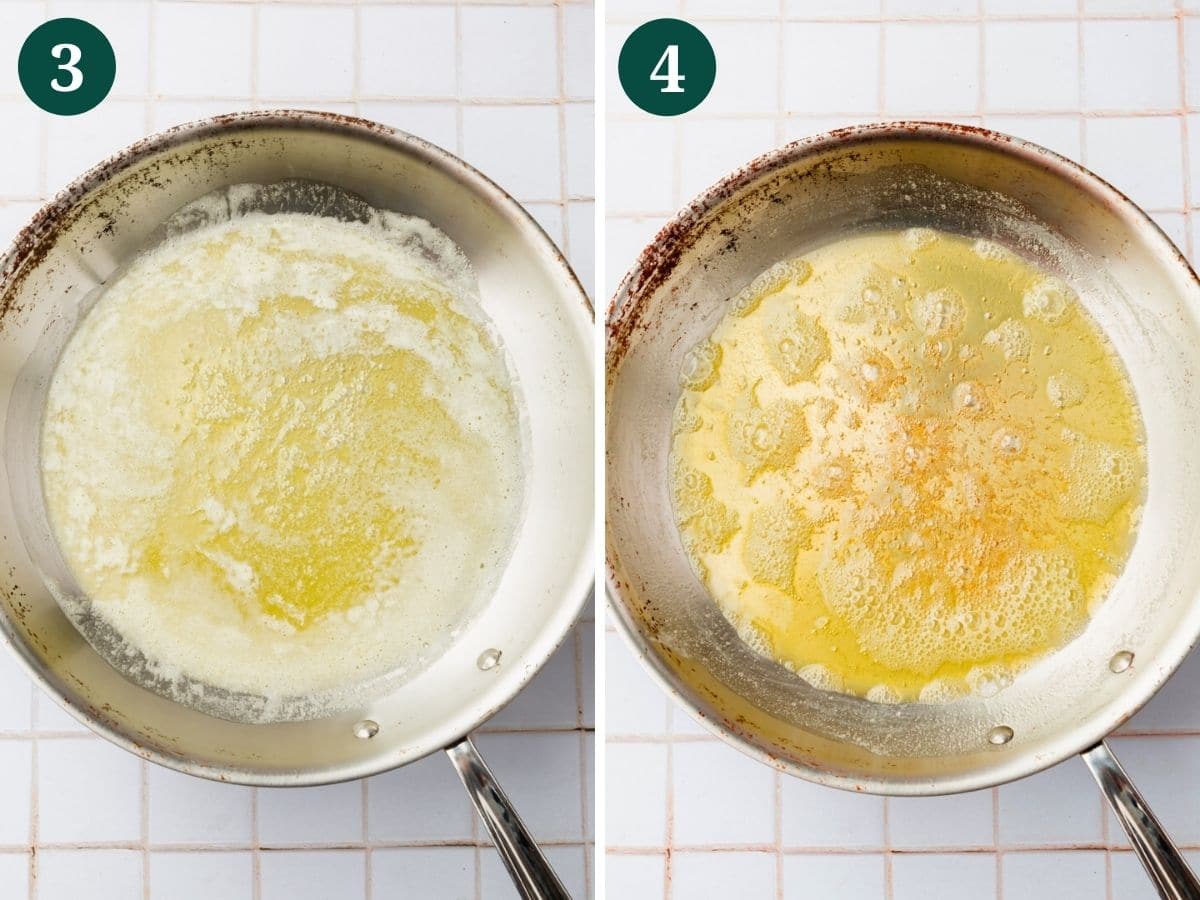
3. Cook, stirring frequently, as the butter melts. It will begin to foam up. Keep stirring.
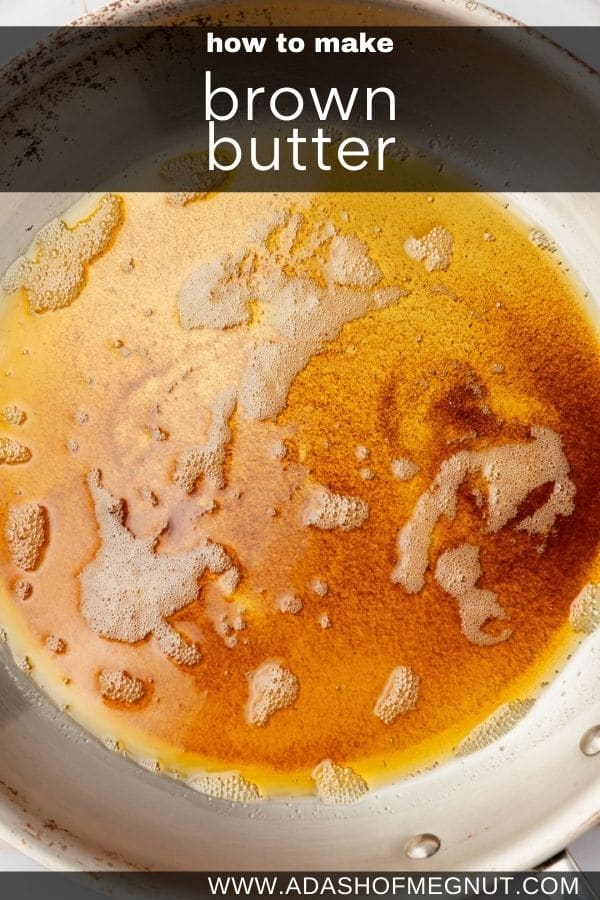
4. Cook for an additional 5-6 minutes, stirring constantly. The foam will subside and you’ll see some brown bits, which are the milk solids settling to the bottom of the pan and turning brown. Stir to prevent the milk proteins from burning. Keep an eye on the butter so that the milk solids do not burn. You want brown specks, not black specks.
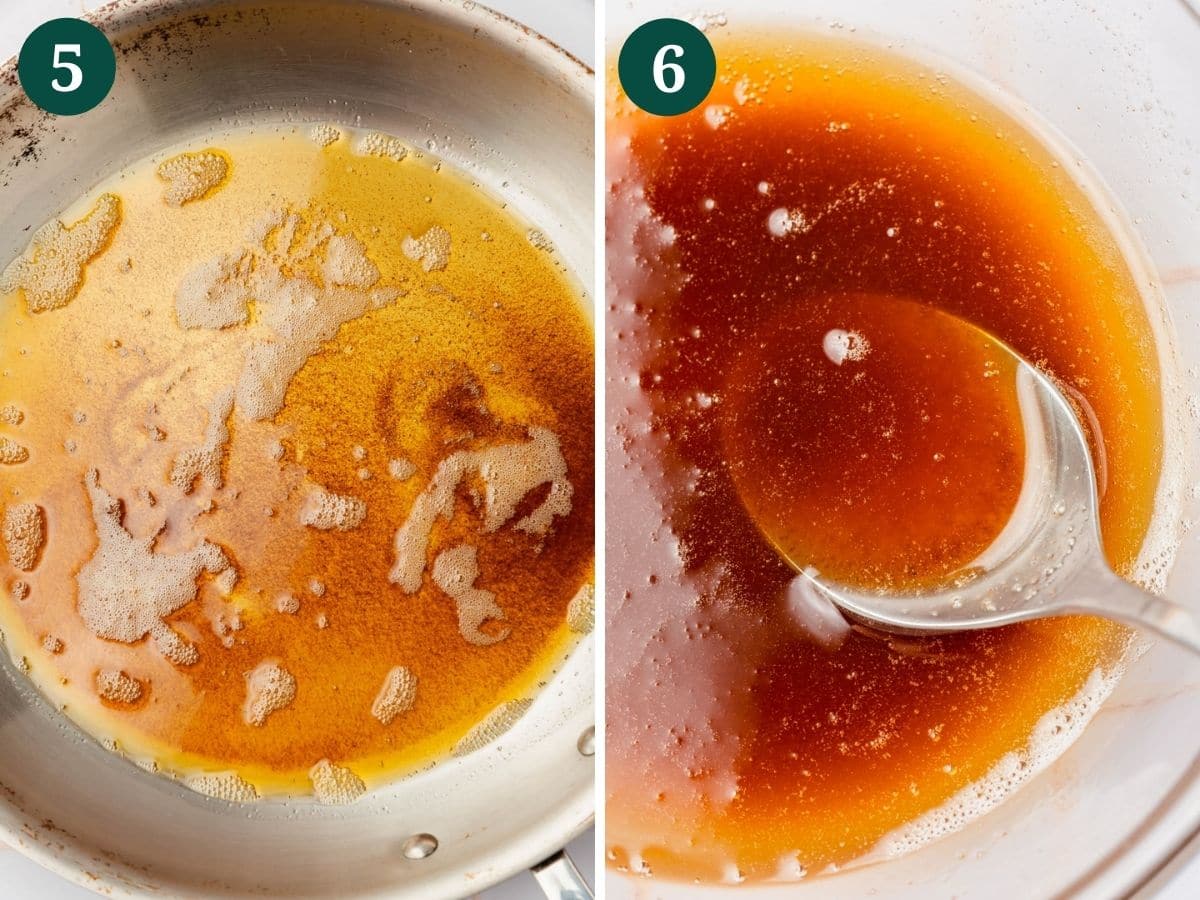
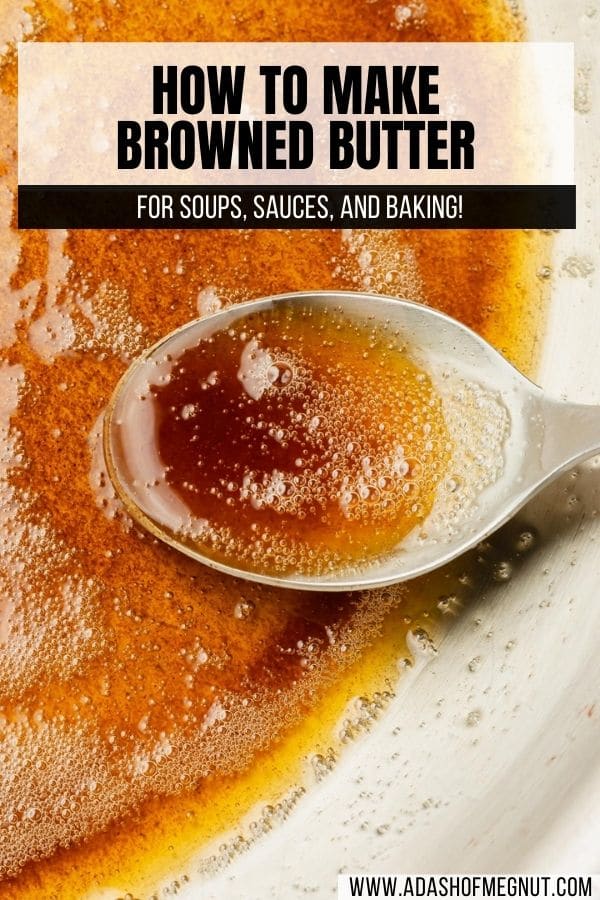
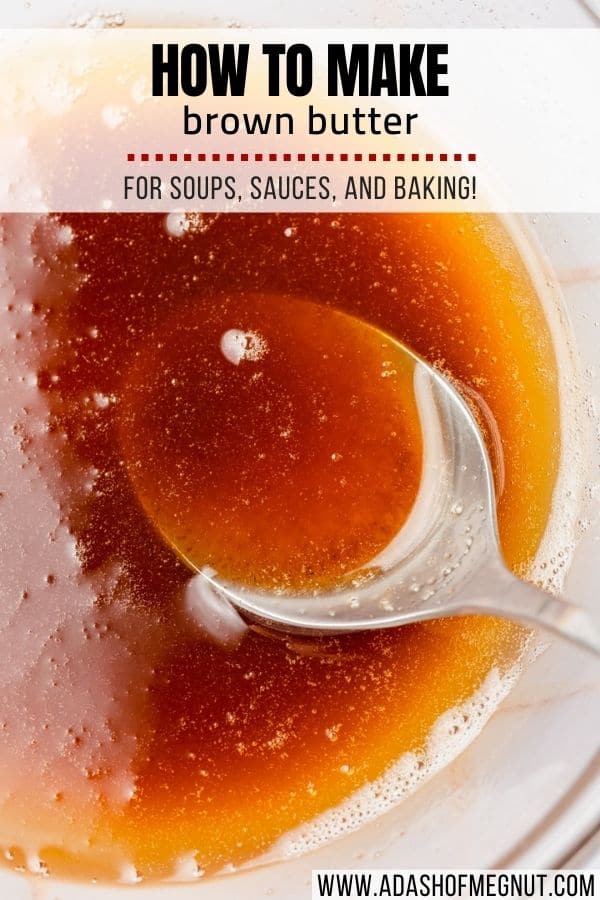
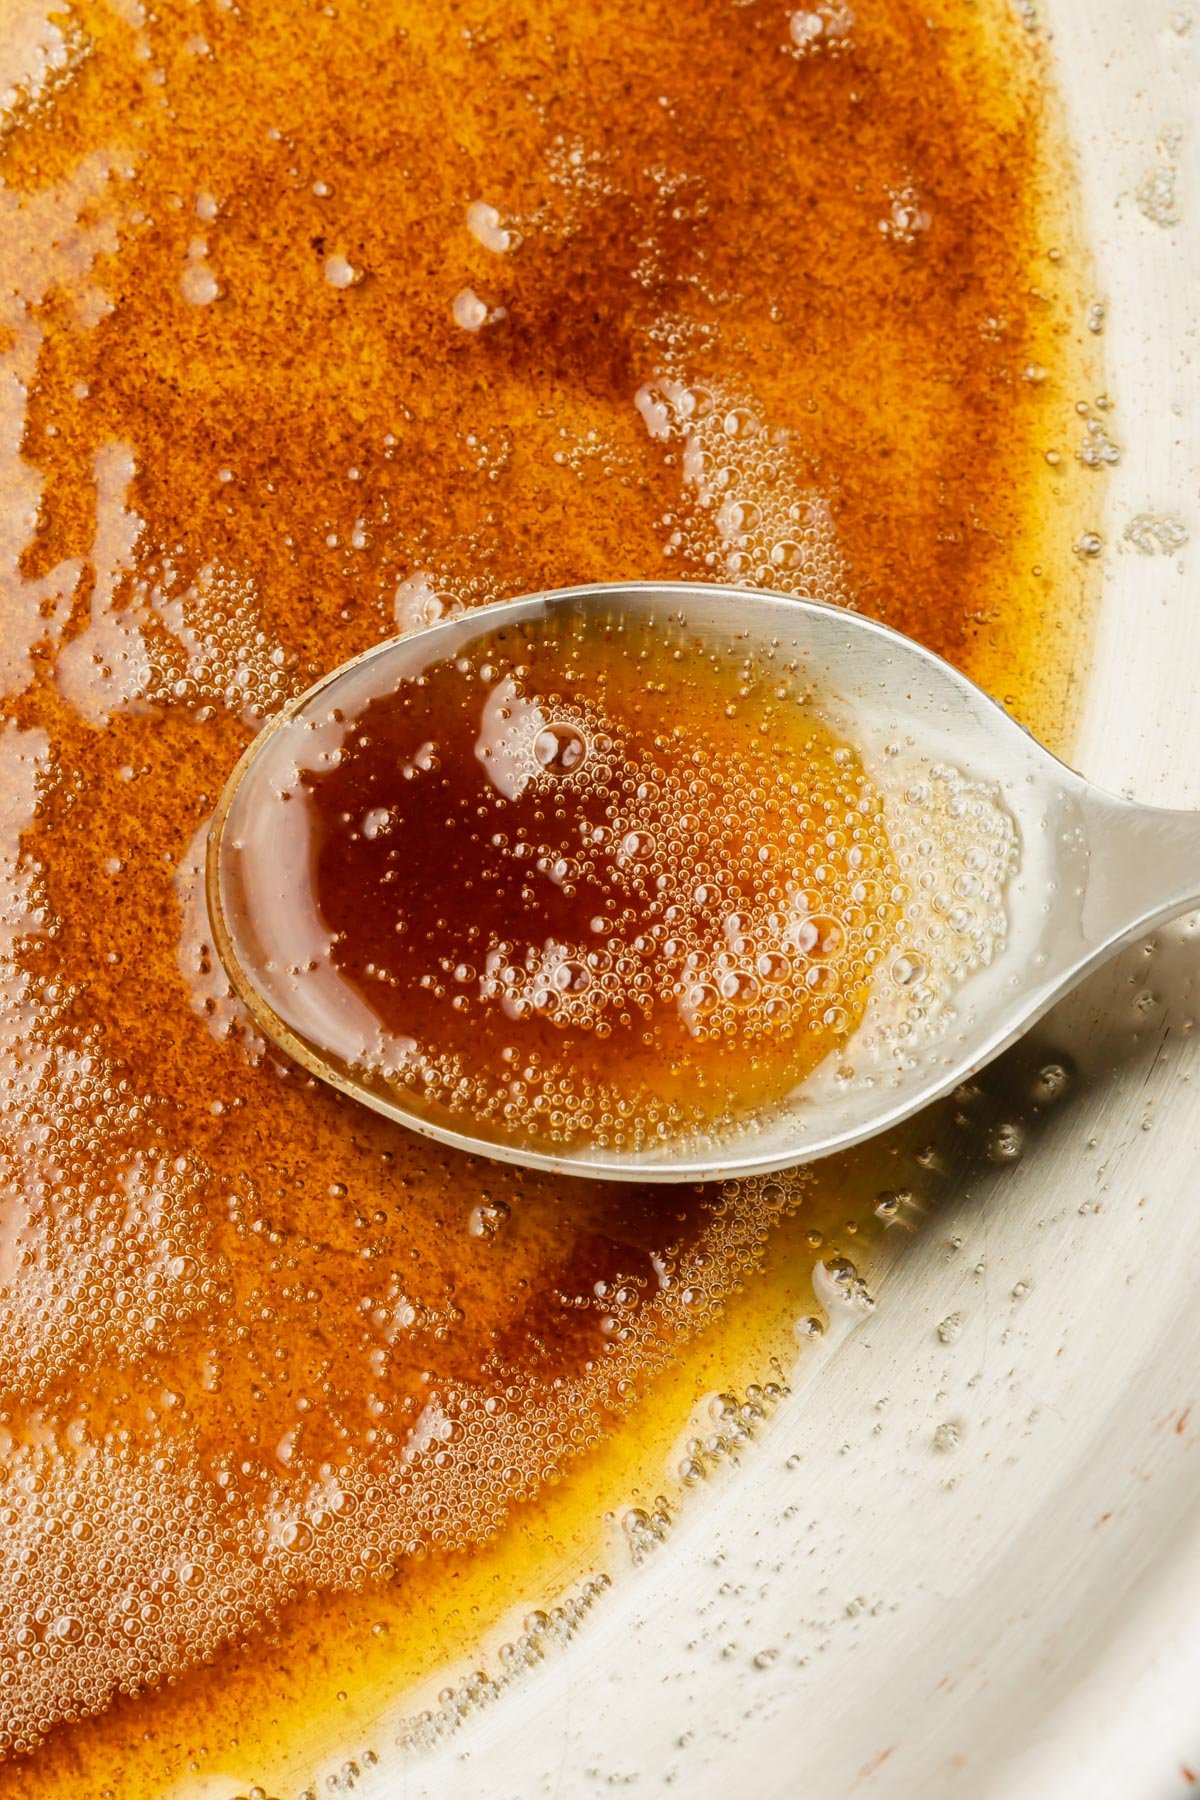
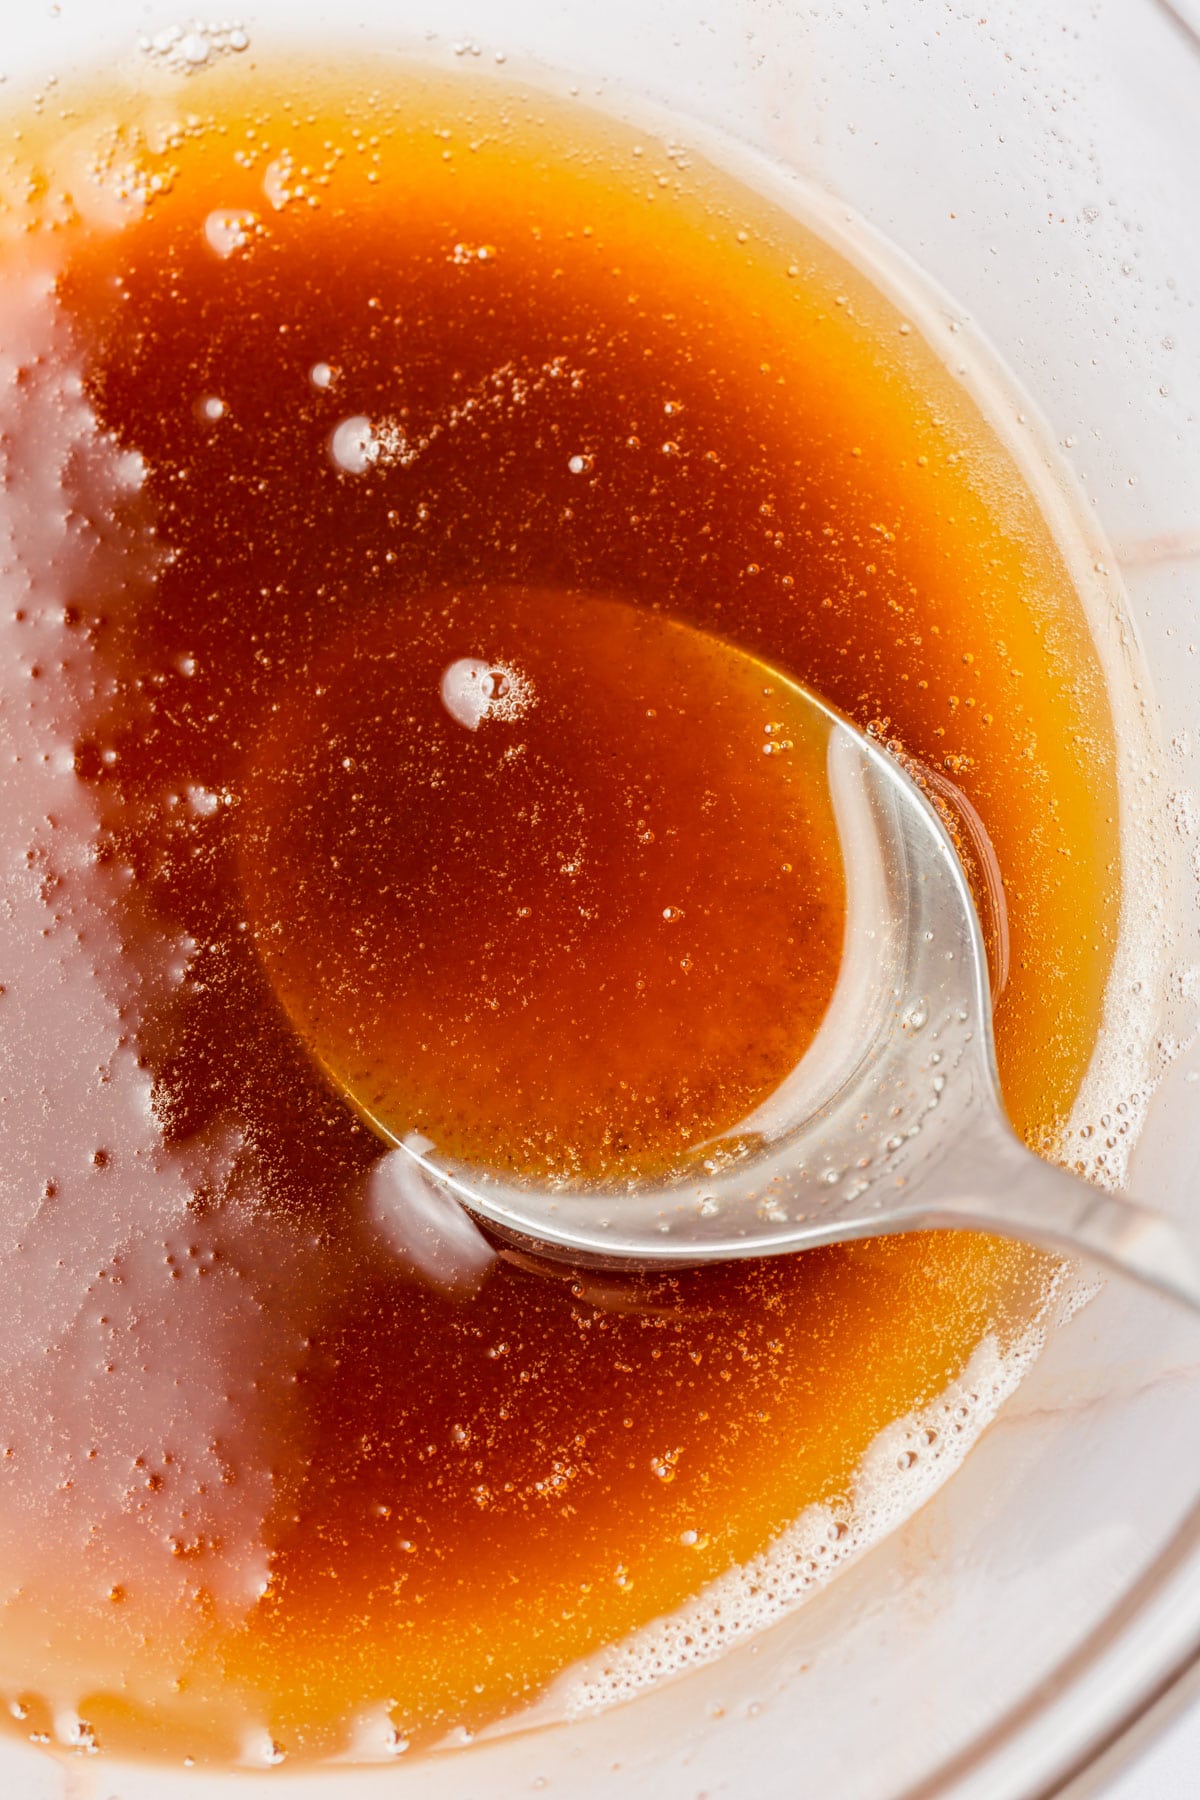
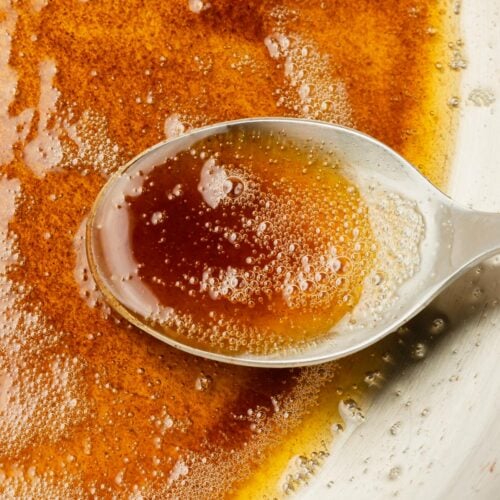
5. Once the butter turns an amber color and has a nutty aroma, remove it from the heat and pour into a heatproof bowl.
6. Let cool and use in liquid-form or store in the refrigerator to let it solidify to use in baking recipes.
Expert Tips
- I like to cut my butter into small pieces so that it melts more evenly. If you place the whole stick of butter in the skillet, you don’t have as much surface area of the butter touching the pan so some parts will melt slower than others and the milk solids may brown at different rates.
- It’s best to use a light colored pan to make brown butter. If you use a dark pan, it will be very hard to see when the butter has turned an amber color and you will risk burning the butter.
- Do not leave the butter unattended as you need to continually stir to make sure that the butter does not burn. It is very easy to burn the butter as it will turn from amber to burnt in a matter of seconds. Burnt butter has an almost bitter taste, whereas browned butter will taste rich and nutty.
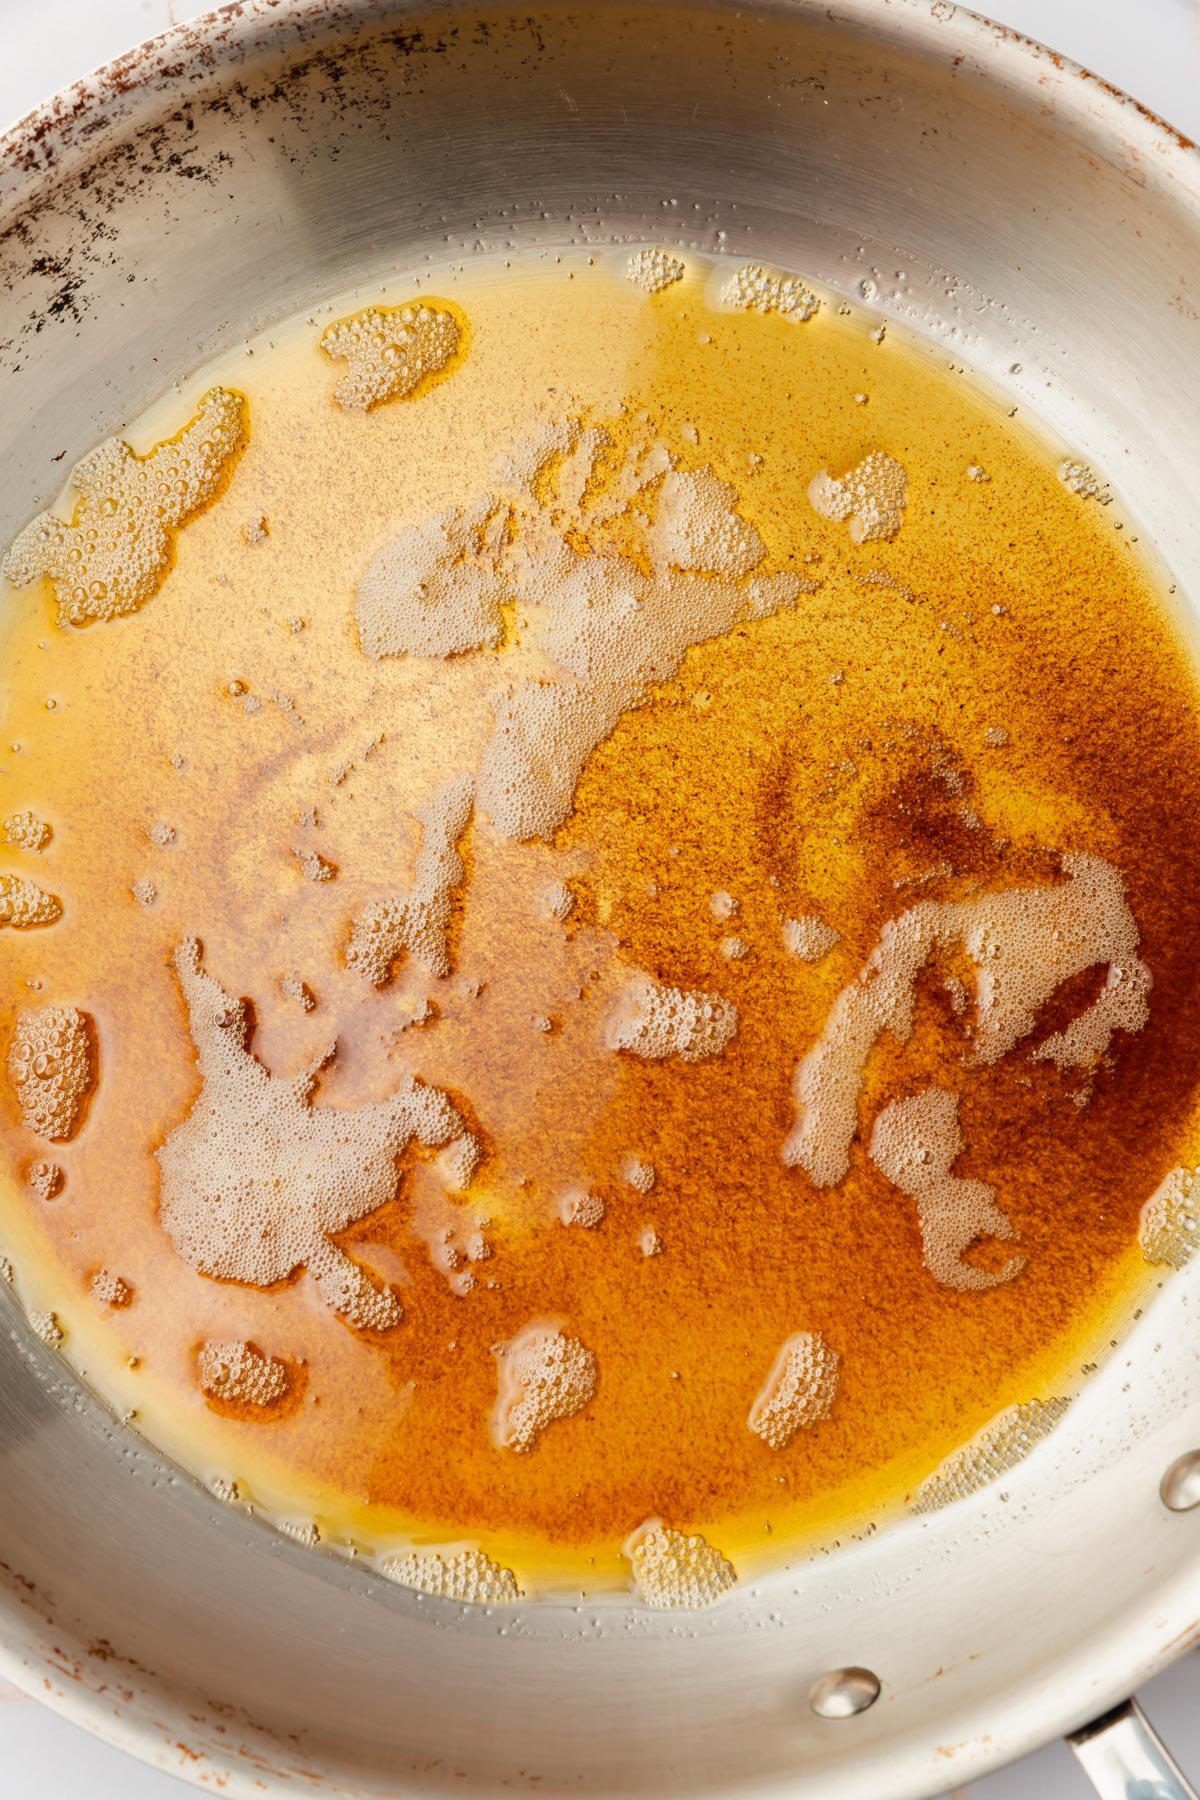
- I like to take my brown butter to a deep amber color that is just on the brink of almost burning (but it doesn’t!). After the milk solids have browned, I keep cooking a minute or so until the color of the melted butter has turned a deep amber. Some people like a light golden color, which is perfectly okay. It doesn’t have as strong of a nutty flavor, but you can pull it earlier if you prefer.
- Once the butter has turned to your preferred shade of brown, it’s important to remove it from the heat immediately and pour the butter into a heat-safe container. I like a glass jar or glass bowl. If you leave the butter in the skillet even if you turn the stovetop off, the residual heat from the skillet will continue to cook the butter and potentially burn it.
Recipe FAQs
I find that it usually takes anywhere from 5-10 to brown butter. It will depend on your stovetop as burner strength can range due to different BTU outputs. It will also depend on how high you have your heat. If you’re just starting out, I recommend low heat. It will take longer for the butter to brown, but you are less likely to burn it.
If the milk solids turn black instead of remaining dark brown, you have burned your brown butter. Burnt butter is bitter and not tasty. Do not use burnt butter as it will ruin whatever recipe you are trying to make with it. It’s better to cut your losses and start over. Remember to keep your eye on the brown butter as it cooks as it can burn very quickly.
Brown butter is just regular butter that has been browned on the stovetop. It has been cooked so some of the water content has been removed. Therefore, you will end up with less brown butter than you started with regular butter. I find when I start with 8 tablespoons of butter, I have about 5 to 6 tablespoons of browned butter after finishing. With this in mind, you will want to use the correct amount of butter in any recipe calling for browned butter.
You can use brown butter in its liquid form or you can let it solidify either at room temperature or in the refrigerator to use it in its solid state. For baking, I tend to let my brown butter solidify before using. For sauces, I will use brown butter in its liquid state. Check the recipe you are using and use the specified form of brown butter.
You can store brown butter in an airtight container (I like a glass jar with a lid) in the refrigerator for up to 2 weeks. The butter will solidify so if you need it in liquid form, microwave or warm on the stove top to melt before using. You can freeze brown butter by pouring it into ice cube trays and then freezing. It will keep in the freezer for at least 6 months.
Ways to use brown butter
There are so many ways to use brown butter from sweet to savory recipes. Here are a few ideas to get you started:
- Use solidified brown butter in your favorite cookie recipes! You can use my gluten-free chocolate chip cookies and use 3/4 cup of brown butter instead of regular unsalted butter to make delicious brown butter chocolate chip cookies. Keep in mind, you will need to use about 16-18 tablespoons of regular butter to get 3/4 cup of brown butter.
- Toss your roasted green beans or brussels sprouts in brown butter for a rich and savory.
- Take your pie crust to the next level using cold brown butter. For best results, freeze your brown butter to get it really cold.
- Brown butter is fantastic in dessert recipes, including my brown butter cream cheese frosting! Top your favorite cake with this rich and nutty frosting recipe. It’s great on my gluten-free chocolate cake, gluten-free banana cake, or my gluten-free carrot cake.
Did you make this recipe?
I’d love to know! Please rate it and leave a comment below. You can also share your pictures and tag @adashofmegnut on Instagram.
How to Brown Butter
Ingredients
- 8 tablespoons unsalted butter (113g) - room temperature
**Use the toggle button above to turn the instruction photos on and off!
Instructions
- Cut the unsalted butter into small pieces.
- Heat a medium skillet over medium-low heat. Place the pieces of butter into the skillet.
- Cook, stirring frequently, as the butter melts. It will begin to foam up. Keep stirring.
- Cook for an additional 5-6 minutes, stirring constantly. The foam will subside and the milk solids will settle to the bottom of the pan and turn brown. Stir to prevent the milk solids from burning.
- Once the butter turns an amber color and has a nutty aroma, remove it from the heat and pour into a heat-proof bowl.
- Let cool and use in liquid-form or store in the refrigerator to let it solidify to use in baking recipes.
Video
Notes
- You could use salted butter instead of unsalted butter if you prefer. I like to use unsalted because then I can monitor how the amount of salt I’m adding to the recipe after.
- Cutting your butter into small pieces helps it melt more evenly. If you place the whole stick of butter in the skillet, the bottom of the butter will melt while the very top is solid. You don’t want the milk solids to brown at different times because you’ll be more likely to burn the butter.
- For best results, a light colored pan to make brown butter. It is very hard to monitor the how dark the butter has turned if you are also using a dark pan.
- Do not leave the butter unattended as you need to continually stir to make sure that the butter does not burn. It is very easy to burn the butter as it will turn from amber to burnt in a matter of seconds. Burnt butter has an almost bitter taste, whereas browned butter will taste rich and nutty.
- I like to take my brown butter to a deep amber color that is just on the brink of almost burning (but it doesn’t!). After the milk solids have browned, I keep cooking a minute or so until the color of the melted butter has turned a deep amber. Some people like a light golden color, which is perfectly okay. It doesn’t have as strong of a nutty flavor, but you can pull it earlier if you prefer.