
Why this recipe works
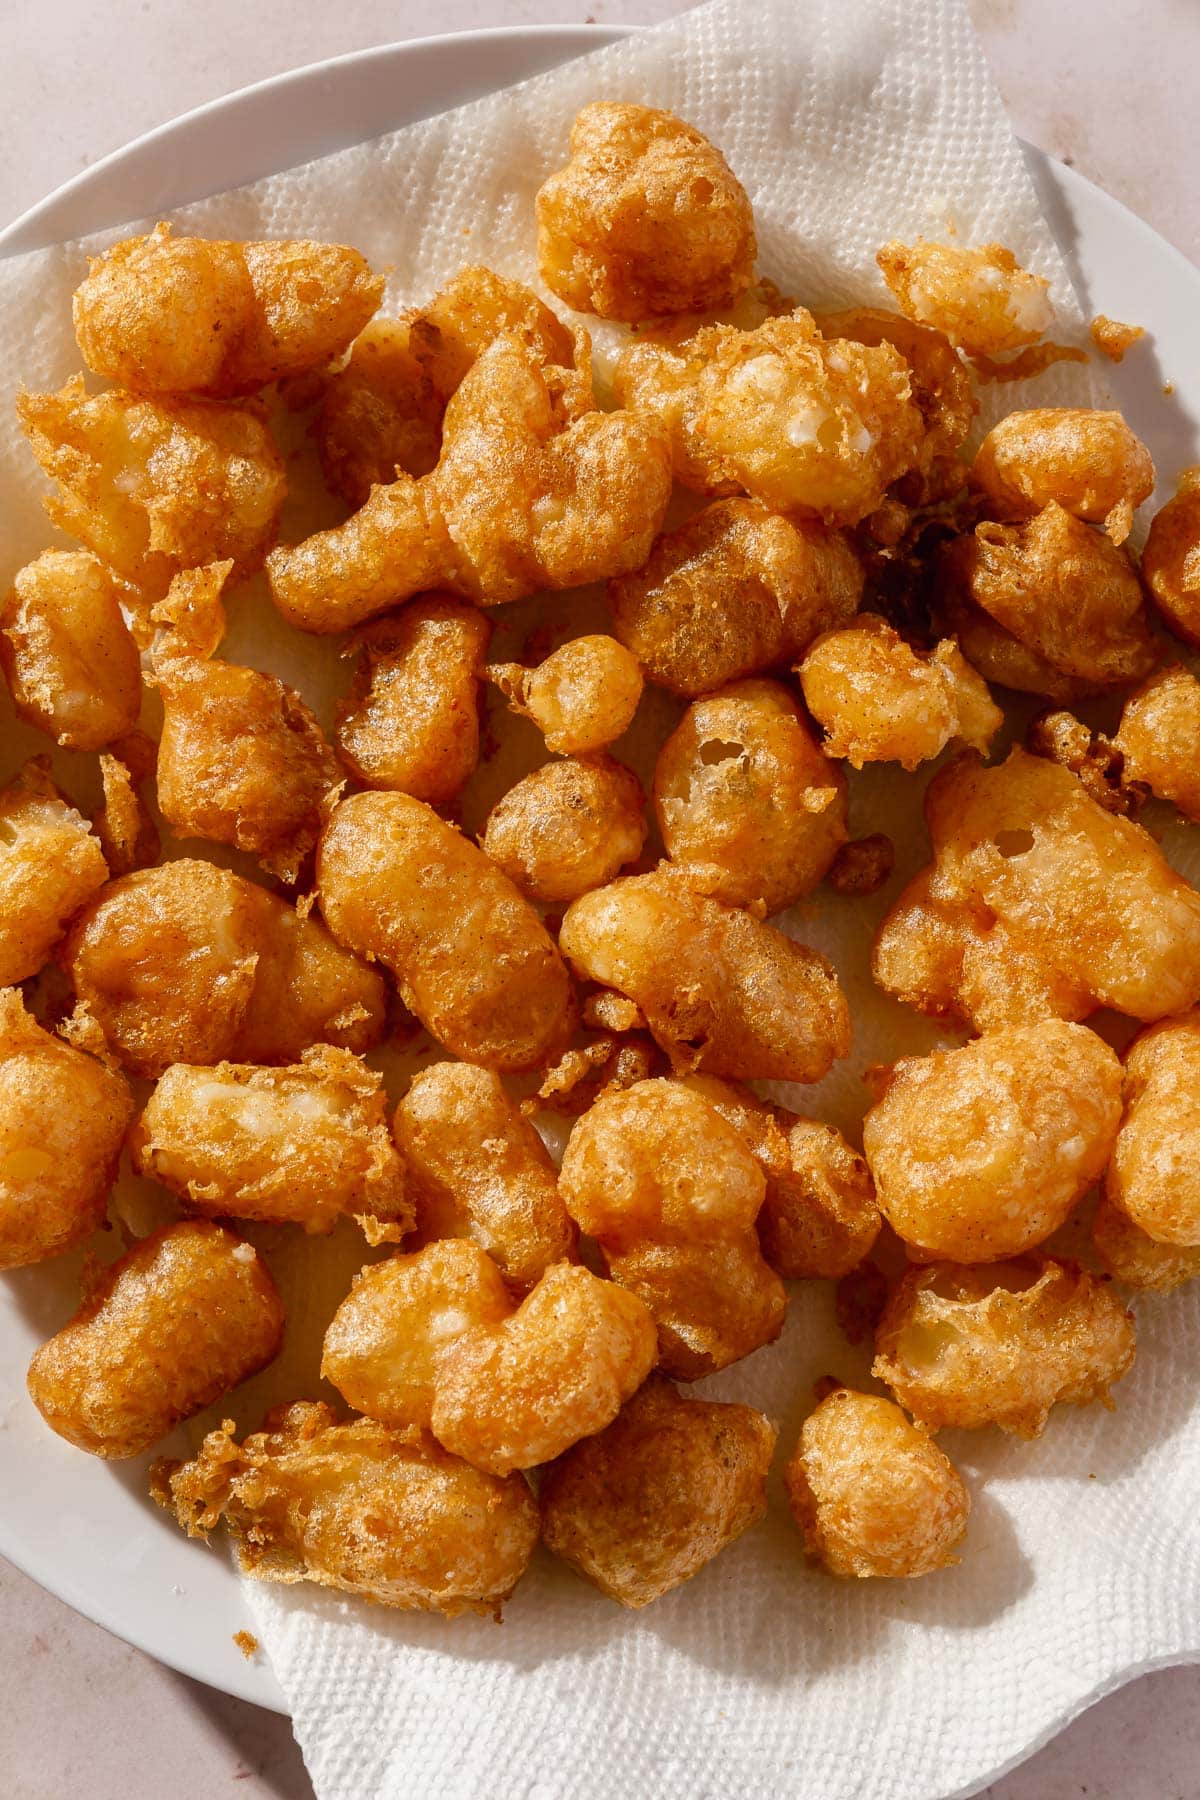
In my pre-celiac diagnosis days, fried cheese curds were one of my favorite snacks while living in Wisconsin. What’s not to love about a gooey nugget of cheese encased in golden, crispy batter?
For those not familiar, cheese curds are small chunks of fresh cheese that are formed during the cheese making process. Instead of being pressed into a block of cheese and aged before reaching the end consumer, they are eaten fresh. They come in various varieties, such as cheddar, mozzarella, or Swiss.
They have a semi-solid texture that is slightly springy and moist, and can be enjoyed plain or fried for an added crunchy flavor. When you bite into a fresh cheese curd, you hear its characteristic “squeak.”
If you haven’t had fried cheese curds before, you’re in for a treat! Fresh cheese curds are tossed in a batter and then fried in oil until golden brown. The result is crispy, cheesy goodness.
Fried cheese curds are usually served as a snack or appetizer, and are often accompanied by dipping sauces such as ranch dressing, bleu cheese dressing, honey mustard, marinara or garlic aioli.
You’ll love this recipe because:
Ingredients
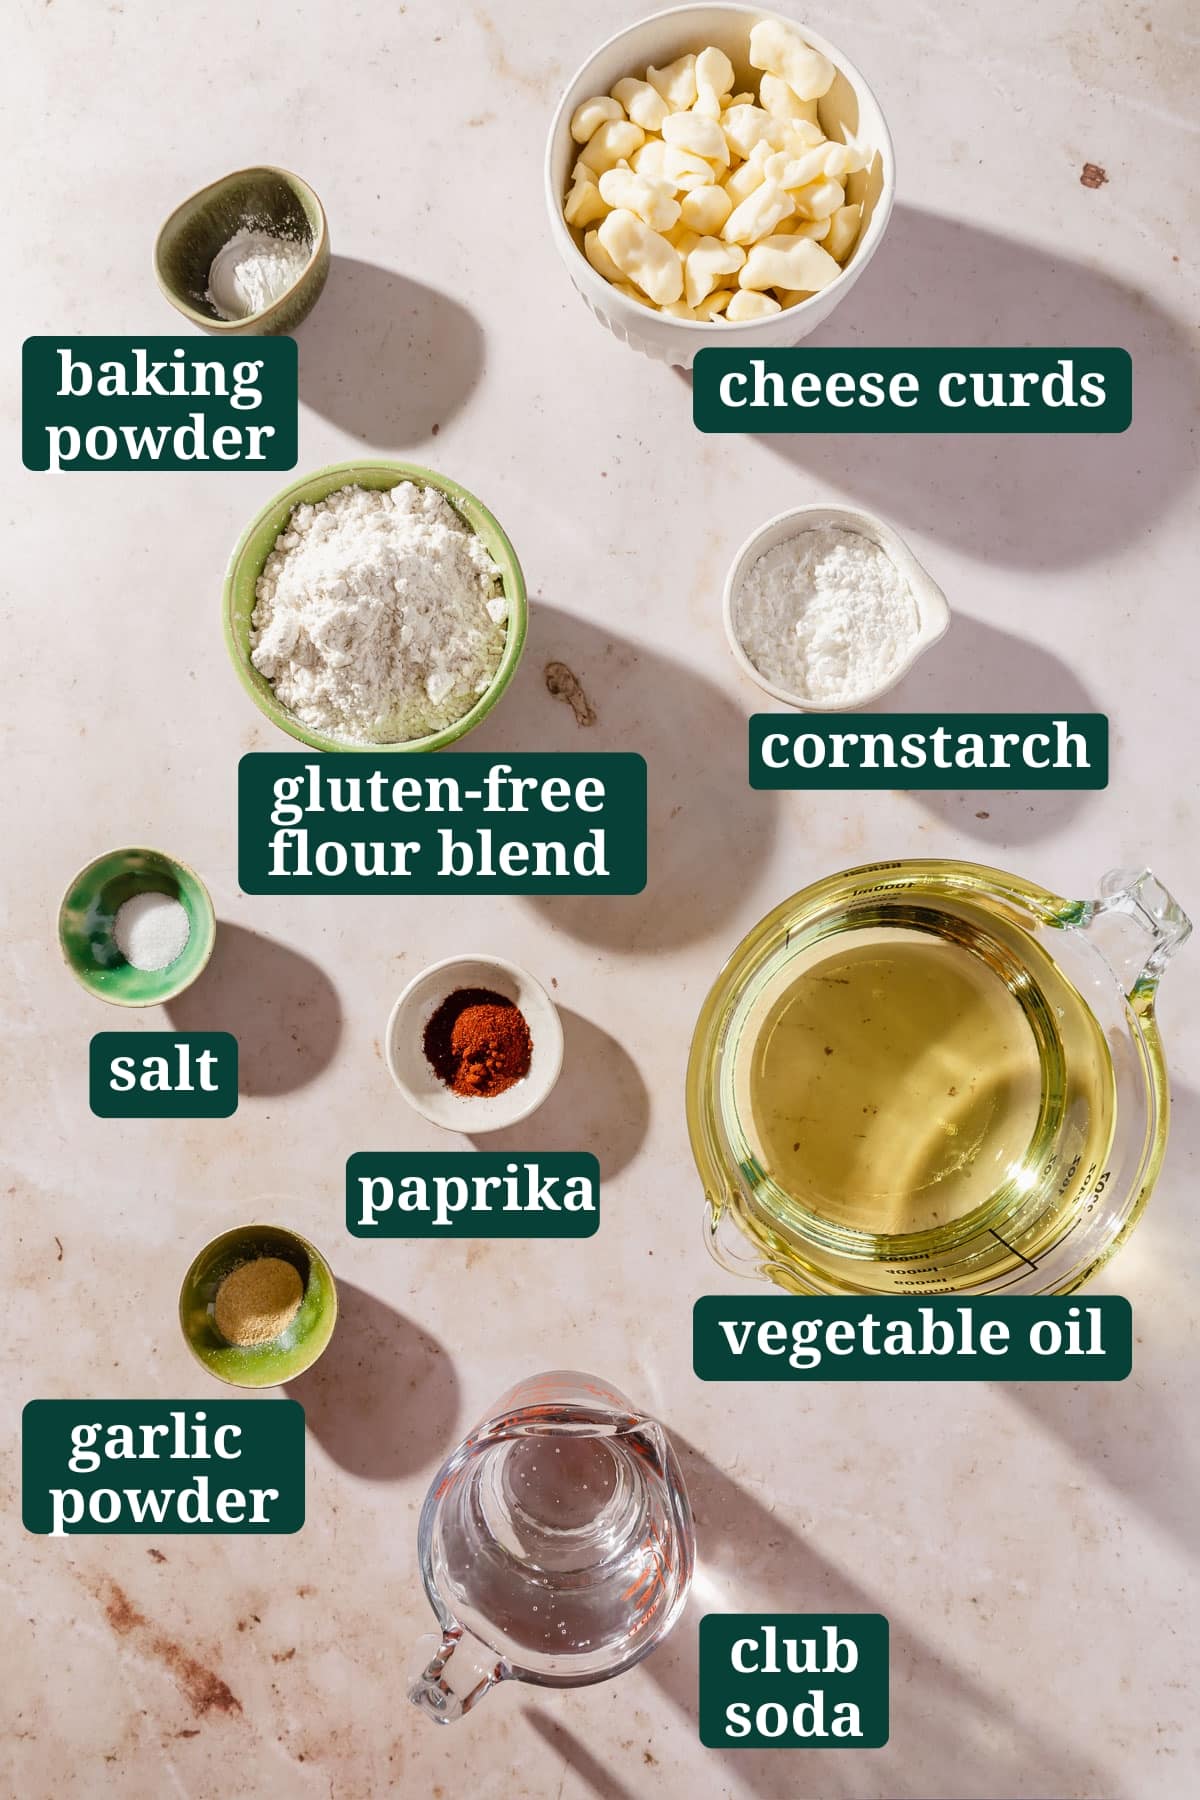
Ingredient Notes
- Cheese curds – I used white cheddar cheese curds for this recipe, as they’re my favorite. I live in Illinois, where cheese curds are quite common, and you can find cheese curds at many local grocery stores. If you can’t find cheese curds near you you can cut up a block of white cheddar cheese or use mini mozzarella balls. The taste won’t be the same as with cheese curds, but fried cheese bites are always still a great idea!
- Club soda – Many fried cheese curds recipes will call for beer in the batter. Beer adds some flavor but also carbonation. Since I have celiac disease and these are gluten-free fried cheese curds, I use club soda! It gives the batter lots of lift, resulting in a light and airy batter.
- Gluten-free flour blend – I used Bob’s Red Mill 1-to-1 Gluten-Free Baking Flour for this recipe (in the blue bag). It’s meant to be used as a 1-to-1 substitution for all-purpose flour. I’ve had really good results with this blend. You can try other gluten-free flour blends in this recipe, but as I have not tested them myself I cannot verify that they will produce the same results.
- Baking powder – The carbonation from the club soda reacts with the baking powder to give the cheese curds their crispy coating.
- Cornstarch – The cornstarch will coat the cheese curds to give them that added layer of protection when they hit the oil and to help the gluten-free batter adhere to the curds. If you can’t do corn, you can use arrowroot starch or tapioca starch instead.

Seasonings, like paprika and garlic powder, will help make the cheese curds really flavorful. You could also add black pepper, onion powder, or even italian seasoning if you’d like – it’s fun to change up the flavorings. I personally don’t like to add too much salt to the batter, but if you find your cheese curds aren’t salty enough you can add a sprinkle of coarse sea salt or Maldon salt right after they come out of the hot oil.
Step-by-Step instructions
These gluten-free cheese curds taste just like their gluten-filled counterpart with a few simple tweaks in this gluten-free version. They truly are the best cheese curds and are relatively easy to make at home with a few simple steps. No need to go to a local restaurant or state fairs for this delicacy anymore – make them at home!
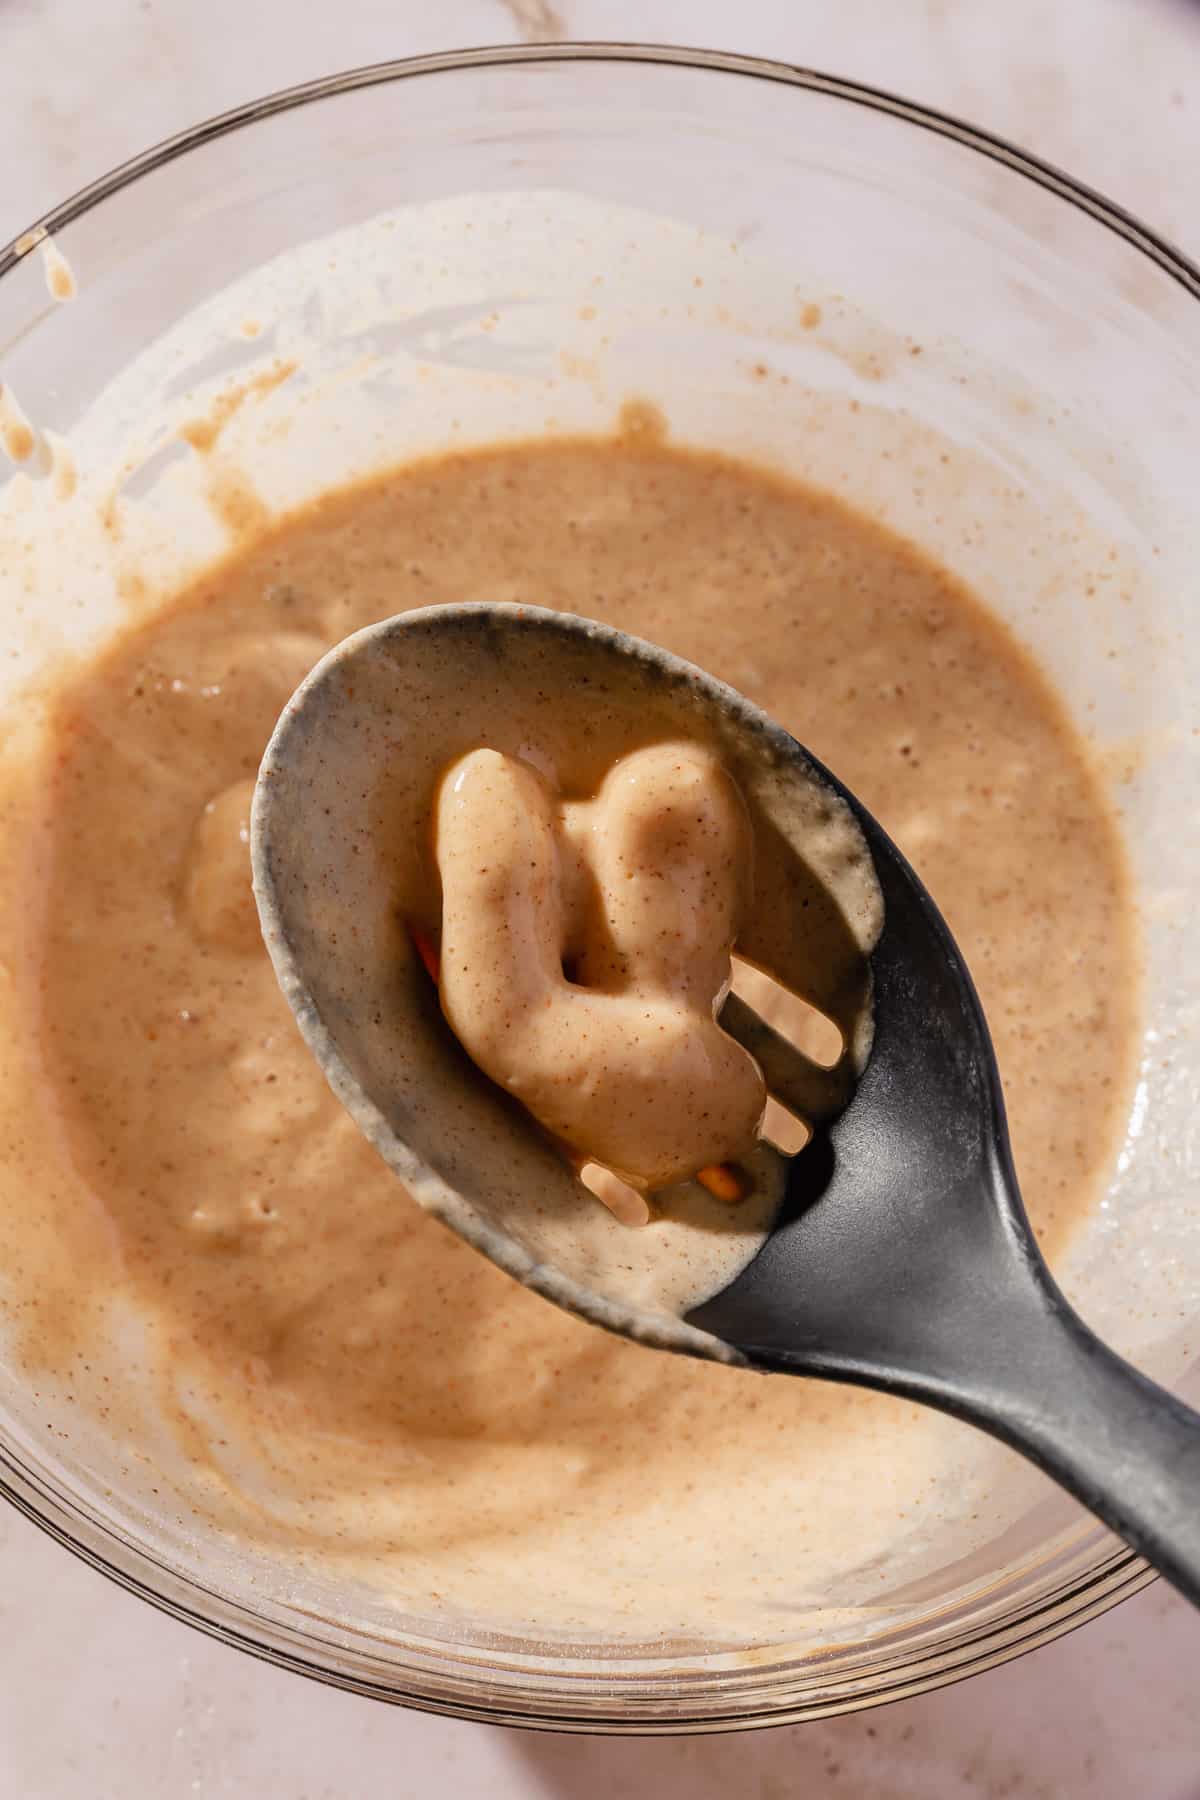
The step-by-step photos and matching instructions below are to help you see the recipe at various stages to help you make this yummy gluten-free appetizer perfectly every time. Pay special attention to the thickness of the batter!
For the ingredient list with measurements, full instructions, printable recipe, and additional notes, please scroll down to the recipe card.
Recipe FAQs
While cheese curds themselves are gluten-free, they are usually fried in a batter that contains all-purpose flour and beer, making them definitely NOT gluten-free. This gluten-free cheese curds recipe was formulated with a batter using club soda and a gluten-free flour blend so those with celiac disease and gluten intolerances can enjoy them!
Fried cheese curds are usually served as a snack or appetizer, and are often accompanied by dipping sauces such as ranch dressing, aioli, bleu cheese dressing or even marinara sauce.
hints & tips
Storage instructions
- Storage: Fried cheese curds are best eaten right away after frying. However, I have found you can keep them in the refrigerator in a container for up to 2 days.
- Reheat: To reheat fried cheese curds, you can fry them again for about a minute, place them in the air fryer at 380F for 3-4 minutes (the best way if you ask me), or refresh in the oven at 400F for about 5-10 minutes.

More delicious gluten-free appetizers to try
Did you make this recipe?
I’d love to know! Please rate it and leave a comment below. You can also share your pictures and tag @adashofmegnut on Instagram.

Gluten-Free Cheese Curds
Ingredients
- 16 oz white cheddar cheese curds - 453g
- 1 cup club soda - 8 oz
- 1 cup gluten-free flour blend - 144g
- 2 teaspoons baking powder
- 1 teaspoon paprika
- 1/2 teaspoon salt
- 1/2 teaspoon garlic powder
- 1/4 cup cornstarch - 32g
- 2 quarts canola oil or peanut oil - or other neutral-tasting oil with a high smoke point
**Use the toggle button above to turn the instruction photos on and off!
Instructions
- In a large, heavy bottom pot (such as a dutch oven), pour in the canola oil. Attach a deep fry thermometer to the side of the pot so that the tip is sticking in the oil.
- Place heat on medium and let it reach 365F.
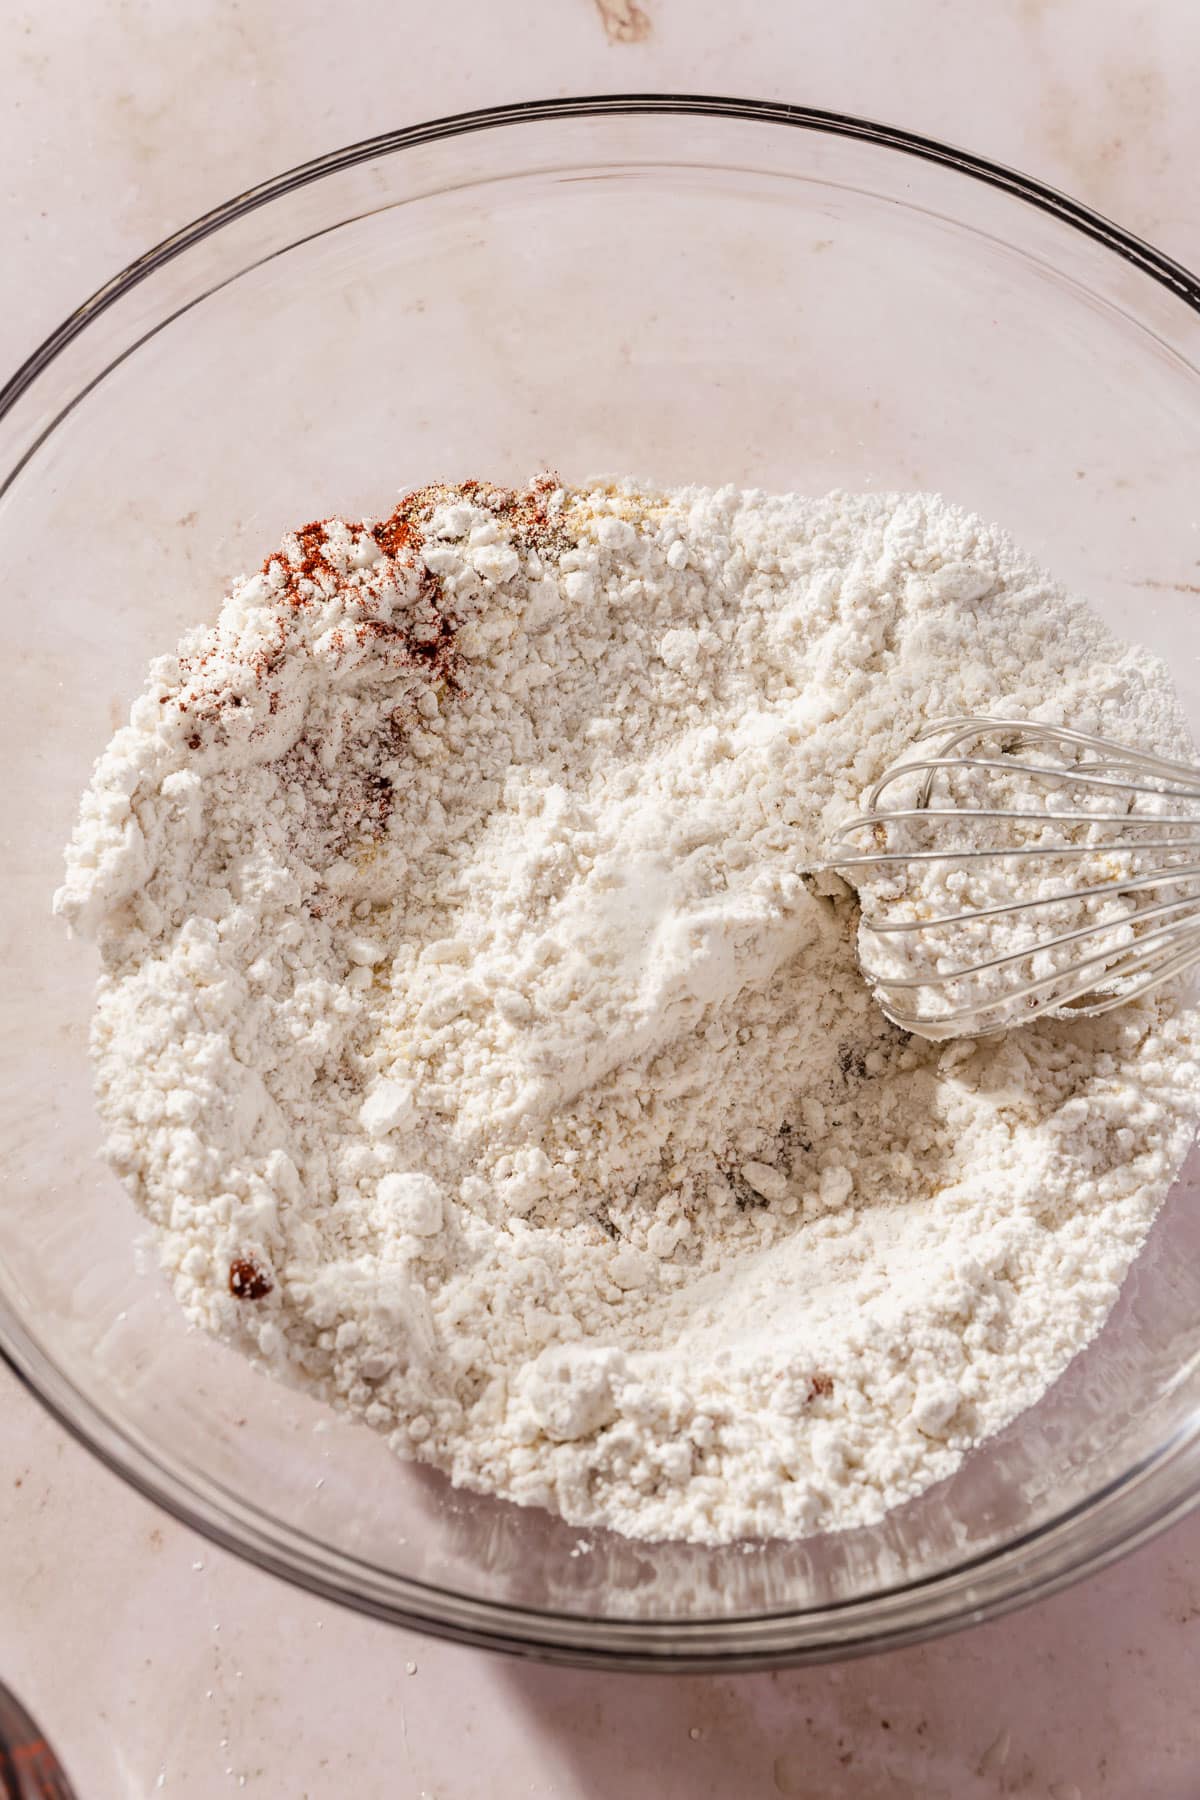
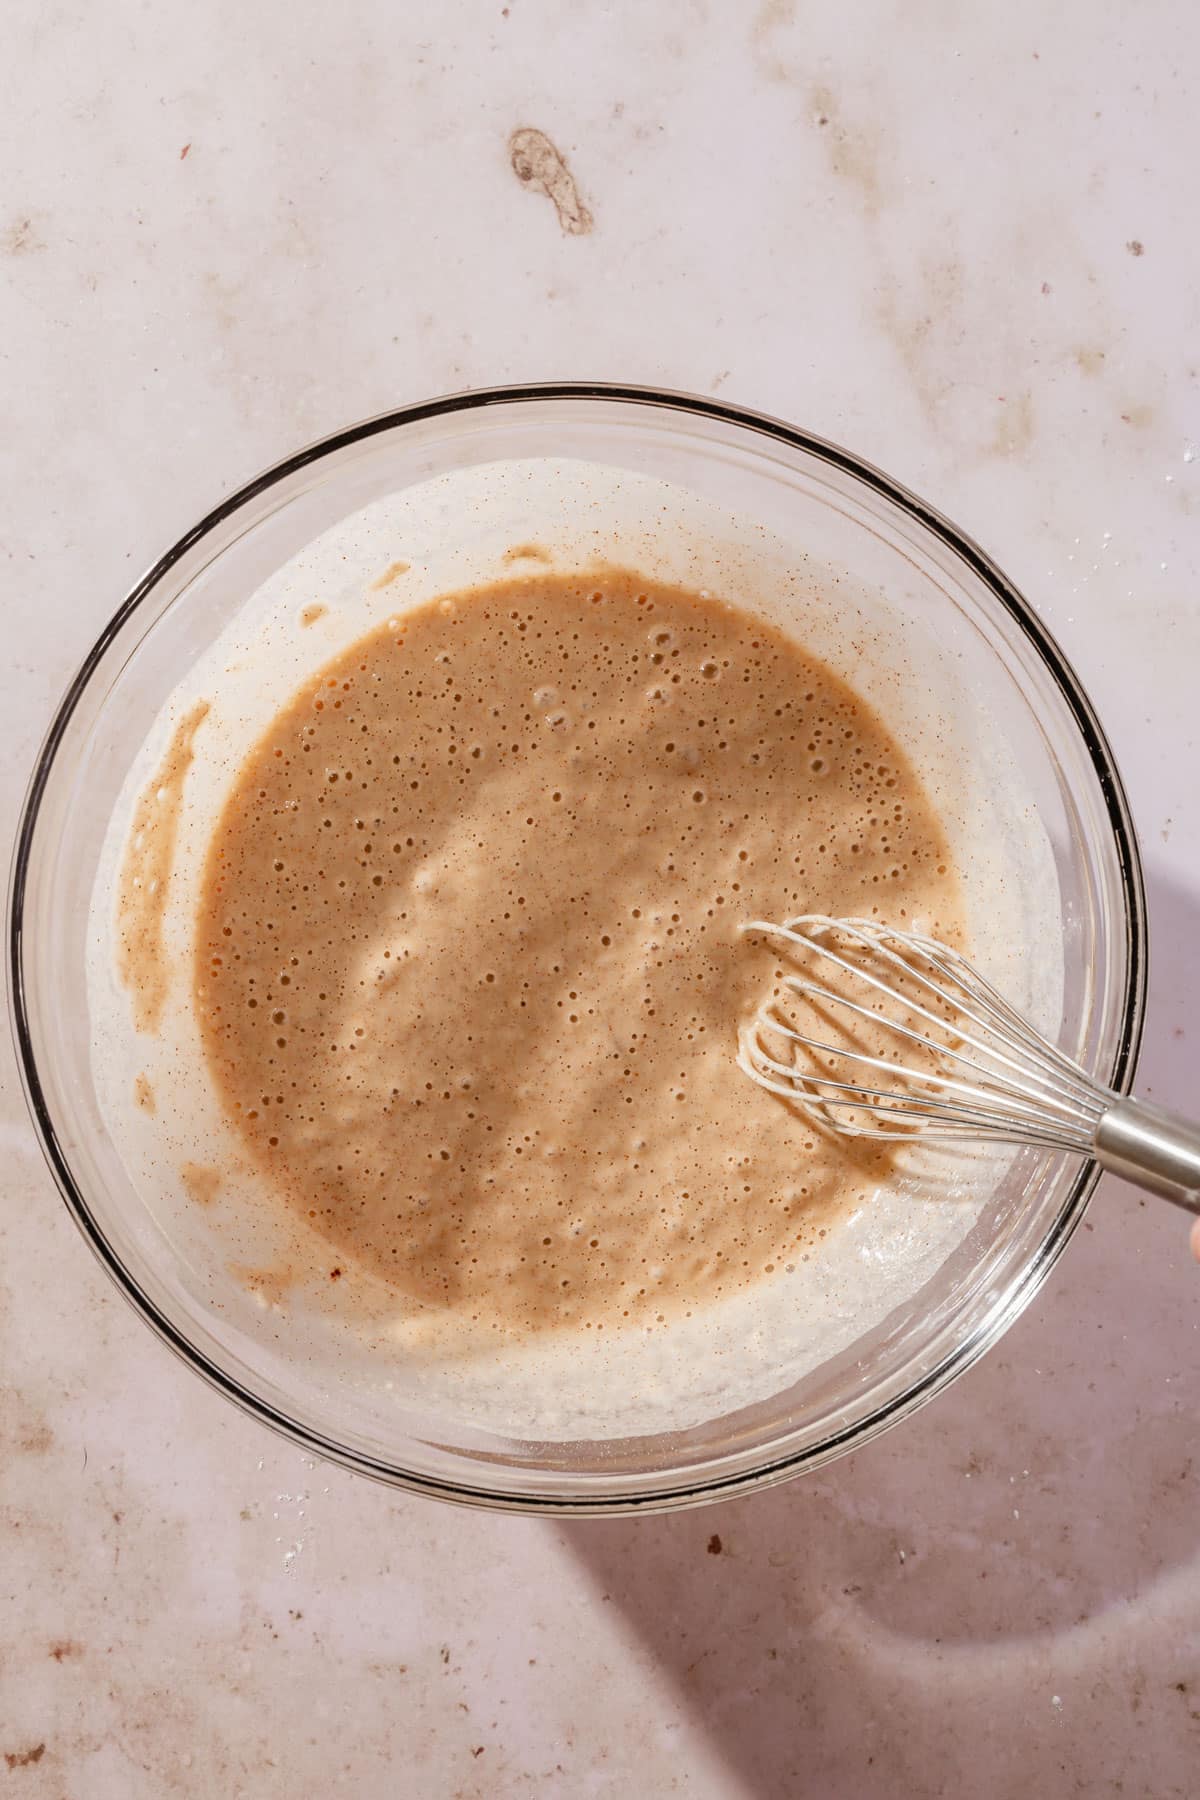
- Meanwhile, in a large bowl, whisk together the gluten-free flour blend, baking powder, paprika, salt and garlic powder.
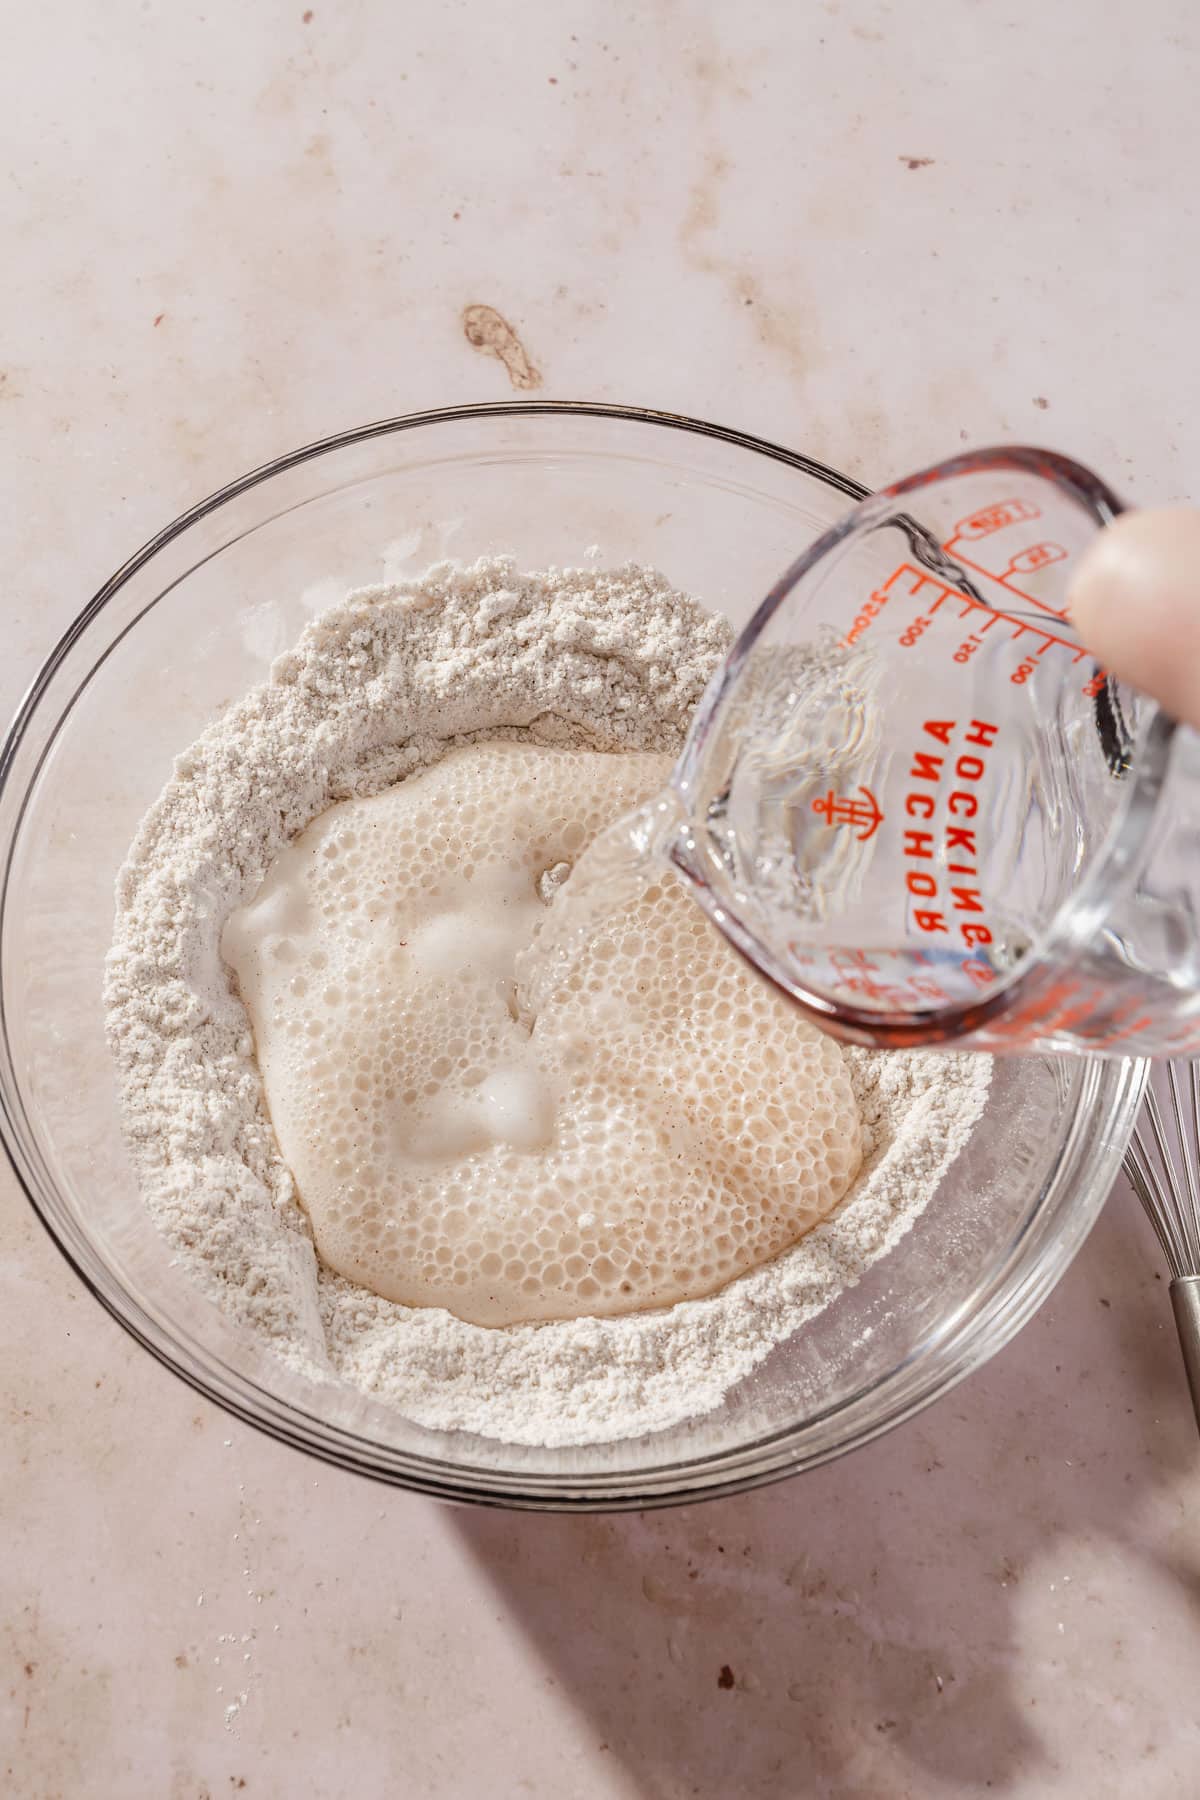
- Pour in the club soda and stir until a smooth batter forms and no more lumps remain. Set aside.
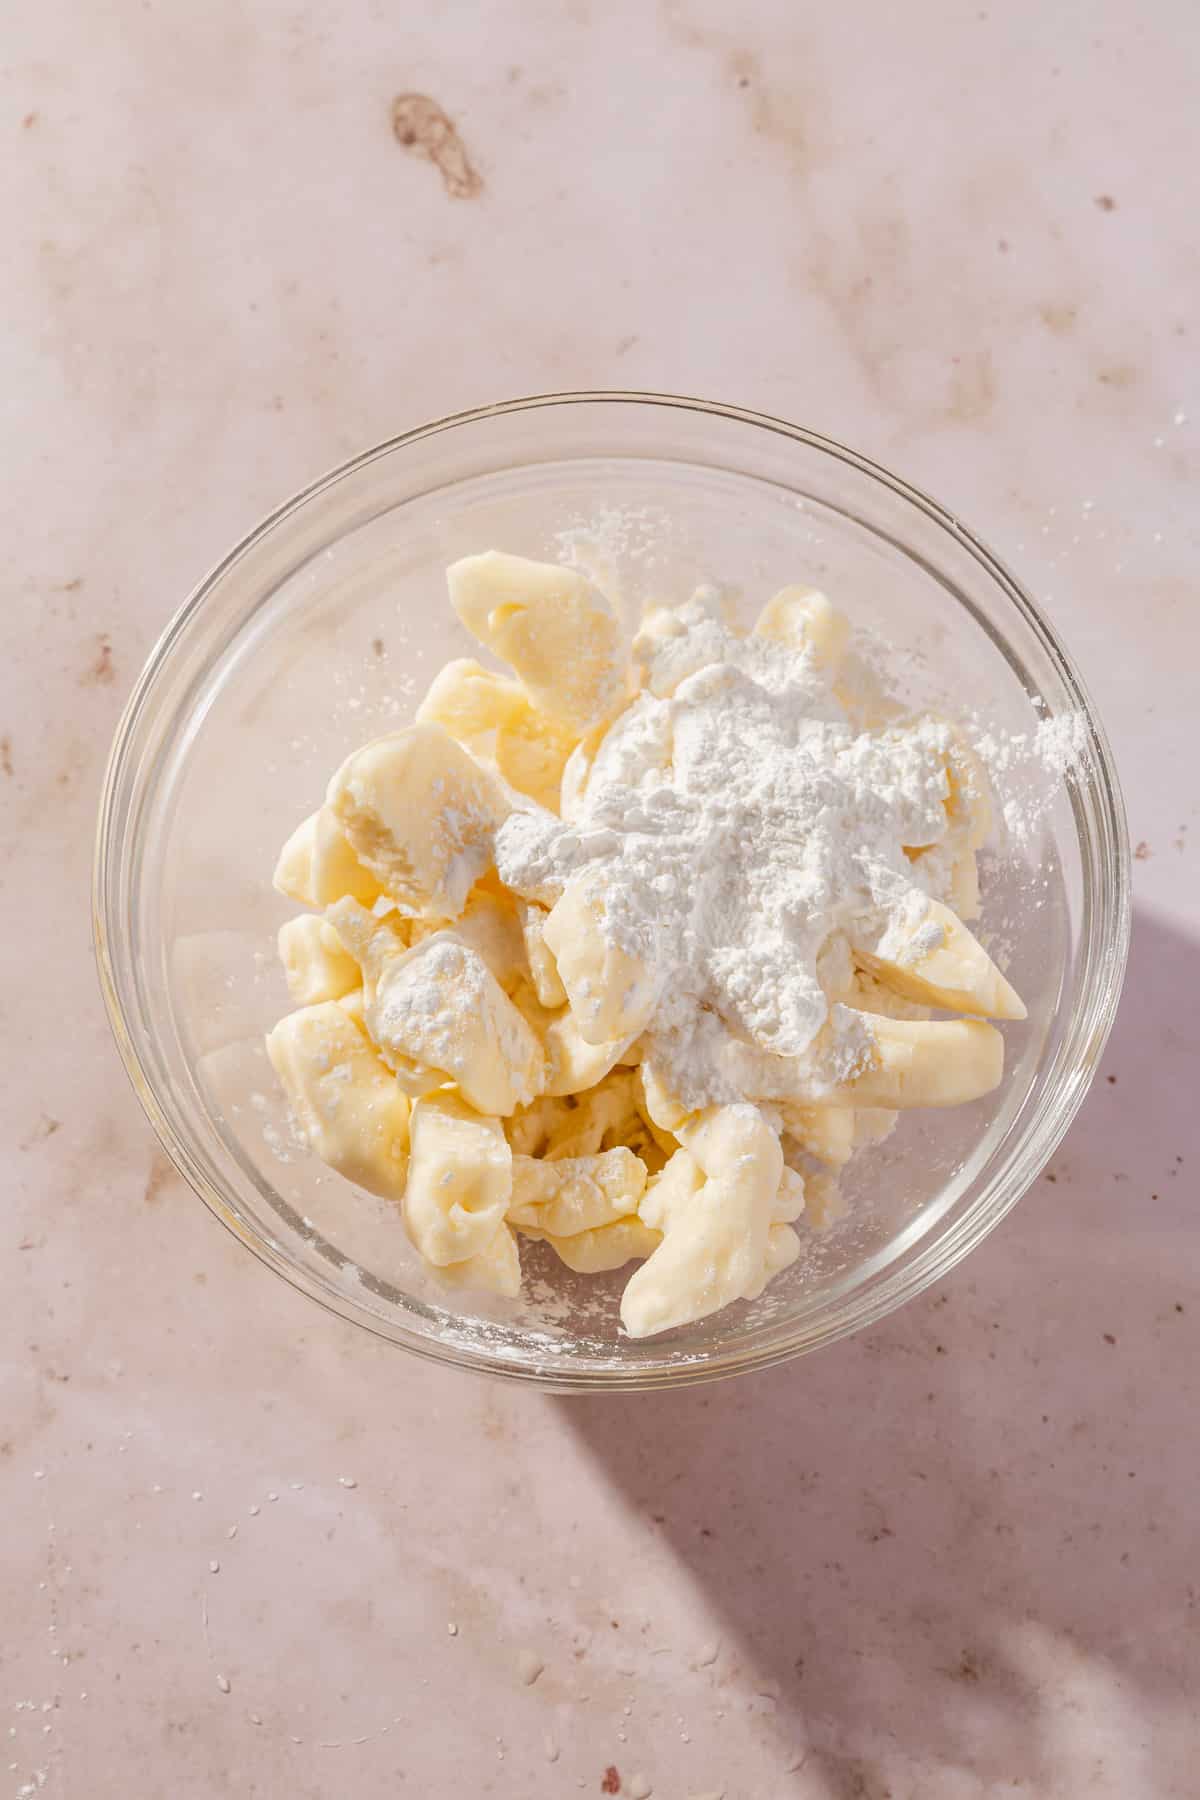
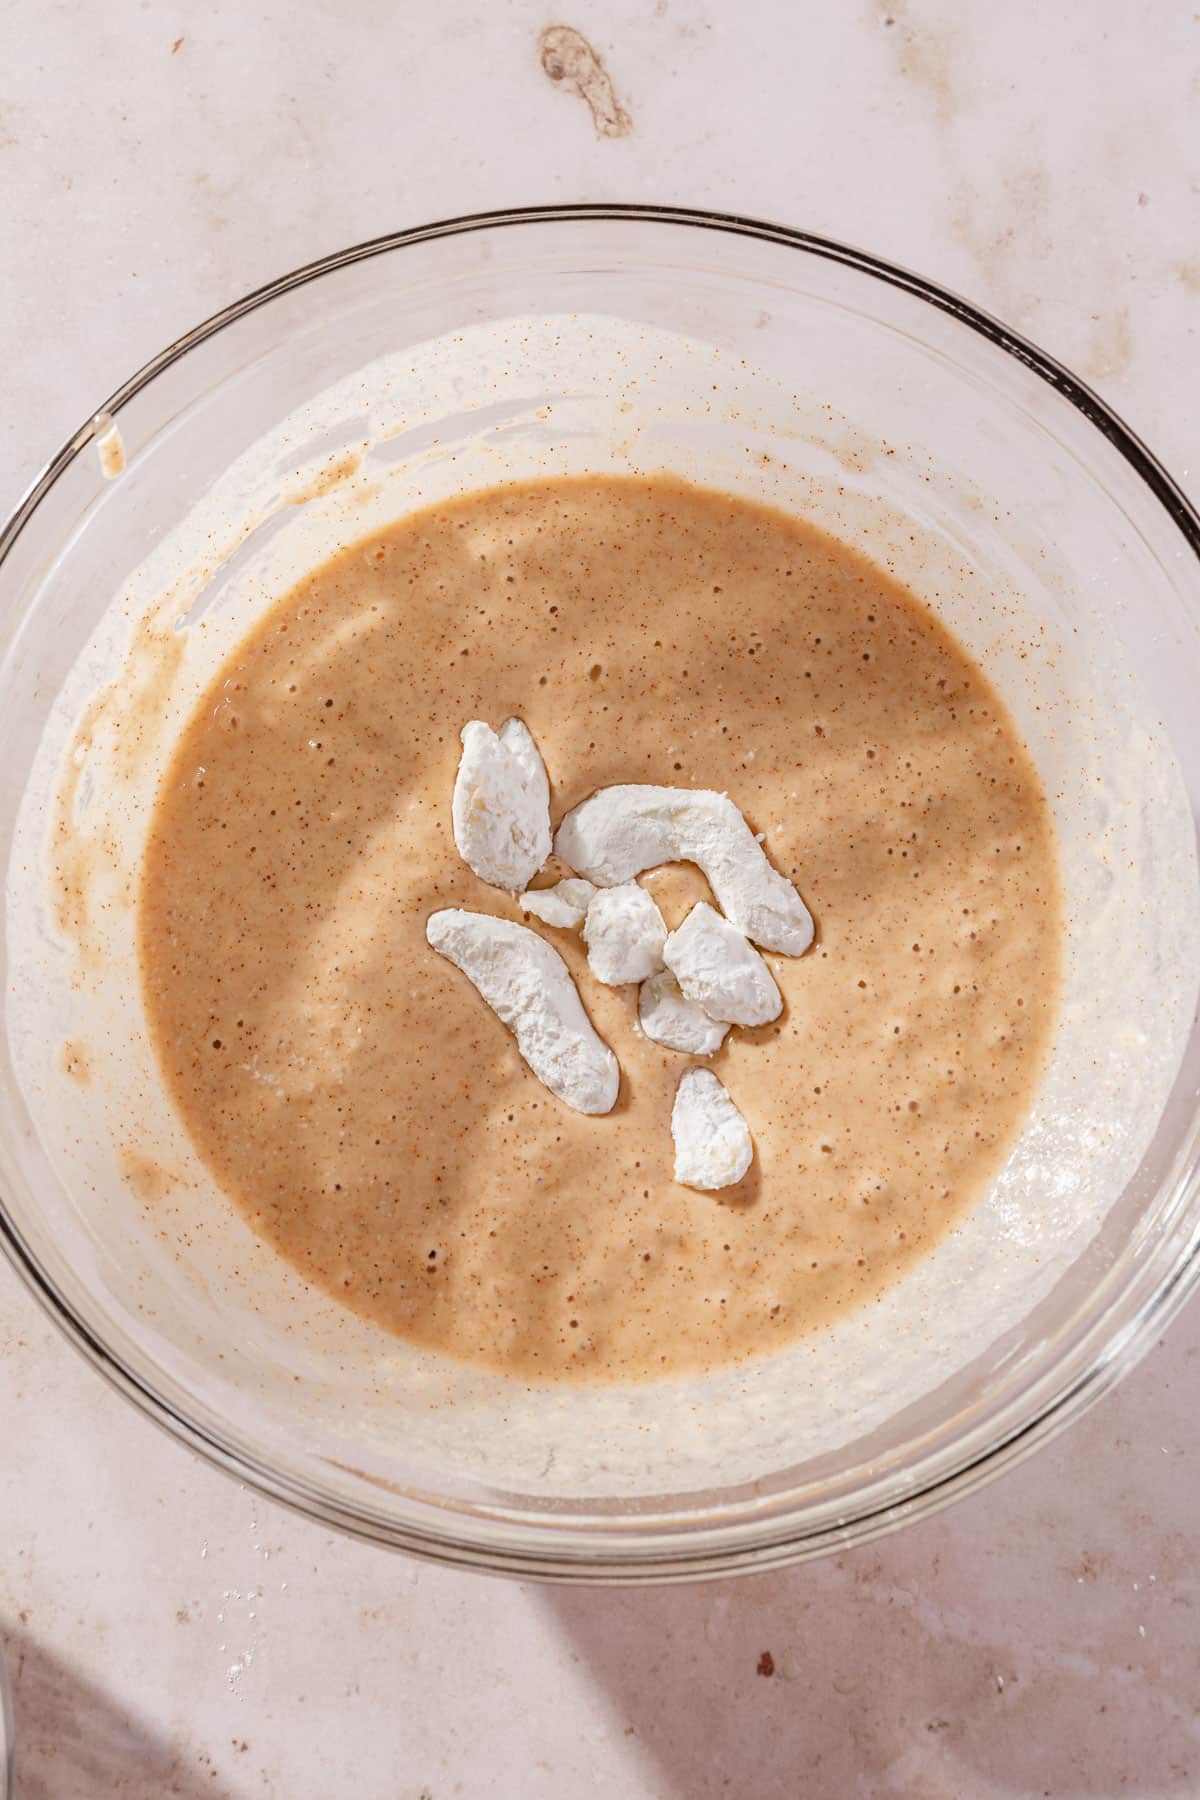
- Coat the cheese curds in the cornstarch and tap off any excess. This will help them adhere to the gluten-free batter.
- Dip 6-8 cheese curds in the batter at a time. Remove with a mesh sieve or slotted spoon and tap off any excess batter.
- Once the oil has reached a temperature of 365F, carefully add the cheese curds into the hot oil in batches.
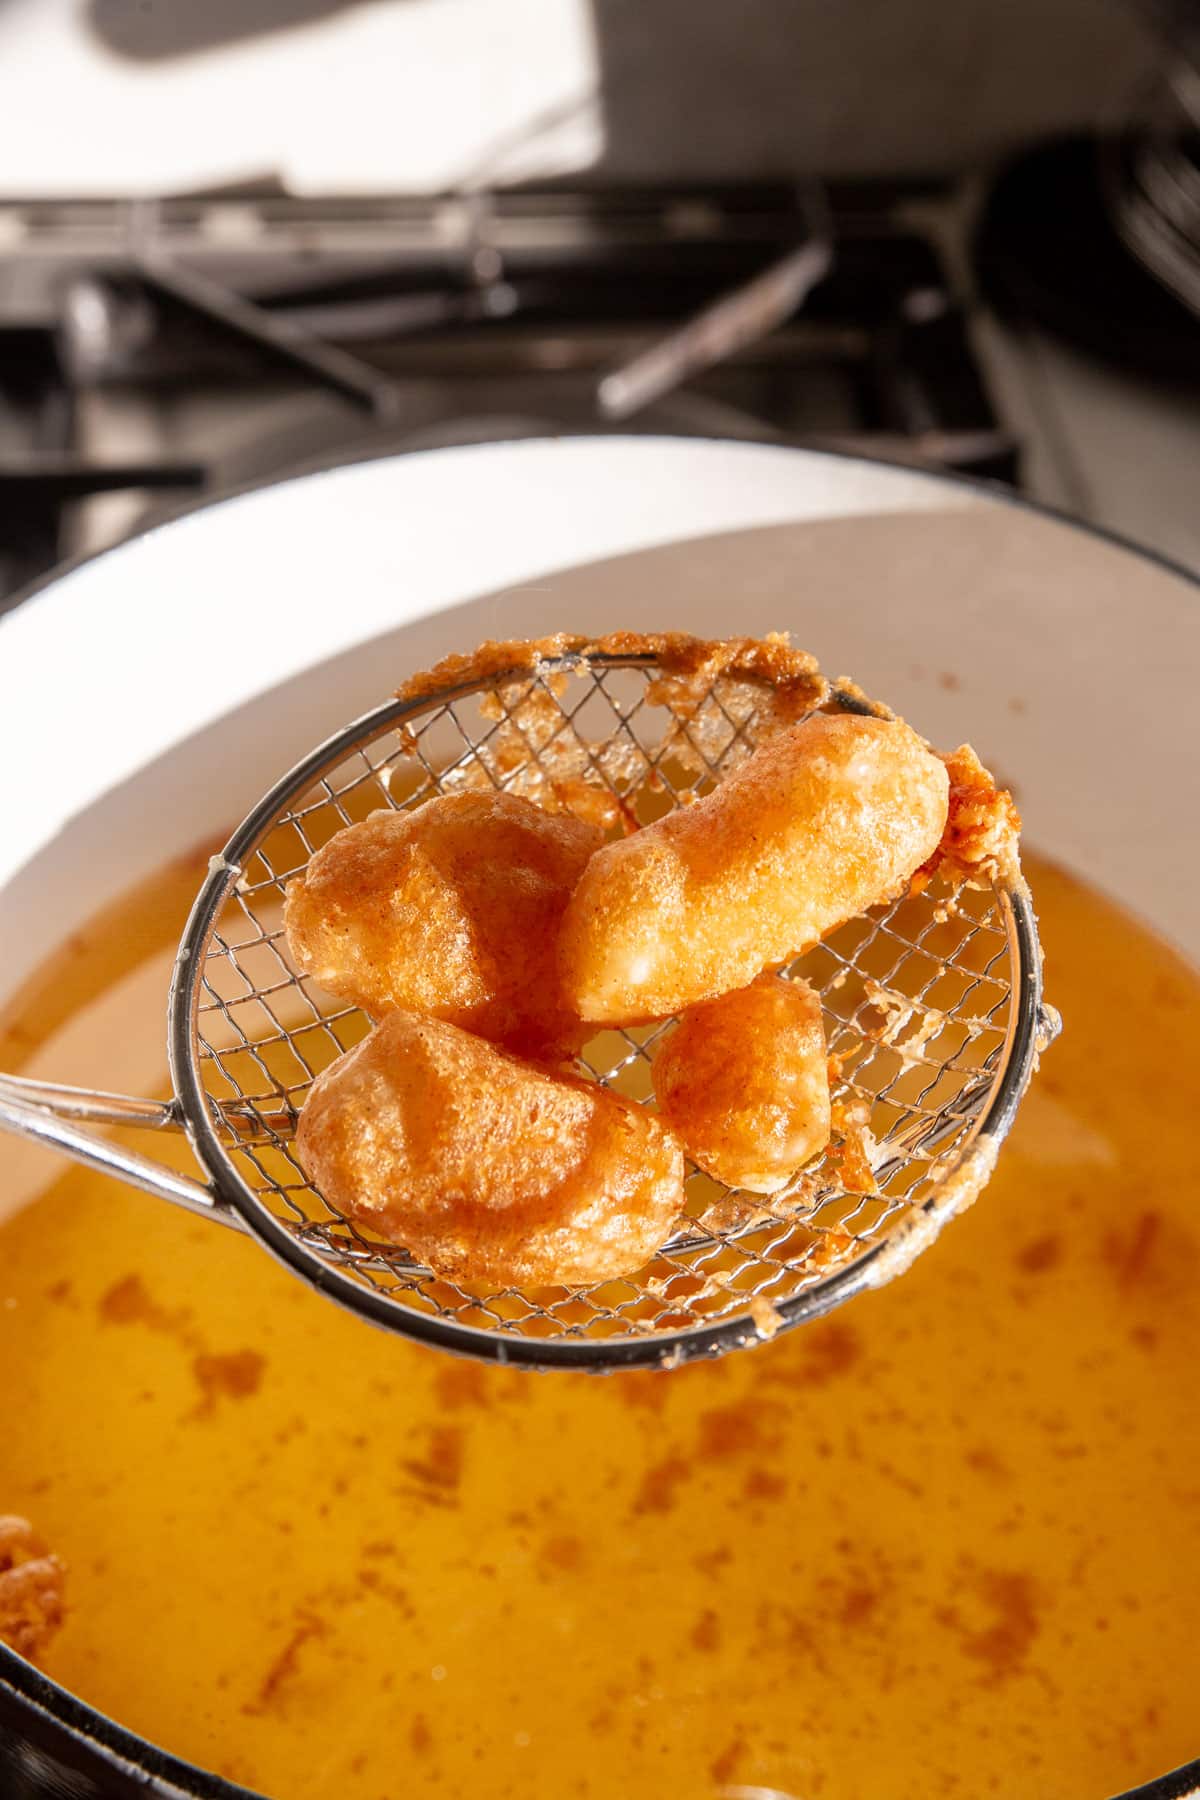
- Fry for 1-2 minutes, until they are golden brown.
- Remove with a mesh spatula and place on a paper towel to remove the excess oil. Repeat with the remaining cheese curds.
- Serve immediately with ranch or marinara sauce.
Notes
- Nutritional information is only meant to be used as a guide. I assumed 10% oil absorption for the nutritional calculation which can vary.
- I used canola oil for this recipe. You can use other oils, but be sure that they are neutral-flavored with a high smoke point. Other options include peanut oil, corn oil, and grapeseed oil.
- Use a heavy-bottomed pot, such as a dutch oven, that has high sides. The oil will bubble up a bit. I used 2 quarts of oil, which was about 3 inches deep in my dutch oven.
- Be sure that the oil temperature stays at 365F. If you find that’s not quite hot enough for your cheese curds to cook in 1-2 minutes, you can increase the temperature up to 375F, but I’ve found that 365F is perfect for this recipe.
- Be sure that you’ve completely covered the cheese curds with the batter, so that none of the cheese curds is showing before dropping in the oil. Otherwise, some of the cheese may leak out into the oil.
- CAUTION: The oil will be very hot! Use a spider spatula or wood tongs or chopsticks to place the cheese curds in the oil and remove them from the oil after frying to minimize any splashing of hot oil.








Cheese curds are, quite simply, the freakin’ bomb. They’re especially dangerous now that you’ve given me the recipe!
Definitely, what a great site and illuminating posts, I surely will bookmark your blog.Best Regards!
Ahava Mens Soothing After-Shave Moisturizer, 1.7oz