
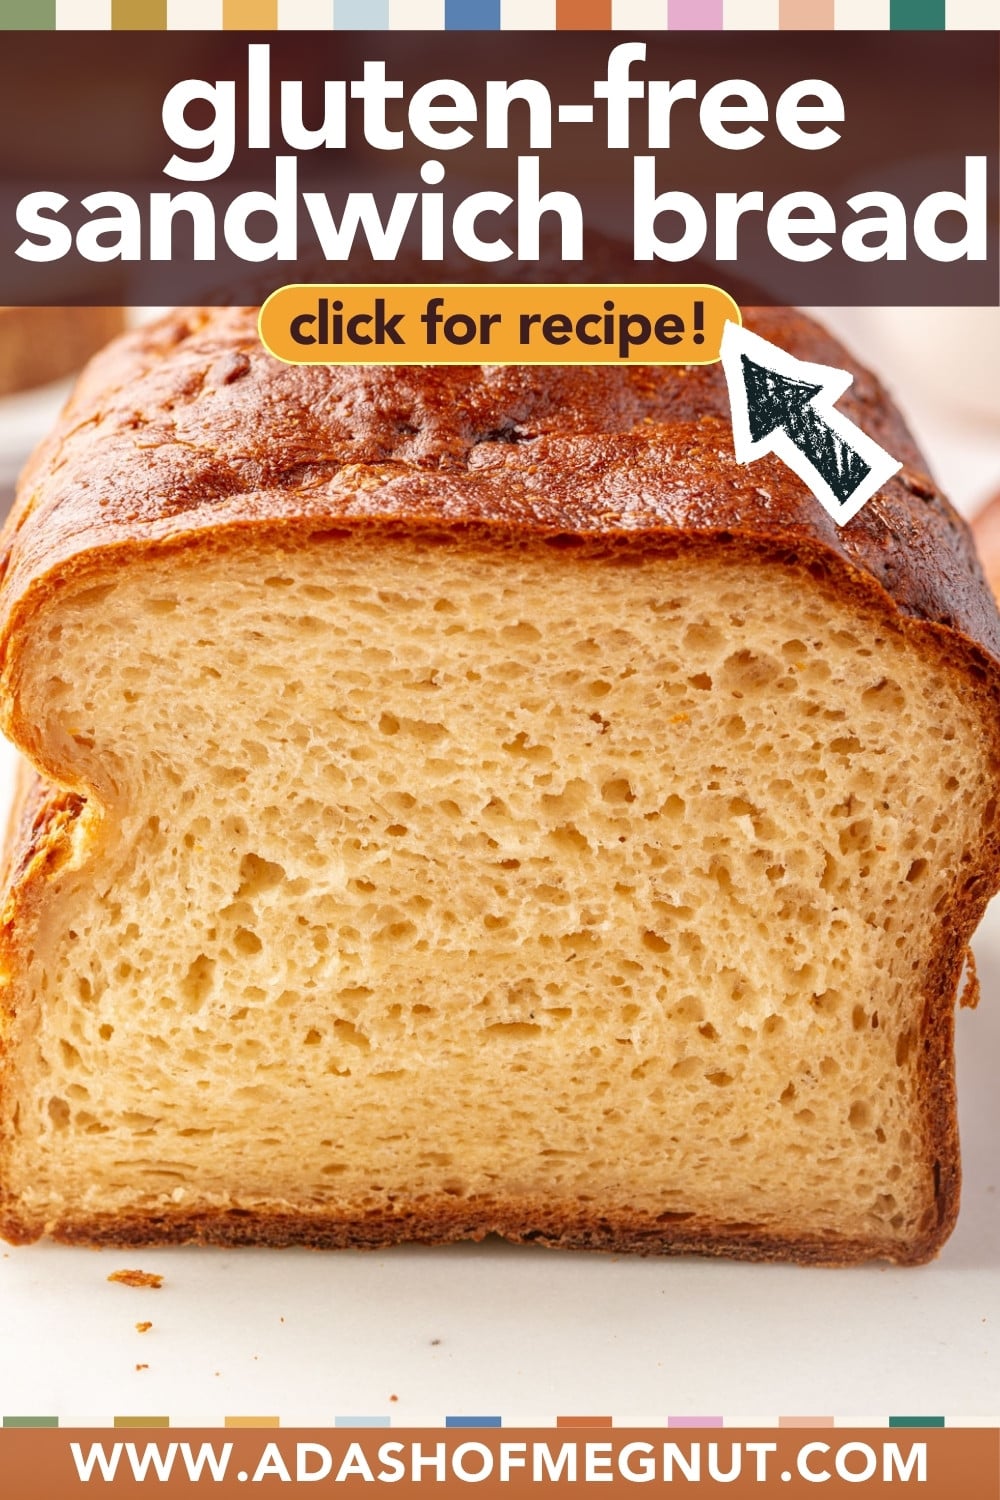
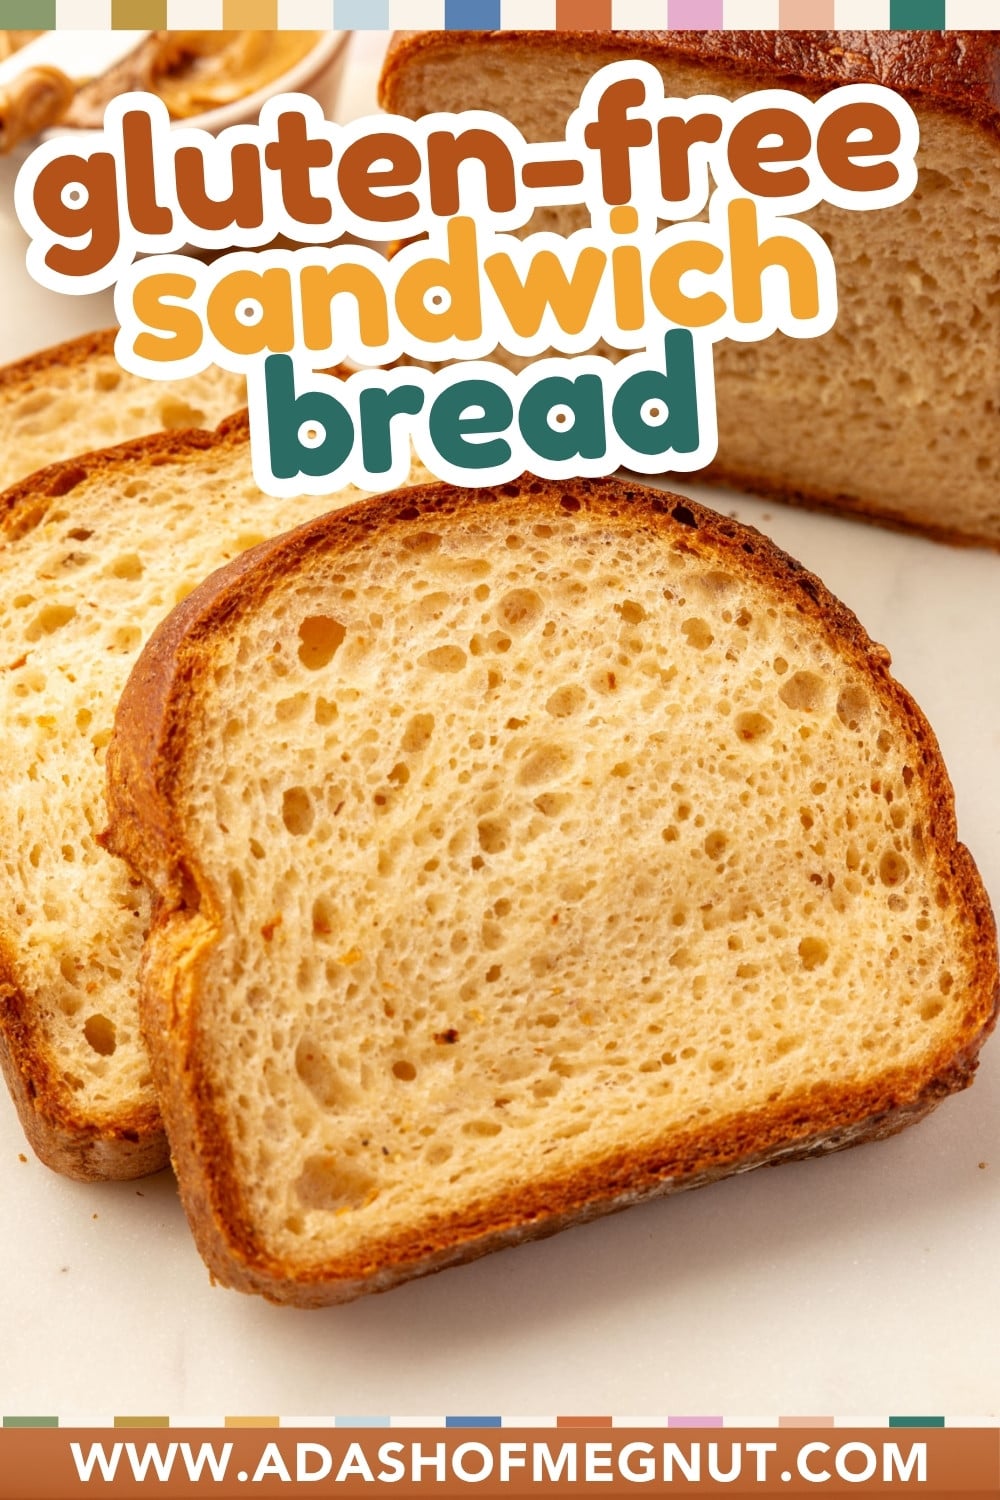
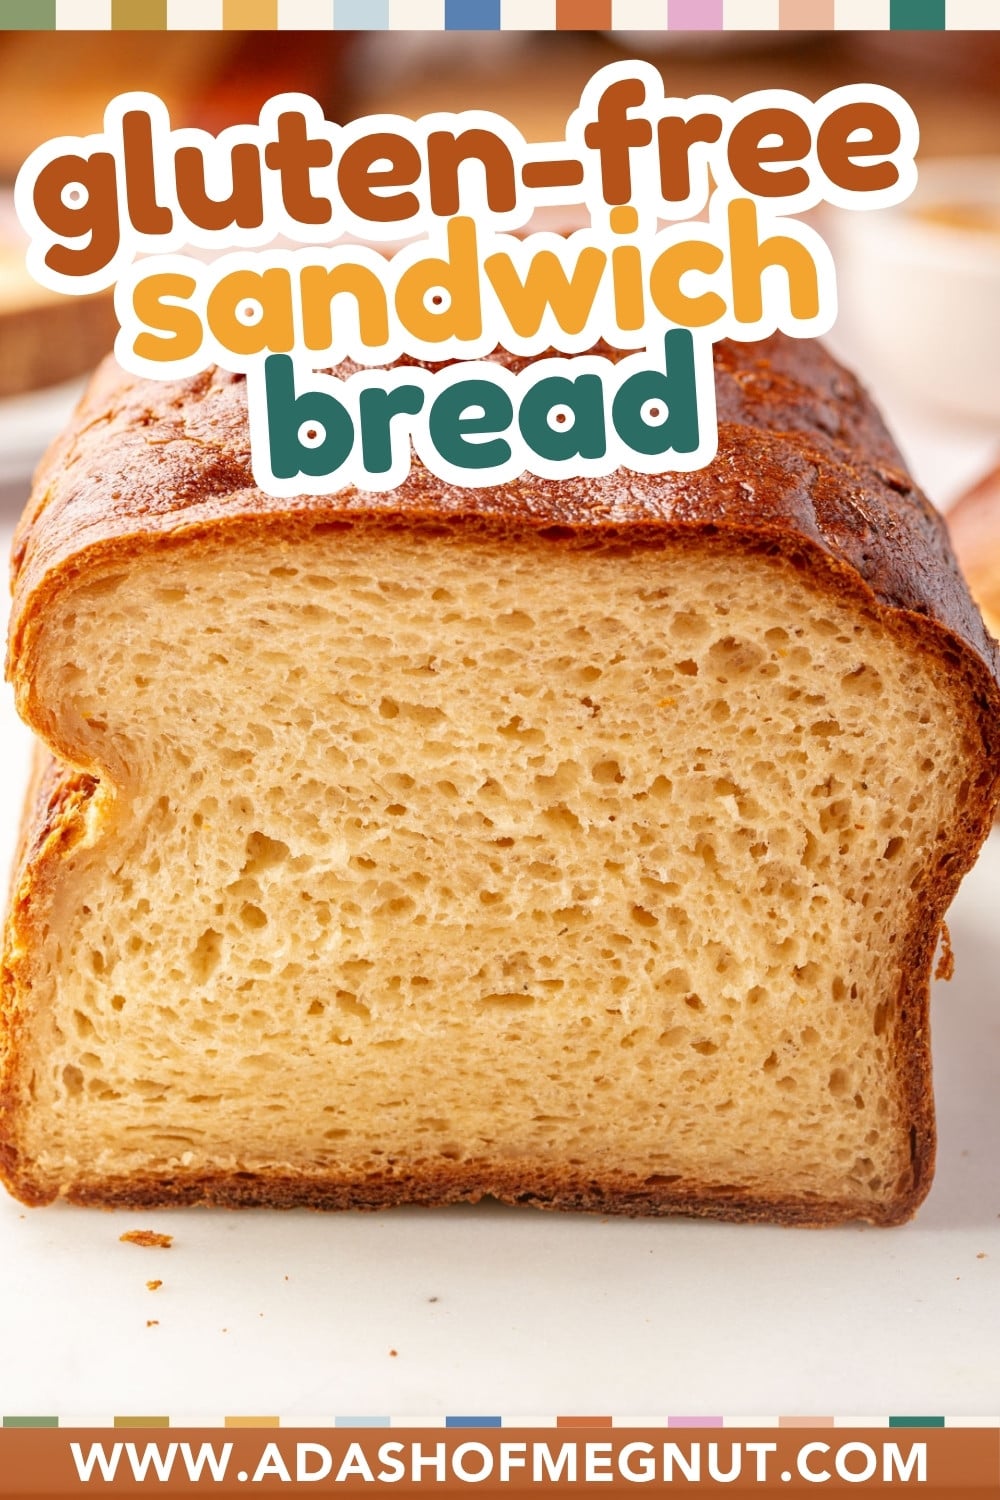
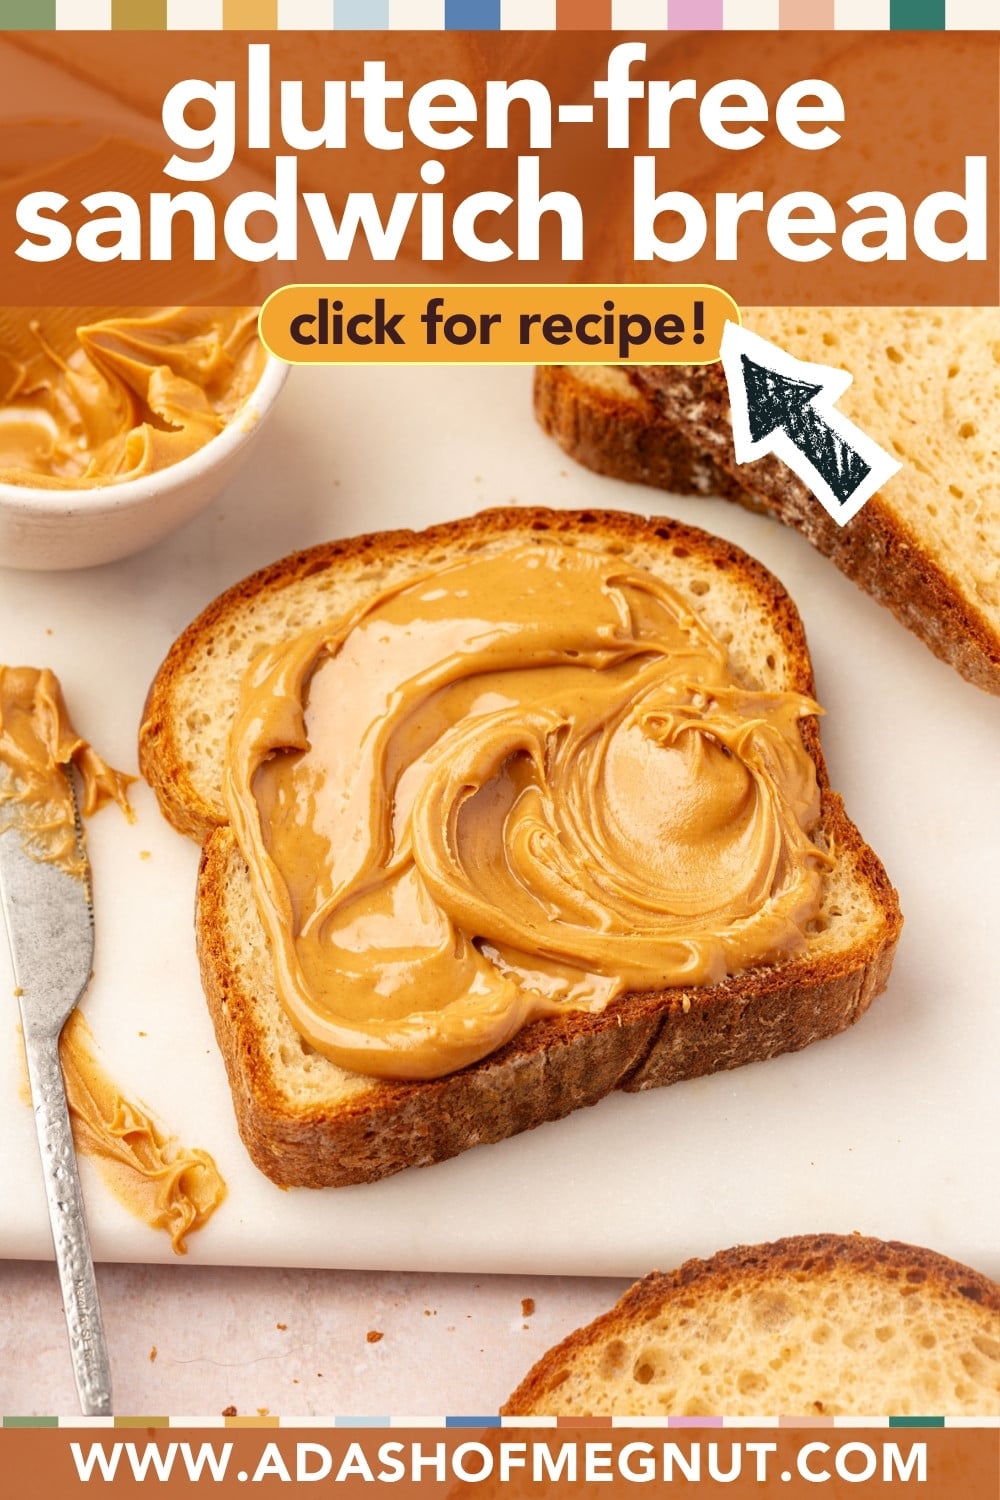
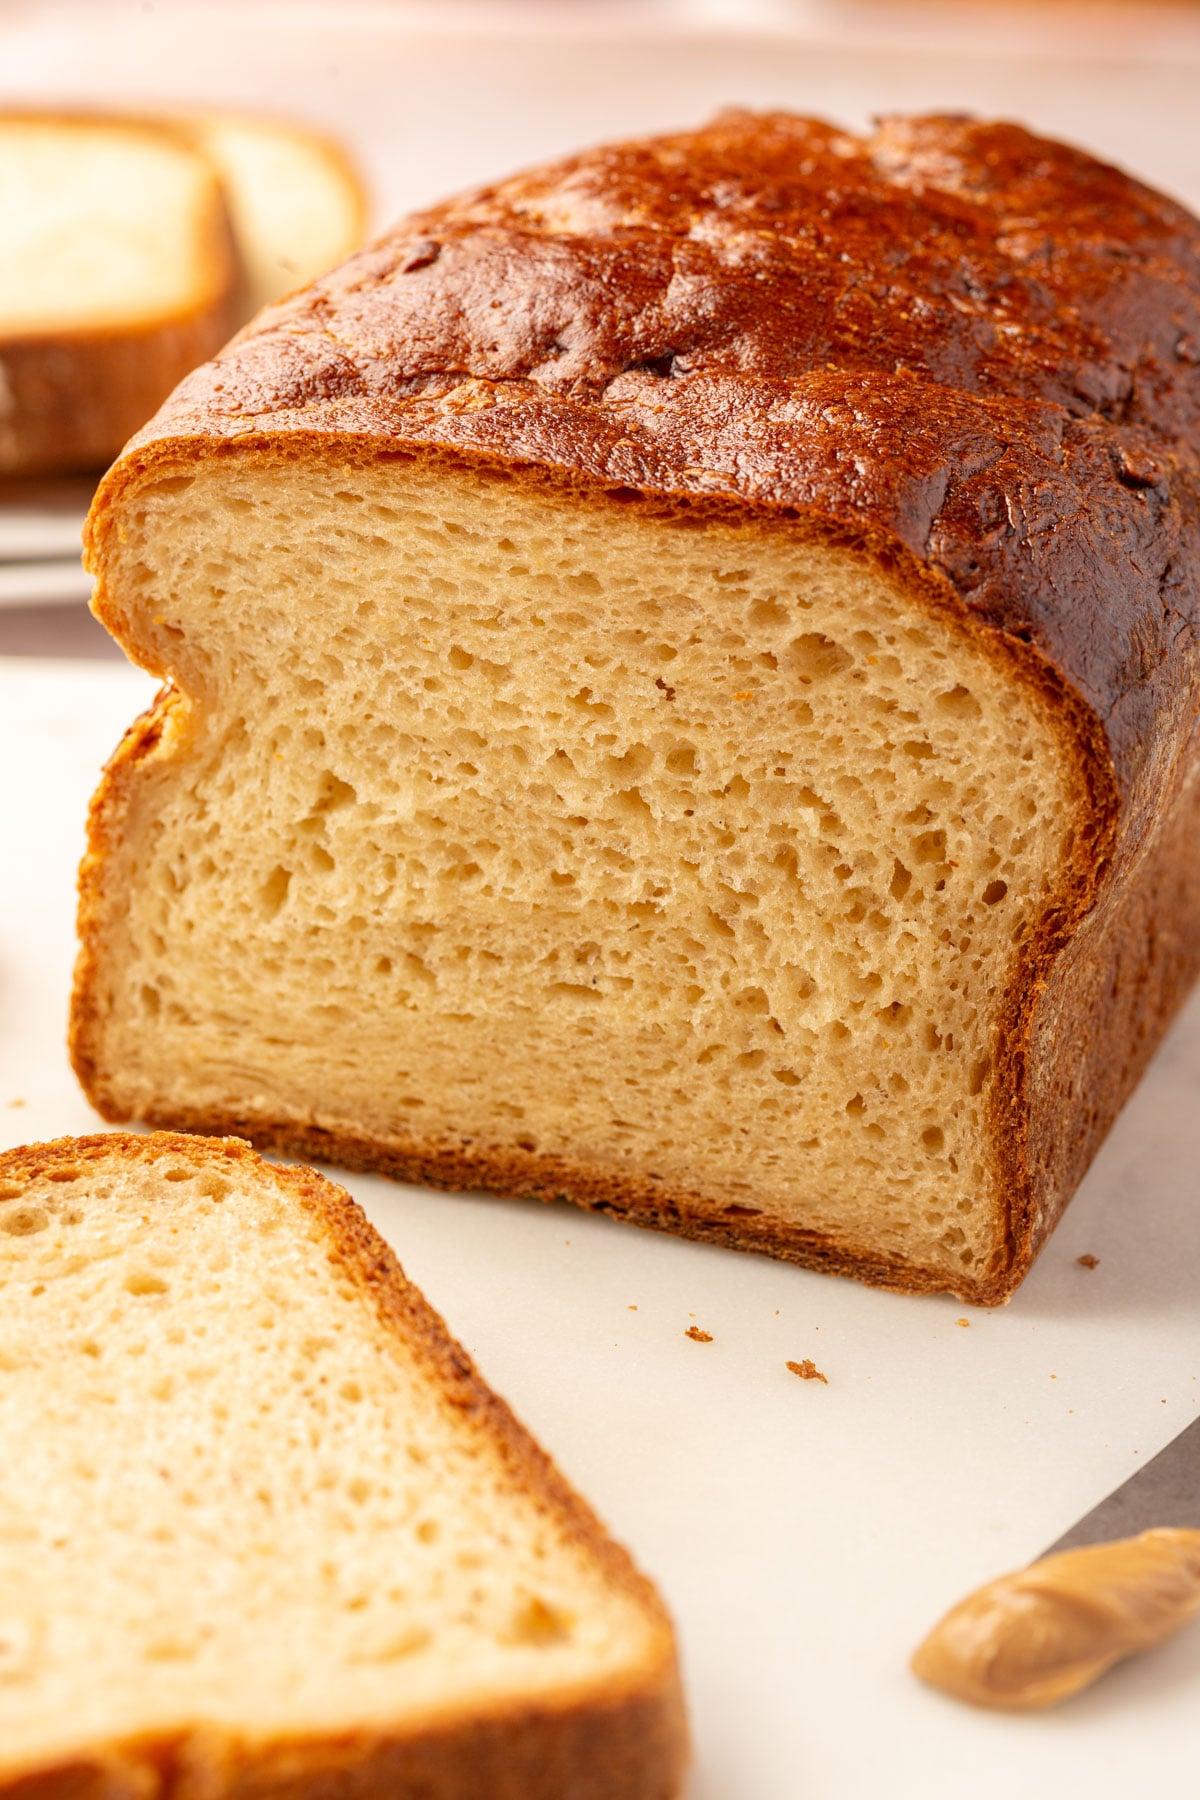
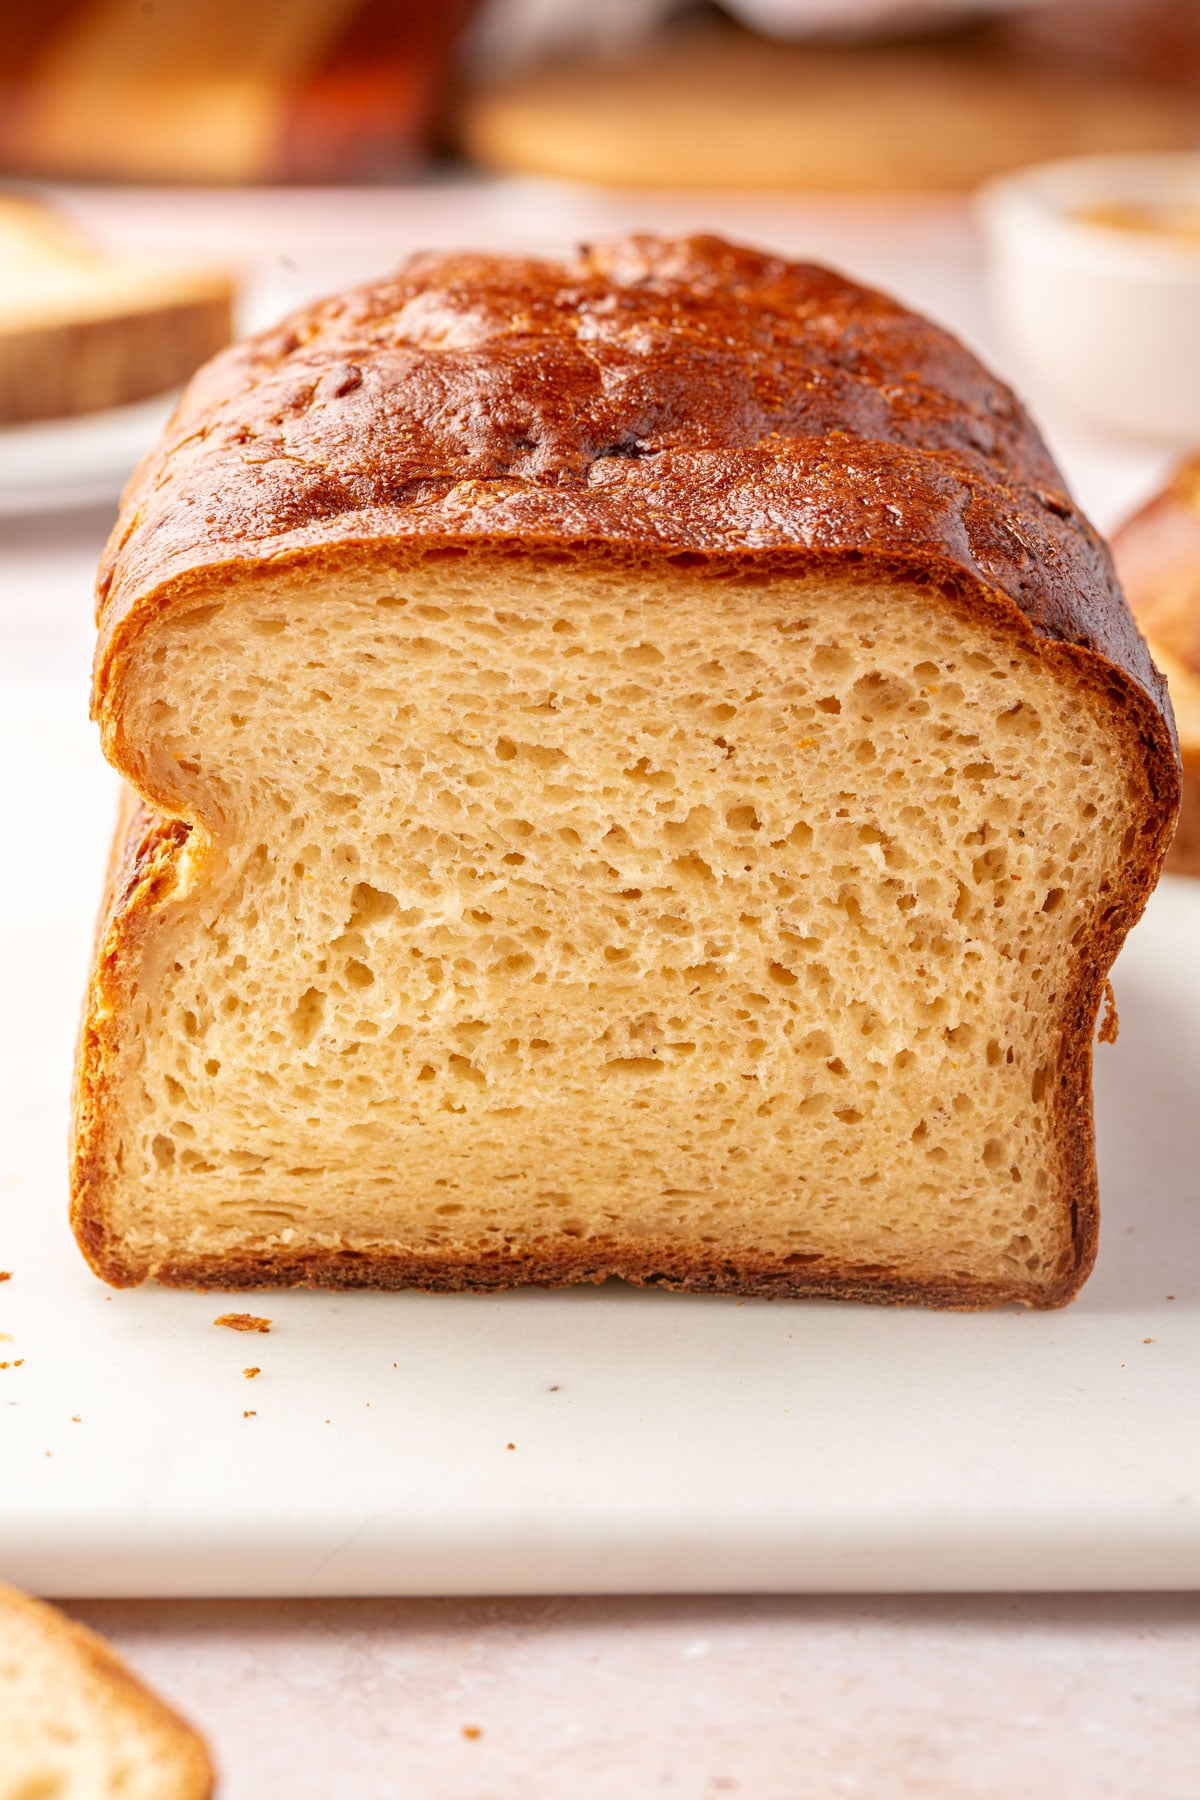
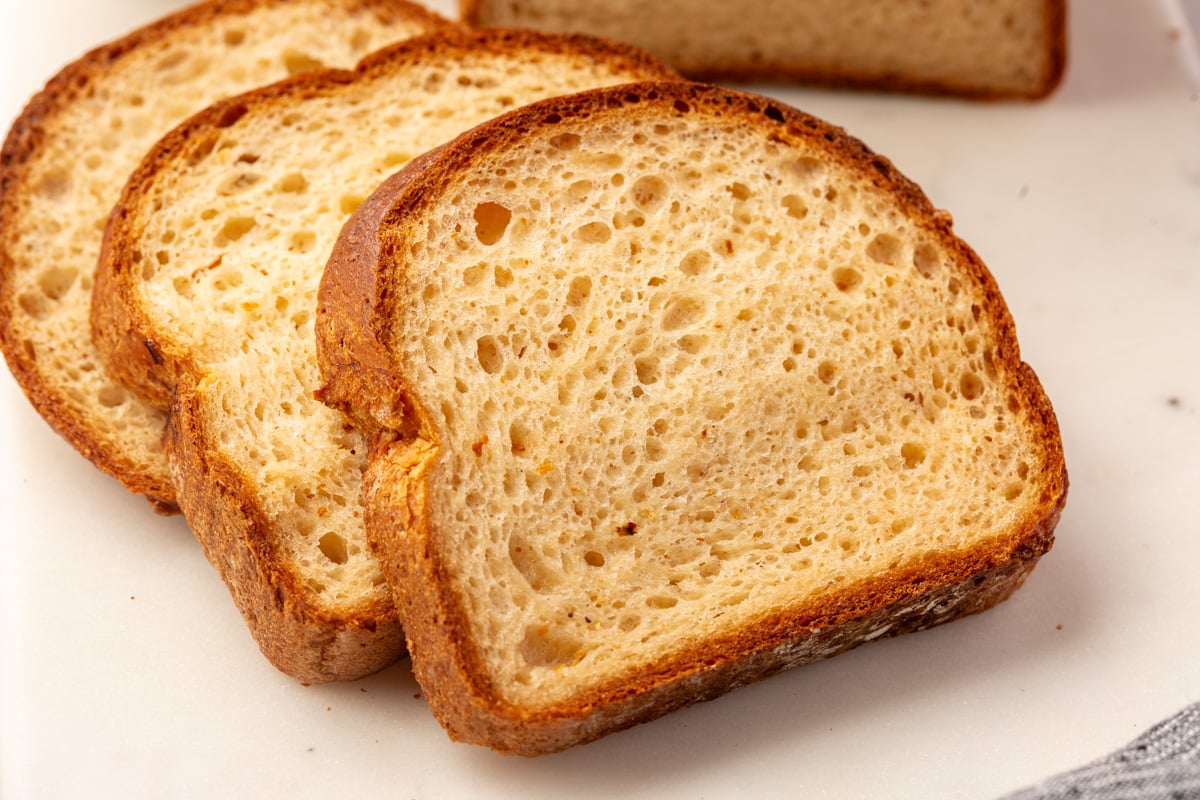
This gluten-free sandwich bread is soft, fluffy, and sturdy enough for a stacked turkey sandwich, and it doesn’t fall apart when you slice it. If you’ve been missing real bread that doesn’t come from the freezer aisle, this is a loaf for you.
It’s built on the same dough as my gluten-free dinner rolls. I scaled the recipe up by 1.25x to fit a 9×5-inch loaf pan, kept it at one whole egg, and added a splash of extra milk to make up the difference. The result is a tall, golden loaf with tender, even crumb.
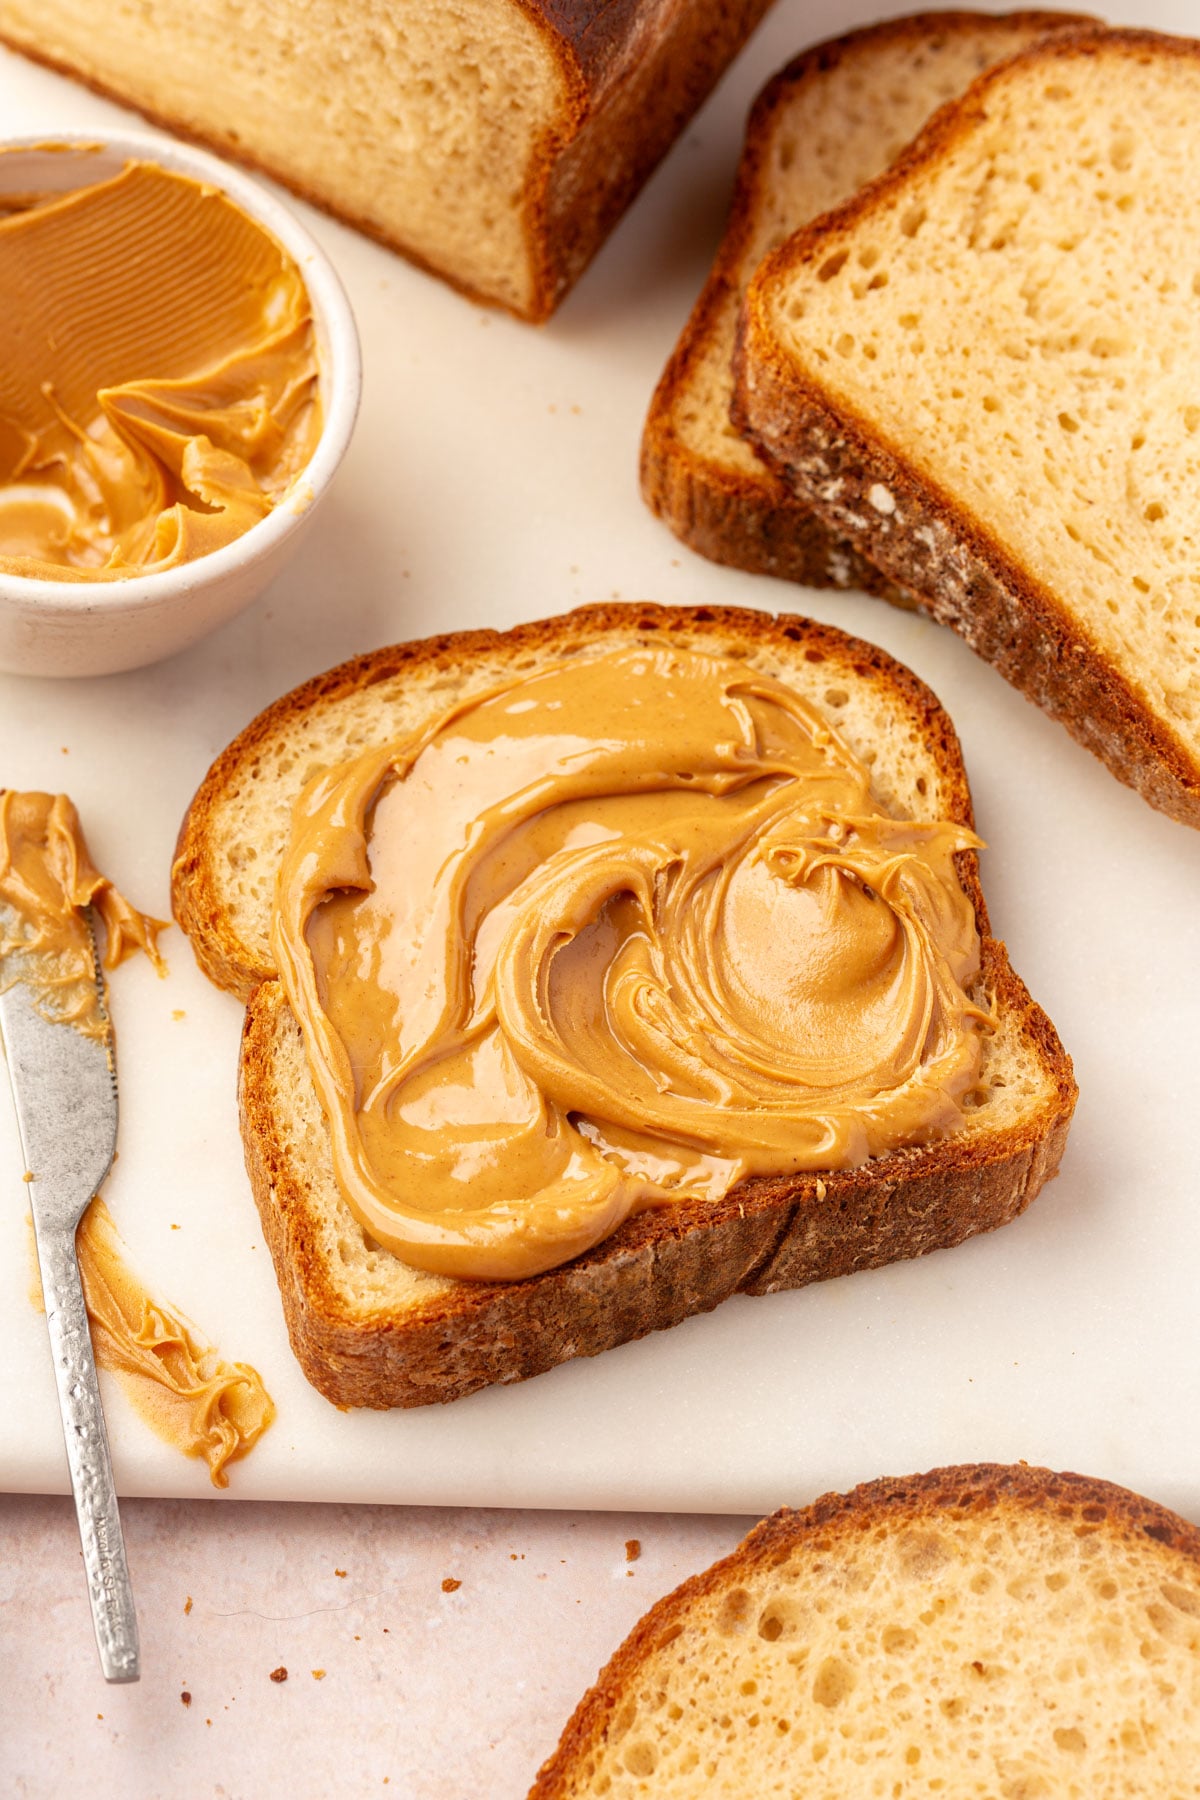
This is the kind of bread you want in the freezer during the holiday rush. It makes for a good base for gluten-free French toast, cubes well for gluten-free stuffing, and holds up to a thick turkey sandwich at Thanksgiving.
Why You’ll Love This Recipe
Searching for more gluten-free enriched dough recipes? gluten-free fried donuts / gluten-free crescent rolls / gluten-free hamburger buns / gluten-free cinnamon rolls
Ingredient notes:
- Brown Rice Flour, Tapioca Starch, and Potato Starch – This is my go-to blend for yeast doughs. Brown rice flour gives structure and a neutral flavor. The starches keep the crumb light and soft and help the loaf puff.
- Whole Psyllium Husk – Use whole psyllium husk, not psyllium husk powder. Powder can clump and hydrates differently when mixed with water. I use Anthony’s Organic Whole Psyllium Husk (affiliate link).
- Xanthan Gum – Necessary to help bind the dough since there’s no gluten to do it.
- Instant Yeast and Baking Powder – Both go right in with the dry ingredients. No proofing needed. Make sure that your instant yeast is labeled gluten-free.
- Kosher Salt – If you only have table salt, weigh it. Table salt is much saltier by volume.
- Milk and Egg – This is what I use to enrich the dough, add richness, and help the crust brown. This recipe is a scaled up version of my dinner roll recipe, but I kept this loaf at one egg and made up the difference with extra milk instead of adding a fraction of an egg.
- Neutral Oil – My dinner rolls use butter, but for this loaf I made the same swap I use in my hamburger buns and went with oil instead. Oil stays liquid at room temperature, so the bread stays softer and more tender for longer. Avocado or vegetable oil both work.
- Apple Cider Vinegar – A very small amount strengthens the dough and brightens the flavor. You won’t taste it in the end. You can also use white vinegar.
Making changes to a recipe can result in recipe failure. Any substitutions listed below are simple changes that I believe will work in this recipe, but results are not guaranteed.
An Enriched Gluten-Free Loaf
This loaf is part of my enriched gluten-free dough family. It’s the same base I use for my dinner rolls, hamburger buns, fried donuts, and cinnamon rolls. “Enriched” just means the dough has milk, egg, sugar, and fat in it. Those extras give the bread a golden crust and a soft, tender crumb that’s closer to classic white sandwich bread than to a rustic loaf.
The big difference between my rolls and buns is size. A whole loaf has more dough to bake through, so it bakes longer and needs to reach 210°F in the center.
A Quick Note on Flour
Store-bought gluten-free blends aren’t made for yeast dough, so I don’t use them here. And weigh everything with a food scale. This dough is sensitive to hydration and grams. Keep it consistent.
Recipe FAQs
You can. I’ve made this same dough with butter before for my dinner rolls and cinnamon rolls, so I know it works. I still prefer oil here since it keeps the crumb softer and more tender over time.
Usually it’s underbaked, or sliced before it finished cooling. Bake to 210°F in the center, and give the loaf the full hour to cool before you cut into it.
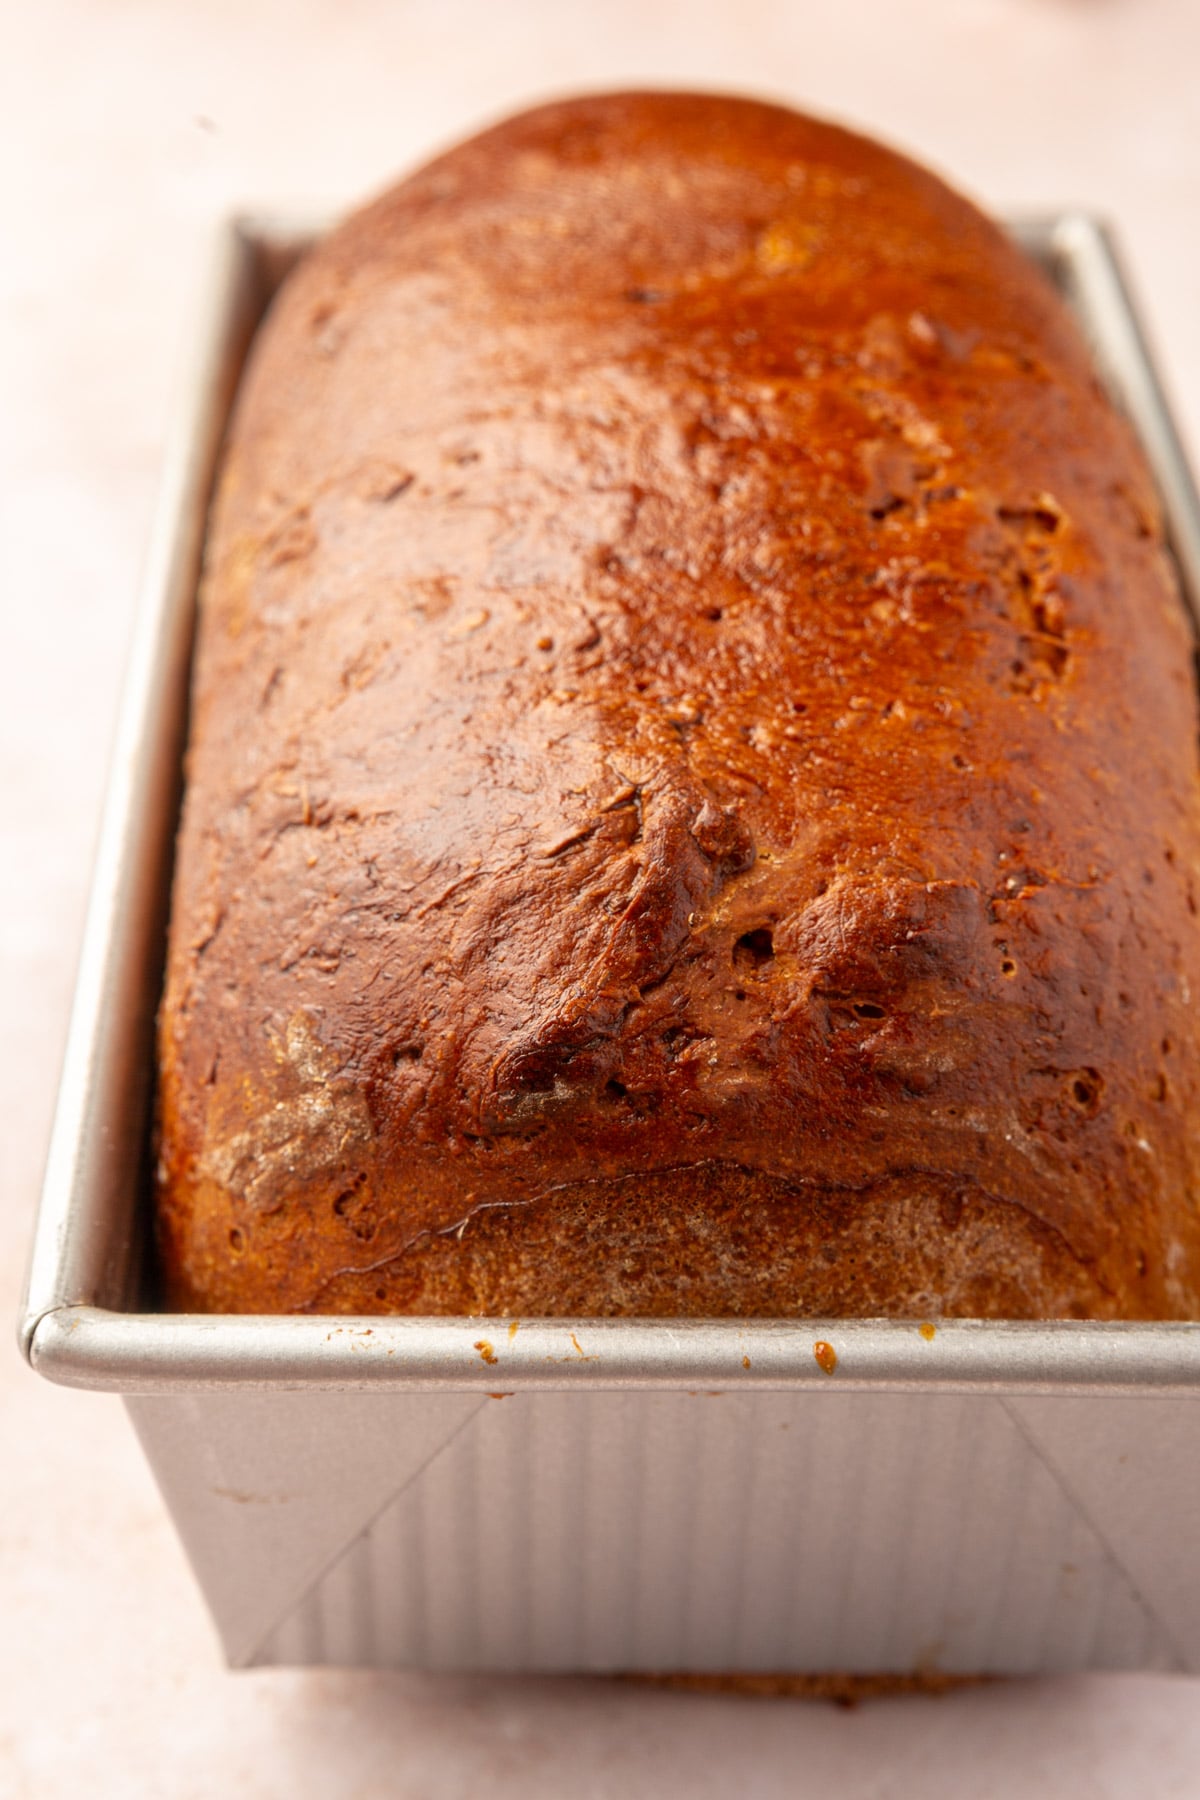
That usually points to over-proofing. Keep an eye on the rise and pull it as soon as it’s doubled and just above the rim of the pan, rather than letting it go longer.
Megan’s Tips
Storage Instructions
Wrapped tightly, this loaf keeps at room temperature for up to 2 days.
For longer storage, slice the whole loaf, freeze the slices in a single layer until firm, then transfer them to a freezer-safe bag for up to 3 months. Toast slices straight from frozen or let them thaw at room temperature.
Serving Suggestions
This bread is built to hold a sandwich, so put it to work. My cranberry chicken salad makes a great filling if you want something a bit more interesting than plain lunch meat.
If you’d rather keep it simple, toast a slice and dunk it into a bowl of my gluten-free broccoli cheddar soup. The crumb is sturdy enough to hold up without falling apart.
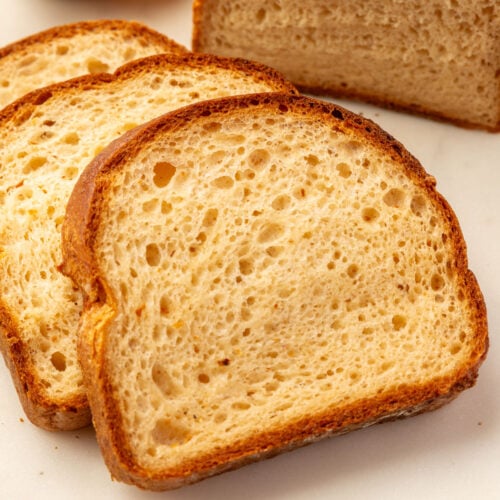
Gluten-Free Sandwich Bread
Ingredients
Dry Ingredients
- 200 g brown rice flour
- 145 g tapioca starch
- 95 g potato starch
- 66 g granulated sugar
- 10 g kosher salt
- 9 g instant yeast
- 7 g xanthan gum
- 10 g baking powder
Psyllium Mixture
- 20 g whole psyllium husk
- 200 g warm water - about 100°F
Wet Ingredients
- 215 g warm whole milk - 100–110°F
- 1 large egg - 50g
- 70 g avocado oil - or other neutral oil
- 6 g apple cider vinegar
For Brushing
- 1 large egg - beaten (for egg wash)
**Use the toggle button above to turn the instruction photos on and off!
Instructions
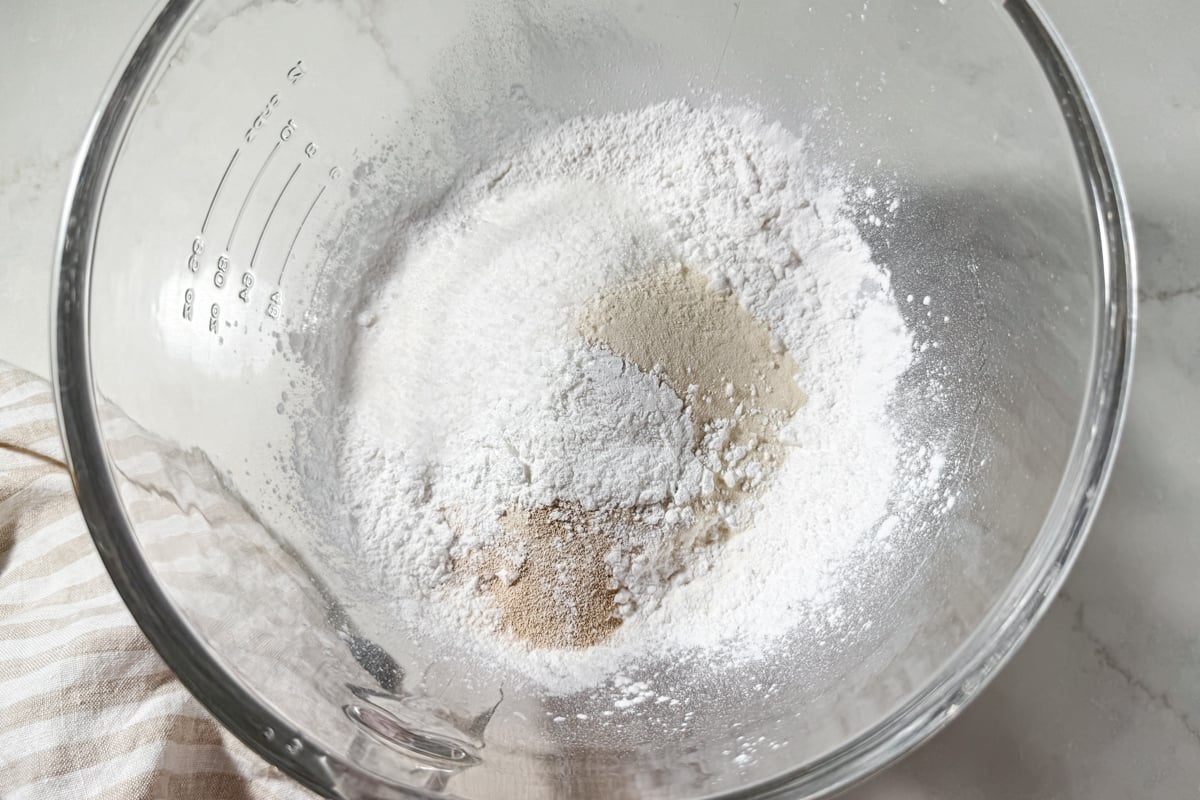
- Mix the dry ingredients: In the bowl of a stand mixer, combine 200 g brown rice flour, 145 g tapioca starch, 95 g potato starch, 66 g granulated sugar, 10 g kosher salt, 9 g instant yeast, 7 g xanthan gum, and 10 g baking powder. Whisk to combine.
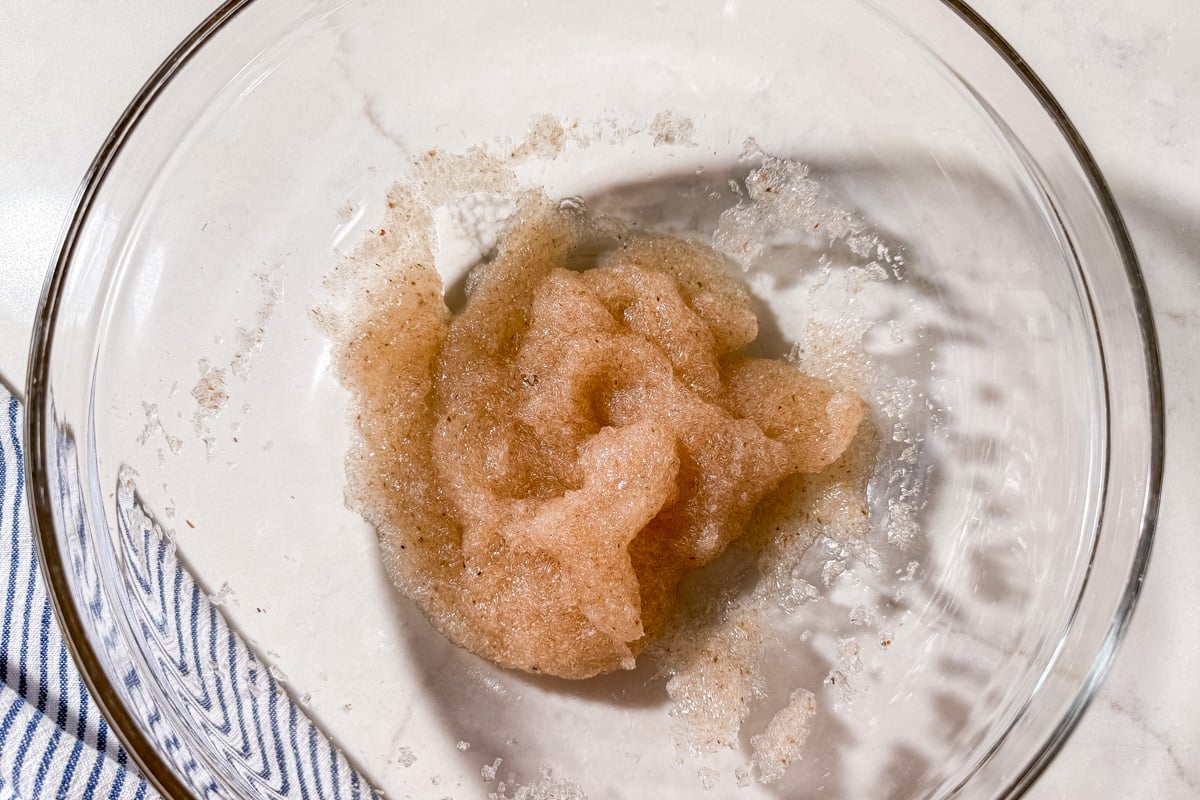
- Make the psyllium gel: In a small bowl, whisk together 20 g whole psyllium husk and 200 g warm water until thickened into a gel. Set aside for about one minute to hydrate fully.
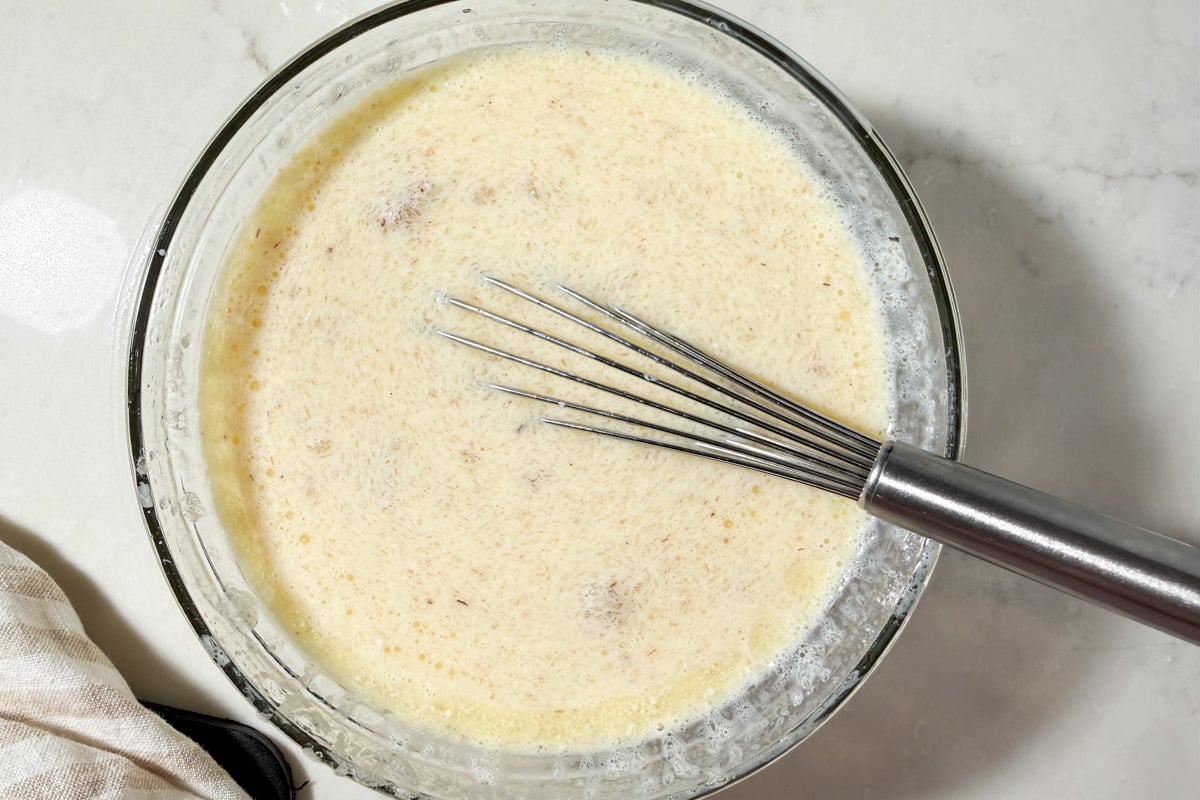
- Combine the wet ingredients: In a medium bowl, whisk together 215 g warm whole milk, 1 large egg, 70 g avocado oil, and 6 g apple cider vinegar. Add in the psyllium gel and whisk until smooth and uniform.
- Make the dough: Pour the wet ingredients into the dry ingredients. Using the dough hook attachment, mix on medium speed for about 5 minutes, scraping the sides and bottom of the bowl as needed. The dough should be soft, thick, and slightly sticky.
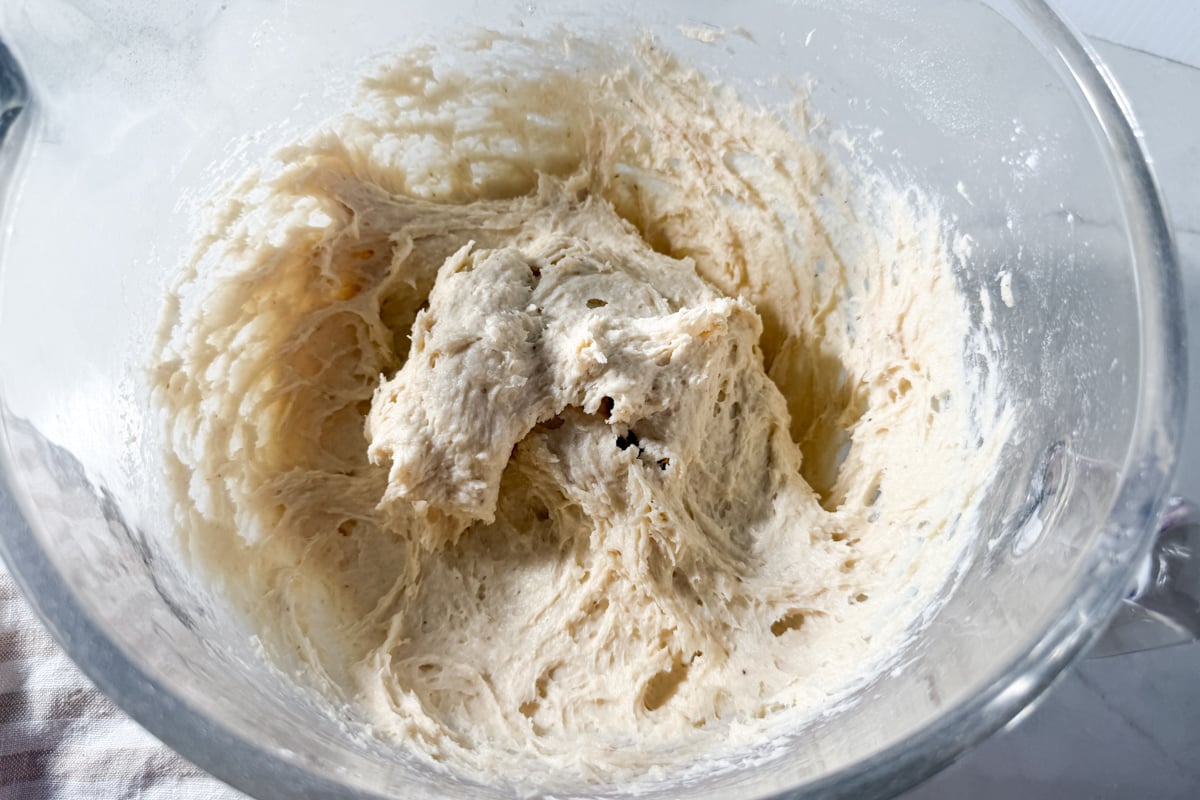
- Knead the dough: Dust your hands and work surface with tapioca starch. Turn out the dough and knead by hand for 1 to 2 minutes until smooth.
- Shape the dough: Pat the dough into a rectangle the width of the loaf pan, about 1 inch thick.
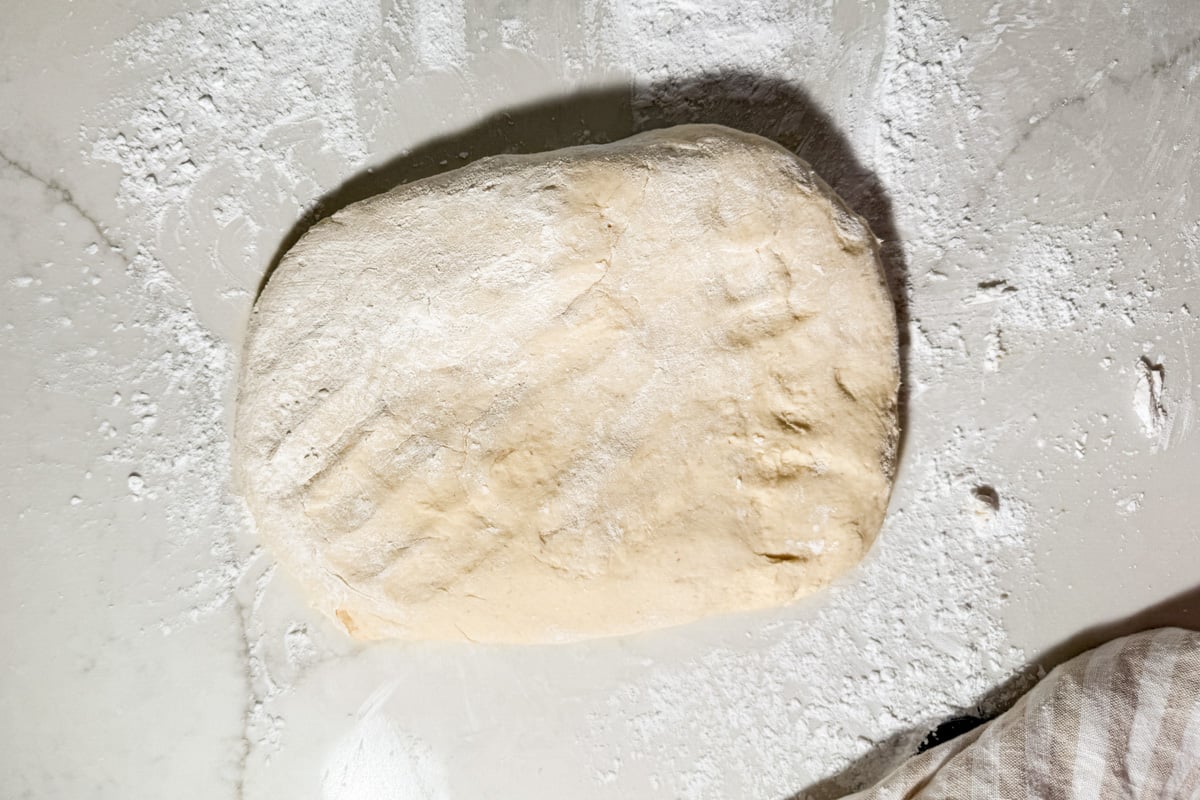
- Roll it into a log: Roll the dough up tightly from one short end into a log, pinching the seam closed.
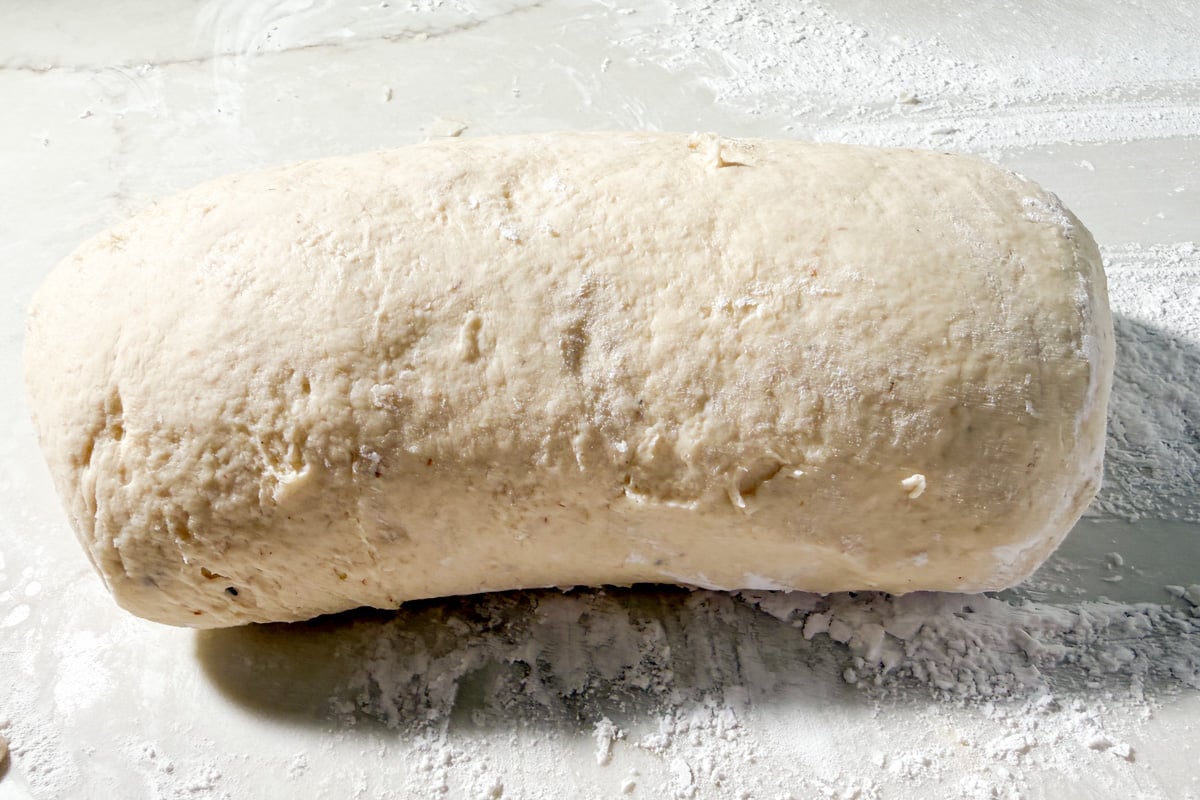
- Set it in the pan: Place the log seam-side down in a greased 9×5-inch metal loaf pan.
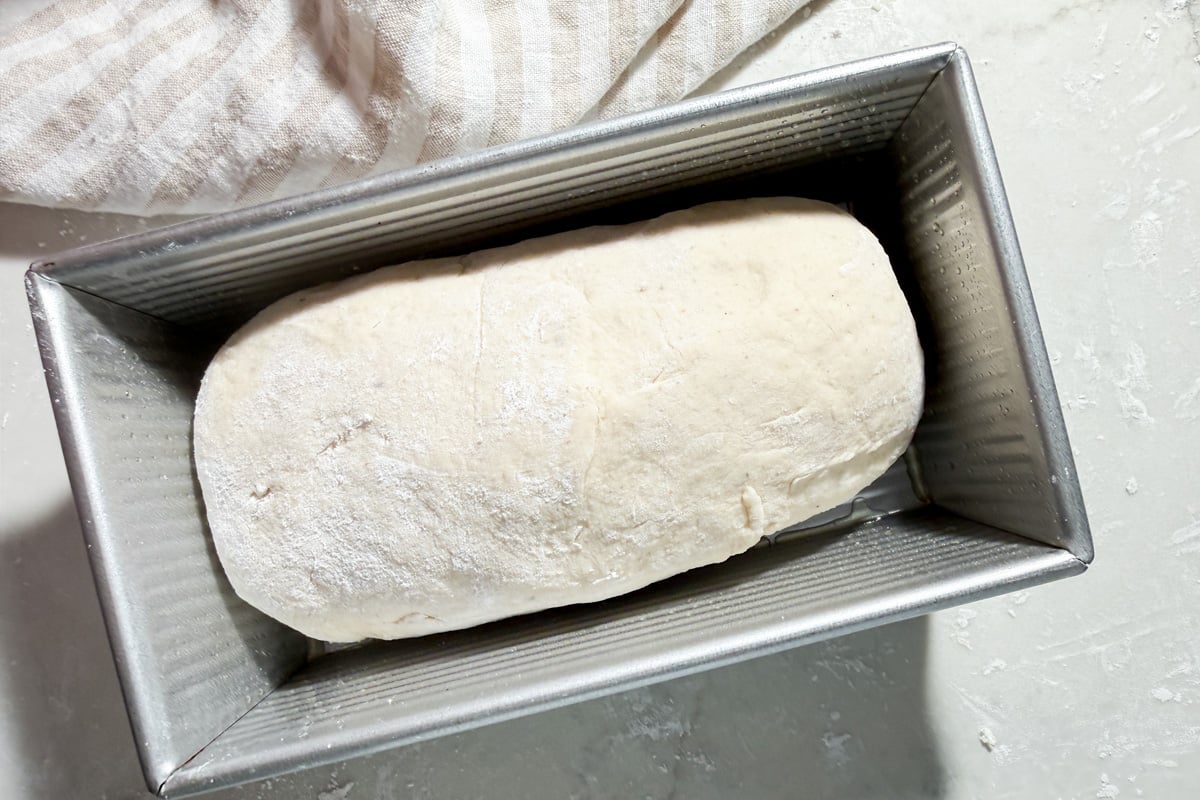
- Proof the dough: Cover the pan loosely and let rise in a warm spot (75–80°F) for about 60–90 minutes, or until doubled in size and the top is just above the rim of the pan. In a cold kitchen, let it rise in the oven with the oven off and the light turned on.
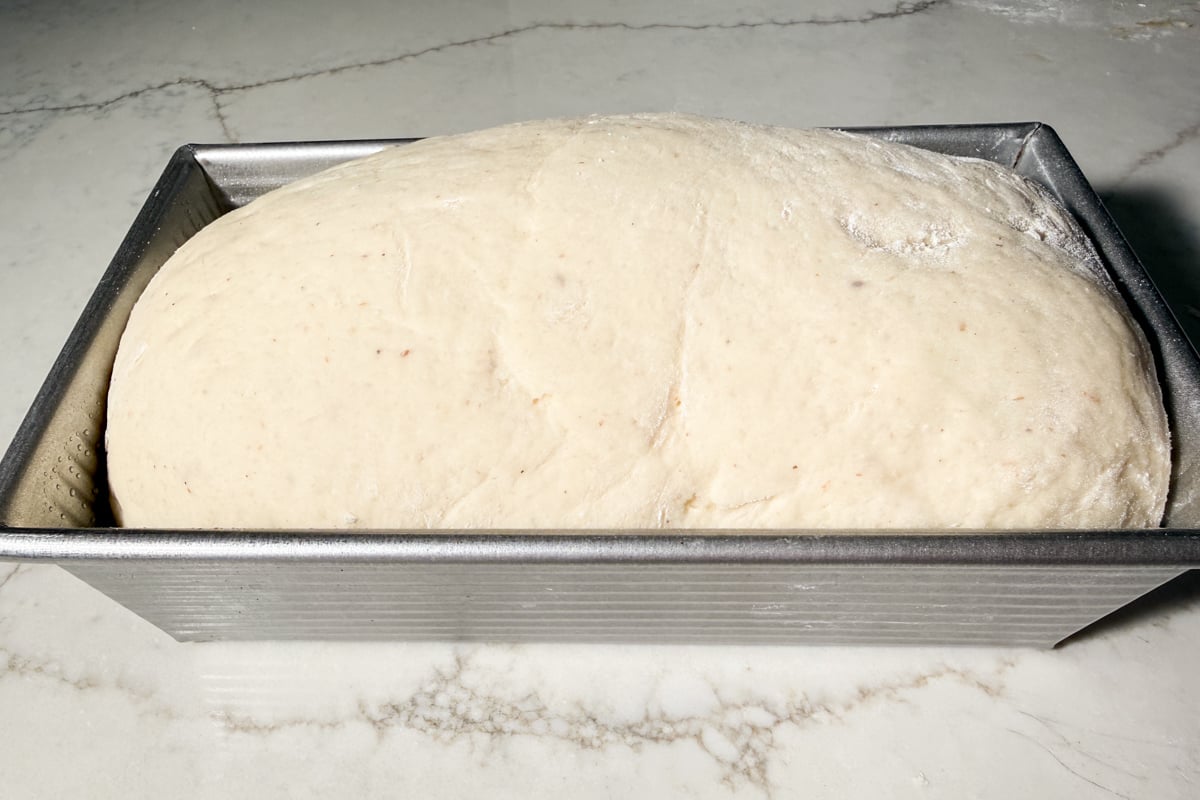
- Bake: Preheat the oven to 375°F (190°C) during the last 30 minutes of the rise time. Brush the top with 1 large egg that has been beaten. Bake for 55–65 minutes, or until deep golden brown and the center reaches 210°F. Tent with foil if the bread is browning too quickly.
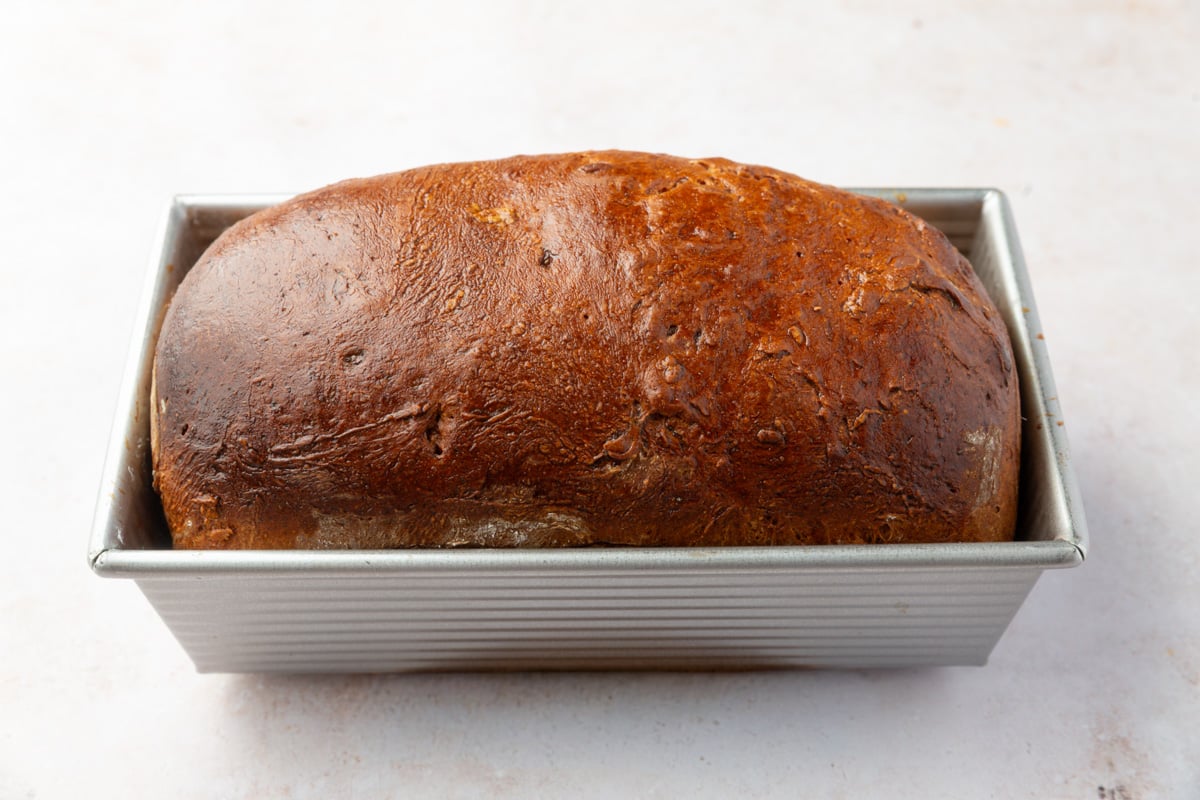
- Cool: Cool in the pan for 15 minutes before transferring to a wire rack to finish cooling for a full 1 hour before slicing.
Notes
- Flour Blend: Store-bought gluten-free blends don’t perform well in yeast recipes. This custom blend gives the best soft, fluffy texture.
- Storage: Keep it wrapped on the counter for up to 2 days. To freeze, slice it first and freeze the slices in a single layer before transferring them to a freezer-safe bag, where they’ll keep for up to 3 months. You can toast slices directly from frozen.
