


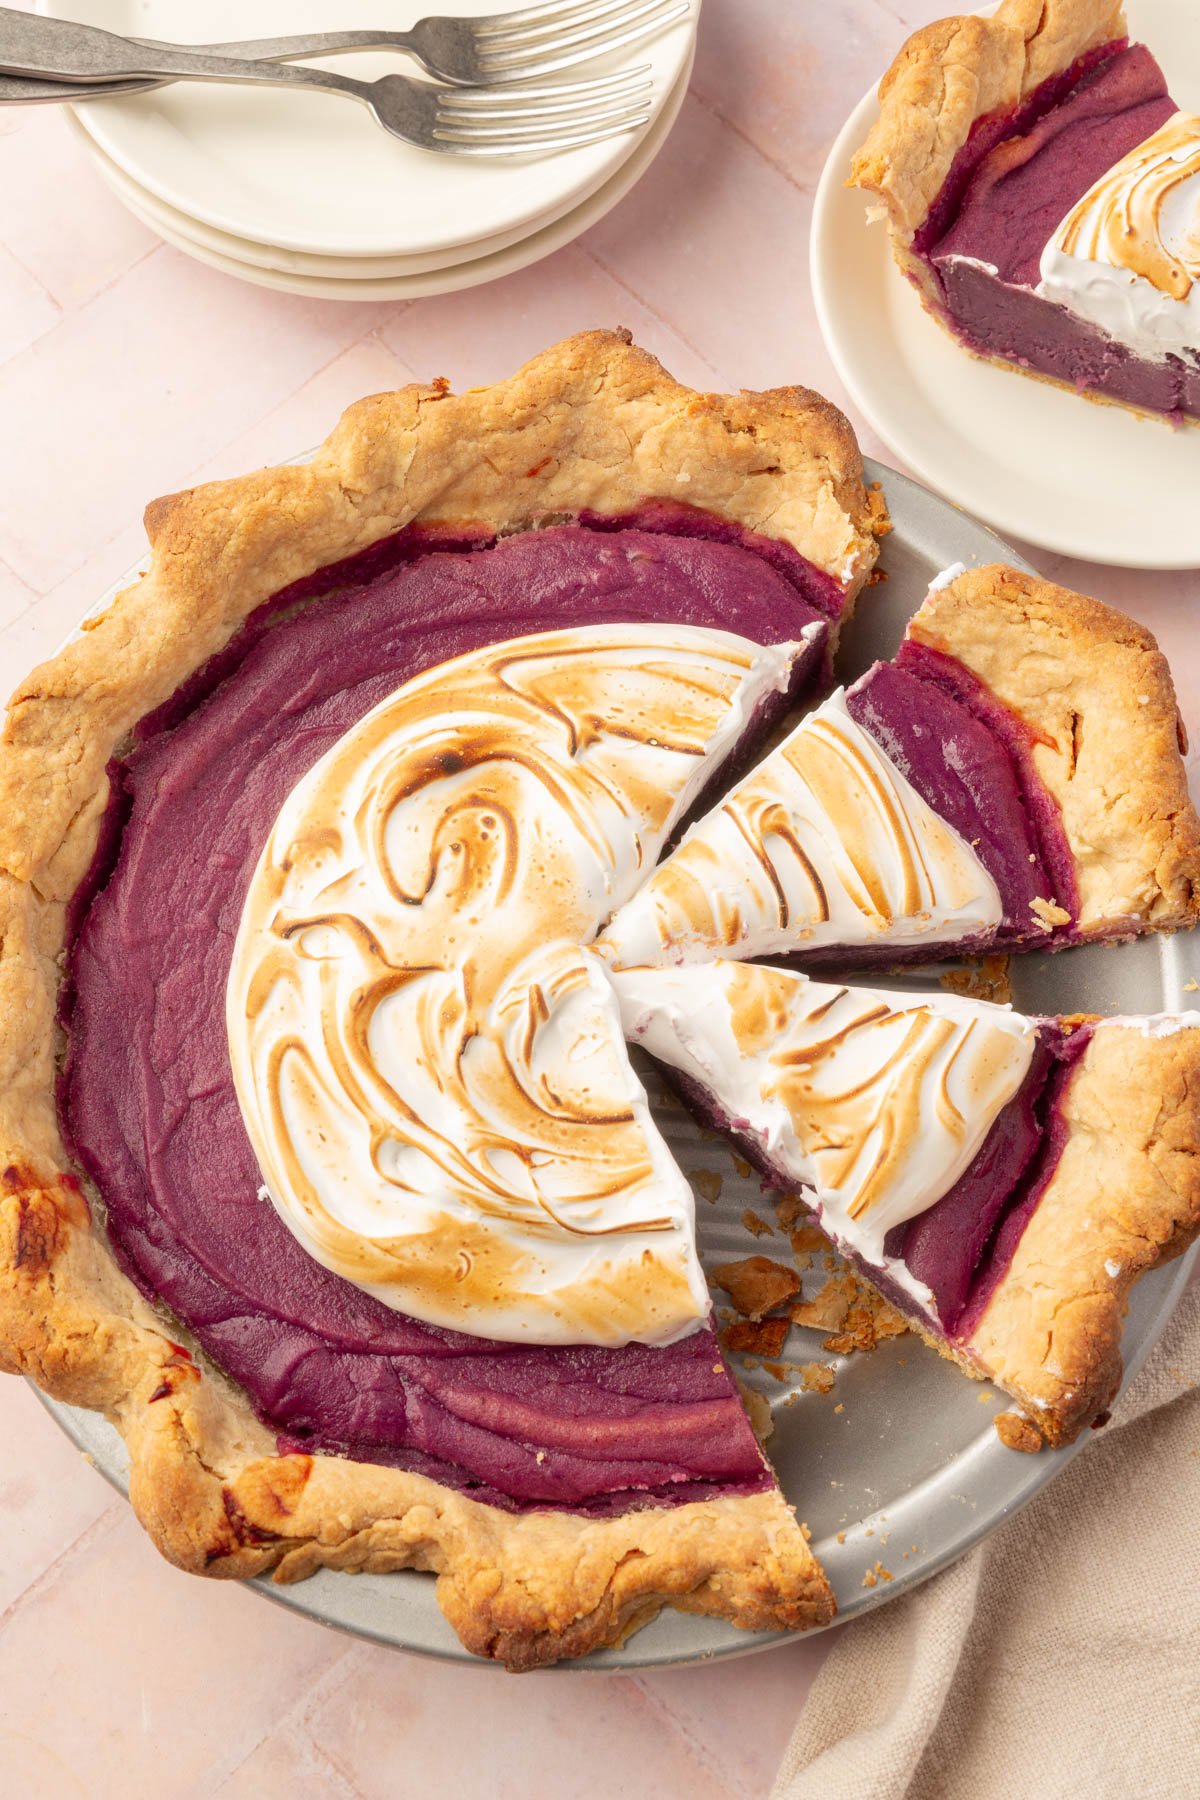
This purple sweet potato pie swaps the usual orange sweet potatoes for Stokes or Okinawan purple sweet potatoes, which give the filling its color naturally, no food dye needed. The nutty, mildly sweet filling is baked in a gluten-free pie crust and finished with a fluffy marshmallow meringue topping, a twist on the classic sweet potato pie that holds its own next to pumpkin pie on a holiday table.
Why You’ll Love This Recipe

Ingredient Notes:
- Purple Sweet Potatoes – These vibrant sweet potatoes are commonly found in specialty grocery stores, farmers’ markets, or Asian markets. In the U.S., they are often labeled as “Stokes Purple” or “Okinawan Sweet Potatoes.” Stokes Purple Sweet Potatoes have a denser texture and a deep purple color, while Okinawan Sweet Potatoes have a lighter, more lavender hue and a creamier texture. I used Stokes purple sweet potatoes which I found at Whole Foods Market.
- Heavy Cream – Adds richness to the filling. You can also use evaporated milk instead.
- Unsalted Butter – Softened butter helps create a creamy filling. I usually use softened butter if I plan on mixing it with the warm sweet potatoes right away. Otherwise, I suggest melting the butter before combining it with the sweet potatoes.
- Cornstarch – Thickens the filling and helps it set.
- Egg Whites – Used in the marshmallow meringue topping to create a light and fluffy texture. Make sure no yolks are present, as they can prevent the meringue from forming peaks. The egg whites get cooked over the stove top so you are not eating raw eggs. If you are worried, use pasteurized eggs.
- Gluten-Free Pie Crust – If you have celiac disease, like me, or are trying to make this pie gluten-free for any reason, I highly recommend using a half batch of my gluten-free pie crust recipe. It’s flaky and really easy to work with. You can also use frozen gluten-free pie crusts. You don’t need to parbake the crust if you use a pre-made frozen pie crust.
Making changes to a recipe can result in recipe failure. Any substitutions listed below are simple changes that I believe will work in this recipe, but results are not guaranteed.
Roast Your Sweet Potatoes
While there are many ways to cook purple sweet potatoes for this pie, I prefer to roast mine in the oven instead of boiling them on the stovetop. Roasting helps concentrate their natural sweetness and keeps the texture creamy instead of watery.

Recipe FAQs
Yes, you can use orange sweet potatoes if purple ones aren’t available. However, the color and flavor will be different.
A kitchen torch is ideal for achieving an evenly toasted, golden-brown finish, but if you don’t have one, you can place the pie under a broiler for 1–2 minutes. Watch it closely to prevent burning.
No, you don’t. While I personally love the combination of sweet potatoes with marshmallow, you can serve the sweet potato pie plain or serve it with some whipped cream or chantilly cream.
Megan’s Tips

Storage Instructions
Storage: Store the baked pie (without the meringue topping) covered in the refrigerator for up to 3 days. Once topped with meringue, it’s best enjoyed the same day, as the meringue can lose its texture over time.
Freezer Option: You can freeze the pie (without the meringue topping) for up to 1 month. Wrap the cooled pie tightly in plastic wrap, then aluminum foil, to prevent freezer burn. Thaw in the refrigerator overnight before adding the meringue.
Make Ahead Tips
- Prepare the sweet potatoes in advance: Roast the sweet potatoes up to 3 days ahead. Once cooled, peel, mash, and store the flesh in an airtight container in the refrigerator. Be sure to either mix with the butter after mashing, or use melted butter when you combine the sweet potato mash with the remaining ingredients.
- Blind-bake the crust early: Blind-bake your gluten-free pie crust up to 1 day in advance. Let it cool completely, then cover tightly with plastic wrap or foil to keep it fresh.
- Bake the pie in advance: The entire pie (without the meringue topping) can be baked 1–2 days ahead. Store it in the refrigerator, covered, and add the meringue topping just before serving. Make the meringue topping the day you plan to serve it as it starts to weep after about a day.
- Add the meringue just before serving: You can make the marshmallow topping the day before serving and keep it in the refrigerator. For best results, I don’t like to add it to the pie until just before serving. It also makes for a really impressive finish for your guests when you spoon the topping on the pie and pull our your kitchen torch to brown the marshmallow in front of their eyes!
Did you make this recipe?
I’d love to know! Please rate it and leave a comment below. You can also share your pictures and tag @adashofmegnut on Instagram.

Gluten-Free Purple Sweet Potato Pie
Ingredients
For the Crust
- Homemade Gluten-Free Pie Crust - This recipe makes 2 crusts. You can either halve the recipe or freeze the second crust to use later. I use Cup4Cup Multipurpose Flour
For the Sweet Potato Pie Filling
- 1 ½ pounds (680 g) purple sweet potatoes - about 2 large sweet potatoes
- 1 cup (200 g) granulated sugar
- 3 (150 g) large eggs
- ½ cup (120 g) heavy cream
- ⅓ cup (76 g) unsalted butter - melted and cooled
- 1 teaspoon vanilla extract
- 1 tablespoon cornstarch
- 1 teaspoon ground cinnamon
- ½ teaspoon ground nutmeg
- ¼ teaspoon ground cloves
- ½ teaspoon ground ginger
- ½ teaspoon kosher salt
For the Marshmallow Meringue Topping
- 2 large egg whites
- ½ cup (100 g) granulated sugar
- ¼ teaspoon cream of tartar
- 1 teaspoon pure vanilla extract
**Use the toggle button above to turn the instruction photos on and off!
Instructions
Prepare the Crust
- Prepare a half batch of my Homemade Gluten-Free Pie Crust or you can make the full batch and freeze half for later, which is what I always do.
- Preheat your oven to 425°F (220°C).
- Use a rolling pin to press down on the pie crust disk a few times to soften it. Dust your rolling pin and a piece of parchment paper with gluten-free flour. Roll out the bottom crust into a large circle onto the piece of parchment paper, until it is about ¼ inch thick and 12 inches in diameter for a 9-inch pie dish.
- Place the pie dish upside down on the center of the rolled-out dough. Using the parchment paper for support, carefully flip the dough and pie dish over so the dough lines the inside of the dish. You want to have about 1.5 inches of overhang on all sides. Take the overhang and roll it under itself to create a thick edge.
- Using your fingers, crimp or flute the edges of the dough.
- Place the crust in the freezer to chill for 15 minutes to solidify the butter before baking.
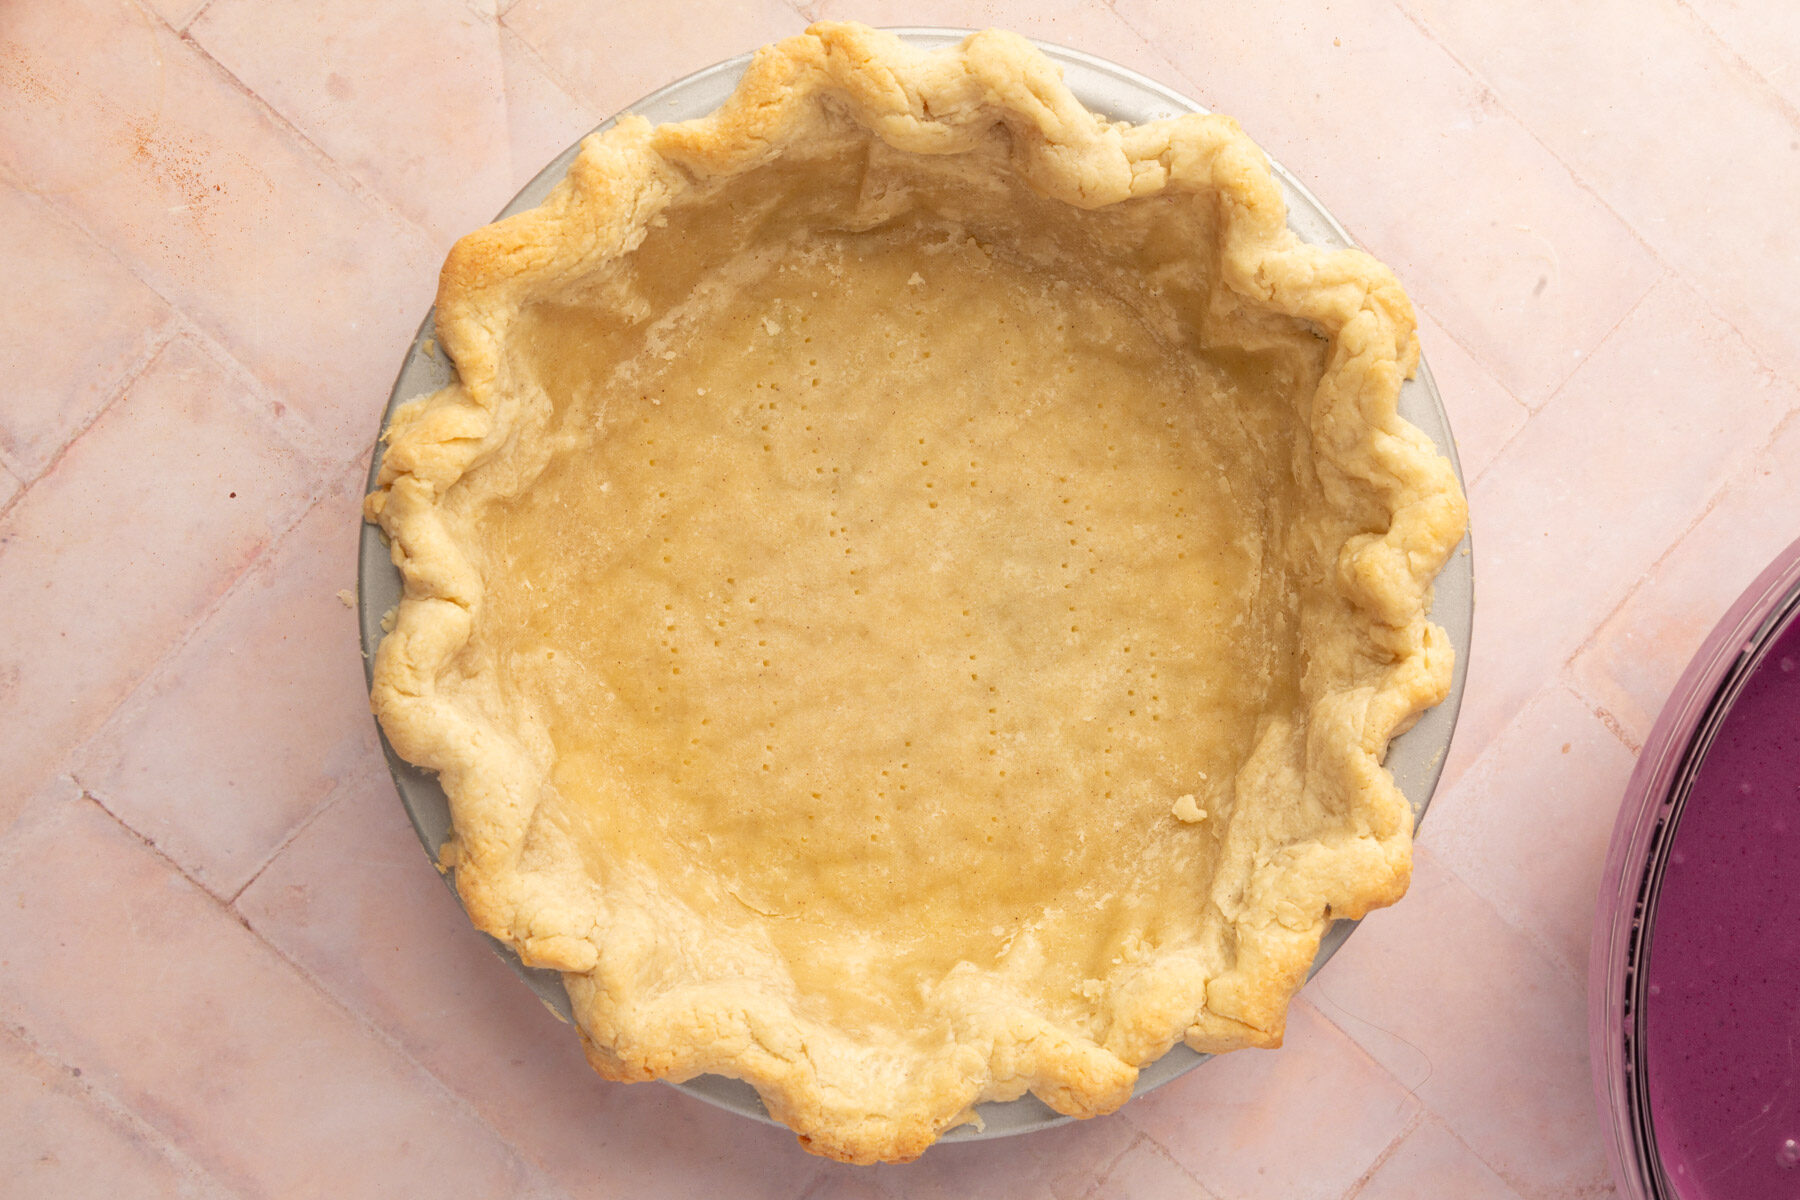
- Dock the crust with a fork and line it with parchment paper. Fill with pie weights or dry beans. You’ll want to make sure that the pie weights fill the whole height of the pie crust to make sure that the sides don’t shrink and slide down as they bake.
- Bake at 425°F (220°C) for 15 minutes, until the edges are starting to brown. Remove the pie from the oven and let cool before you remove the pie weights and parchment paper. Set aside while you prepare the pie filling.

Prepare the Sweet Potato Filling
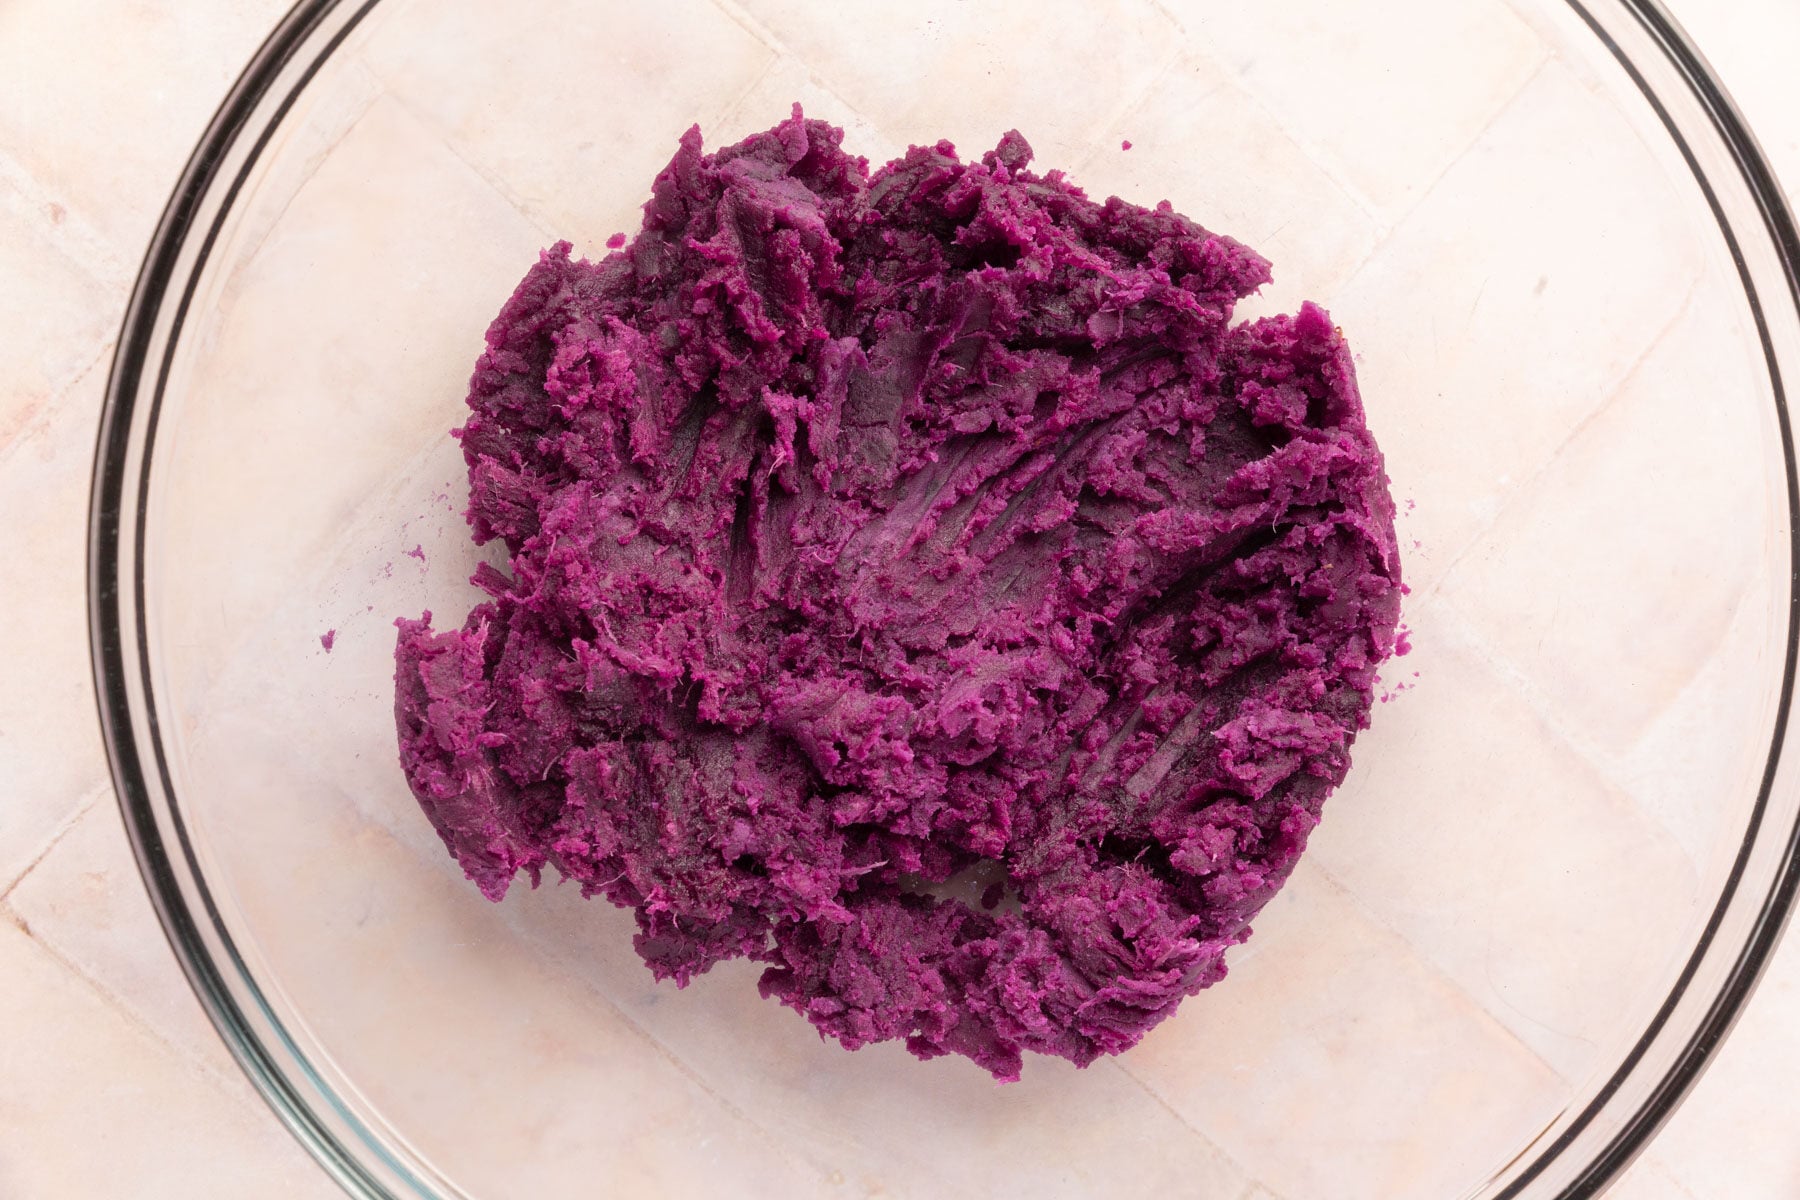
- Pierce 1 ½ pounds (680 g) purple sweet potatoes with a fork and place on a baking sheet. Roast the purple sweet potatoes at 425°F (220°C) for 45–60 minutes, or until tender.
- Cool the potatoes, then remove and discard the skins.
- In a large bowl, measure 2 cups of sweet potato flesh. Beat with a handheld or stand mixer until smooth.
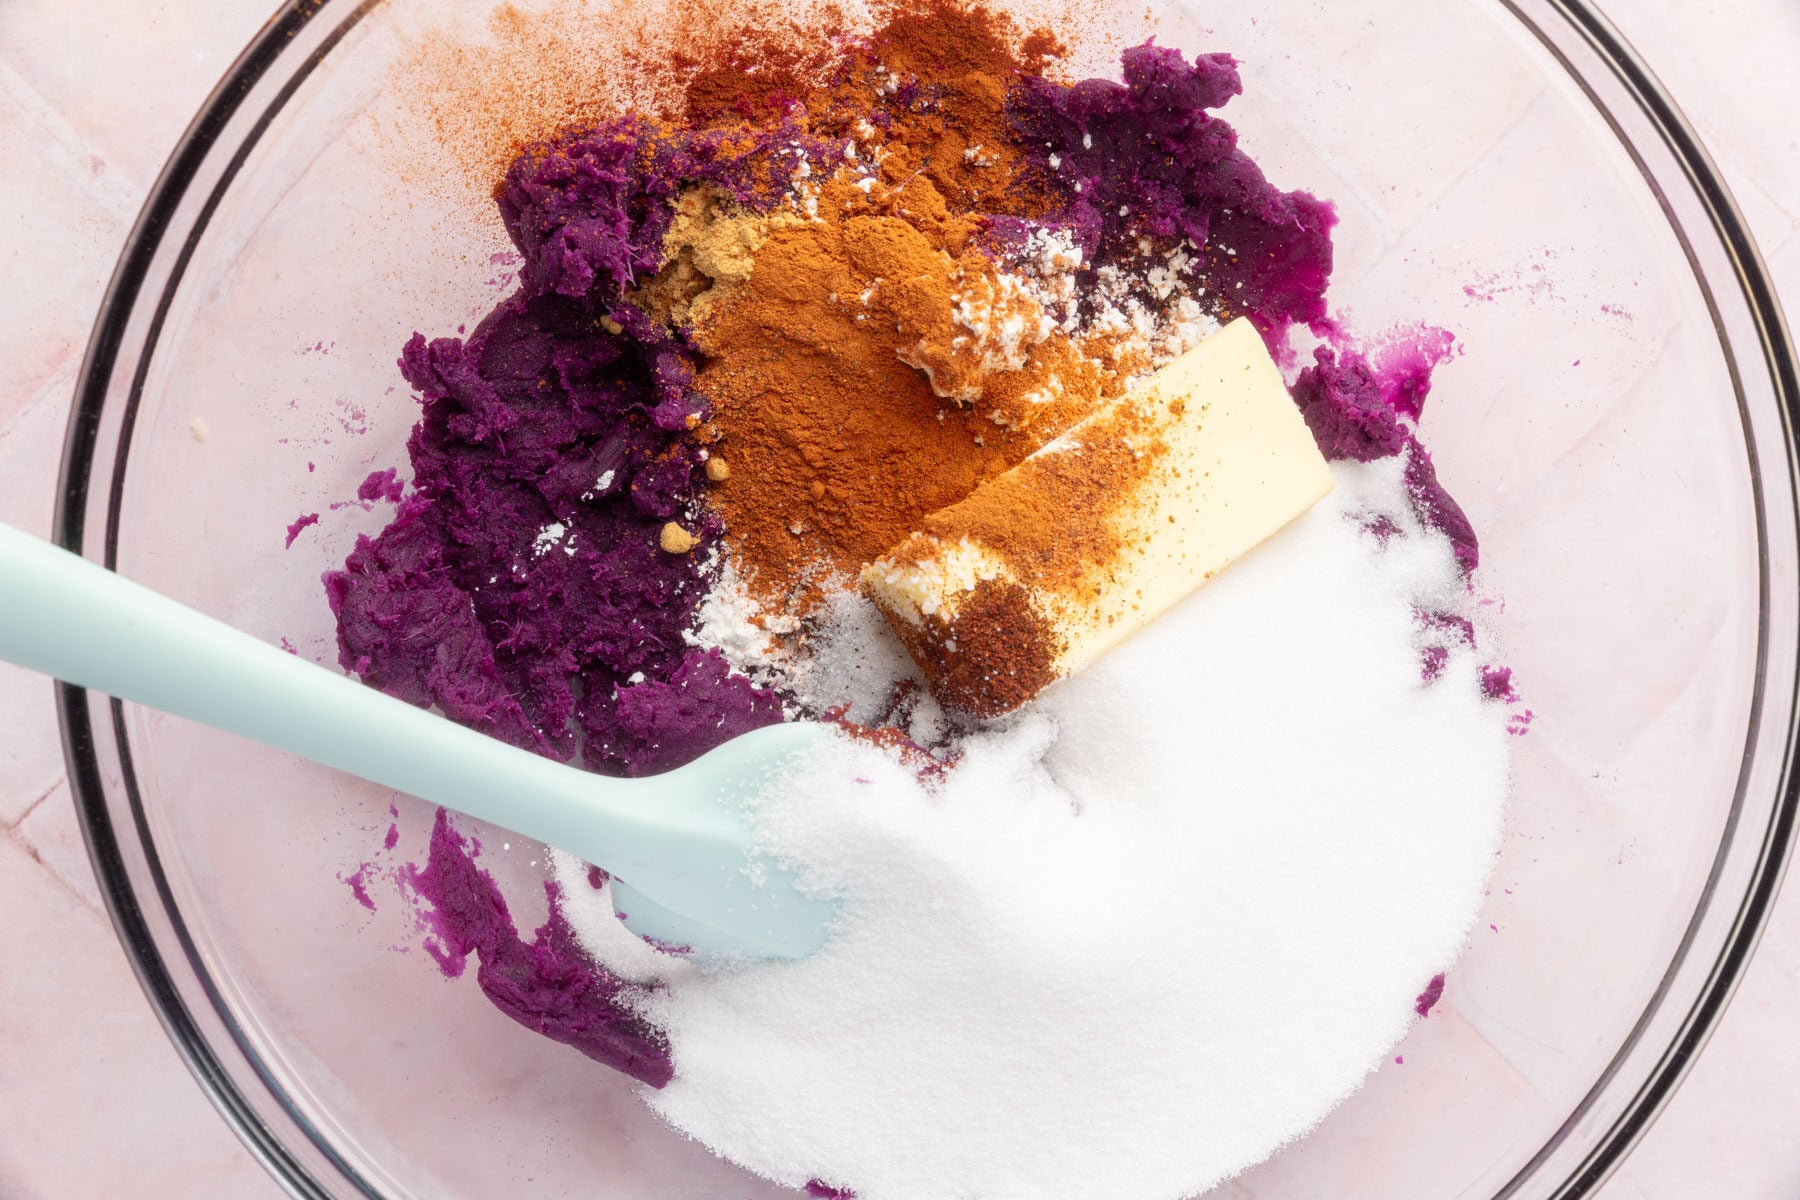
- Add 1 cup (200 g) granulated sugar, 3 (150 g) large eggs, ½ cup (120 g) heavy cream, ⅓ cup (76 g) unsalted butter, 1 teaspoon vanilla extract, 1 tablespoon cornstarch, 1 teaspoon ground cinnamon, ½ teaspoon ground nutmeg, ¼ teaspoon ground cloves, ½ teaspoon ground ginger, and ½ teaspoon kosher salt. Beat until smooth and well combined. Alternatively, you can place all the ingredients in a food processor and pulse until smooth if you like a smoother texture with no lumps.
Assemble and Bake the Pie
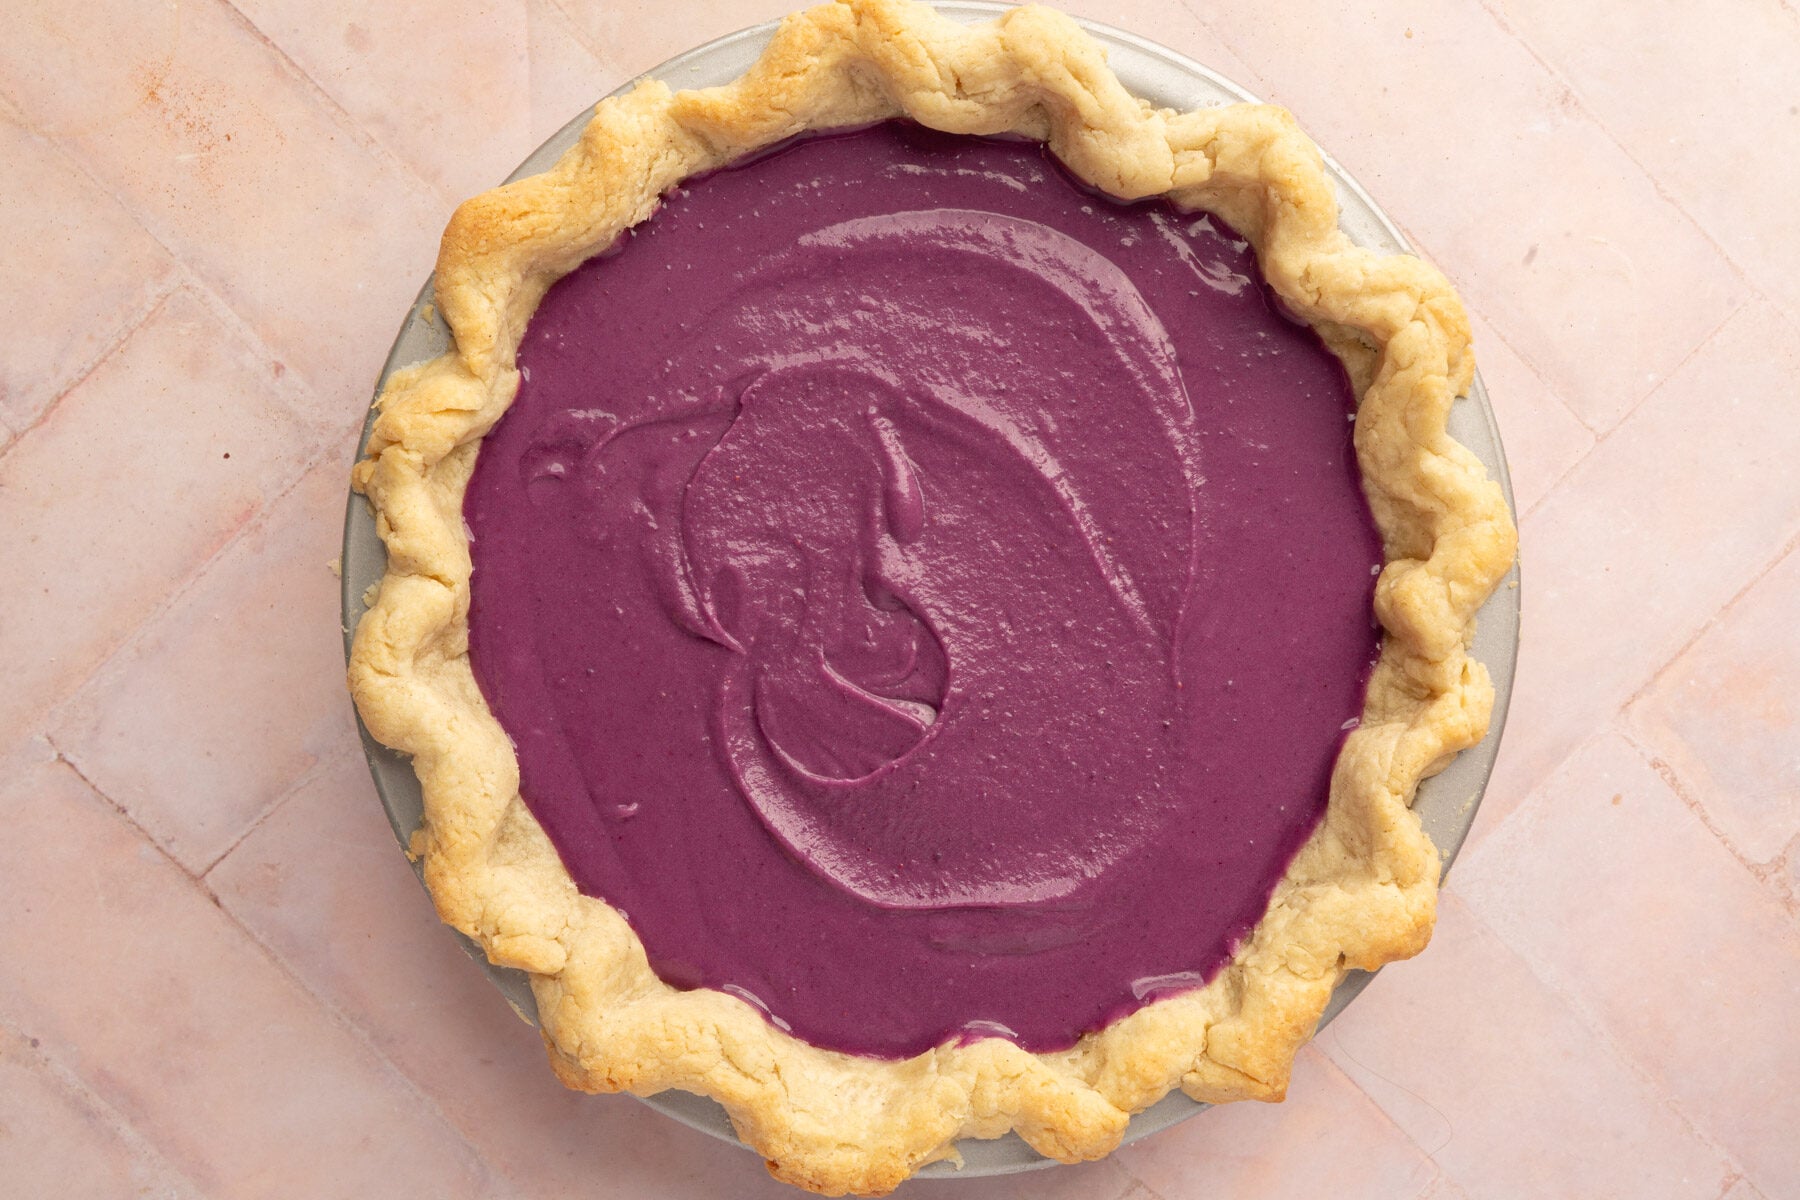
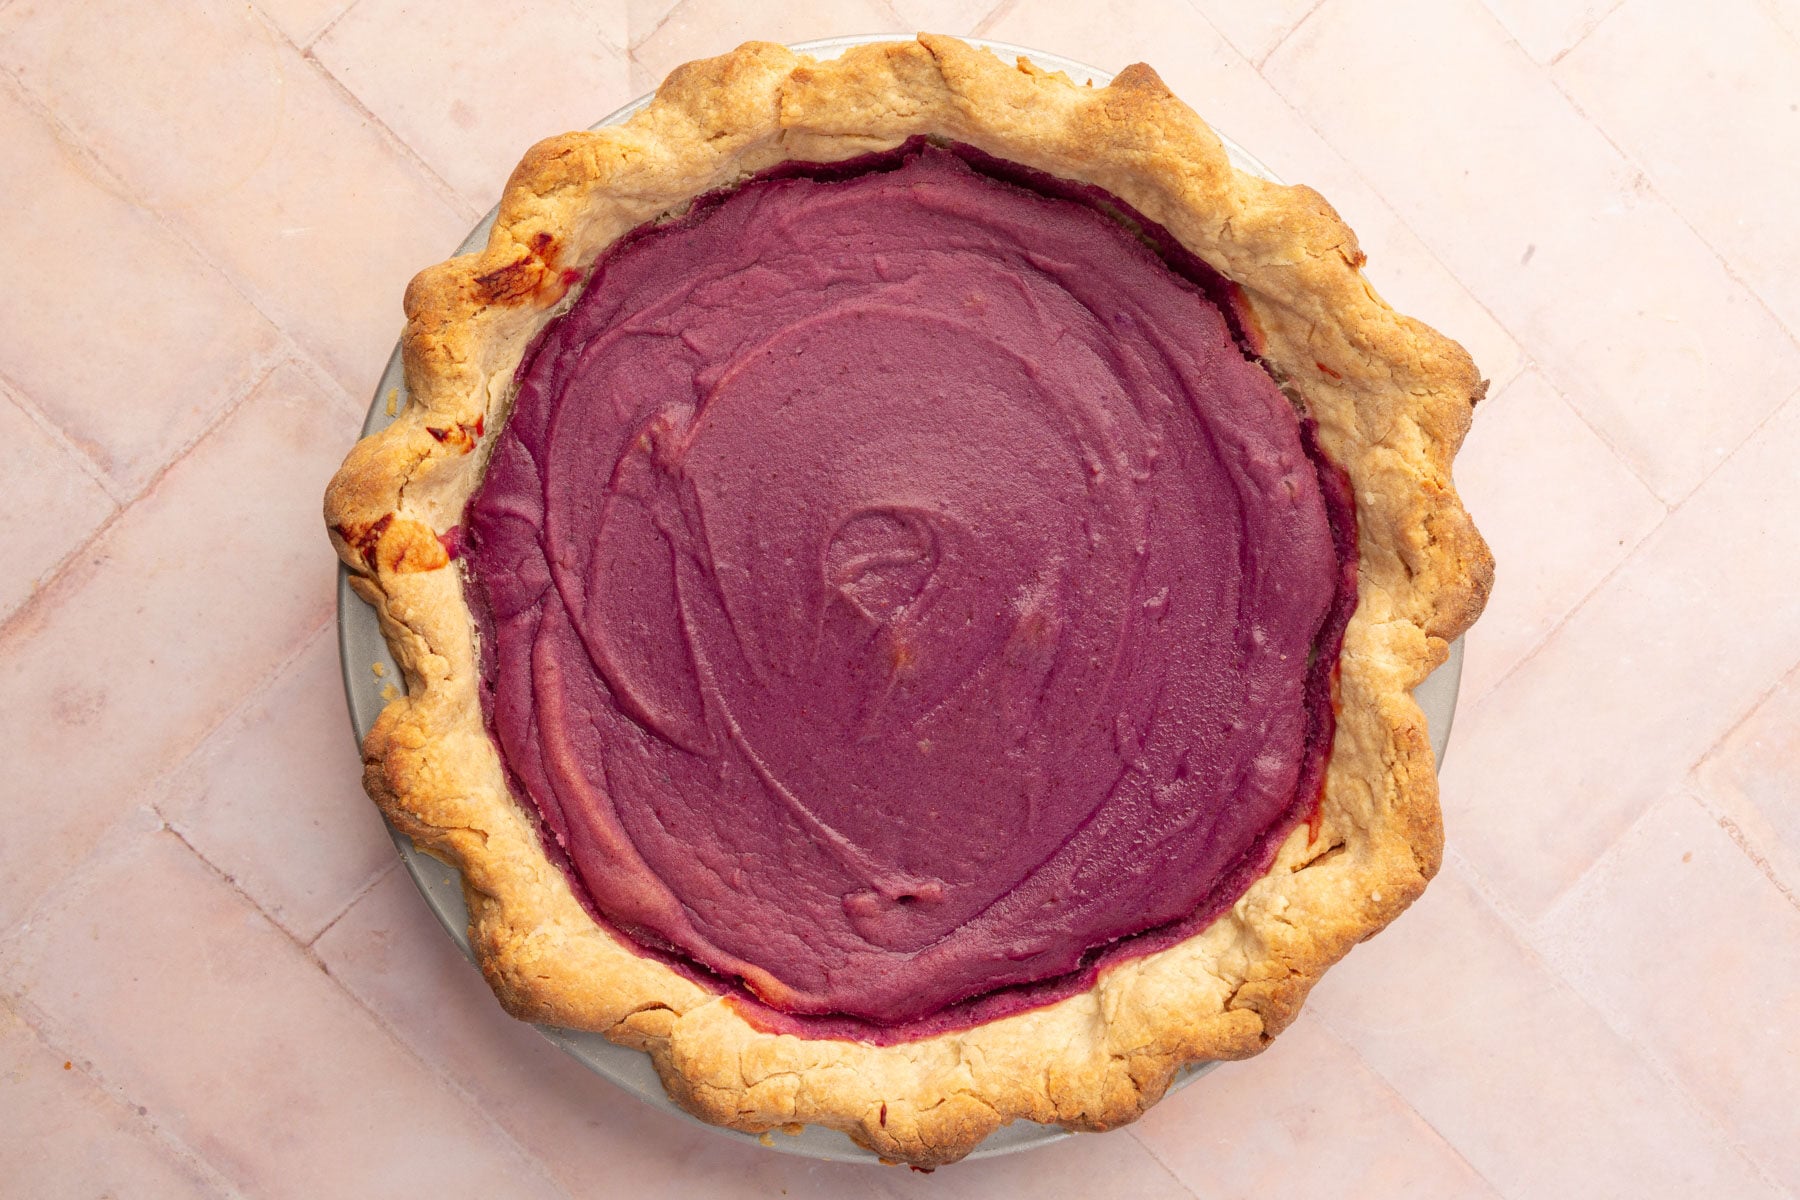
- Pour the sweet potato filling into the par-baked gluten-free pie crust and smooth the top with a spatula. Bake at 425°F for 15 minutes. Reduce the oven temperature to 375°F (190°C) and continue baking for 20-30 minutes, or until the edges of the filling are set with the very center of the pie jiggling ever so slightly. If you take the internal temperature of the pie with a thermometer, it should read 190°F.
- Cool the pie on a wire rack to room temperature and then refrigerate for at least 2 hours, or until ready to top with the marshmallow meringue.
Prepare the Marshmallow Meringue Topping
- In a small saucepan, bring 2–3 inches of water to a simmer.
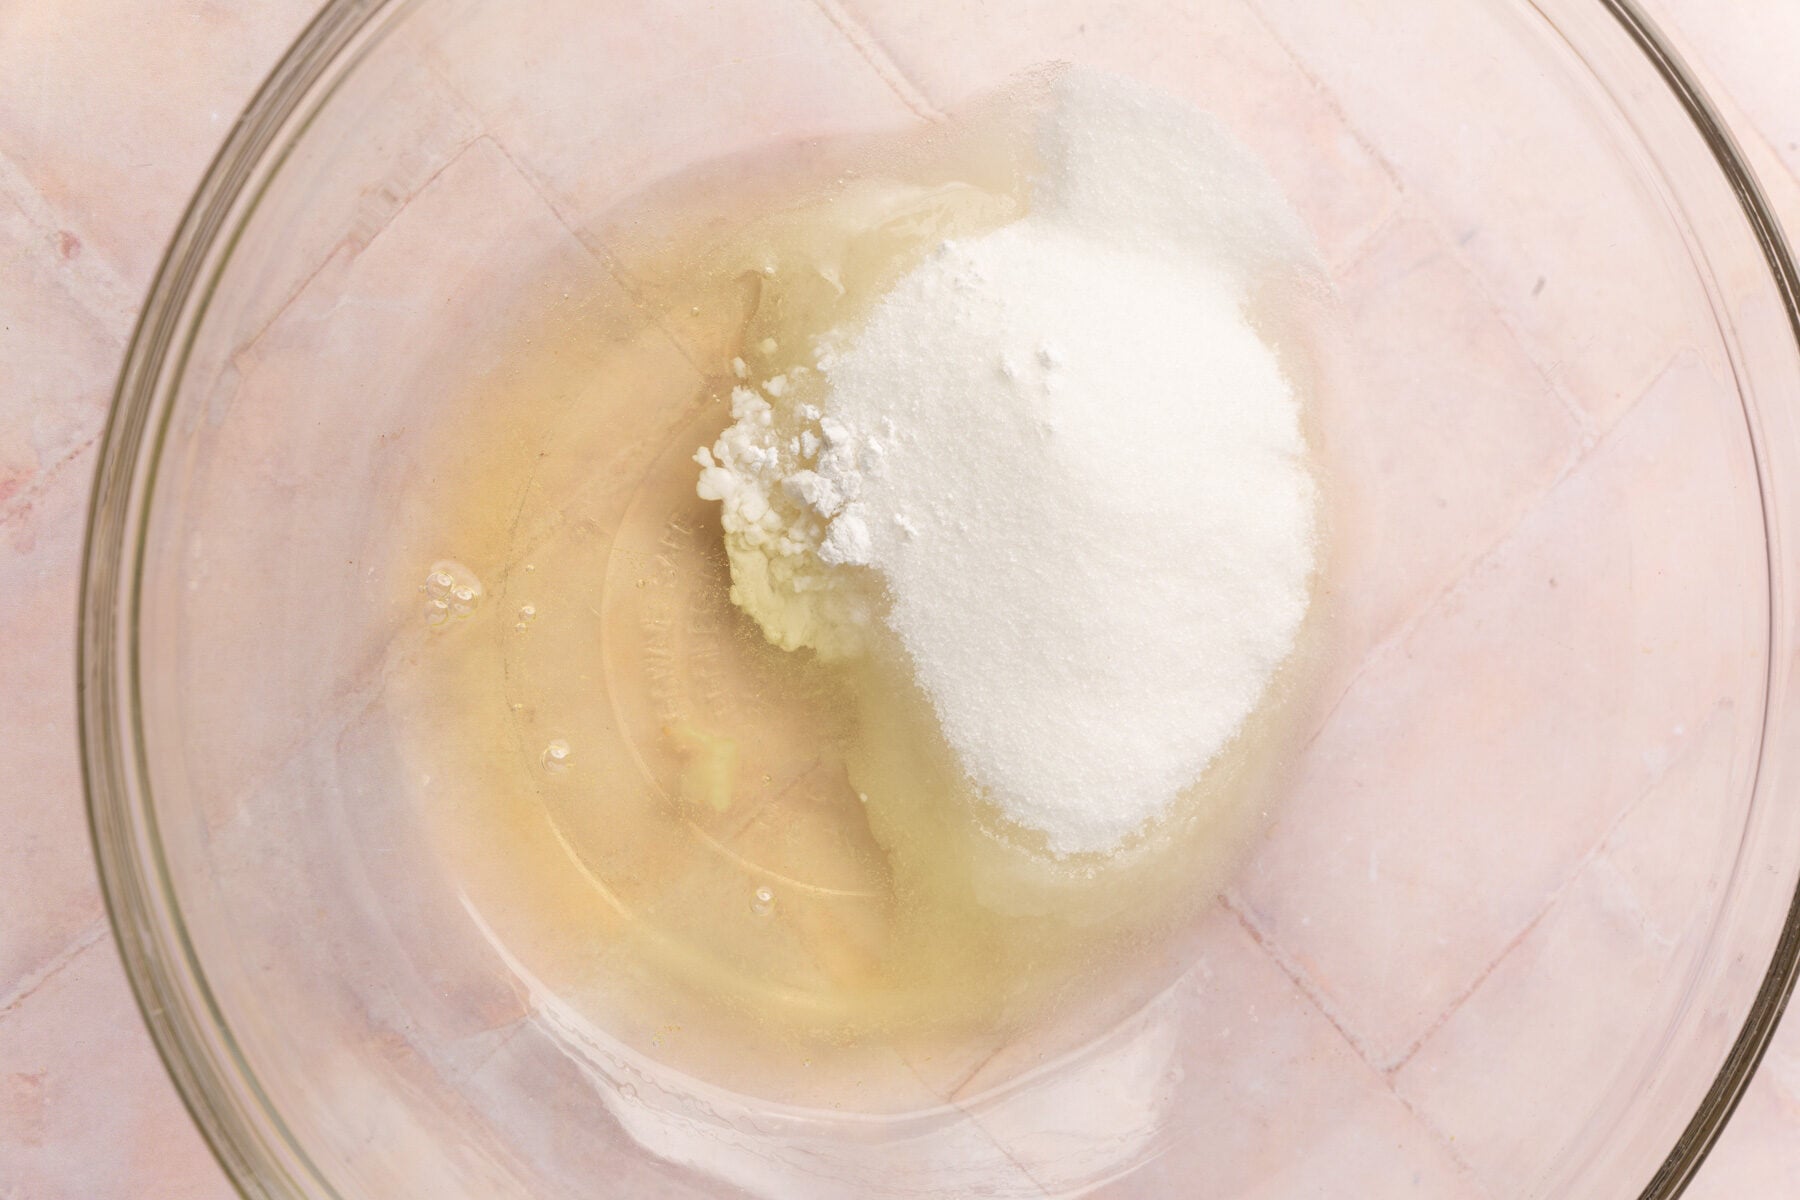
- In a heatproof bowl, combine 2 large egg whites, ½ cup (100 g) granulated sugar, and ¼ teaspoon cream of tartar. Place the bowl over the simmering water, ensuring it does not touch the water.
- Whisk constantly for 4–5 minutes until the sugar dissolves and the mixture reaches 160°F.

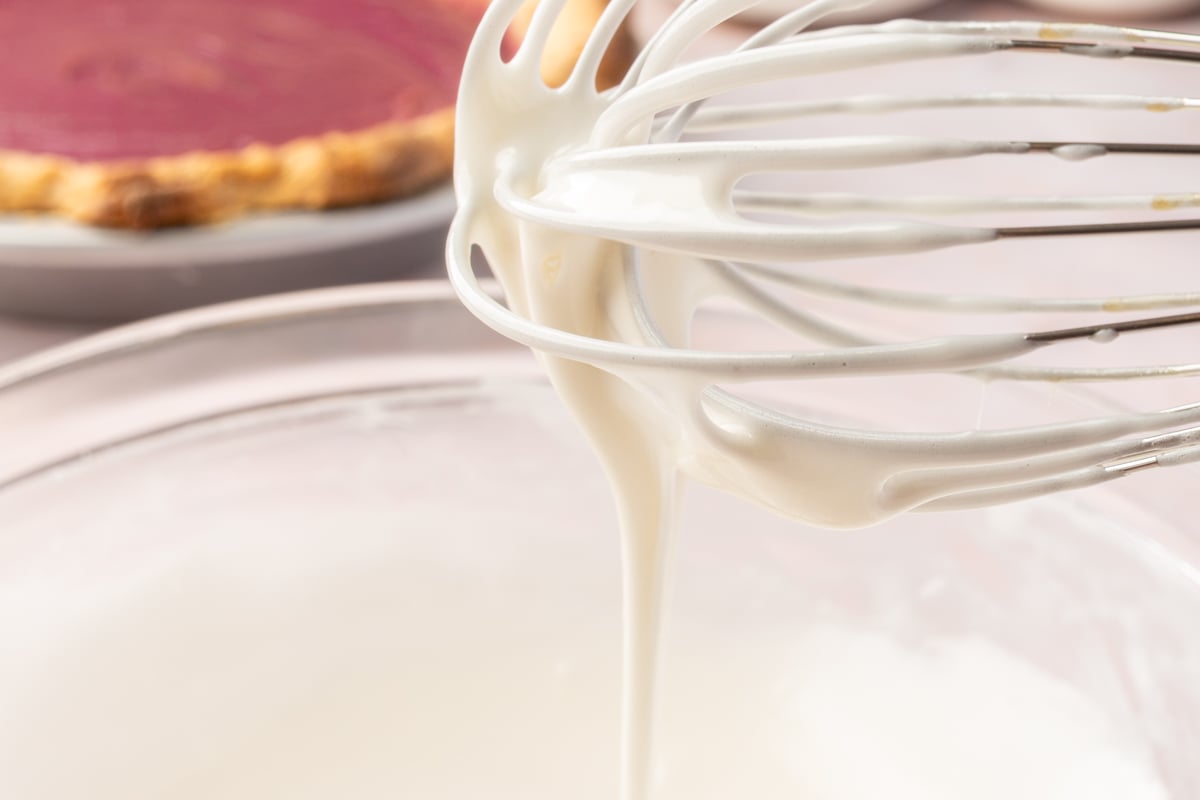
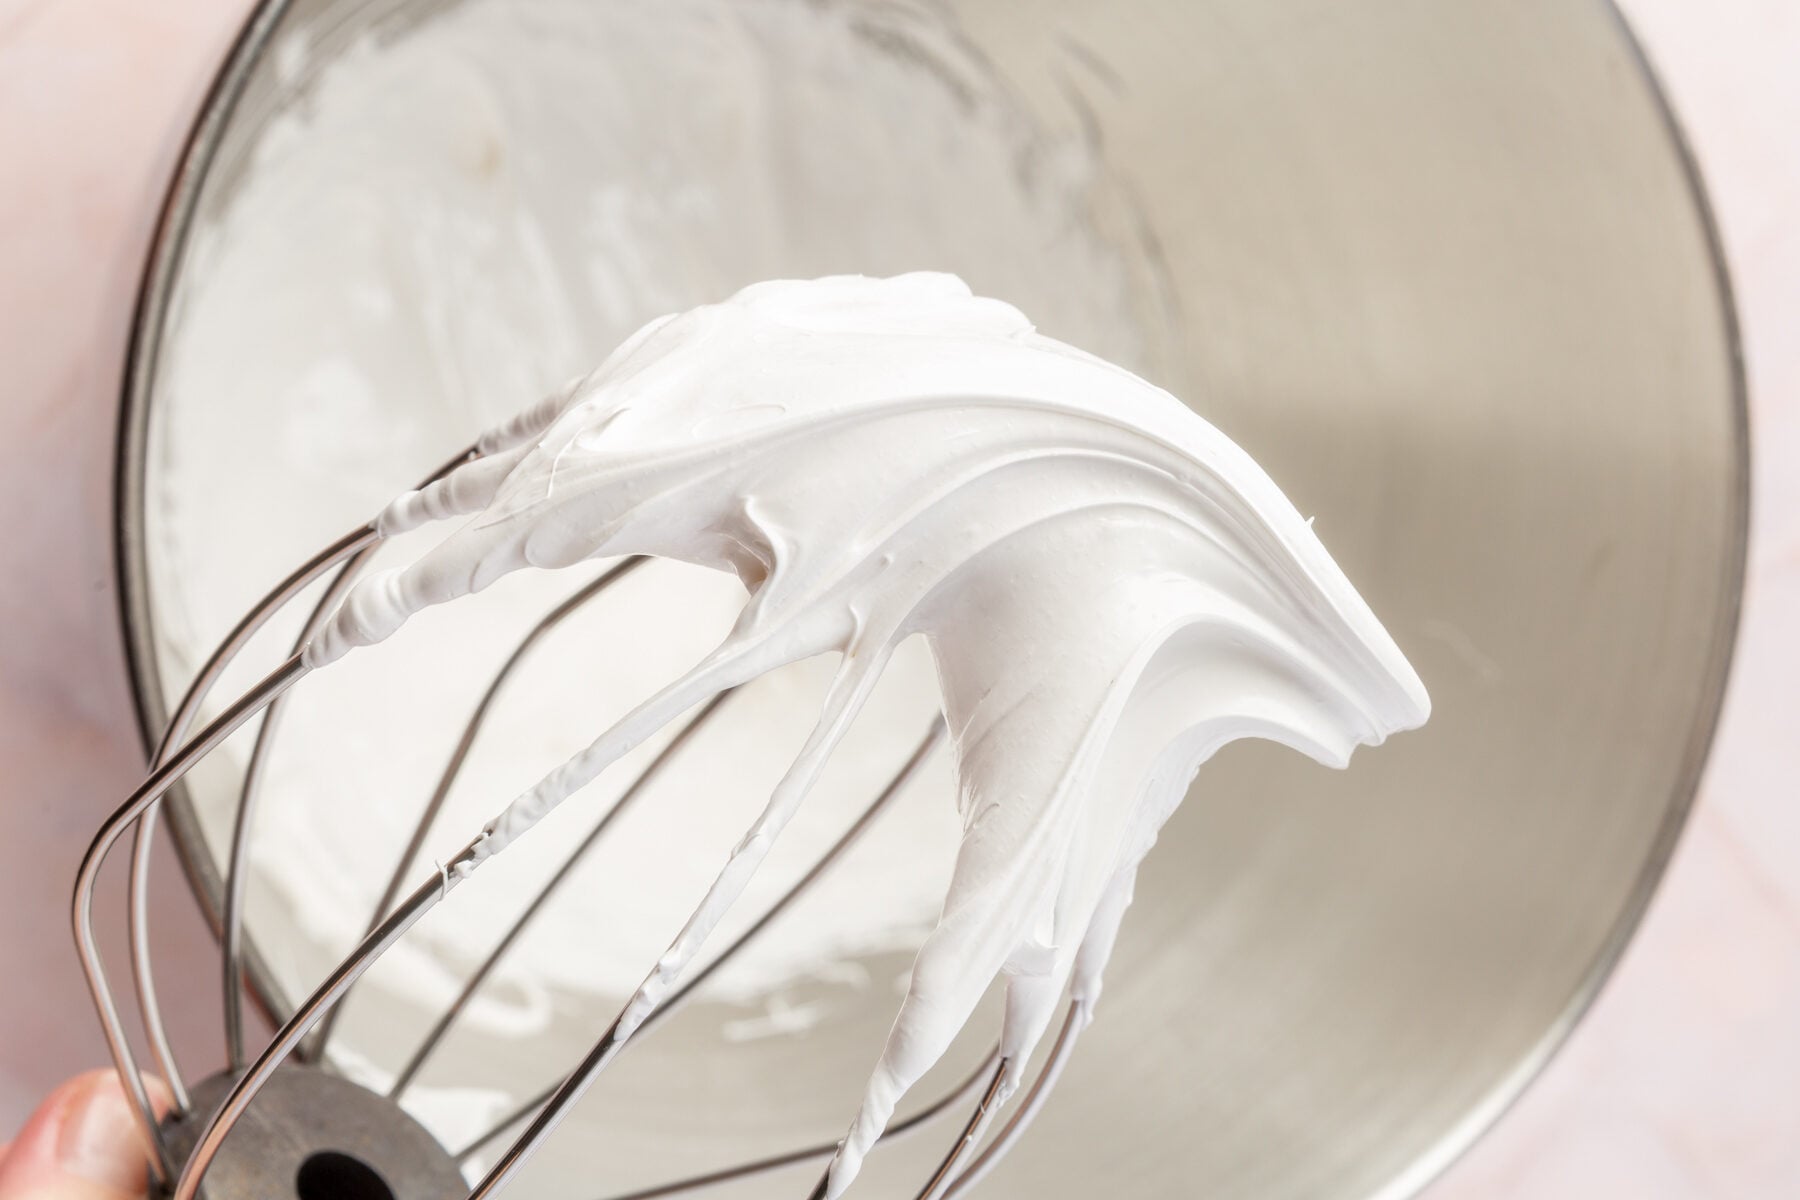
- Remove the bowl from heat, add 1 teaspoon pure vanilla extract, and beat the meringue mixture with a mixer on high speed until stiff peaks form, about 5-10 minutes.
Finish the Pie
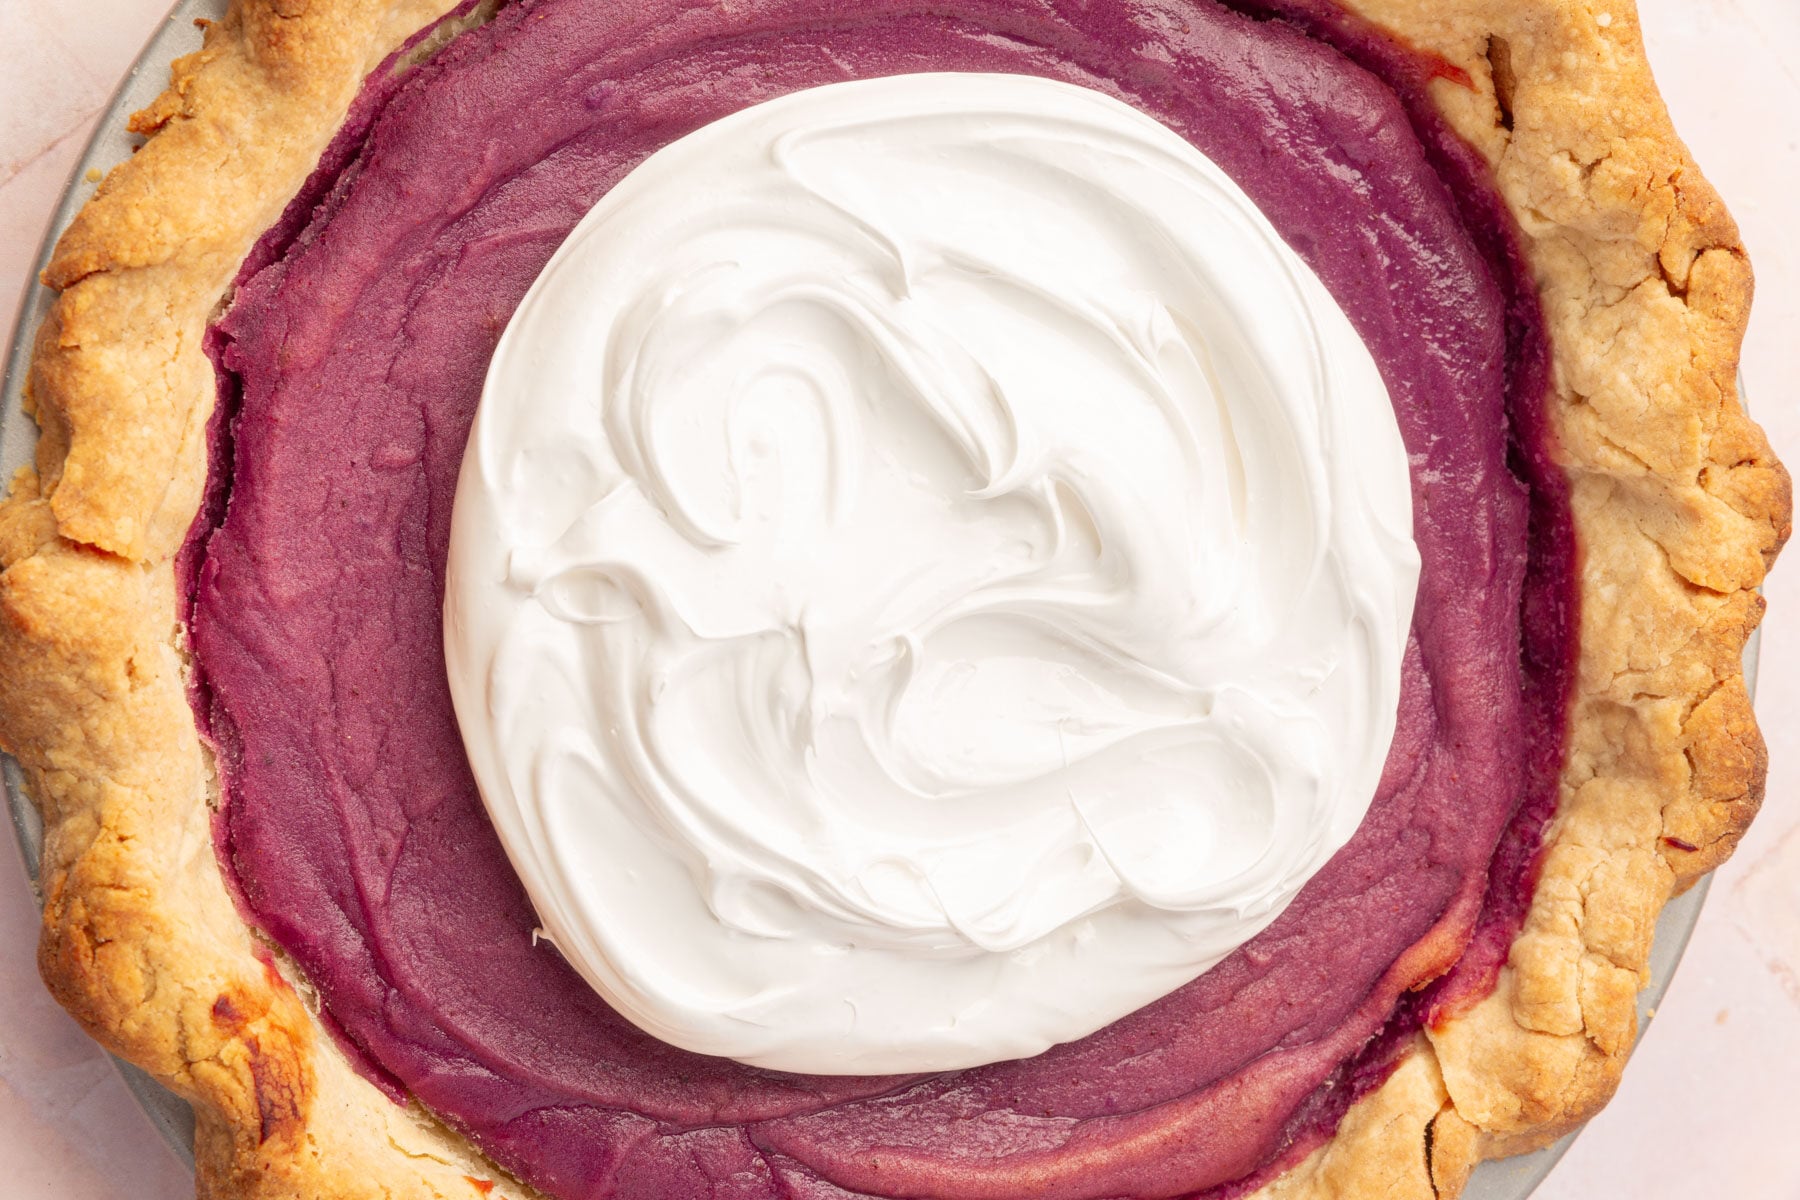
- Spoon the marshmallow meringue topping onto the cooled pie and spread with a spatula.
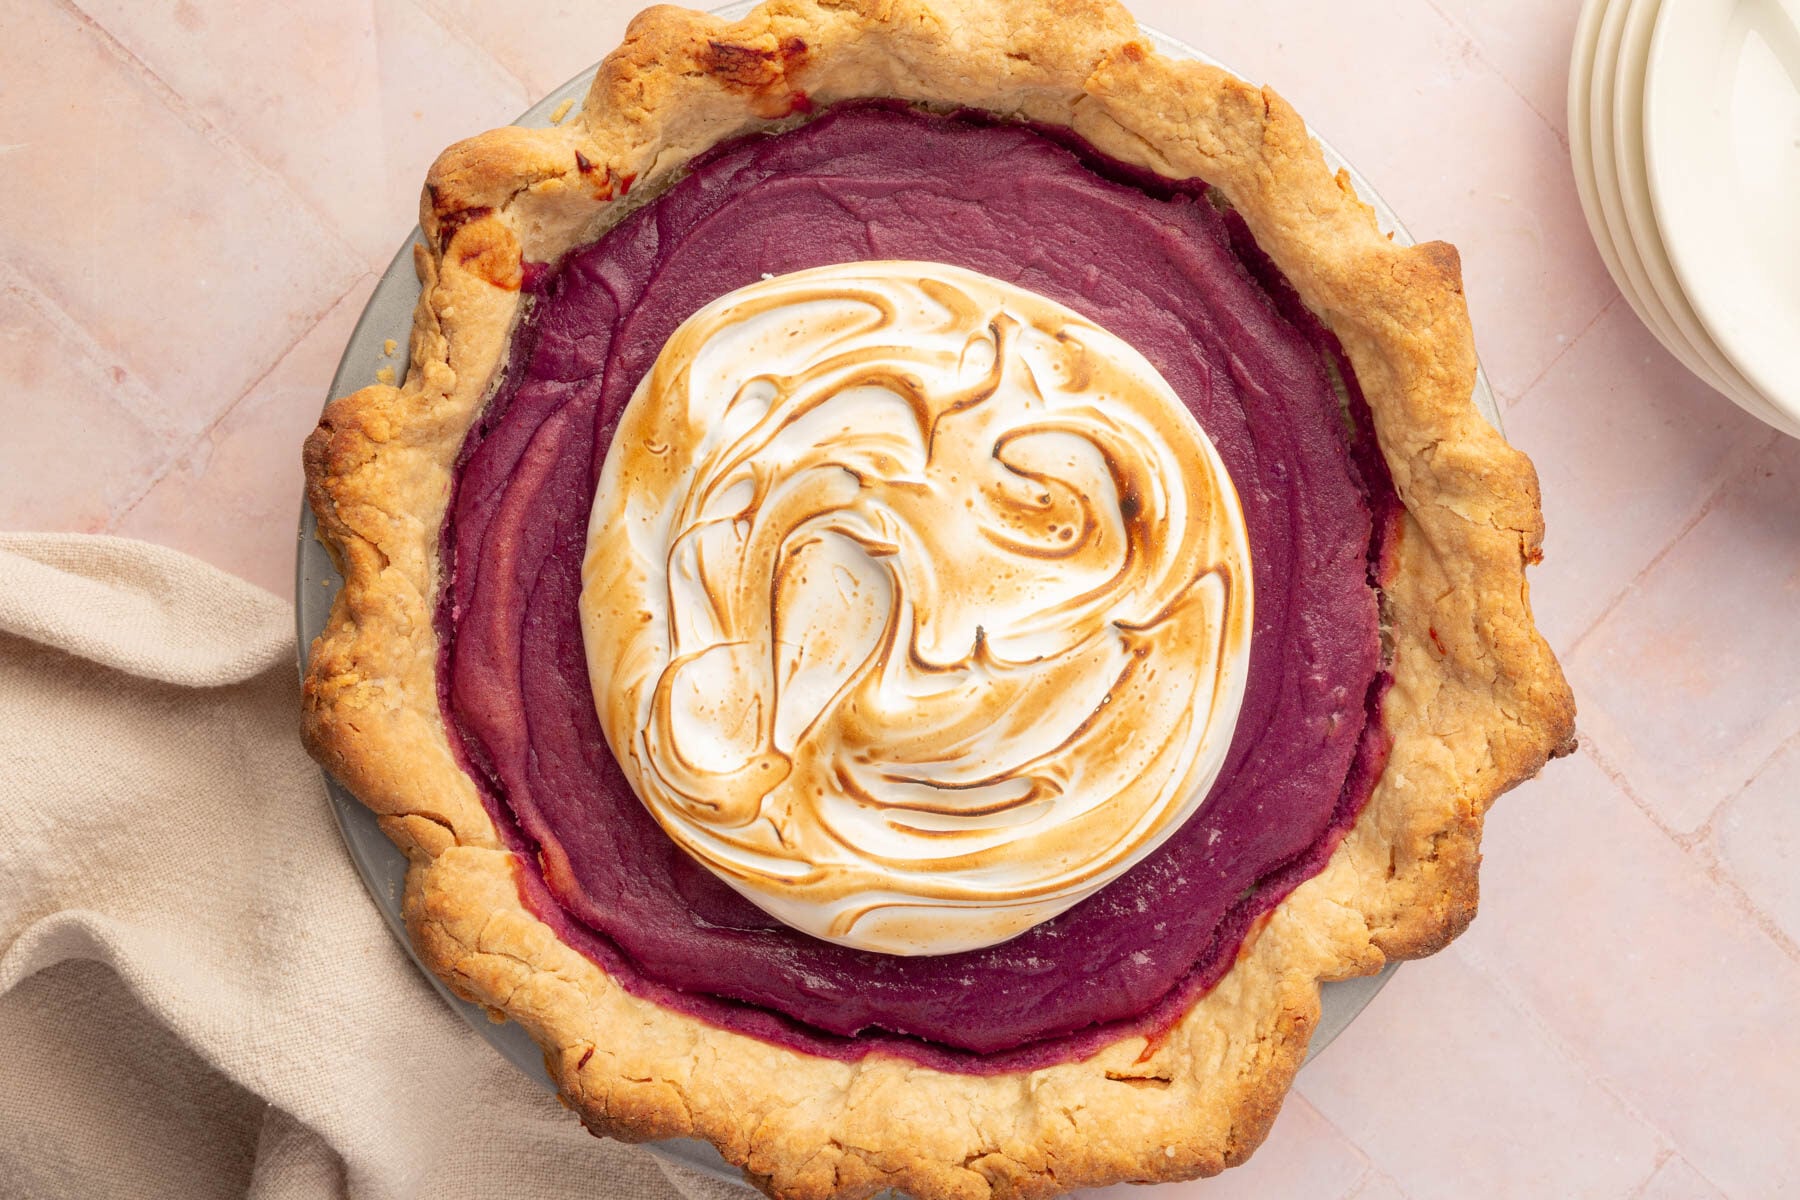
- Use a kitchen torch to carefully toast the topping until golden brown.
- Slice and serve!
Notes
- Gluten-free check: Double-check that all your ingredients are gluten-free before you start, since ingredient formulas can change over time.
- Homemade crust: I recommend Cup4Cup gluten-free flour for the crust.
- Store-bought crust: A pre-made frozen gluten-free pie crust doesn’t need to be parbaked.
- Not gluten-free? Use your favorite pie crust recipe and follow the filling and topping steps as written.
- Meringue tip: Keep egg yolk out of the egg whites completely, or the meringue won’t form stiff peaks.
- Storage: Store the pie without the meringue topping, covered, in the refrigerator for up to 3 days. Once topped with meringue, it’s best enjoyed the same day.
