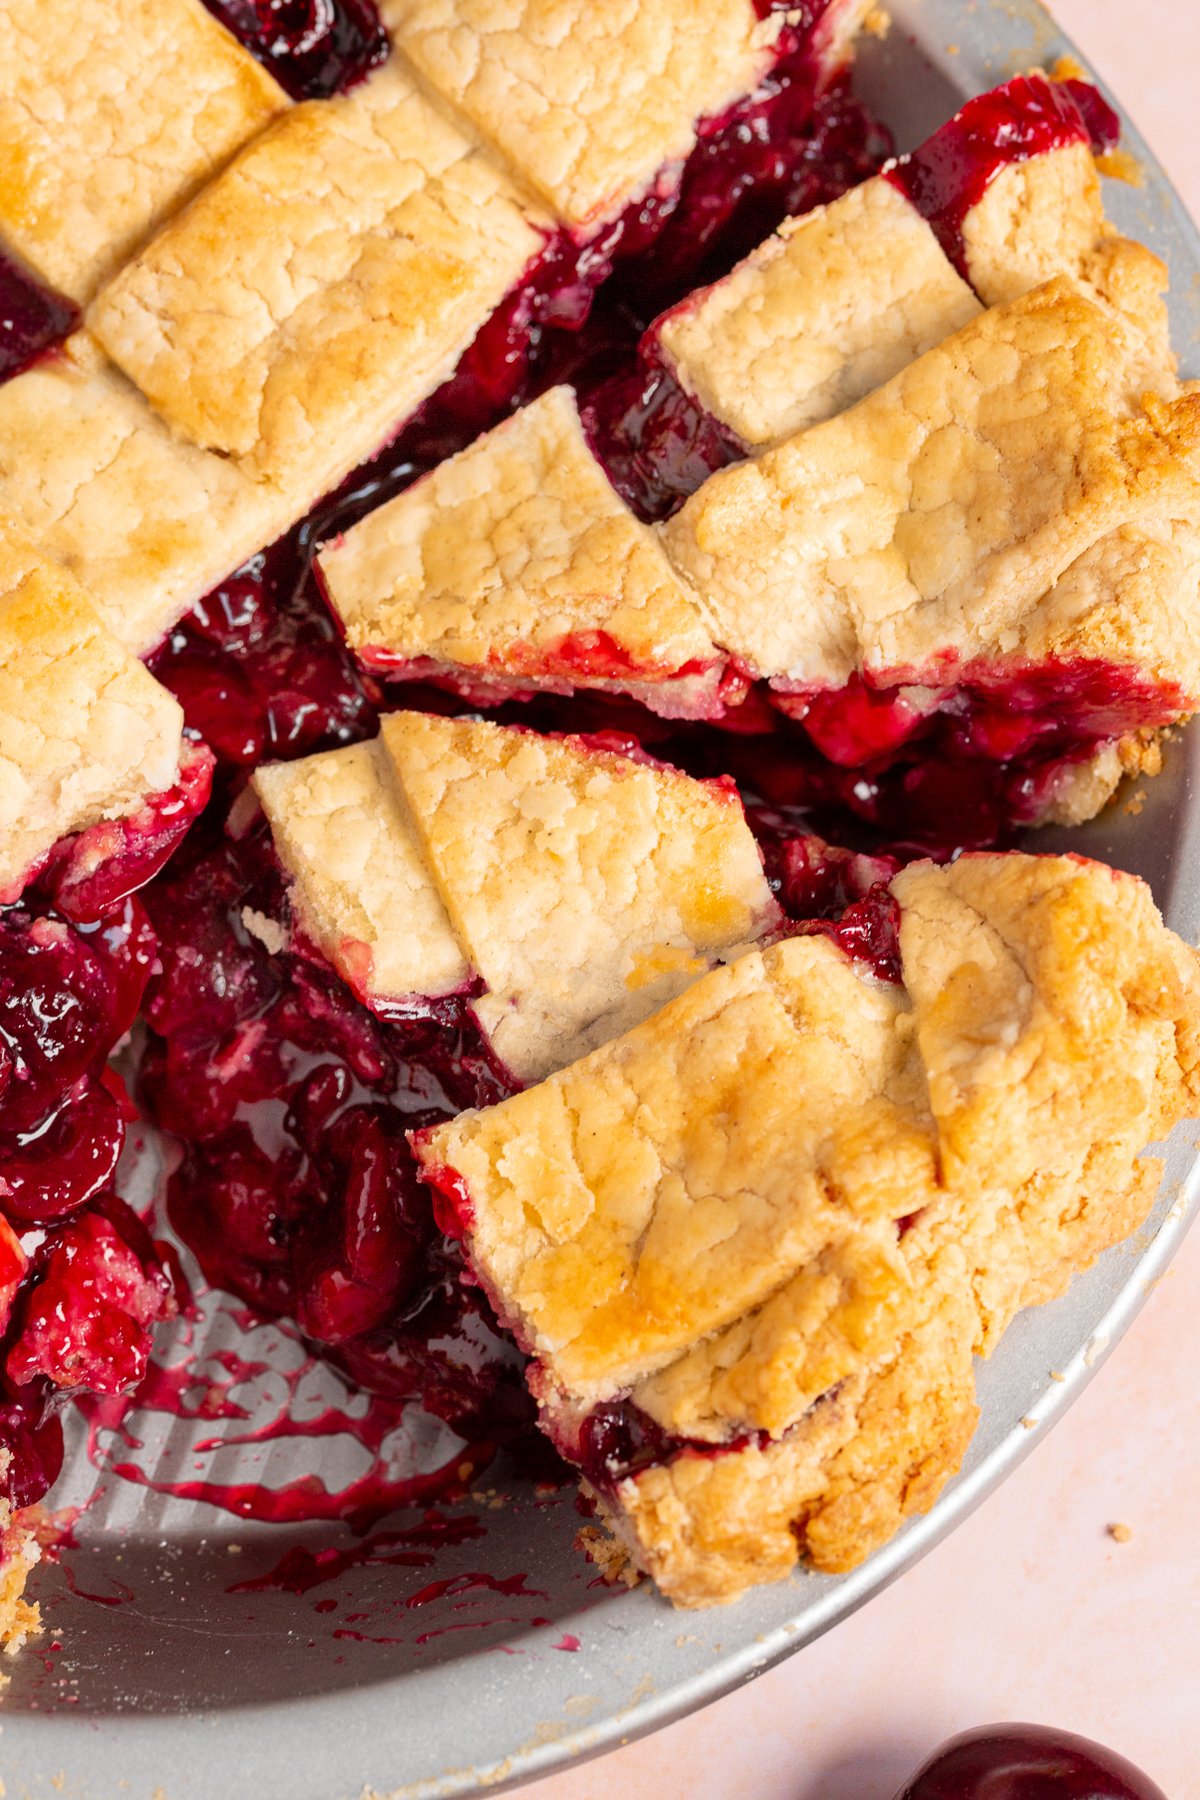
Gluten-Free Cherry Pie
Gluten-free cherry pie with a sweet-tart filling and a buttery, flaky crust. Half the cherries are cooked down with cornstarch for a thick, sliceable filling, and the other half are folded in fresh. The filling needs to cool completely before assembly, so plan ahead. Works with fresh or frozen cherries.
Print Recipe
Pin Recipe
Rate this Recipe
Ingredients
Pie Crust:
- Homemade Gluten-Free Pie Crust - makes two 9-inch crusts – one for the top, and one for the bottom
Filling:
- 2 ½ pounds (1.13 kg) whole fresh cherries - about 5 cups, pitted and sliced in half
- ¾ cup (150 g) granulated sugar
- 2 tablespoons (30 g) lemon juice
- ¼ cup (32 g) cornstarch
- ½ cup (118 g) water
- 1 teaspoon vanilla extract
- ½ teaspoon almond extract
Egg Wash:
- 1 (50 g) large egg
- 1 tablespoon (15 g) water
**Use the toggle button above to turn the instruction photos on and off!
Instructions
Make the Pie Dough:
- Prepare a full batch of my Homemade Gluten-Free Pie Crust . Cut the dough into two pieces and wrap each individually with plastic wrap. Refrigerate until ready to use.
Prepare the Filling:
- Pit 2 ½ pounds (1.13 kg) whole fresh cherries and slice them in half. Divide into two equal portions.
- In a medium saucepan over medium heat, combine half the cherries with ¾ cup (150 g) granulated sugar and 2 tablespoons (30 g) lemon juice. Stir and cook until the sugar dissolves.
- In a small bowl, whisk together ¼ cup (32 g) cornstarch and ½ cup (118 g) water until smooth.
- Pour the cornstarch slurry into the saucepan and stir constantly. Bring to a boil, then reduce heat and cook 2-3 minutes until thick and glossy.
- Remove from heat. Stir in 1 teaspoon vanilla extract and ½ teaspoon almond extract.
- Pour the cooked cherry mixture over the reserved fresh cherries and stir to combine. Let the filling cool completely. I refrigerate mine overnight.
Assemble the Pie:
- Preheat the oven to 425°F (220°C).
- Roll out one disk of chilled pie dough on a piece of parchment paper that has been dusted with gluten-free flour. You’ll want to roll it out to about 12-inches for a 9-inch pie plate.
- Once rolled out, place the pie plate upside down on the pie dough. Using the parchment paper, flip the pie plate over so that the pie dough lands in the pie plate. Remove the parchment paper.
- Use your hands to lift the pie dough so that it fits to the edge of the pie plate. Be sure not to stretch it, as it may break and crack. Leave about 1-2 inches of overhang around the edges of the pie plate, trimming off any excess.
- Pour the cooled cherry filling into the crust.
- Roll out the second disk of dough into a large circle, about 12-inches in diameter. Cut it into 1-inch strips using a pizza cutter or a knife. Lay half of the strips horizontally over the pie. Fold back every other strip halfway and lay one strip perpendicular. Unfold the strips over the perpendicular strip and repeat with the remaining strips to create a lattice pattern.
- Trim any strips that hang too far over the edge. Tuck the overhanging dough from the bottom crust and strips under itself to create a thick edge. Crimp with your fingers or press with a fork.
Egg Wash and Bake:
- In a small bowl, beat 1 (50 g) large egg with 1 tablespoon (15 g) water to create the egg wash. Brush the egg wash over the lattice crust and the edges of the pie.
- Place the pie on a baking sheet to catch any drips. Bake at 425°F (220°C) for 15 minutes. Reduce the oven temperature to 375°F (190°C) and continue baking for 45 minutes to 1 hour, or until the crust is golden brown and the filling is bubbling. If the pie is browning too quickly, place aluminum foil over the top of the pie to protect the lattice topping and edges from burning.
- Remove the pie from the oven and cool on a wire rack for at least 2 hours before slicing and serving. The filling needs this time to set.
Notes
- Pie crust: I highly recommend making my gluten-free pie crust for this recipe. It makes two crusts, one for the bottom and one for the lattice. Most store-bought frozen GF crusts can't be rolled out, so if you go that route, top with my gluten-free streusel instead.
- Storage: Store any leftovers in an airtight container at room temperature for up to 2 days, or refrigerate for up to 5 days.
Nutrition
Calories: 408kcal | Carbohydrates: 70g | Protein: 5g | Fat: 13g | Saturated Fat: 4g | Polyunsaturated Fat: 2g | Monounsaturated Fat: 6g | Sodium: 206mg | Potassium: 369mg | Fiber: 4g | Sugar: 37g | Vitamin A: 91IU | Vitamin C: 11mg | Calcium: 29mg | Iron: 2mg
